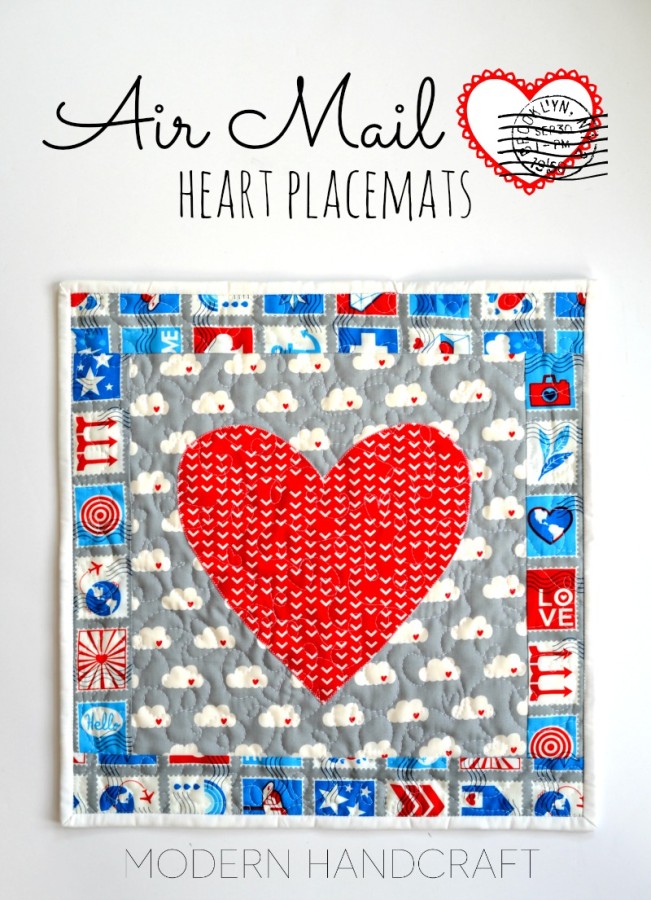
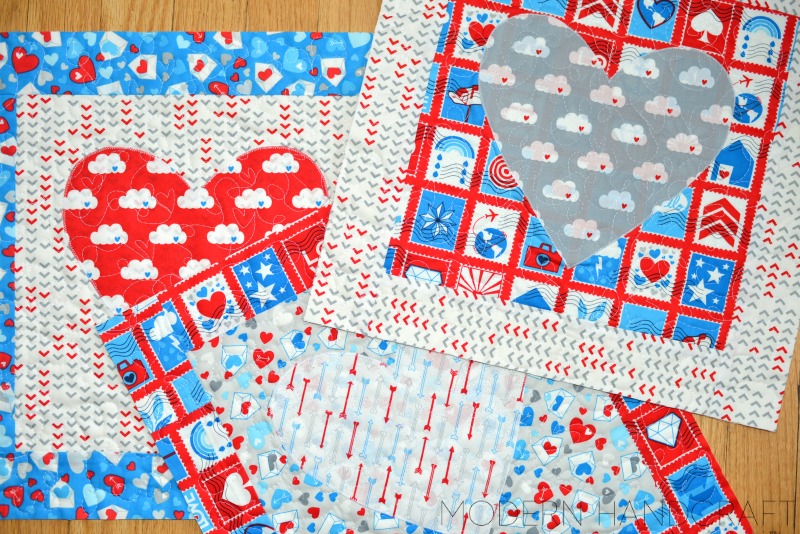
Hello Therm O Web friends, Nicole here today from Modern Handcraft with a Valentine’s Day placemat tutorial – Air Mail Heart Placemats!
I am a flight attendant for a living and as soon as I saw this new line – Air Mail – by Eric and Julie Comstock for Moda Fabrics I was instantly smitten. The entire line uses a fun red, white, blue and gray color way which would also be equally cute not only for Valentine’s day but also for your Fourth of July projects!
My Heart placemats are a fun way to combine several different fabrics and are simple enough for the beginning quilters out there!
Each placemat measures 16″ square – fabric amounts listed below are for each placemat – just multiply by the number of mats needed.
Materials needed:
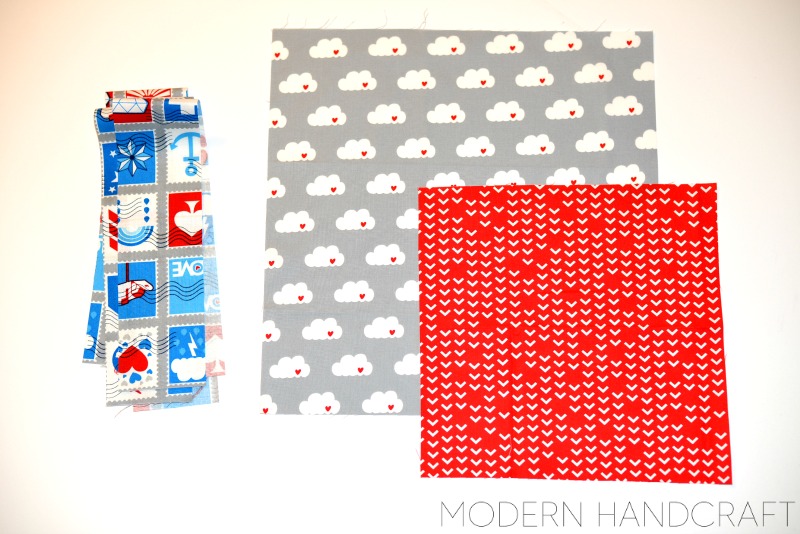
- 3 fat quarters of Air Mail by Eric and Julie Comstock for Moda Fabrics (I made 6 total placemats, and combined 9 different fat quarters)
- 16″ x 16″ piece of solid fabric for backing
- Package of coordinating bias tape, or make your own by cutting 2.5″ wide strips of fabric
- Cotton batting 16″ x 16″
- Therm O Web SpraynBond® Basting spray
- Therm O Web Heat n Bond® lite
- Coordinating Thread
- 8″ x 8″ piece of paper and pen/pencil
- Sewing machine and notions (pins or magic clips, scissors, rotary cutter, cutting mat, acrylic ruler, iron)
Cutting Instructions:
Since you will be combining three different fabrics for each mat you will be cutting up a few fat quarters. I used a total of 9 fat quarters to create 6 placemats, multiply the following amounts for the number of placemats you would like to create. For each placemat you will need to cut: (1) 12″ x 12″ fabric square / (1) 8″ x 8″ fabric square / (2) 2.5″ x 12″ fabric strips / (2) 2.5″ x 16″ fabric strips.
For the backing of each placemat you will need (1) 16″ x 16″ fabric square
Creating your heart template:
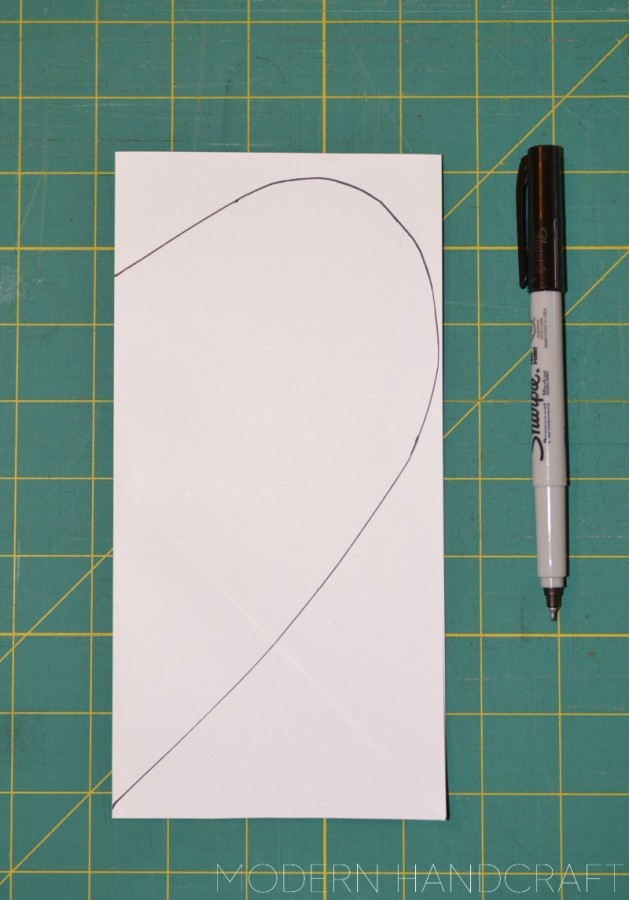
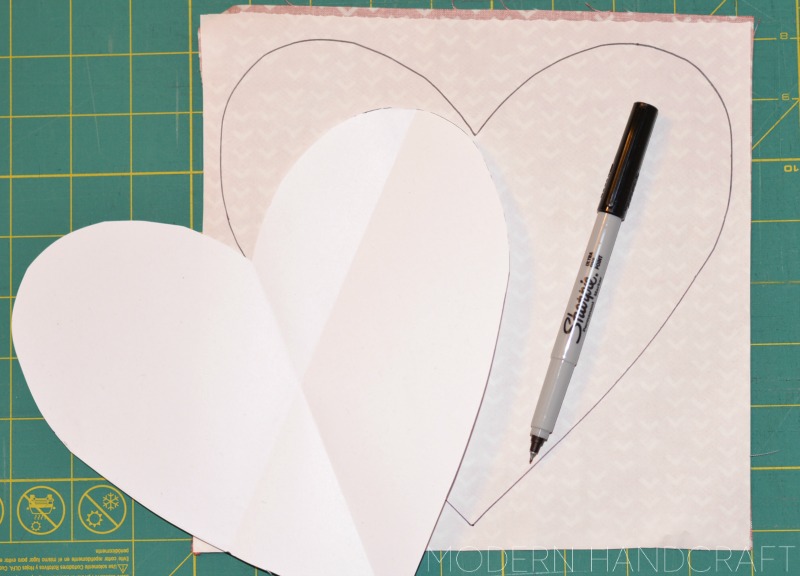
Fold a piece of paper measuring 8″ x 8″ in half, draw a half heart shape with your pen/pencil.
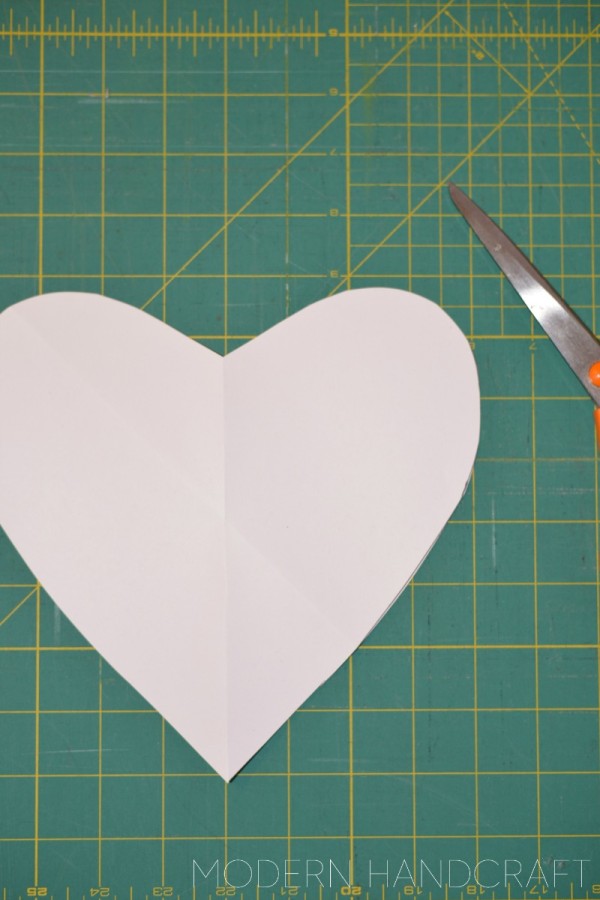
Using your scissors, cut along the drawn line to cut out your heart shape.
Assembling the placemat front:
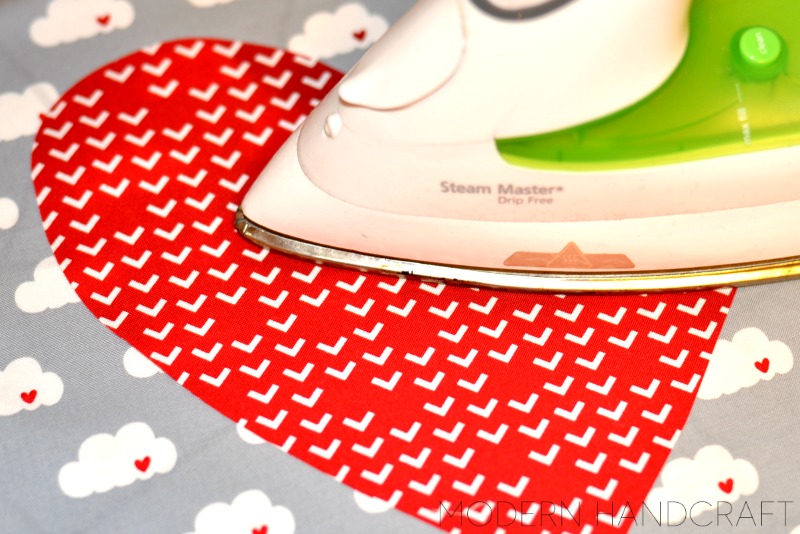
Take your 8″ x 8″ fabric square and iron on your Heat n Bond® lite to the wrong side of the fabric. Once cool, take your heart template and trace onto the paper backing of your Heat n Bond® lite. Cut out your heart shape.
Center your heart on top of your 12″ x 12″ fabric square, following the directions of your Heat n Bond® lite, iron to the front of the fabric.
Take your (2) 2.5″ x 12″ strips of fabric and sew to the top and bottom of your 12″ x 12″ fabric square – iron open seam allowance. Now sew your (2) 2.5″ x 16″ strips of fabric to both sides of your placemat front – iron open seam allowance. You now have a placemat front measuring 16″ x 16″
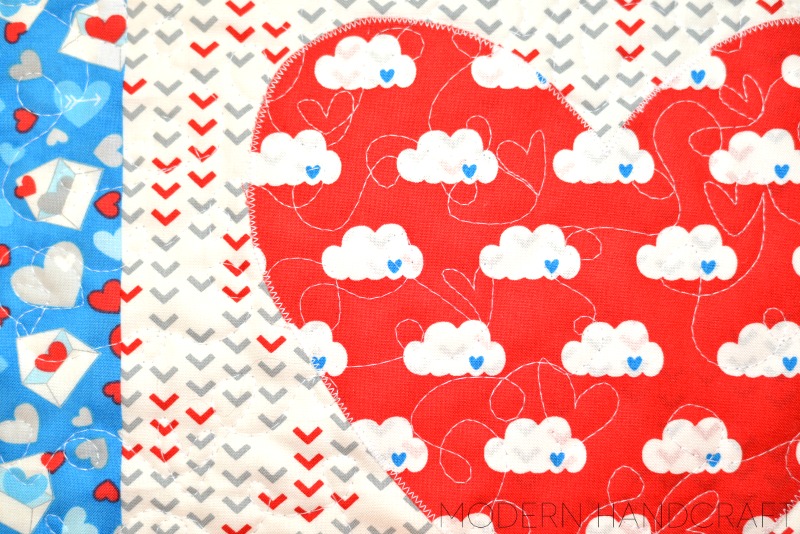
At your machine, using a coordinating thread, stitch around your heart. I like to use a small zigzag stitch for my appliqué.
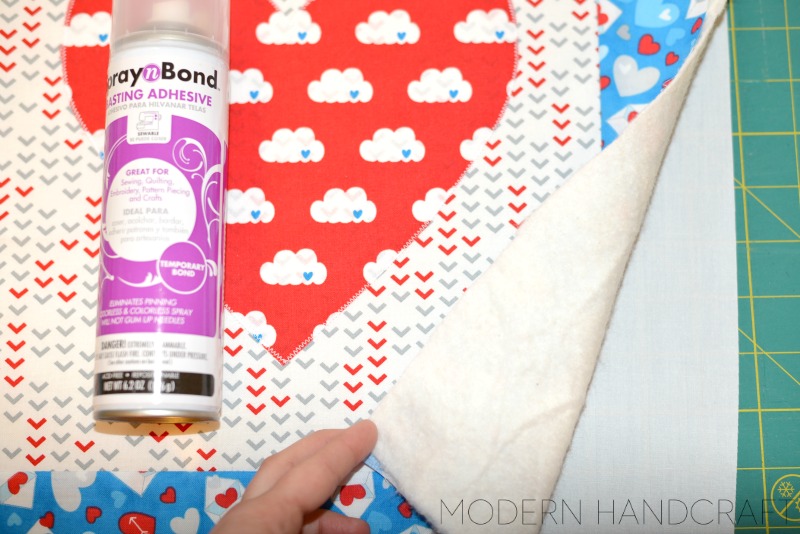
Make a quilt sandwich by layering your placemat backing – cotton batting – placemat top. Baste each layer using your Spray n Bond® Basting Adhesive. Smooth your fabric to remove any lumps or wrinkles.
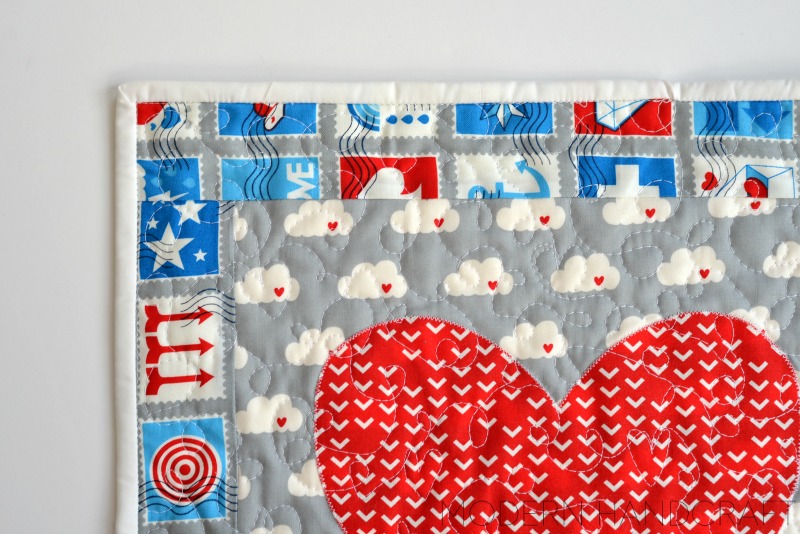
At your machine, quilt how you like. I usually prefer to do a nice straight line stitch, but after learning how to free motion quilt I thought some fun little doodle hearts would look perfect!
Bind each placemat like you would a quilt – I have a tutorial here if you need further detail on how I machine bind my projects.
Now just complete each step again for each placemat – if you know ahead of time how many you would like to make, assembly line style makes for a much faster project (doing each step at once for each mat).
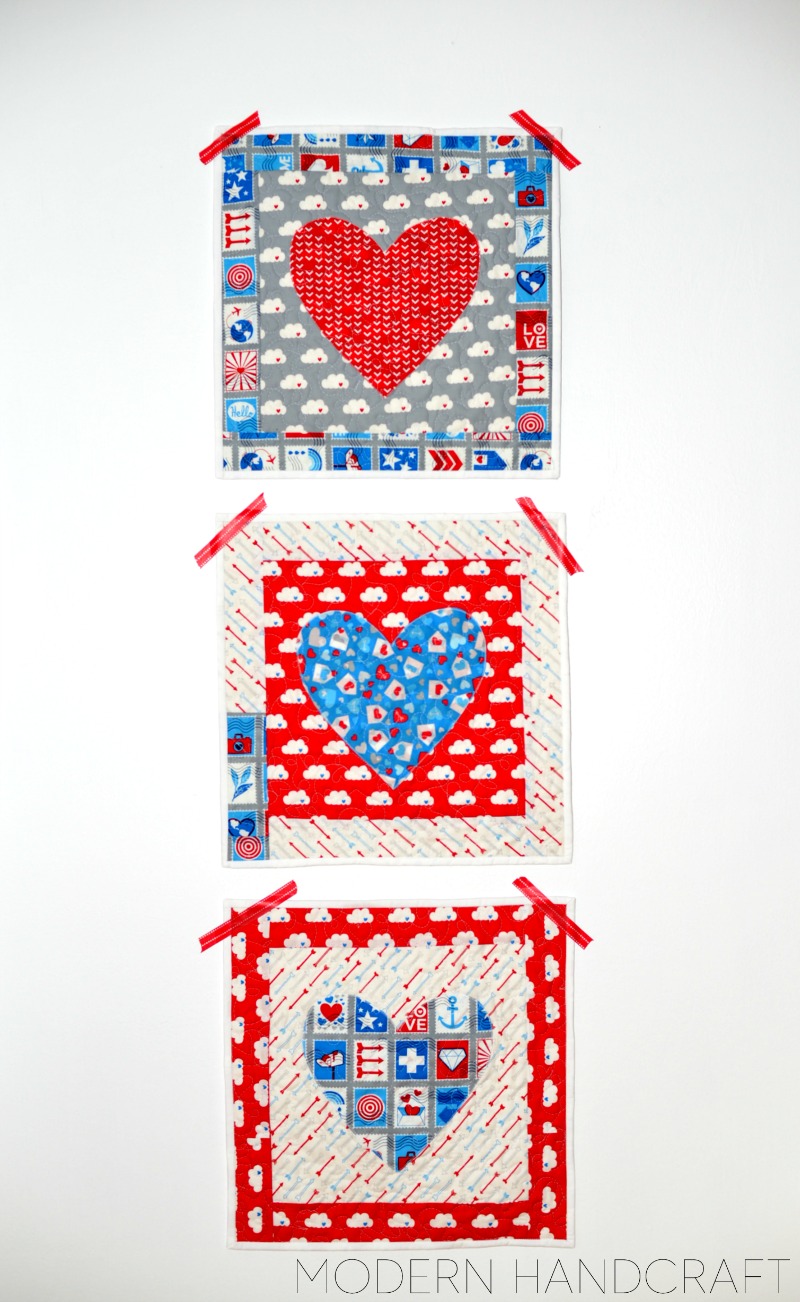
(They also make some pretty cute mini quilts if you ask me)
I hope you enjoyed today’s project and will check out this adorable fabric line! I still have a bit left over I plan on saving for a fourth of July project this summer…the colors are just perfect!
-Nicole

barb macaskill
February 12, 2015 at 10:47 am (10 years ago)This is cool! I m going to have to make some for my grandchildren! They are going to love them! Thanks for the inspiration!