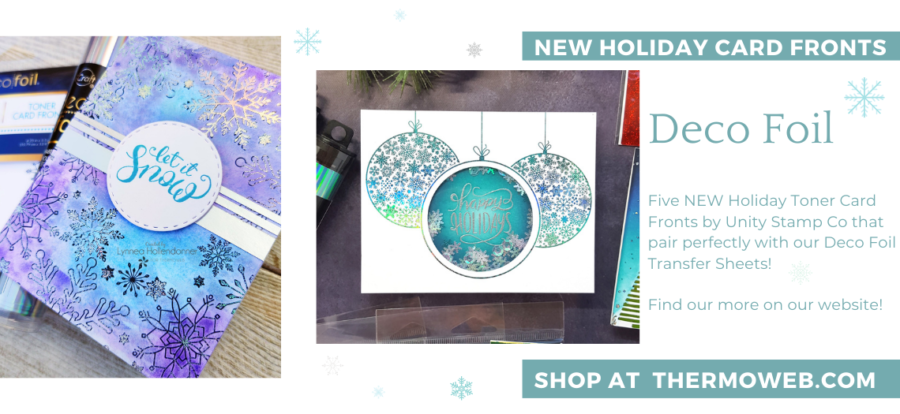
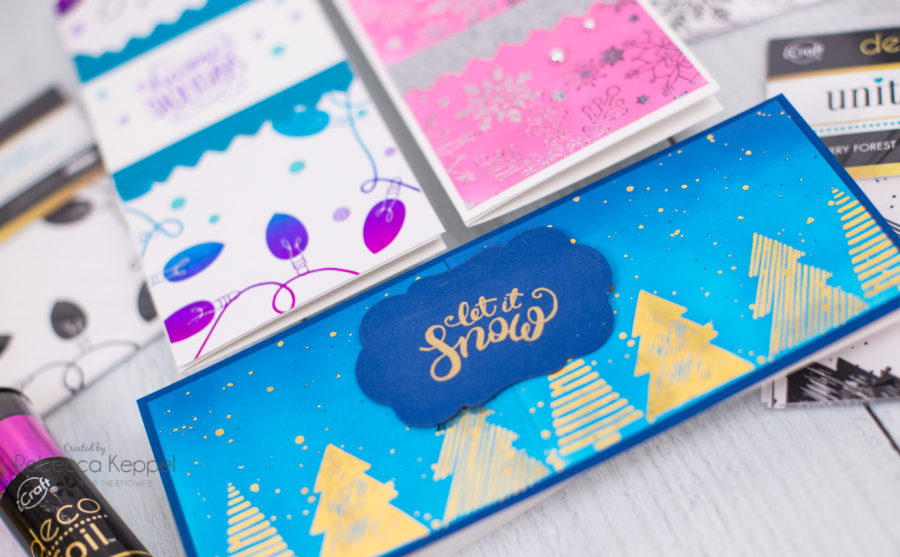
 We’re so excited to announce our NEW Deco Foil Toner Card Fronts by Unity!
Sparkly Deco Foil Toner Card Fronts by Unity
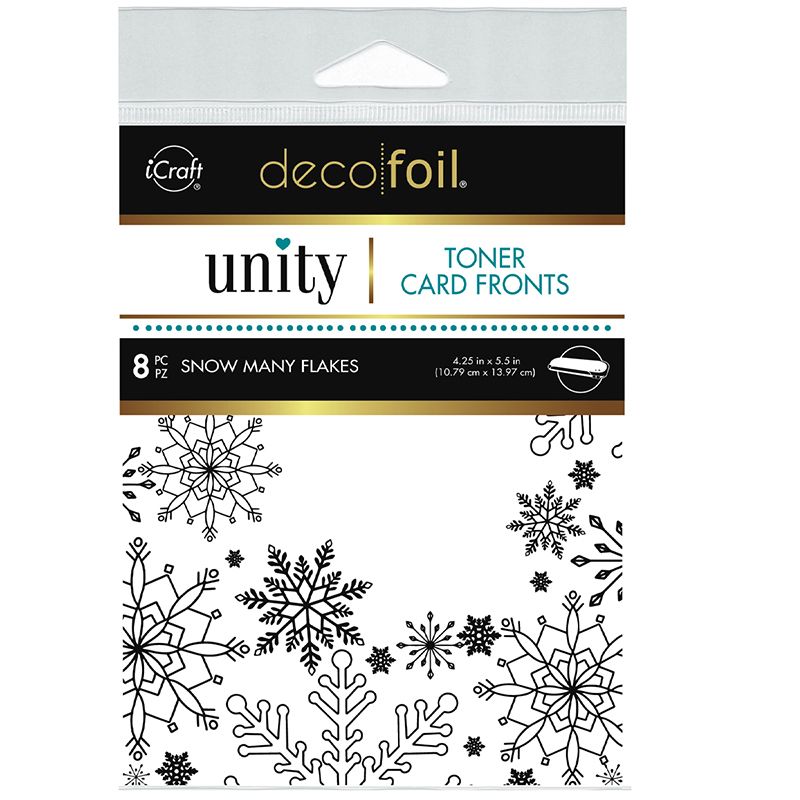
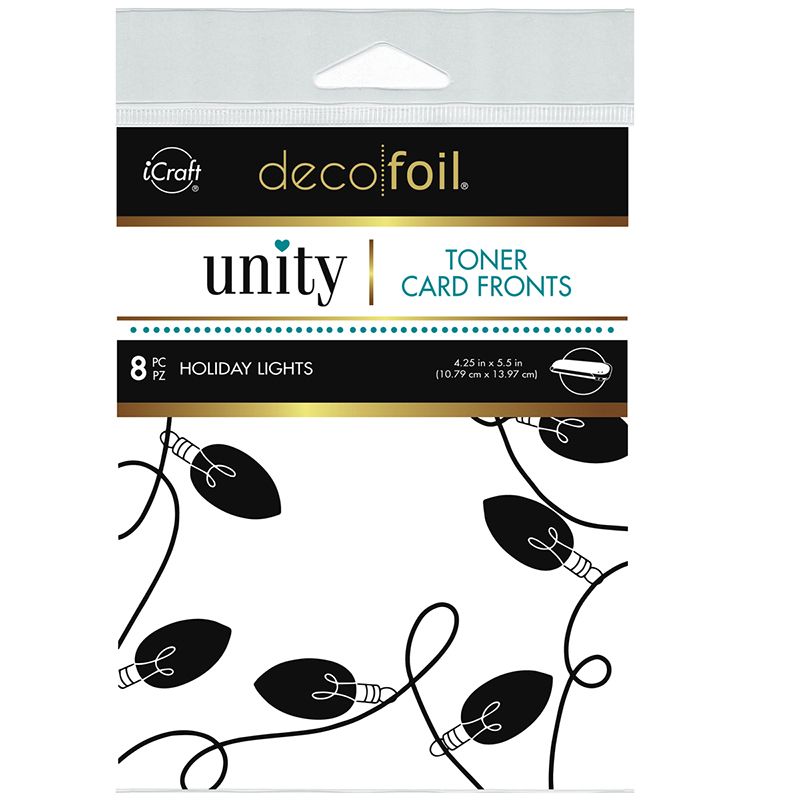
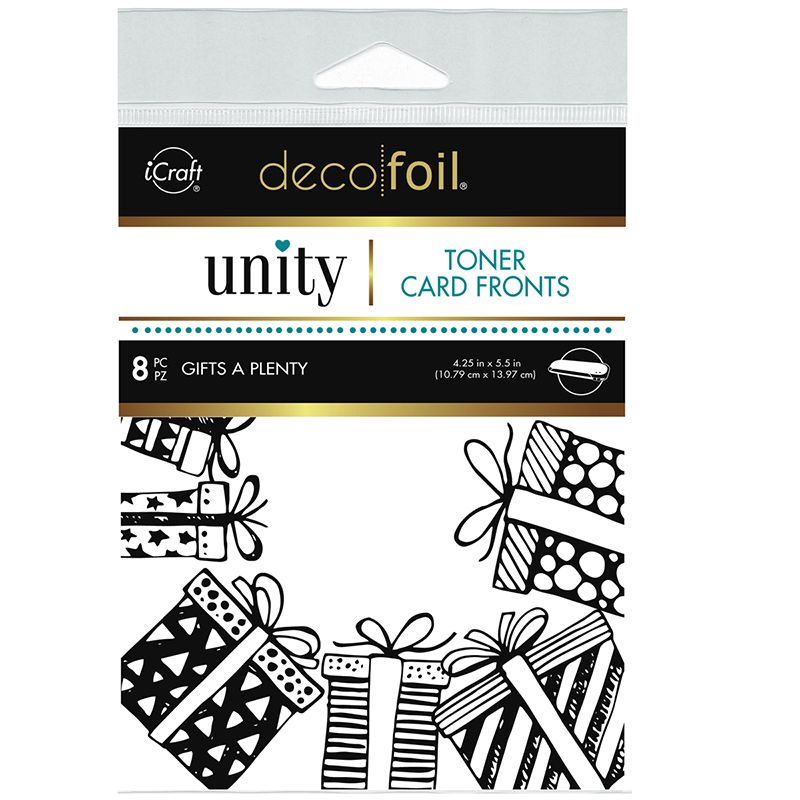
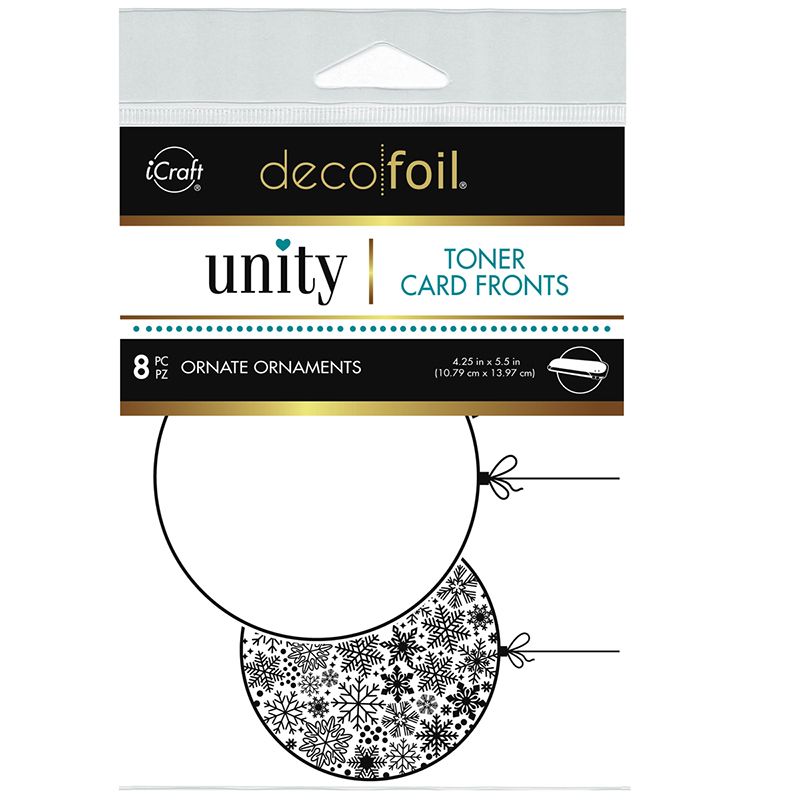
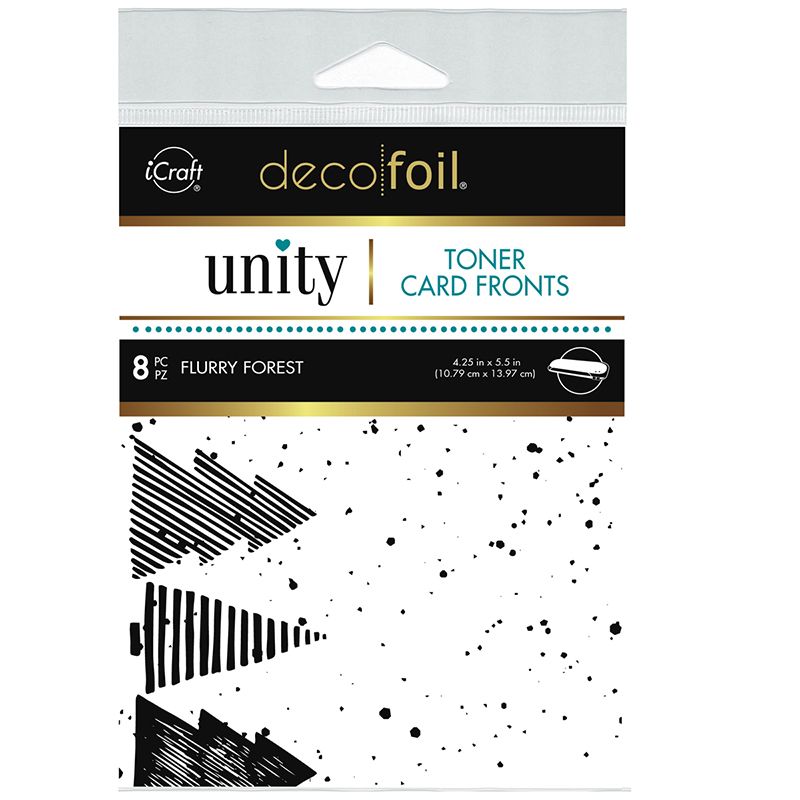
Welcome to our Five NEW and Gorgeous Toner Card Fronts!
Snow Many Flakes, Holiday Lights, Gifts A Plenty, Ornate Ornaments, and Flurry Forest
Truly something for everyone and all our holiday occasions on the horizon. If you’re not familiar with our Deco Foil Toner Card Fronts by Unity…let’s get you familiar.
Unity Stamp Co. is more than just another stamp company; they base their company values on inspiration, motivation, positivity, and enjoying the creative side of life! Deco Foil and Unity have partnered up to create an exclusive line of foilable Toner Card Fronts that reflect the style and personalities of Angela and Whitney Magnuson.
Here’s some information about the products themselves…
-8 sheets per pack that are 4.25 inches x 5.5 inches
-Use the card fronts with our Deco Foil Transfer Sheets for an instant shine!
-Create one-of-a-kind designs using markers, inks, sprays, and more.
-Create custom embellishments using your favorite punch, die-cut, or electronic cutter.
-Compatible with most hot laminators.
-Adhere using our mess-free iCraft Tape Runner XL or 3D Foam Squares to add dimension.
-Proudly made in the USA!!
Here are some gorgeous ideas and inspiration with these NEW Card Fronts!!
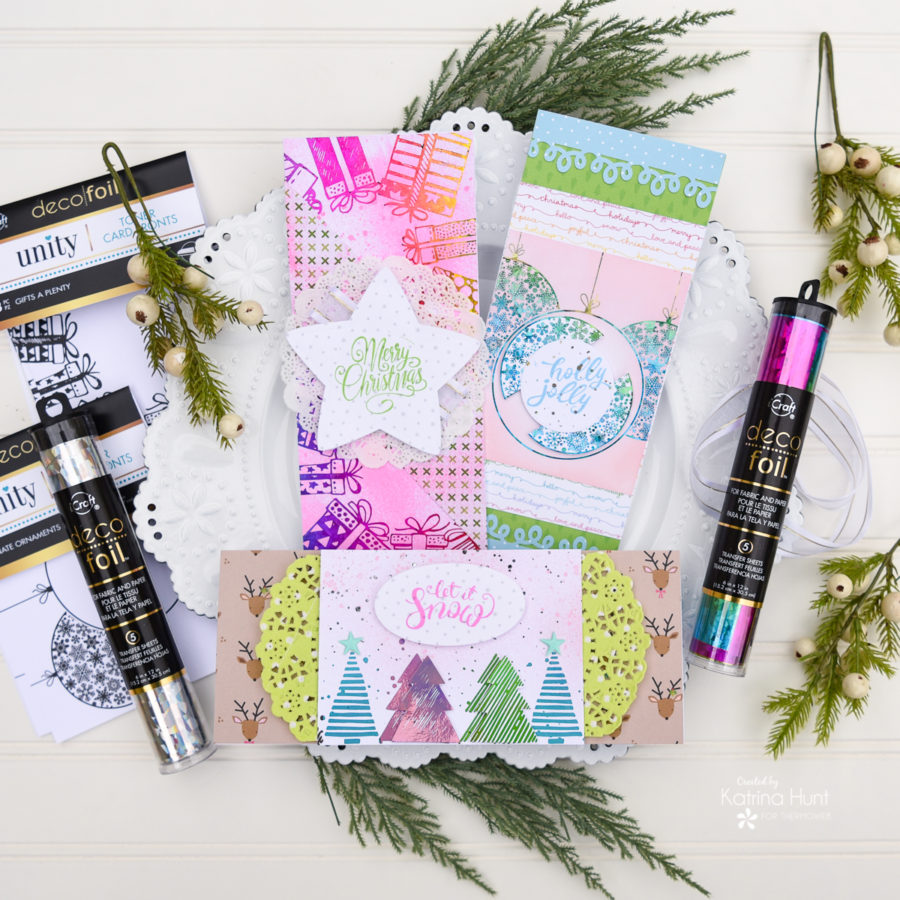
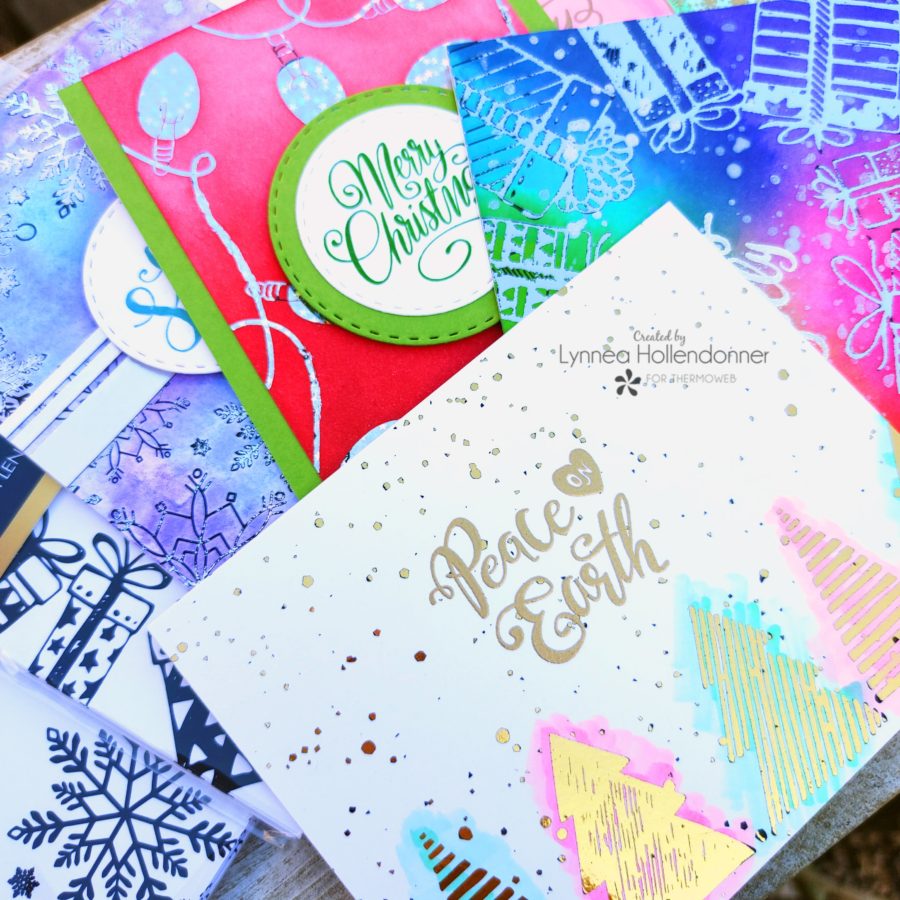
Hello there! It’s Andrea with you to share a trio of sparkly Christmas cards featuring the new Unity Toner Card Fronts.
Sparkly Christmas Cards with Unity Card Fronts
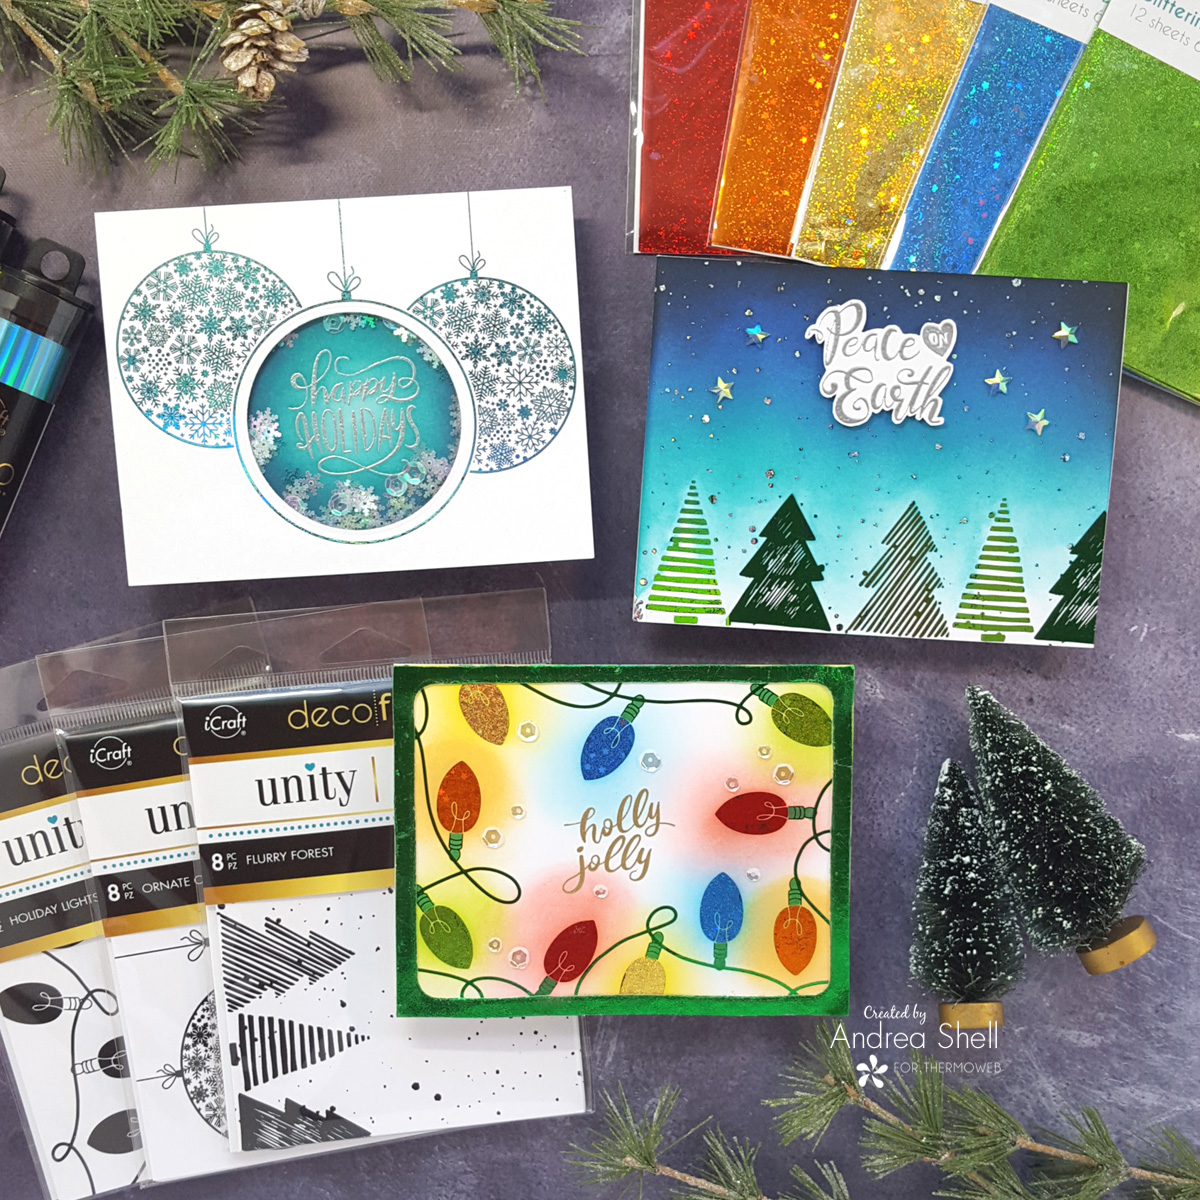
The designs of these new card fronts are so festive and fun, and they really make easy, beautiful holiday cards!
Snow Many Flakes, Holiday Lights, Ornate Ornaments, Flurry Forest,
Ornament Shaker Card
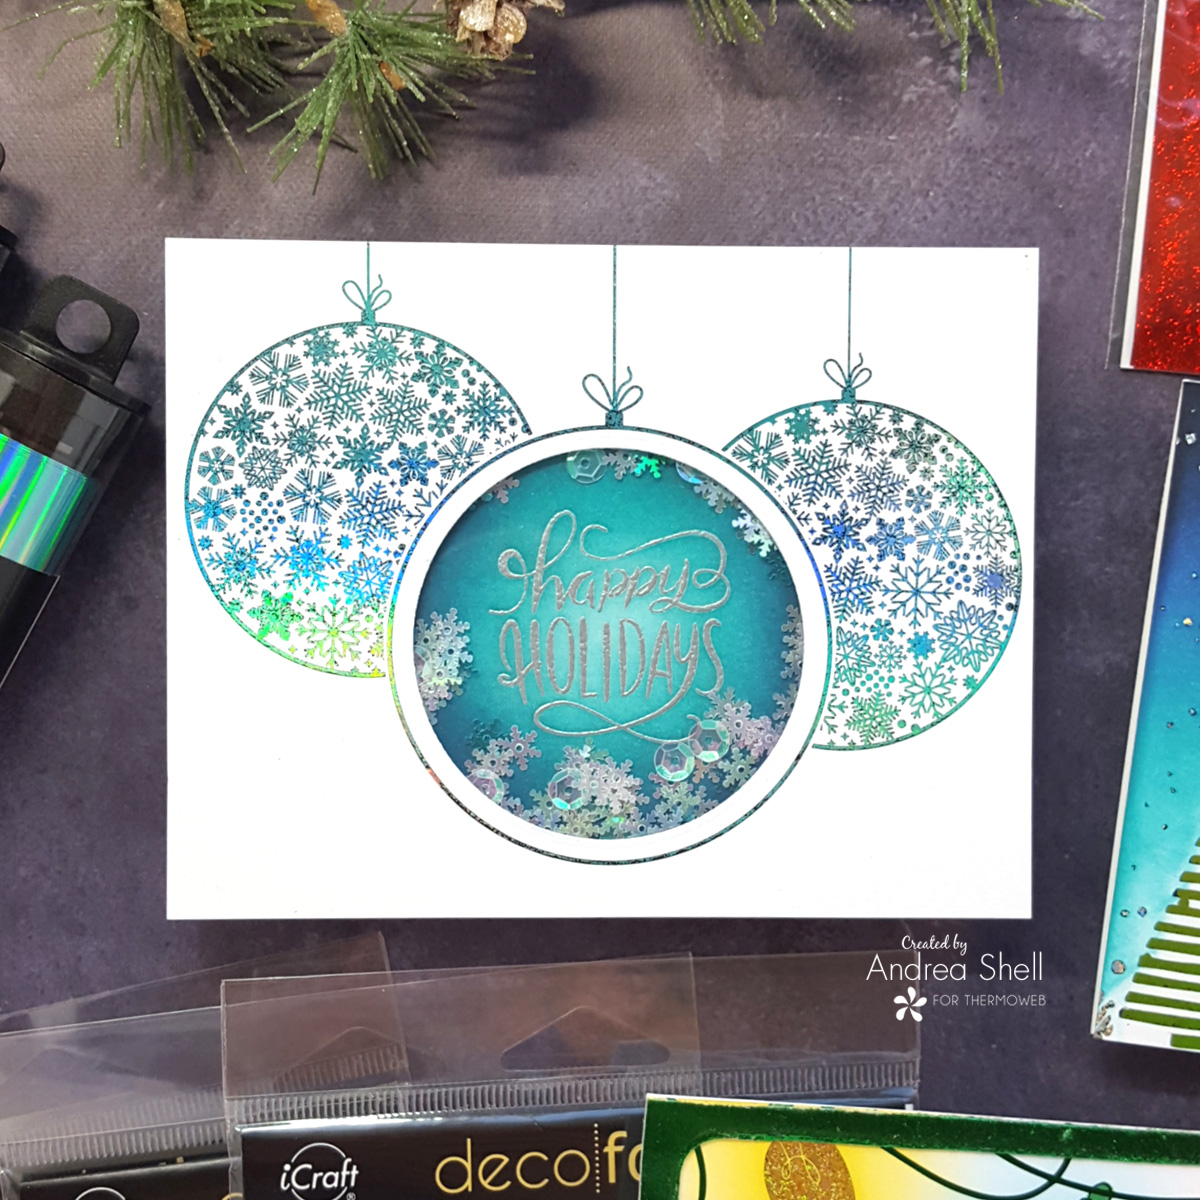
This first card showcases the Ornate Ornaments card front. It uses the simplest foiling technique, but the card really has the wow factor.
Adding Foil to the Card Front
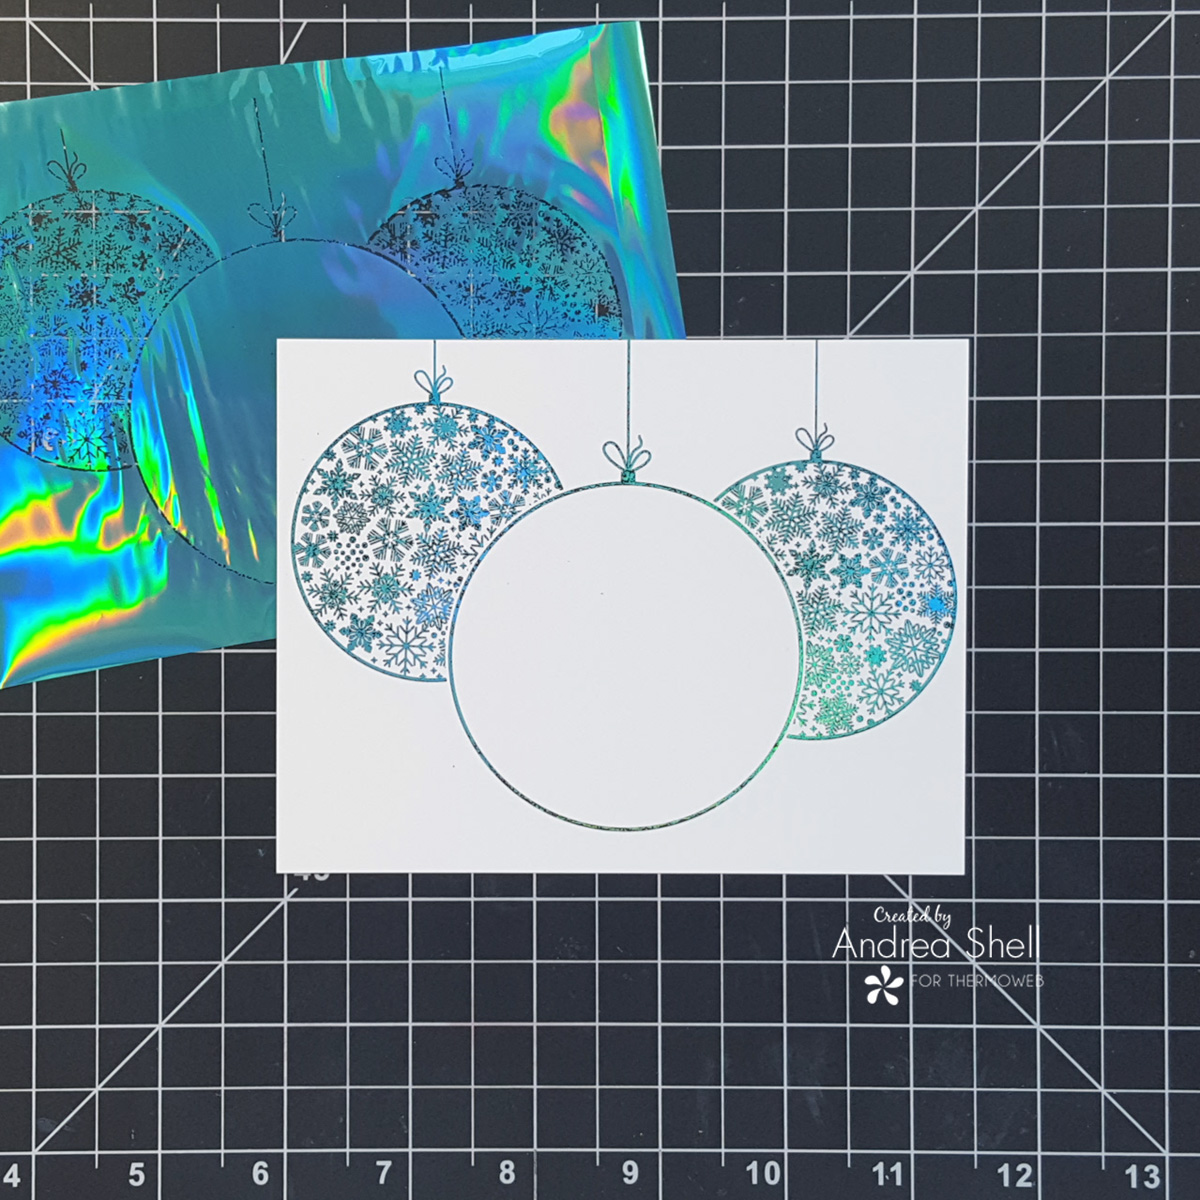
For this card, I simply covered the card front with Deco Foil Glass Slipper Transfer Sheet and ran it through my laminator. Easy peasy but so gorgeous! I love the different undertones in this foil!
Assembling the Card
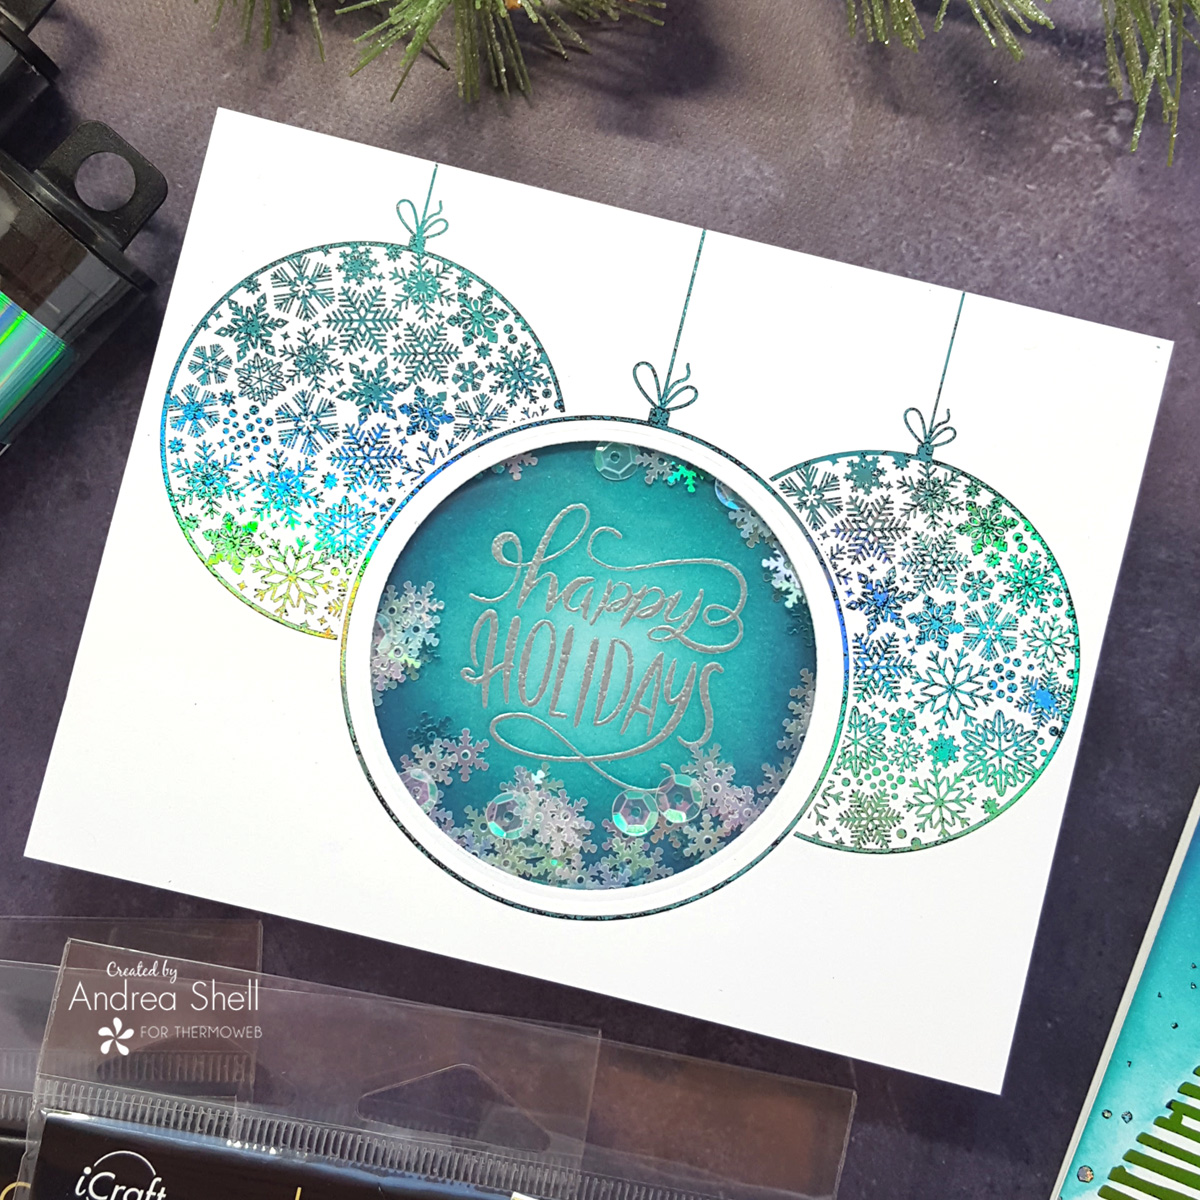
To create the window for my shaker, I die-cut the middle ornament with a circle die. I trimmed a piece of Deco Foil Clear Toner Sheet and adhered it to the back of the opening with Mixed Media Adhesive. I applied a layer of Gina K. Designs White Foam Tape over the back of the panel, ensuring there were no gaps around the window.
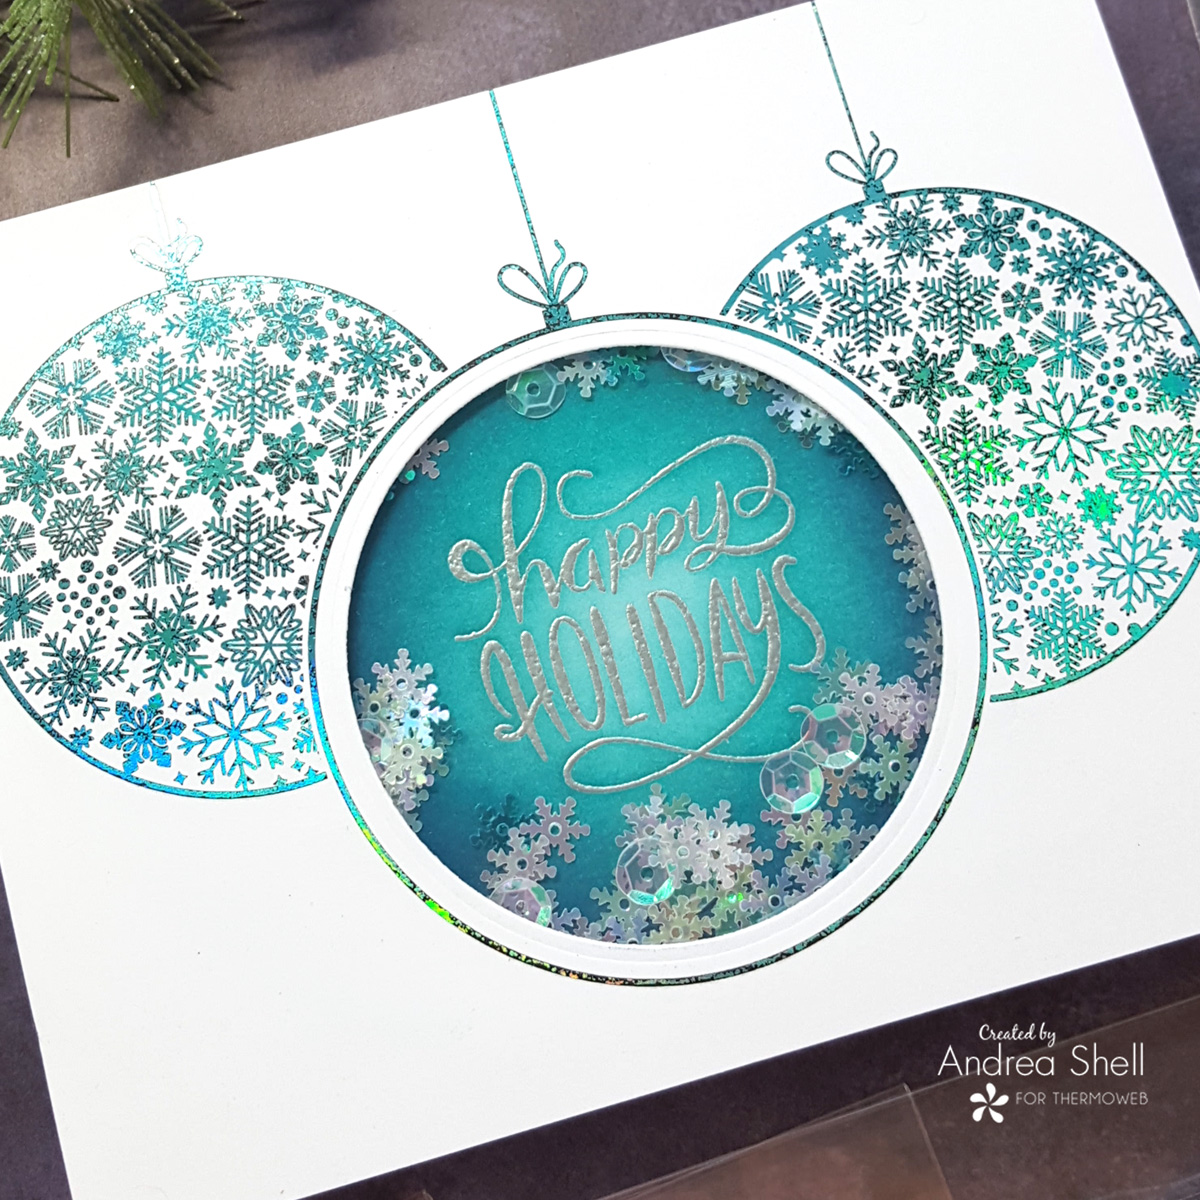
Onto an A2 panel of white cardstock, I silver heat-embossed a sentiment from Unity’s Glimmering Greetings stamp set. I blended the panel with Peacock Feathers, Broken China, and Chipped Sapphire Distress Inks, keeping the center light to create some dimension. I buffed the embossed words with a paper towel to remove any pooled ink. After placing my sequins on the panel, I covered it with the foiled panel. Finally, I adhered the shaker to a white card with Gina K. Designs Terrific Tape.
Winter Forest Scene
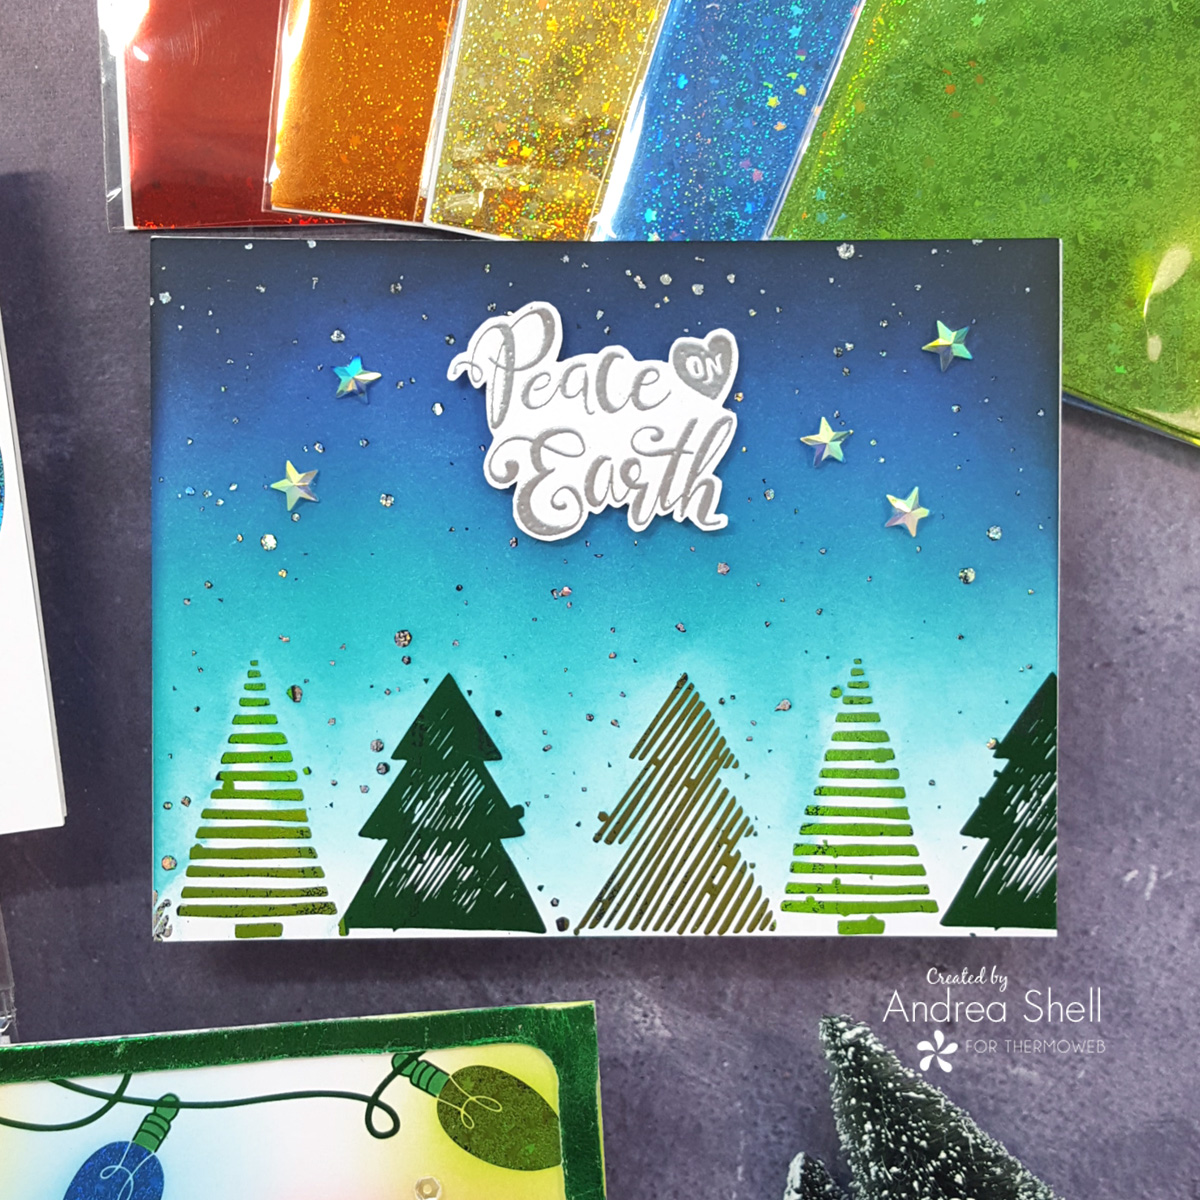
My second card features the Flurry Forest Card Front and four colors of Deco Foil Transfer Sheets. It may seem intimidating at first, but it’s super easy with Purple Tape!
Applying Multiple Foils to a Card Front
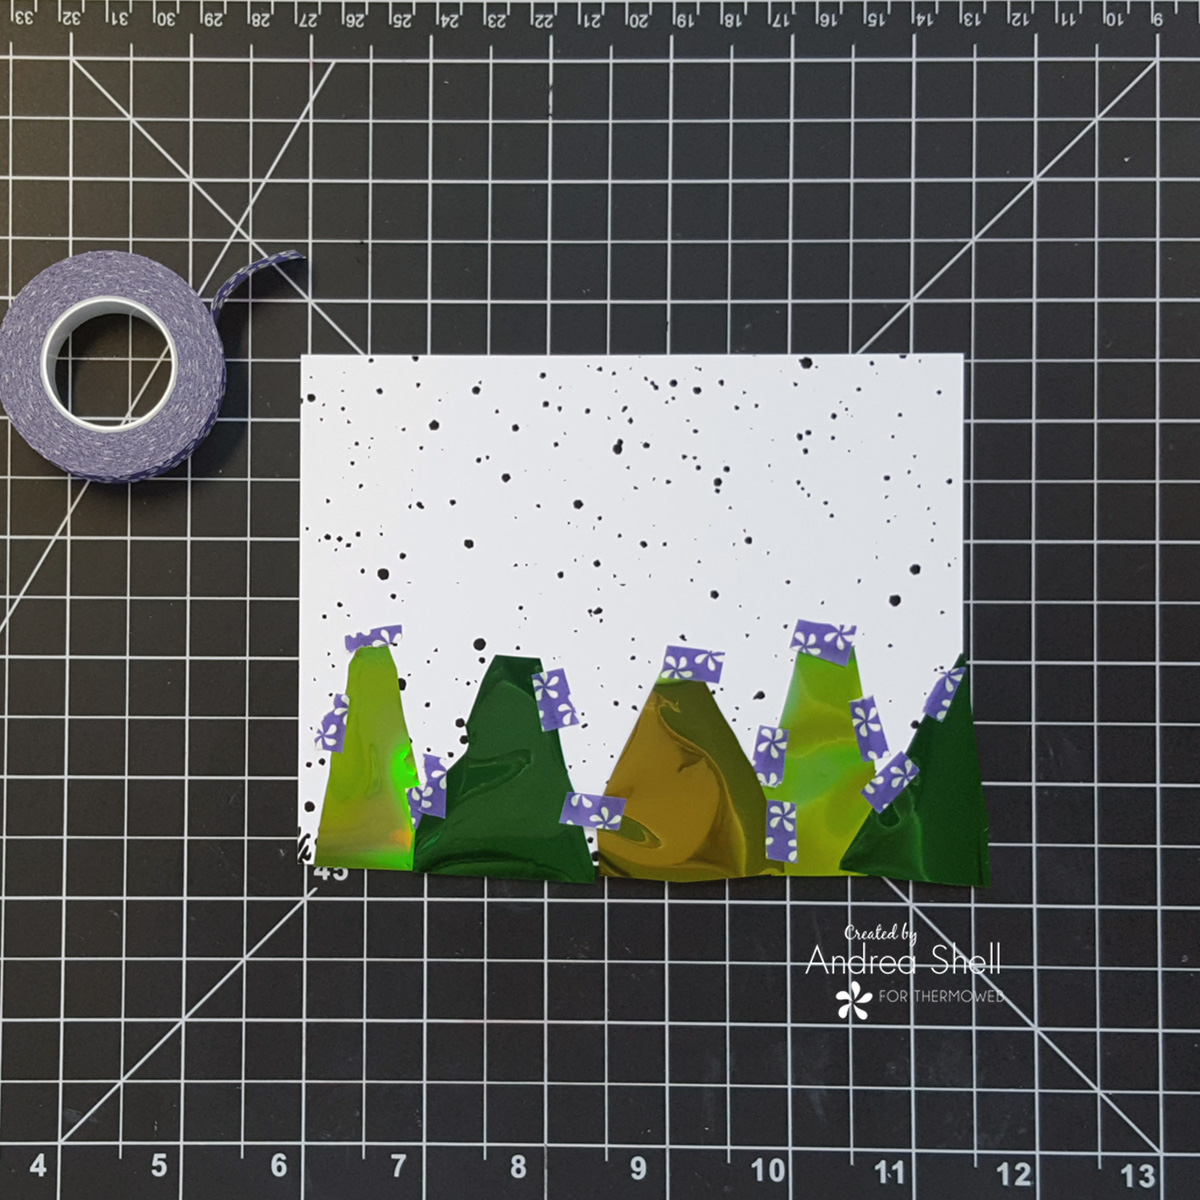
To create the trees, I used (from left to right) Deco Foil Lily Pad, Green, and Spring Green Transfer Sheets. I trimmed each color of the foil to overhang the trees a bit and secured the pieces in place with Purple Tape. I then placed a rectangle of Gina K. Designs Sparkling Silver Fancy Foil over the entire card front and ran the piece through my laminator.
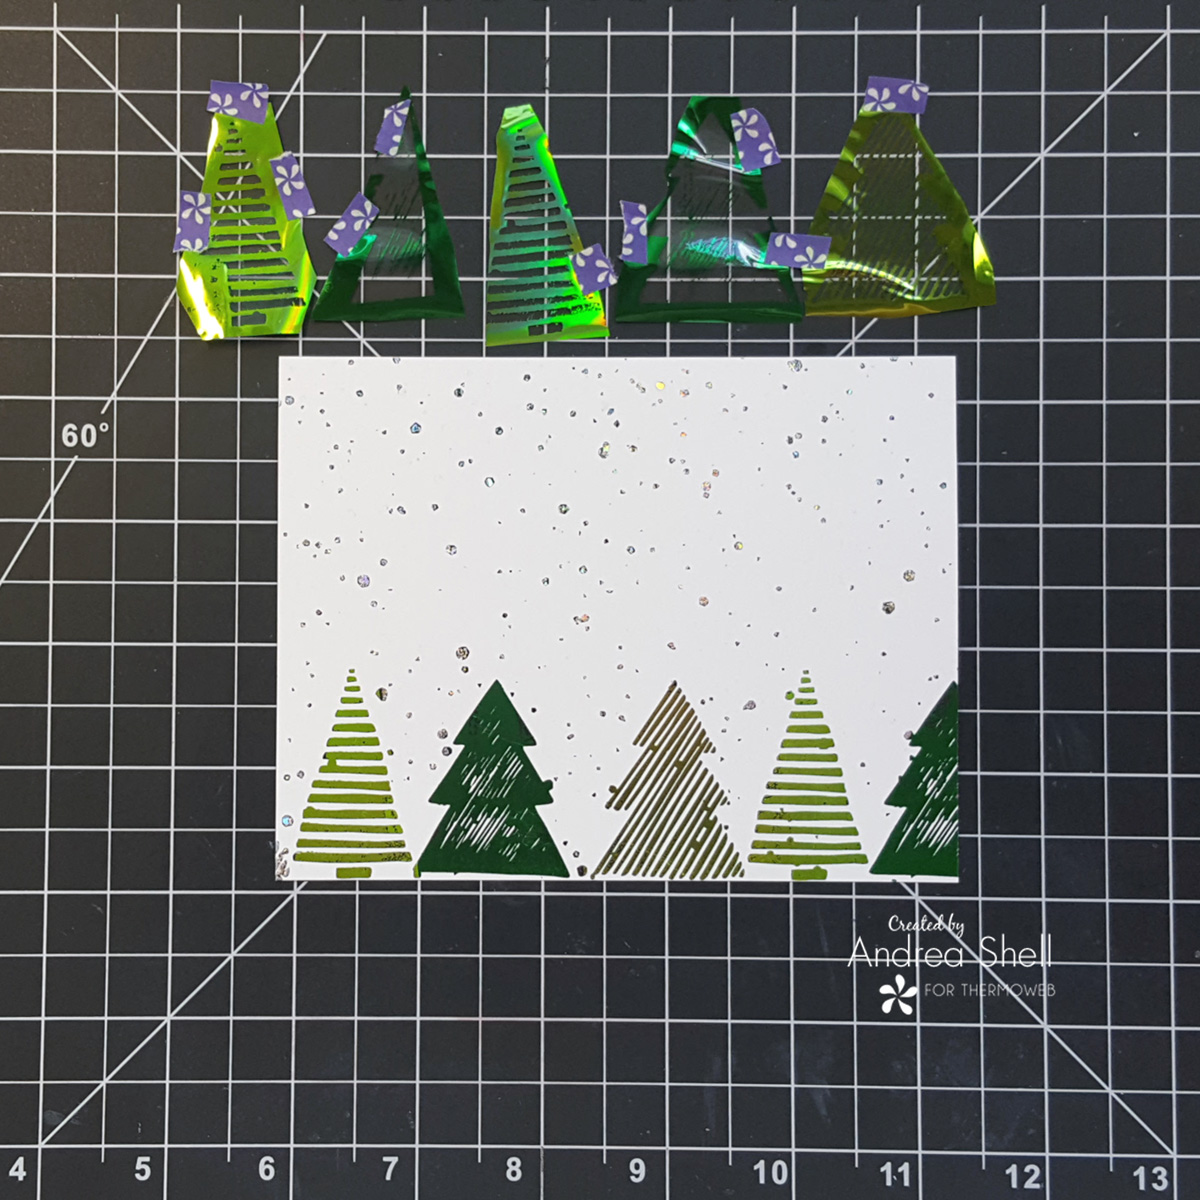
Voila! A sparkly, winter forest! I did notice that the foil didn’t transfer very well if the Purple Tape overlapped the design. However, this was easily remedied by placing a small piece of foil back over the area and sending it through the laminator again.
Assembling the Card
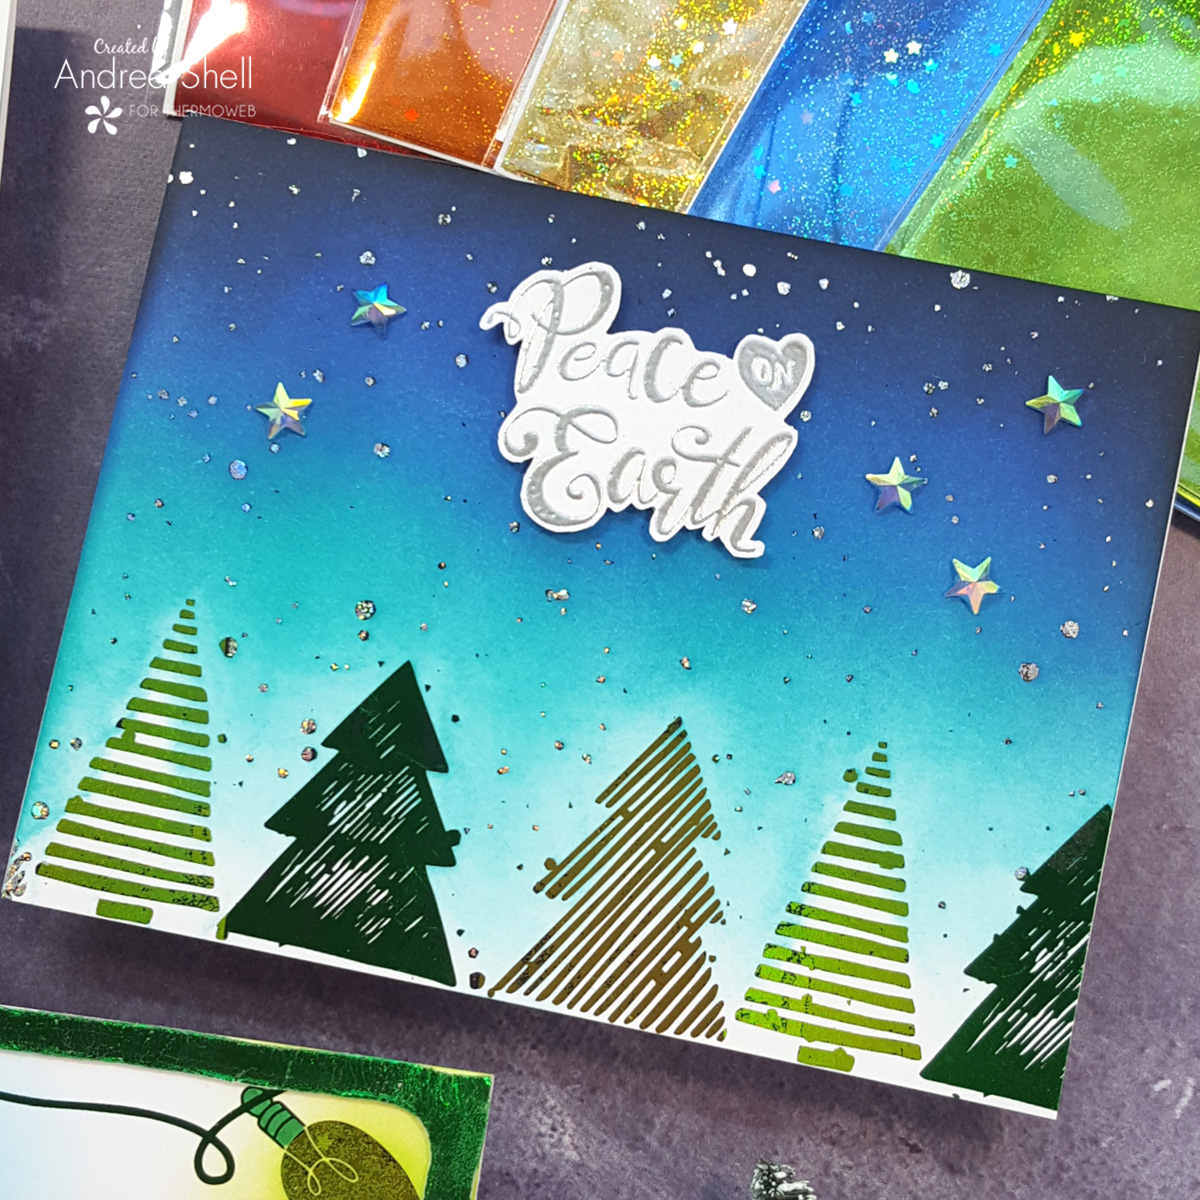
For my night sky, I blended Peacock Feathers, Blueprint Sketch, Chipped Sapphire, and Black Soot Distress Inks. After blending, I gently buffed the foiled areas to remove any pooled ink. I adhered my panel to a white card with the Memory Tape Runner XL.
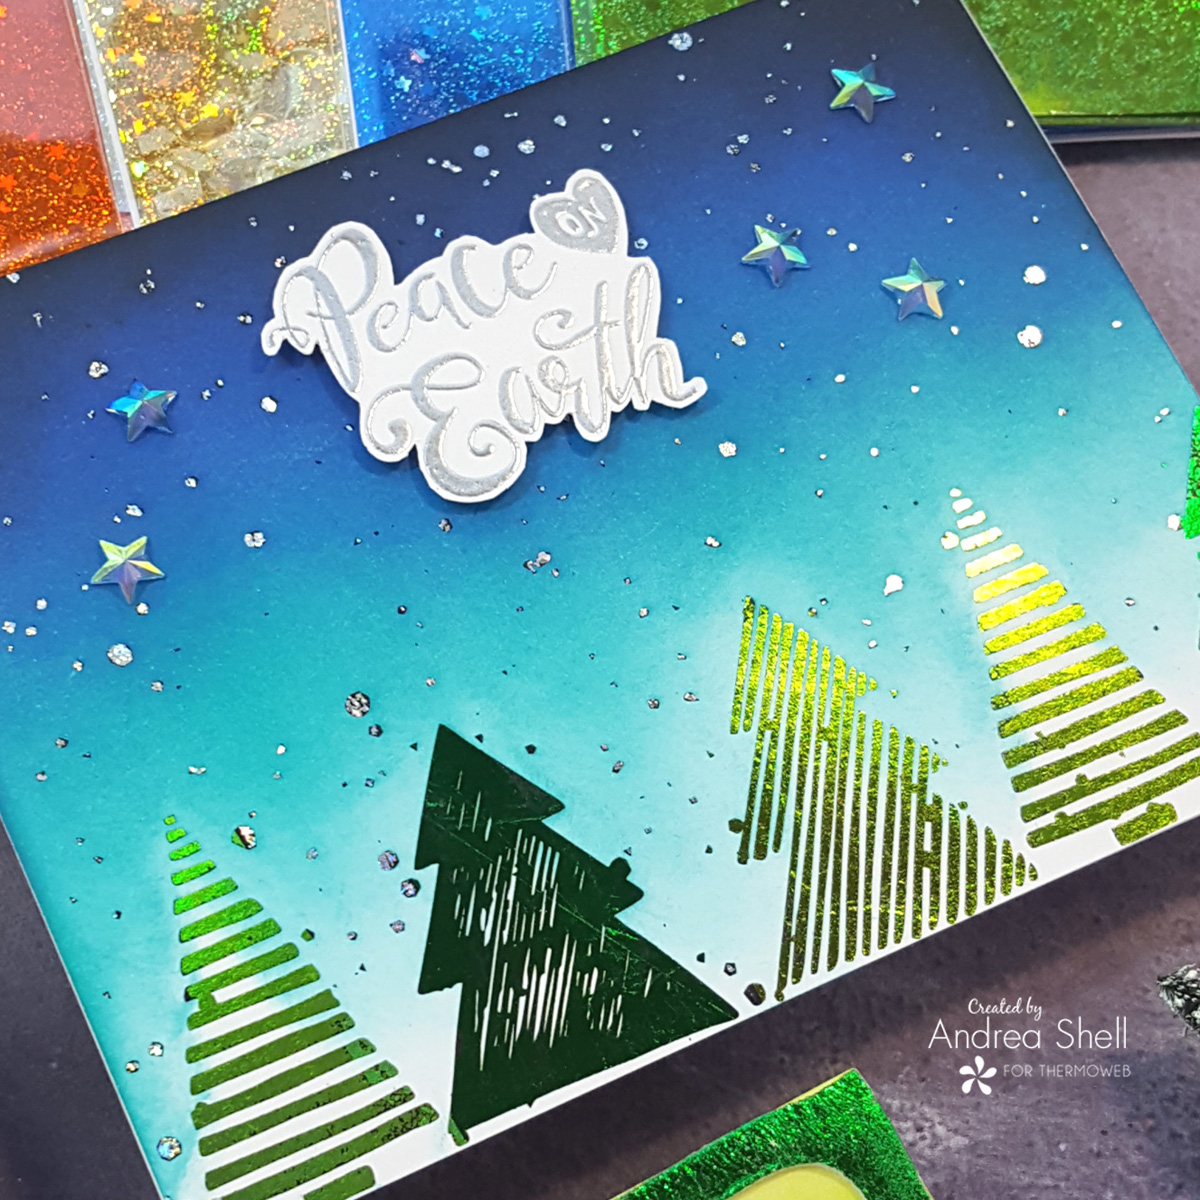
I silver heat-embossed a sentiment from Unity’s Glimmering Greetings onto white cardstock and fussy-cut it. I attached the sentiment to my card with Gina K. Designs White Foam Squares and adhered some stars with Mixed Media Adhesive.
Framed Holiday Lights
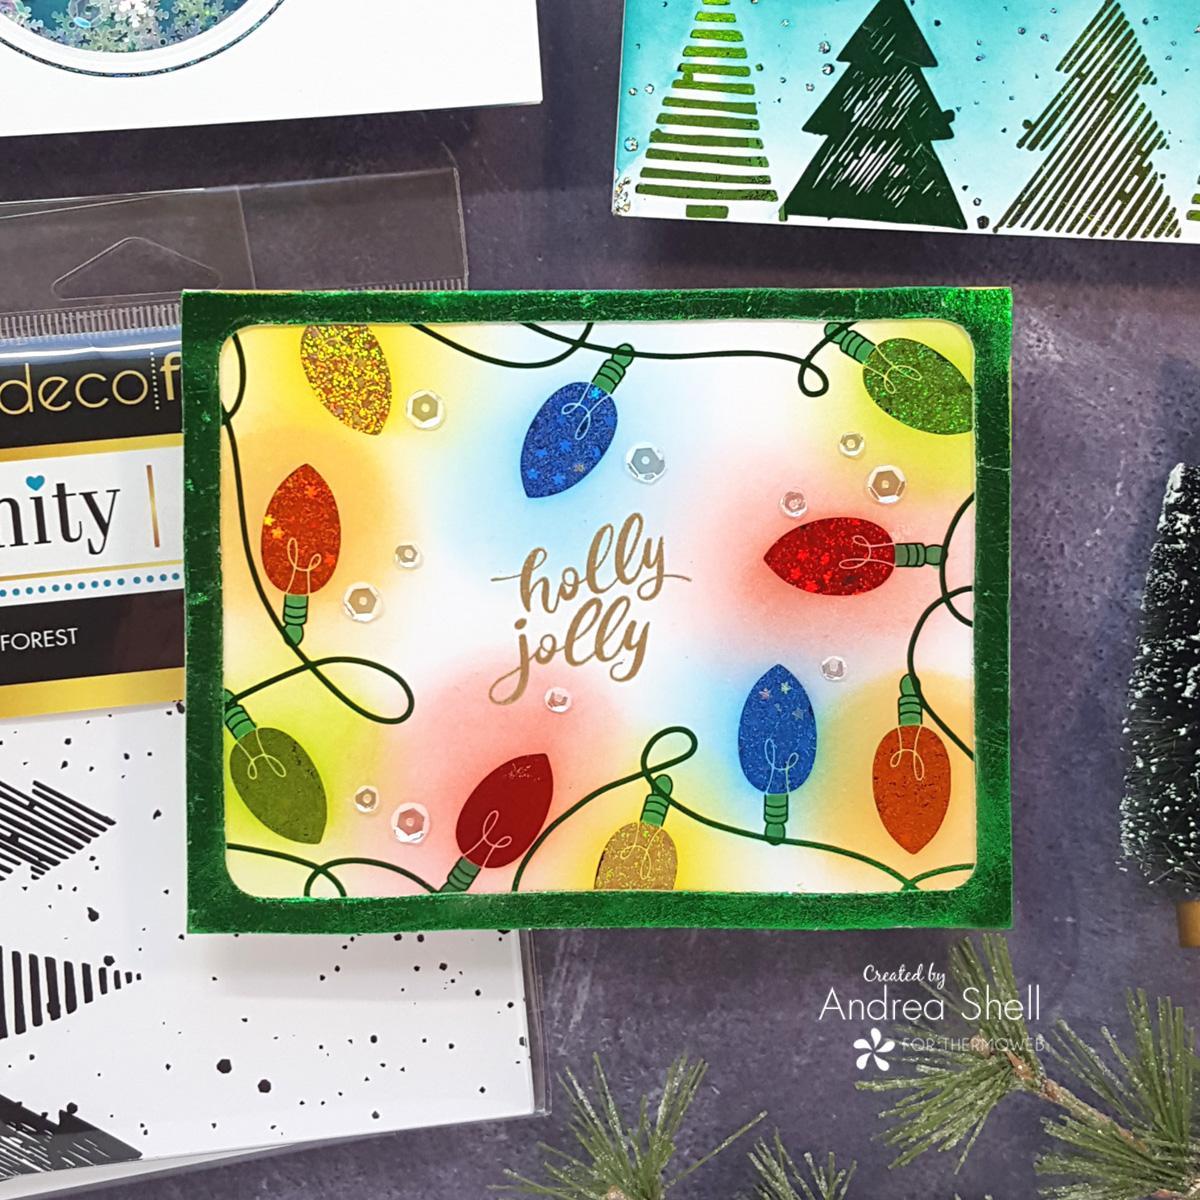
My last card uses the Holiday Lights Card Front. This design is fun and whimsical and looks amazing in different colors of Deco Foil.
Foiling Multi-colored Christmas Lights
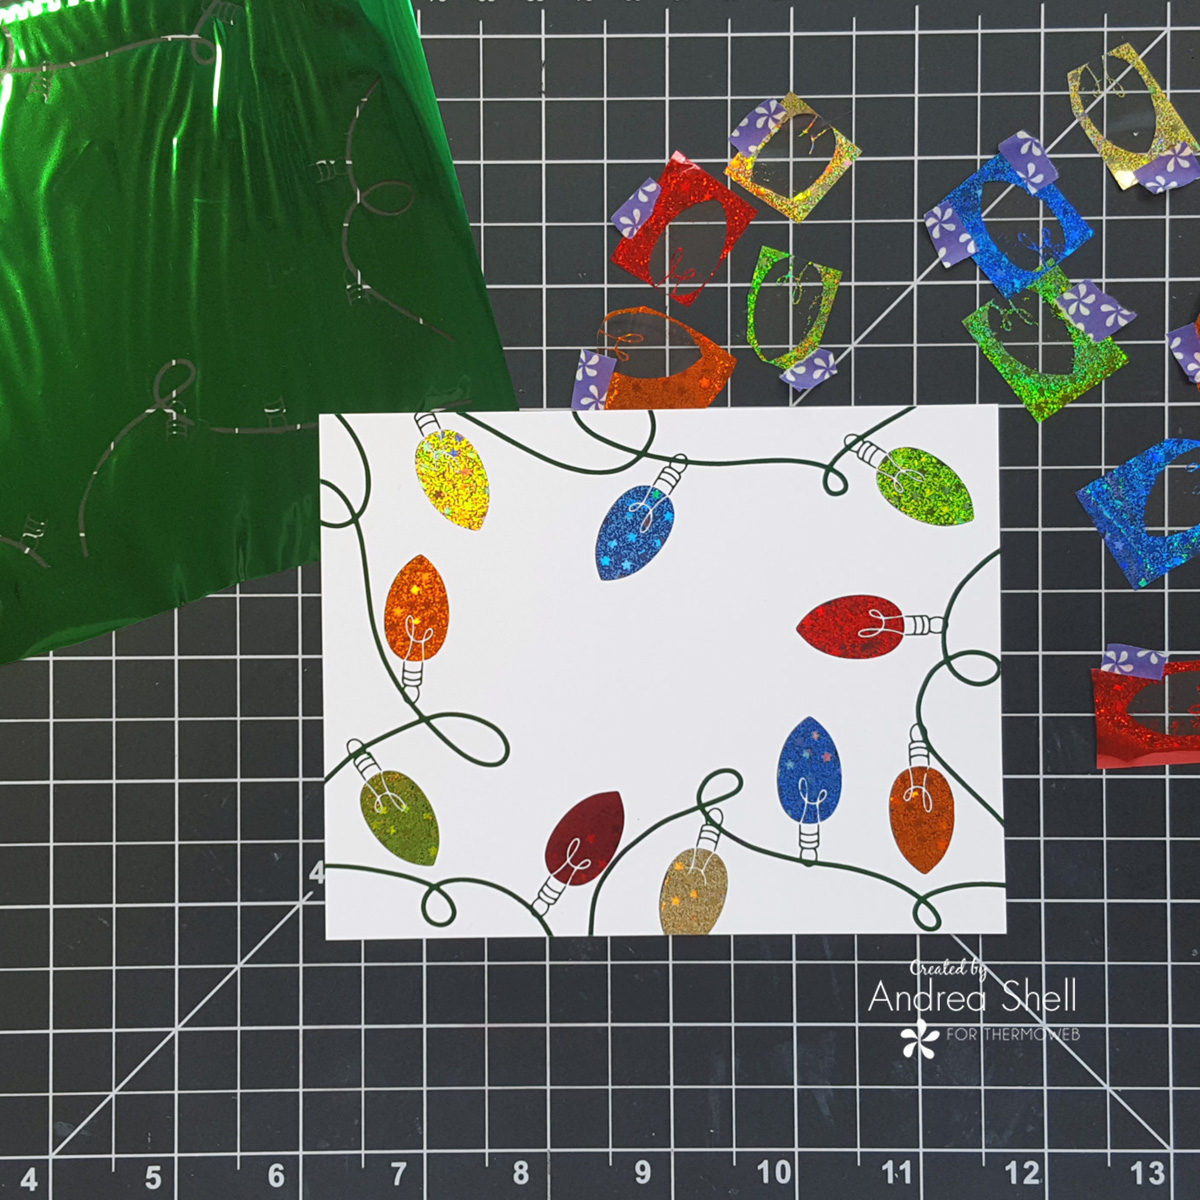
I used the same technique as the Flurry Forest card to create multi-colored, Christmas lights. I trimmed bits of the following colors of Gina K. Designs Fancy Foil and held them in place with Purple Tape: Brilliant Blue, Dazzling Orange, Glimmering Gold, Radiant Red, and Glittering Green. After placing a rectangle of Green Deco Foil over the panel, I ran the piece through my laminator.
Creating a Foil Frame
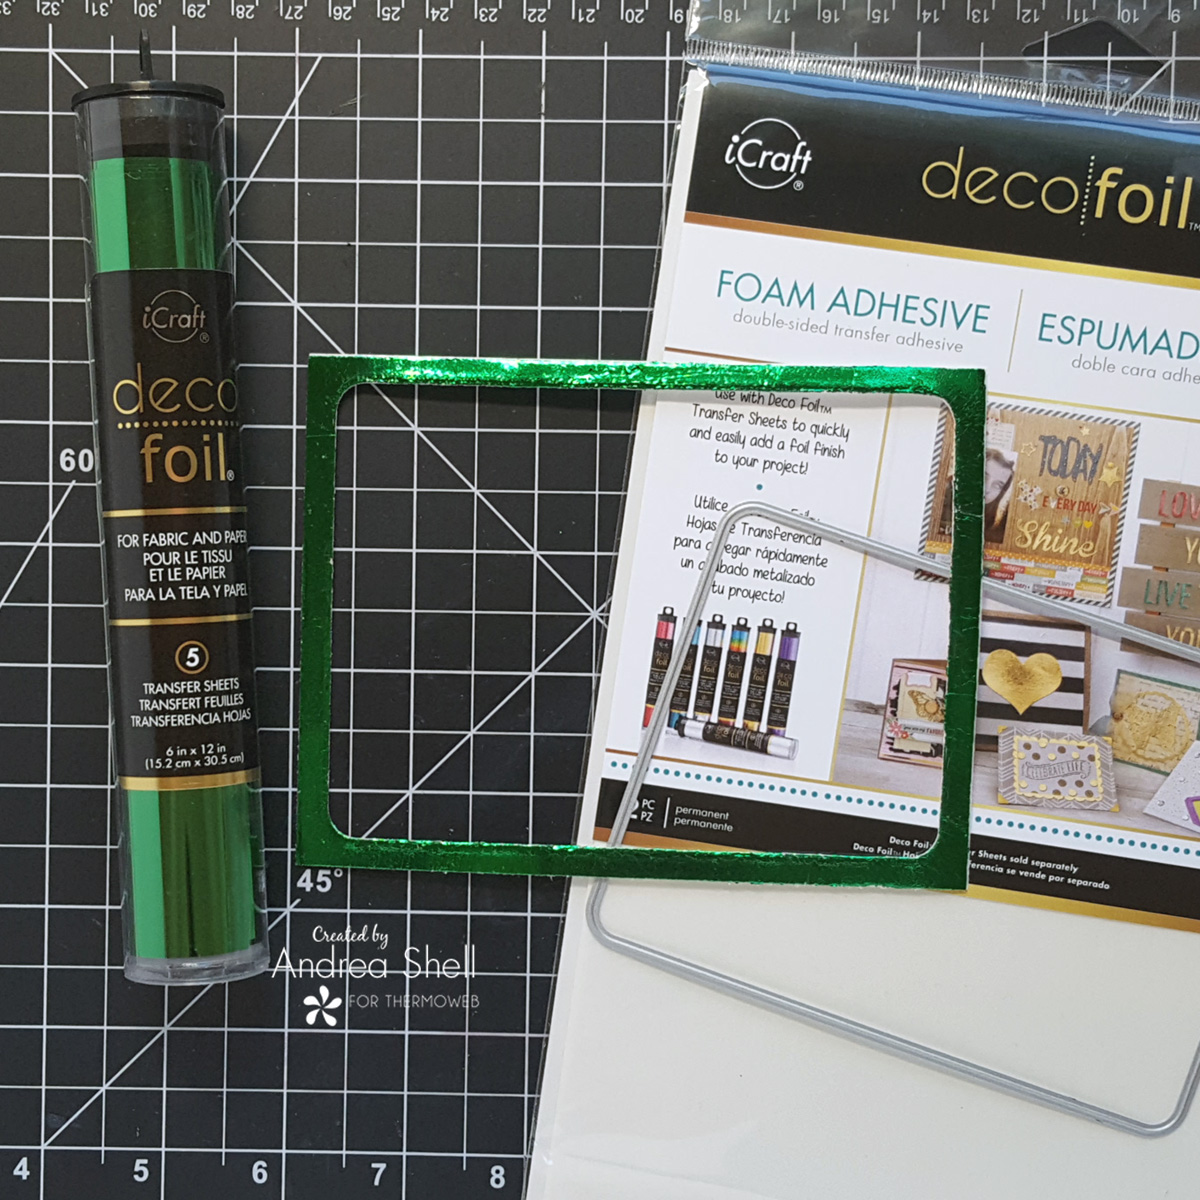
I trimmed a piece of Deco Foil Foam Adhesive to A2 size and, using a rectangle die from my stash, die-cut the center. I cut Green Deco Foil to A2 size, removed the backing from one side of the adhesive frame, and carefully applied the foil. I burnished the foil with my fingers and peeled away the excess foil.
Assembling the Card
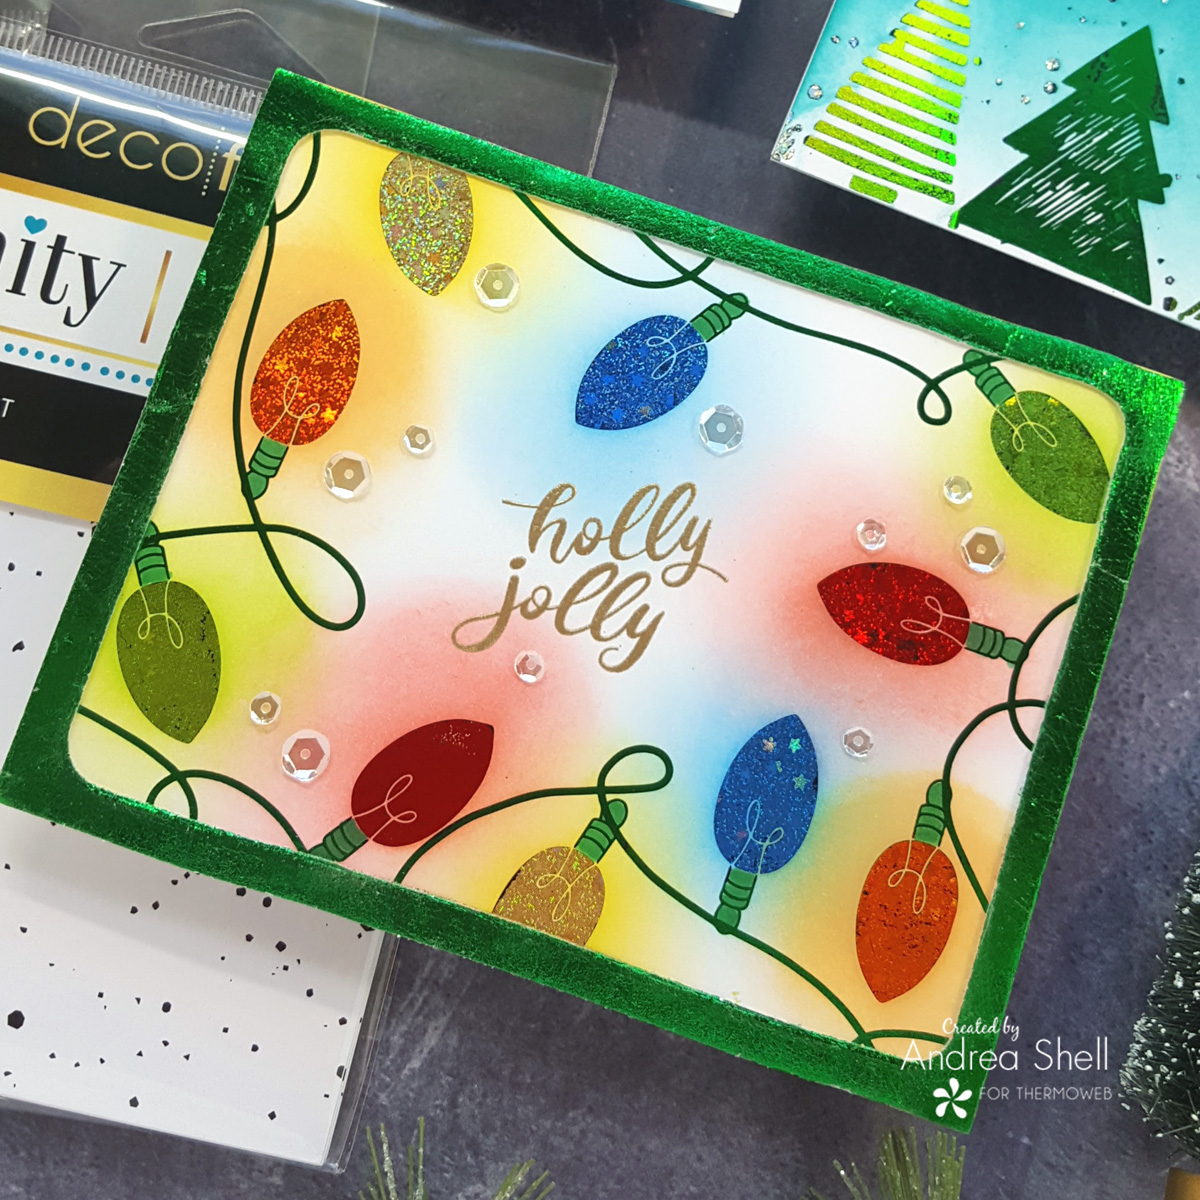
To create the glow around my lights, I blended with coordinating colors of distress inks: Squeezed Lemonade, Abandoned Coral, Dried Marigold, Salty Ocean, and Twisted Citron. I gold heat-embossed a sentiment from Unity’s Glimmering Greetings in the center of the panel.
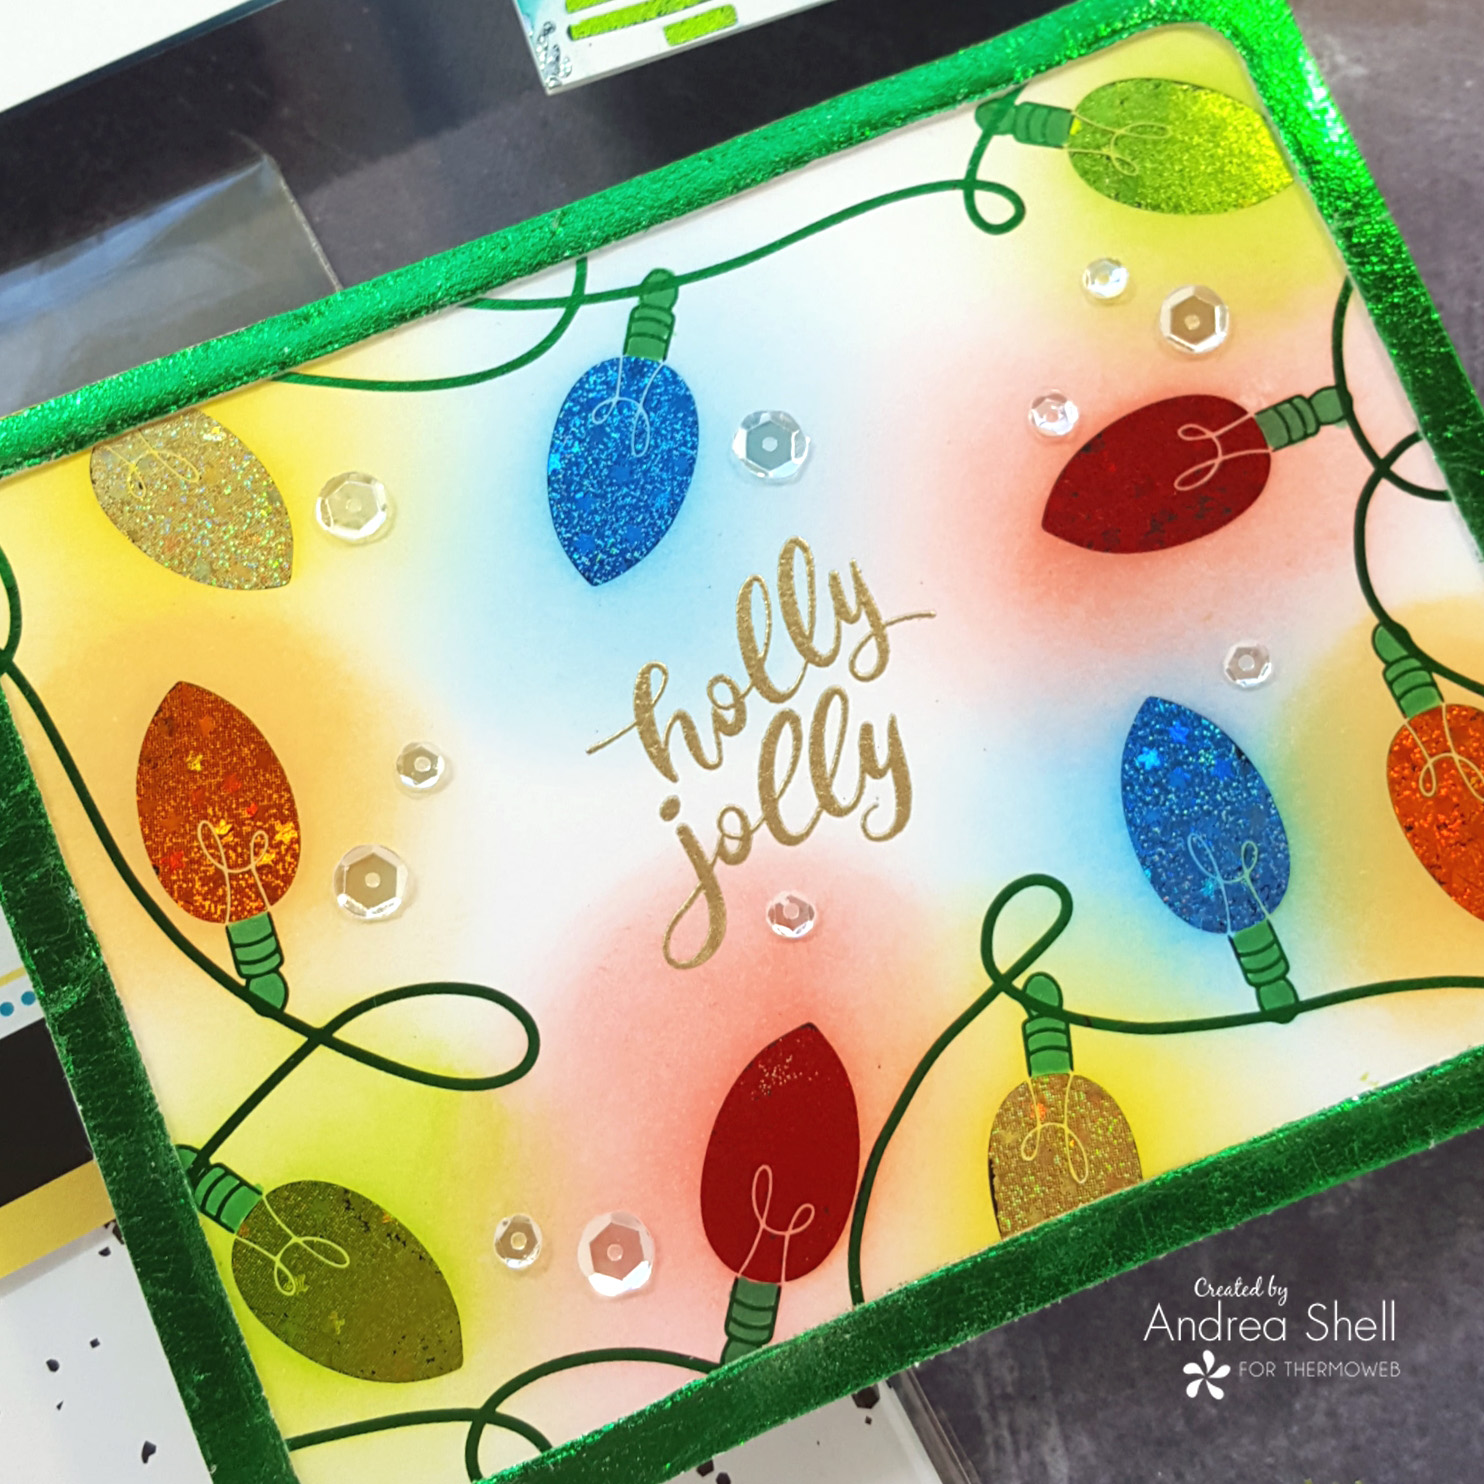
After attaching the panel to a white card with the Memory Tape Runner XL, I carefully applied the frame. I peeled a small section of the backing paper, attached that part of the frame to my card, and slowly peeled and stuck the rest of the frame. I finished with a scattering of clear sequins, which I attached with Mixed Media Adhesive.
Thanks for stopping by!
Therm O Web Products:
Unity Toner Card Front – Ornate Ornaments
Unity Toner Card Front – Flurry Forest
Unity Toner Card Front – Holiday Lights
Deco Foil Transfer Sheet – Green
Deco Foil Transfer Sheet – Spring Green
Deco Foil Transfer Sheet – Lily Pad
Deco Foil Transfer Sheet – Glass Slipper
Deco Foil Clear Toner Sheet
Deco Foil Foam Adhesive
Gina K. Designs Fancy Foil Transfer Sheet – Sparkling Silver
Gina K. Designs Fancy Foil Transfer Sheet – Brilliant Blue
Gina K. Designs Fancy Foil Transfer Sheet – Dazzling Orange
Gina K. Designs Fancy Foil Transfer Sheet – Radiant Red
Gina K. Designs Fancy Foil Transfer Sheet – Glimmering Gold
Gina K. Designs Fancy Foil Transfer Sheet – Glittering Green
Gina K. Designs White Foam Tape
Gina K. Designs White Foam Squares
Gina K. Designs Terrific Tape
Memory Tape Runner XL
Mixed Media Adhesive
Metal Tips for Liquid Adhesive
Purple Tape
Other Products:
Unity Glimmering Greetings stamp set
Peacock Feathers Distress Ink
Broken China Distress Ink
Blueprint Sketch Distress Ink
Chipped Sapphire Distress Ink
Black Soot Distress Ink
Squeezed Lemonade Distress Ink
Abandoned Coral Distress Ink
Dried Marigold Distress Ink
Salty Ocean Distress Ink
Twisted Citron Distress Ink


We’d like to invite you to join on Instagram Hop with our friends at Unity Stamp Co! You’ll find endless ideas and inspiration to challenge you to think outside the box when working with our beautiful Unity Card Fronts! Before you go…be sure to enter our GIVEAWAY!
2 Comments on Sparkly Holiday Cards with Unity Card Fronts
1Pingbacks & Trackbacks on Sparkly Holiday Cards with Unity Card Fronts
-
[…] O Web Blog Link – CLICK HERE Holiday Lights Slimline Card Designed by Rebecca Keppel for Therm O Web […]

D Skene
October 28, 2020 at 7:45 pm (5 years ago)Such beautiful cards!