


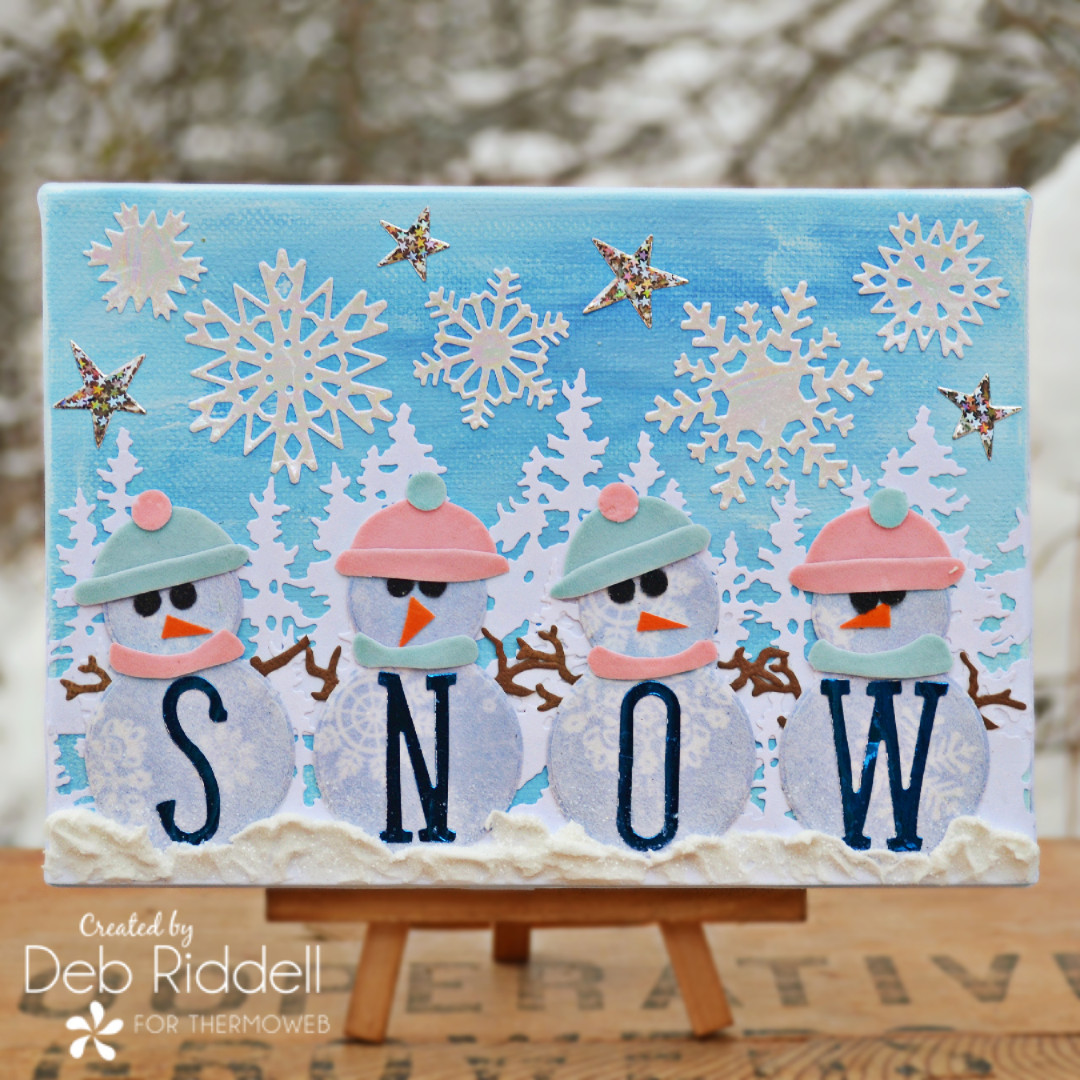
Happy New Year everyone and welcome to Snowman Week here on Therm O Web’s blog! It’s Deb with you today and I have a mixed media canvas to share with you created with Deco Foil’s Flock Transfer Sheets and Foil Transfer Sheets.
Snowy Snowman Canvas
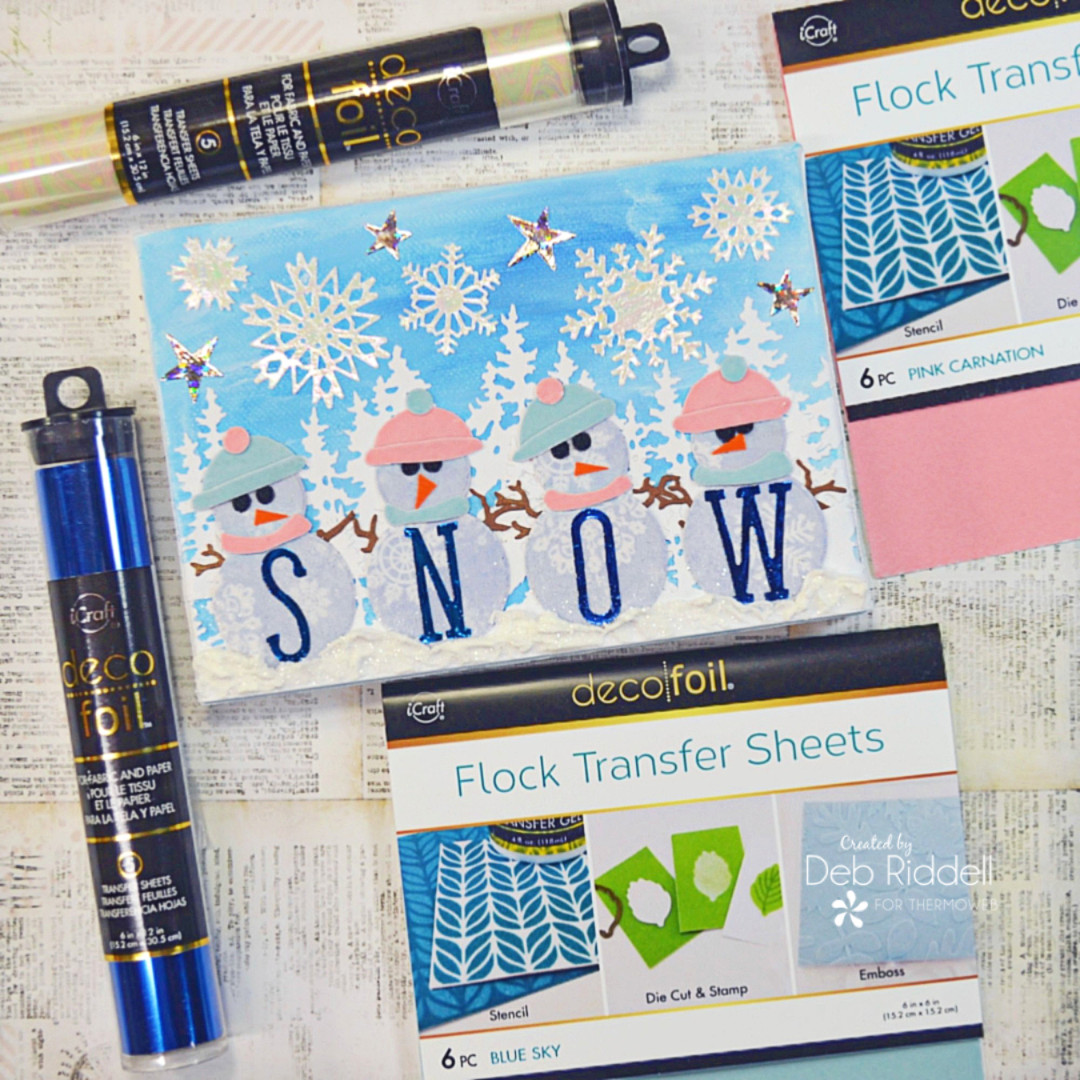
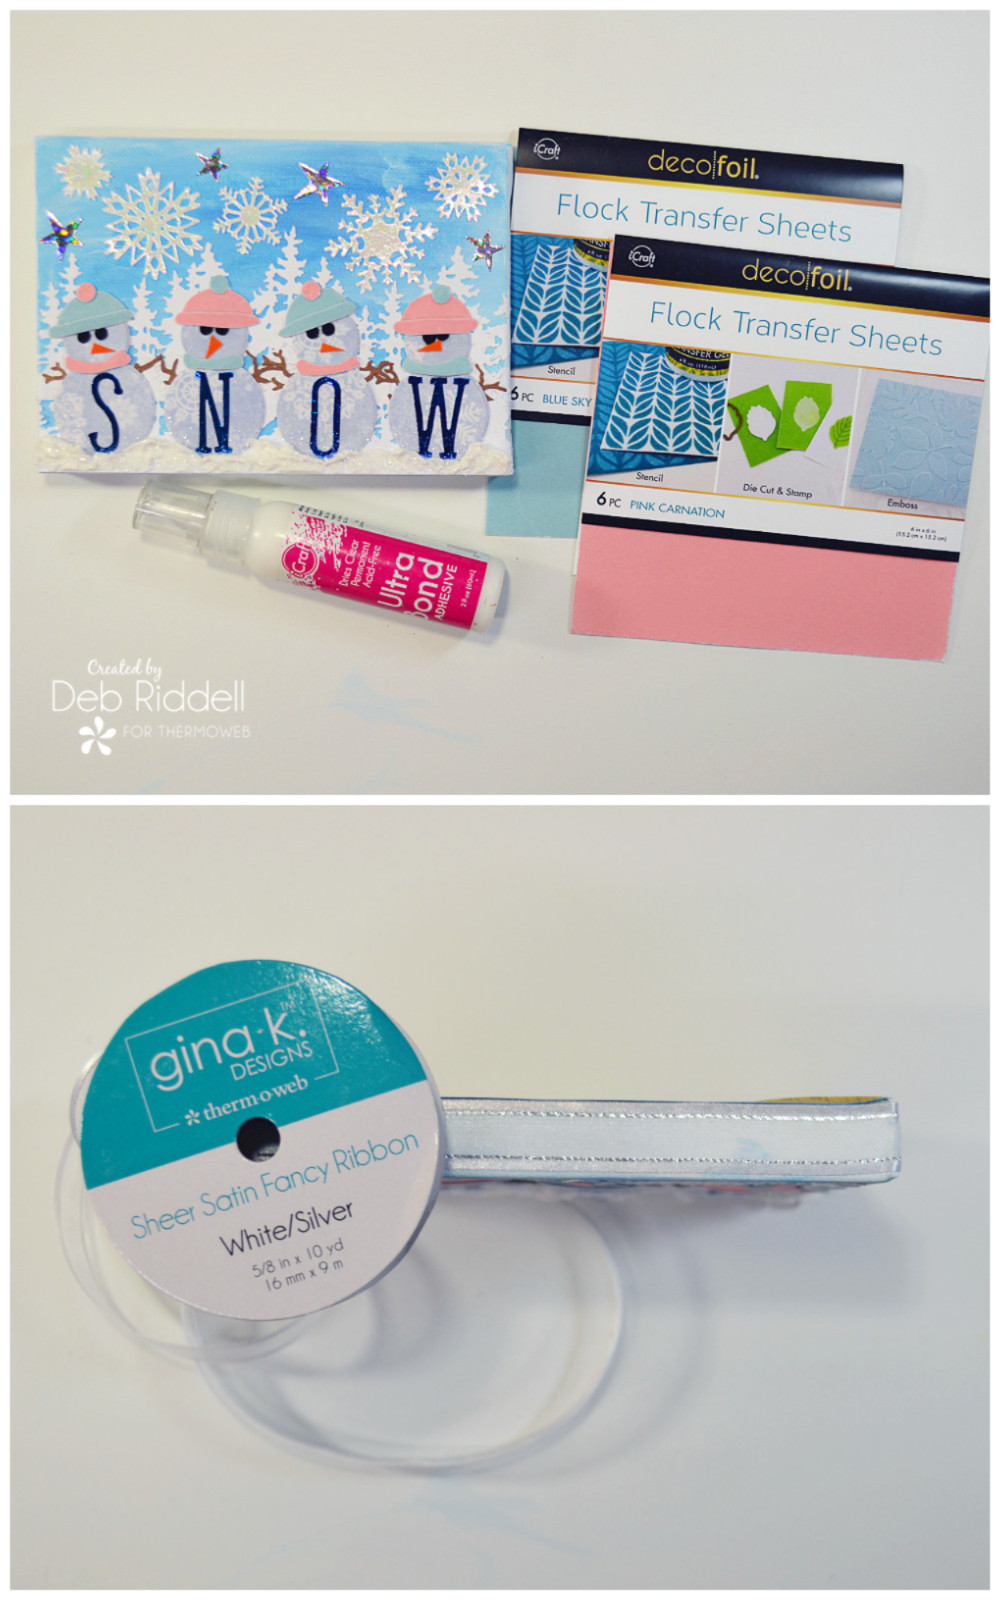
Therm O Web Supplies Used:
Deco Foil Flock Transfer Sheets, White Latte
Deco Foil Flock Transfer Sheets, Black Velvet
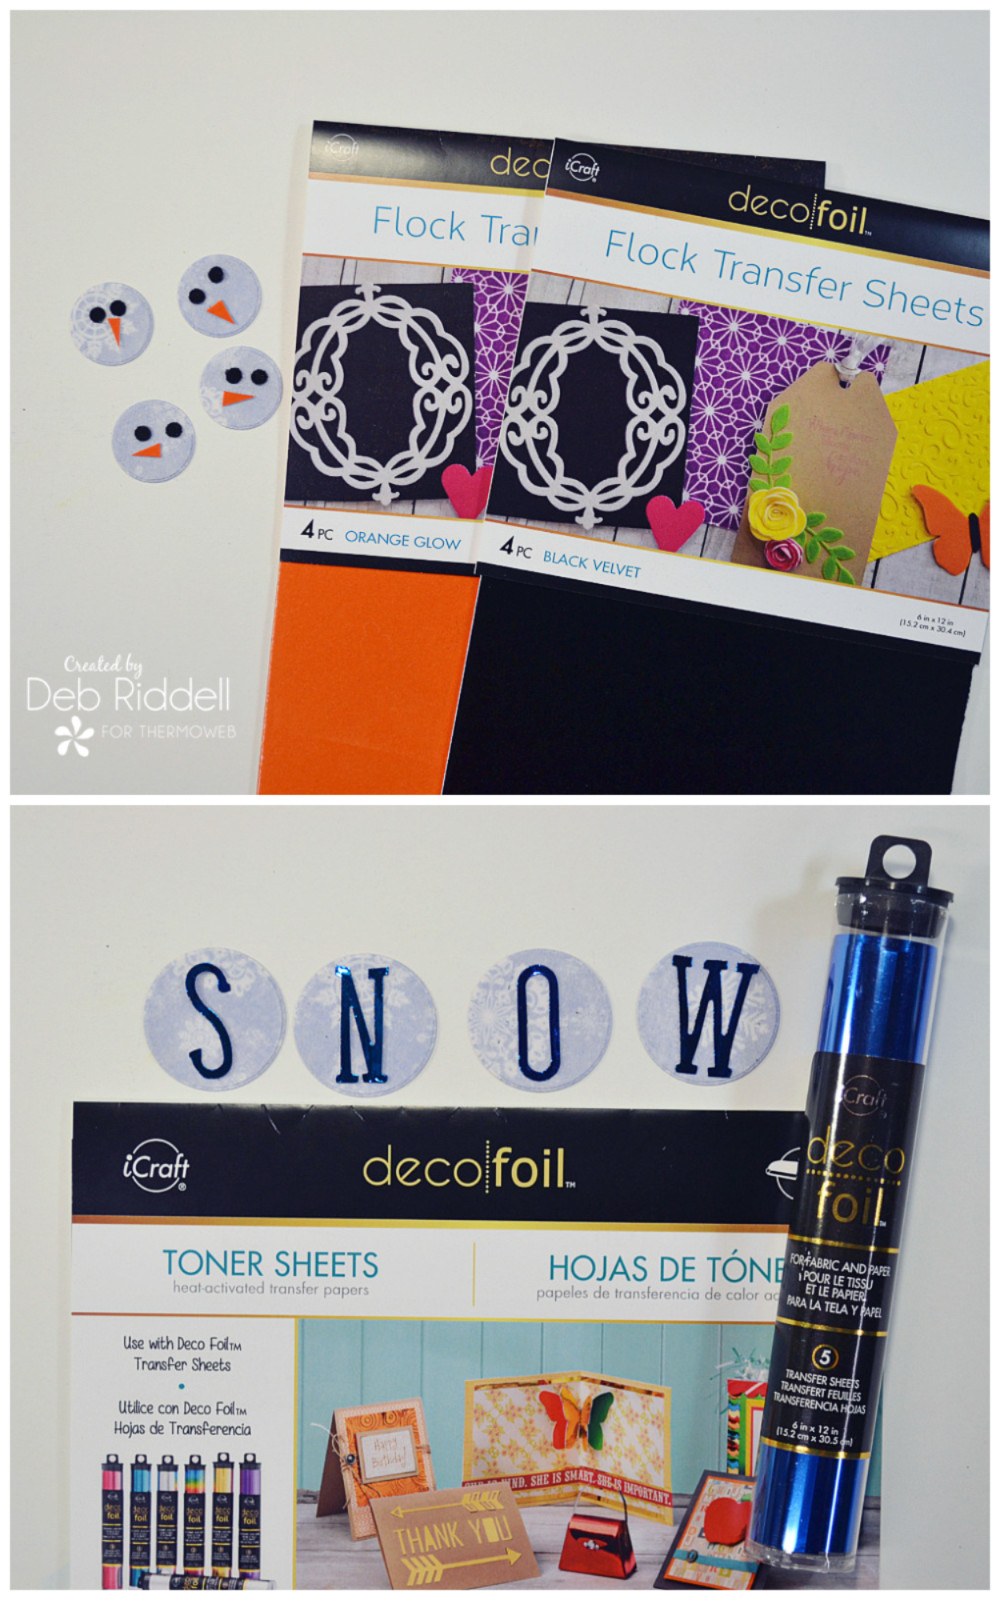
Deco Foil Flock Transfer Sheets, Orange Glow
Deco Foil Flock Transfer Sheets, Pink Carnation
Deco Foil Flock Transfer Sheets, Blue Sky
Deco Foil Transfer Sheets, Ocean Blue
Deco Foil Transfer Sheets, Opal
Deco Foil Transfer Sheets, Silver Stars
Deco Foil Toner Sheets
iCraft Easy-Cut Adhesive Sheets 5.75 in x 5.75 in, 5 pack
iCraft Ultra Bond Permanent Dries Clear Adhesive, 2 fl oz
Gina K. Designs Sheer Satin Fancy Ribbon, 10 yds, White/Silver
Other supplies used:
5″ x 7″ stretched artists canvas
Watercolor paint – shades of blue
Acrylic paint – white
Small gel plate (or piece of acrylic packaging or saran wrap)
Scrapbook paper – blue snowflake pattern
Cardstock – white, black, and brown
Hole punch – 3/16″
Round dies – 1″ and 1 1/2″
Sizzix dies – Broadway Alphabet; Tree Line; Mini Paper Snowflakes; Swirling Stars; Small Tattered Florals
Ranger Ink – Opaque Matte Texture Paste; Distress Rock Candy Dry Glitter
Miscellaneous – scissors, paintbrush, die cutting machine, heat laminator, palette knife
Snowy Snowman Canvas Instructions
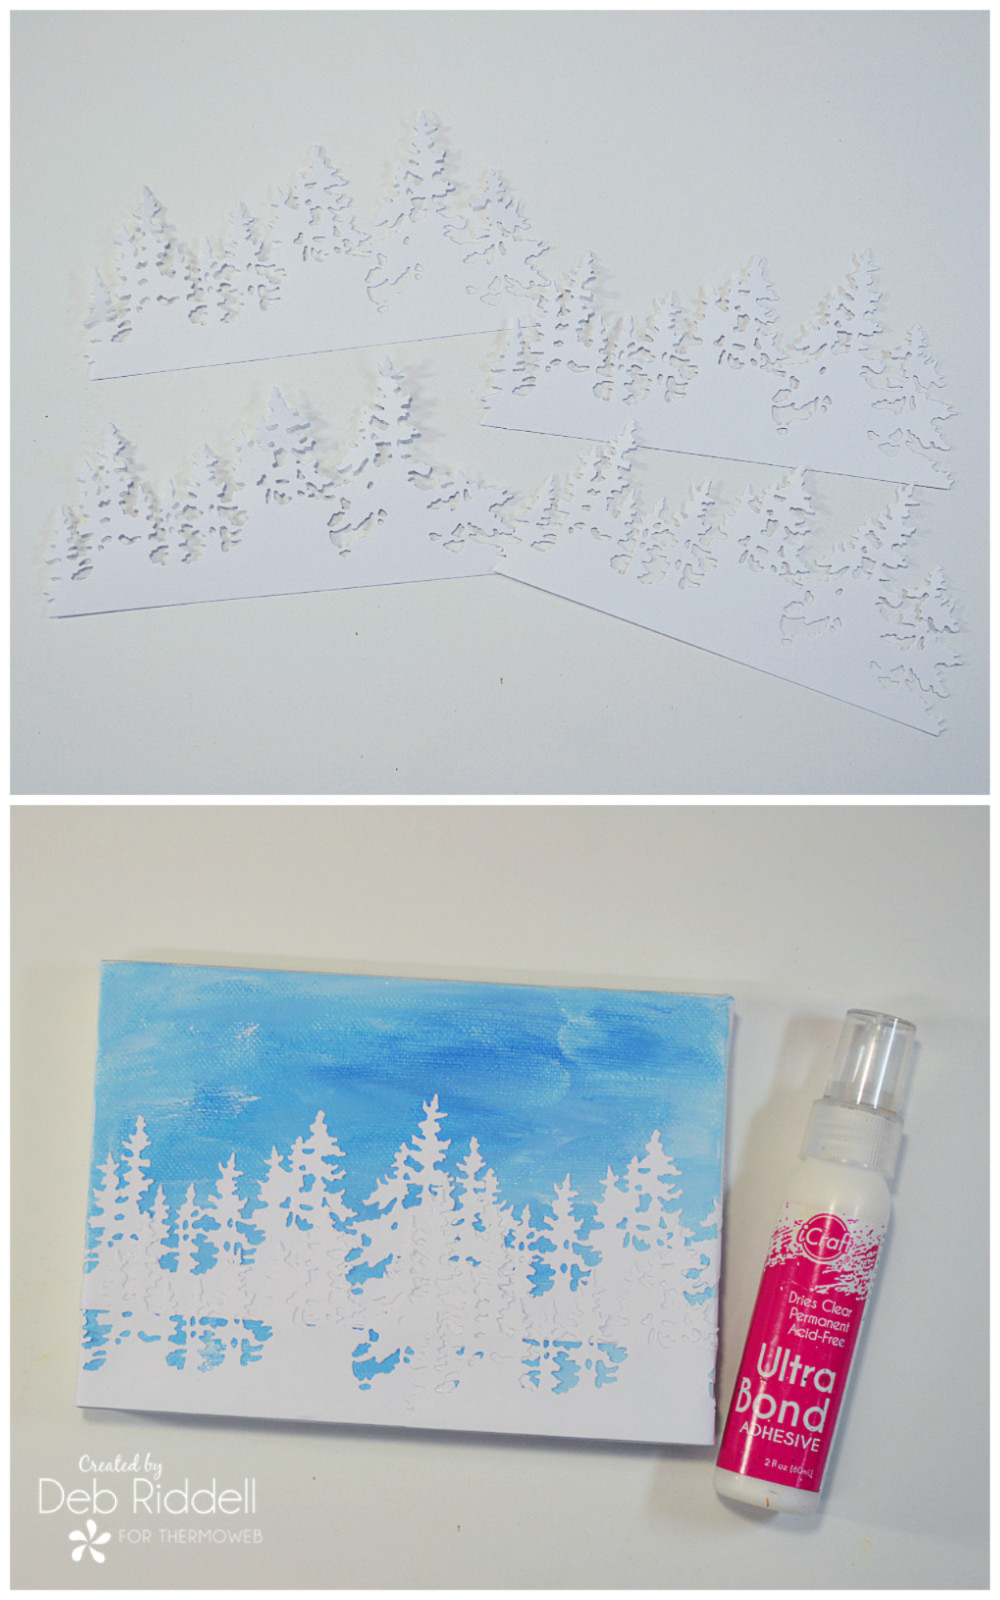
Apply shades of blue watercolor paint to a small gel plate and randomly stamp the watercolor paint onto the stretched artist’s canvas. If you don’t have a small gel plate you can get a similar effect by using a piece of acrylic packaging or a piece of crinkled saran wrap.
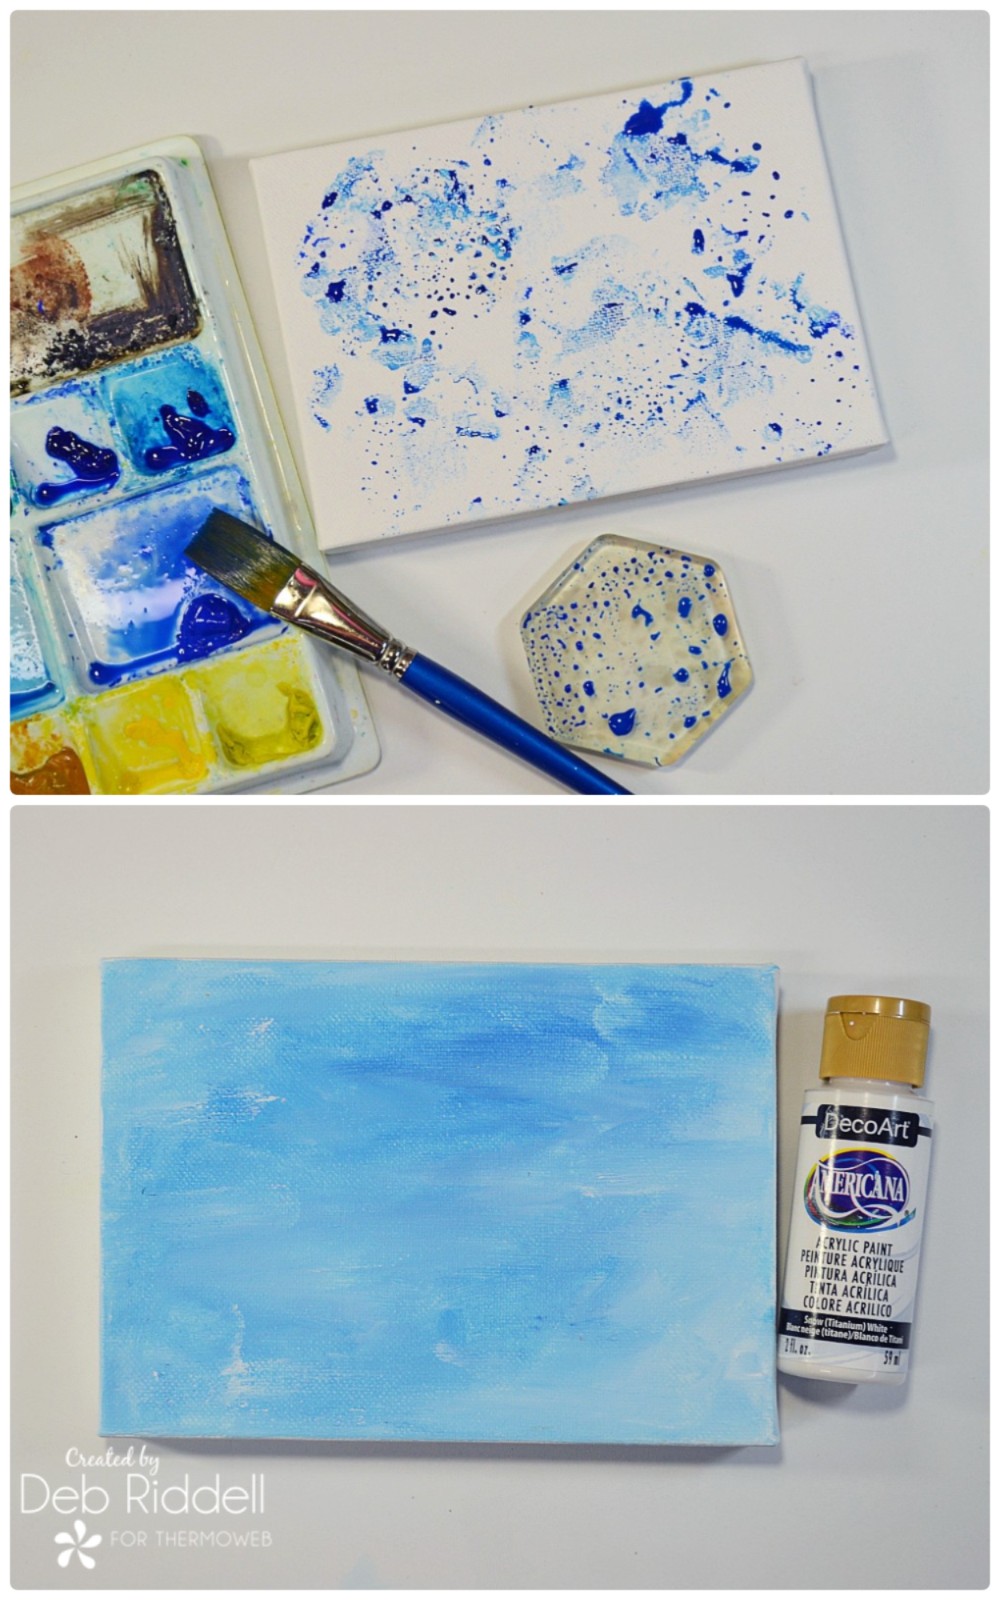
While the watercolor paint is still wet, add dots of white acrylic paint here and there and blend the watercolor and acrylic paints with your finger, adding more paint as necessary until the front and sides of the canvas are covered. Don’t over blend, you want a streaky random background. Let dry completely.
Easy-Cut Adhesive for Textured Snowmen
While the canvas is drying apply Easy-Cut adhesive to the blue snowflake scrapbook paper. Remove the backing paper from the adhesive sheet and apply White Latte Flock to the scrapbook paper (remember, fuzzy side down!). Run the scrapbook paper and flock through your laminator set on COLD or through your die cutting machine to apply pressure and then remove the backing paper from the flock.
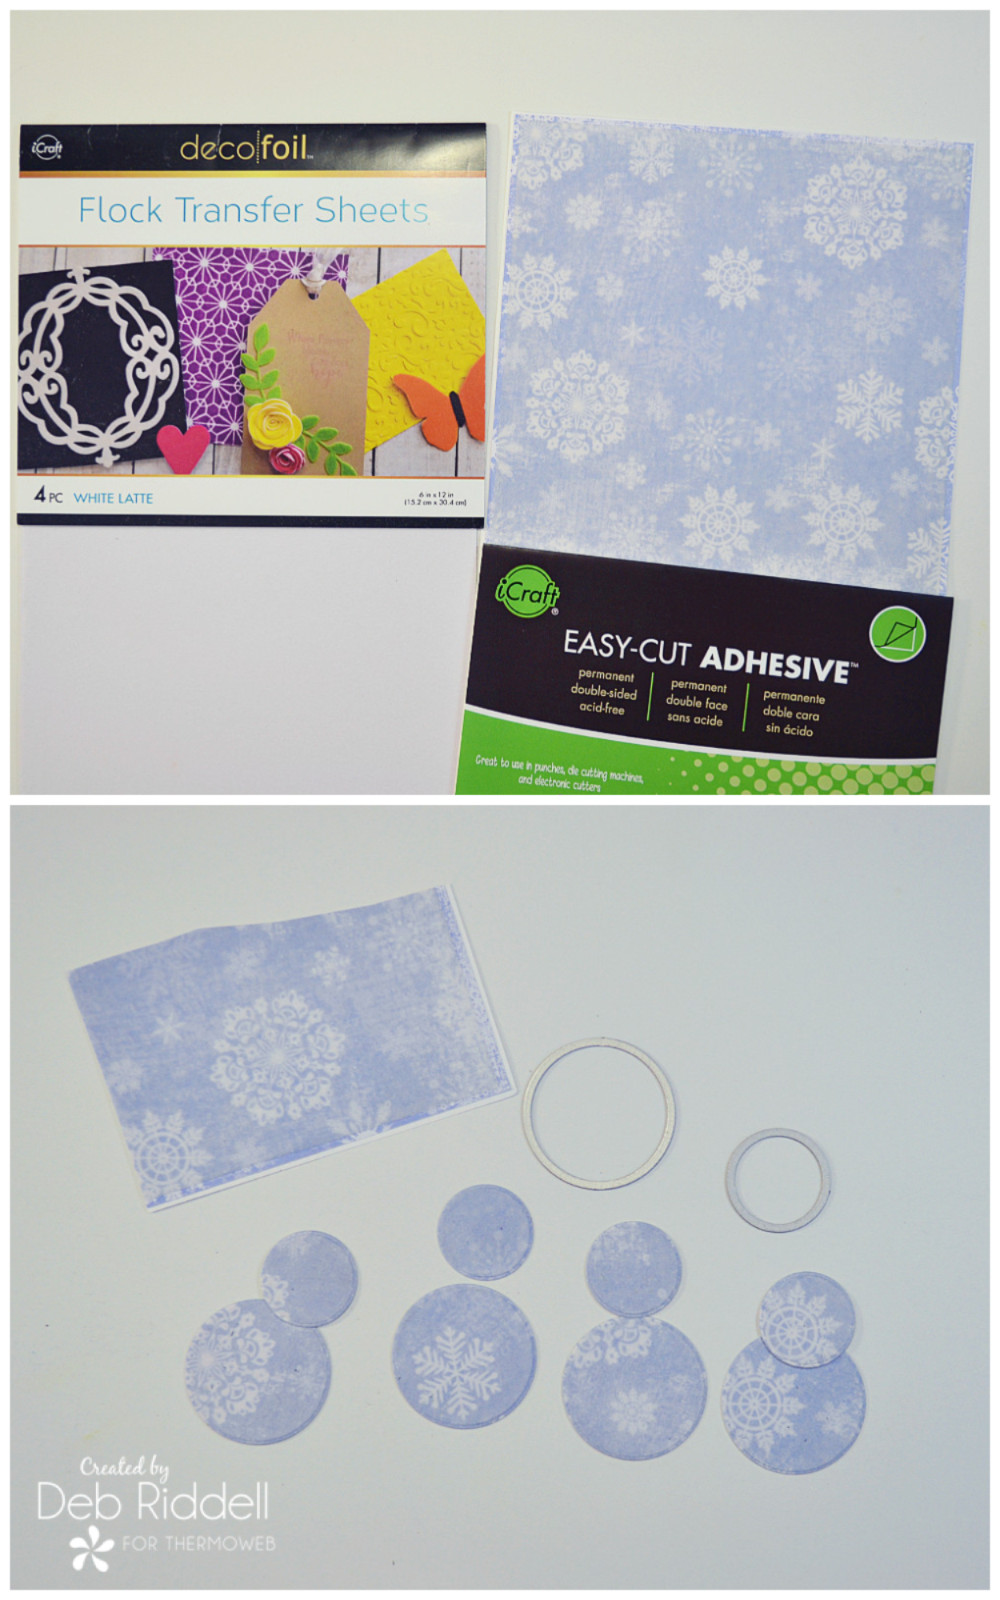
Die-cut four 1″ circles and four 1 1/2″ circles from the flocked scrapbook paper to make your snowmen.
Deco Foil Flock Make Great Carrots
Cut four tiny little carrot noses from your Orange Glow Flock. Adhere a piece of Black Velvet Flock to black cardstock with your Easy-Cut Adhesive as described above and punch eight eyes from the flocked cardstock with a 3/16″ hole punch (I found that the flock was releasing from the backing paper when I tried to punch out the eyes without adhering it to the black cardstock first).
Add Deco Foil
Transfer Ocean Blue Transfer Foil to a piece of Deco Foil Toner Sheet in your preheated laminator. Die-cut letters to spell the word ‘snow’ from the foiled toner sheet with a 1 1/4″ alphabet die (this is Sizzix’s Broadway Alphabet die) to place on the snowmen’s tummies.
Adhere Opal Deco Foil to a piece of white cardstock with Easy-Cut Adhesive and die cut five snowflakes (this is Sizzix’s Mini Paper Snowflake die).
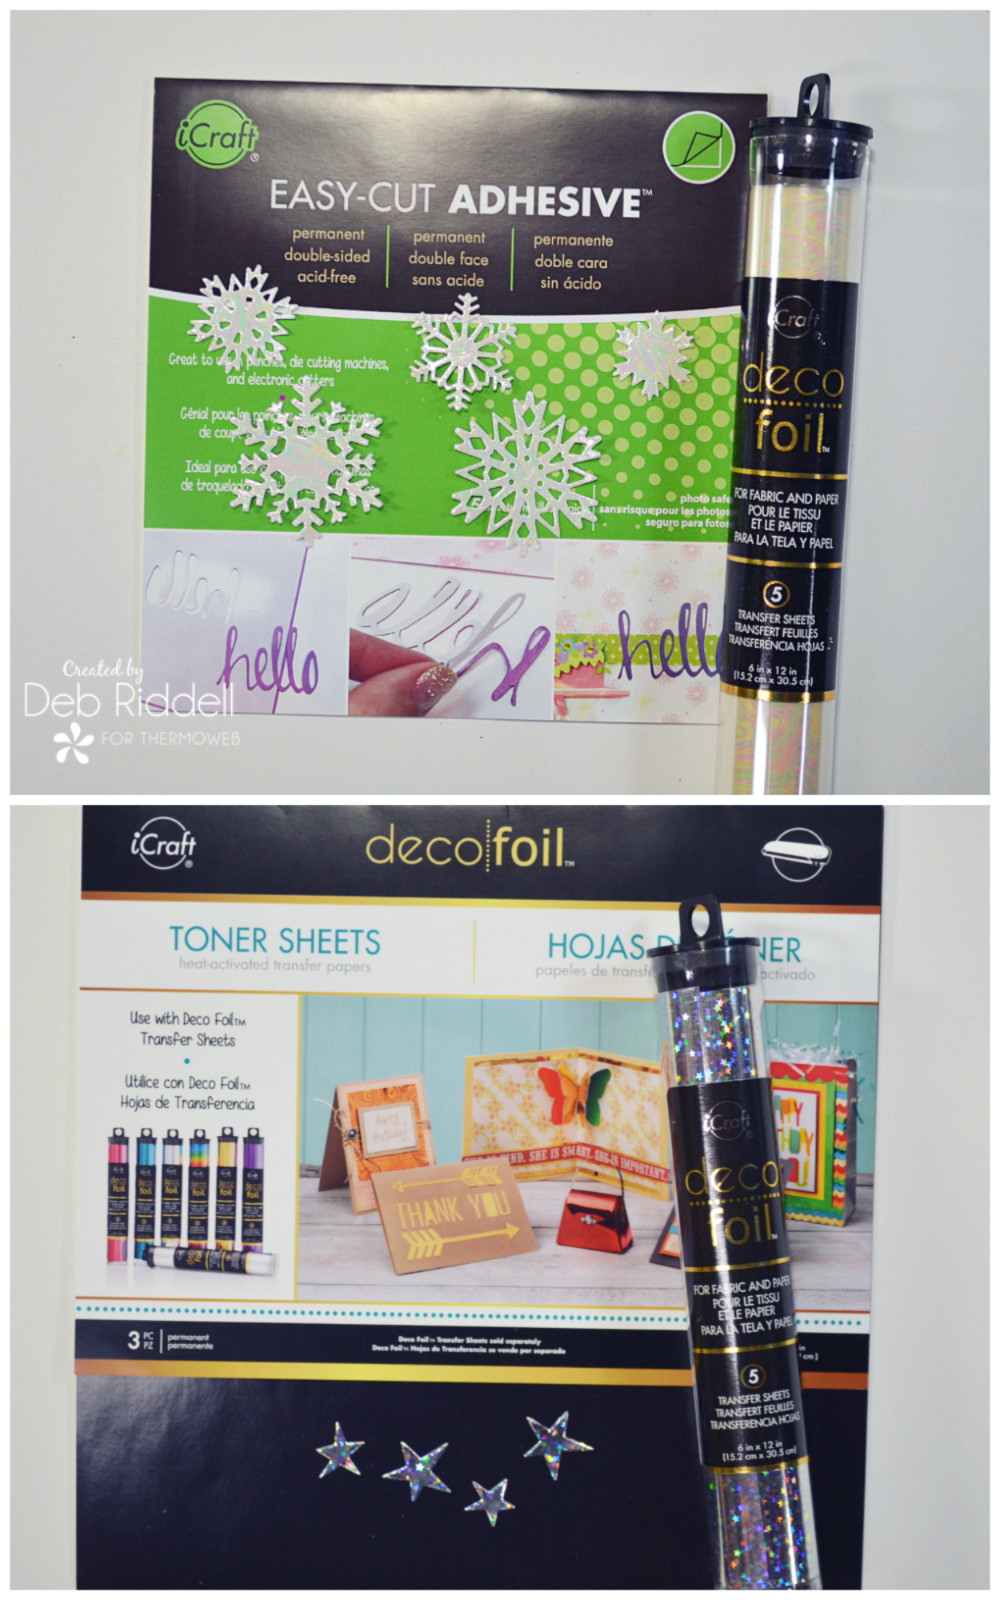
Transfer Silver Stars transfer foil to a piece of Deco Foil Toner Sheet in your pre-heated laminator and die cut four stars (this is Sizzix’s Swirly Stars die).
Die-cut 4 rows of trees from white cardstock (this is Sizzix’s Tree Line die).
iCraft Ultra Bond Liquid Adhesive is the Best
Adhere the tree die cuts to the painted canvas with iCraft Ultra Bond adhesive, layering and staggering the trees to cover the bottom half of the canvas. as shown.
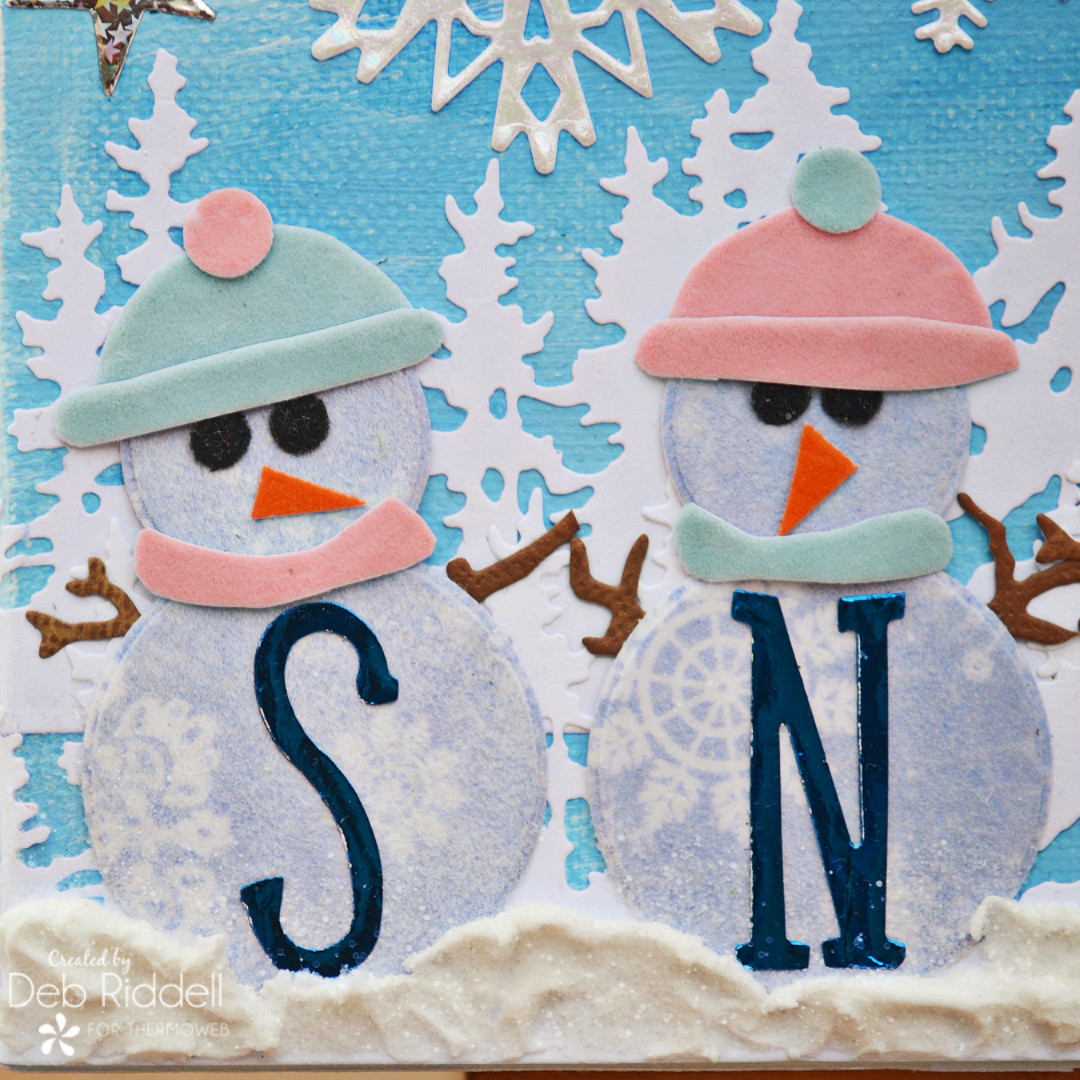
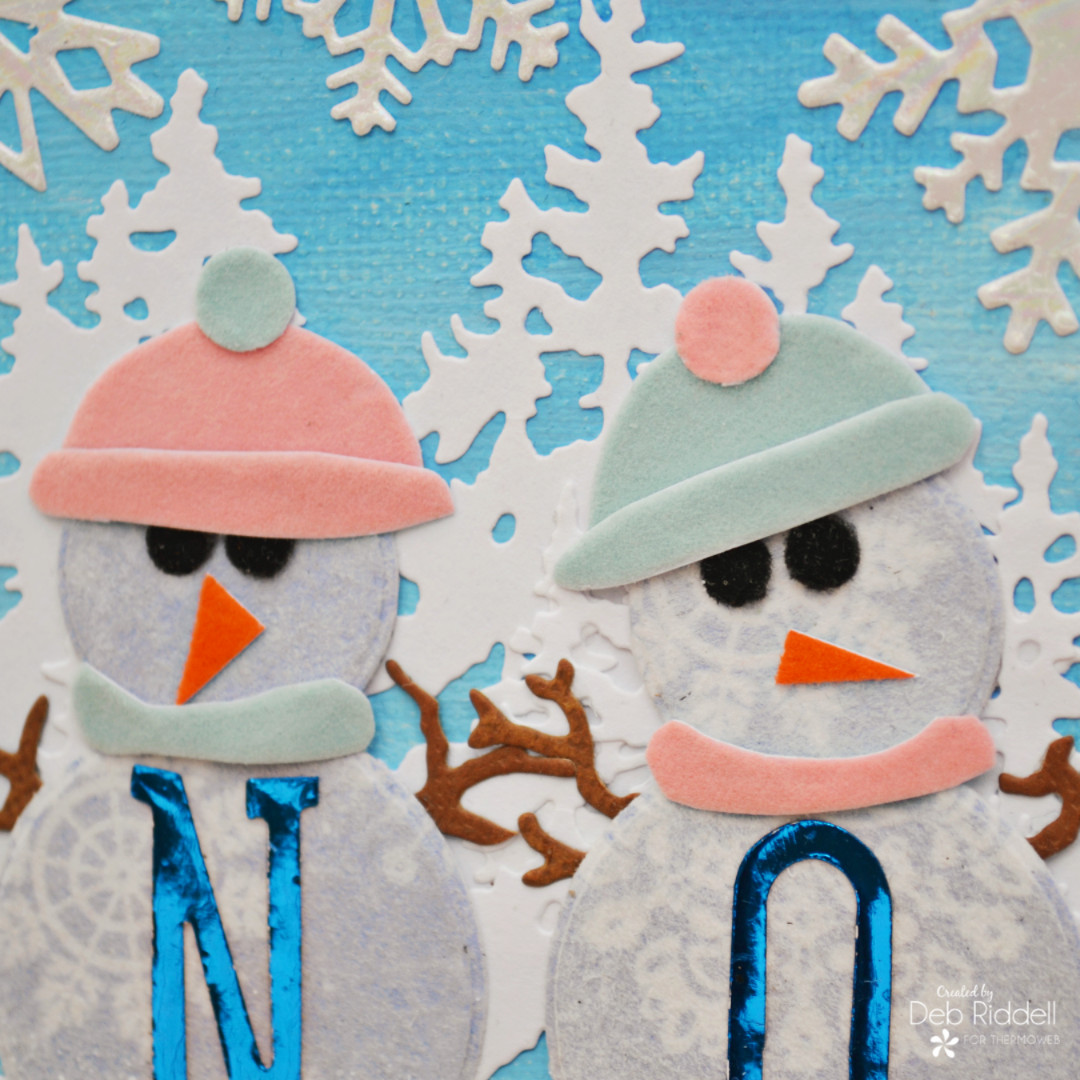
Assemble your snowpeople by adhering their flock noses and eyes to the 1″ circle and the die-cut foiled letters to the 1 1/2″ circle. Adhere the head to the body. I decided to give them some little twig arms as well so die cut eight twigs from brown cardstock (this is Sizzix’s Small Tattered Florals die). Adhere the snowpeople along the bottom of the canvas on top of the trees, leaving about a 1/3″ along the bottom edge.
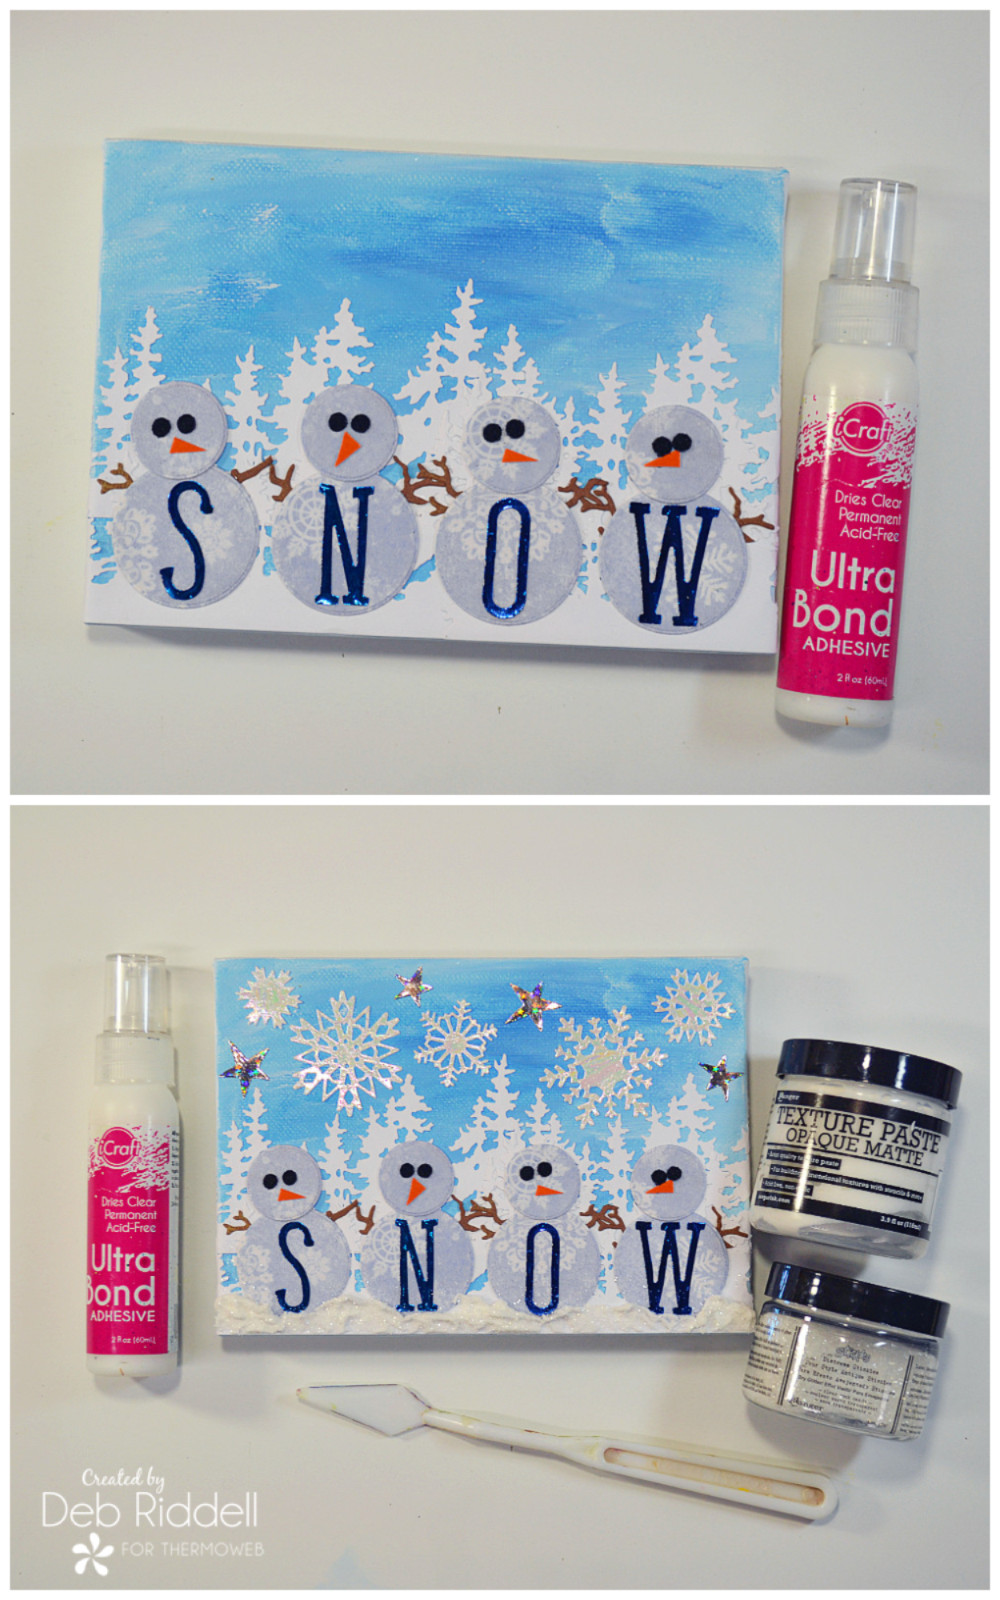
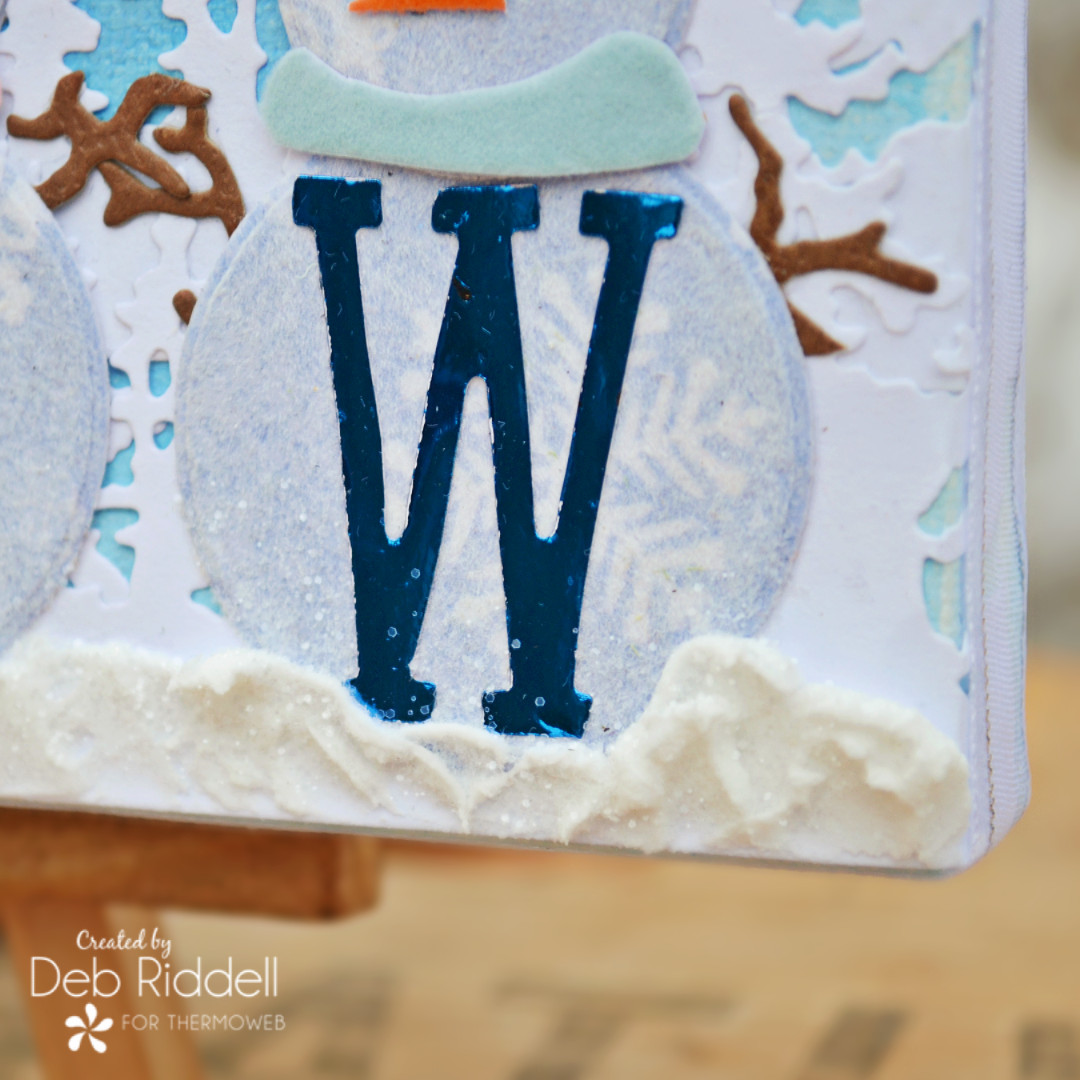
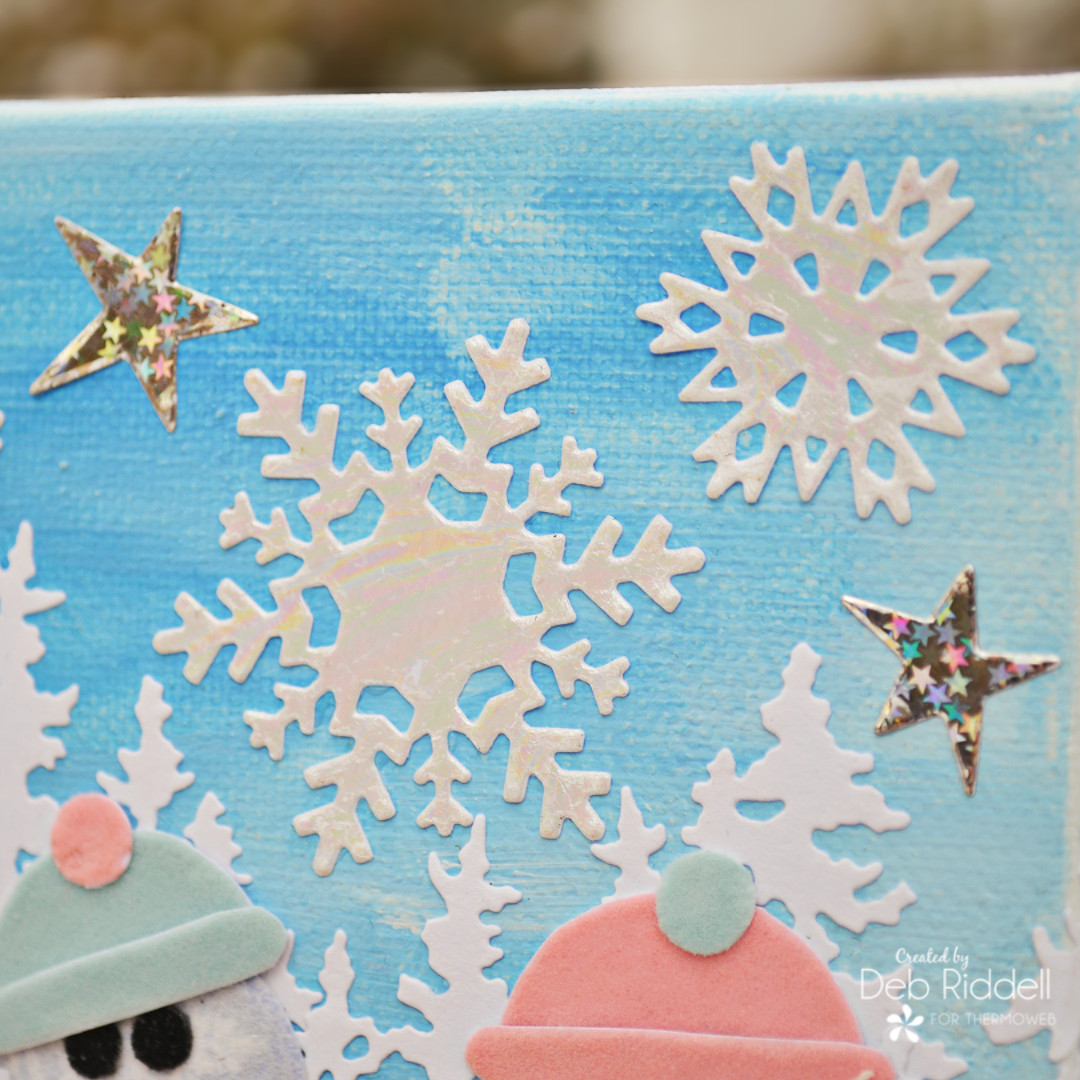
Adhered the foiled snowflakes and stars to the canvas above the trees with iCraft Ultra Bond Adhesive. Apply matte texture paste along the bottom of the canvas underneath the snowpeople and sprinkle clear glitter over the texture paste while it is still wet. Set aside to dry thoroughly.
I thought the snowpeople were looking a bit chilly so made some touques and mufflers from Blue Sky and Pink Carnation Flock Transfer Sheets. Use the 1″ circle die to cut the top of the hats, punch out the pom poms with a hole punch, and then hand cut the brims of the touques and the mufflers around their necks. Adhere everything in place with iCraft Ultra Bond Adhesive.
And finally to finish the edges, wrap some Gina K. Designs White/Silver Sheer Satin Fancy Ribbon around the edges of the canvas, adhering it in place with iCraft Ultra Bond Adhesive.
Here are some close-ups of the finished canvas.
Hope you’ve enjoyed seeing how it came together and that you will visit again this week to see what the rest of the design team has created for our Snowman Week! Wishing you and yours a joyful and healthy New Year,
Deb xo