


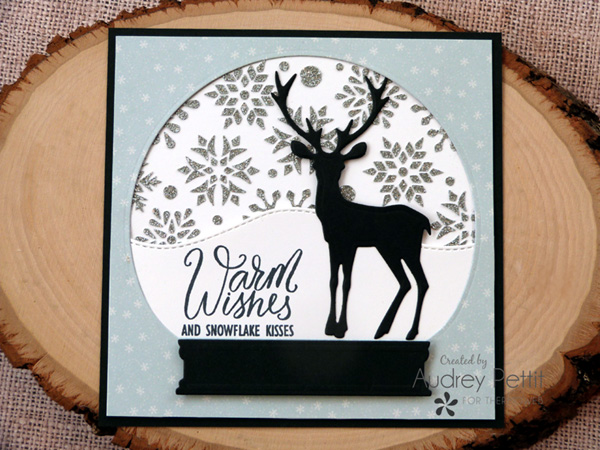
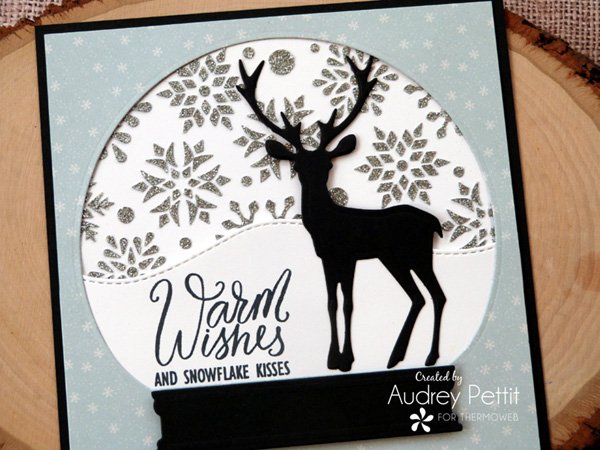
Warm Wishes and Snowflake Kisses Snow Globe Card
by Designer Audrey Pettit
ThermOWeb Supplies:
iCraft Pixie Spray
Gina K Designs Premium Cardstock: Luxury White, Black Onyx
Gina K Designs StampnFoil Stamp Set: Baby it’s Cold Outside
Stencil Pal
Gina K Designs StampnStencil Detail Stencil: Wishing You Joy
Gina K Designs Glitz Glitter Gel: Silver
Gina K Designs Foam Squares
Purple Tape 1/2″
Memory Tape Runner
iCraft Mixed Media Adhesive
Other Supplies:
Patterned Paper: Carta Bella Snow Much Fun 6×6
Dies: Sizzix Tim Holtz Snowglobe #2, Winter Wonderland; Heffy Doodle Stitched Slopey Joe Border Dies
Ink: Memento Tuxedo Black
Sending warm wishes and snowflake kisses your way today with this wintry snow globe card featuring Gina K Designs stamps and stencils and our new silver Glitz Glitter Gel. Because even though the holidays are over, there’s nothing like the touch of glittery sparkle to brighten up even the chilliest of days.
Let’s take a closer look.
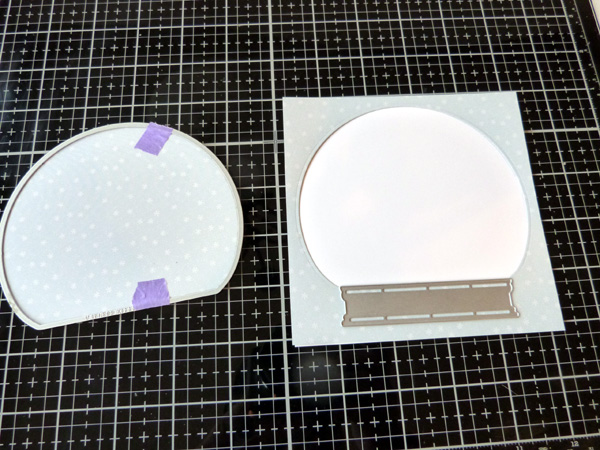
Die-Cut with Purple Tape
To begin, trim a 5″ square panel of both Therm O Web Luxury White cardstock and snowflake print patterned paper. Place the snow globe die in the top center of the patterned paper piece, and hold it in place with Purple Tape before running through your die cutting machine. Remove the inner snow globe portion and set it aside for another project. Temporarily place the patterned panel onto the cardstock, and lightly trace around the snow globe window in pencil.
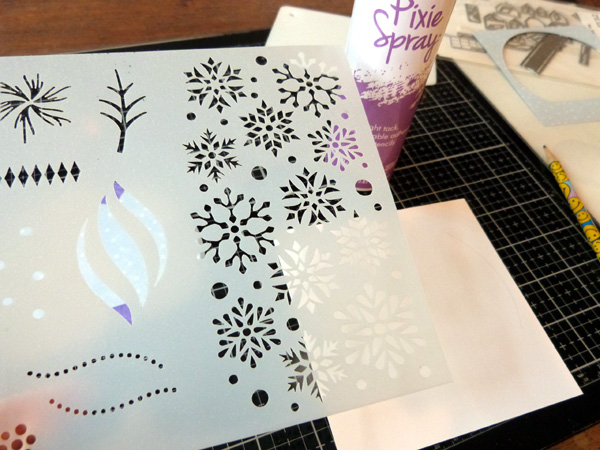
Spray the back of the Wishing You Joy Detail Stencil with Pixie Spray, and then set the stencil aside for several minutes for the spray to dry.
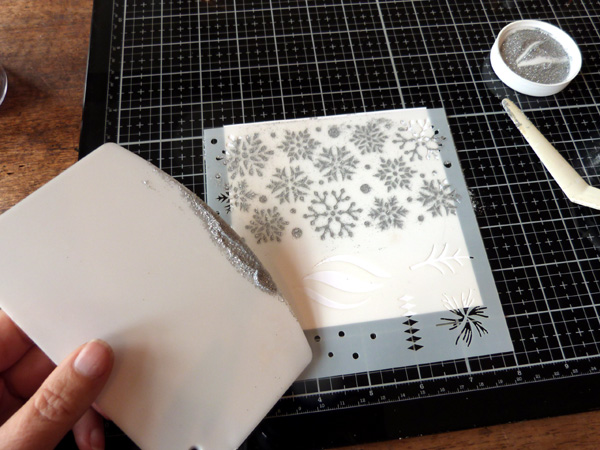
Glitz Glitter Gel
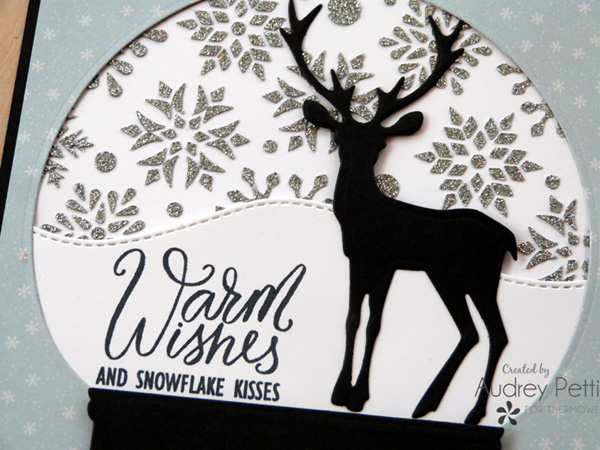
Using the pencil marks as a guide, place the tacky side of the stencil down onto the cardstock, and press it into place. Apply Silver Glitz Glitter Gel through the snowflake portion of the stencil using the Stencil Pal tool. Lift the stencil off immediately, and wash it and the tools with warm soapy water while the Glitter Gel dries. Once dry, erase any pencil marks that you can.
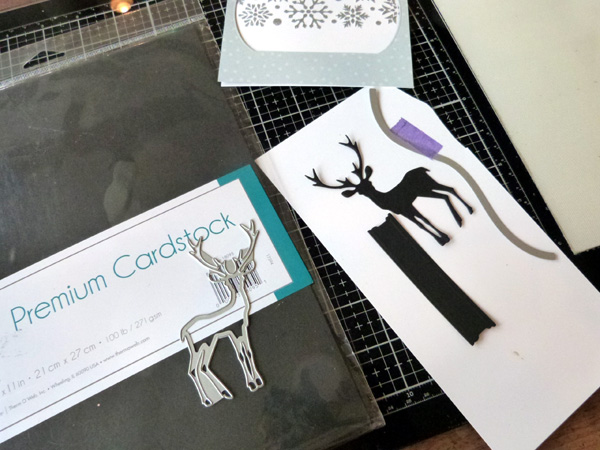
Die-cut the snow globe stand and the largest deer from Black Onyx cardstock. Die-cut a curved hillside border from Luxury White cardstock.
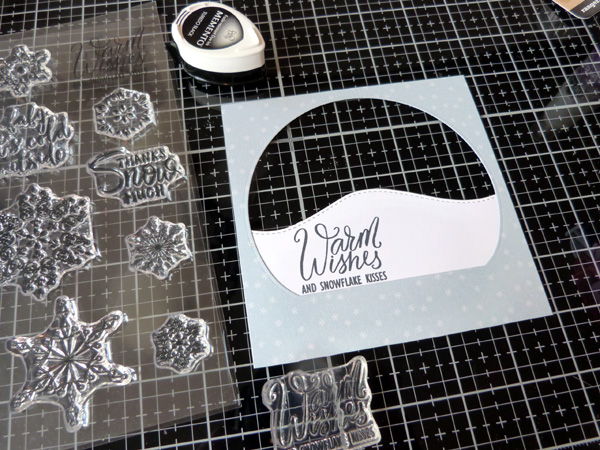
Adhere the hillside border to the bottom of the snow globe window frame, trimming off the excess from the bottom and sides as needed. Stamp the sentiment onto the bottom left corner in black ink.
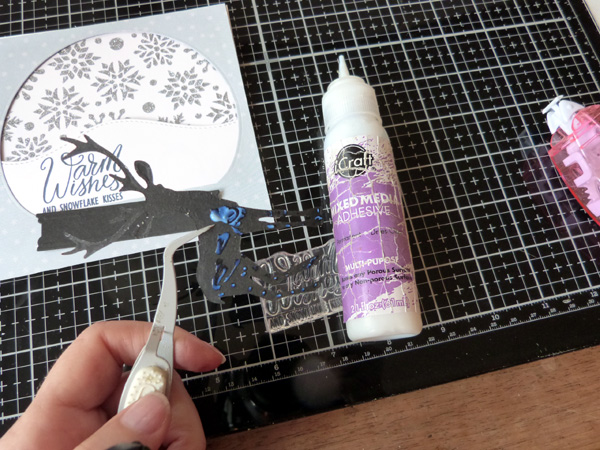
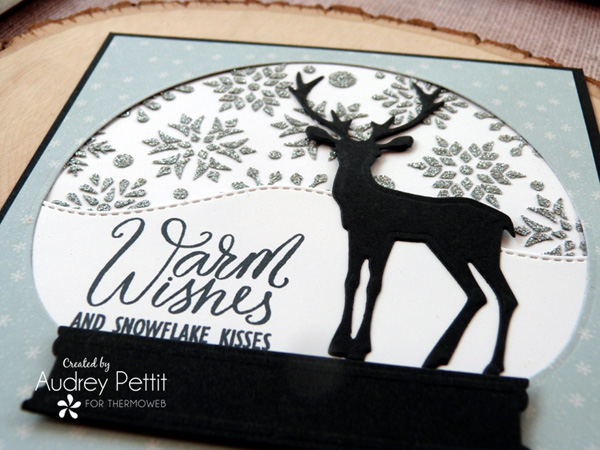
Dot iCraft Mixed Media Adhesive onto the bottom portion of the deer, and adhere it to the right of the sentiment. Add more liquid adhesive and tape runner adhesive to the back of the entire snow globe frame, and adhere it to the gelled background panel.
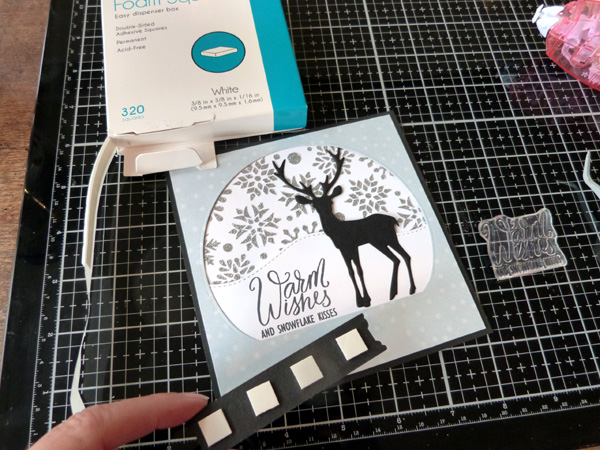
Create a 5.25″ square card base from Luxury White cardstock. Cover the front of the card with Black Onyx cardstock. Adhere the snow globe panel to the center of the card base. Add foam squares to the back of the snow globe base die cut, and adhere it in place underneath the globe.
Happy Winter!
susiefreckleface
January 18, 2020 at 10:48 am (4 years ago)I love this card.