Hi there!!! Happy Happy Holidays to everyone! Katrina from Paper, Scissors, Glue and Hybrid Too on the blog today. I am sharing a snarky layout about ringing out 2020 and ringing in the new year!
Snarky New Year Scrapbook Page
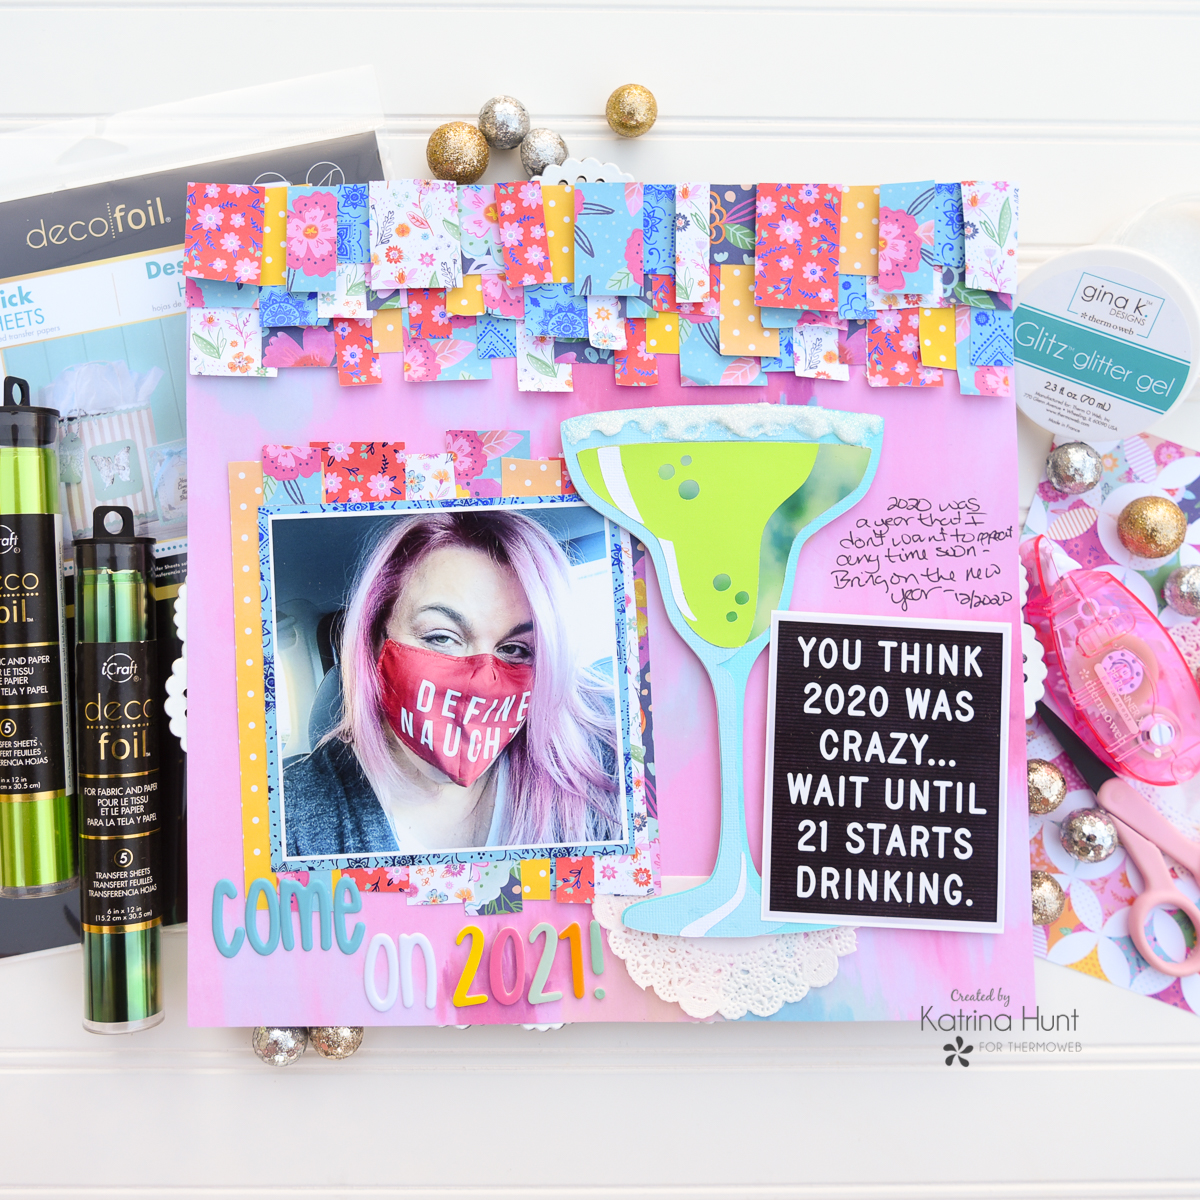
Therm O Web Supplies Used:
Therm O Web Memory Runner XL
Therm O Web Memory Runner XL Refill
Therm O Web Sticky Strip Runner
Therm O Web 3D Foam Squares-Combo Pack
iCraft Peel n Stick Toner Sheets
iCraft Deco Foil Transfer Sheets-Lime
iCraft Deco Foil Transfer Sheets-Emerald Watercolor
iCraft Ultra Bond Liquid Adhesive
Gina K Designs Glitz Glitter Gel-White
Other Supplies Used
Cardstock
American Crafts-Scenic Route Collection
Bella Blvd. Letters
Snarky Layout Details
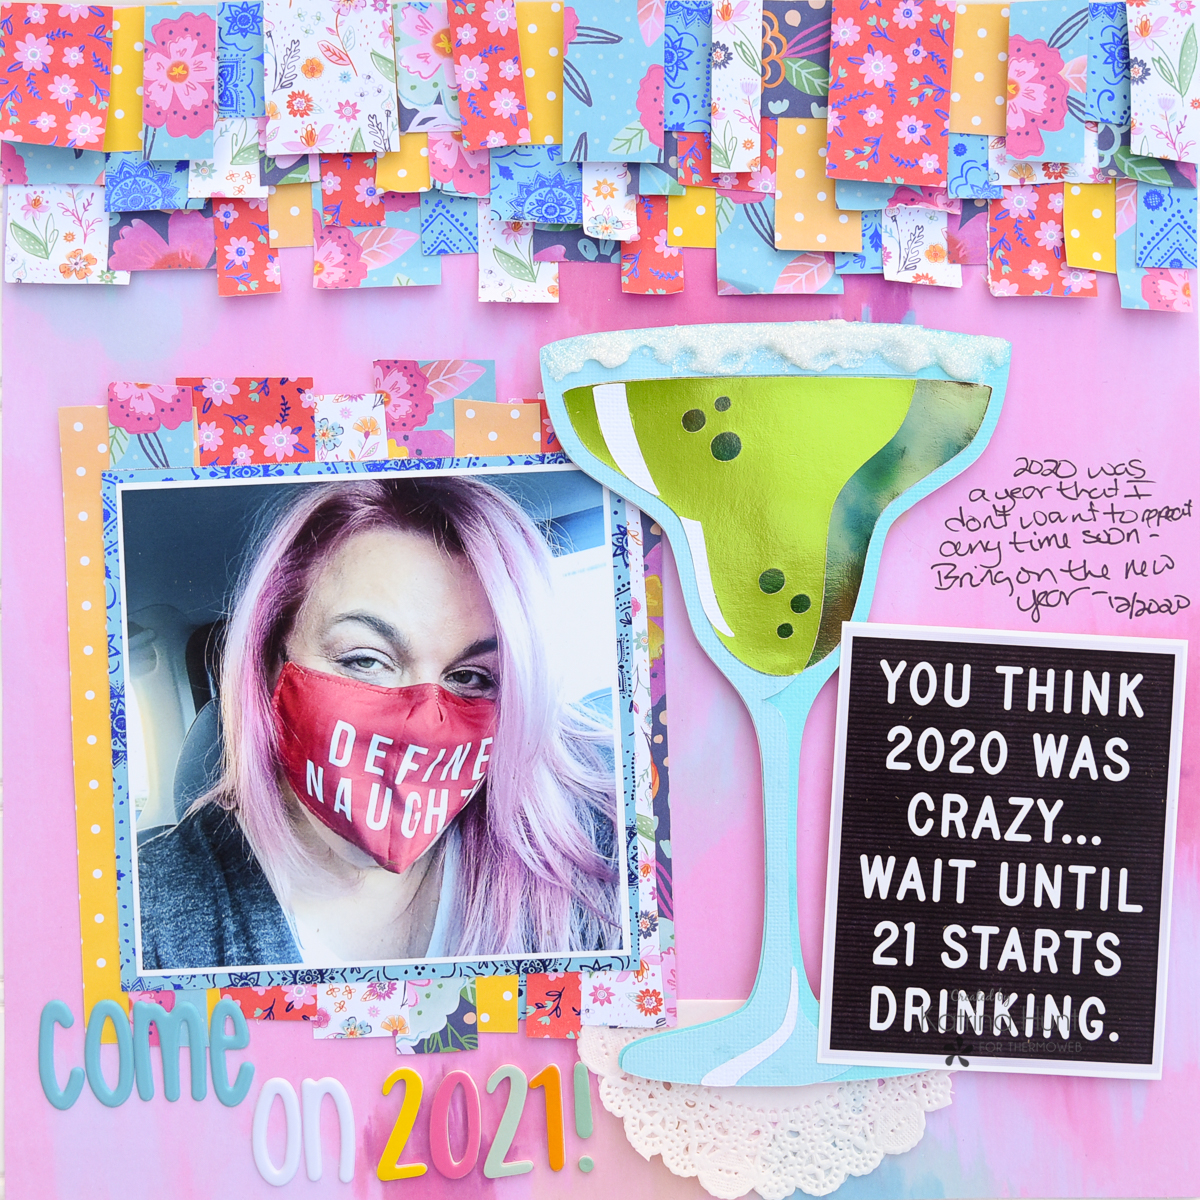
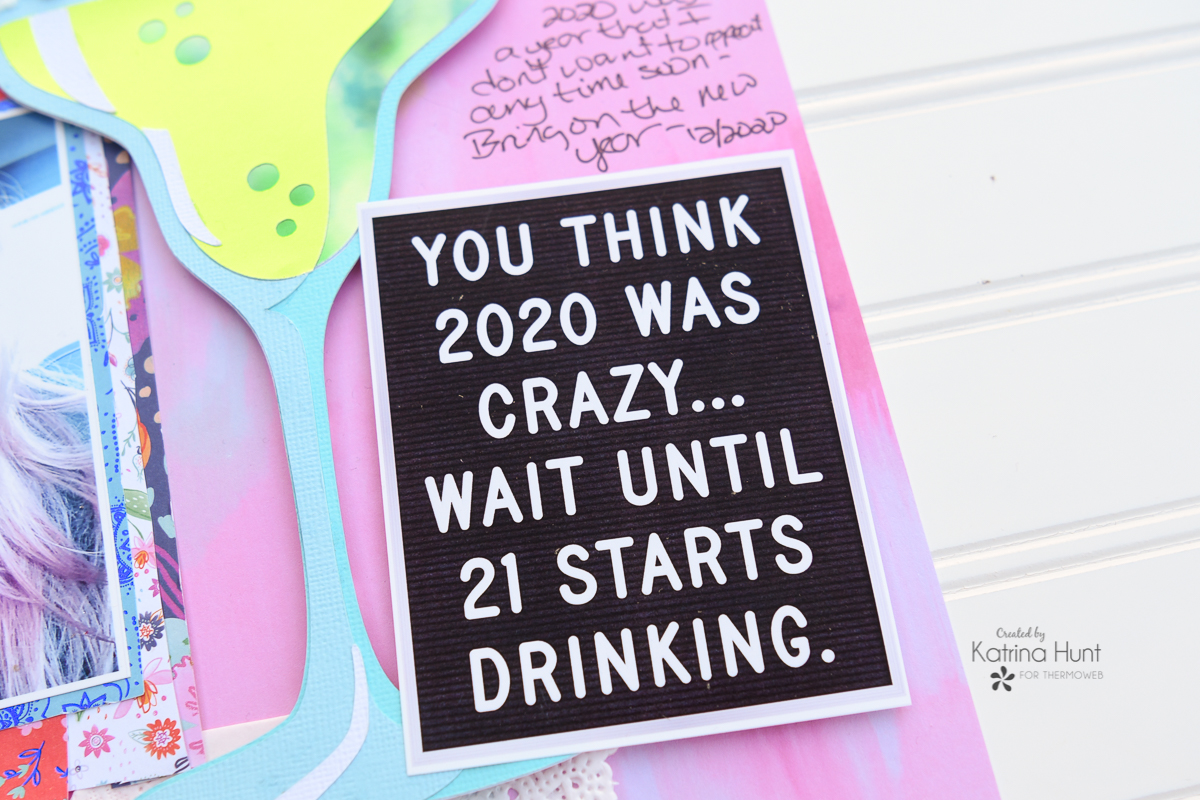
So, this layout actually started from 1. the snarky idea and 2. a meme I had seen. I really liked the “you think” saying, but didn’t want to have to put letters together for an extremely long title.
I found a digital letter board that you can type your saying into and then download the PNG to your computer to use. The site is LetterFolk and here is the letterboard link https://www.letterfolk.com/pages/virtual-letter-board. It worked out perfectly and then you can size it to your layout needs!
Deco Foil a Margarita Glass
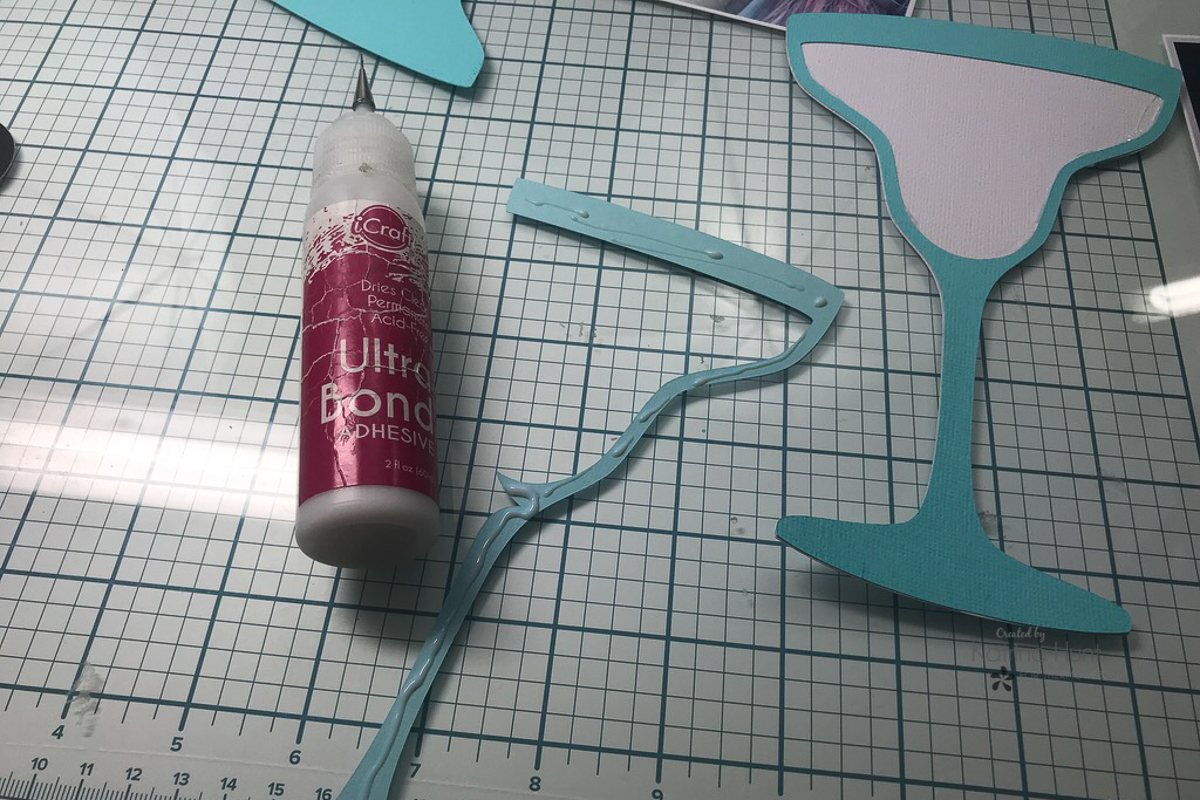
Next, I worked on the focal point, that huge margarita glass. I found a cut file and used cardstock and Peel n Stick toner sheets as my media to cut. I picked out Deco Foil in Lime and Emerald Watercolor to make the liquid part of my drink! Once I had the pieces cut, I used my Ultra Bond Liquid Adhesive to adhere all the cut pieces together that did not have adhesive on them.
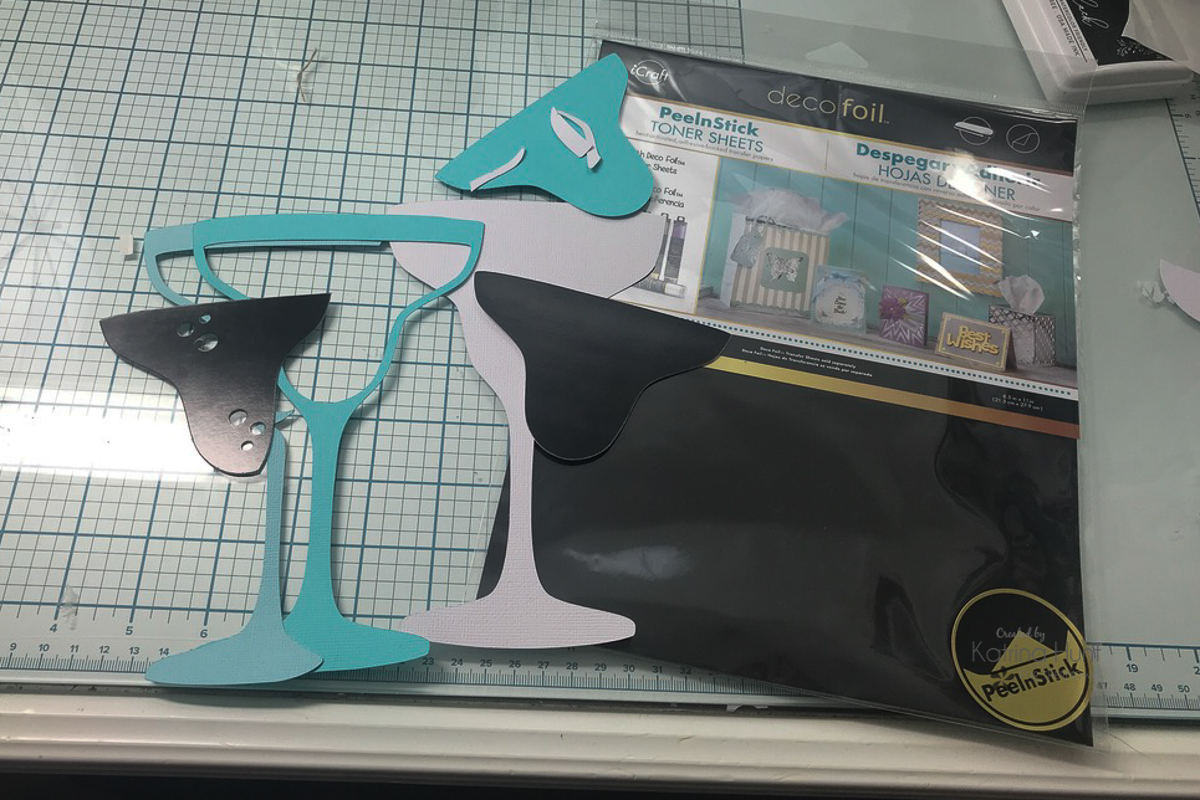
I cut pieces of the Foil Transfer sheets to fit my toner sheet cut out and then ran them thru my laminator. I let them cool slightly before removing the foil since it was such a solid area that I was covering.
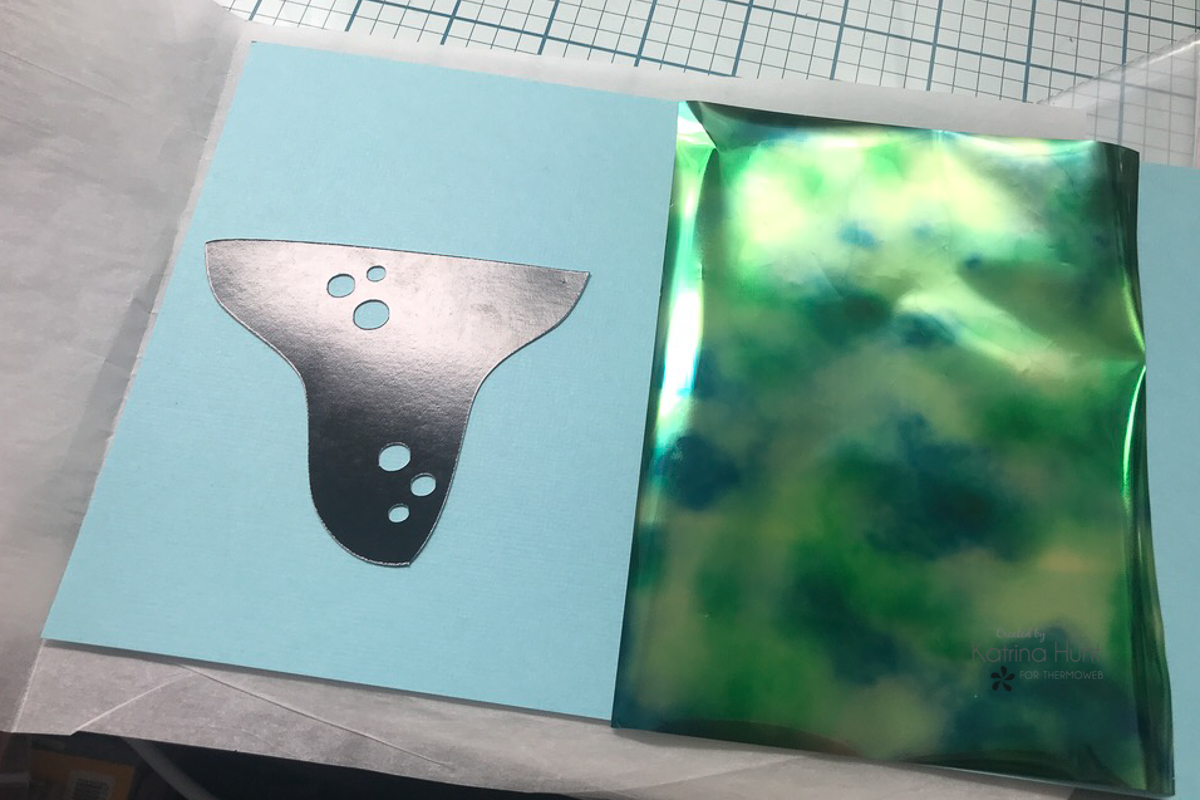
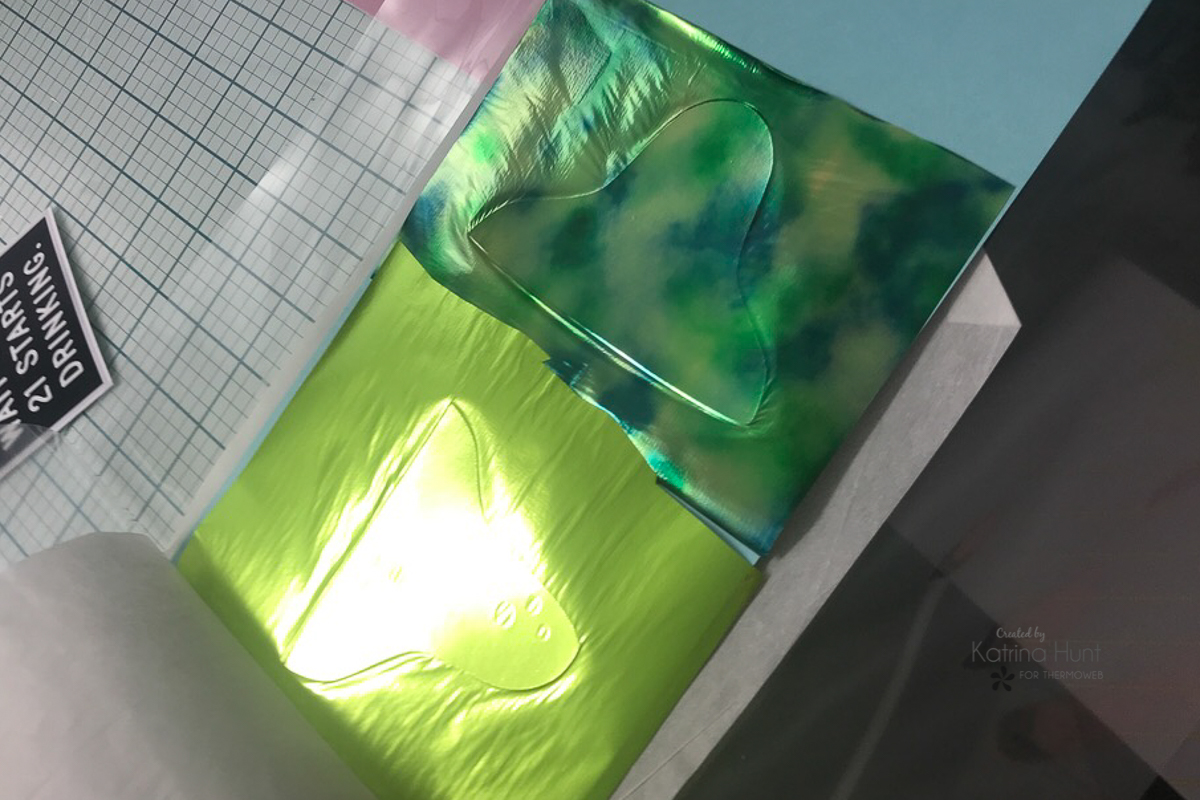
Glitz Glitter Gel for a “Salt Rim”
Once I had these pieces foiled and placed “inside” my drink glass, then I set about making some salt for the rim of the glass. It’s not a margarita without some salt, right?! I used the Glitz Glitter Gel in White and put it along the edge of the top of the glass. I made it thicker in some spots than others and try to make it look like the rim was dipped in salt.

I think it worked!! Although, that much salt on a rim might be a little much for some people.
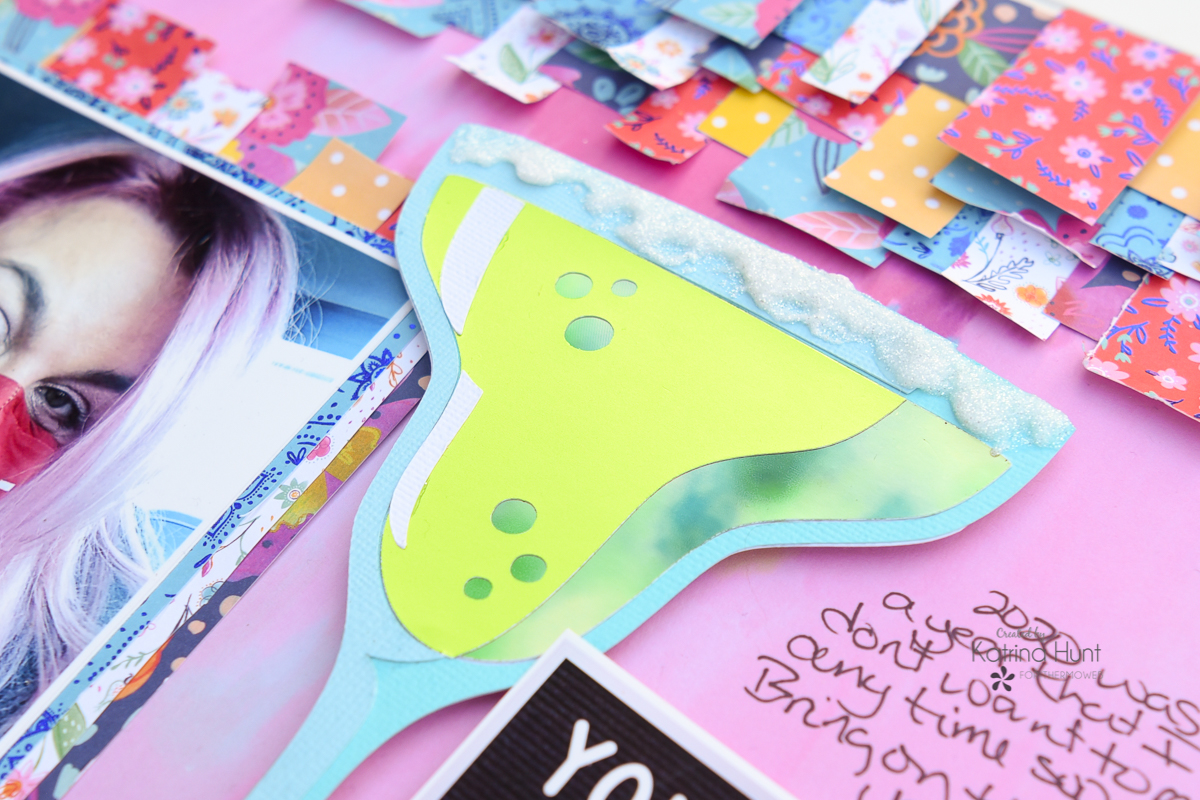
Next, I started working on backing my picture. By doing my picture first, it actually helped me to come up with the idea for the top border of the layout.! I cut varying widths of pattern paper and then just adhered them to the back of my picture. I did keep a pattern that repeated and I did that also in the top border.
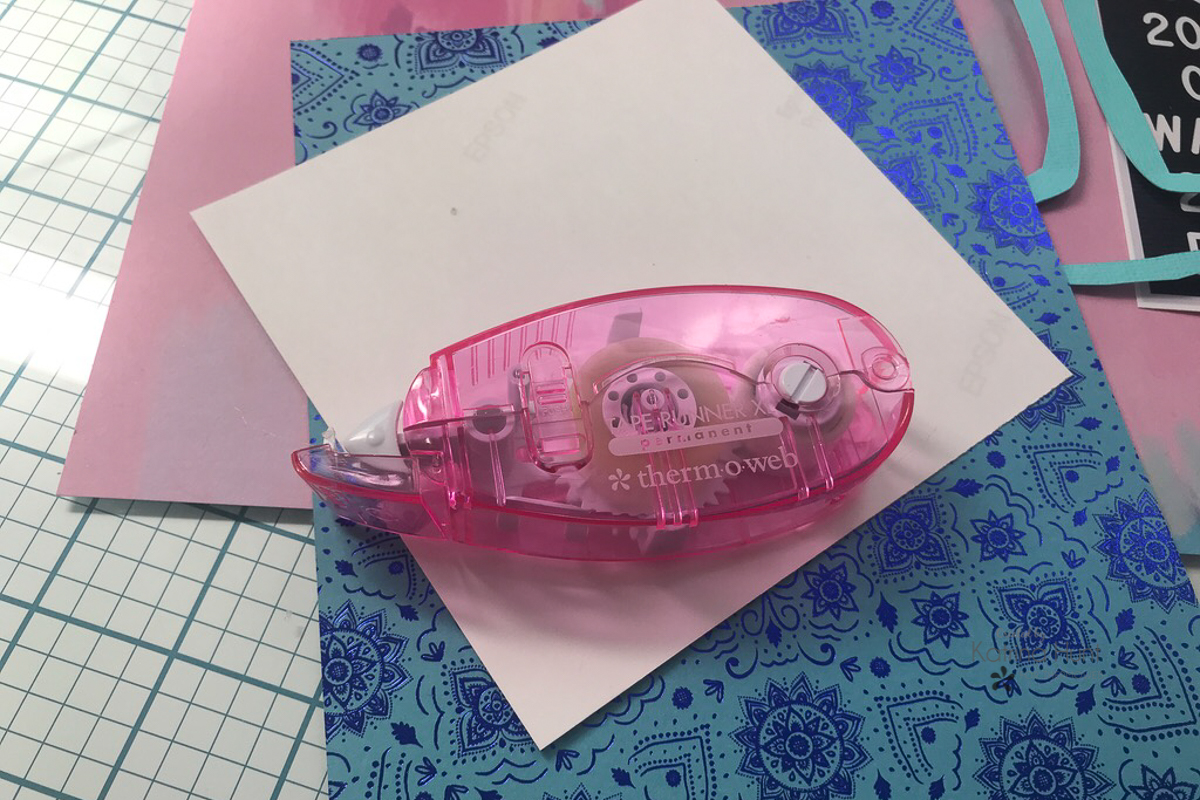
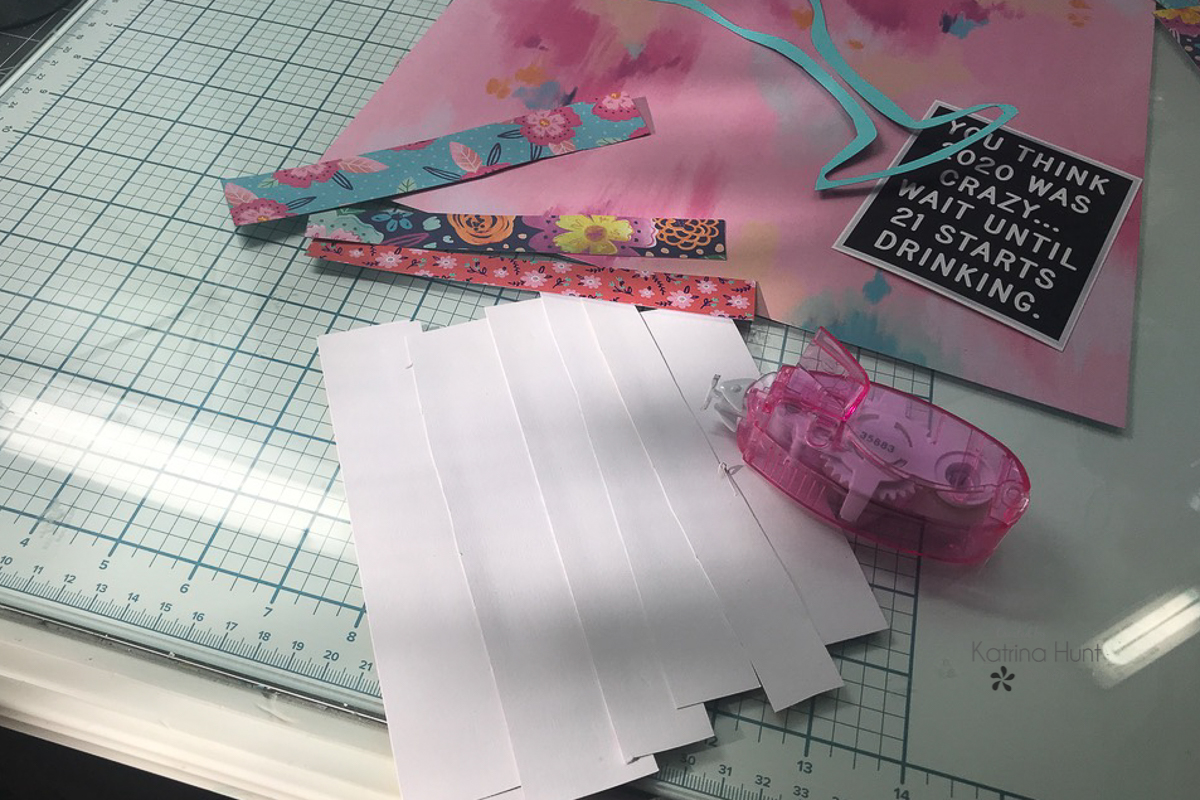
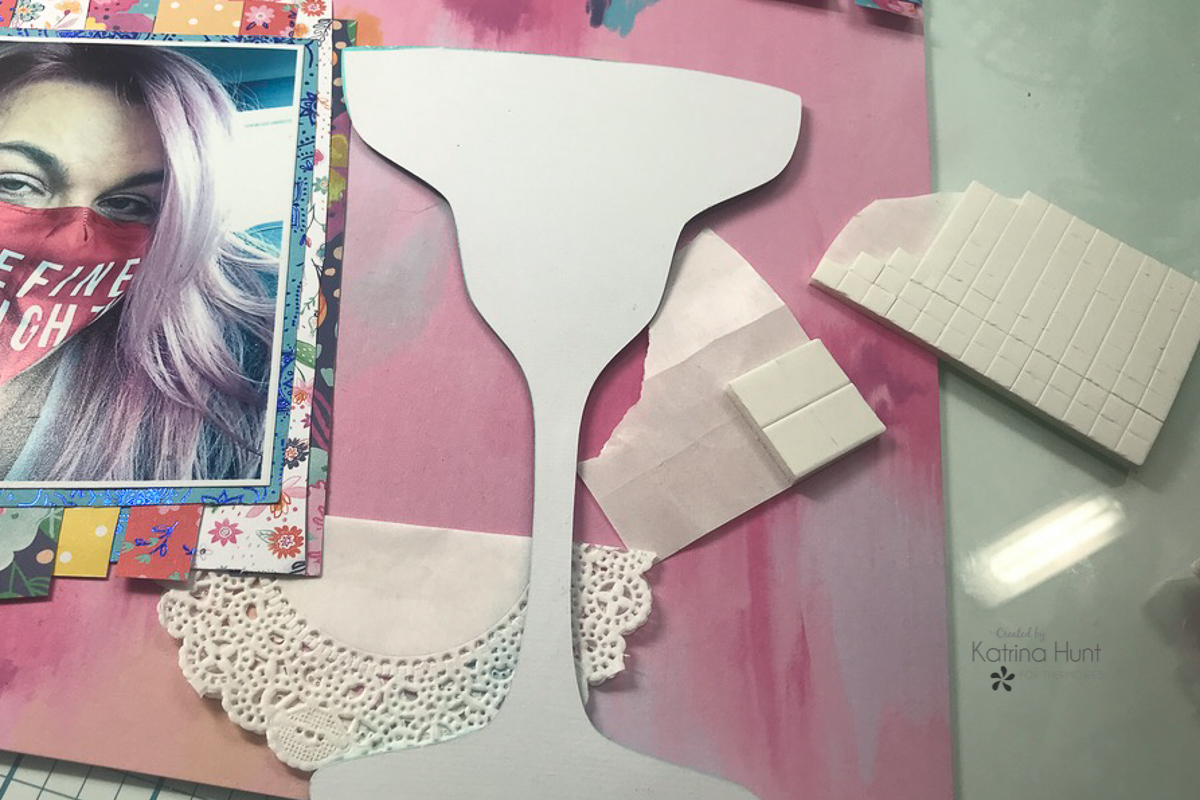
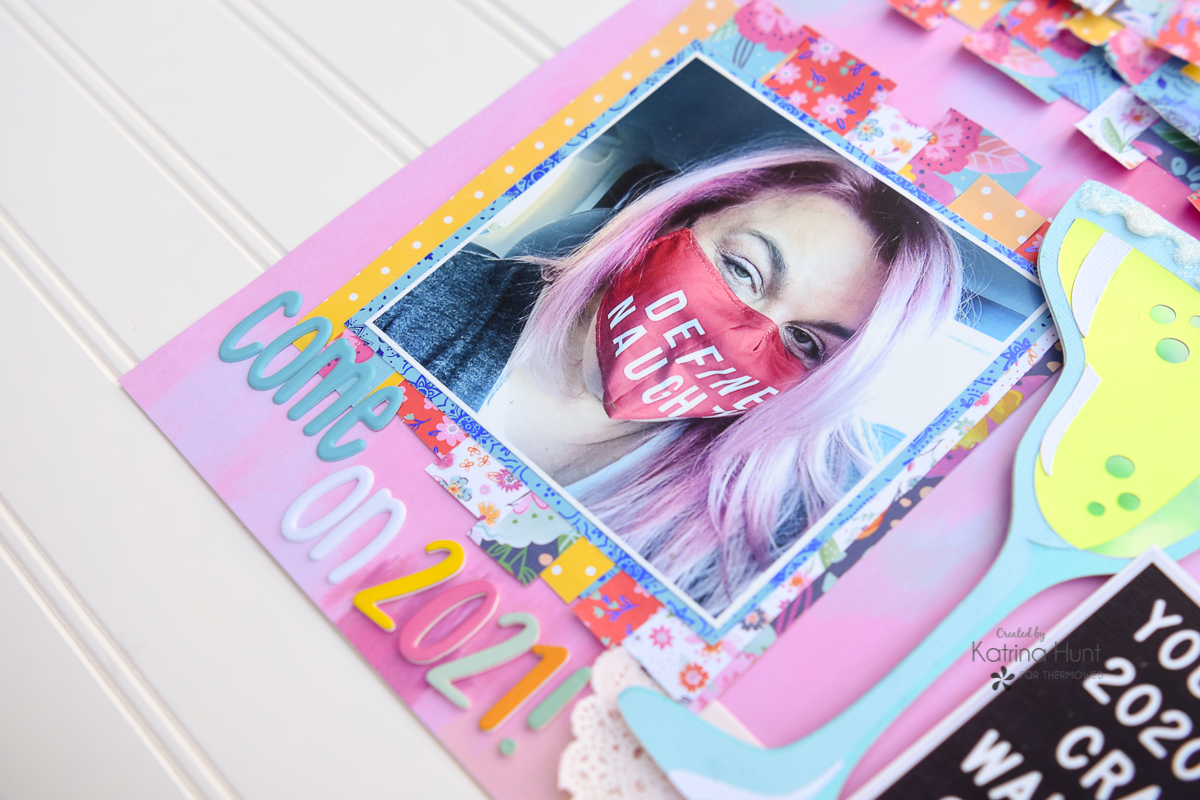 After I had my picture adhered down, I popped the margarita glass and letter board with 3D Foam Squares to add a little dimension, since I wasn’t doing a lot of embellishing.
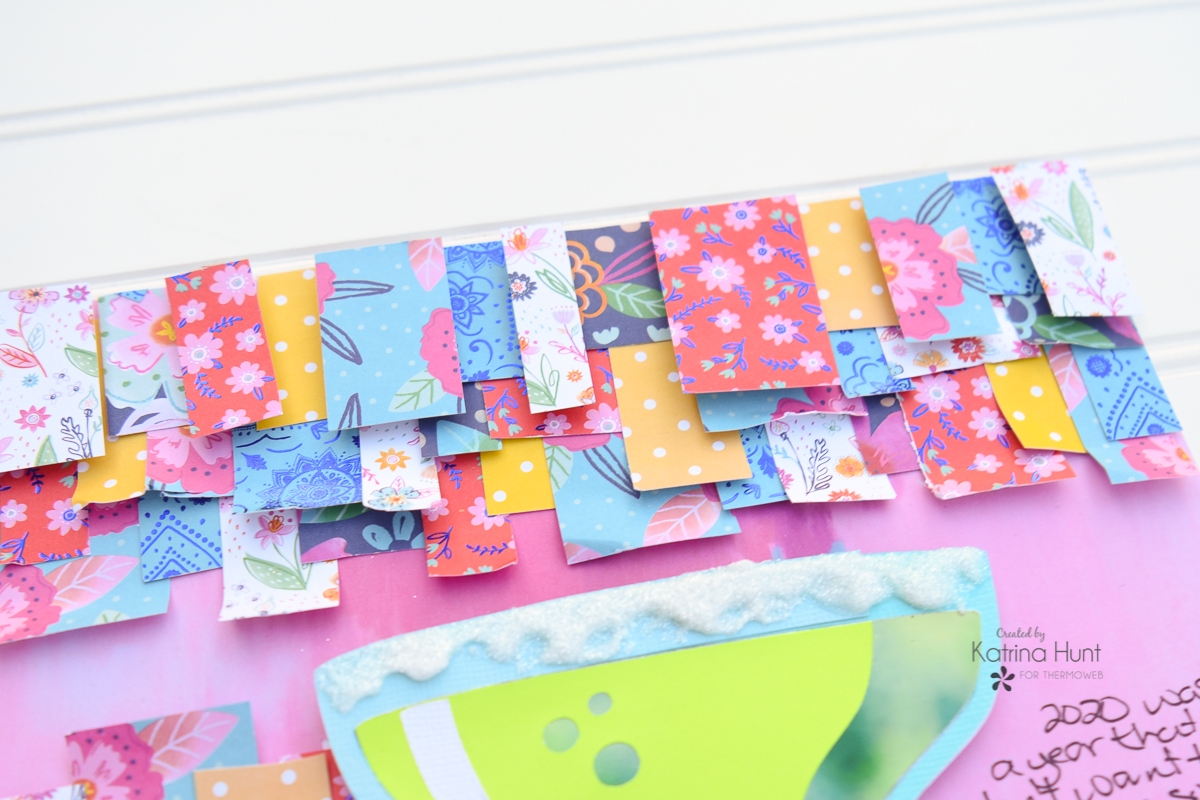
To complete my layout, I used the same papers that I backed my picture with and cut strips and squares out to do my layered border at the top. I started with the bottom layer and went all the way across the page, keeping the papers in the same order. This row and the next row just adhered straight to the background. The second row up, the papers repeat, but I started on the edge with a different paper and just continued the same repeating papers.
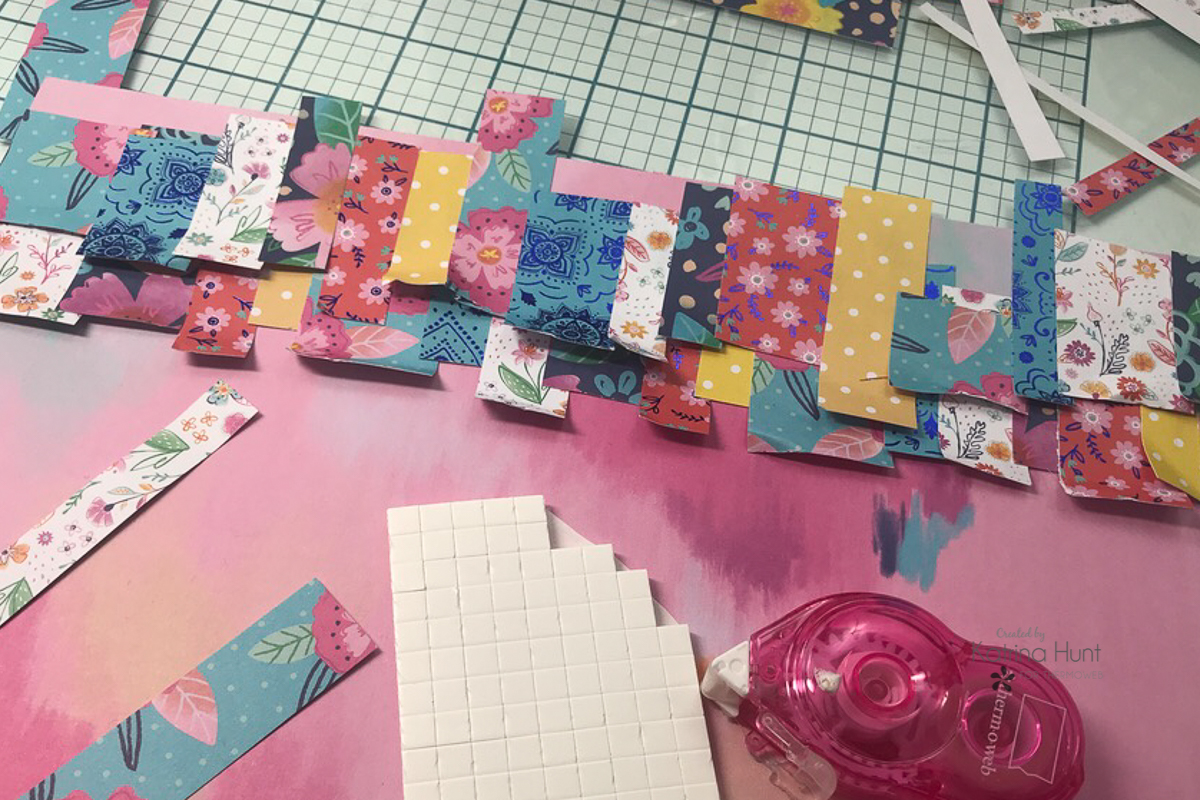
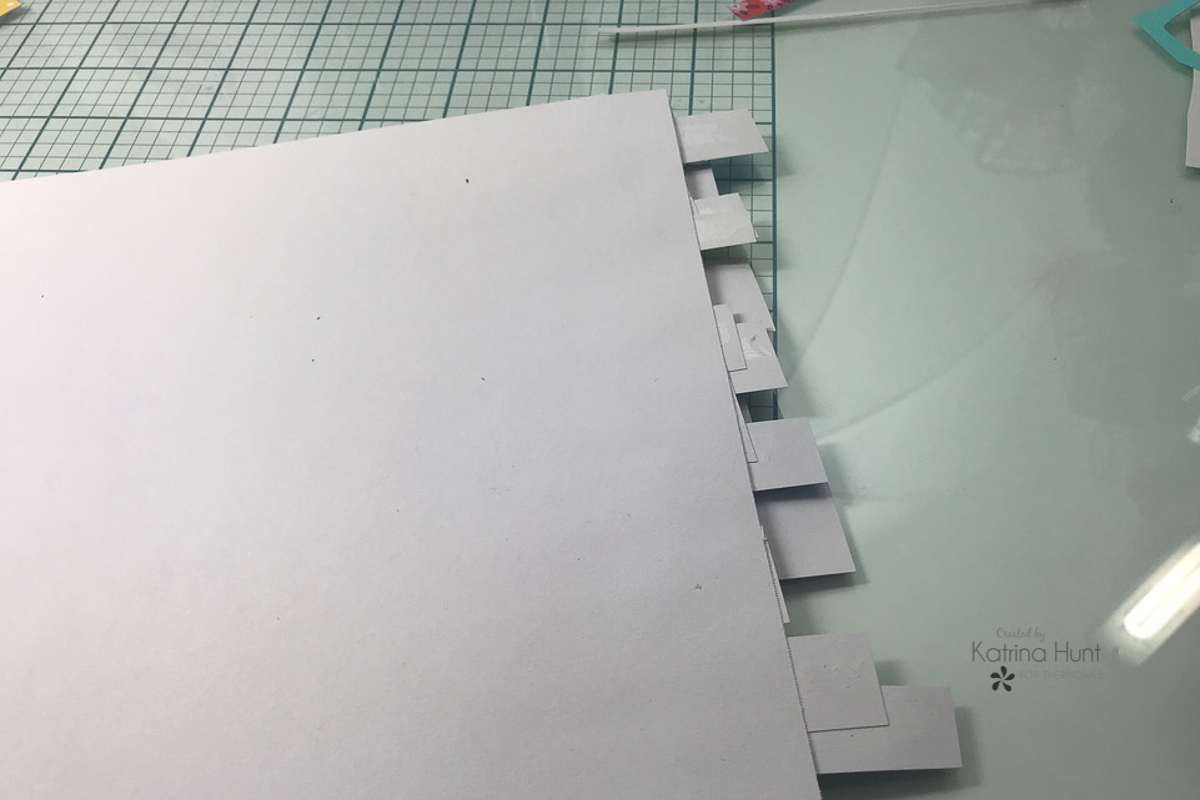
For the third and last row, I alternated by popping up one strip with the 3D Foam Squares and then adhering the next strip to the background paper without the foam adhesive. I repeated this across the page. I let the edges of the strips hang off the top of my layout and then just trimmed them even when I was done making the borders.
I may have to do this more often because I love how this turned out. The bonus is that nothing is precise, so it didn’t take very long!
Thanks for stopping by the blog during this busy season!!! Here is hoping that 2021 blesses you and your family. Happy Holiday, Merry Christmas, and Happy New Year!
This post contains affiliate links. For more information, see our disclosure HERE.

[…] Visit the Therm O Web blog for a closer look. […]
[…] Visit the Therm O Web blog for a closer look. […]