 Hello again crafty friends. Do you hoard scraps? Don’t fib . . . you know you do. Follow along with me to create this fun, slimline junk journal with woodland animals that is the perfect size to use up your scraps! Along the way, we’ll try something new with Deco Foil Transfer Flock.
Slimline Junk Journal with Deco Foil Transfer Flock
Stay to the very end for flip-through pics!
Slimline Fall Junk Journal
Junk Journal Supplies:
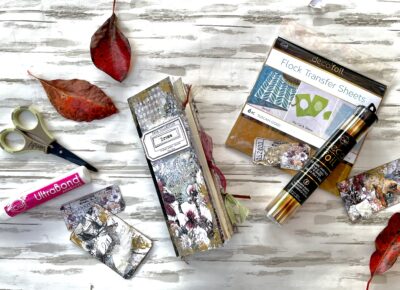
iCraft Deco Foil Transfer Sheets – Gold and Bronze
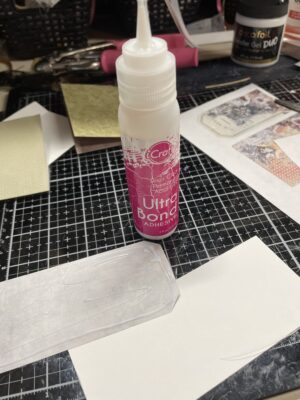
iCraft Ultra Bond Liquid Adhesive
iCraft Double-Sided Adhesive Foam
Deco Foil Flock Transfer Sheets – Tuscan Gold
Deco Foil Flock Transfer Sheets – Green Envy
Other Supplies: Cardboard food container or medium weight chipboard, cardstock and patterned paper scaps, scissors, mini stapler, heat gun, fabric, ribbon, Distress Ink, printables (color printer) and book pages.
Slimline Junk Journal Step One:
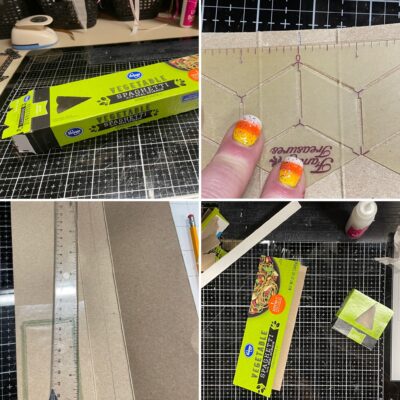
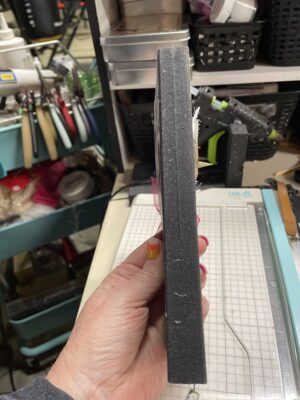
Cut the ends of your box and open it up by cutting through one side. Cut off the end pieces of the side you cut so that it now looks like a book cover. If the end that will be your binding is the right size for you, then you are finished with this step. If however, like mine, your binding is too wide, find the center and cut straight down.
Next, adhere the two sides together, overlapping the two parts you just cut in half. This will create a single binding half the size of the original binding. Depending on the length of your box, you may need to cut it down to size (top to bottom).
Hint: I used a spaghetti box, but you could use any food box and cut it down to slimline size.
Slimline Junk Journal Step Two:
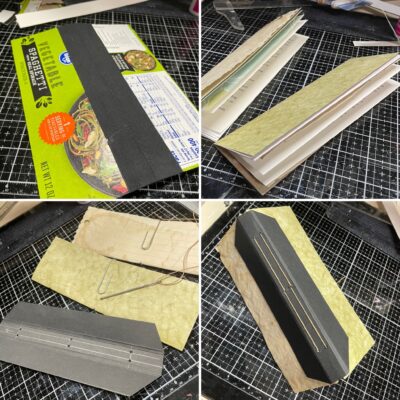
Cover your binding with fabric to increase its durability. The easiest way to accomplish this is by using HeatnBond or Fabric Fuse liquid adhesive. While both products are made for fabric, I use both for adhering fabric to paper in my journals. HeatnBond is faster with no drying time but you will need an iron.
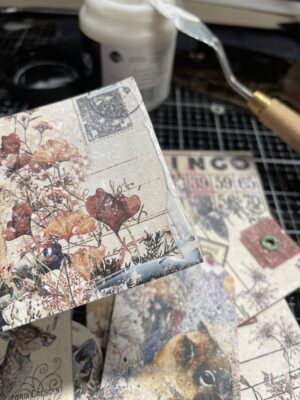
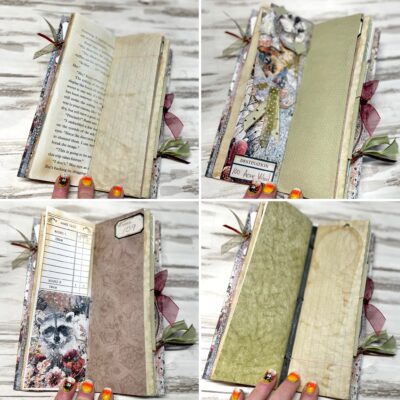
Next, create two signatures using cardstock and patterned paper scraps. My journal is only 2 3/4″ wide, so my pages are only 5″ wide and then folded in half. Some of my scraps were not quite 5″ so those pages are slightly narrow. Because I knew my woodland animal printables were nature-inspired colors, I chose scraps that either fit within the palette or that were neutral.
Once you have your signatures ready, cut a piece of cardstock the height of your binding and the width of your binding plus 1″ on each side (so 2 additional inches). Score the cardstock 1 1″ in from each side, top to bottom so that it will fit inside the journal binding.
Finish the interior construction by sewing your signatures to the cardstock piece. There are so many good youtube tutorials on sewing in signatures that I won’t bore you with that here. If you would like to see a full tutorial on this, leave a comment below and if there is interest, I’ll do a video tutorial.
Hint: HeatnBond is my favorite way to adhere fabric to a journal cover. It gives you a smooth, permanent adhesion with no wrinkles or warping.
Slimline Junk Journal Step Three:
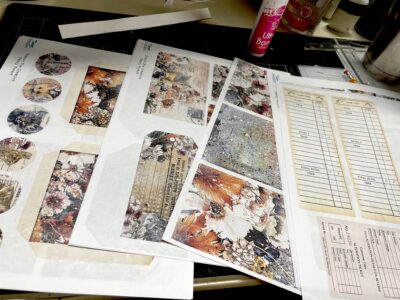
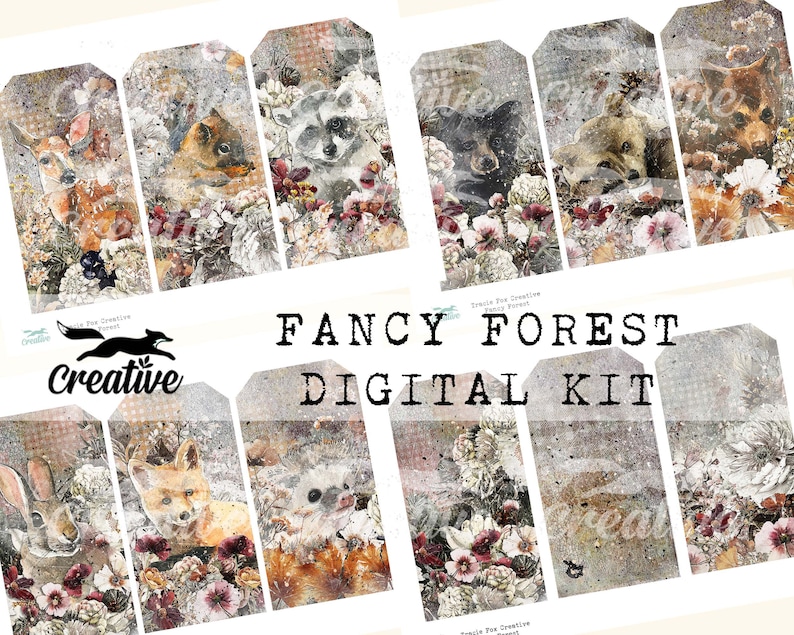
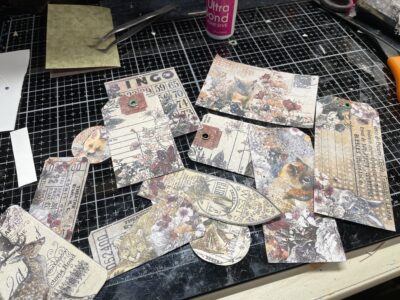
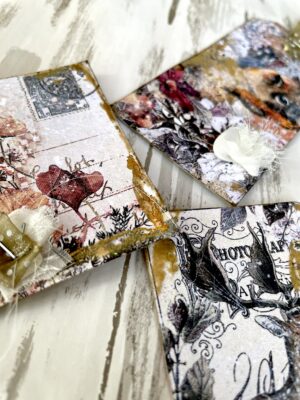
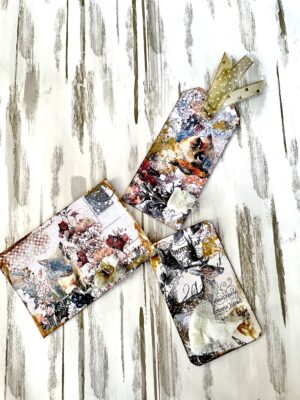
Okay, this is where you decide your theme. My theme is woodland animals, and I found this absolutely adorable kit (nope, not sponsored – I purchased this kit on Etsy) and printed out all of the parts I wanted to use for my journal.
Because my color printer hates cardstock, I printed on good-quality copy paper. I covered my journal with the copy paper (either paint white or cover with another piece of copy paper first to keep the color from bleeding through) but adhered the embellishment pieces to cardstock.
Keeping with our “you/your scraps” theme, I found heavy-weight patterned paper and adhere the printables to the white side so that tags and lose pieces had a patterned or solid backing.
Hint: This was a journal kit but didn’t have a full-sized paper. I put the images in photoshop and manipulated them to the sizes I needed before printing and it worked perfectly! These particular images are high enough quality that even when enlarged, they kept their clarity.
Slimline Junk Journal Step Four:
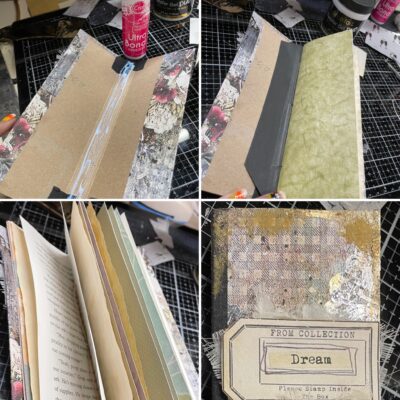
Let’s put the interior and cover together! It is very important that you use a heavy-duty adhesive for this. I suggest the Ultra Bond liquid adhesive. You only have a few seconds before it’s bonded and once it is, it’s not going anywhere. In fact, make sure you maneuver it into place right away or you will have to tear it to get it apart.
Add the Ultra Bond to the inside of the spine and place your signatures inside, lining up the bindings. Wait for about two minutes for this to be really bonded before you glue the flaps on either side down. Once it’s adhered . . . it’s adhered.
Hint: Use a bone folder or popsicle stick to burnish in between the pages to make sure the two surfaces have complete contact.
Slimline Junk Journal Step Five:
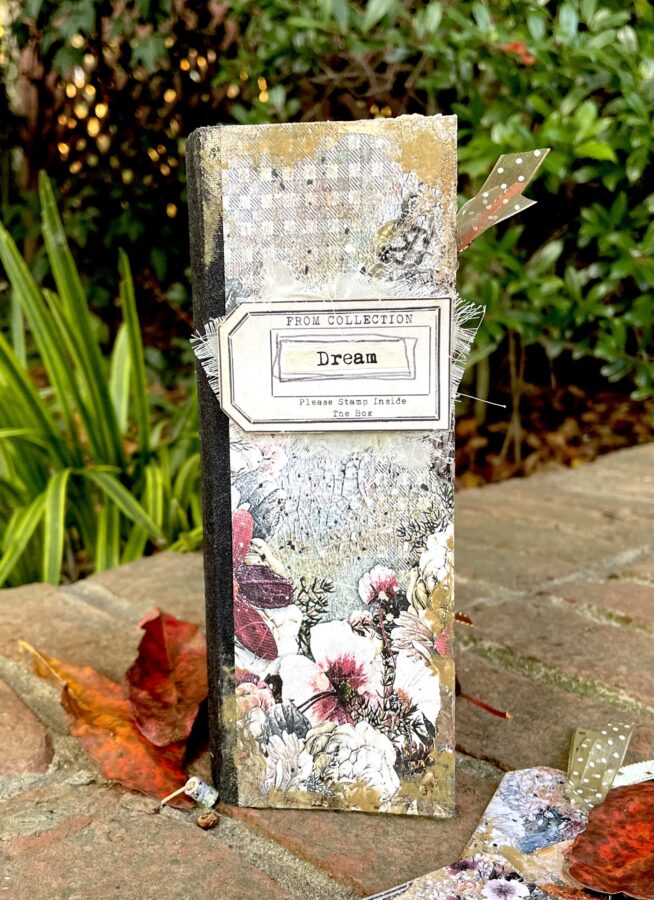
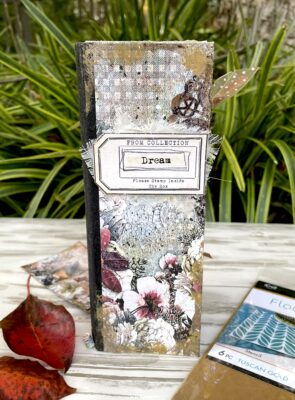
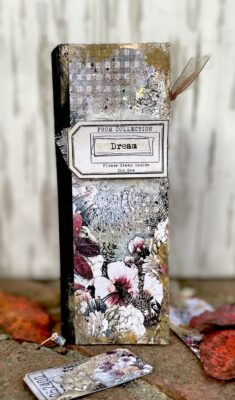
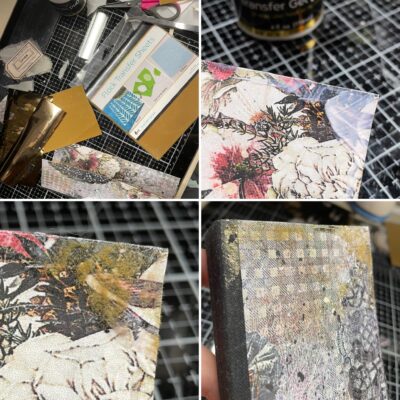
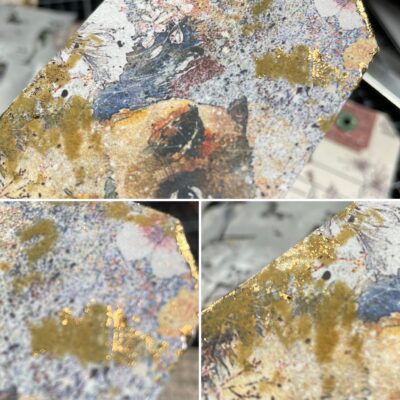
Time to decorate! You already got a sneak peek in the photo above, but in this step, we will add Deco Foil Transfer Flock and Foil to our cover and some of the printed elements.
Now let’s be clear . . . there are great instructions and other tutorials on how to properly use foil, flock and the transfer gel. I won’t be doing any of those.
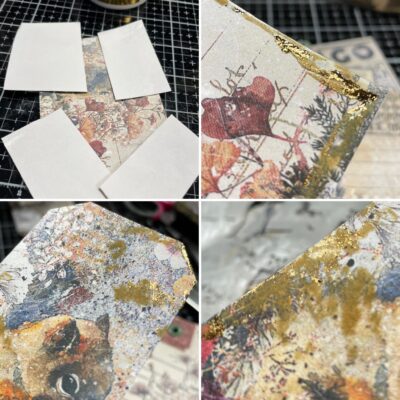
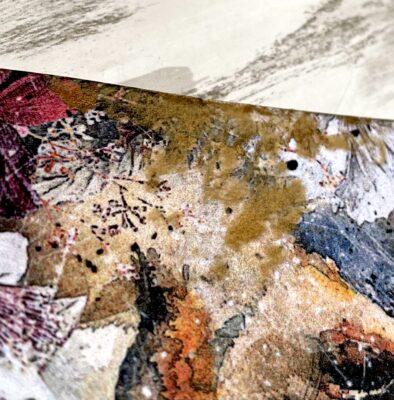
Using a spatula, I randomly applied Deco Foil Transfer Gel Duo to my cover and embellishments. Allow the transfer gel to dry slightly before covering with your transfer flock (fuzzy side against the adhesive).
Burnish the back of the transfer flock and leave it to dry further before peeling it away and revealing the fur-like surface on your journal. Press transfer foil (dull side down) against any remaining sticky areas to add a touch of foil to those same areas.
Hint: In the spirit of using up our scraps, I used both foil and flock scraps for my project.

Slimline Junk Journal Step Six:
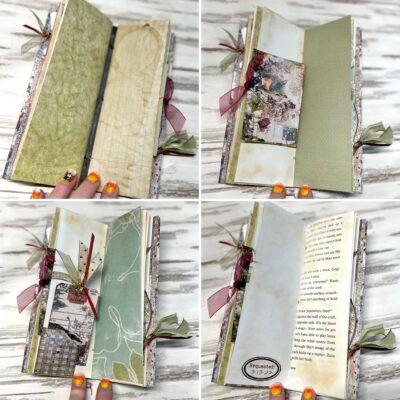
Lastly, add Distress ink, ribbon and fabric to your cover and embellishments and add them into your journal. Below are some pics of how I added my embellishments.
Hint: The labels you see in the journal are printables in another kit from the same Etsy shop (nope, still not sponsored and purchased the kit).
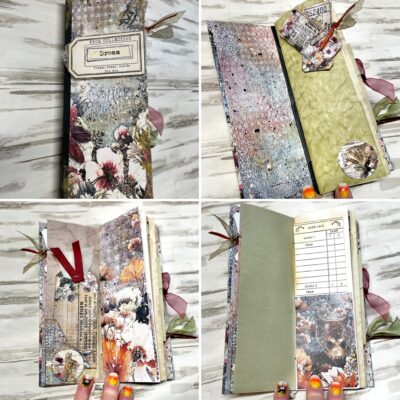

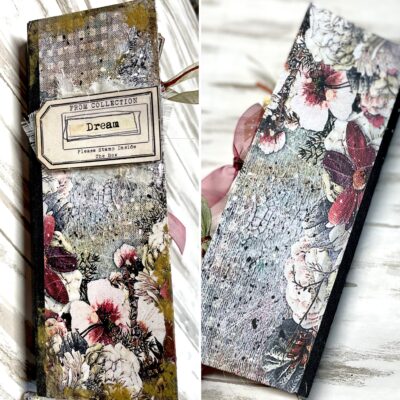
I wasn’t sure when I started out if the Transfer Flock would work the way I intended to use it, but I’m always surprised by the versatility of Thermoweb products. I found that not only did the technique work, but the result was subtly pretty with a really nice texture. The fur-like surface complimented the woodland animal theme perfectly!
If you enjoyed this tutorial, let us know in the comments. Happy crafting!