


 Welcome everyone! It’s Amanda from Twiddler’s Nook today with a super fun way to share kindness to those around you! I absolutely love making different kinds of treat bags and boxes, filling them with silly fun things and sharing them with people.
 During quarantine last year, my daughter and I made different bags for her friends. We drove around dropping them on doorsteps and then she would text them when we were pulling away from that there was something fun waiting for them. It helped keep them connected and gave a bright spot in the kids’ days.
Today I’m going to share a couple of versions of treat bags and ideas you could use to fill them up too!
Share Kindness Treat Bags

Products used on today’s project:
Laura Kelly Me and My Peeps stamps
Laura Kelly Kindness On Purpose stamps
Laura Kelly Wacky Waves toner sheets
Laura Kelly Spotty Dots toner sheets
Laura Kelly Magic Wand Silver foil sheets
Laura Kelly Flamingo Pink foil sheets
Thermoweb Flock Transfer Sheets – blue diamond
iCraft Super Tape 1/4″
iCraft 3D Foam Squares 1/4″ and 1/2″
iCraft Ultra Bond liquid adhesive
iCraft Memory Tape Runner XL
Lawn Fawn Large Stitched Circles dies
Lawn Fawn Puffy Stars dies
Lawn Fawn Tote Bag die
Lawn Fawn Tiny Tags dies
Distress Oxide ink – wilted violet
Copic Markers
Share Kindness Treat Bag Instructions
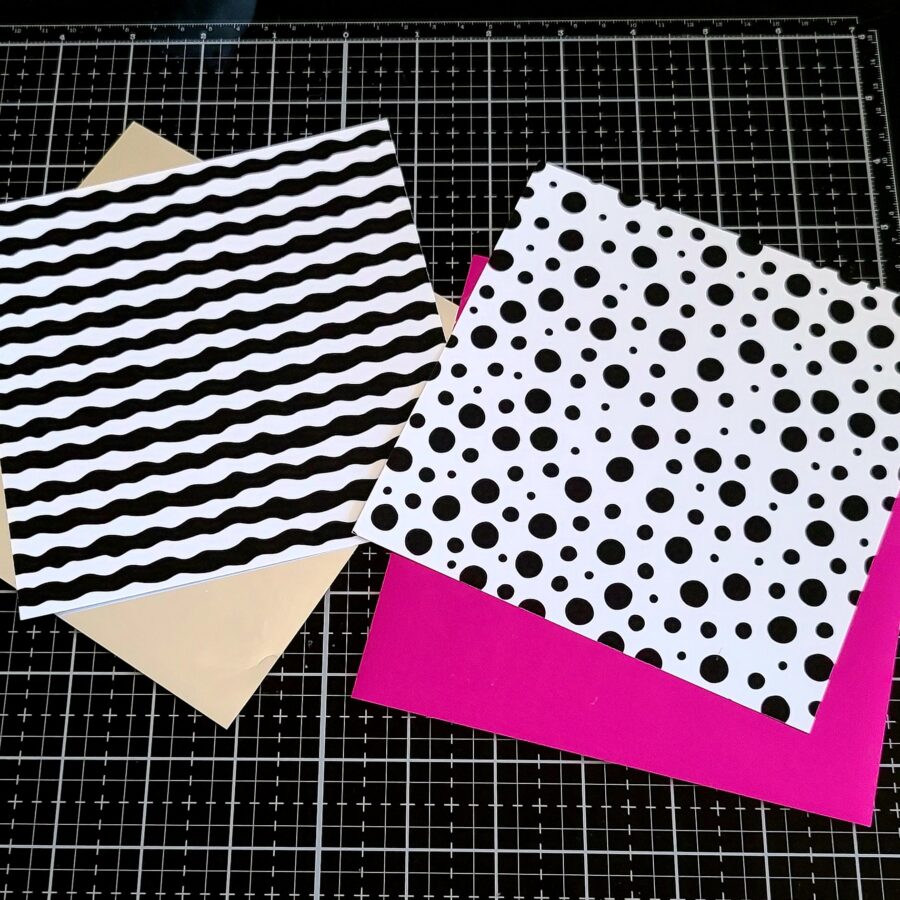
First things first, I chose toner sheets and the foil I wanted to use on them and turned my laminator on to heat up. Today I’m using wacky waves and spotty dots toner sheets with magic wand silver and pink flamingo foil transfer sheets.
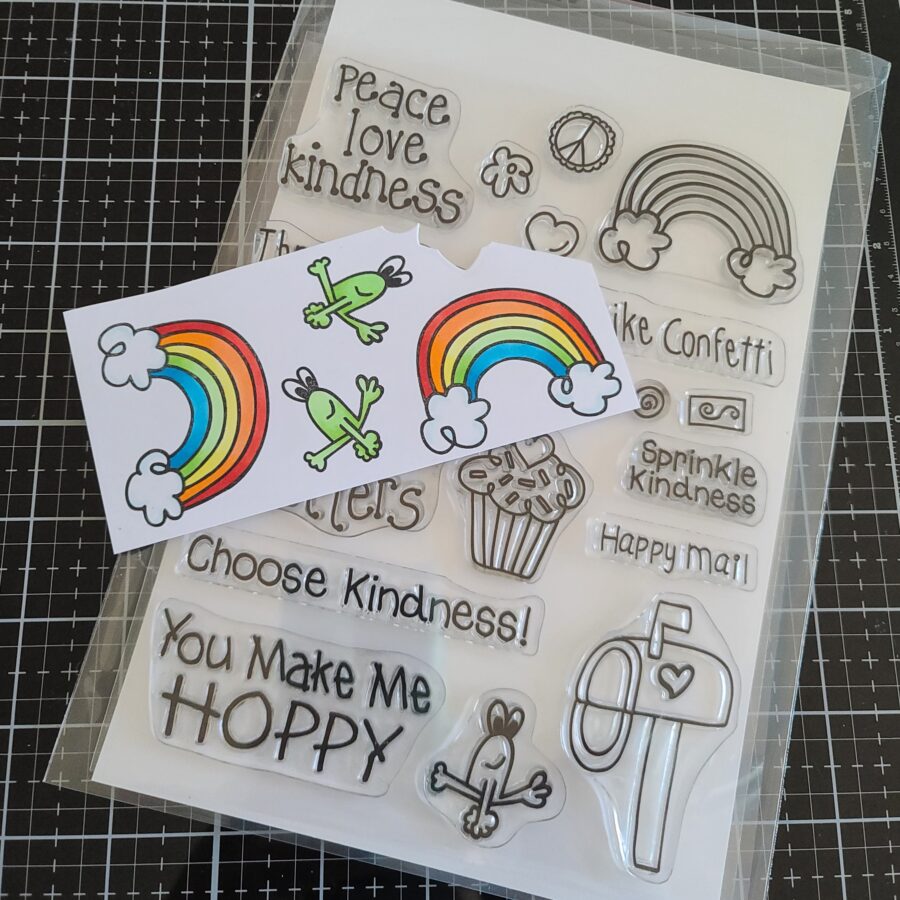
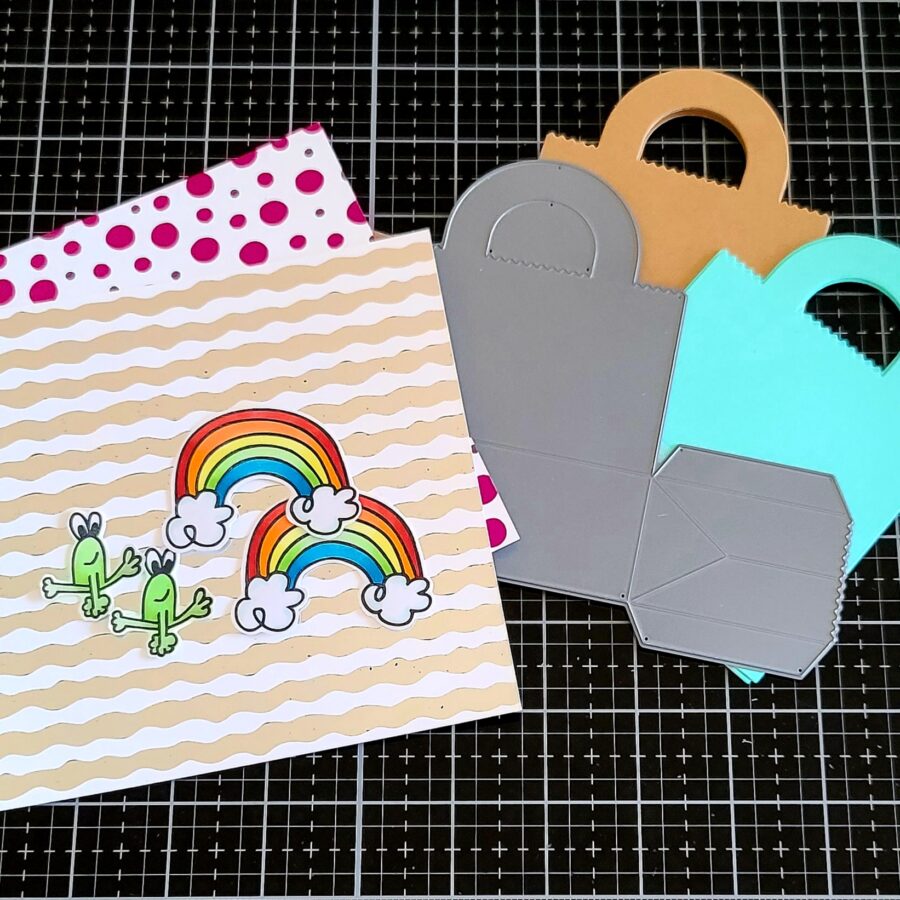
While I was waiting for the laminator to heat up I stamped the frog and rainbow twice from the Kindness on Purpose stamp set. I colored them with my copic markers.
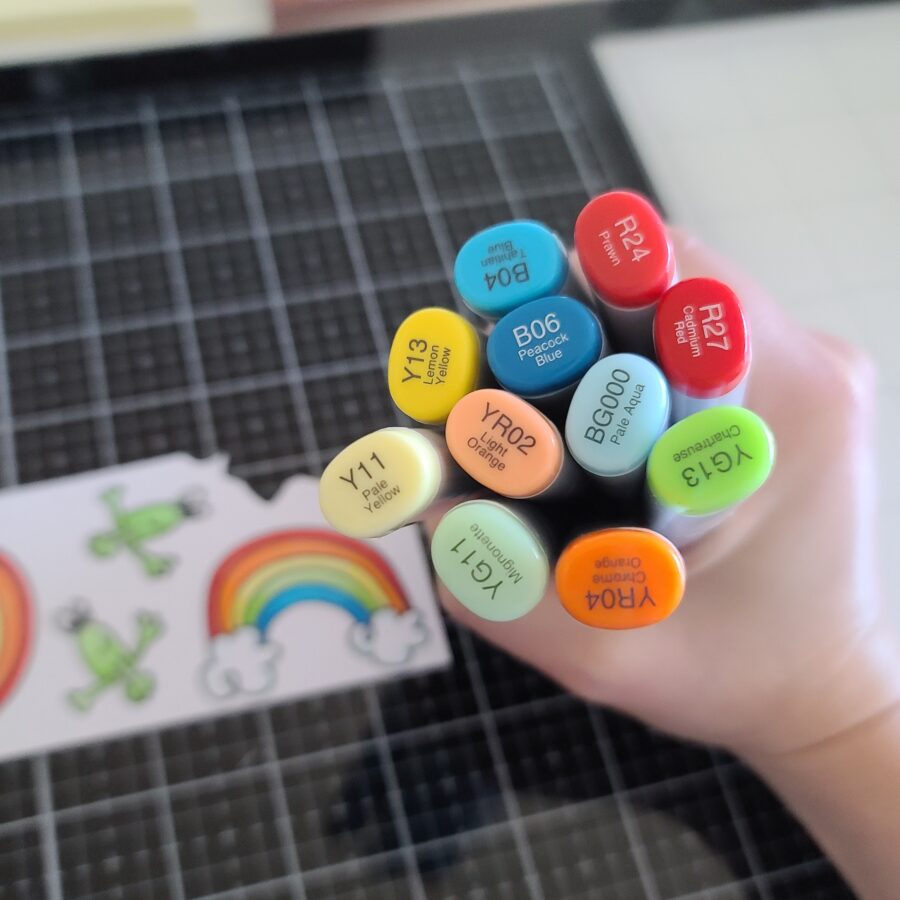
I kept the shading simple with two colors each. Here is a look at the colors I used. I don’t normally do this but I’ve been asked lately to share this tidbit and I hope it helps you. I used the same green on the frogs as the green stripe in the rainbow to keep the color palette down. The BG000 is just an accent on the clouds for the rainbows.
My laminator was finally heated up so I used a microfiber cloth to wipe the toner sheets and back of the foil transfer sheets down. This helps remove oils from our hands that might inhibit the transfer process. One at a time I slipped a sheet of foil and toner sheet into a folded piece of parchment paper and ran them through the laminator. Removing the foil is like magic each time. It never gets old!
At this point I also fussy cut the images out that I had colored and die cut the tote bag from teal and kraft cardstocks – 4 times each. This gives me enough pieces to make 4 bags.
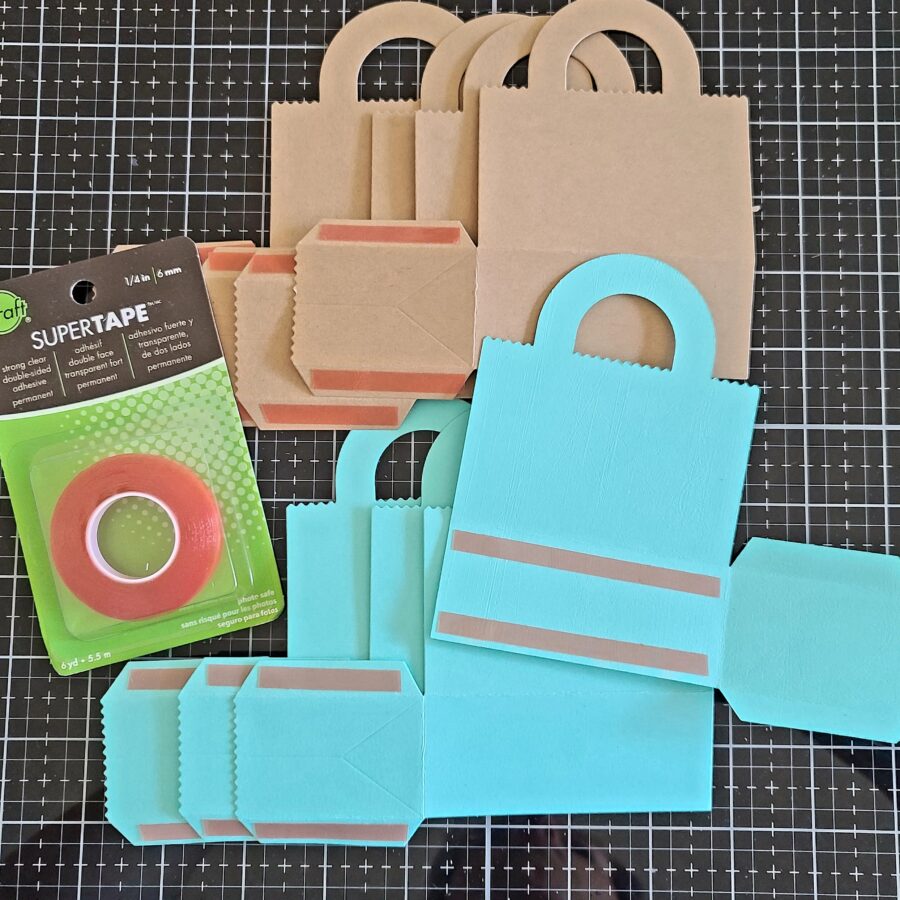
I folded the crease lines on all the pieces to the bags and then added super tape to all of the tabs and the bottom of half of them. This tape is my #1 go-to for treat bags and boxes. It holds so well! Most other tapes let go if there is any pressure from the bag being full or even just over time but this tape holds strong perfectly!
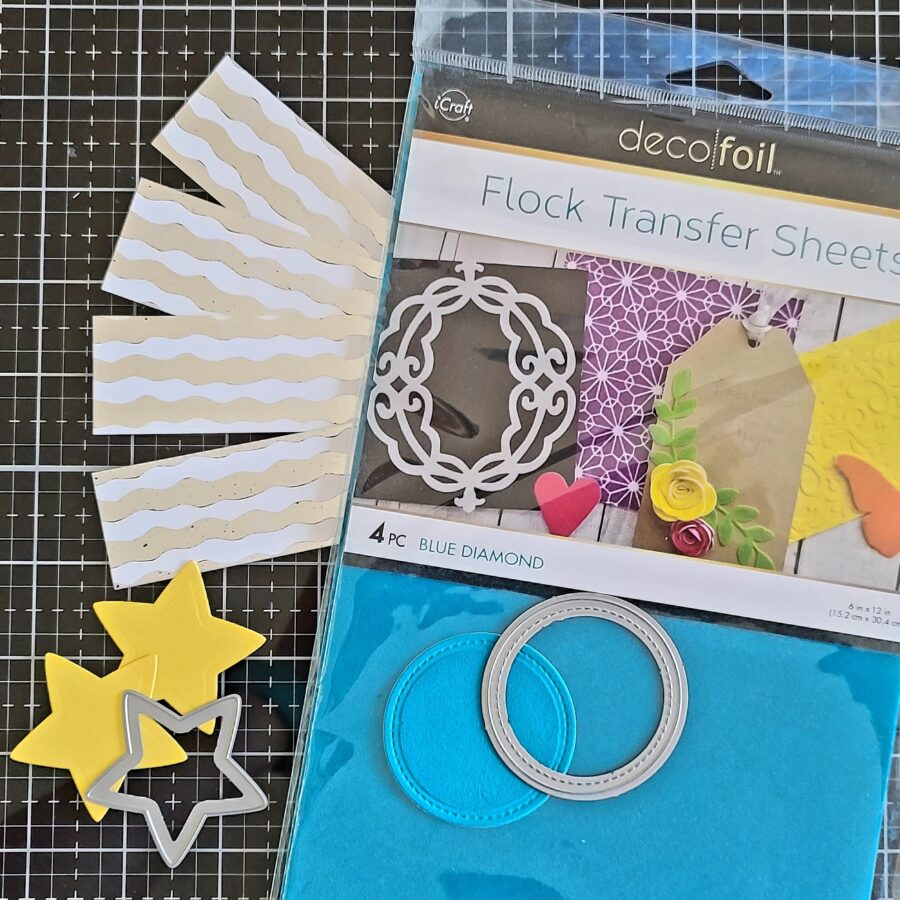
For the “boy” themed bags I die cut some stitched circles from blue diamond flock transfer sheets and a couple of yellow stars too. I trimmed the foiled toner sheet down to 3 1/2×1 1/4 inches. This gave me a large piece of this toner sheet leftover for future projects too!
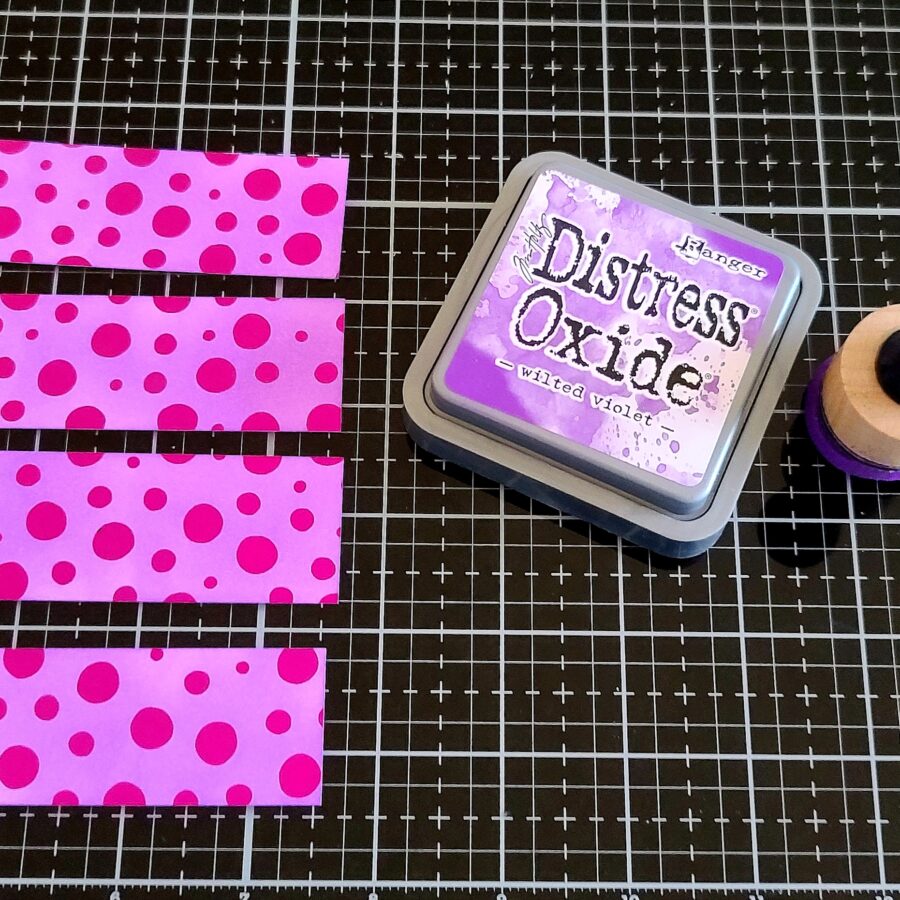
For the “girl” themed bags I trimmed the foiled toner sheet down to the same 3 1/2×1 1/4 inches and then inked them up with wilted violet distress oxide ink. I wiped it clean with a microfiber cloth afterward to clean the ink off the foiled parts.
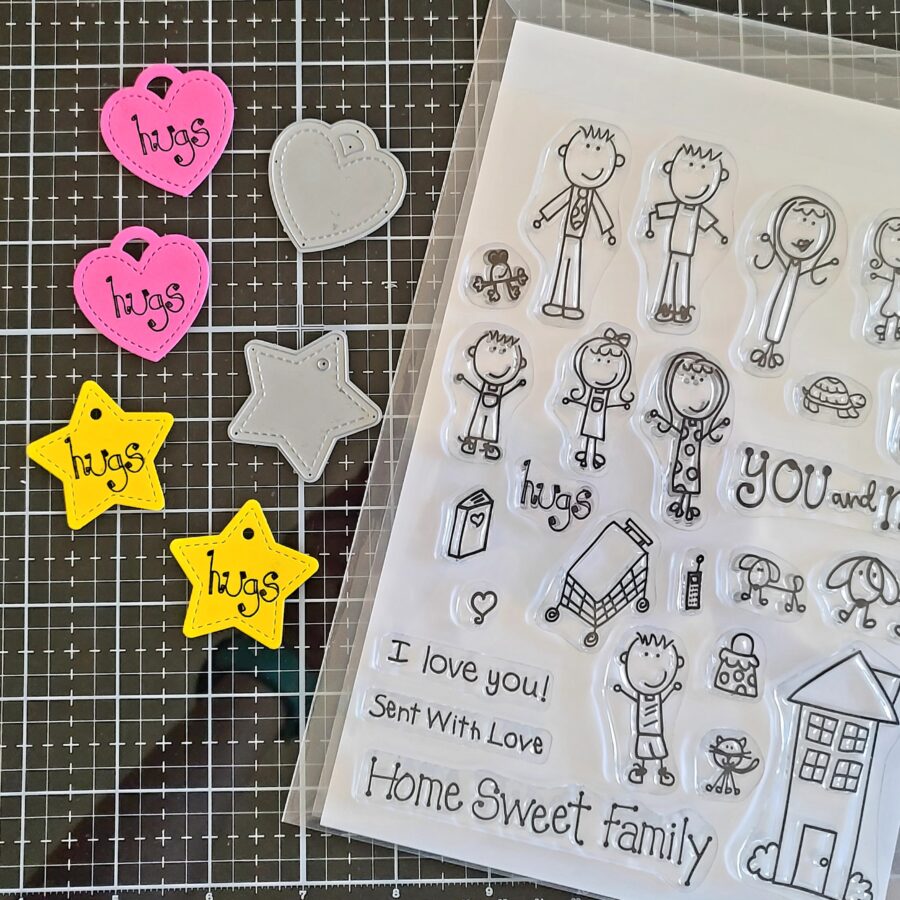
Next, I die cut a few tags and stamped them with the hugs sentiment in the Me and My Peeps stamp set. I just love this font and thought it was a cute sentiment while leaving room to write to and from on the back of the tag.
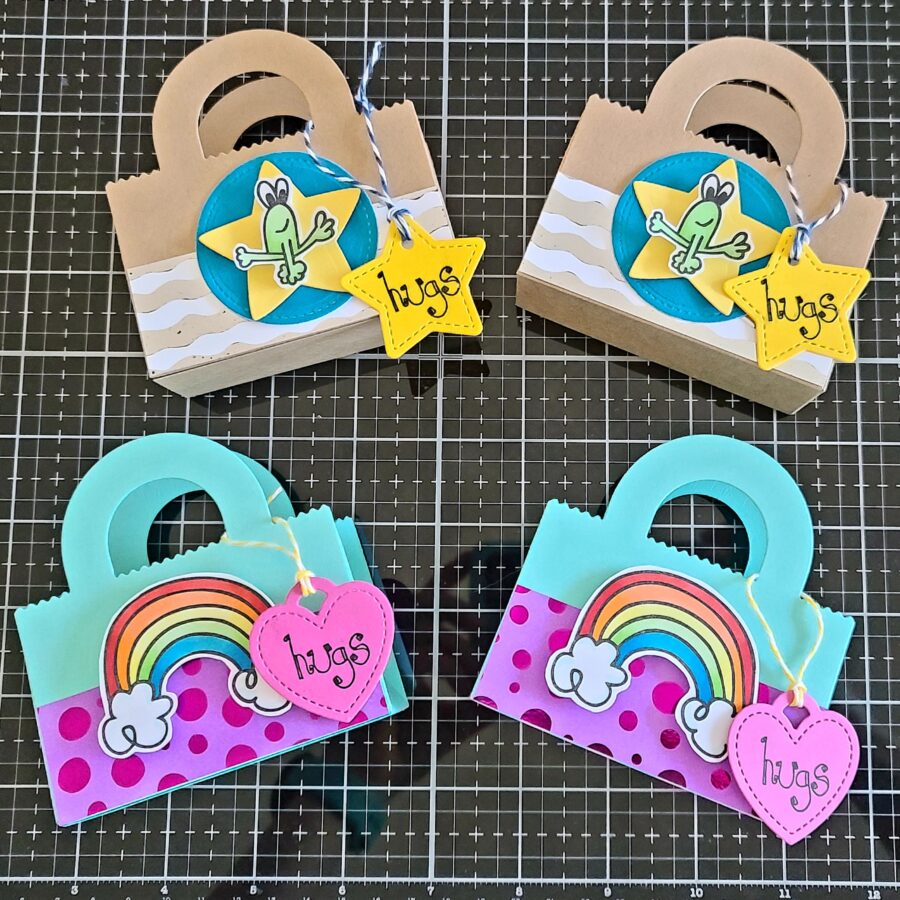
For assembly, I used a tape runner to adhere the strips of foiled toner sheets to both sides of the tote bags. Then I used liquid adhesive to adhere to the flocked circles and stars. I used foam squares to pop up the frogs and rainbows though for a little fun dimension. I used some baker’s twine from my stash to tie the tags in place and we’re ready to fill these cute bags!
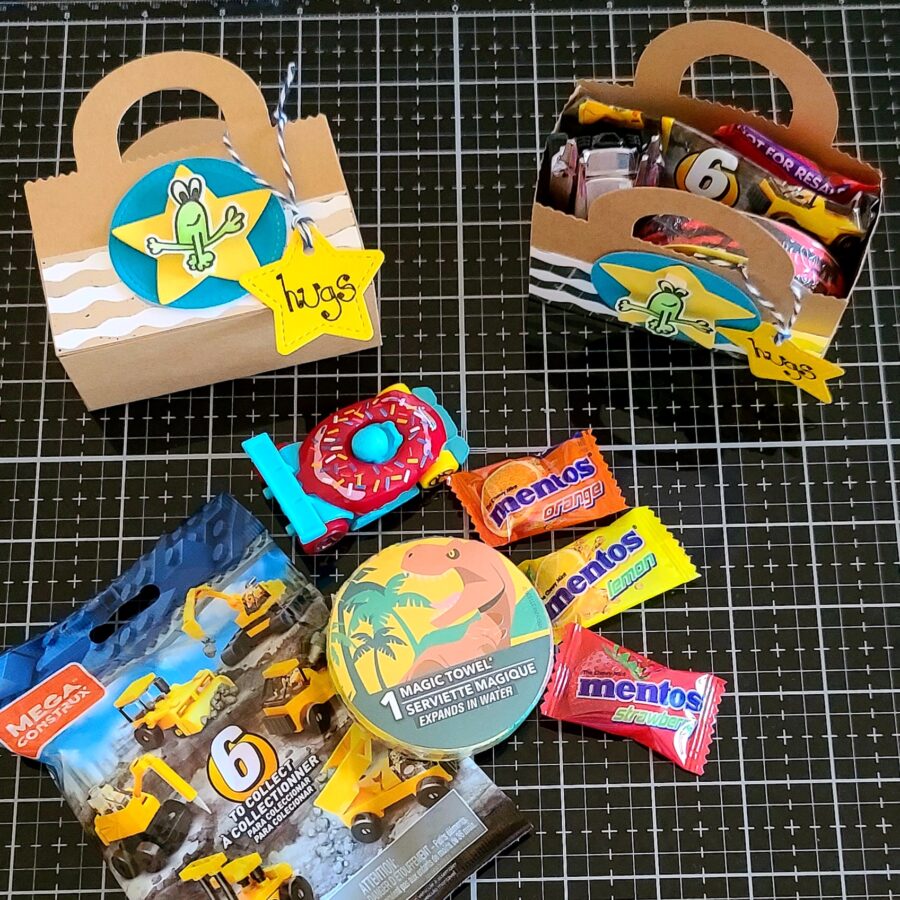
I had gone to the Dollar Tree with my daughter and found some silly fun things. I got everything to fill these 4 bags for $12. If you filled them with less goodies and maybe a few more pieces of candy you could even bring that amount down further.
For the “boy” bags we added a Hot Wheels car, blind bag construction truck, magic washcloth and some candies. This filled these bags to the brim and I can’t wait to give them out!
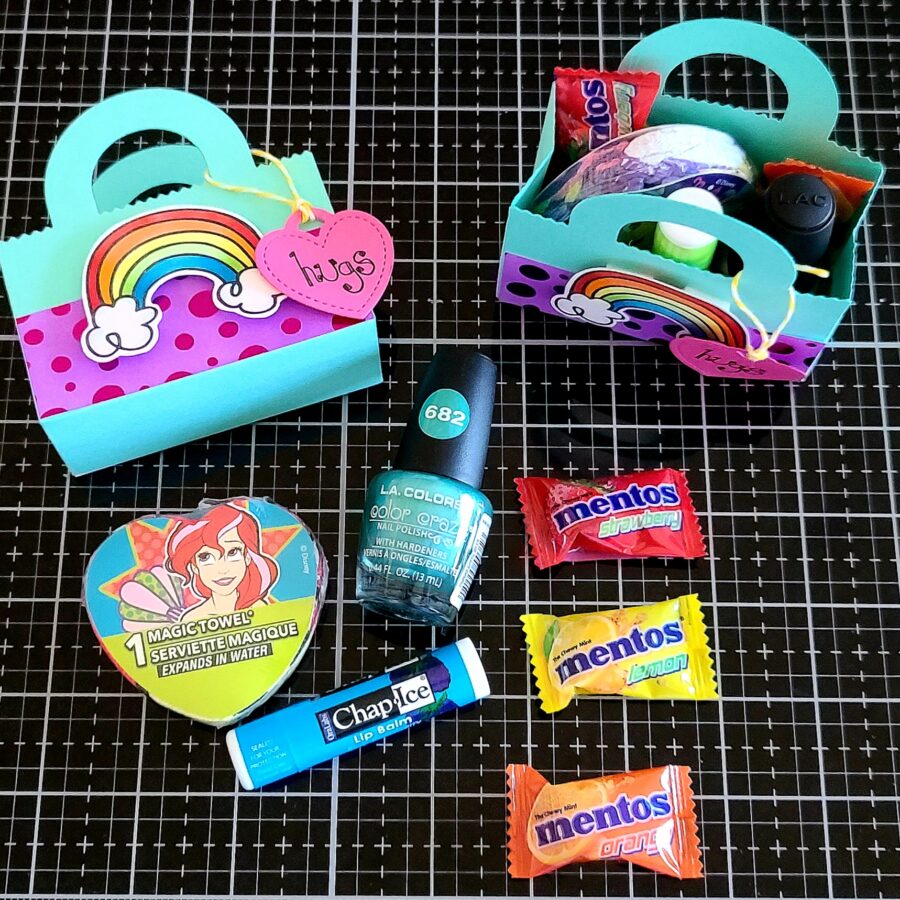
For the “girls” bags we added nail polish, chapstick, a magic washcloth, and some candy to these too. What girl wouldn’t have a blast with these fun things?!? Also, can’t wait to share some super fun smiles with a couple of girls!
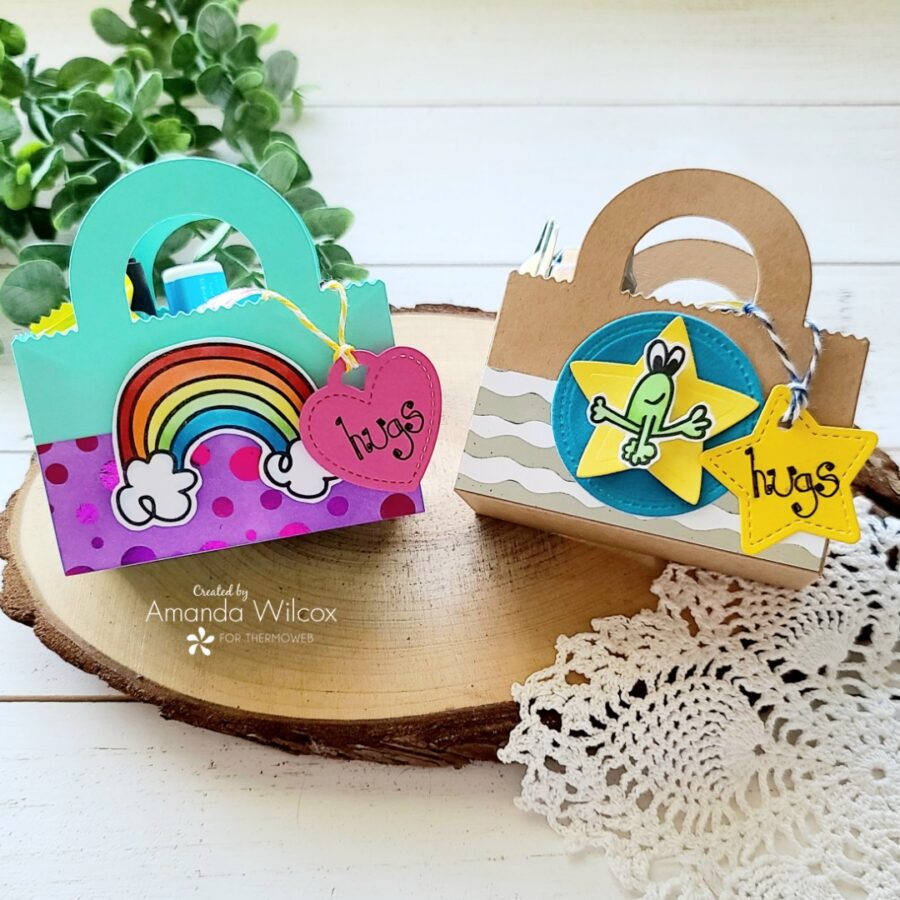
Here’s another look at both of the bag styles we made today. I really hope you enjoyed today’s project and found some inspiration to create something wonderful and share it with someone!
I appreciate you sharing your time with me. Have a fabulous day!
This post contains affiliate links. For more information, see our disclosure HERE.