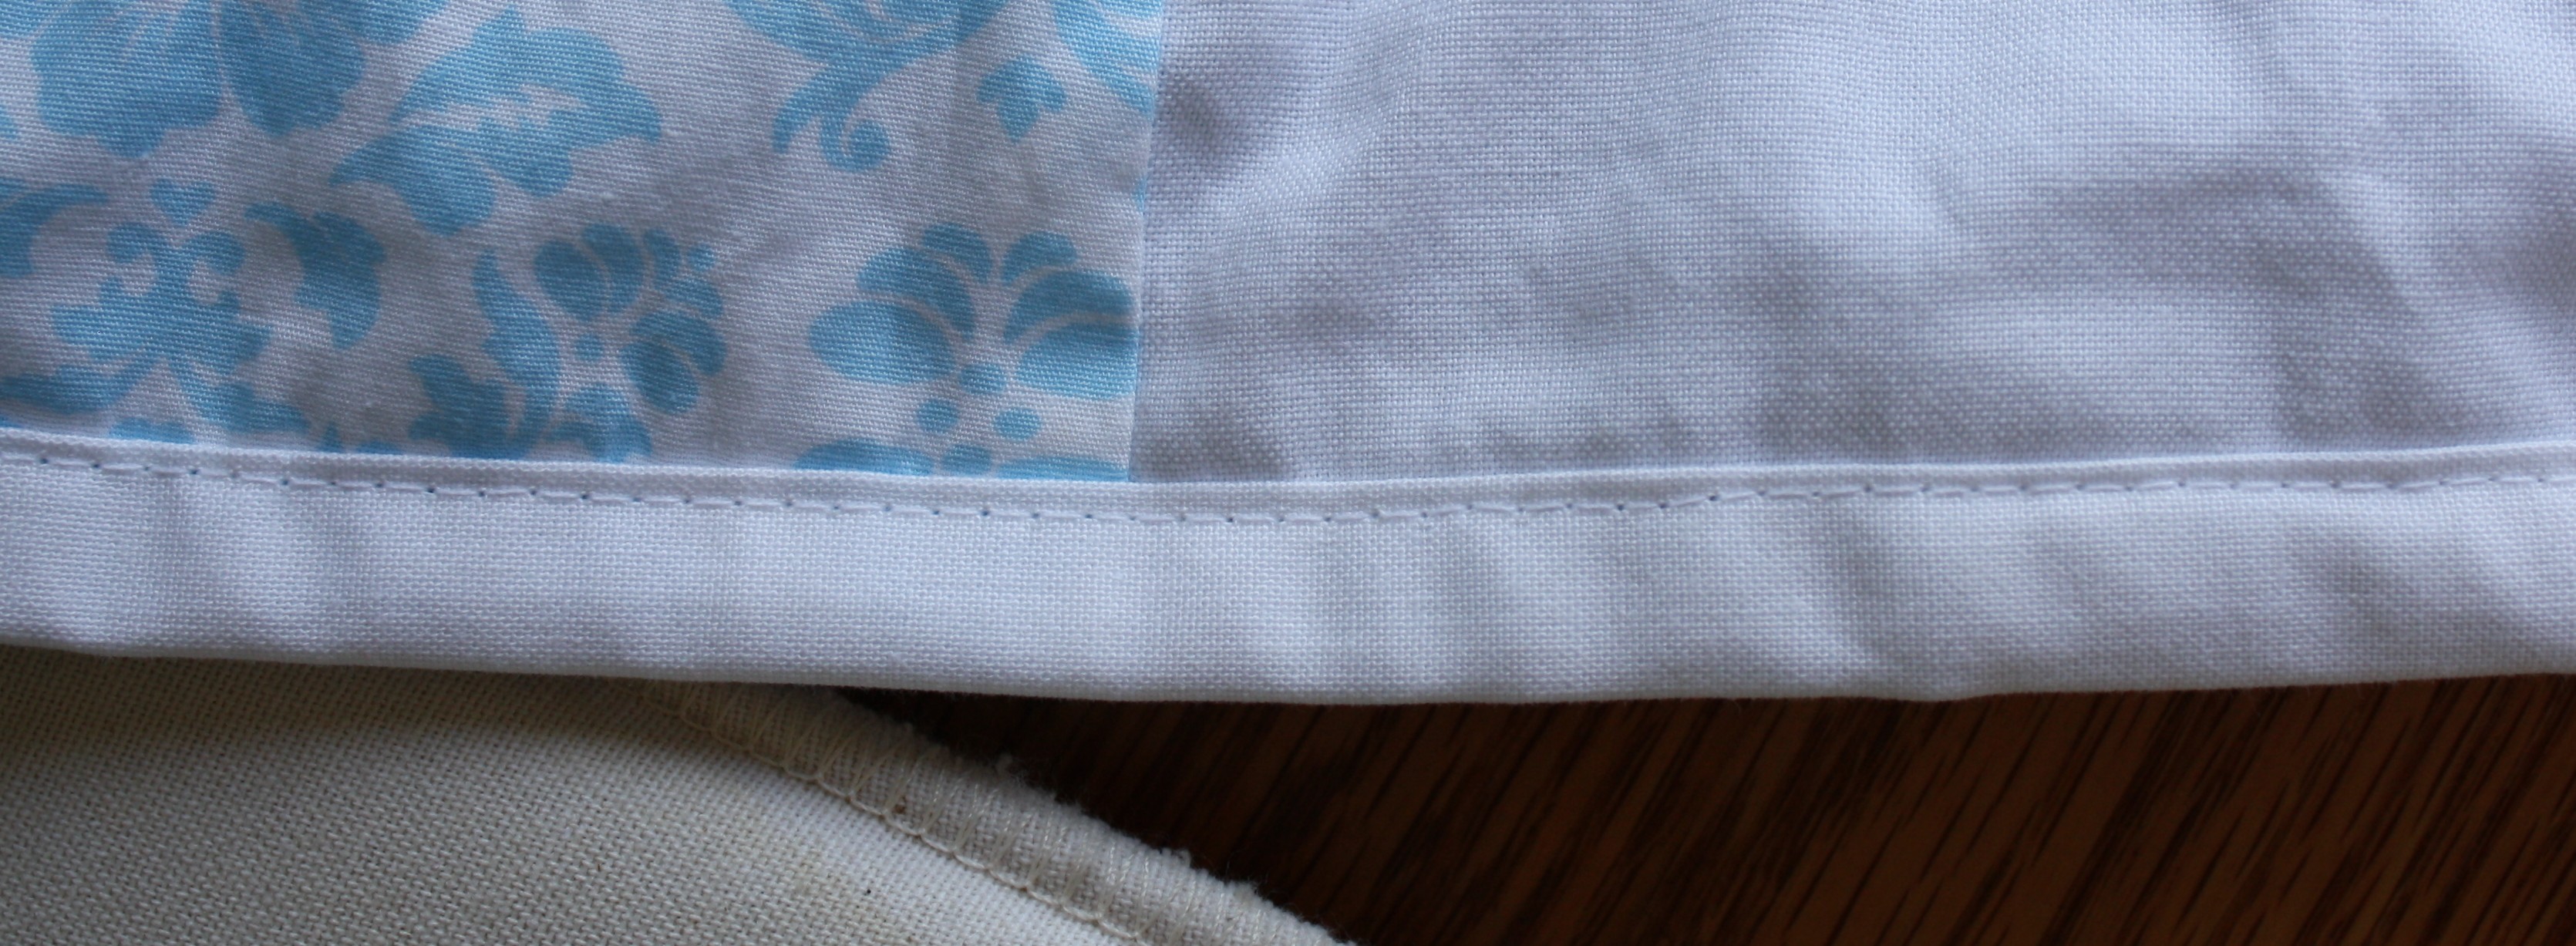
I just finished up a quilt for my own bed and I thought that I would put together a quick tutorial for you. I have always sewn my quilt binding by hand, but after spending so much time on all the detail of my new quilt by the time I got to the binding I was ready to be done with it. This seriously saved me at least a week of hand sewing. So with just a few steps I am going to show you a pretty slick way to sew your binding down nicely, the first time.
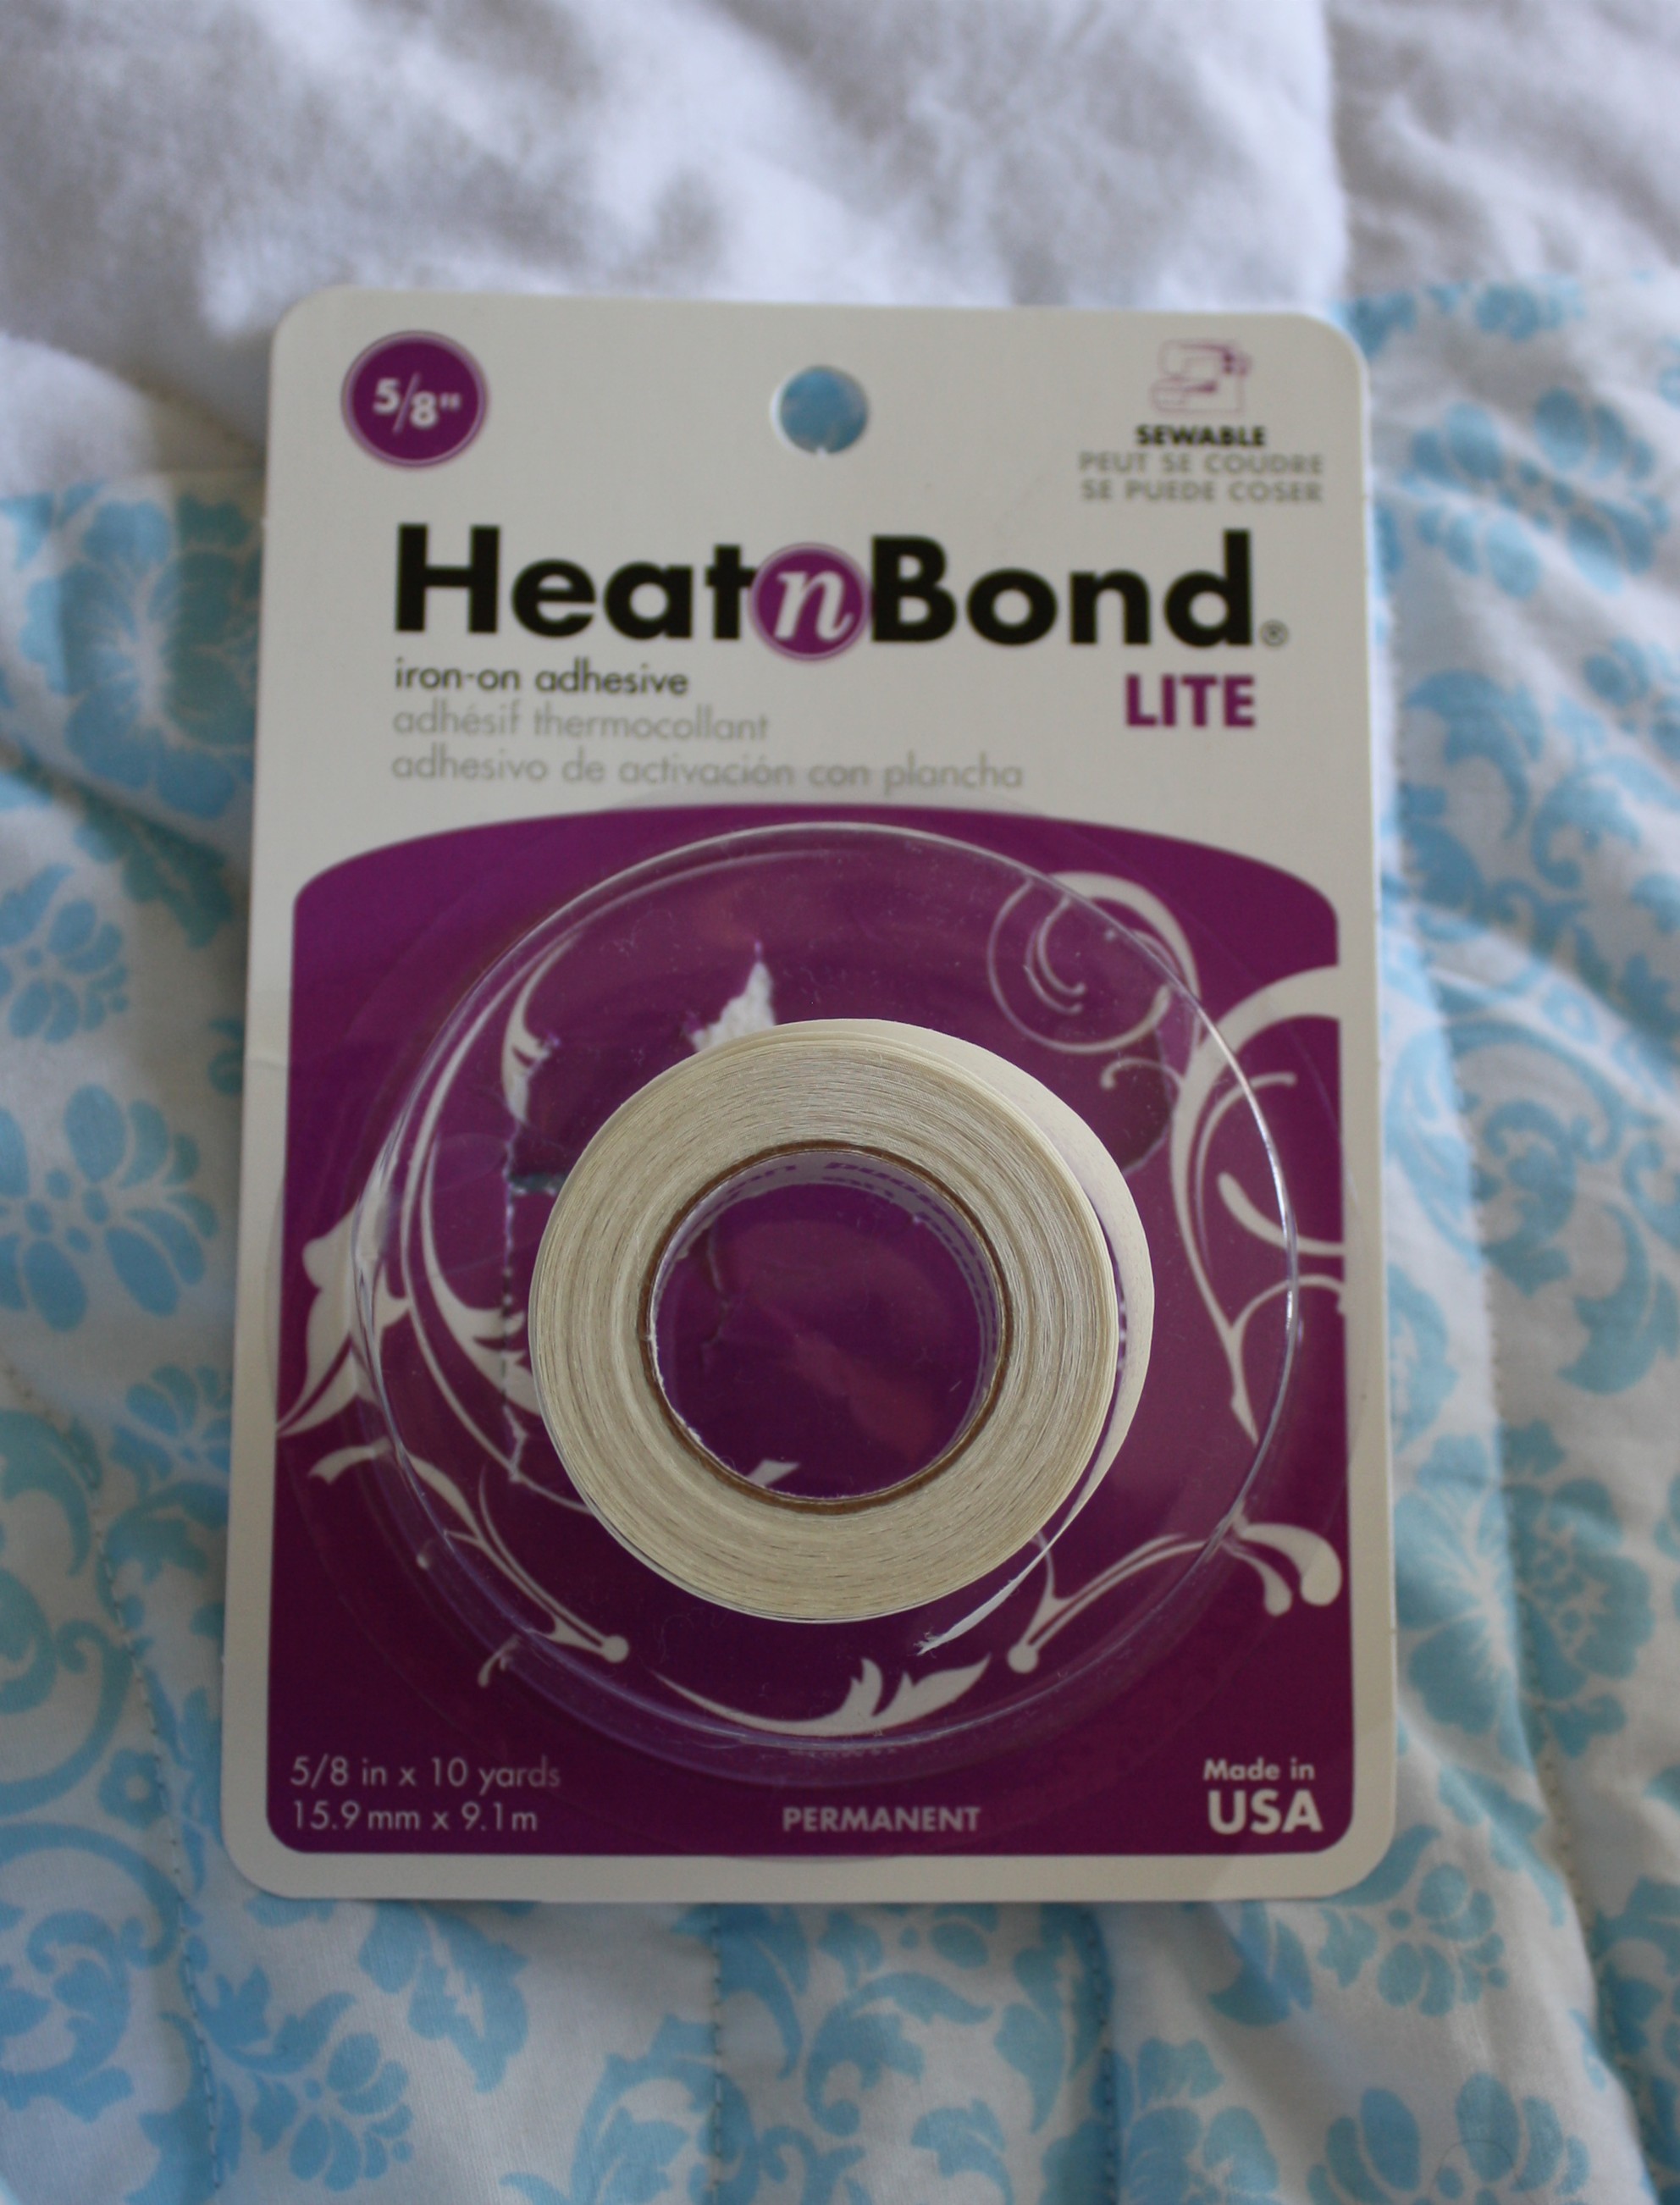
I used the Heat N Bond Lite 5/8” on my binding.
- 1. Sew the binding on your quilt.
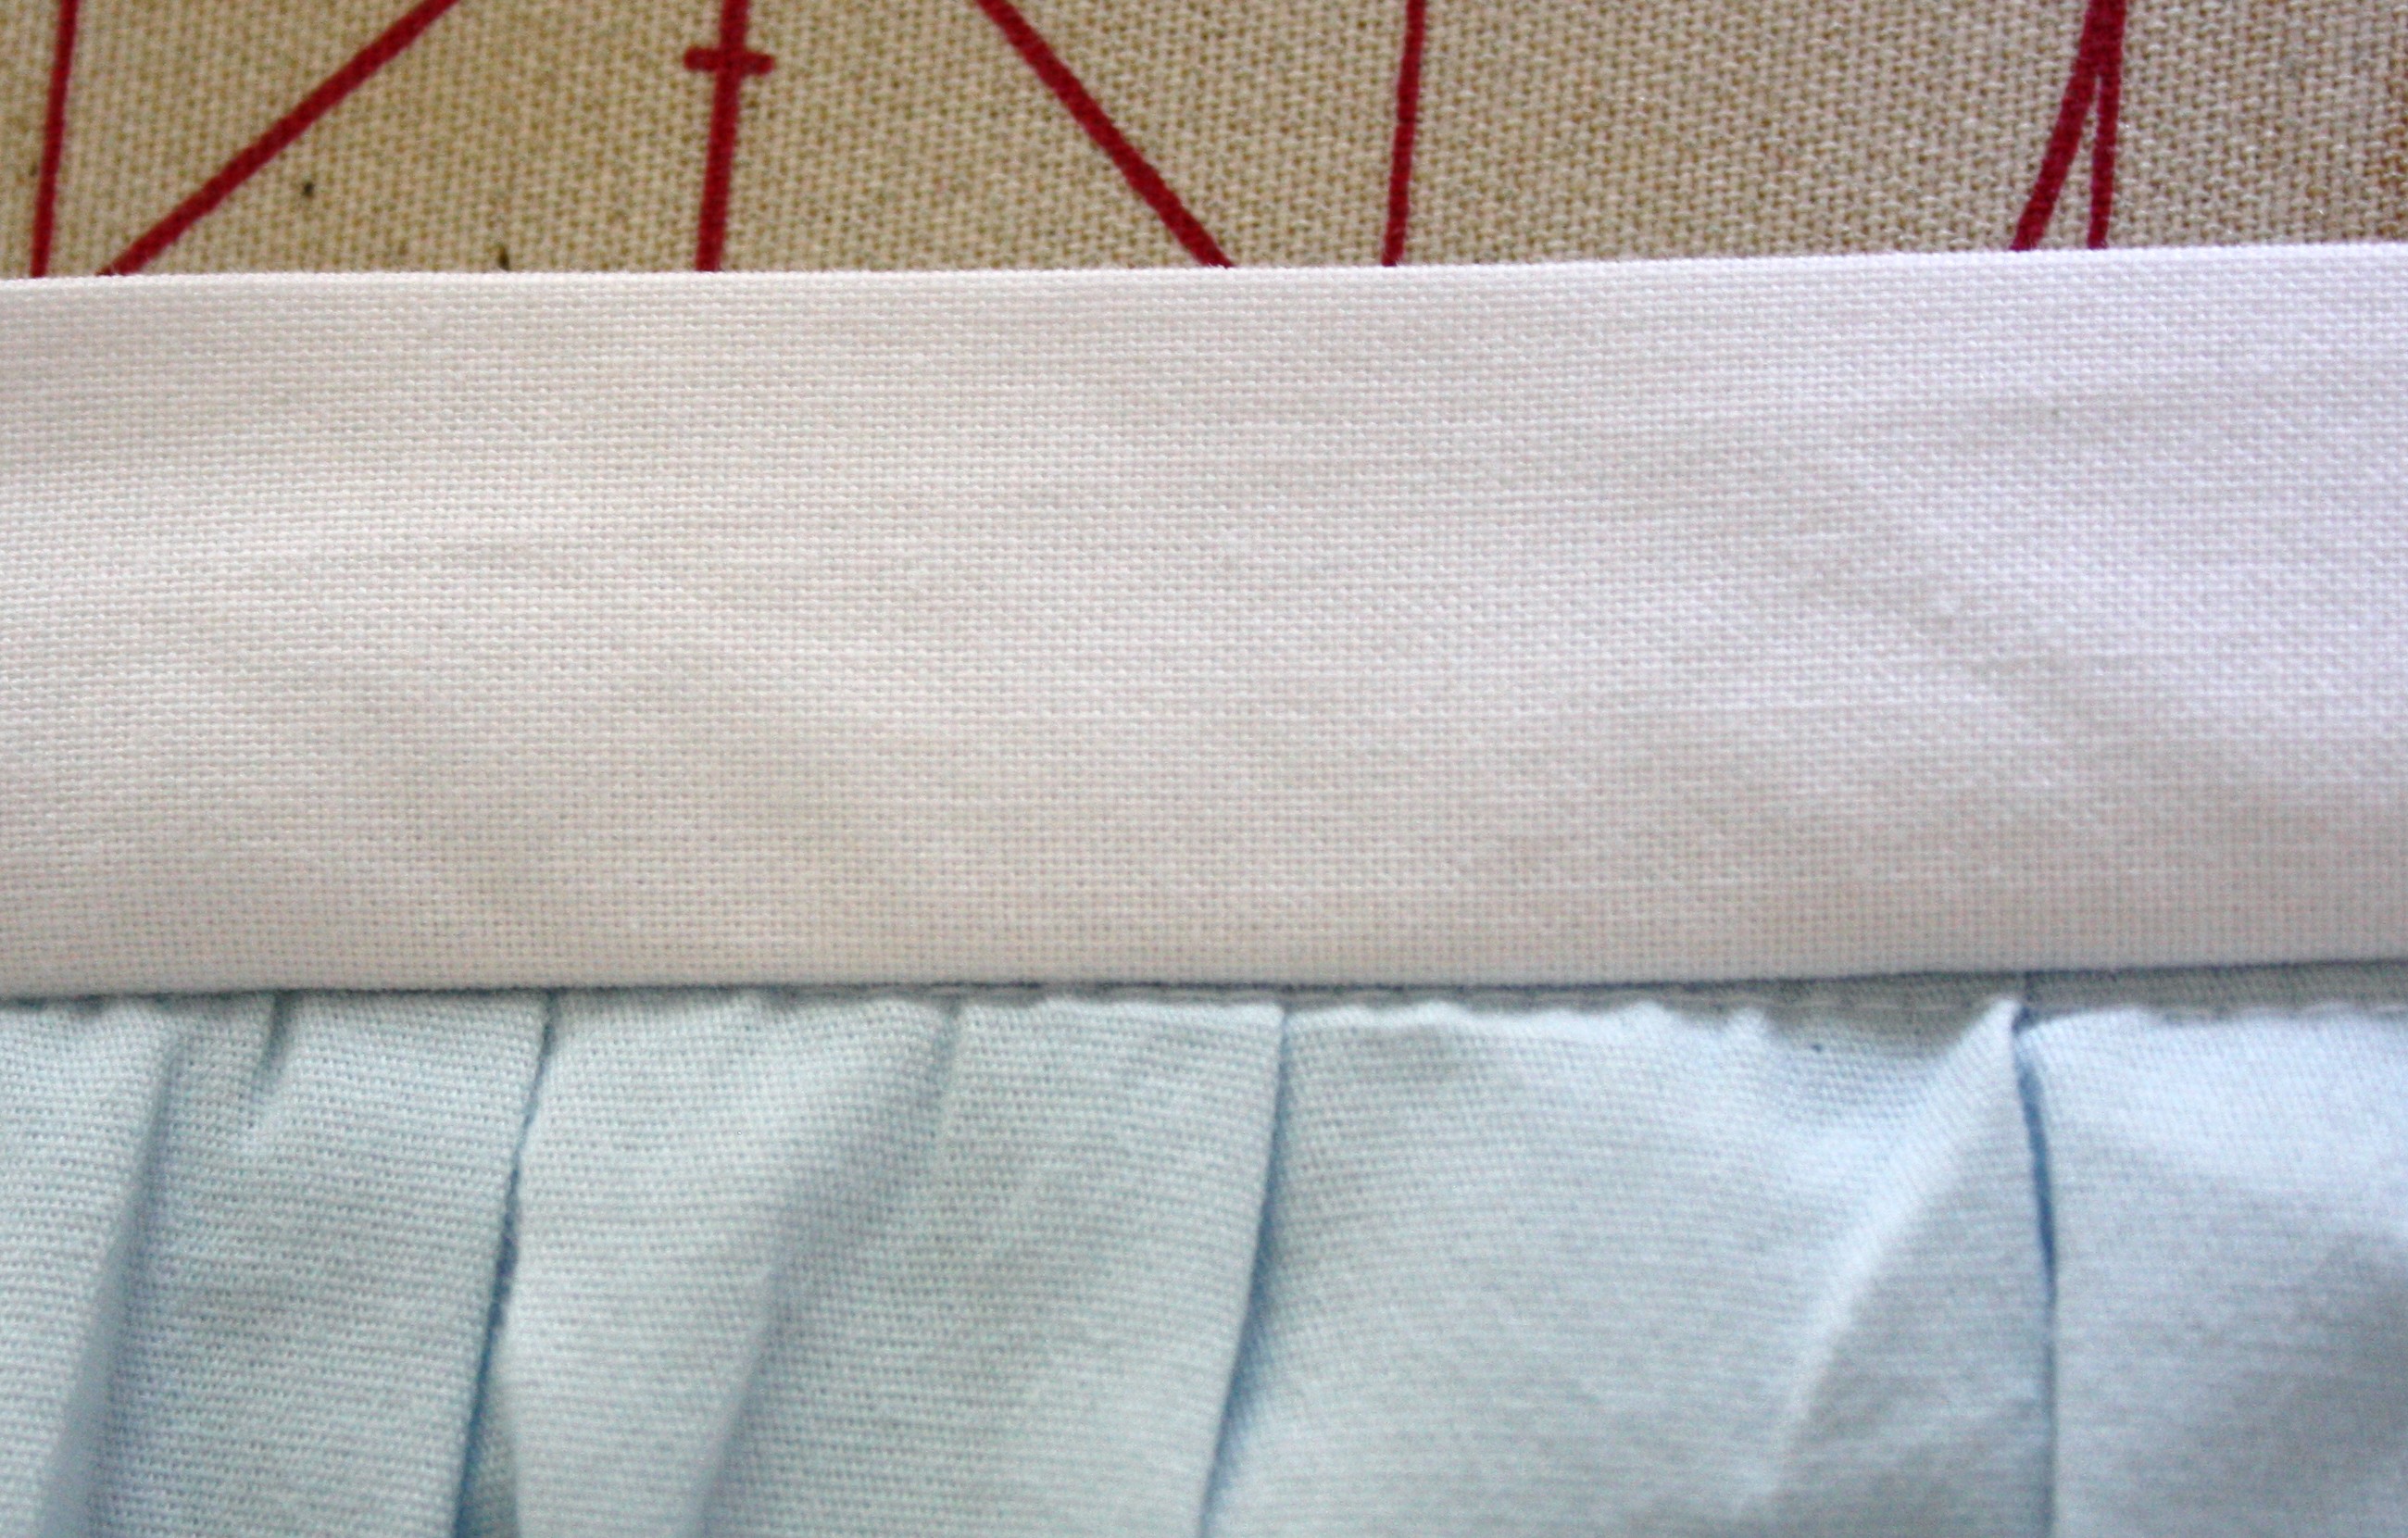
- 2. Iron on the Heat N Bond lite to the inside of the binding.
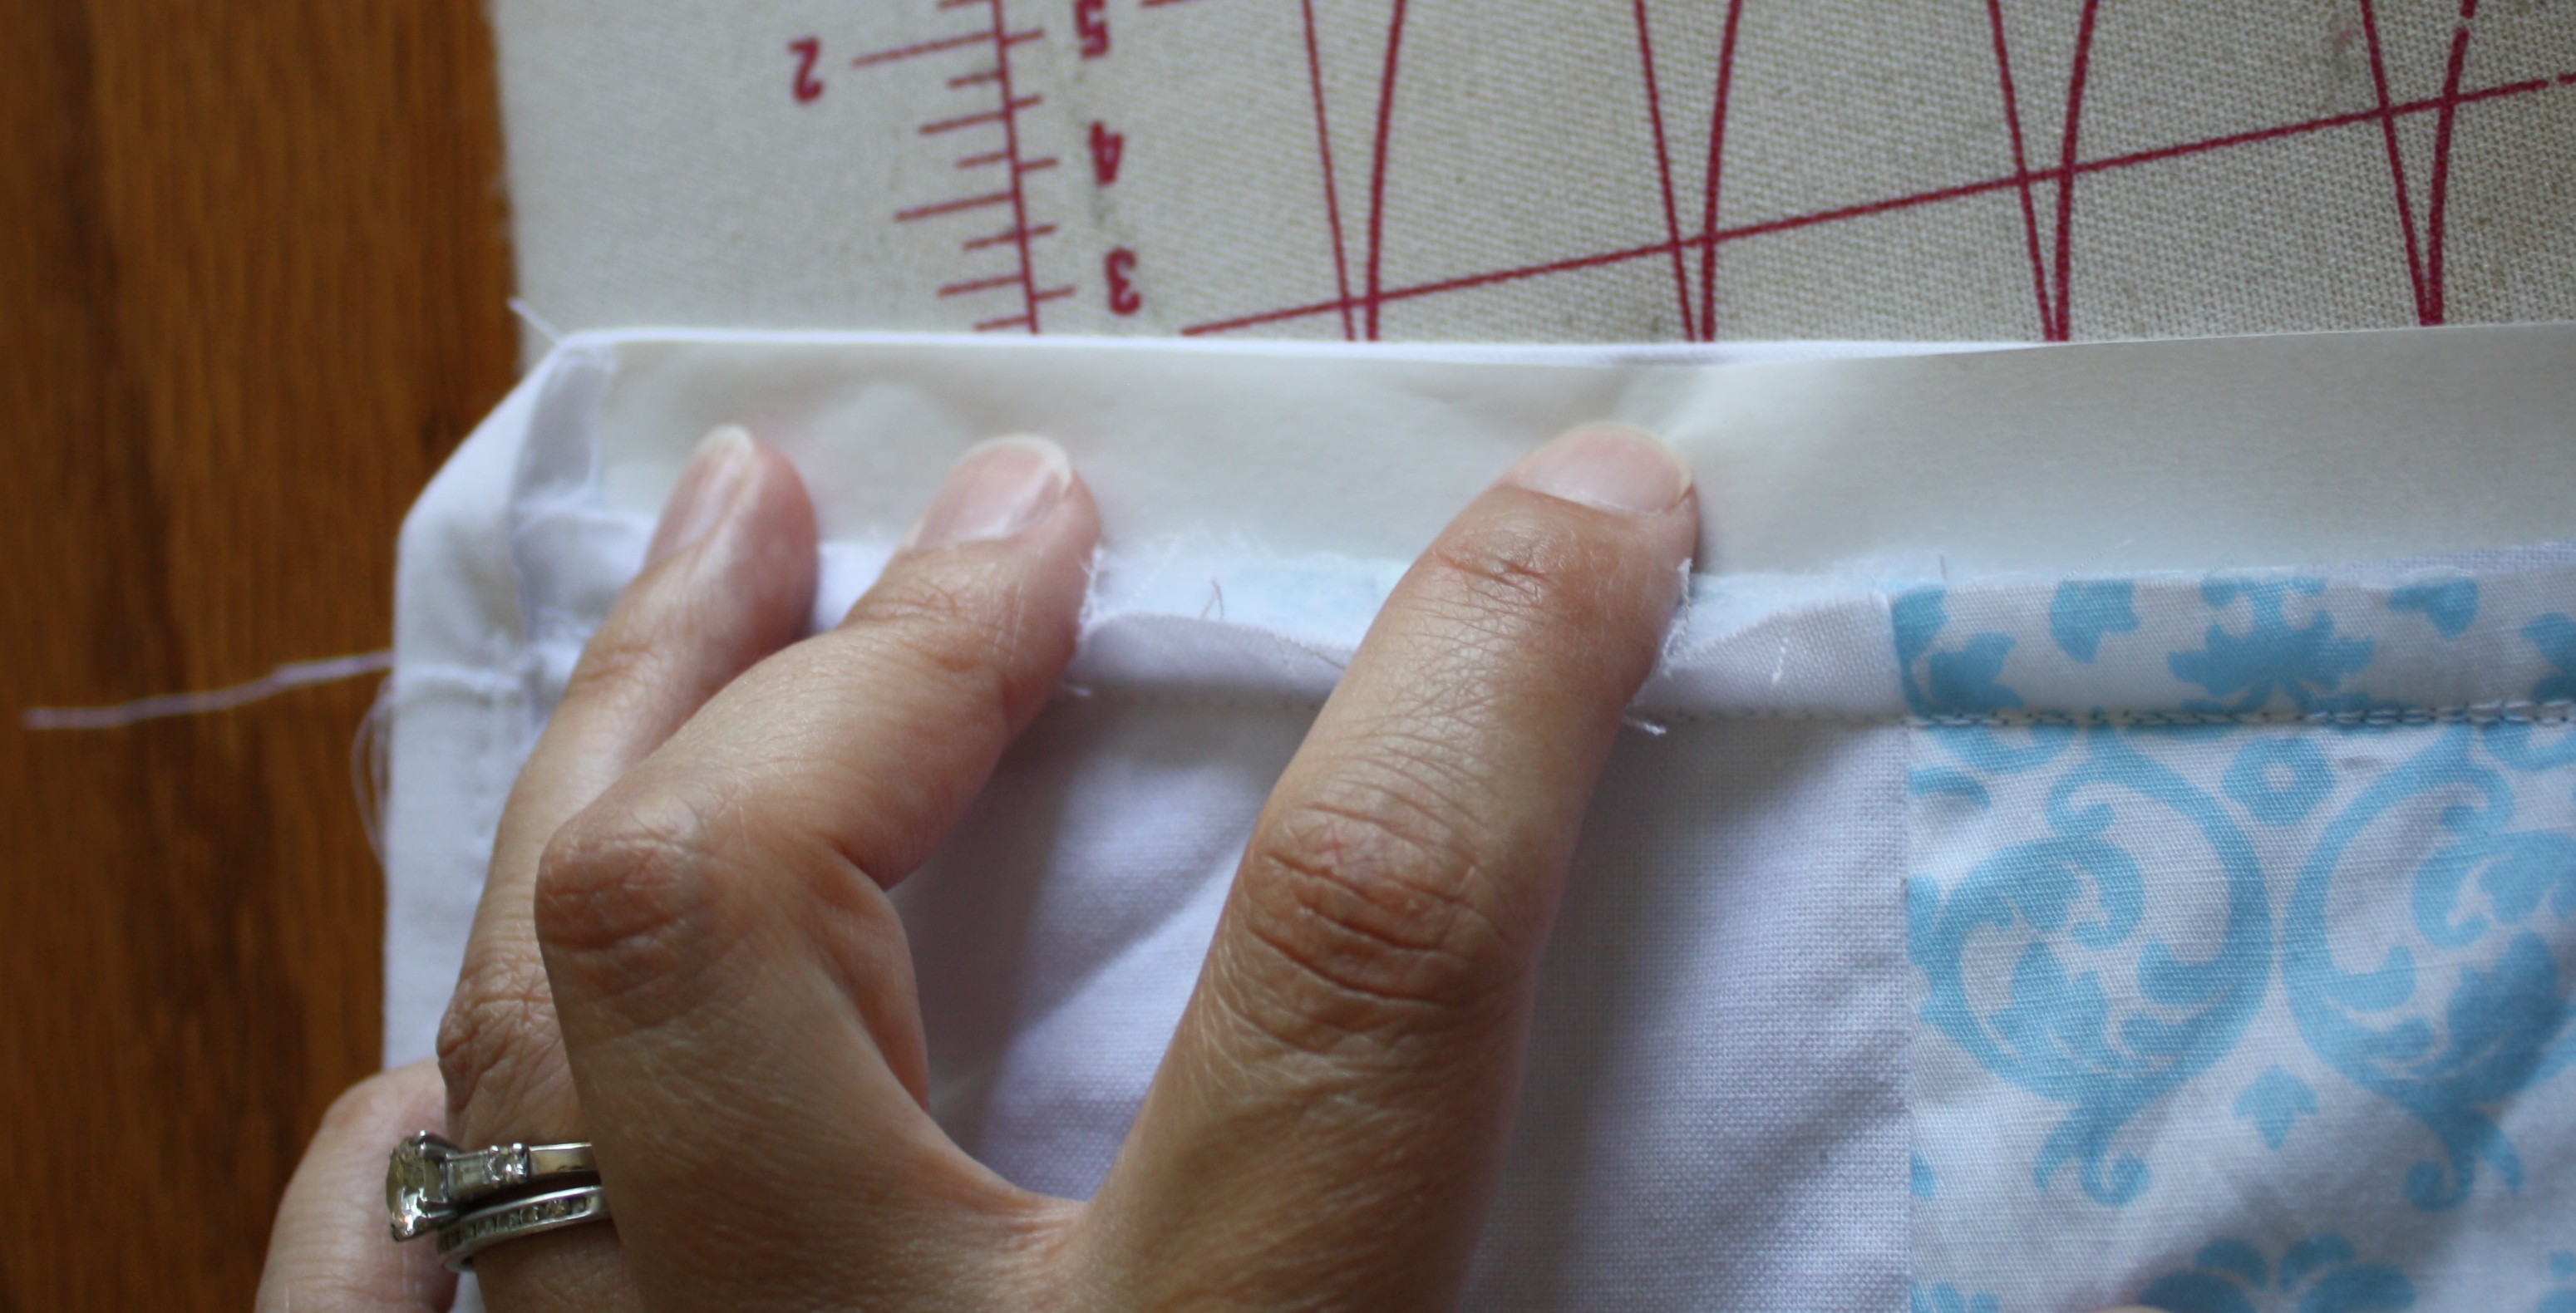
- 3. Peel the paper off.
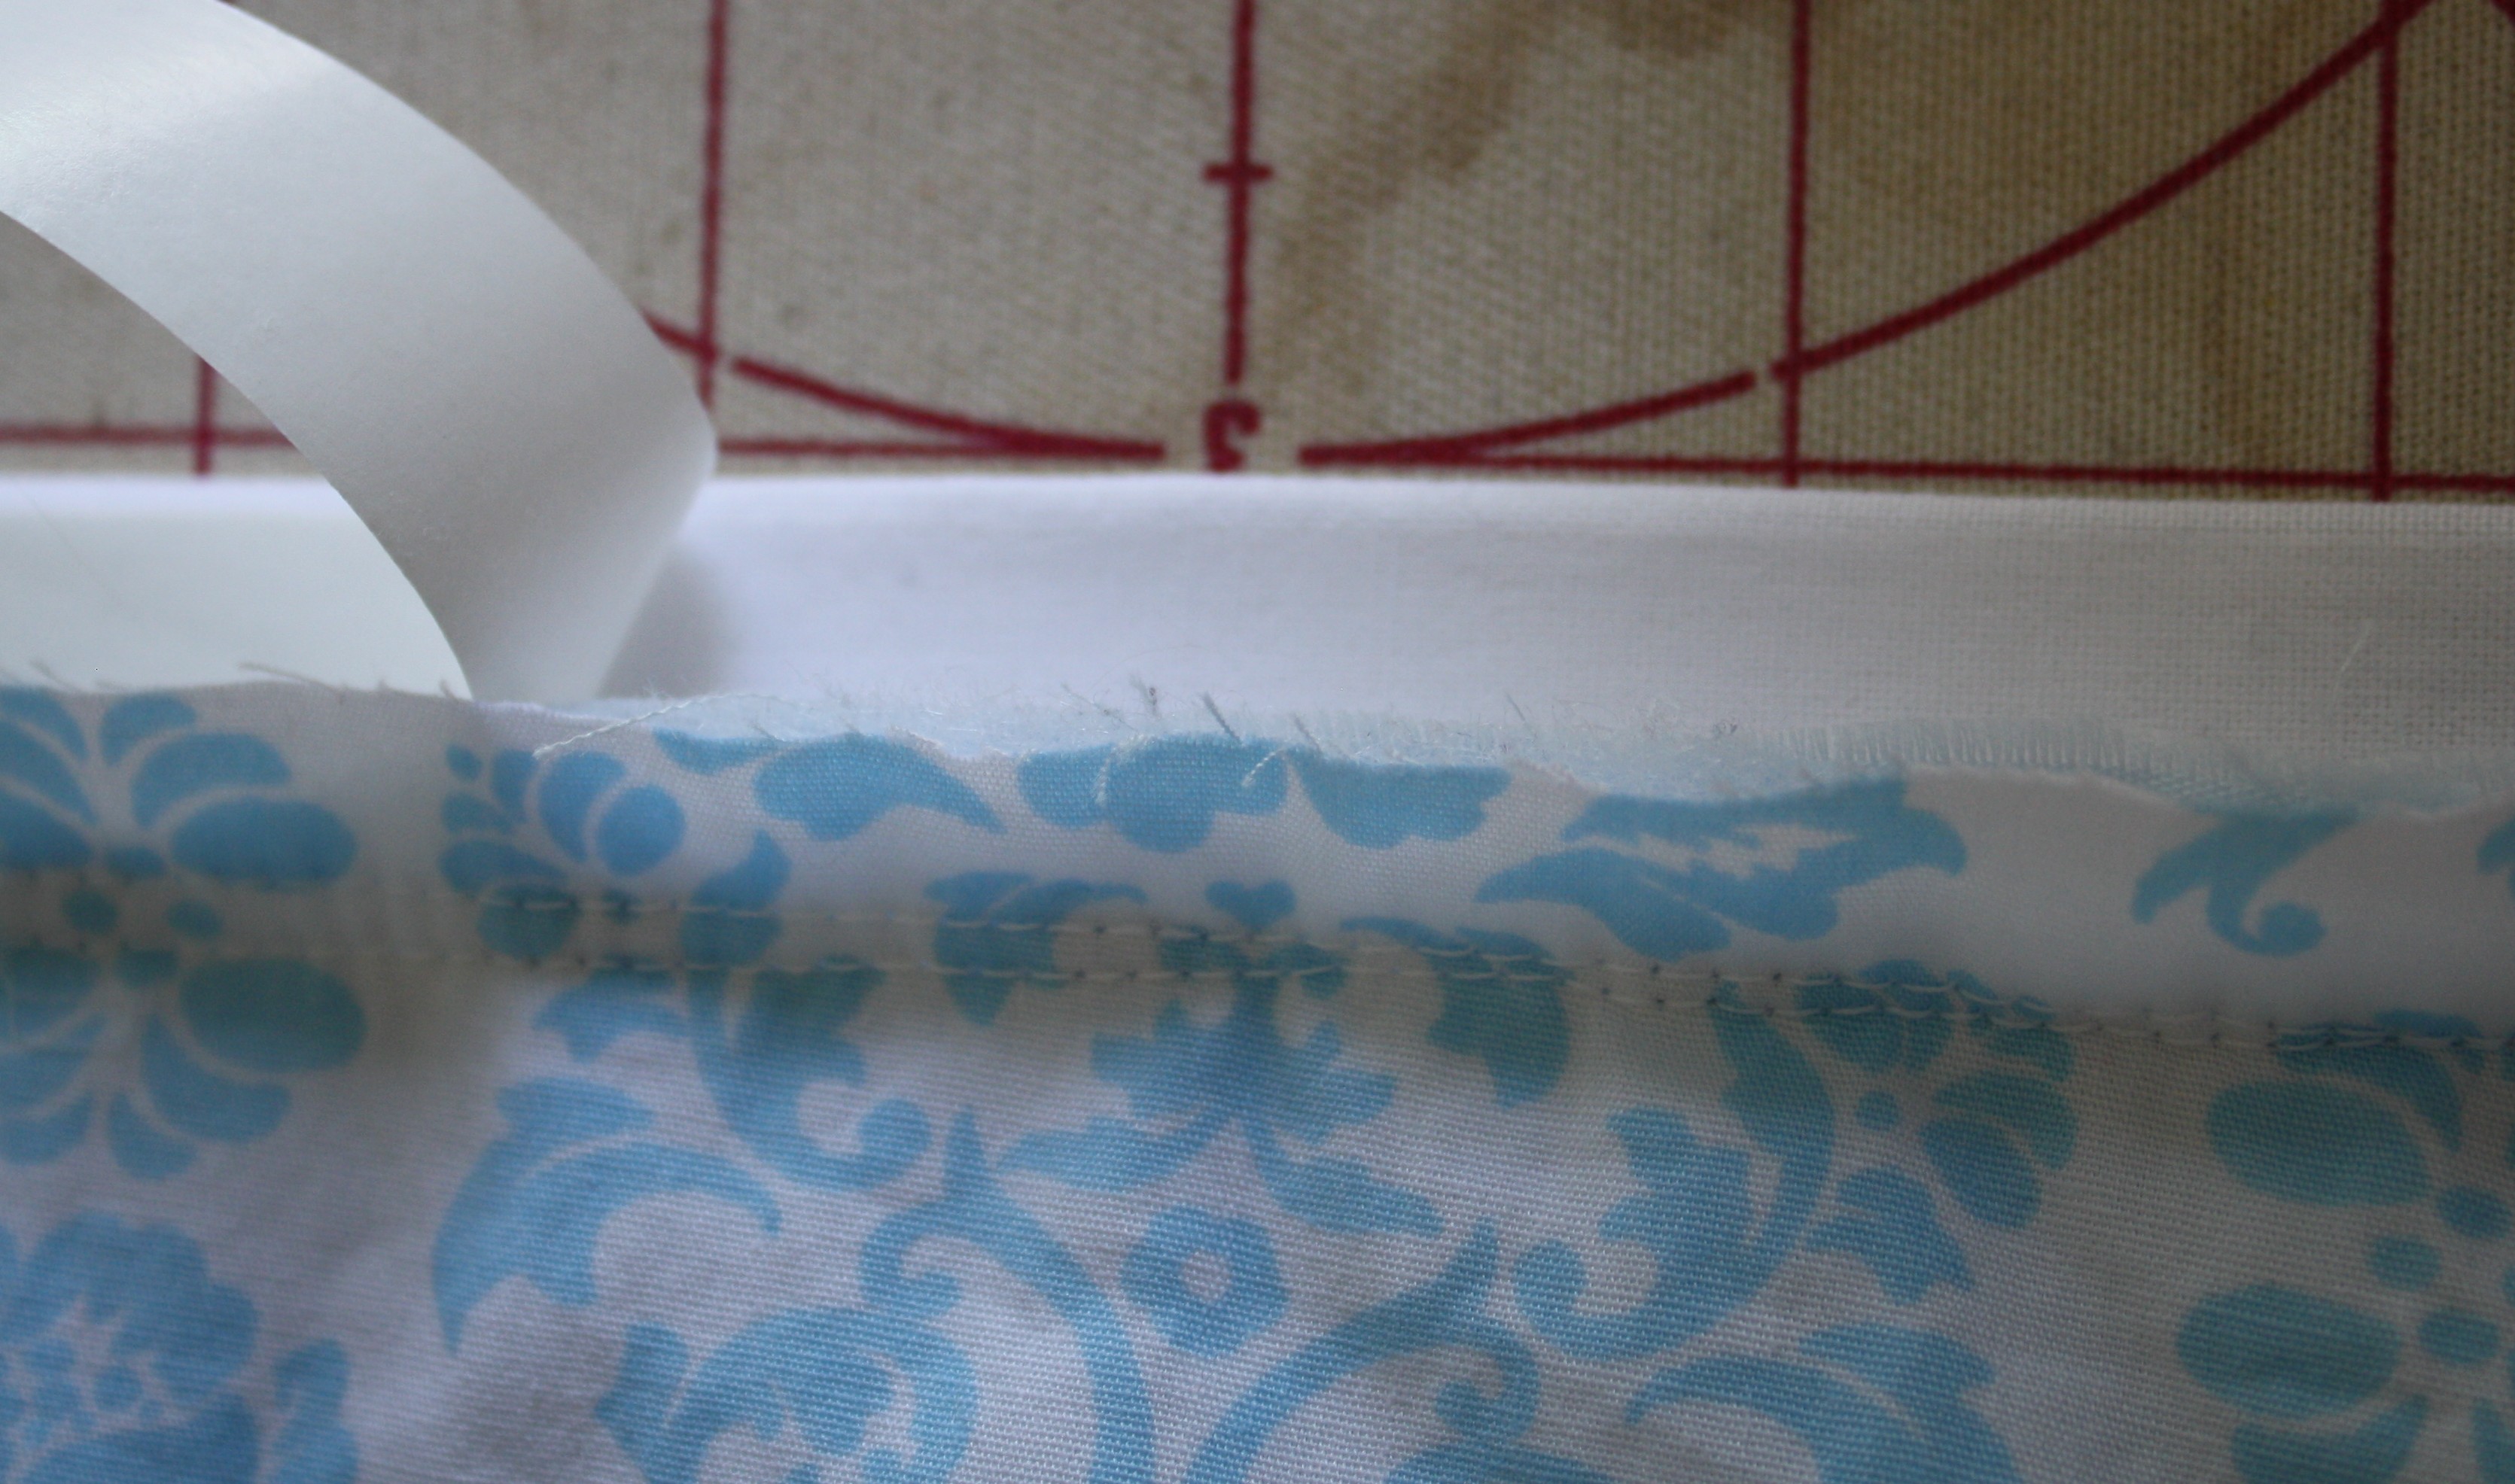
- 4. Iron the binding over so that it is just slightly covering the stitching from step 1.
- 5. Sew in the ditch on the front of the quilt.
- 6. Turn your quilt over and admire your work. You will notice a perfectly sewn binding. YEAH HOO!!
- 7. Now clip all your threads and put your new quilt to work.
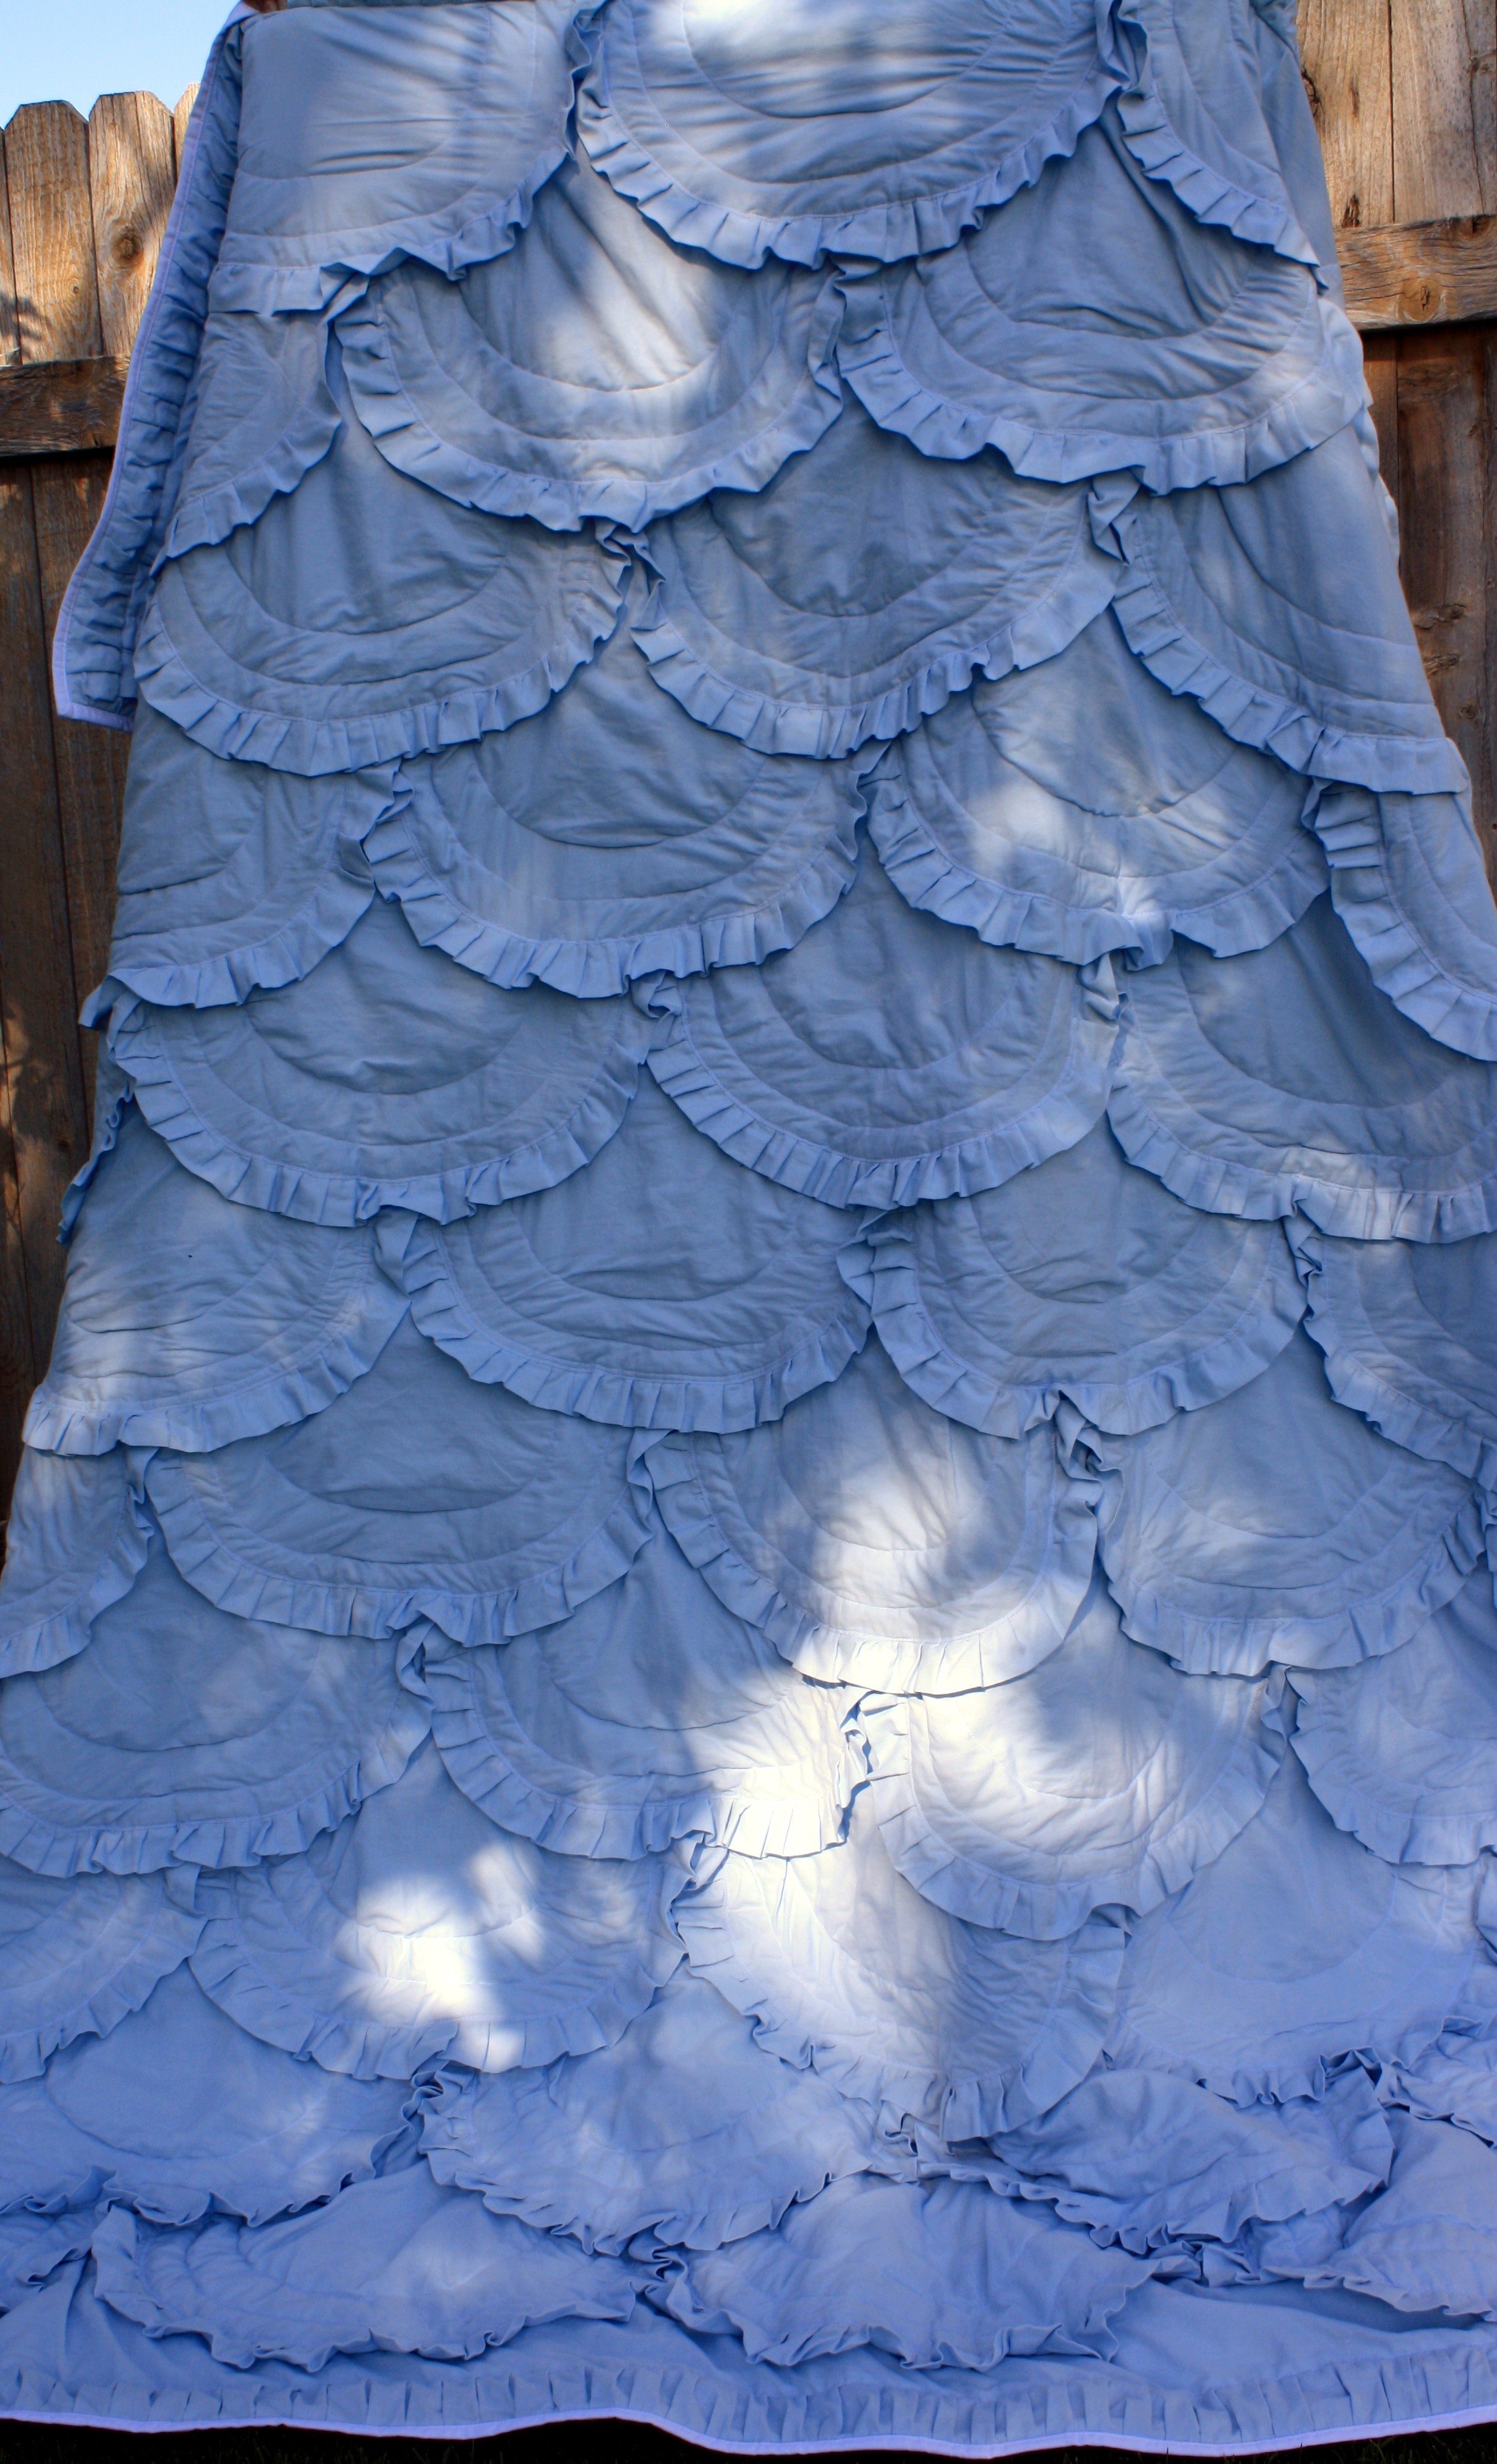
I was inspired to make this quilt from an anthropology catalog and with the very high price tag on it I decided to go ahead and make my own. It was definitely a little more work than I thought it was going to be, but definitely worth it.
I hope you have enjoyed my tutorial and find that it has helped in your binding troubles.
Jenifer Cowles



PatSloan
October 20, 2011 at 11:18 am (14 years ago)Fabulous!! Now I want the pattern for the quilt!!!
rebeccakeppel
October 22, 2011 at 3:41 pm (14 years ago)what a great tutorial and that quilt is absolutely gorgeous!!!
Chris
November 22, 2011 at 10:01 am (14 years ago)I love this quilt…any chance of sharing the pattern?
jencowles11
November 29, 2011 at 11:35 am (14 years ago)Thanks so much Chris for your interest, I saw the picture in an anthro catalog and just made it up. I will try to put it down on paper 🙂