


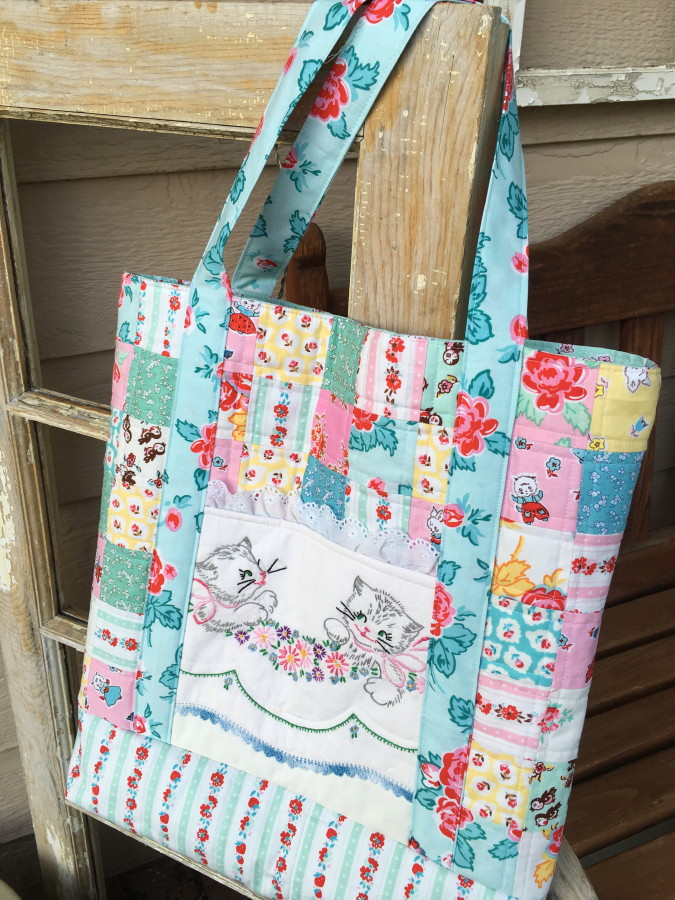
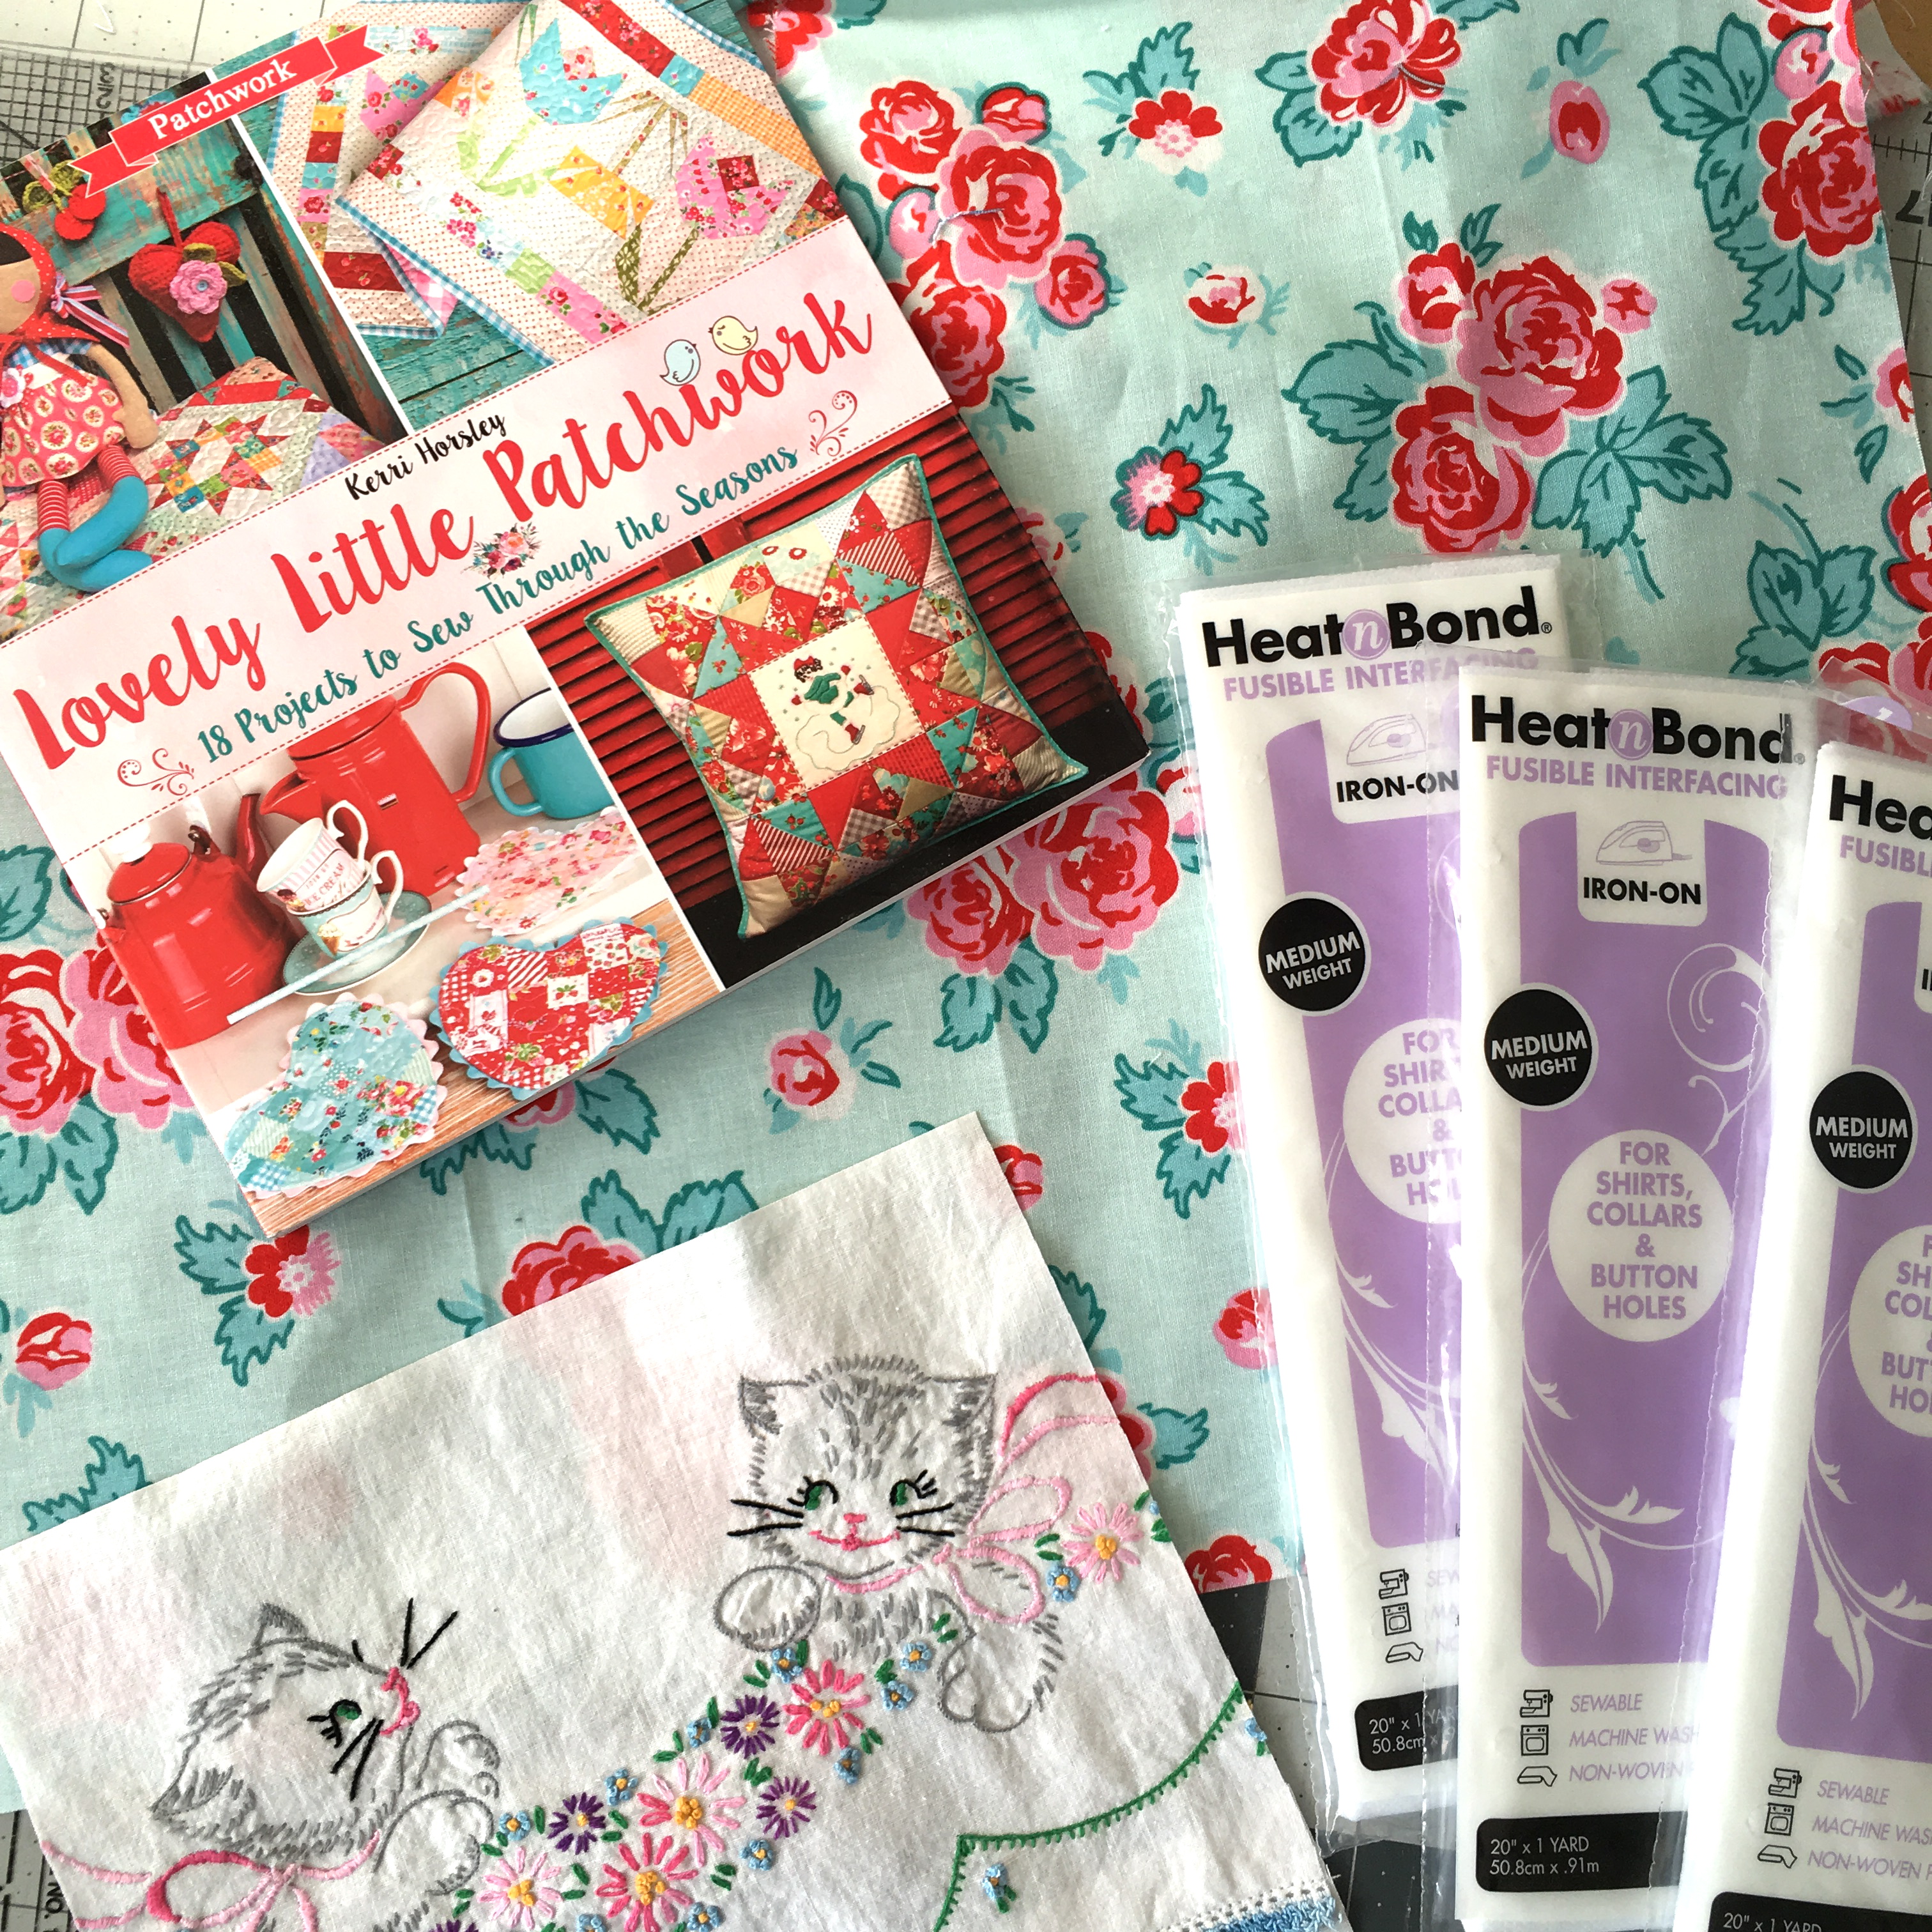
 A cheery hello today from Amanda at Jedi Craft Girl! I love to sew bags and I’m always experimenting with new ways to make them sturdy. I don’t like when my bags are floppy. Today I will be sewing a tote bag from the book Lovey Little Patchwork by Kerri Horsley of Lovely Little Handmades. She has darling projects! I will be using fabric from Elea Lutz called Milk, Sugar, Flower. And most importantly I will be using Heat n Bond® Fusible Interfacing, medium weight. Let’s get started!
Project Instructions:
 The methods explained here can be used on any tote bag pattern, I just happened to choose this one.
Tote bags need to be stabilized with something: batting, interfacing, and fleece are the most likely choices. I have come up with a new combination for stabilizing bags that I am in love with: cotton batting and HeatnBond® medium weight fusible stabilizer! Here’s how it works:
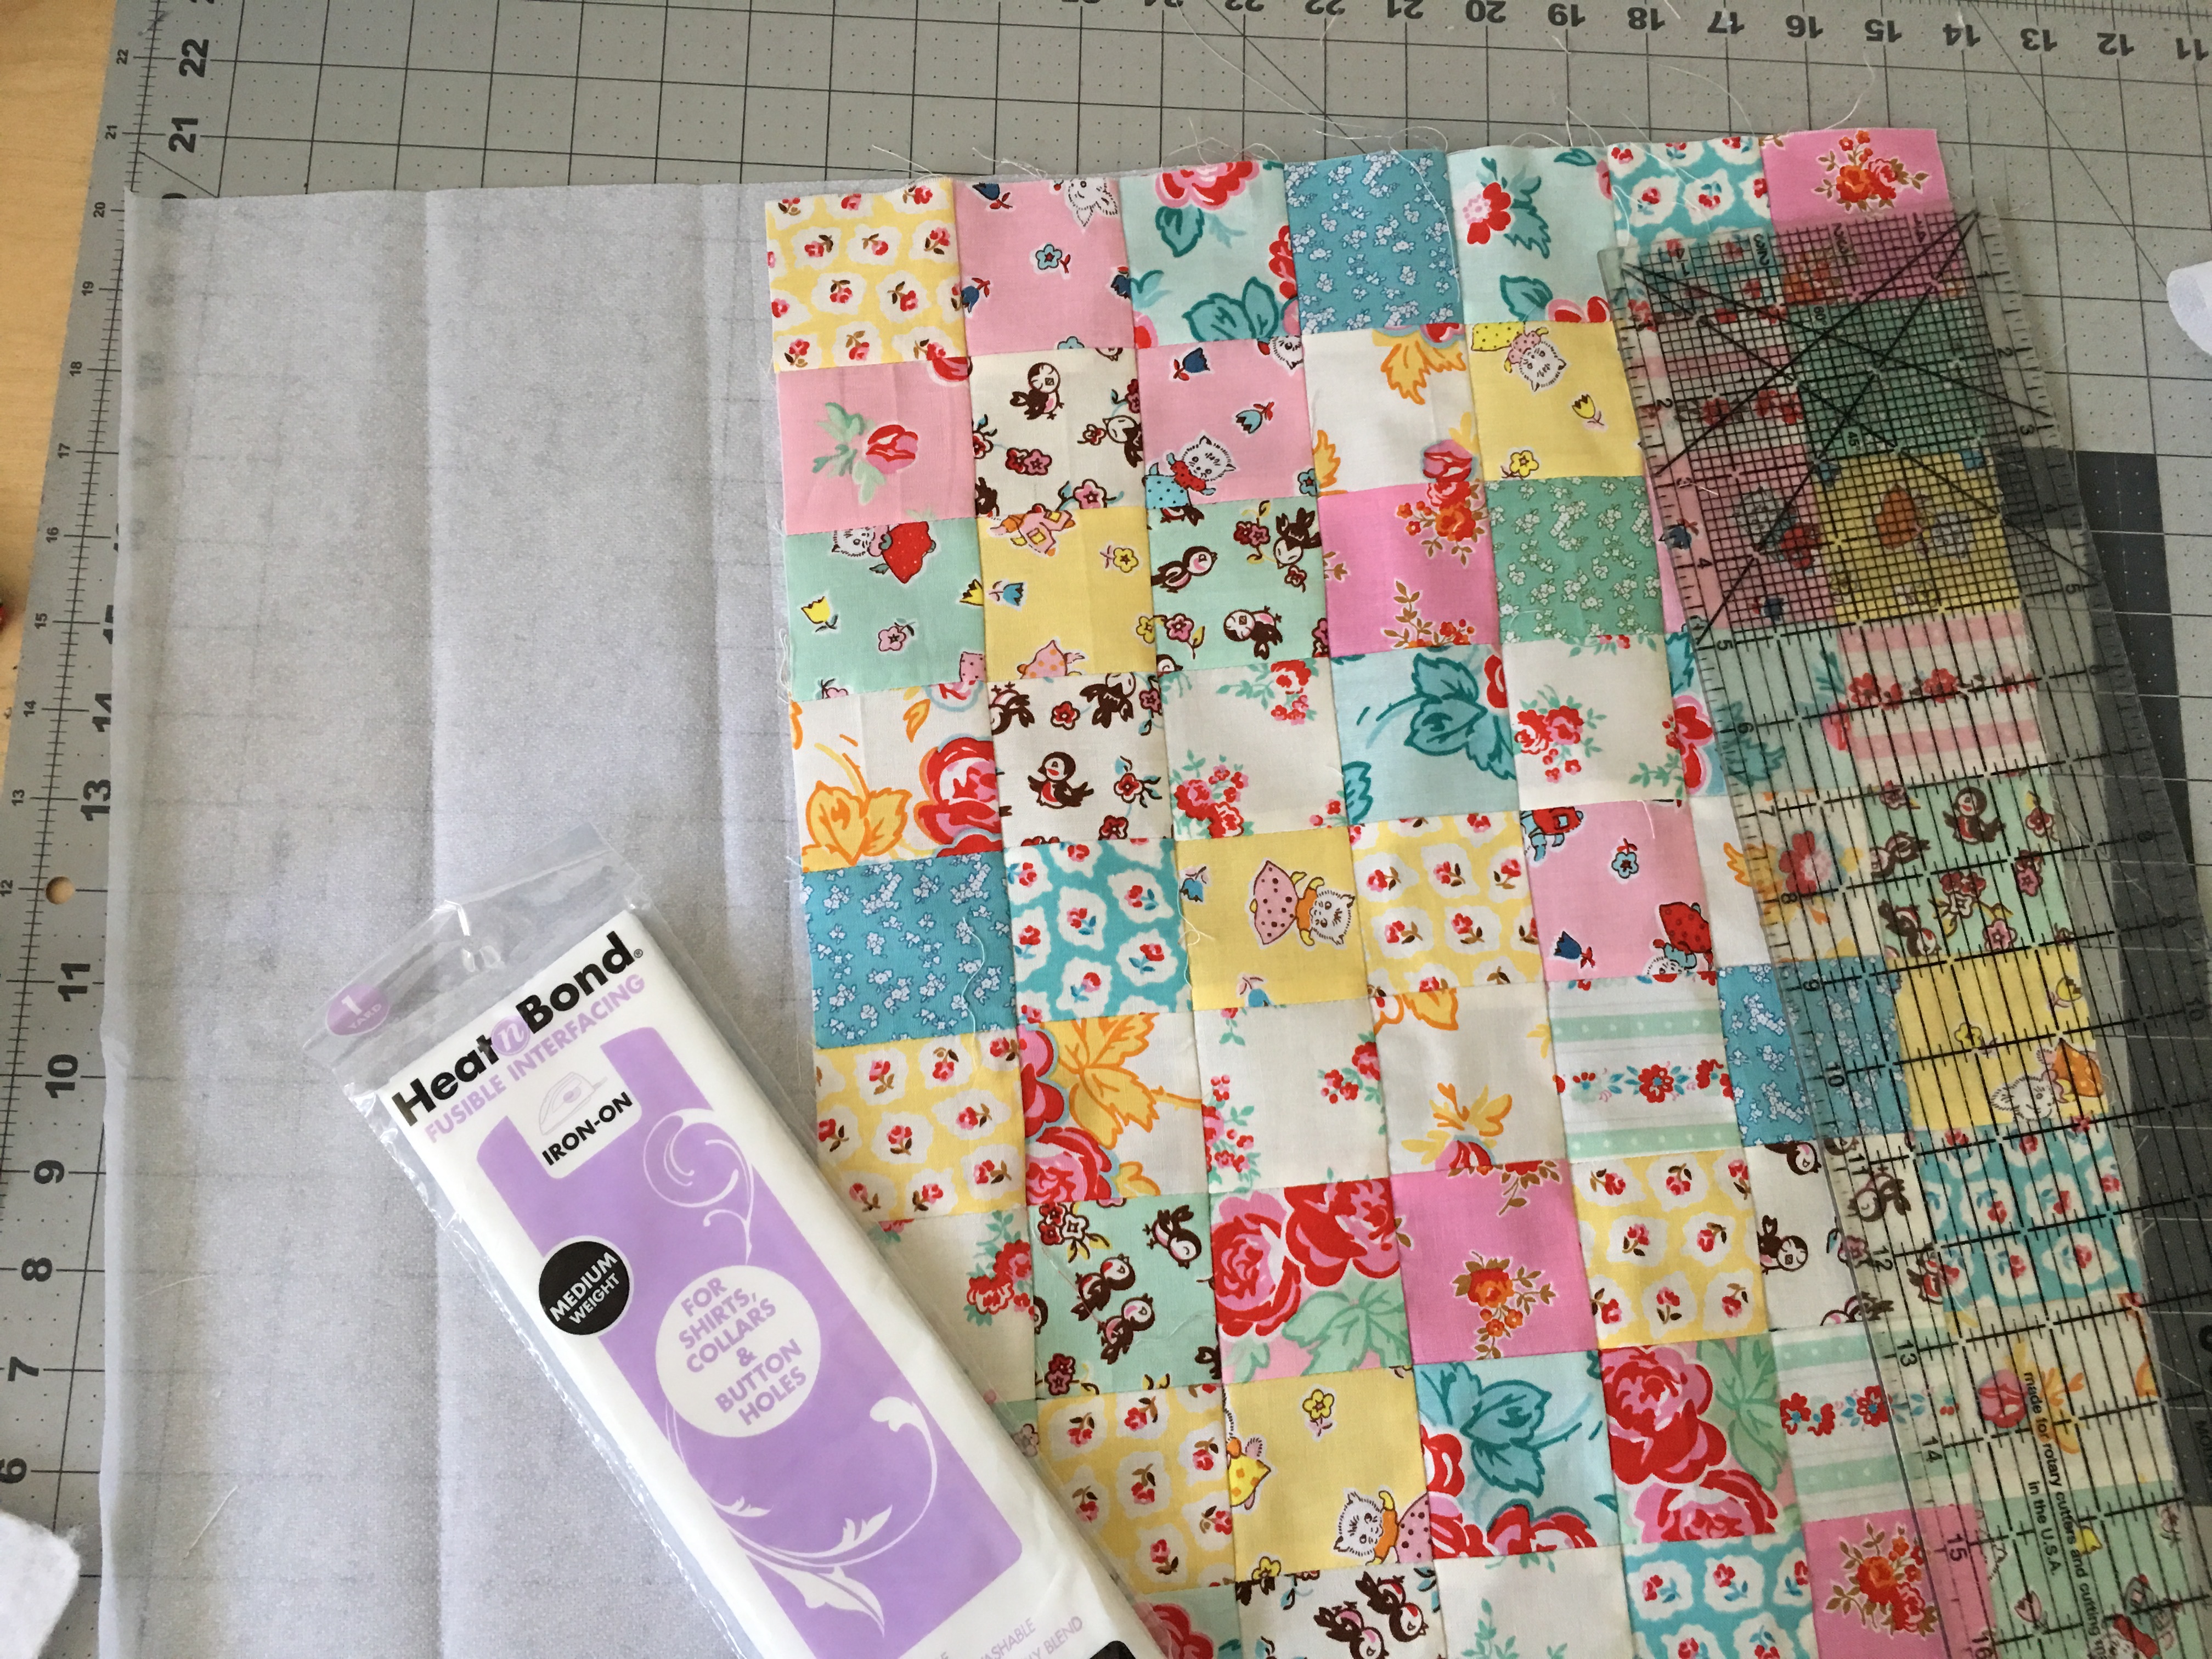 Once you have the outer portions of the tote bag completed (this one happens to be patchwork) fuse the Heat n Bond® medium weight stabilizer to the wrong side of the front and the back pieces.
 A dry, hot iron works best.
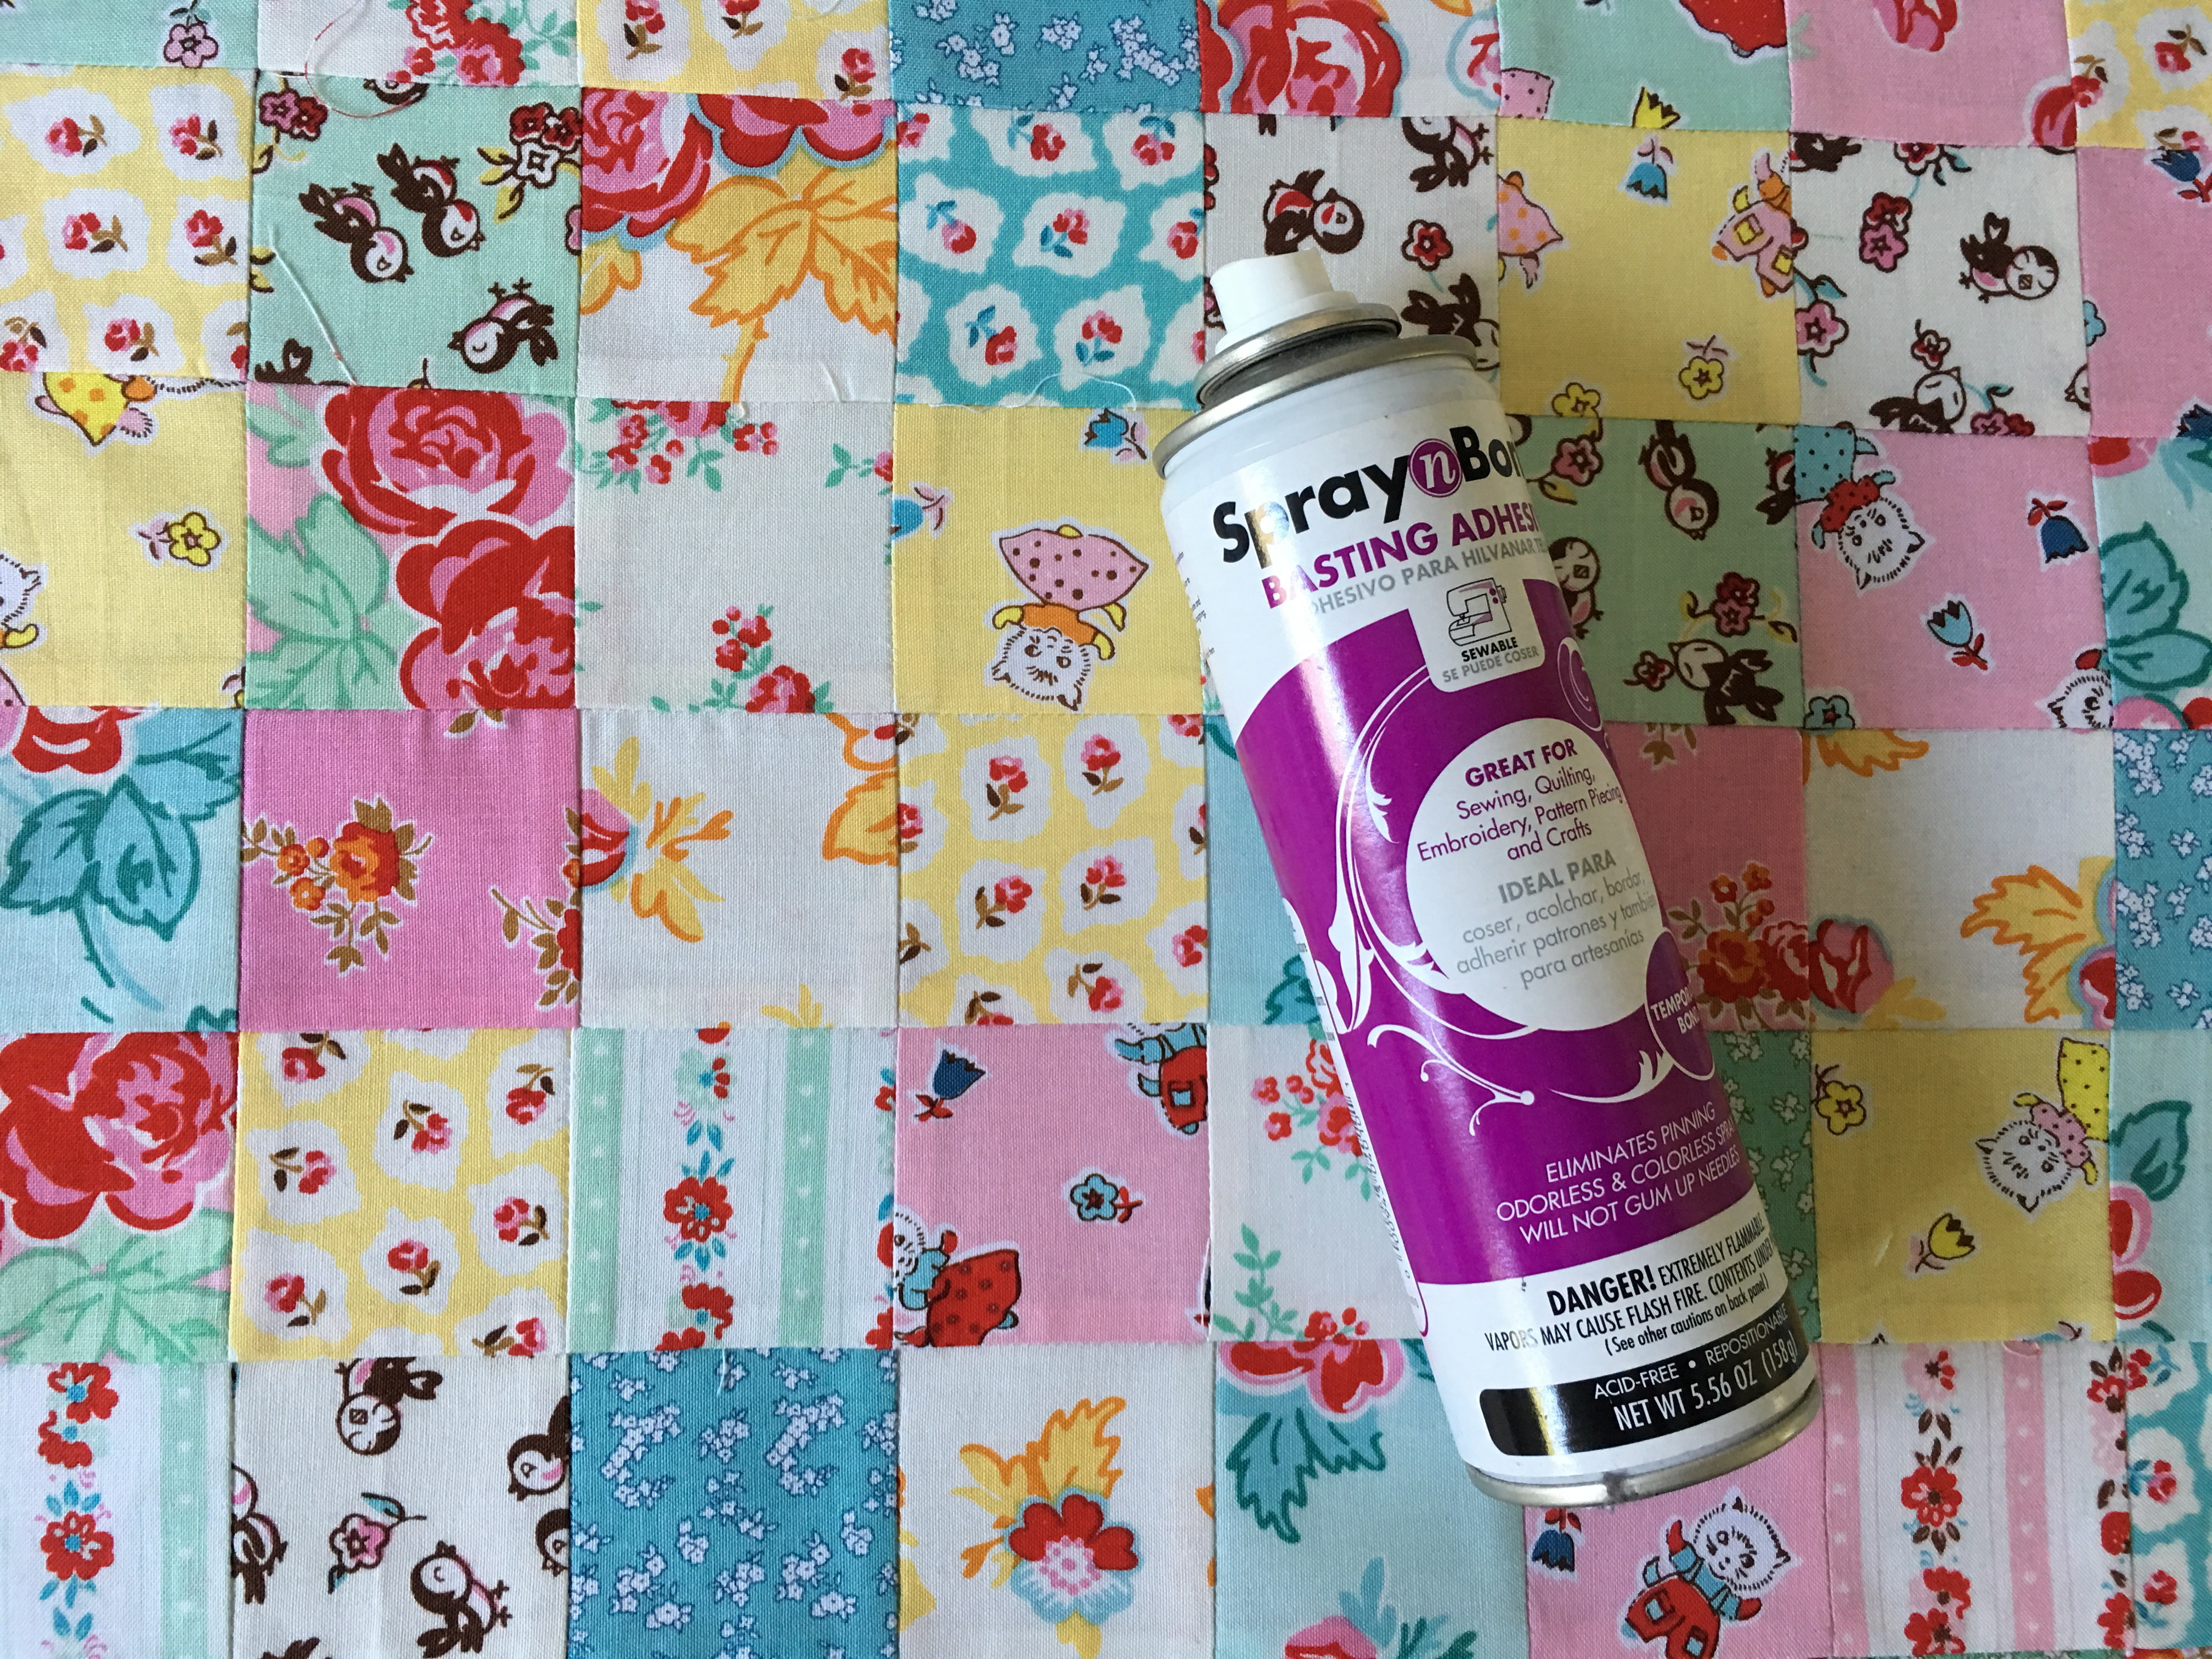 Next, using Spray n Bond™ Basting Spray, baste the fused outer bag pieces to cotton quilt batting and quilt as desired. The addition of the stabilizer gives the bag more strength and substance while the batting keeps it feeling soft! Go on, I dare you to try this!
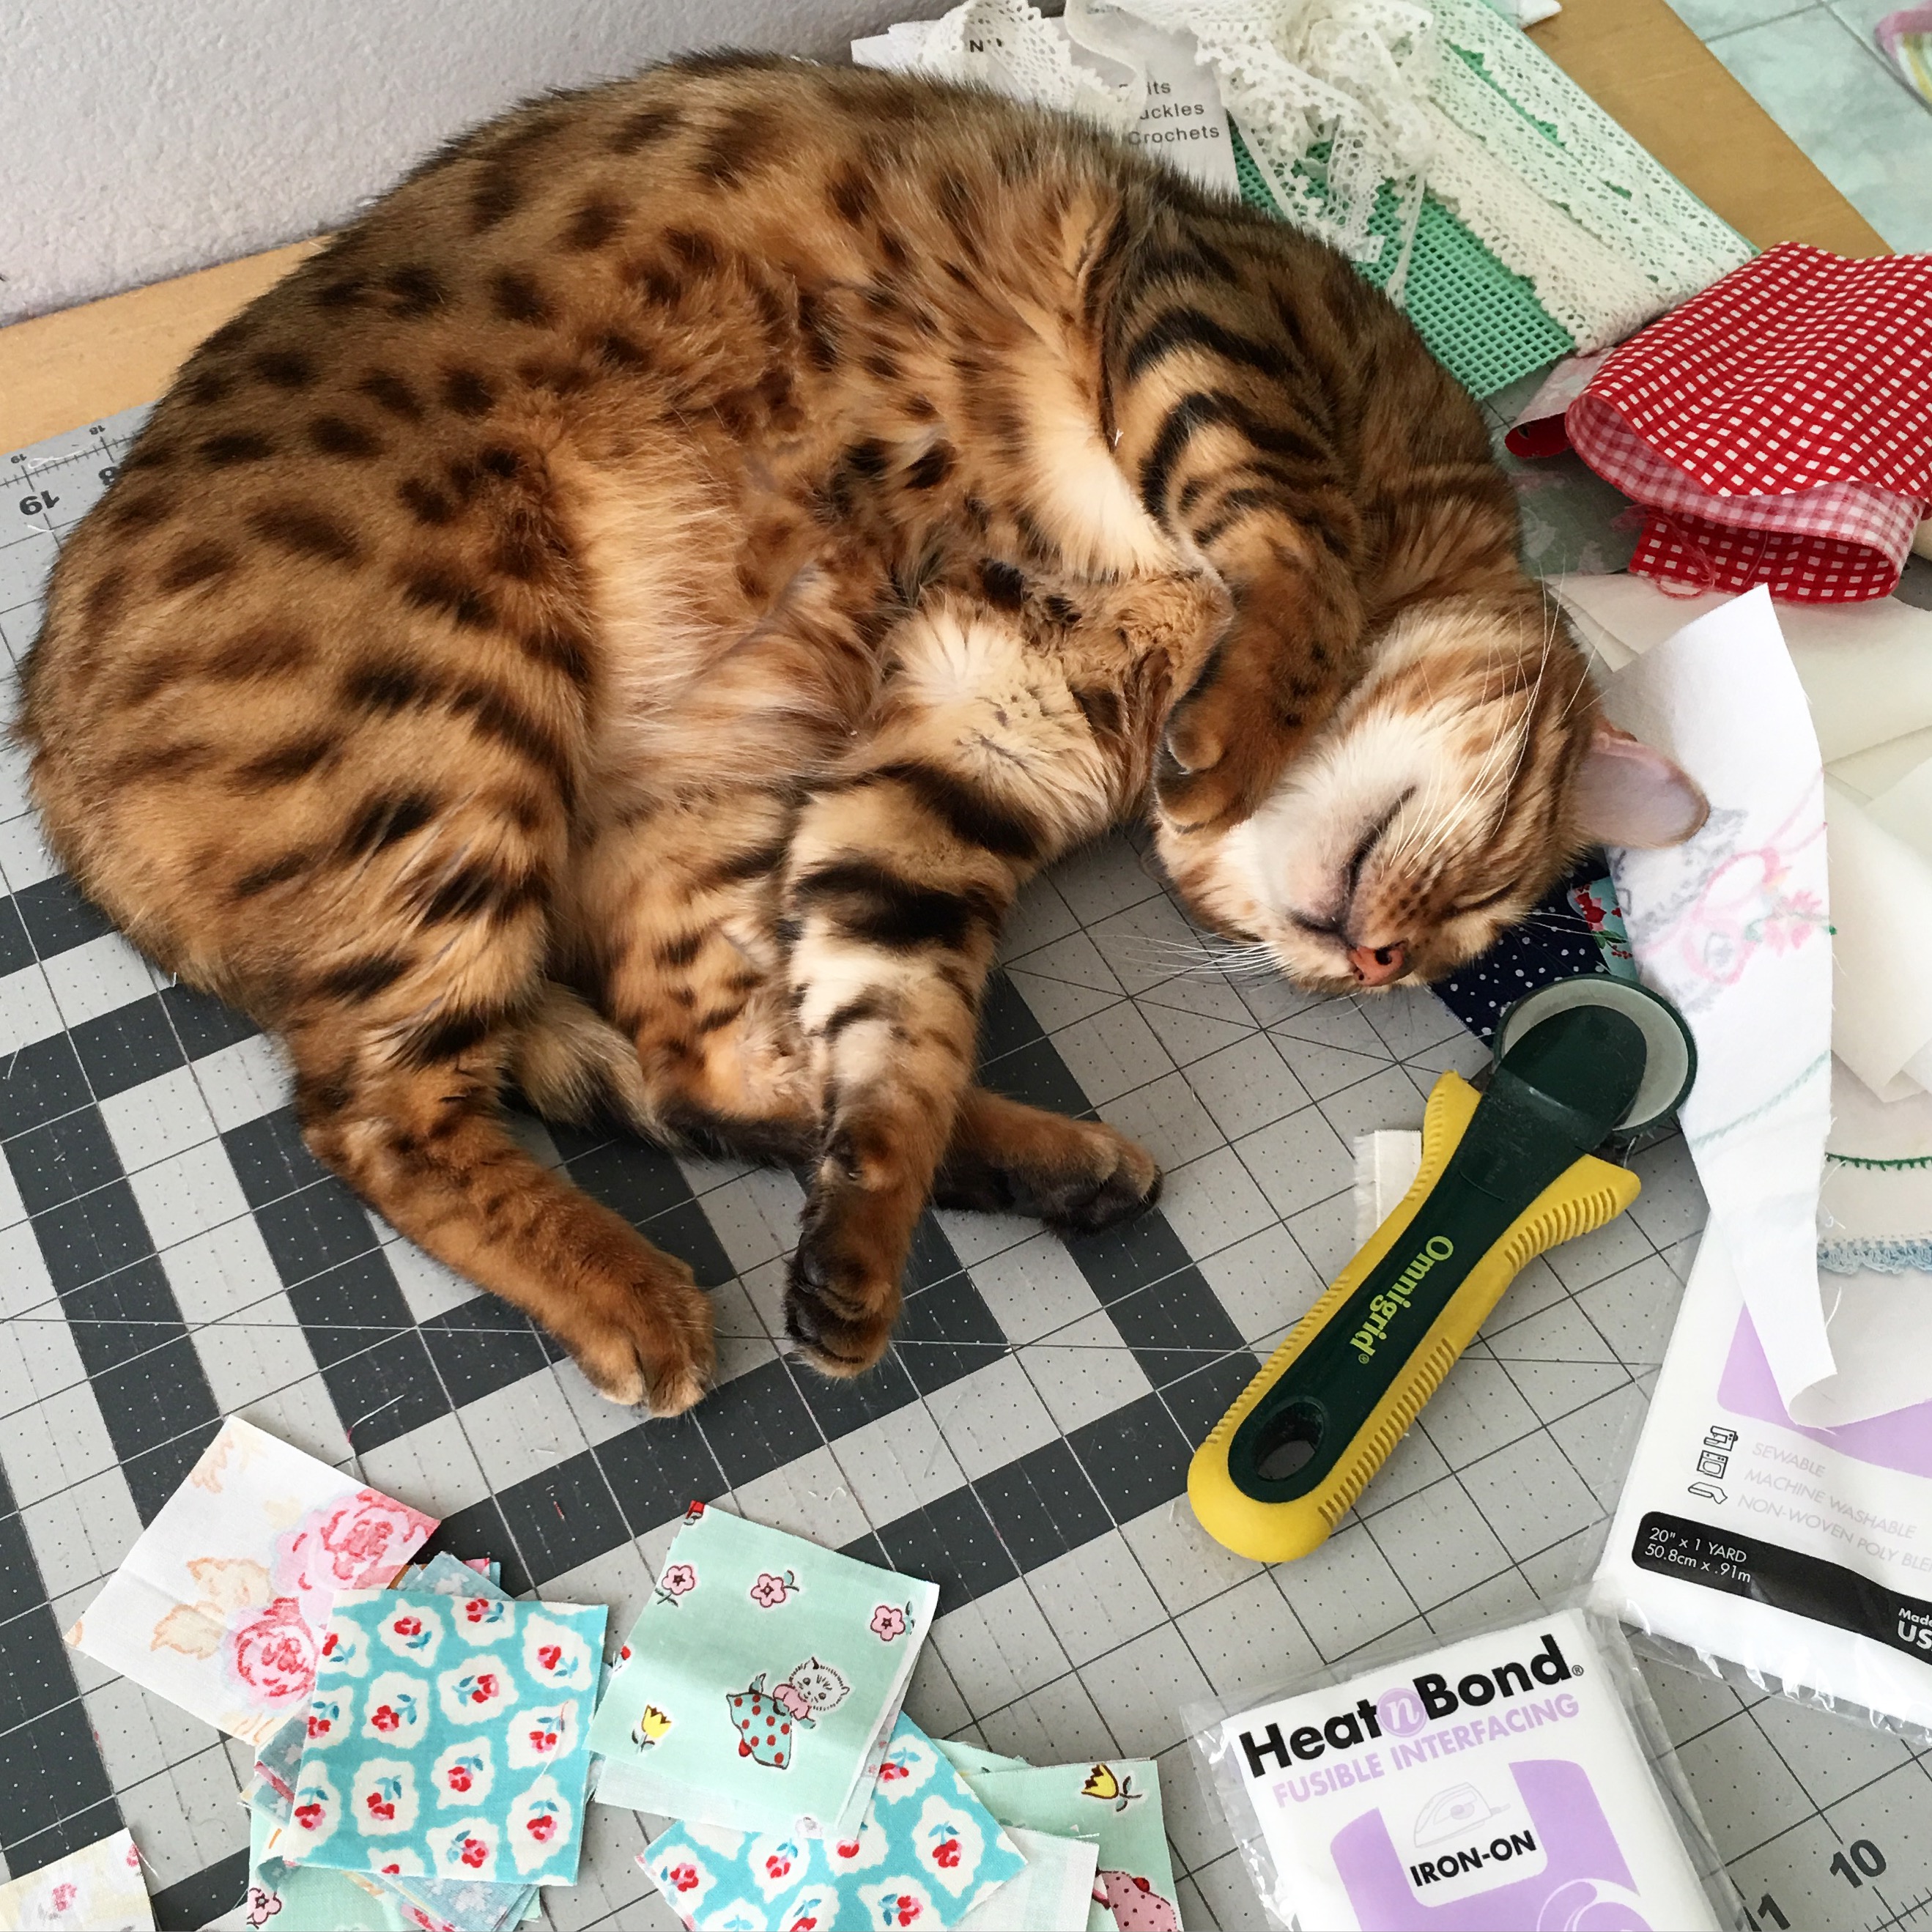 Seriously, Mufasa, sleeping on the job!!
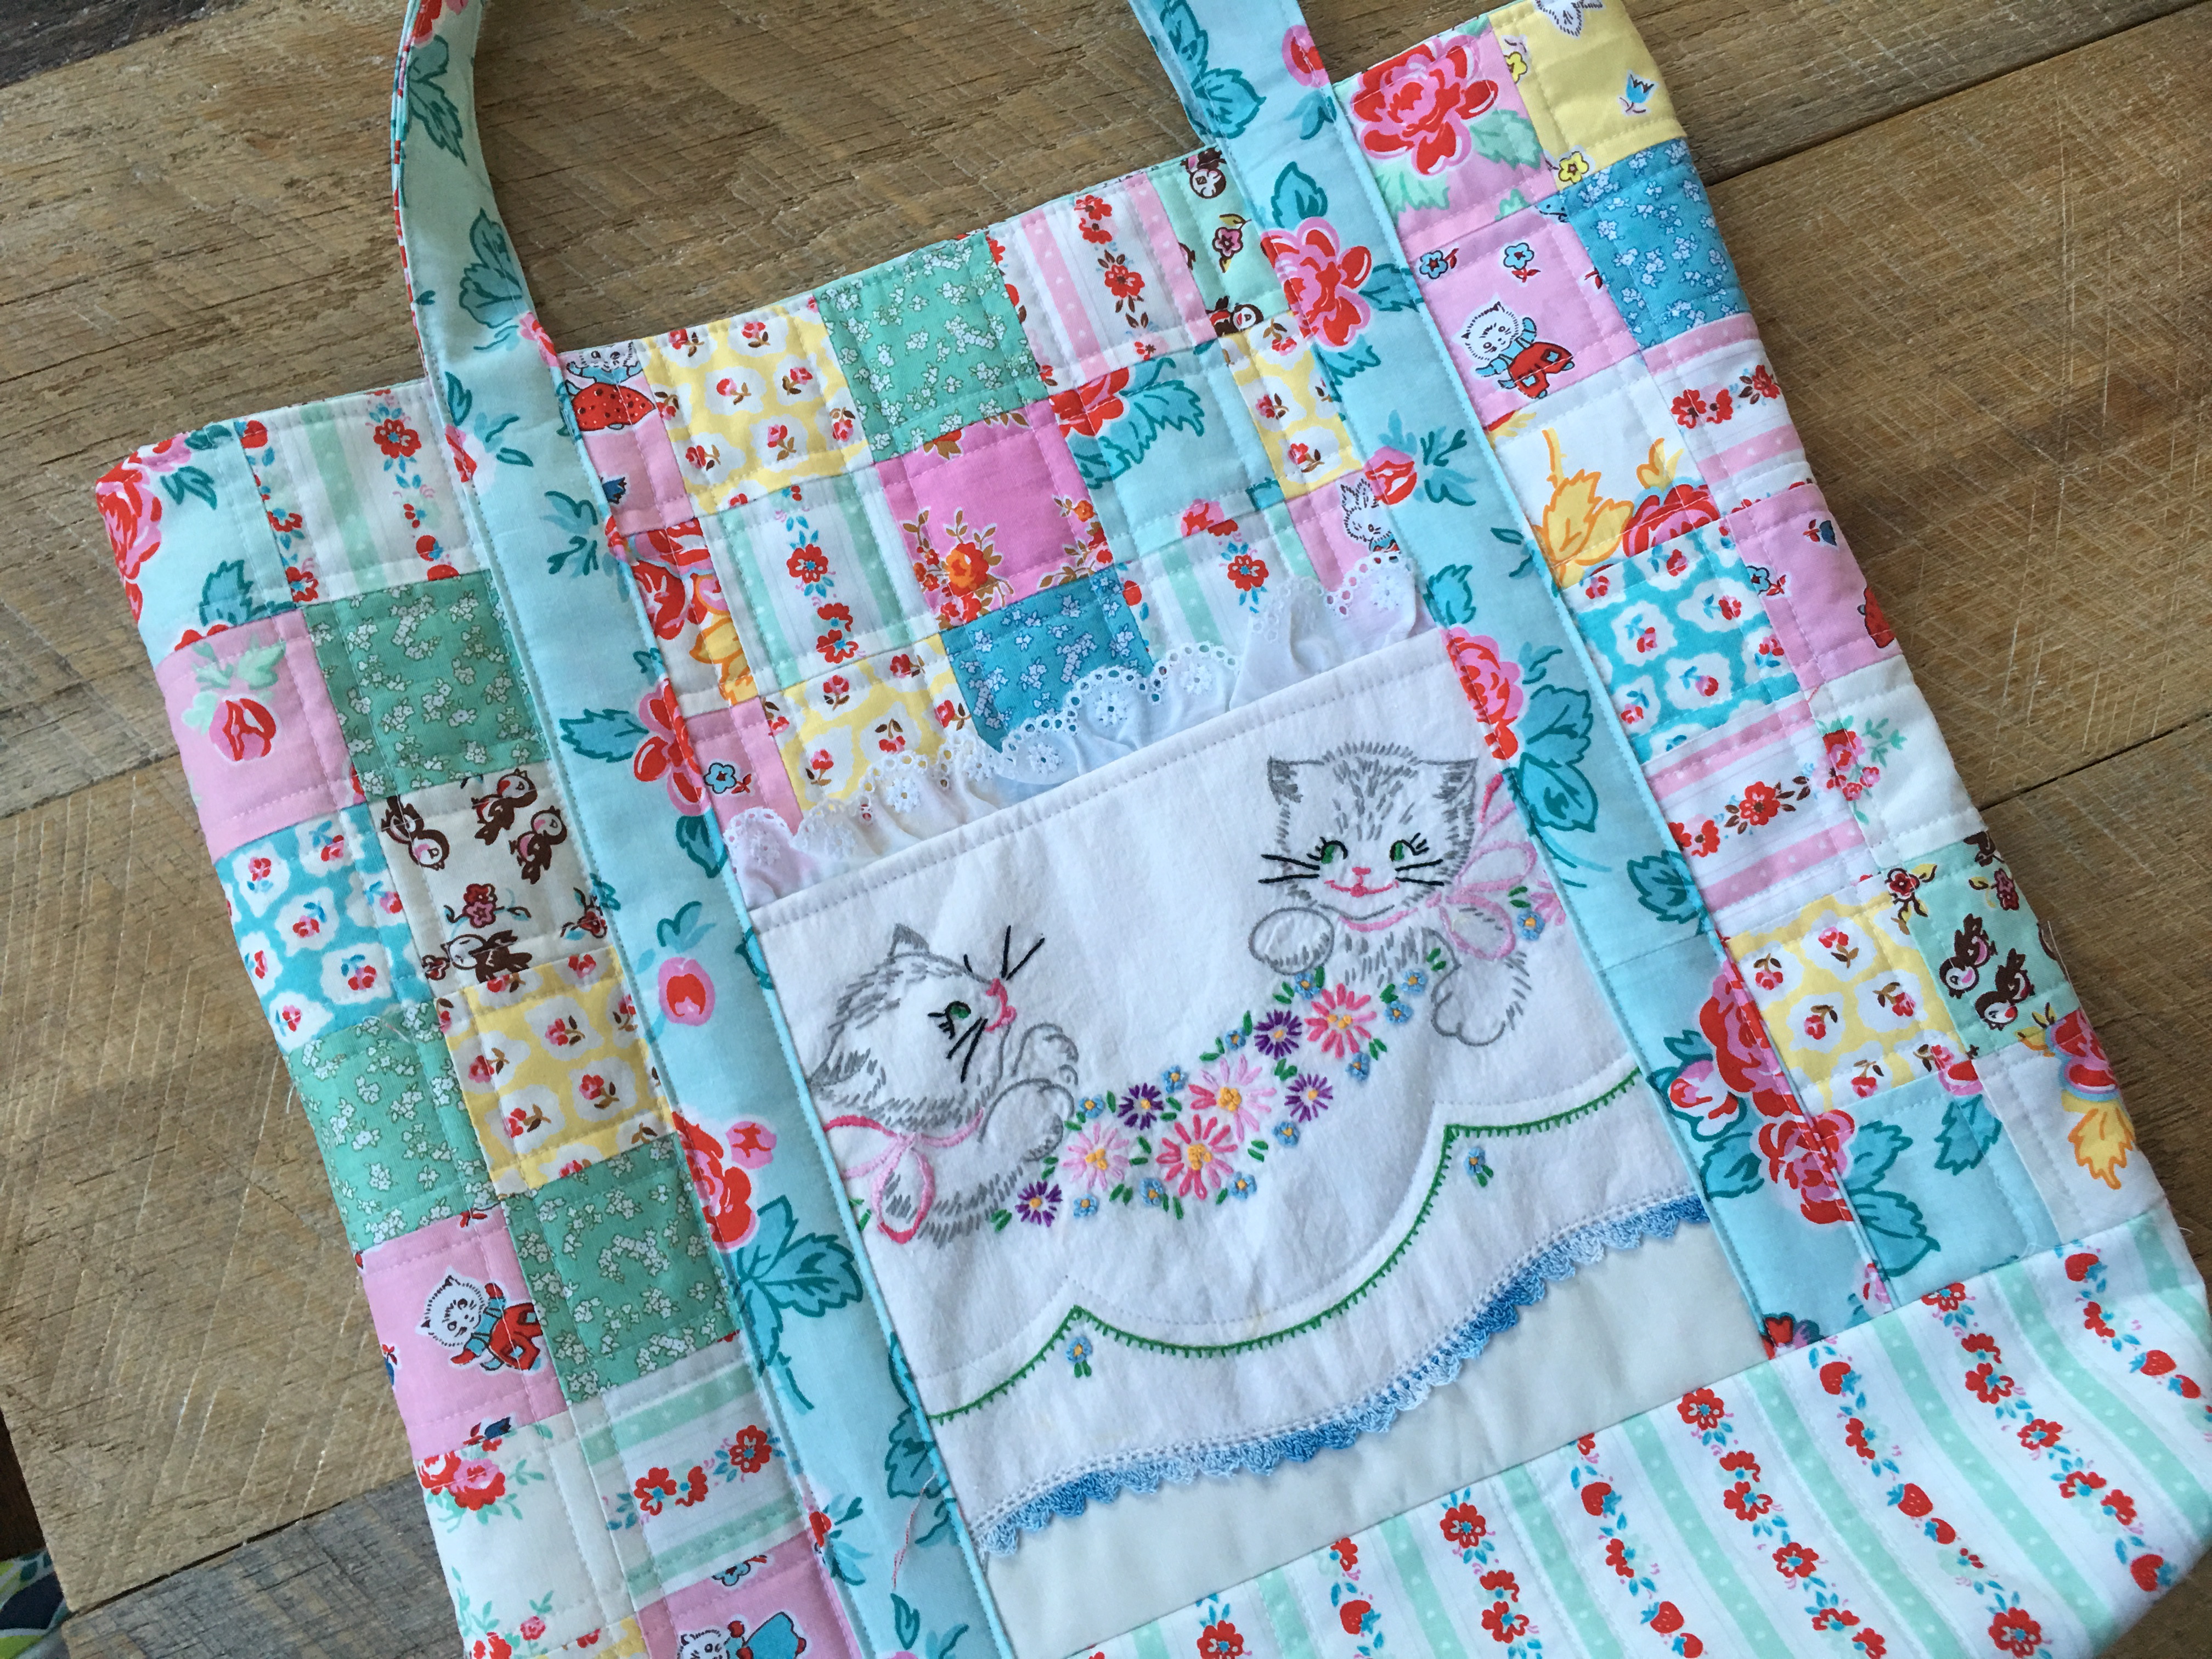
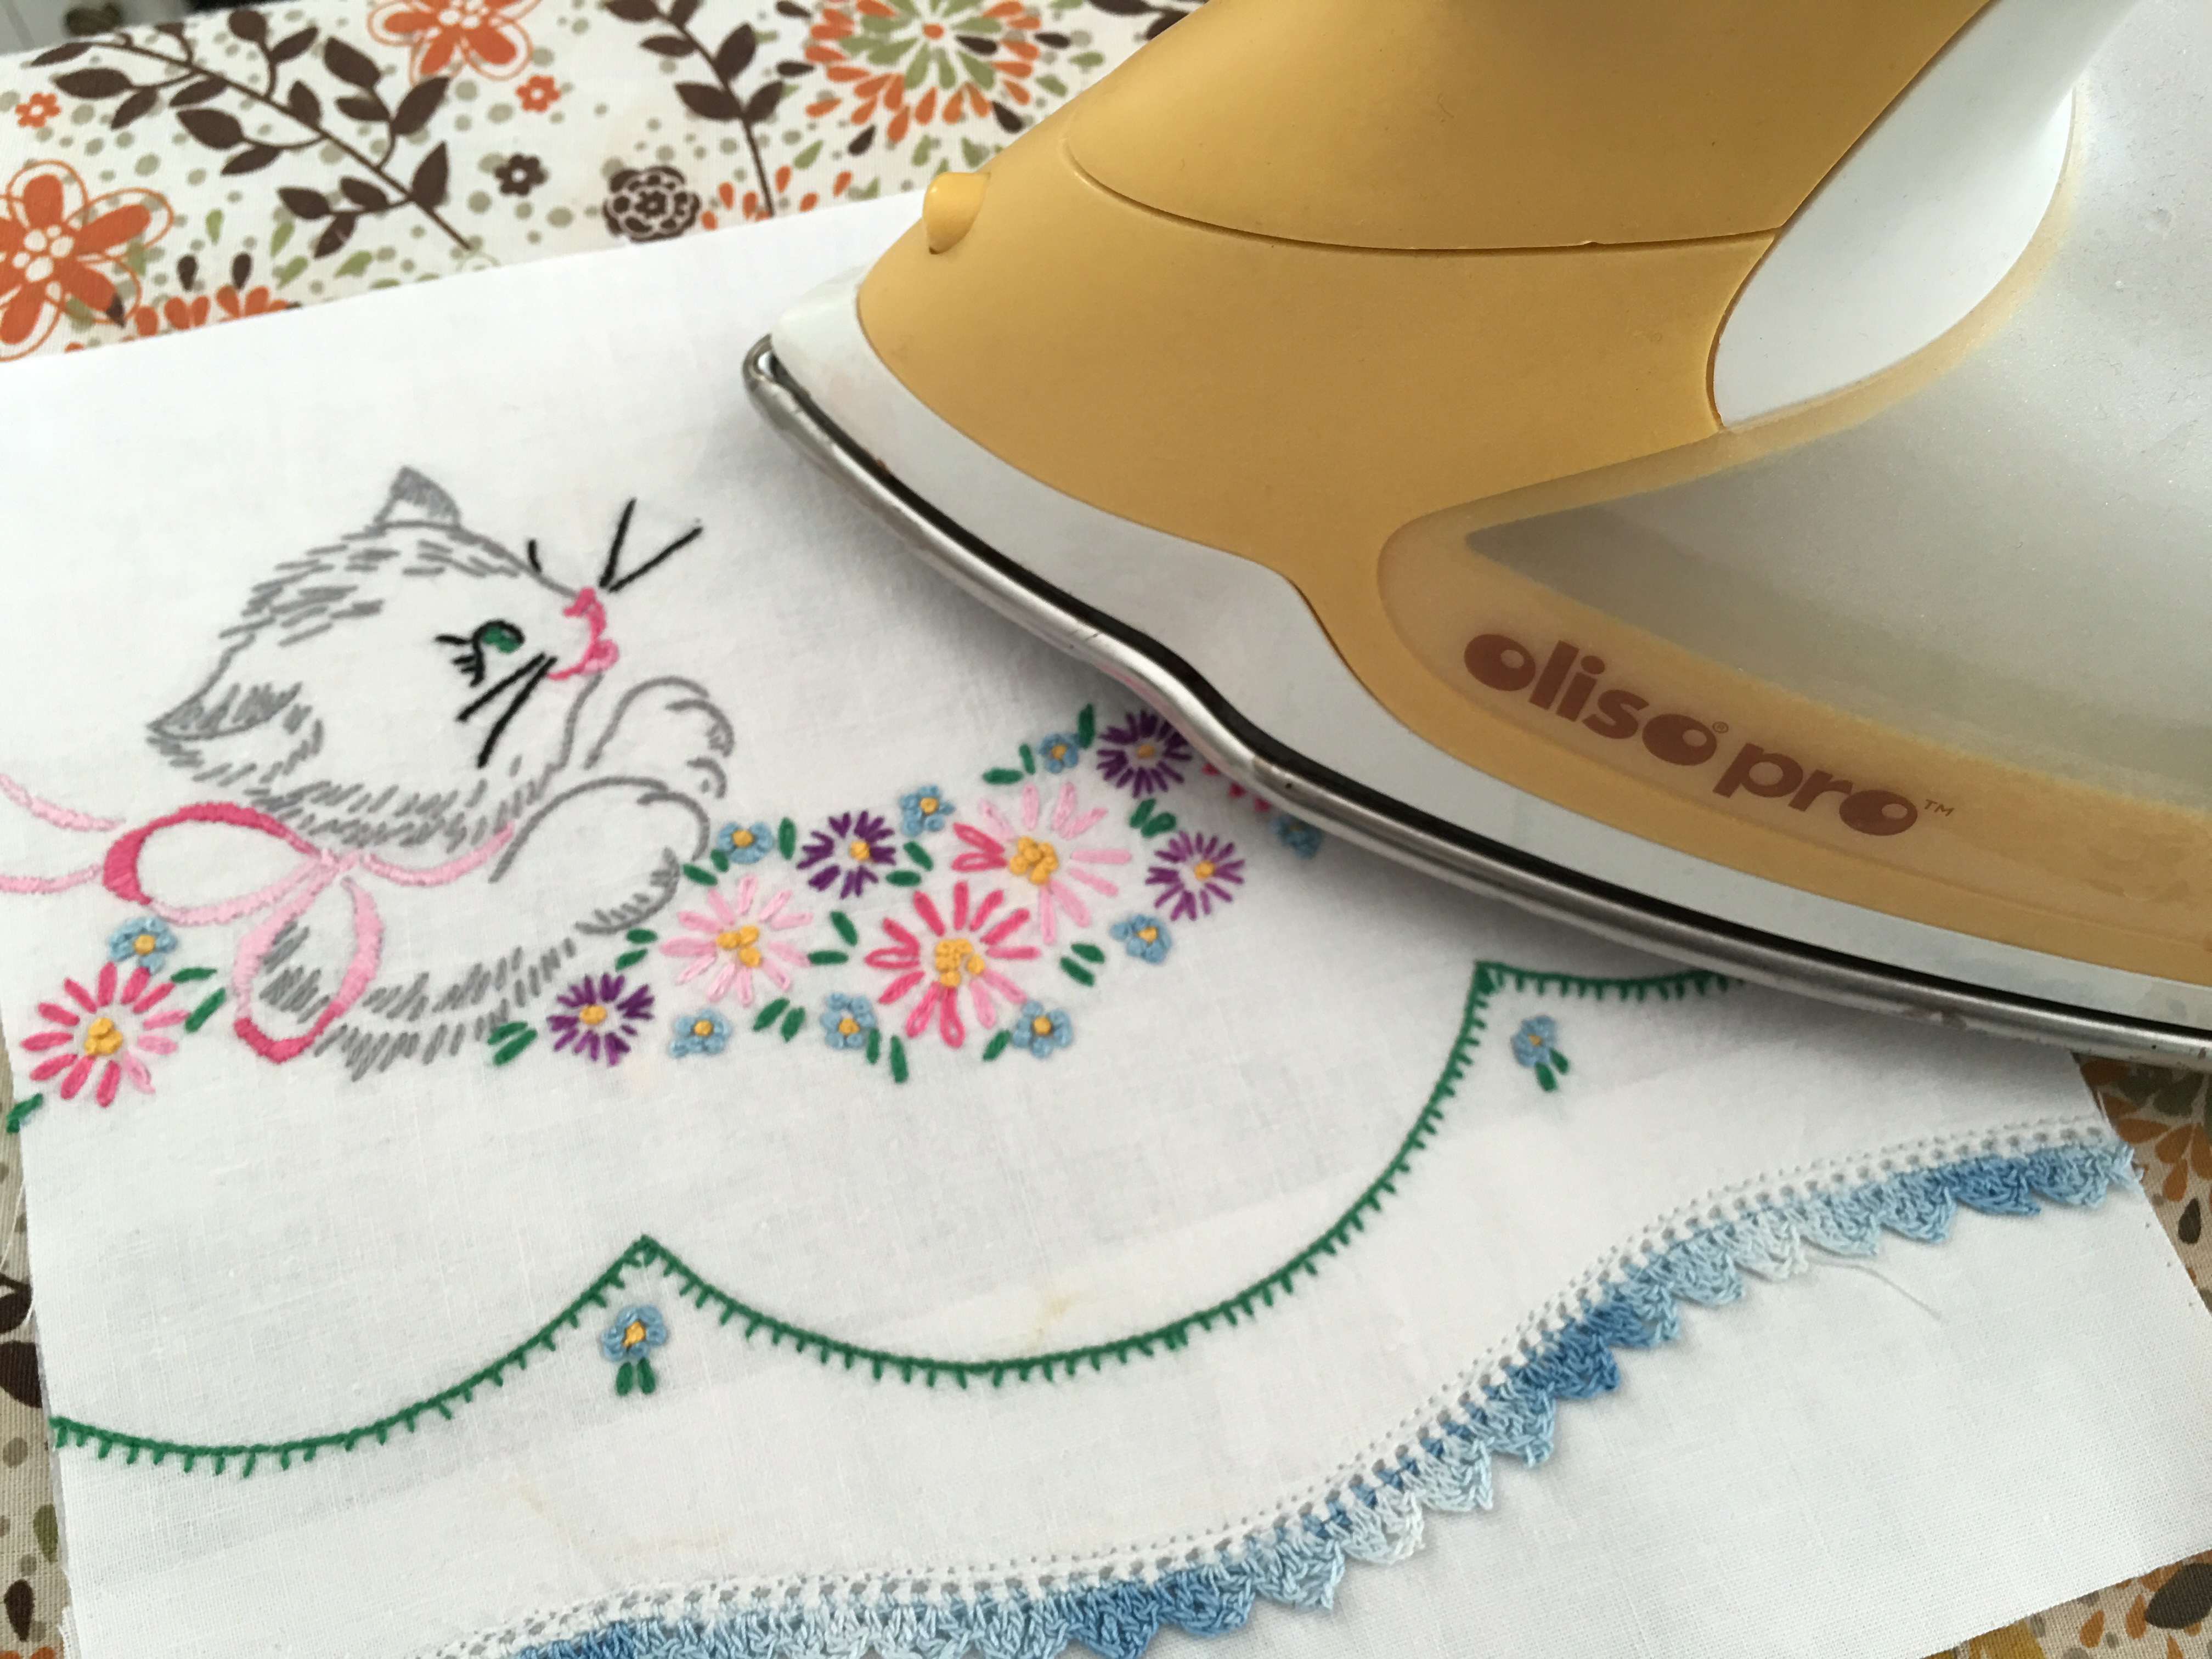 This pattern calls for an embroidered pocket. I used this same method to create the pocket, first ironing on stabilizer to the wrong side of the embroidery piece, followed by quilt batting.
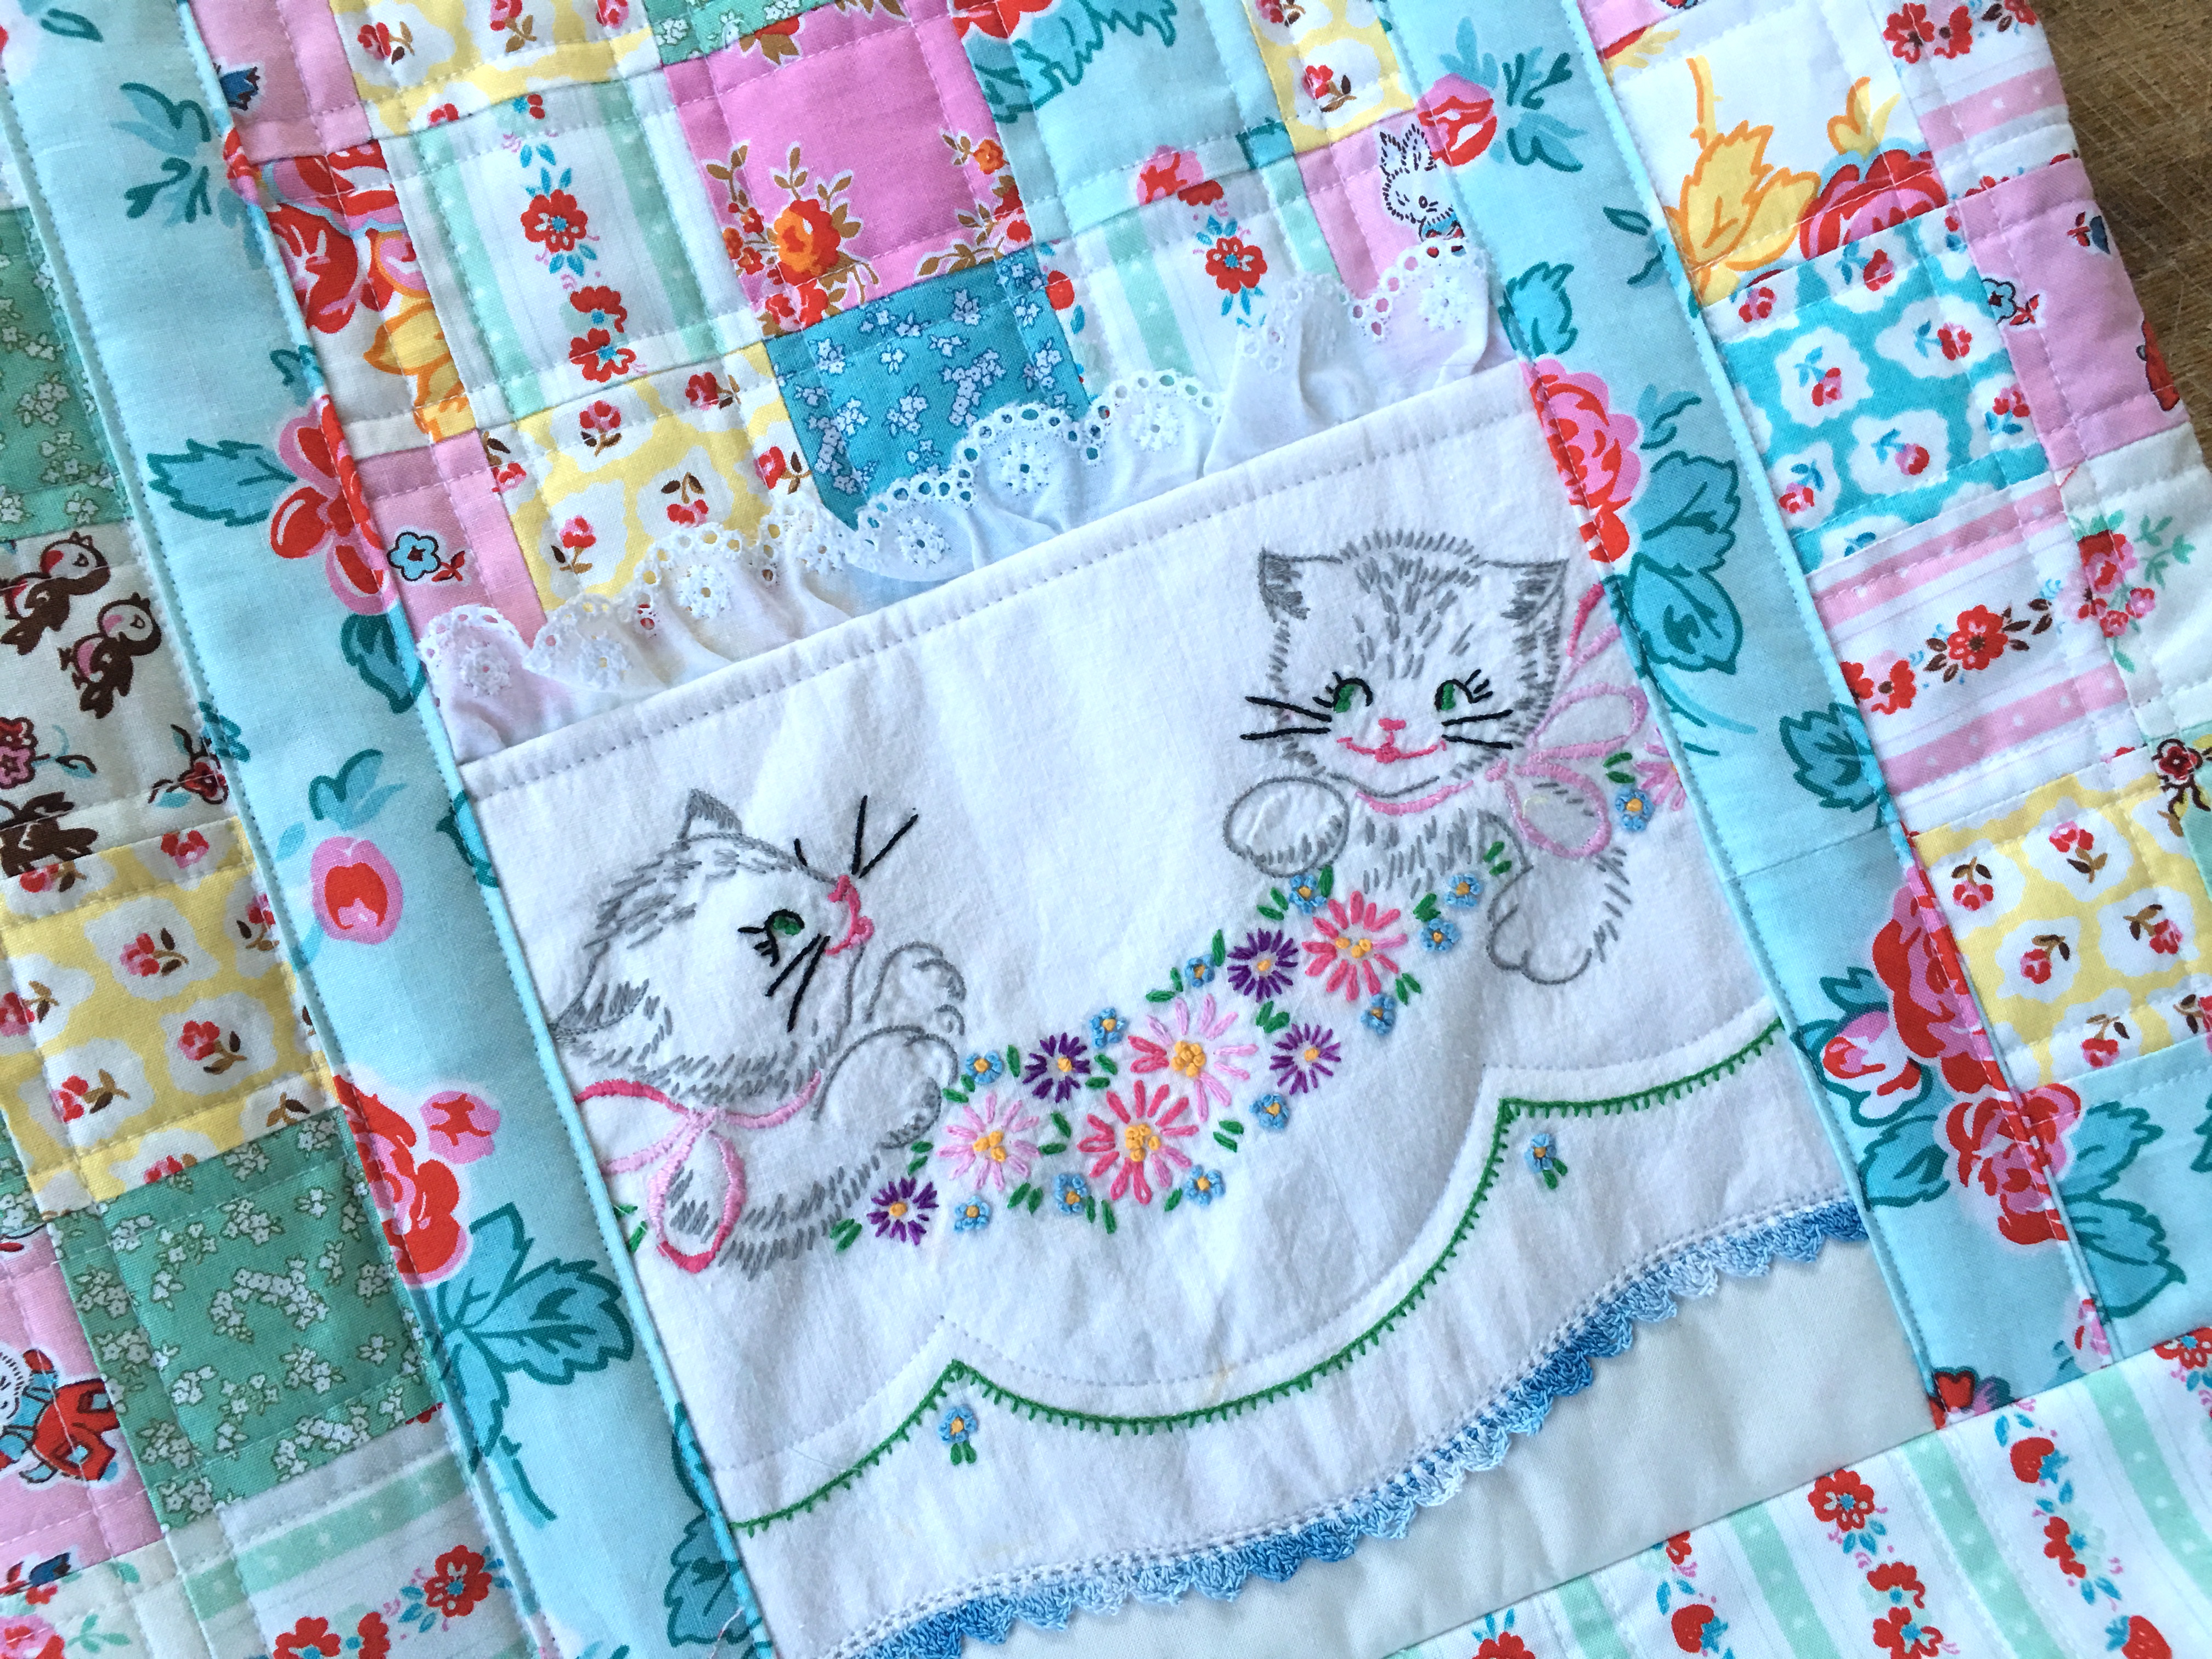 I quilted the entire bag with straight line stitching along each of the seams.
You will also find Heat n Bond® Fusible Stabilizer/Interfacing helpful in creating bag handles. This is my favorite method:
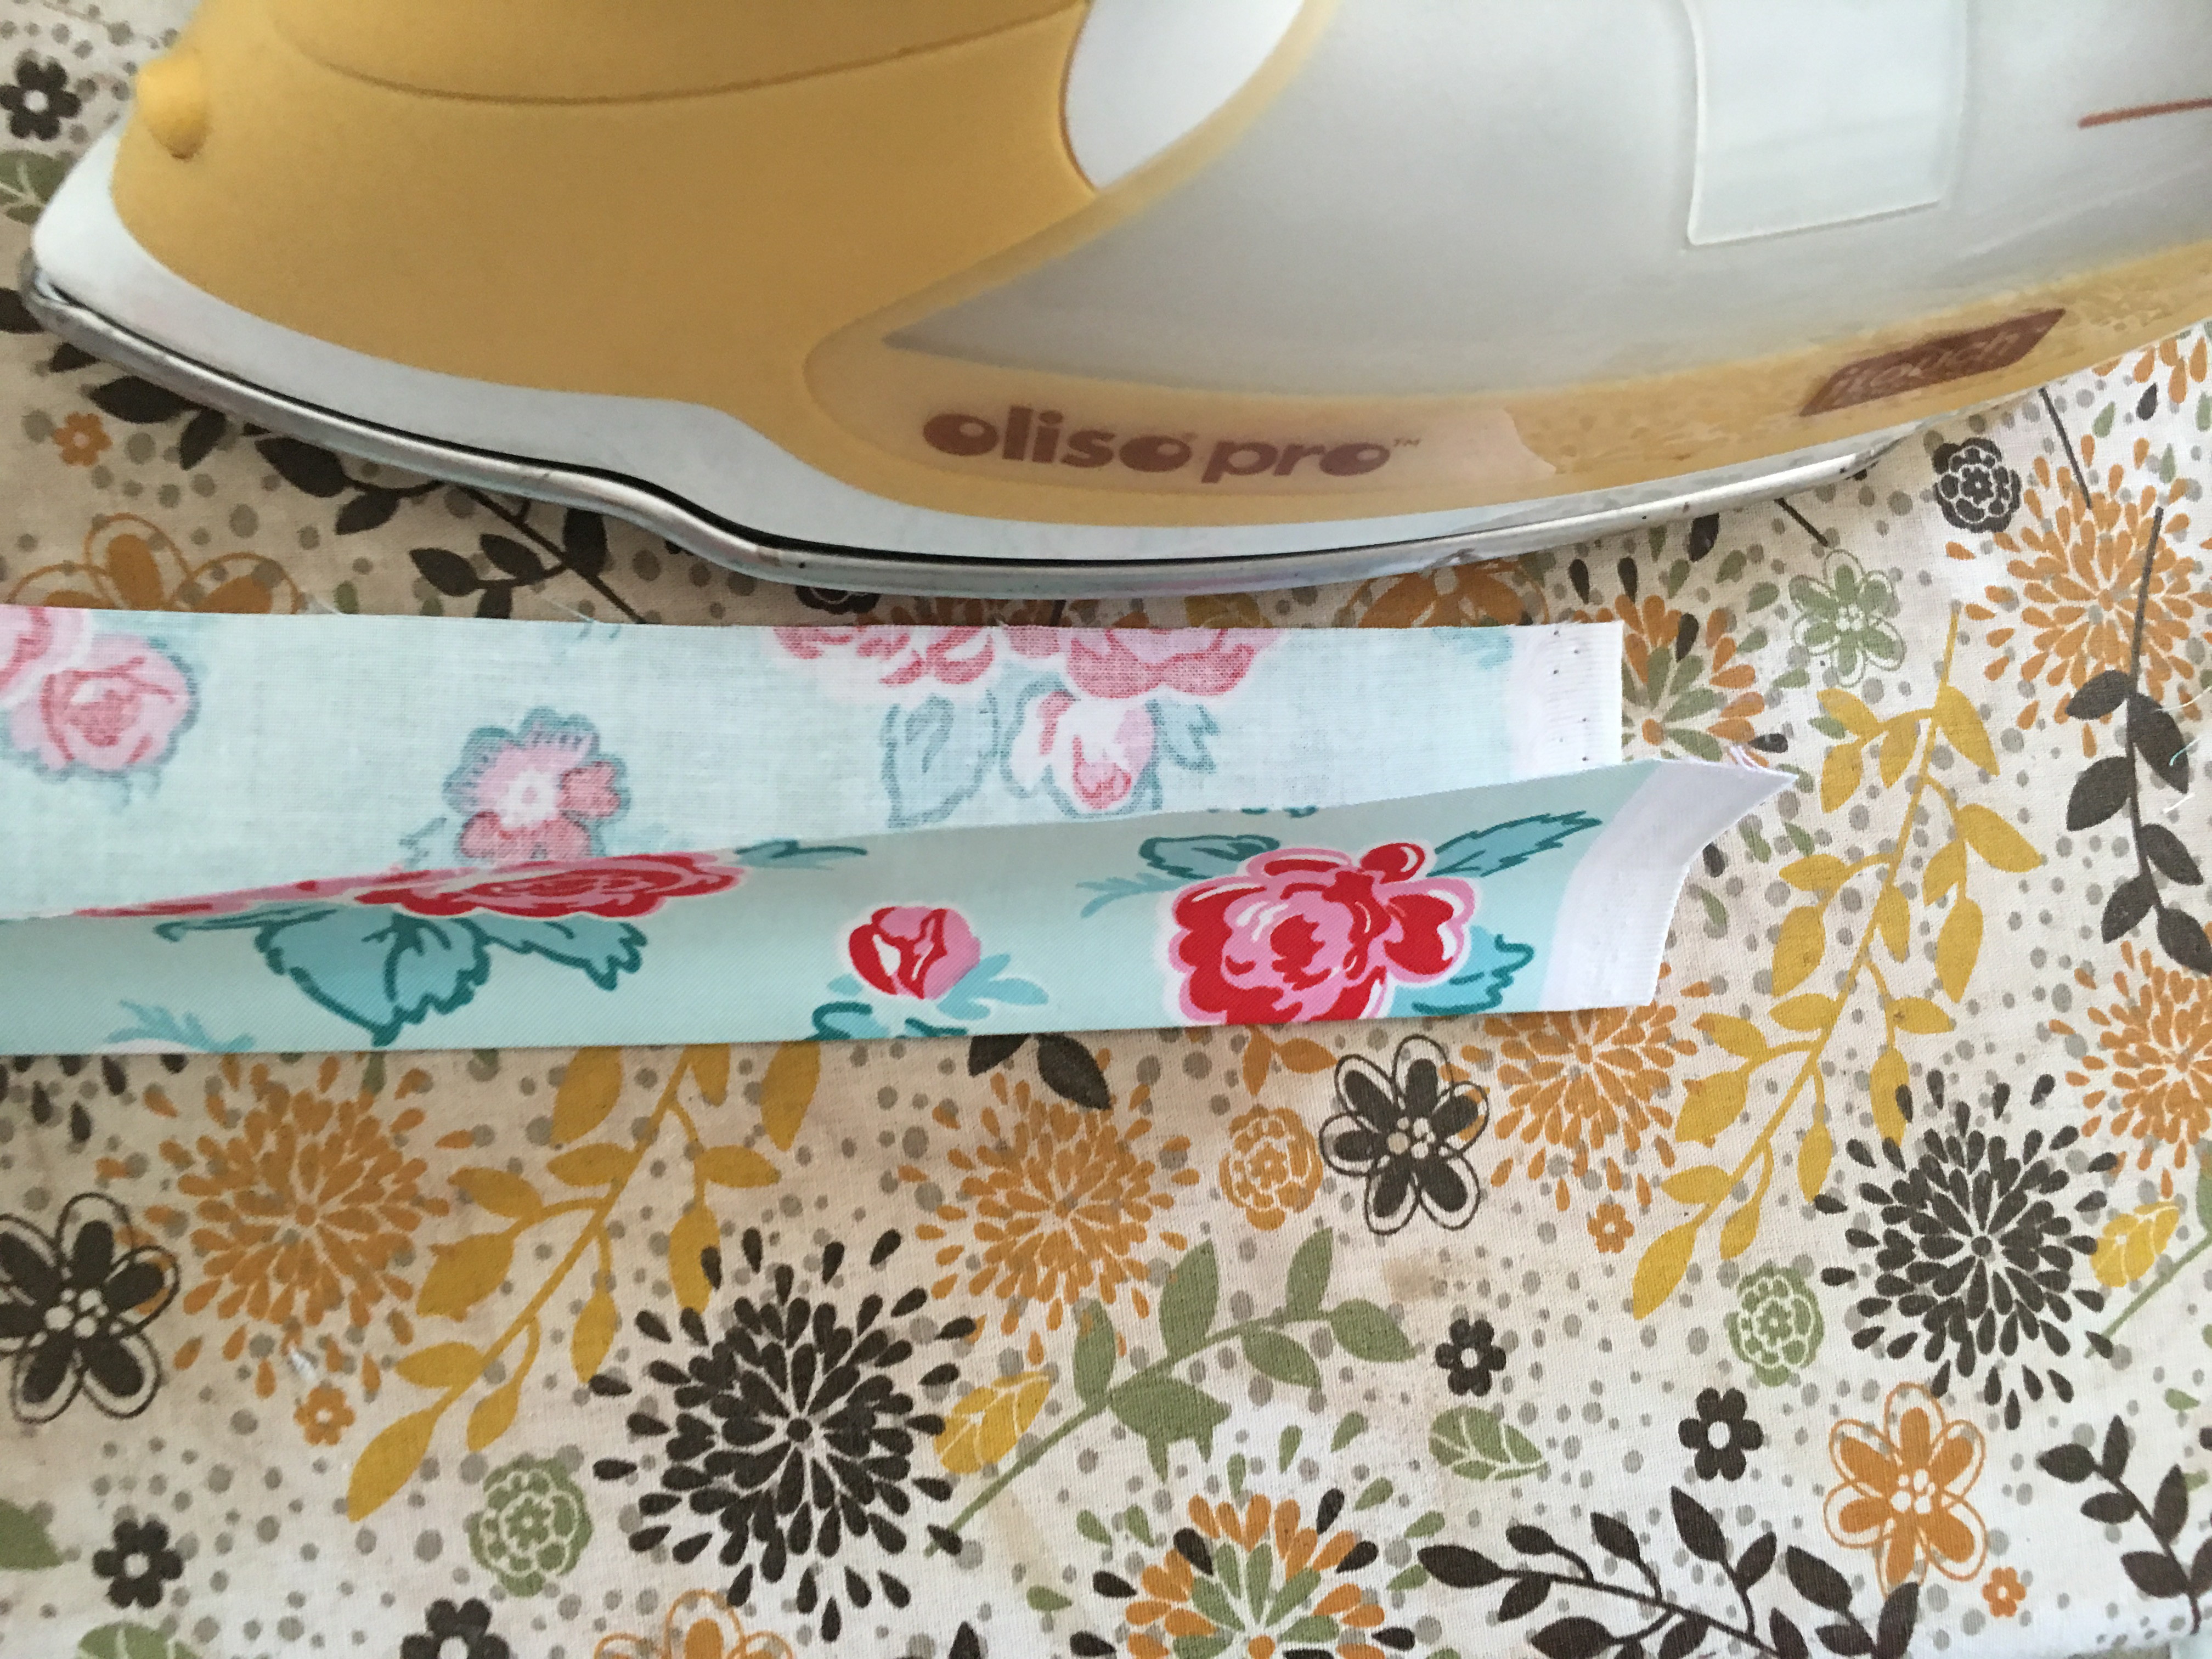 To create a 1″ wide handle, cut a 4″ x desired length piece of fabric. The length will depend on the type of bag you are making. Press the entire length in half.
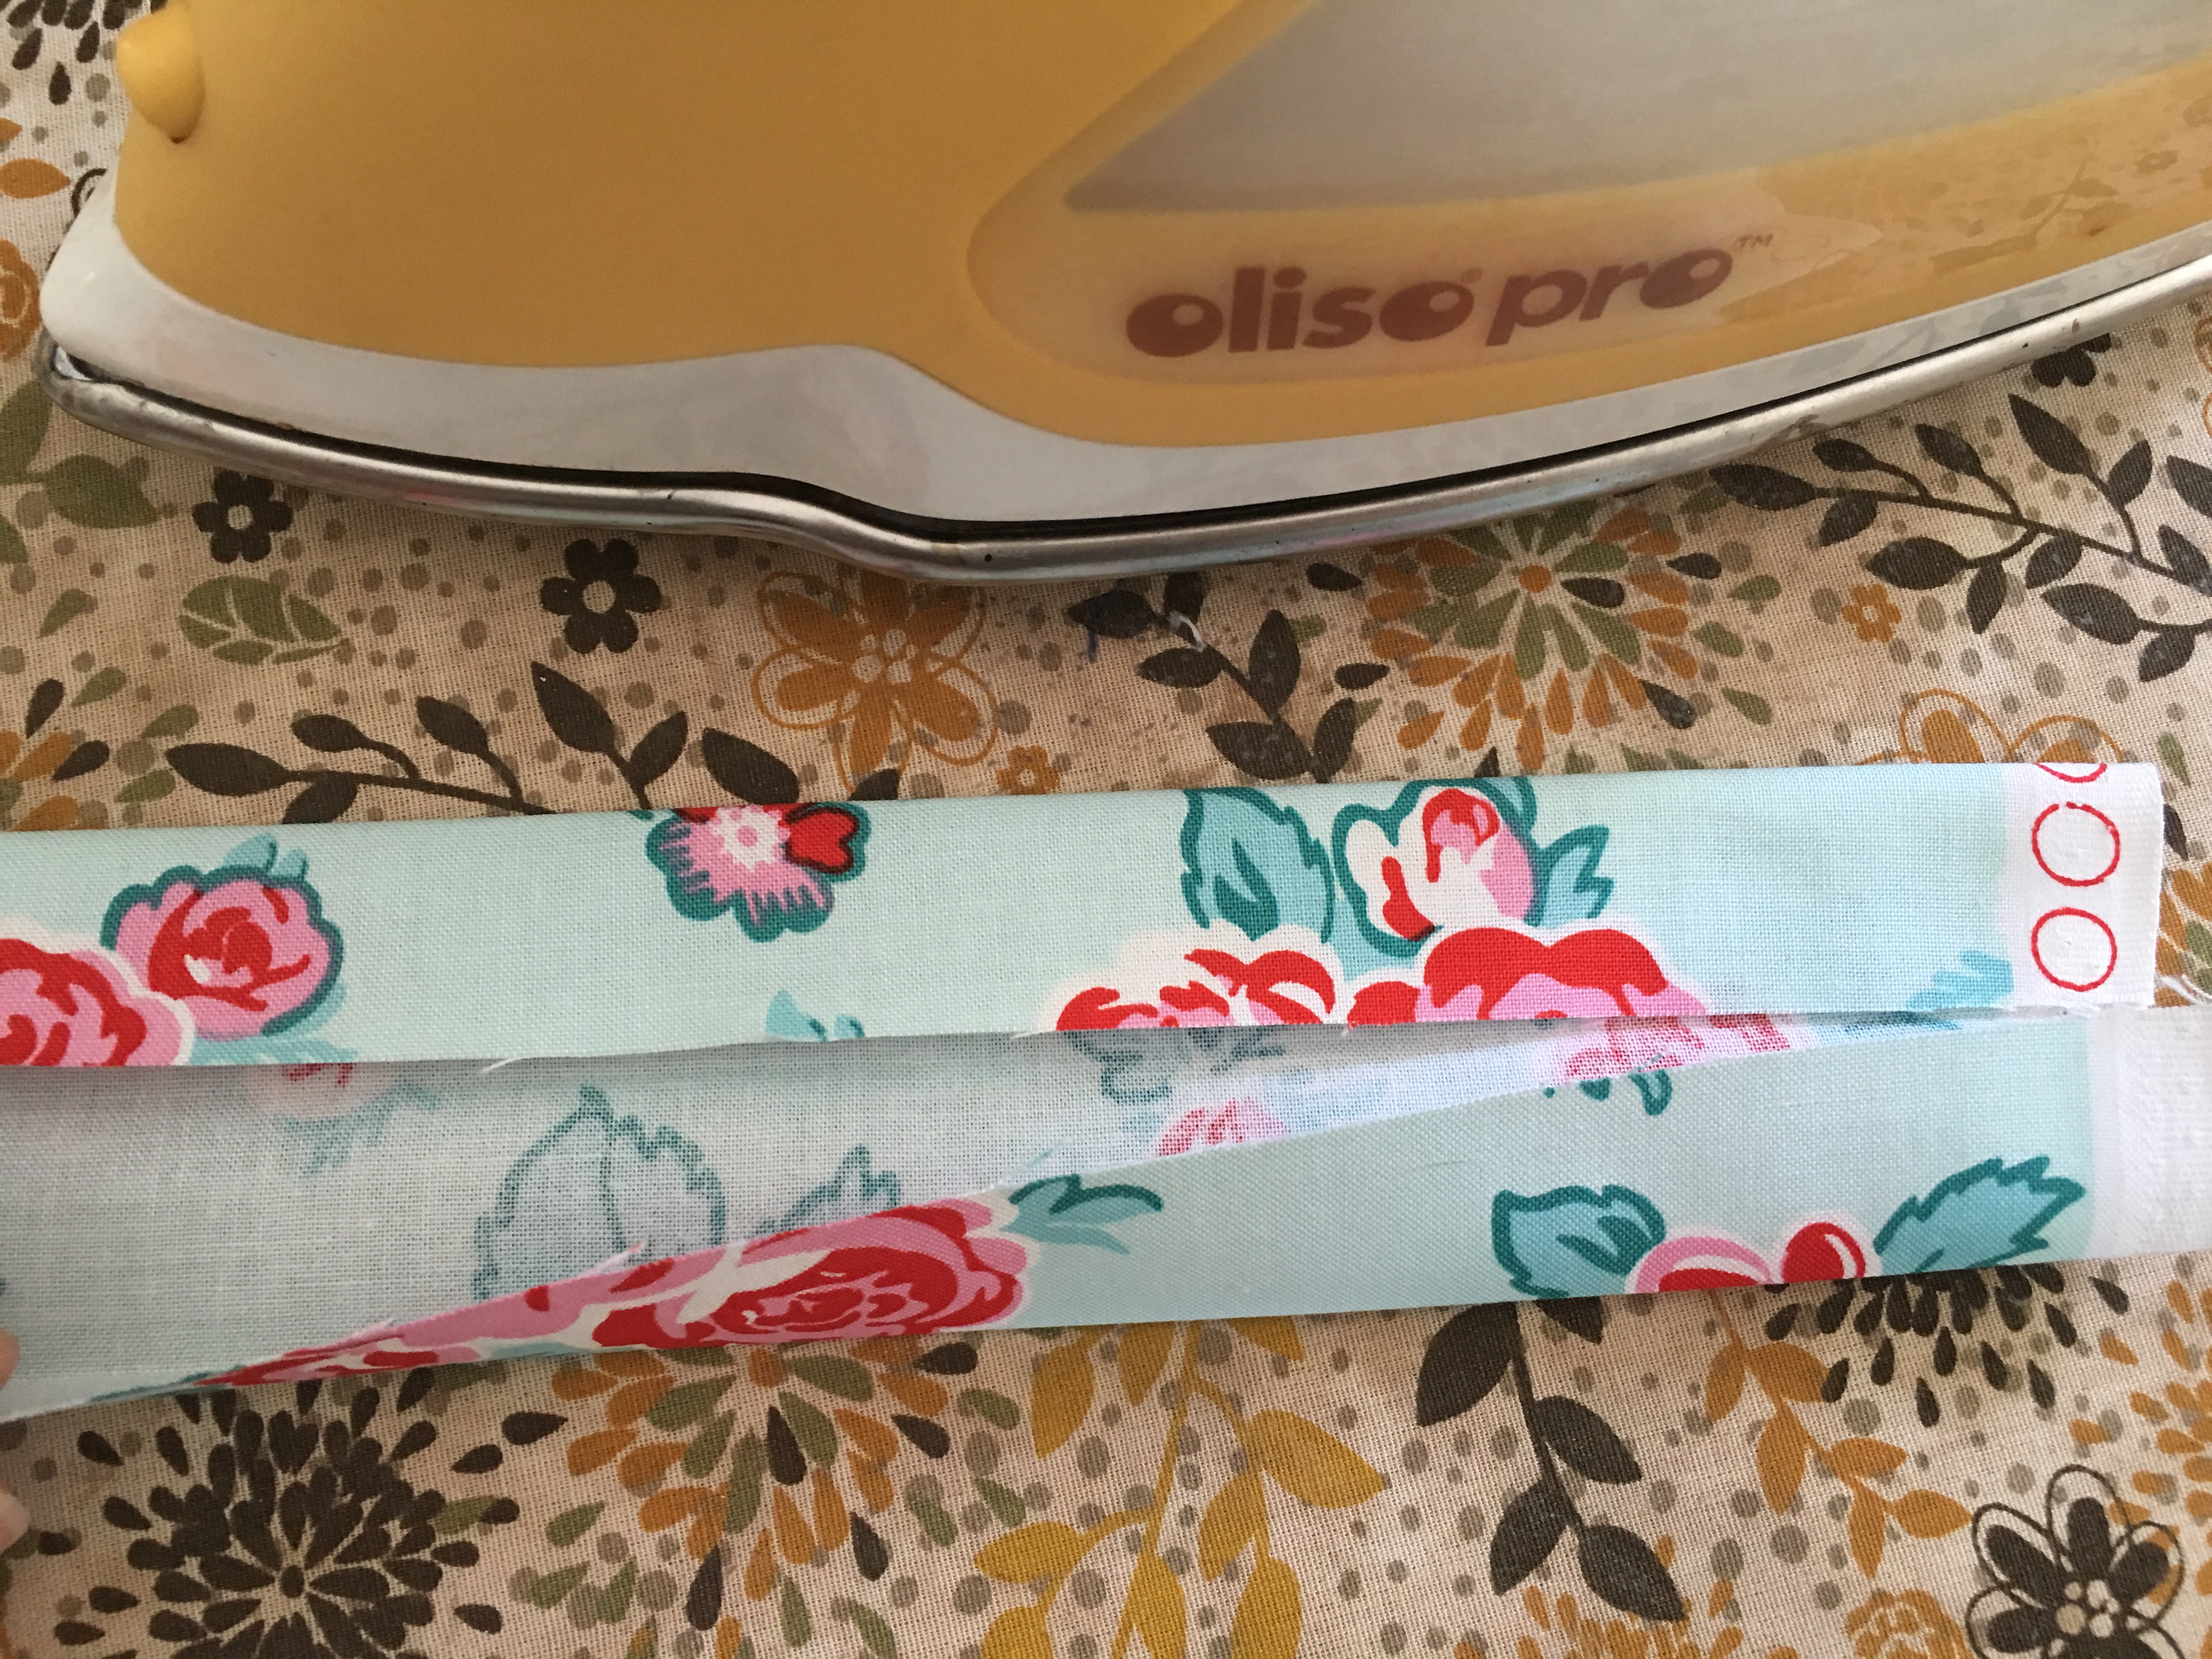 Open the strap and press both long edges in to meet the center crease.
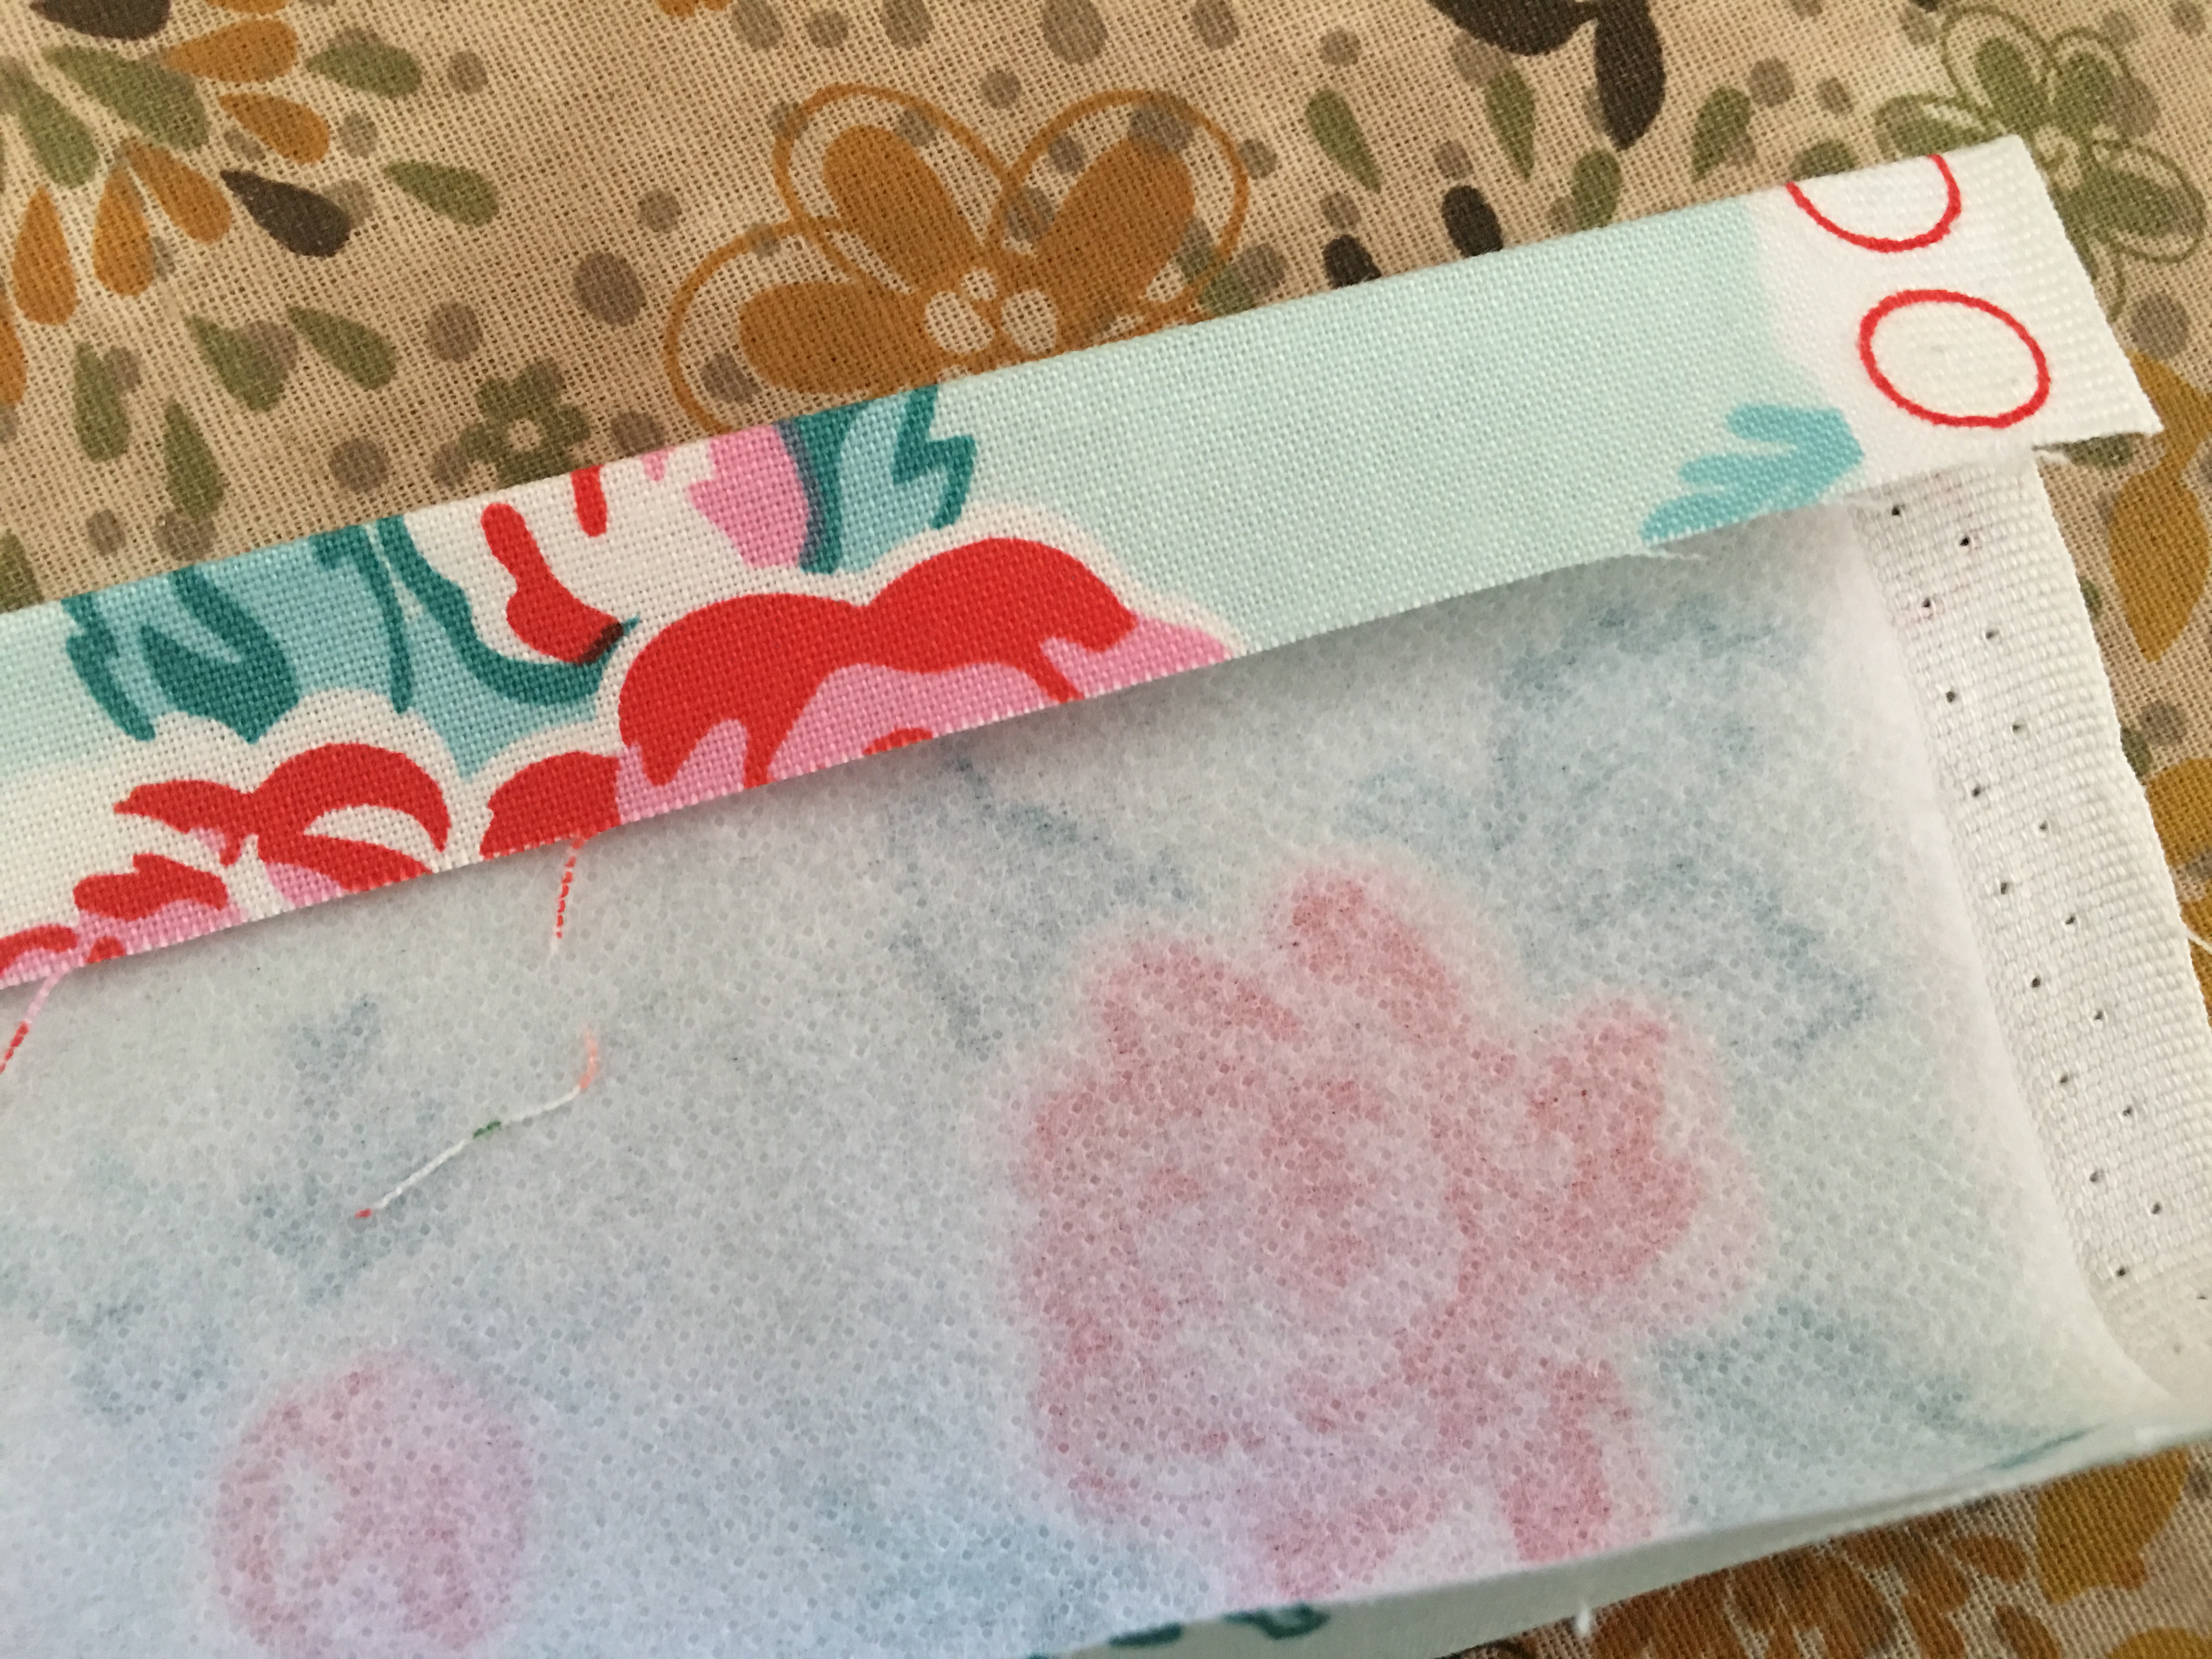 Now comes the fun part, cut a 2″ x desired length piece of stabilizer and slip it inside the folded handle. Press to fuse. Then fold the 2″ piece in half again lengthwise to result in a 1″ wide strap. Top stitch both sides to secure. There are 4 layers of fabric and 2 layers of stabilizer in the handle! It’s perfect!
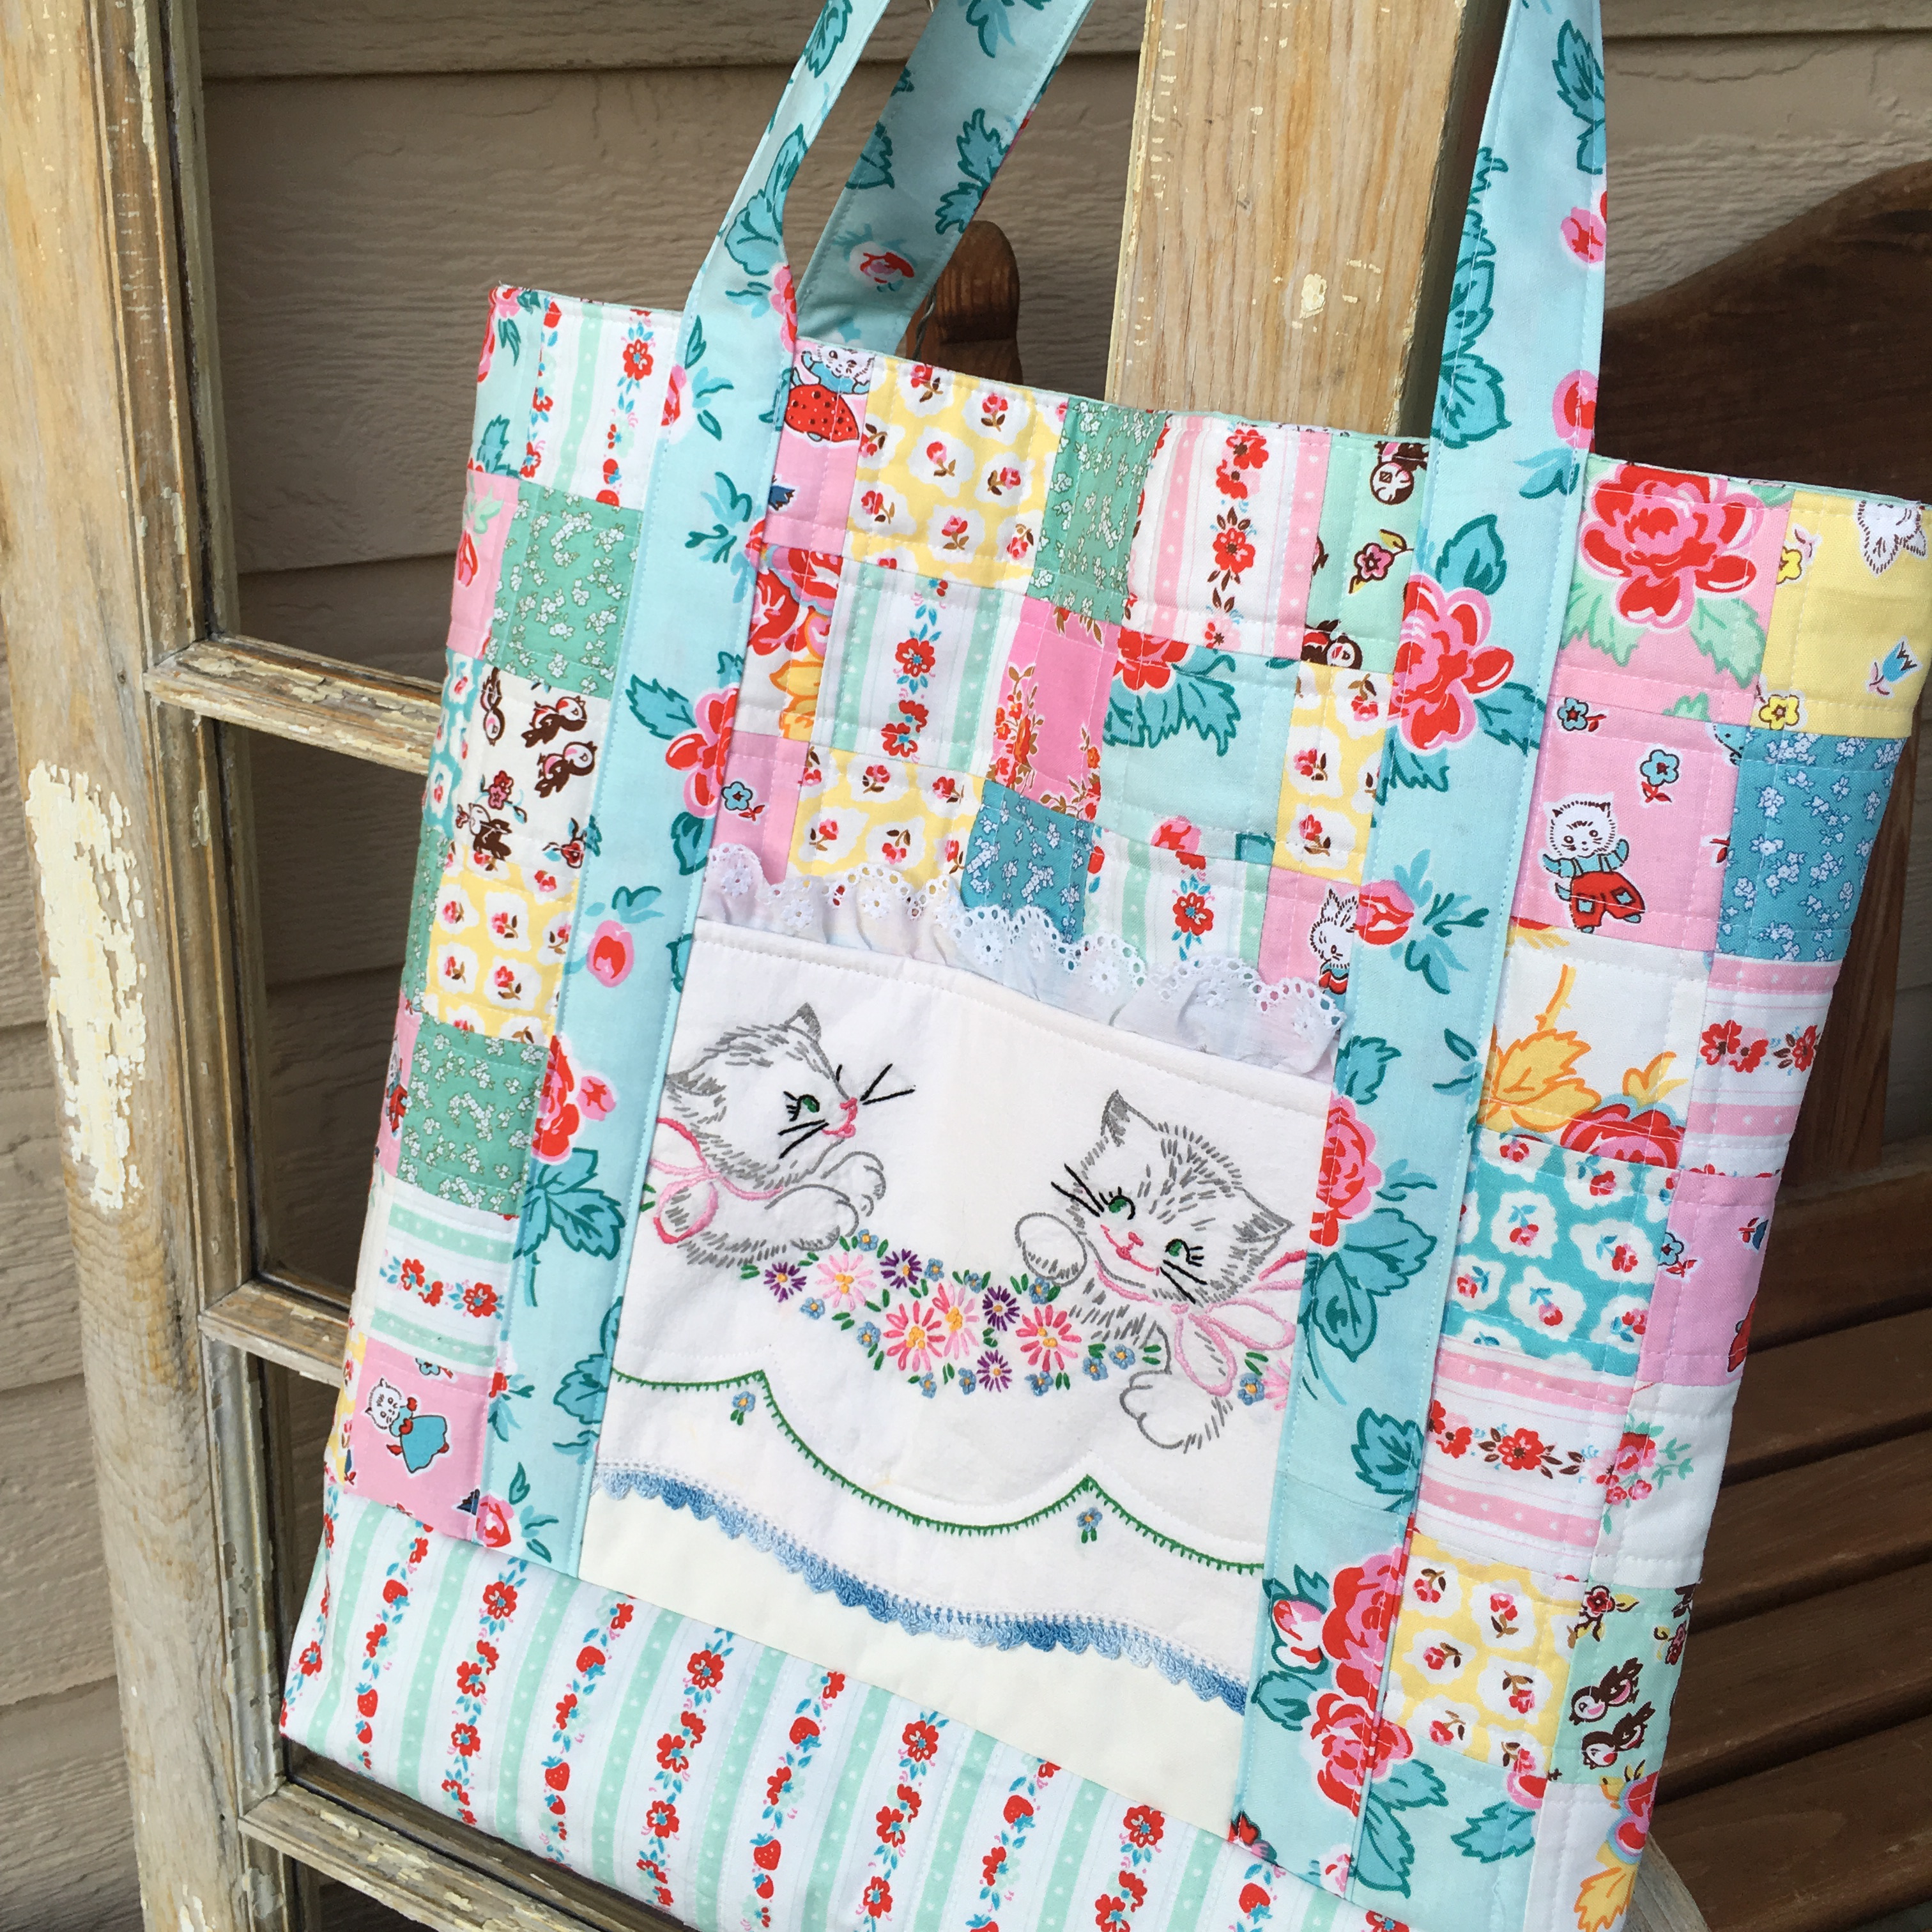
 I love how this bag turned out! It’s sturdy yet soft and will hold all the goodies I choose to put inside!
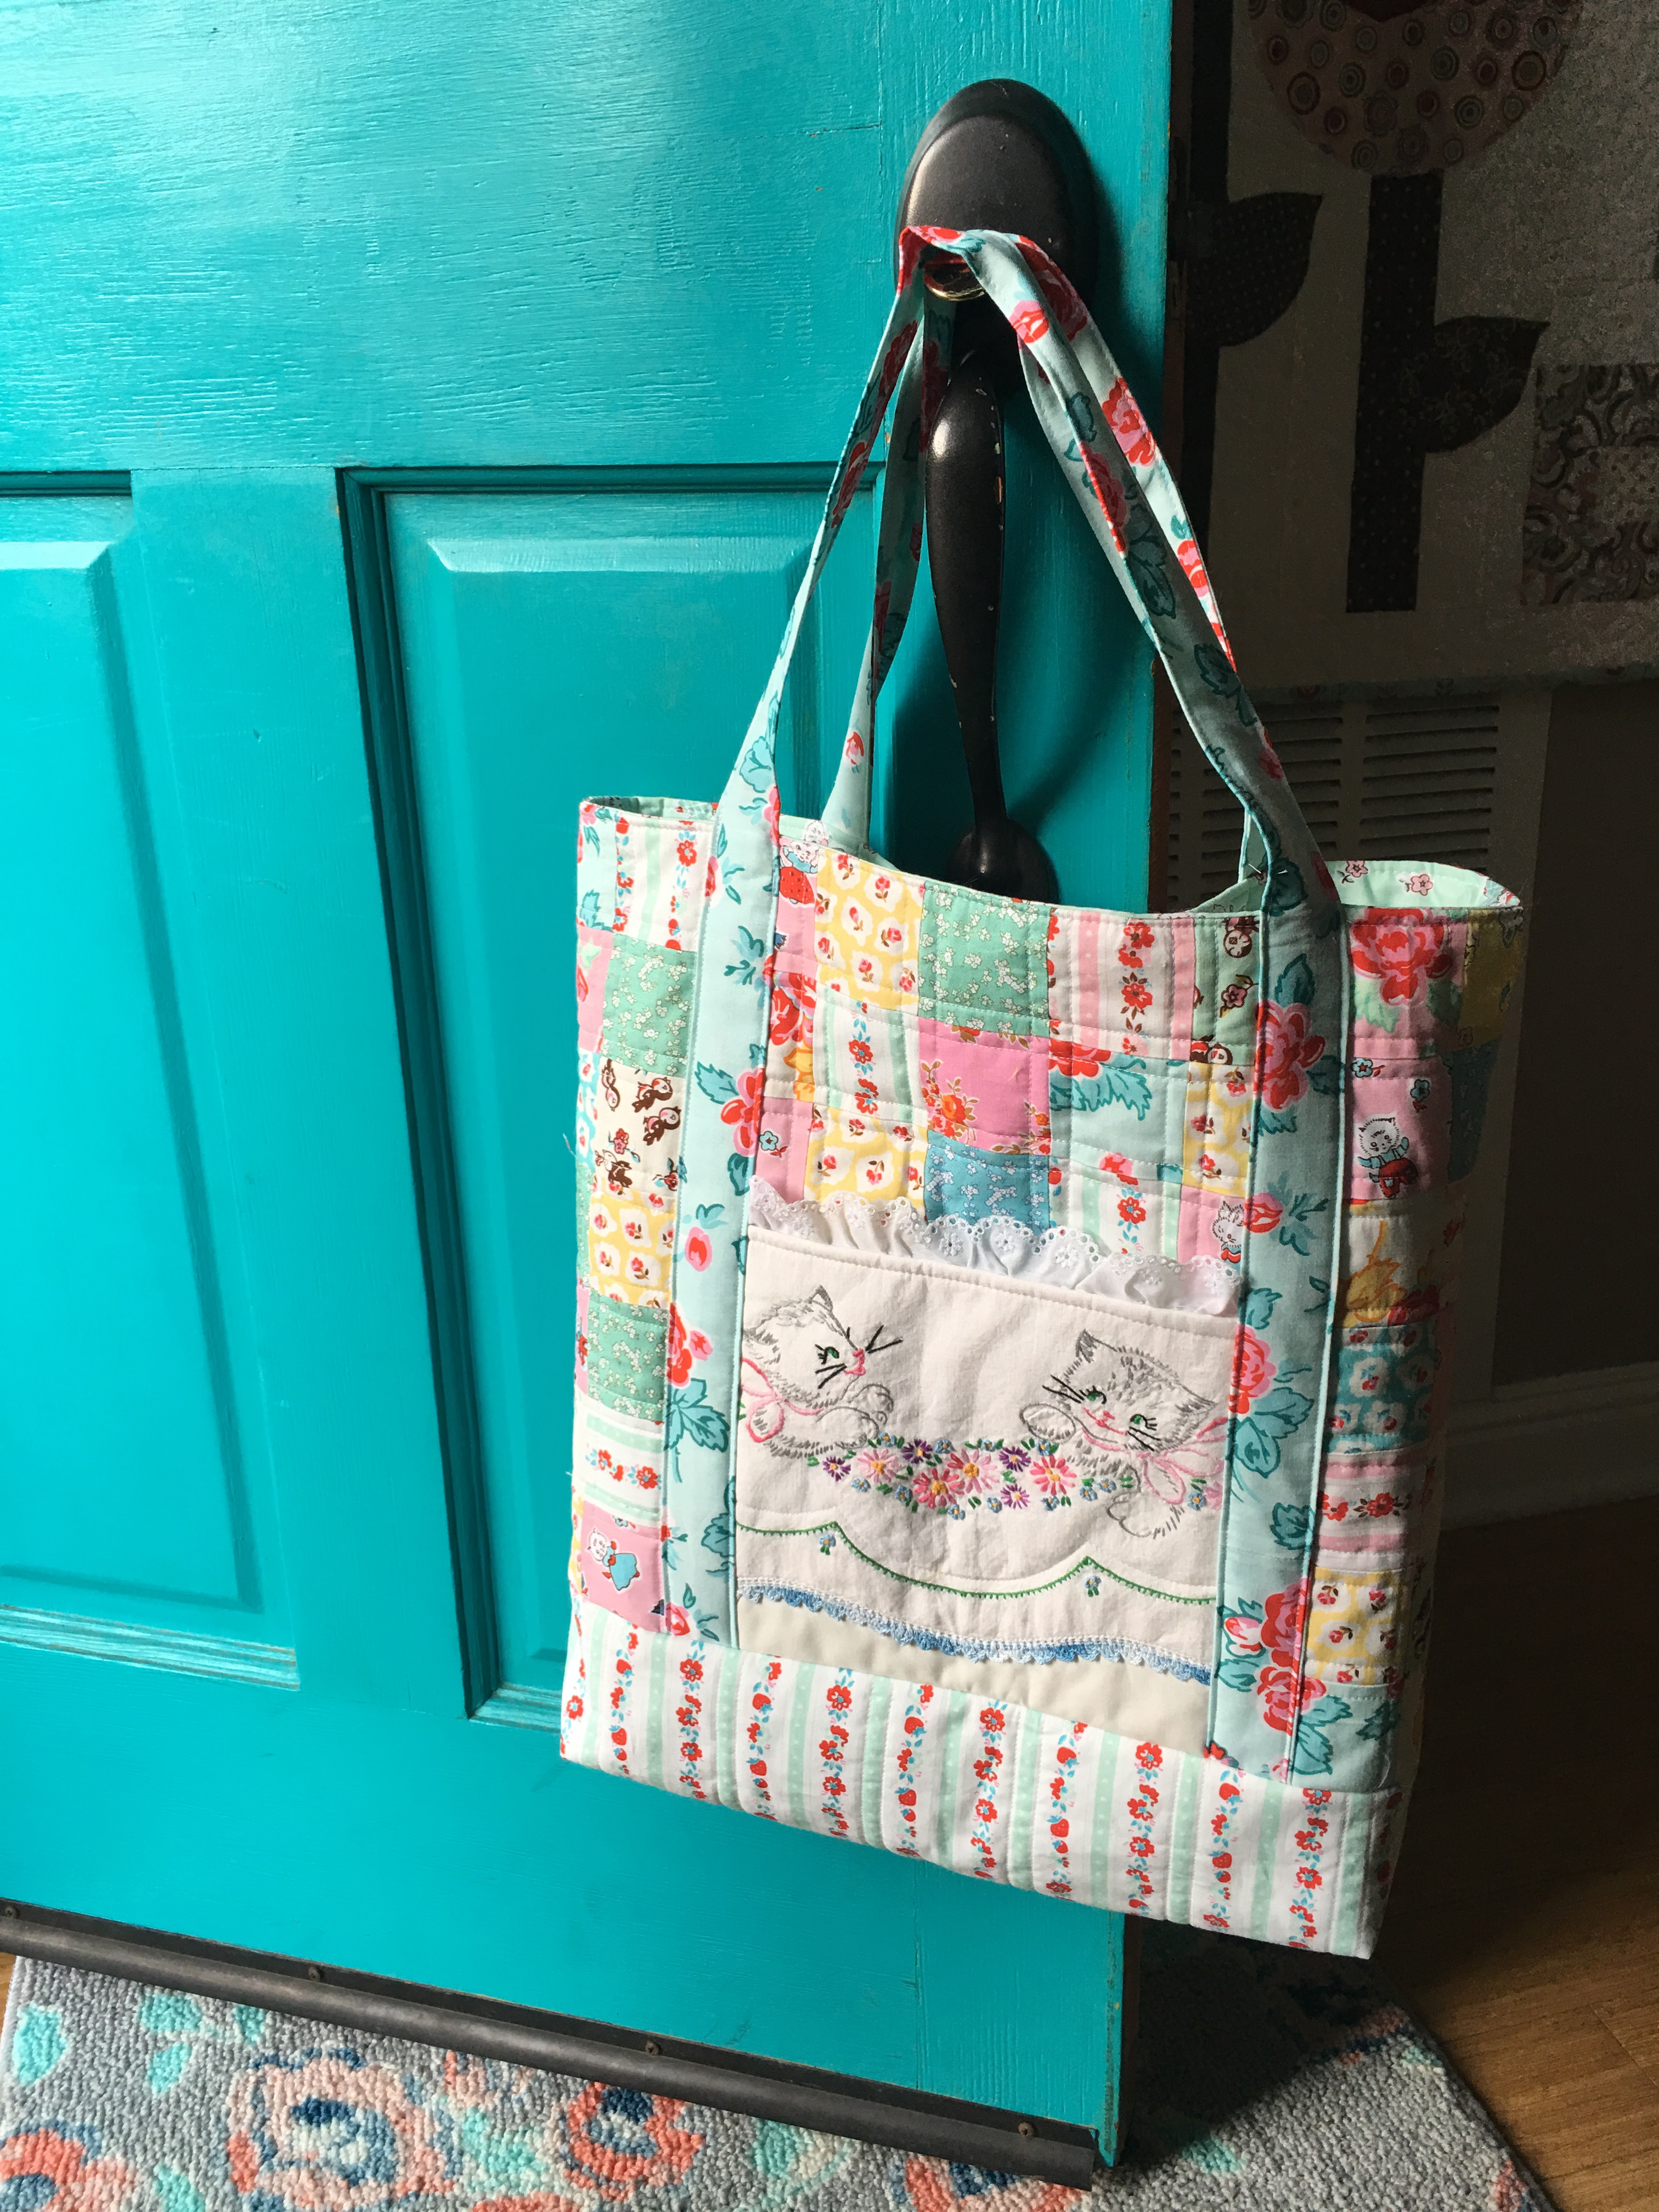
Audrey Pettit
May 18, 2016 at 11:46 am (8 years ago)Great tutorial and super sweet project!!
Jane Sprague
July 4, 2016 at 12:52 pm (8 years ago)This bag is darn cute! And your cat looks exactly like my cat, Pepper, in the exact position he’s famous for!