


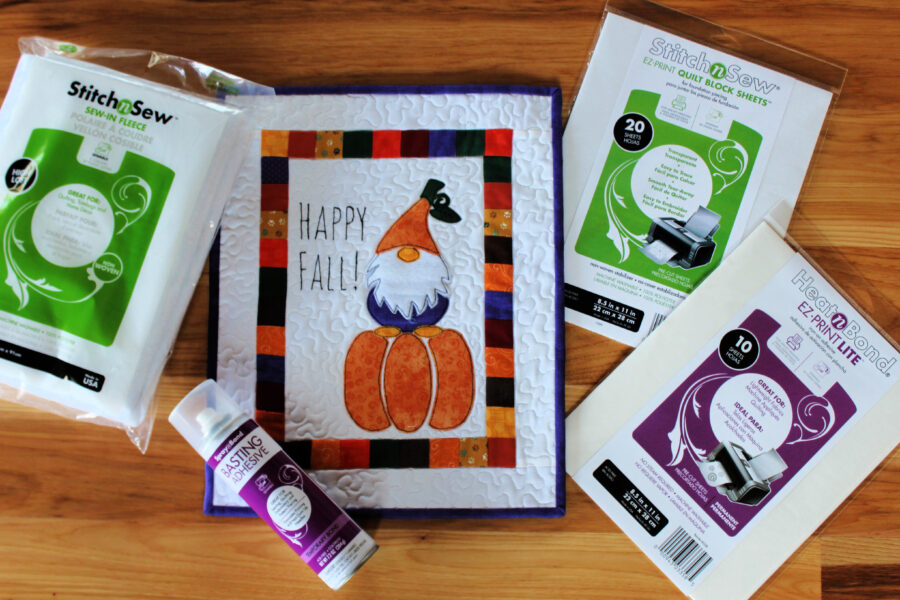
Decorating is too much fun with all the rich the warm colors of fall. Why not stitch up your own “Happy Fall!” with a sweet pumpkin gnome mini quilt. Applique with HeatnBond is a snap and a little StitchnSew fleece makes a gnome’s beard super soft and dimensional. Carla at Creatin’ in the Sticks is on the blog today to share a free pattern for this whimsical fall mini.
![]()
Happy Fall! Gnome Mini Quilt
by Carla at Creatin’ in the Sticks
Unfinished Size: 12 ½” X 15 ½” Finished Size: 12” X 15”
please read through the complete instructions before starting.
Happy Fall! Gnome Mini Quilt Supplies
Pattern free download: Fall Gnome reversed HeatnBond applique templates
HeatnBond EZ Print Lite iron-on adhesive – 1 sheet
StitchnSew Sew-In fleece, High Loft – 13” x 17”
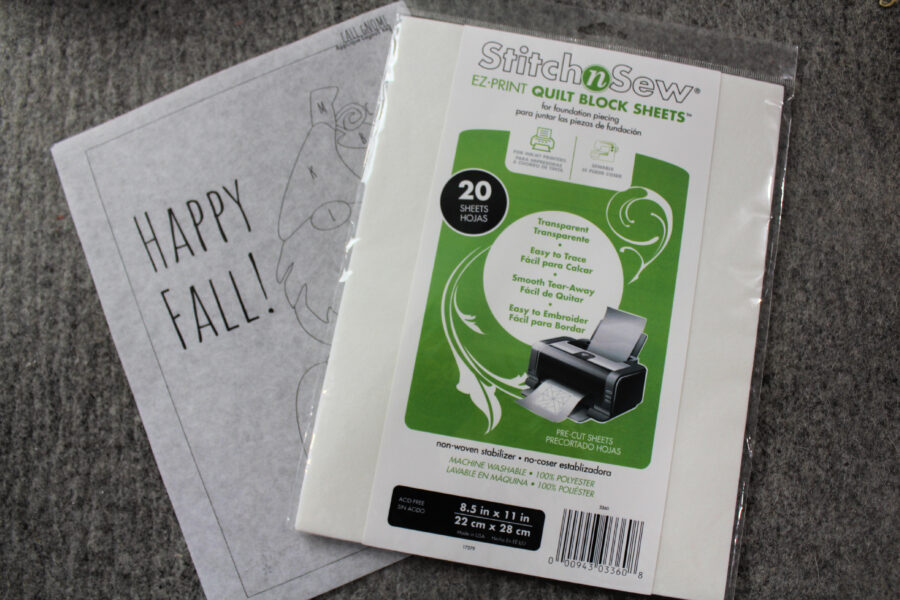
StitchnSew EZ Print Quilt Block Sheets – 1 sheet
Cotton Fabric:
A: 1 background 7 ½” x 10 ½” rectangle (white)
B: 38 – 1 ½” squares (fall colors)
C: 4 – 2” X 12 ½” strips (white)
For applique: scraps of orange, green, yellow, and purple. For the beard, white fabric can be used or two 3 ½” squares of StitchnSew fleece.
Quilt backing: 1 – 14” x 18”
Binding: 2 – 2 ¼” x Width of Fabric (purple)
Other supplies:
Aurifil Thread #2021 and #2692
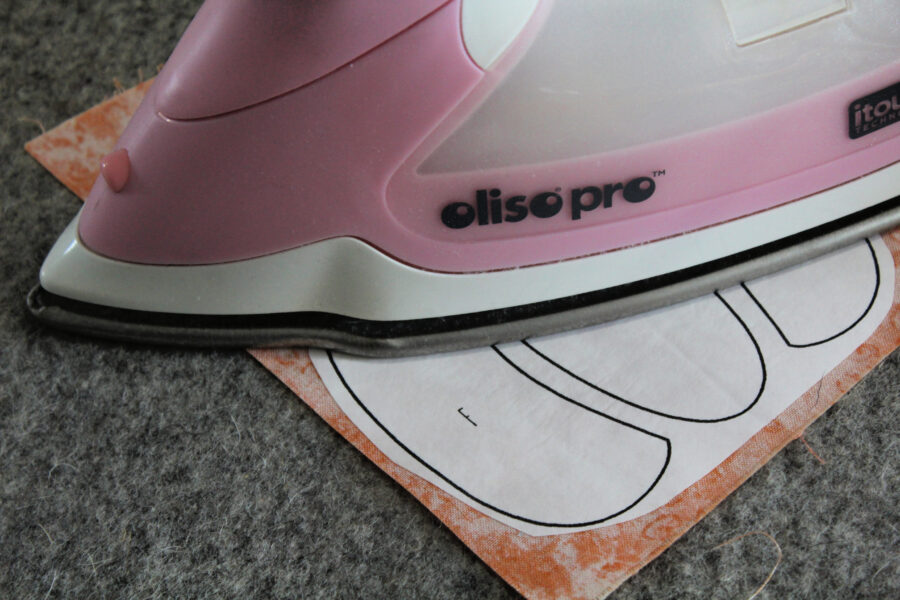
InkJet Printer, Iron (I love my pink Oliso), Sewing machine, Sharp scissors, and other basic sewing supplies. Optional: Embroidery floss.
Happy Fall! Gnome Mini Quilt Instructions:
Prepare Quilt top:
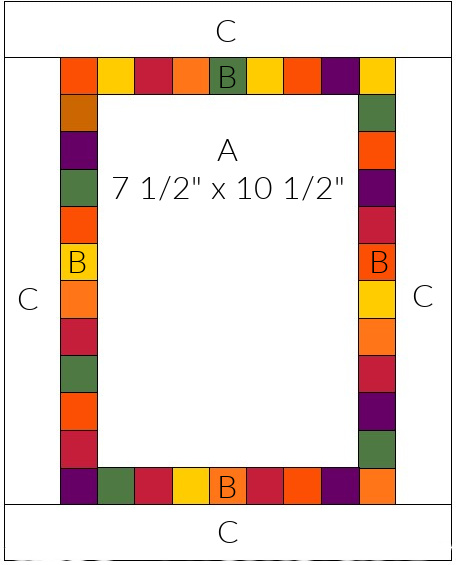
Begin by stitching “B” squares together with 1/4″ seams. Stitch 2 sets of 10 squares to sew onto the sides of the “A” rectangle. Next, stitch 2 sets of 9 squares to attach to the top and bottom of the middle rectangle. Once the squares are attached, sew the “C” strips to the sides and then to the top and bottom. Press the quilt top.
Happy Fall! Gnome Mini Quilt Applique Instructions:
**All patterns have been reversed for EZ printing.
Prepare the applique patterns
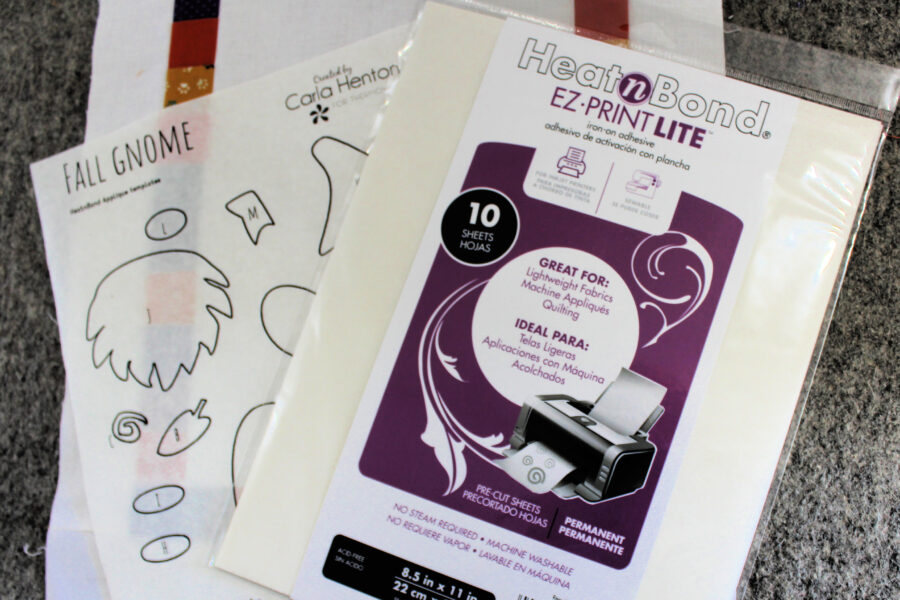
Print the applique pattern template pieces (the last sheet of the pattern) onto HeatnBond EZ Print Lite sheet with your inkjet printer. Follow the package instructions for printing and bonding to the wrong side of the fabrics. NO TRACING! How awesome is that?
Tip: When a light-colored fabric is used as an applique, prevent “show through” by bonding lightweight fusible interfacing on the wrong side of the fabric before bonding the HeatnBond Lite. Fuse the HeatnBond lite onto the interfacing and continue as with all appliques.
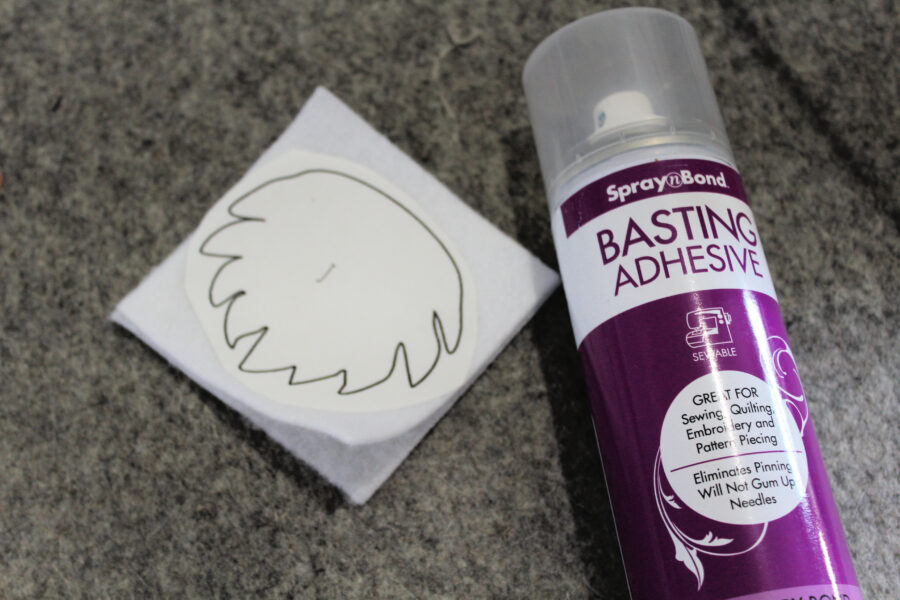
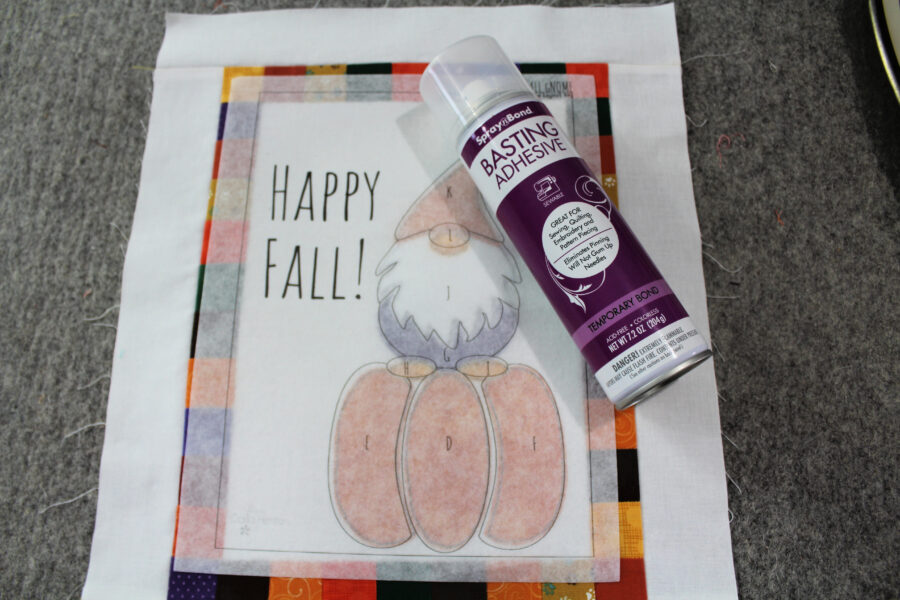
Add dimension to the gnome beard by using StitchnSew fleece. Simply follow the same instructions as with fabrics. Once the HeatnBond is bonded to one of the 3 1/2″ squares of fleece, use SpraynBond Basting adhesive to double the fleece. Just spray the top of the fleece with adhesive and attach the other 3 1/2″ square of fleece before it is cut out.
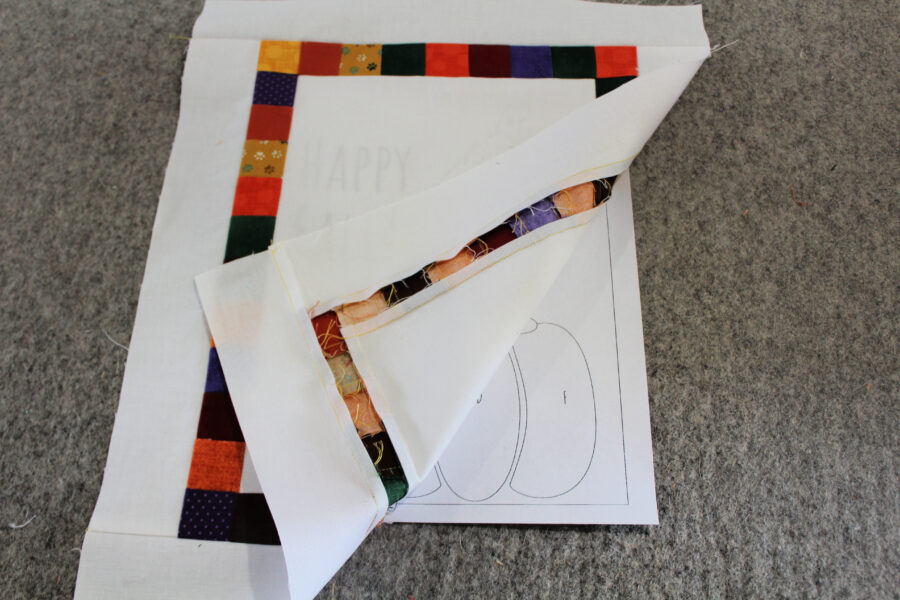
The applique template key (first page of the pattern) is included in the pattern. Firstly, slide the page under the quilt to place the applique pieces.
Cut out all applique pieces following the solid black lines, peel off the backing paper, and place applique with the adhesive side down on the prepared background fabric.
Bond the Applique Pieces to the Background
Following the package instructions, work in sections to press the entire applique to the background until the entire applique is fused.
Stitch around appliques
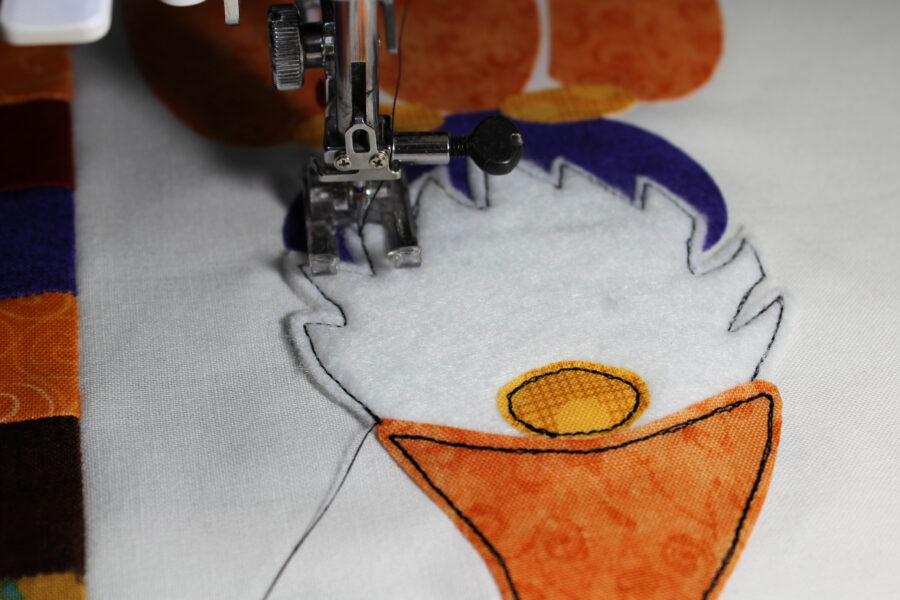
Stitch with Aurifil 50 wt thread #2692 and sew about 1/8” in from the edges of the gnome and pumpkin pieces. Sew around each applique piece at least twice.
Stitch Happy Fall!
The next step is to stitch the embroidery letters. If you like hand stitching, you can trace the design to the front of the fabric. This design was machine stitched with a triple stitch following the pattern. To machine stitch, print the applique template key (first page of the pattern) onto 1 sheet of StitchnSew EZ Print Quilt Block Sheets.
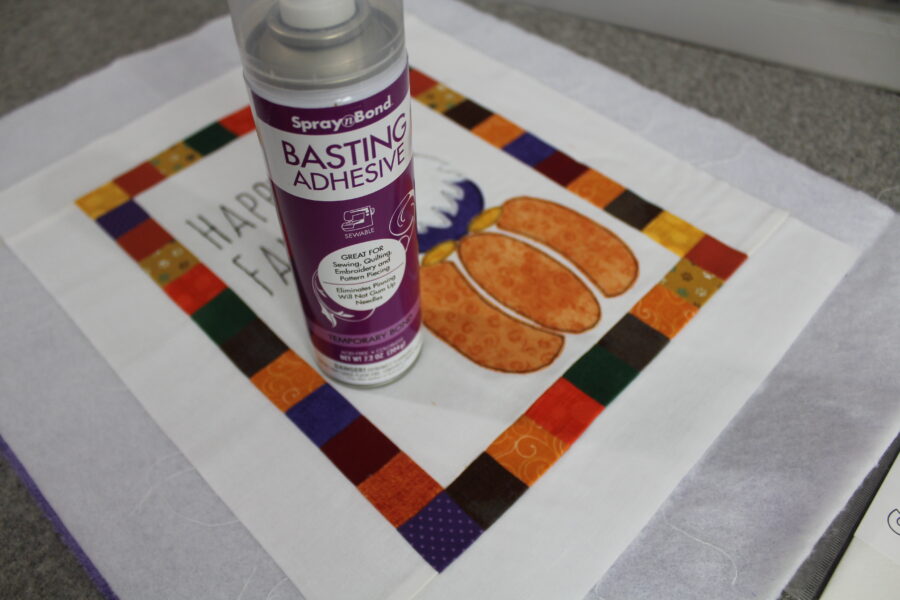
Spray baste the sheet onto the top of the quilt top design. Just spray a light coat on the back of the quilt block sheet and press the sheet over the design. SpraynBond Basting Adhesive is a temporary bond spray adhesive for fabric and is perfect to hold templates in place.
Stitch the entire Happy Fall! design on top of the Quilt Block Sheet. Go over each letter at least 3 times if there isn’t a triple stitch on the sewing machine. Remove the Quilt Block sheet away from the stitching by carefully tearing it away once the letters are stitched.
Finish the quilt
Following the package instructions, spray StitchnSew Sew-in fleece with SpraynBond basting spray and lay it on top of the wrong side of quilt backing fabric. After that, smooth with fingers to remove wrinkles. Spray the back of the quilt top and lay on top of the fleece, gently smoothing out any wrinkles.
Finally, quilt as desired, trim the mini quilt and add the binding with preferred method.
![]()
I had so much fun with this fall gnome, I think I need more! Don’t they bring you luck? Have fun creating your own! -Carla
![]()
6 Comments on Sew a Happy Fall! Gnome Mini Quilt
2Pingbacks & Trackbacks on Sew a Happy Fall! Gnome Mini Quilt
-
[…] Way!!! It’s another gnome pattern! The Therm O Web blog has a free mini gnome quilt for Halloween/Fall, and I can’t wait to sew […]
-
[…] just had to make another Gnome project. They make me smile. If you picked up my pattern for Happy Fall! Gnome Mini Quilt, you are like me and building your little seasonal Gnome […]
Mary
August 28, 2021 at 6:57 pm (3 years ago)This is so festive and cute. Thanks for the pattern.
Karen Sturdivant
September 3, 2021 at 12:04 pm (3 years ago)Just FYI your print doesn’t work because your headings hide some of the content and instructions.
admin
September 8, 2021 at 11:34 am (3 years ago)Hi Karen…we test printed the pattern and are not having any issues. Are you trying to print the entire blog post? If so, it’s not formatted for printing.
Kathy Clayton
September 4, 2021 at 1:46 pm (3 years ago)Love this darling pattern. It is refreshing to find a fellow Kansan out there designing patterns and making their name known in the quilting world. Congratulations! Thank you for sharing your gifts and talents. I look forward to seeing more of your stuff out there and wish you the best as you do! I hope to make this darling gnome for my front door to welcome visitors and friends! Thank you for the free pattern!— From Wichita