The leaves will be turning soon and fall will be here. It’s time to bring out the warm colors of fall. Create this Fall Leaves mini Quilt with HeatNBond® EZ Print Lite to bring a touch of fall to your decor. Carla, here from Creatin’ in the Sticks and I’m happy to share this free pattern that allows you to print the leaves design right onto HeatNBond® EZ Print Lite with your printer. That means no tracing.
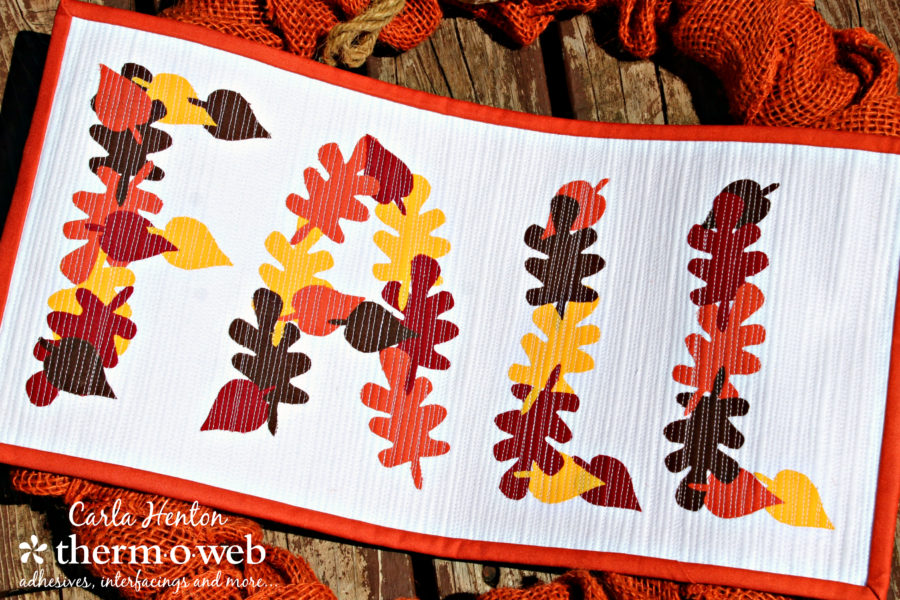
Sew a Fall Leaves Mini Quilt with HeatnBond EZ Print Sheets
by Carla at Creatin’ in the Sticks
Finished size: 8” x 16”
Supplies:
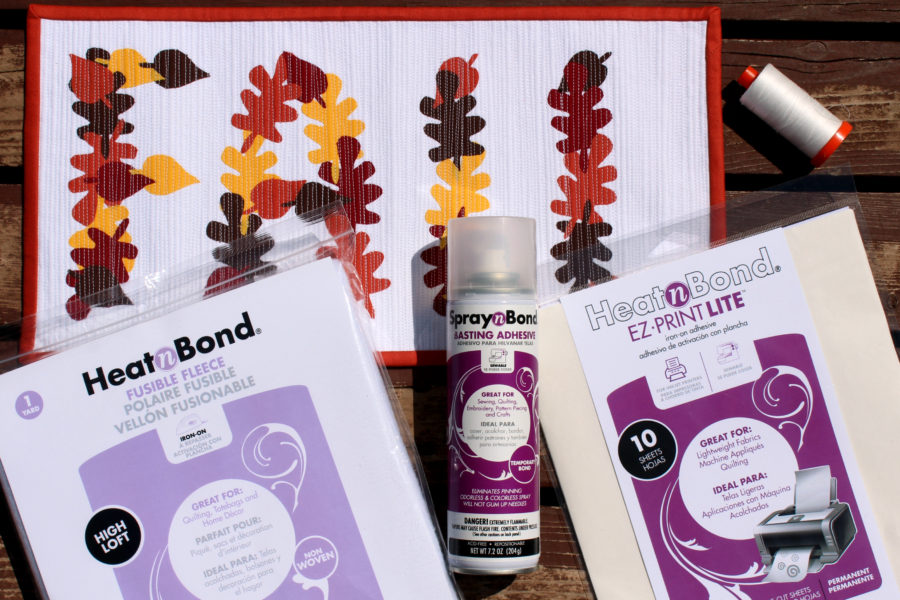
Fall Leaves Templates – Download HERE
HeatNBond® EZ Print Lite iron-on adhesive – 4 sheets
HeatnBond Fleece Fusible High Loft – 8 ½” x 16 ½”
SpraynBond® basting adhesive
Aurifil 50 weight cotton thread (#2021)
Fabric: 4 fabrics (Orange, Gold, Brown, Burgundy) for leaves – 8 ½” x 6”
White fabric for background – 8 ½” x 16 ½”
Backing fabric – 9” x 17”
Binding fabric –2 pieces: 2 ¼” x width of fabric (or 60” of binding)
Other Supplies:
Inkjet Printer, Ruler, Iron, sharp scissors, sewing machine, and other general sewing supplies
Fall Leaves Mini Quilt Instructions:
Step 1-
Bond the 8 ½” x 16 ½” piece of HeatnBond Fleece Fusible High Loft to the wrong side of the white background 8 ½” x 16 ½” piece of fabric following the package instructions.
Step 2-
Print the template page on 4 pieces of HeatNBond® EZ Print Lite. No Tracing! Next, centering the design, trim each sheet to 8 ½” x 6”.
Step 3-
Fuse the trimmed HeatNBond® EZ Print Lite sheets to the wrong side of each of the 4 fabrics following the package instructions.
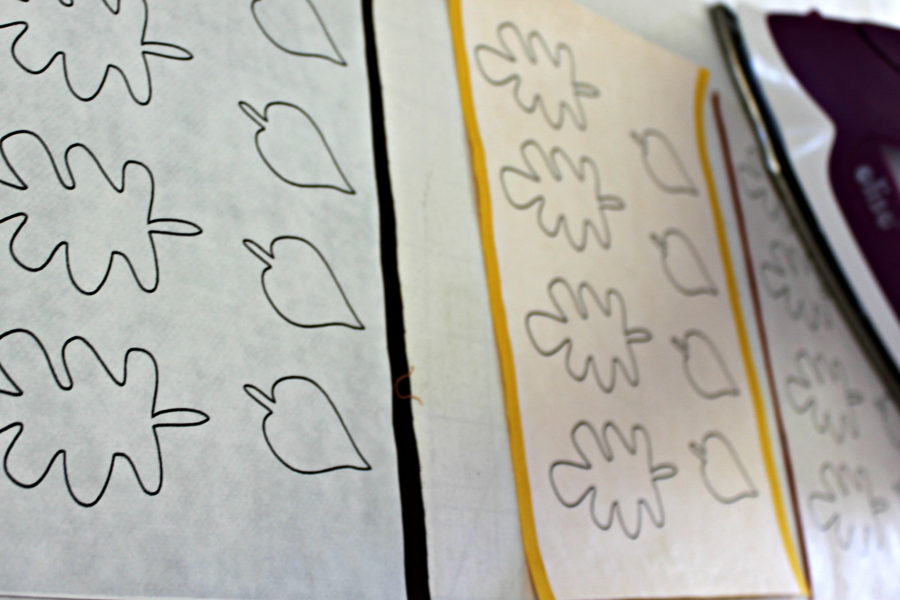
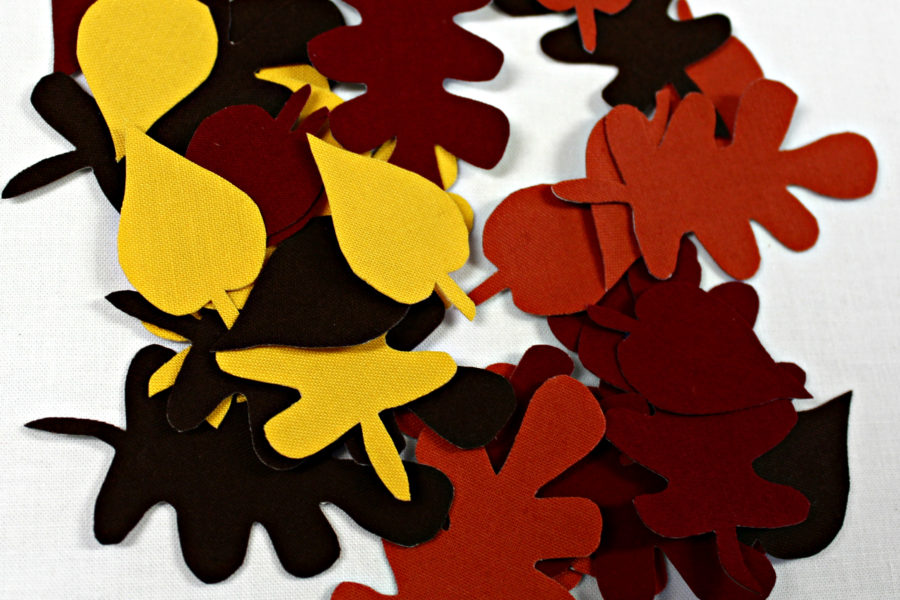
Once the fabrics are cool, cut out all the leaves on the dark solid lines.
Step 4-
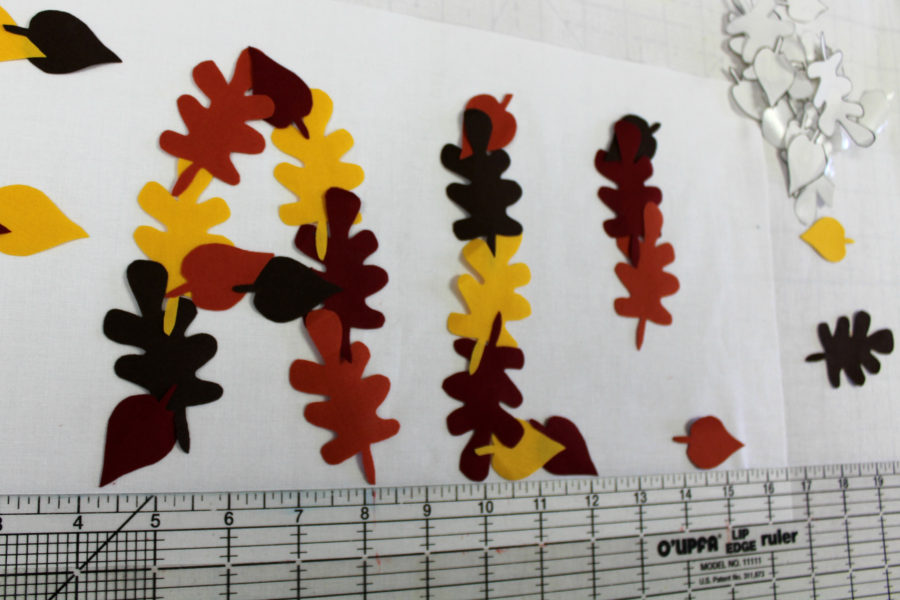
Place the white background fabric right side up on an ironing surface. Peel the backing paper from the leaves and, with the adhesive side down, place on the leaves on the white background fabric. Use the key as a guide. Leave a 1″ border around the white background fabric.
Step 5-
Fuse all the leaves to the background at once in sections following the package instructions.
Step 7–
With backing fabric laying on a flat surface right side down, follow the package instructions and spray the back of the quilt top on the HeatnBond Fleece Fusible High Loft with SpraynBond® basting spray. Lay the sprayed fleece on top of the wrong side of quilt backing fabric.
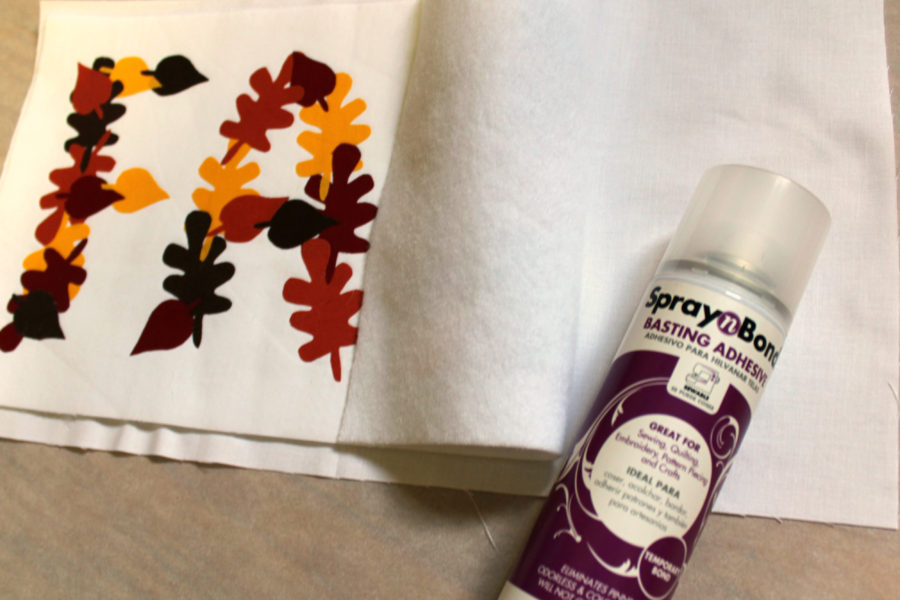
Smooth the fabric to remove wrinkles.
Step 8–
Instead of stitching around each leaf, quilt with a matchstick design. Mark the center of the quilt and stitch a straight line with Aurifil 50 wt thread #2021. Next, stitch another straight line about 1/8” from the first line of stitching moving the quilt in the opposite direction.
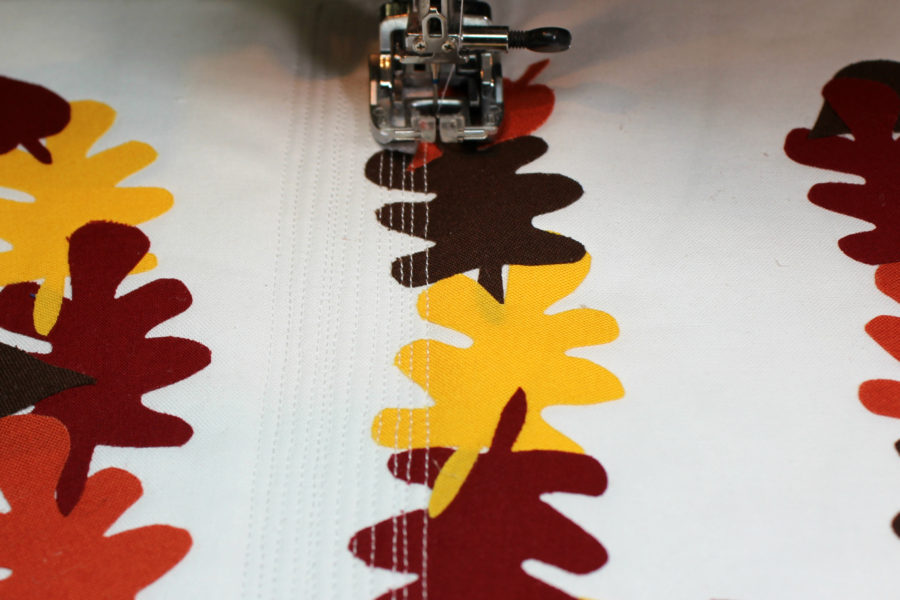
Repeat the stitching to finish one side of the quilt, quilting anywhere from 1/4″ to 1/8” away from the previous stitching line. Once one side is quilted, finish up by quilting the other side with the same stitching lines.
Trim to square up the quilt to 8″ x 16”.
Step 9-
Finally, apply the binding to the edges of the quilt using your preferred method.
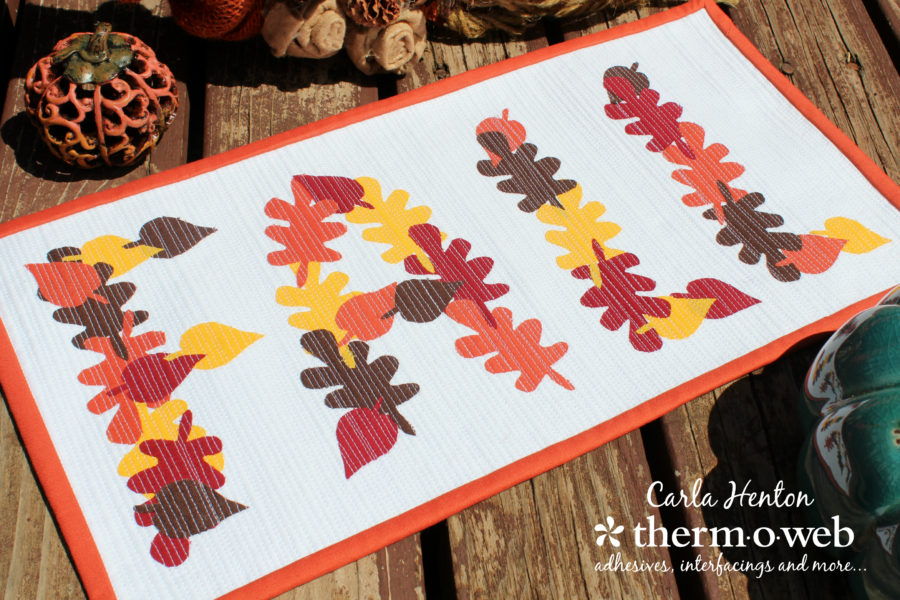
Happy Fall, Y’all!
Carla
