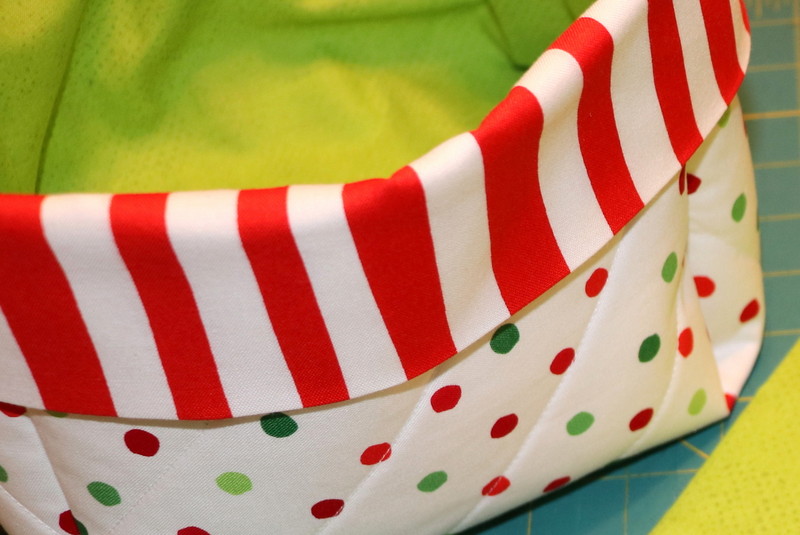
It seems like I’m always in need of a way to take a gift to someone, so these Square Fabric Gift Baskets were perfect for me. They were fun and easy to make…I wanted to make a lot more! They sew together really fast and can be made with very little fabric. There are two sizes, a 7 1/2″ x 7 1/2″ basket and a 3 1/2″ x 3 1/2″ basket. Using Heat n Bond Fleece Fusible High Loft gave the basket a soft, but stable feel. I ironed it to the wrong side of the outer fabric, let it cool, and then quilted away. It stayed in place while doing straight lines and some free motion quilting.
Fabric Gift Basket
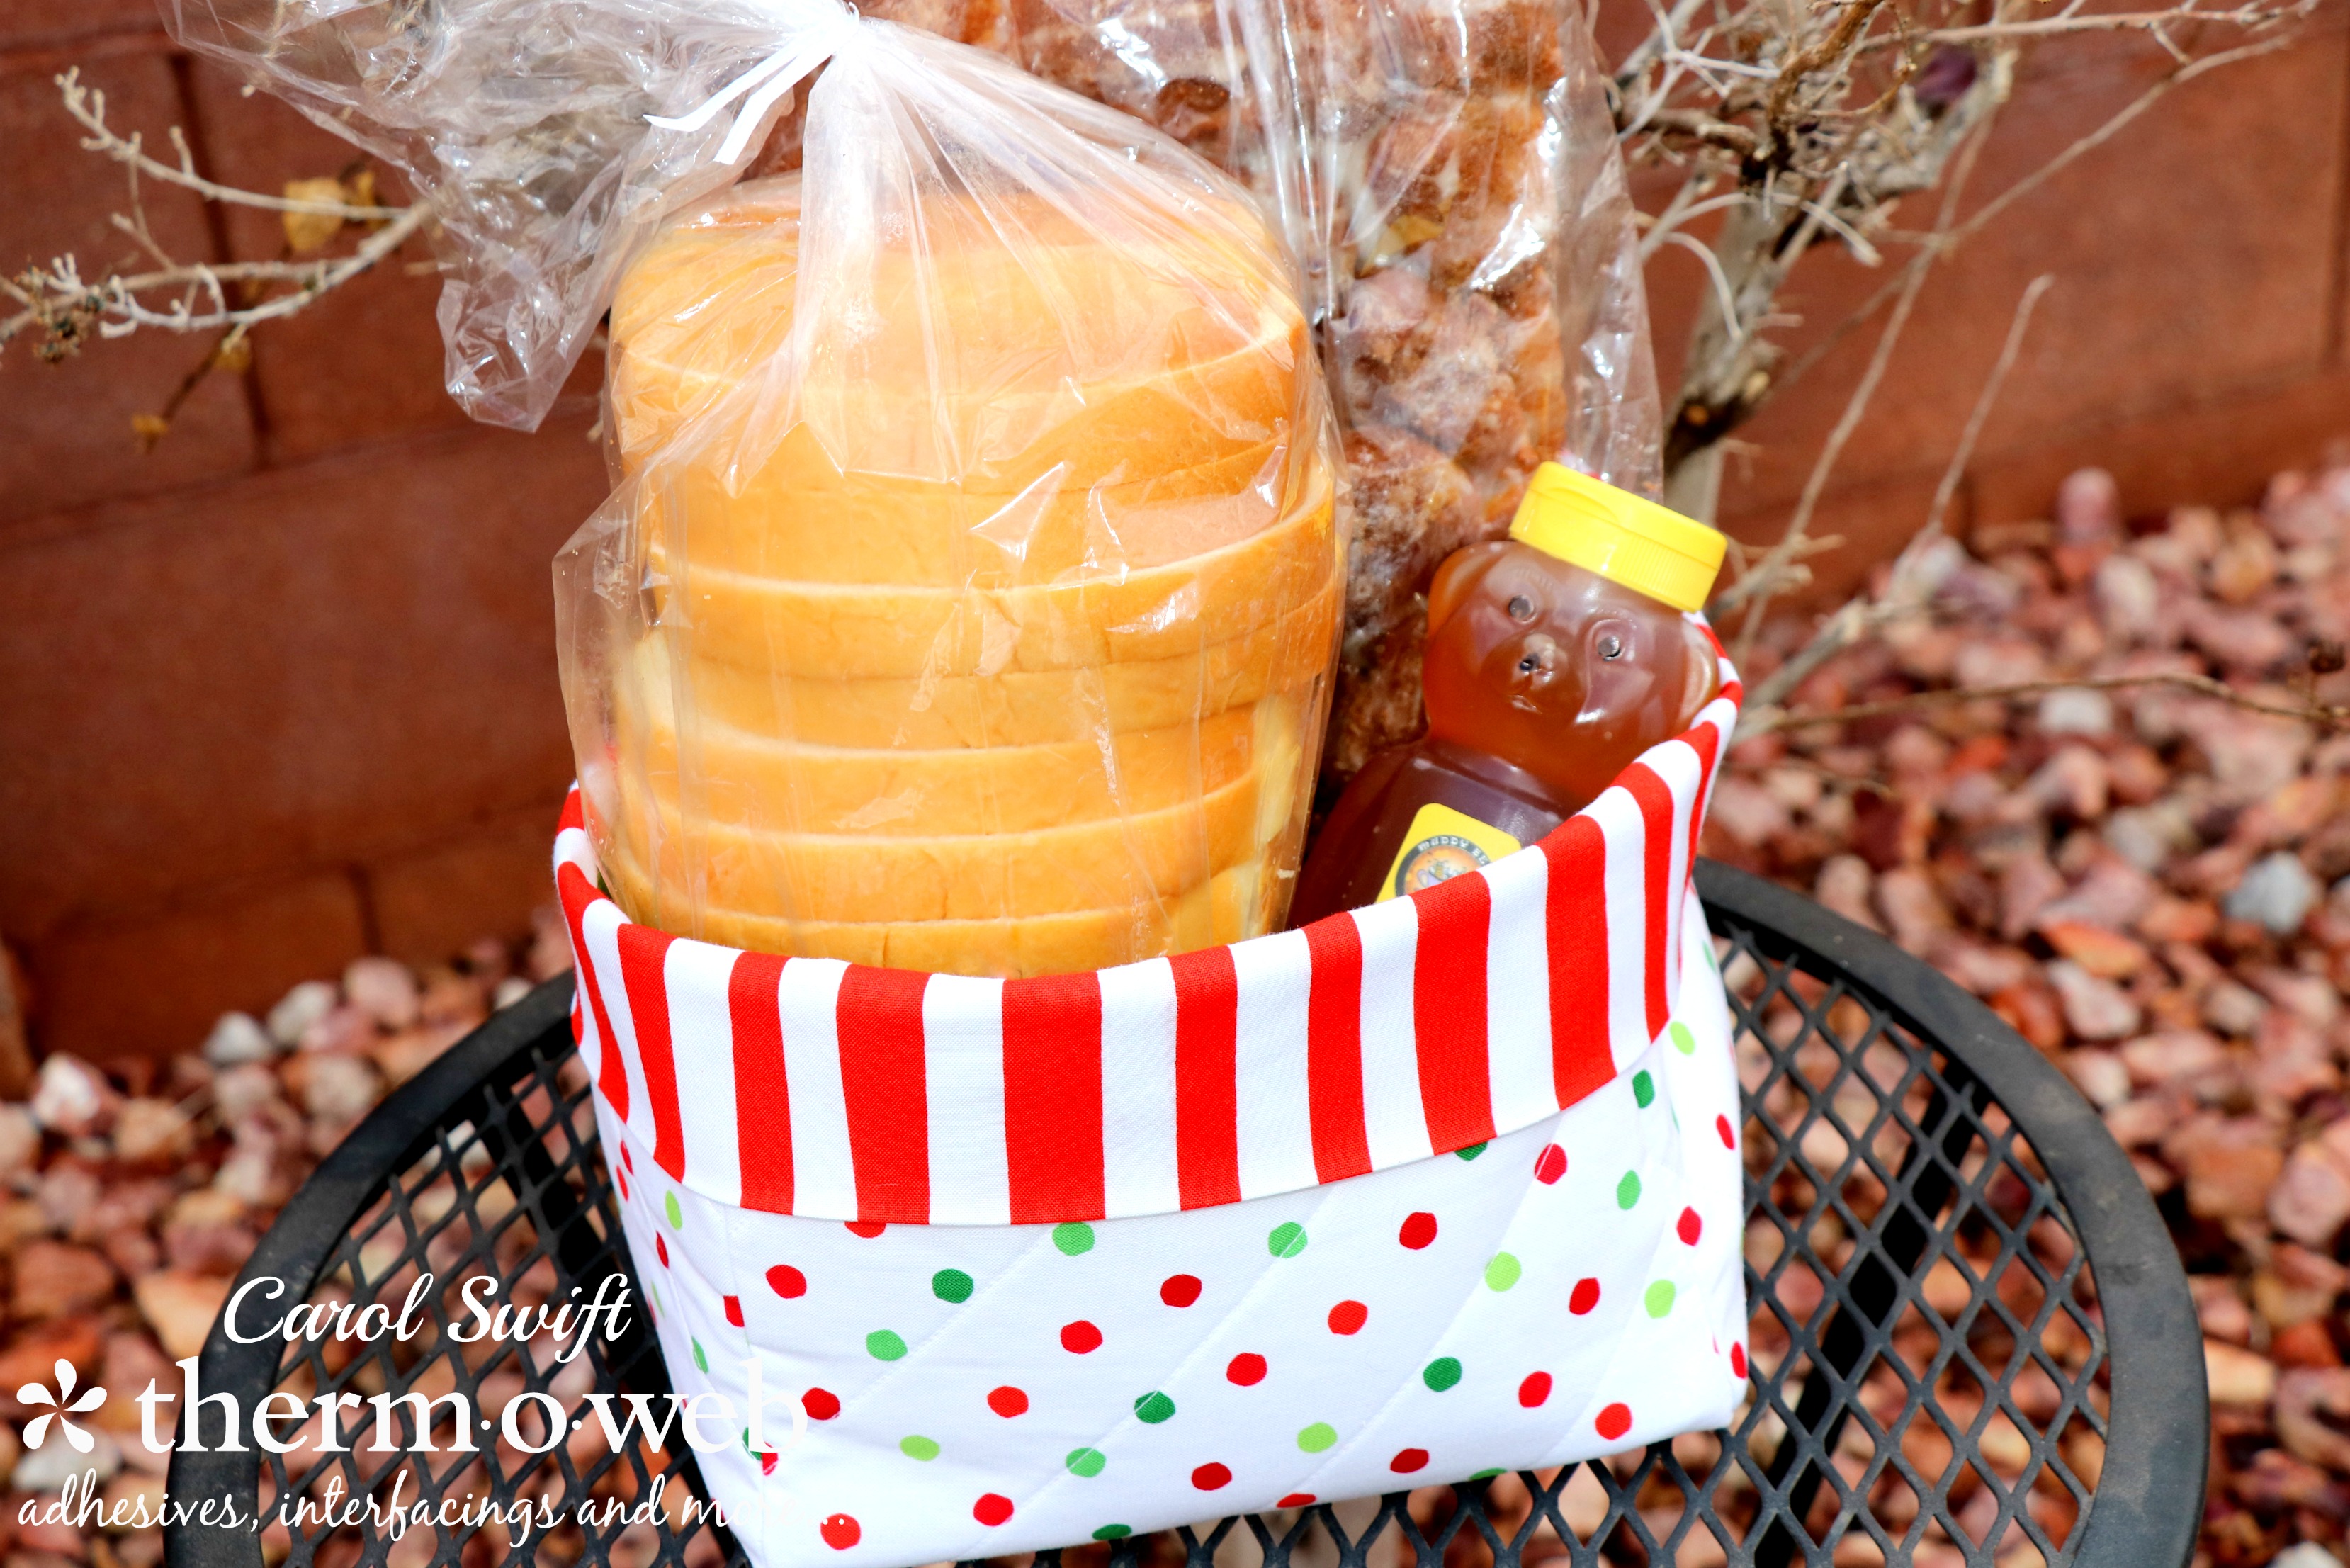
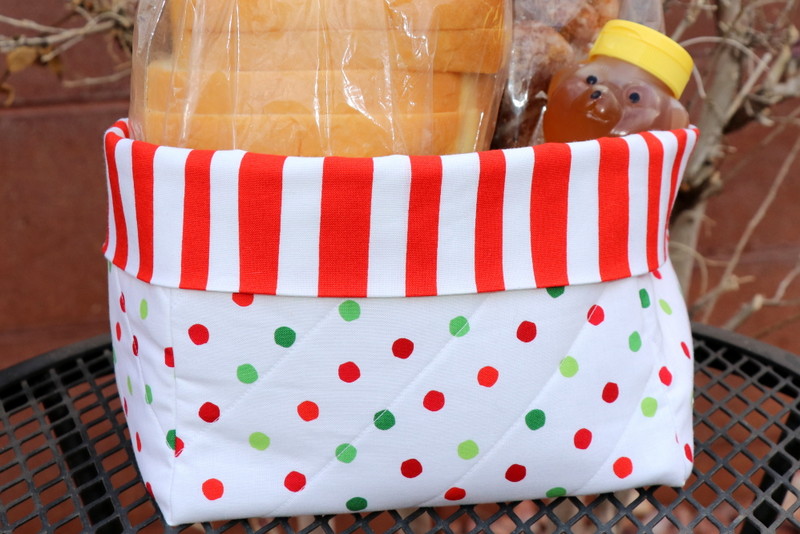
The 7 1/2″ x 7 1/2″ gift basket was a nice size for Muddy Bees Bakery’s white bread and apple bread, along with a bear container of their honey. Their store has an actual beehive inside with a pipe to the outside…very cool!
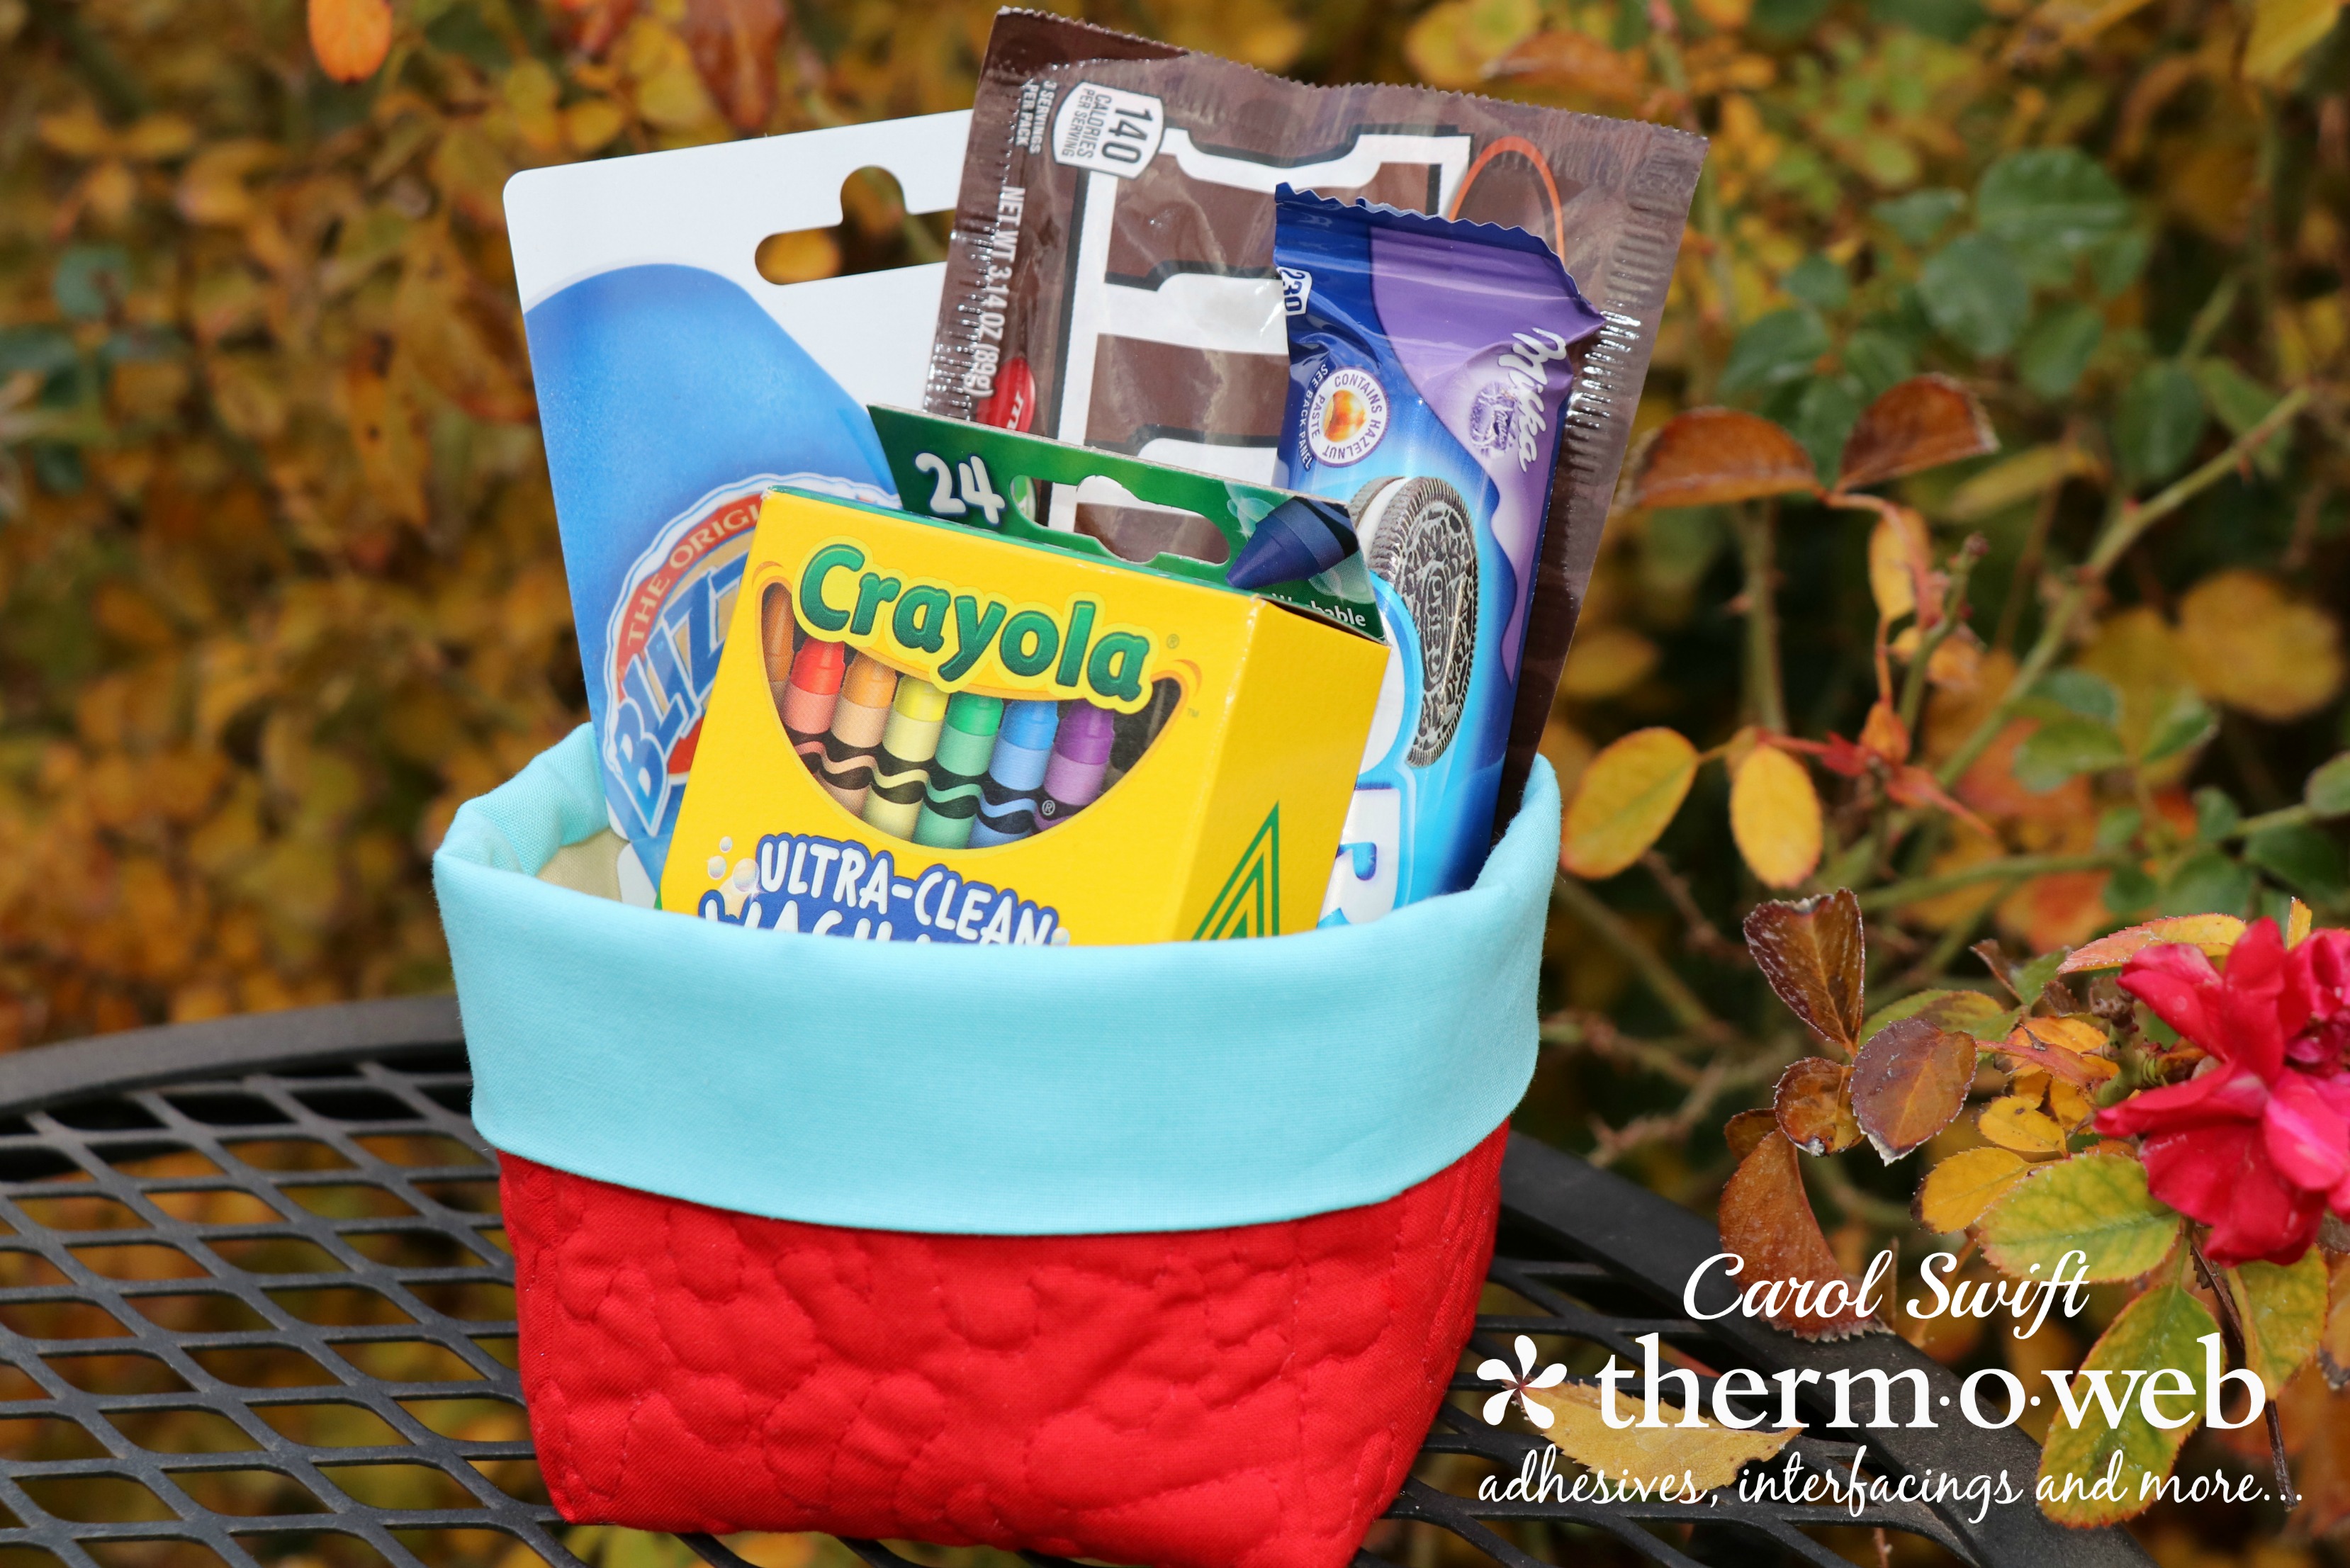
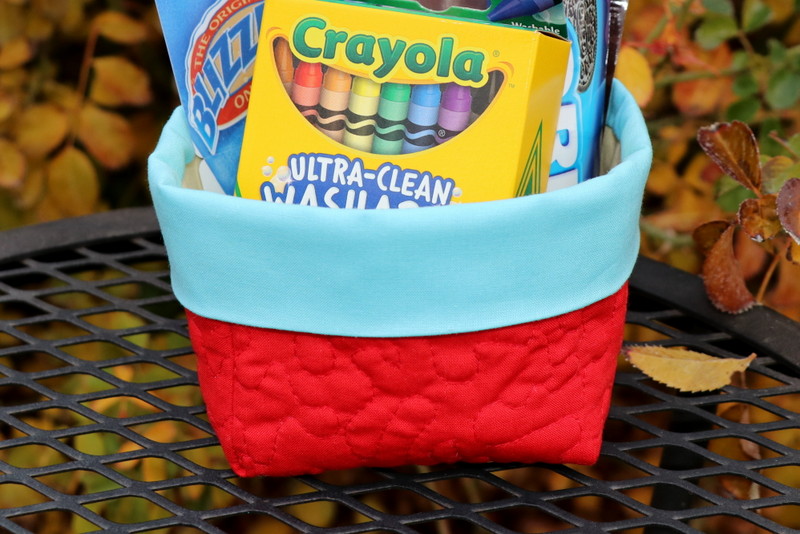
The 3 1/2″ x 3 1/2″ gift basket would be a fun way to give a gift to child or teenager, and would be a nice gift for them to take to a birthday party. Fill it with some candy, crayons, and a gift card and it can be slipped into a see-through or paper bag. The solid colored fabrics are from Michael Miller Fabrics…soft, vibrant, and are a wonderful quality!
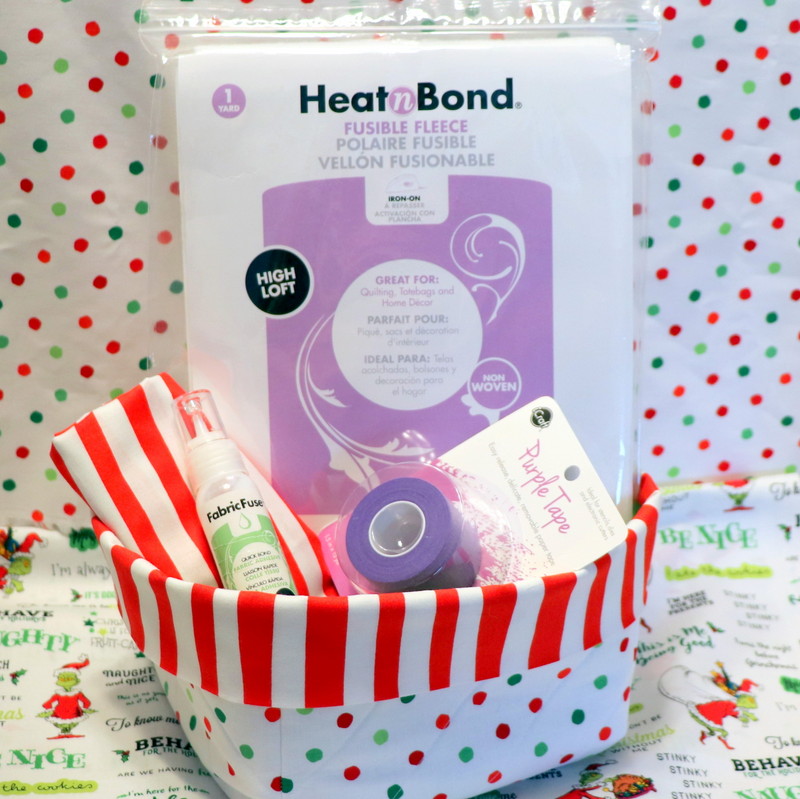
Fabric Gift Basket Supplies:
Fabric Fuse Adhesive
Heat n Bond Fleece Fusible High Loft
Purple Tape
Oliso Purple Iron
Aurifil Thread
Wouldn’t it be fun to get a basket full of Heat n Bond products!
Cutting instructions for 7½” square basket: Fabric needed – 1/2 yard outer fabric, 1/2 yard lining fabric, 1/4 yard fabric for basket trim
Cut 1 – 19” x 19” outer fabric (extra allows for quilting shrinkage)
Cut 1 – 18” x 18” fabric lining
Cut 1 – 19” x 19” *Heat n Bond Fleece Fusible High Loft
Cut 1 – 6” x 30½” basket trim fabric
Cut 2 – 7½” x 8½” basket base
Cut 1 – 7½” x 7½” cardboard square, basket base
Cutting instructions for 3½” square basket: Fabric needed – three different color fat quarters
Cut 1 – 10” x 10” outer fabric (extra allows for quilting shrinkage)
Cut 1 – 9” x 9” fabric lining
Cut 1 – 10” x 10” Heat n Bond Fleece Fusible High Loft
Cut 1 – 4” x 14½” basket trim fabric
Cut 2 – 3½” x 4½” basket base
Cut 1 – 3½” x 3½” cardboard square, basket base
Fabric Gift Basket Instructions
Instructions: Instructions are included for both sizes in the steps below; photos show a larger basket. All seams are sewn at 1/4″.
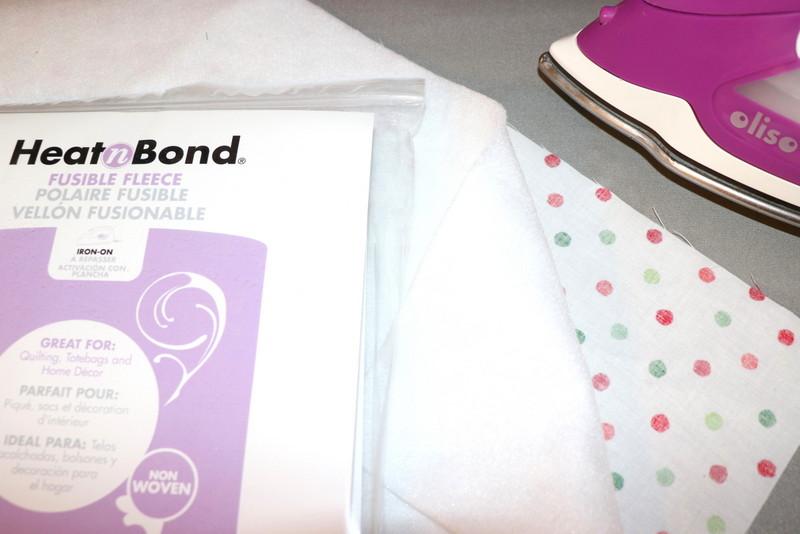
Step 1: Iron Heat n Bond Fleece Fusible High Loft to the wrong side of the outer fabric.
* Heat n Bond Fleece Fusible High Loft Instructions:
1. Pre-heat iron to wool (medium heat) setting with steam.
2. Place the rough side of the interfacing onto the back (wrong side) of the fabric to be bonded.
3. Cover with a light, dry pressing cloth. Press and hold iron with medium pressure for 10-15 seconds. Repeat by lifting iron to the new area and pressing, slightly overlapping previous area until entire surface is bonded.
4. Allow pieces to cool. If more ironing is needed, iron an additional 5 seconds from the front of the project.
Step 2: Quilt straight lines or other design on the right side of the outer fabric with iron-on fleece.
*Tip for the larger basket: Use Purple Tape to quilt lines on your quilts. Lay the tape in a straight line on the right side of the fabric and then sew along both sides of the tape. Pick up the tape and line it up on the side of a sewn line. Stitch along the tape again. Continue moving the tape until the fabric is quilted. Tape easily moves and does not leave any sticky residue.
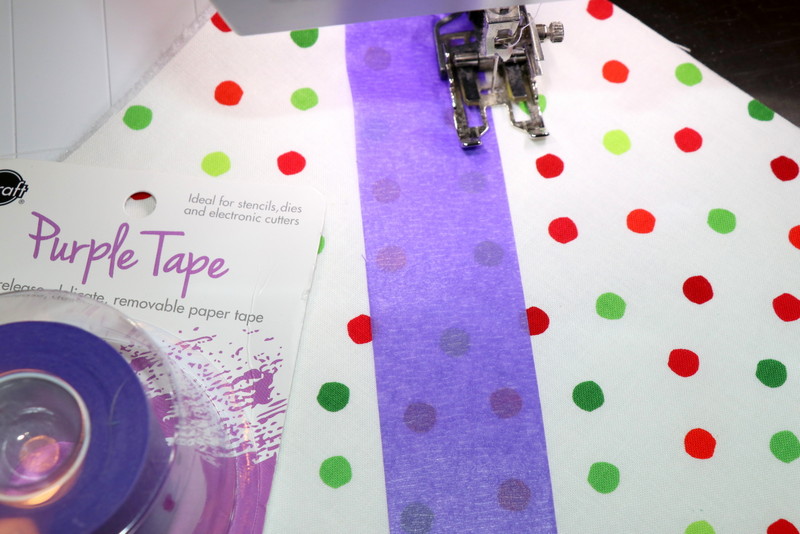
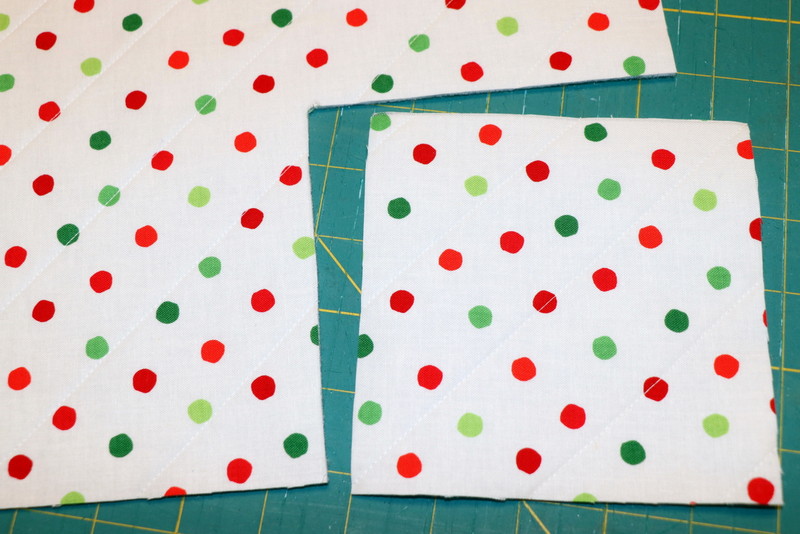
Step 3: Trim quilted fabric to 18” x 18” square for 7½” basket. Trim quilted fabric to 9” x 9” for 3½” x 3½” basket.
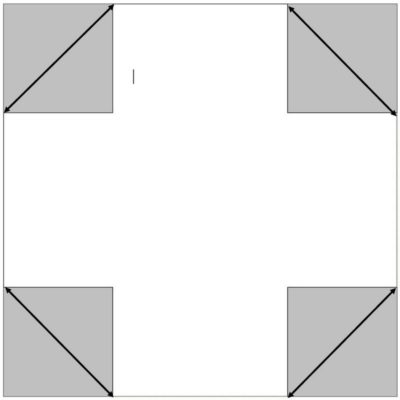
Step 4: Cut a 5” x 5” square out of each corner of 18” x 18” outer fabric and lining. Cut a 2½” x 2½” square out of 9” x 9” outer fabric and lining
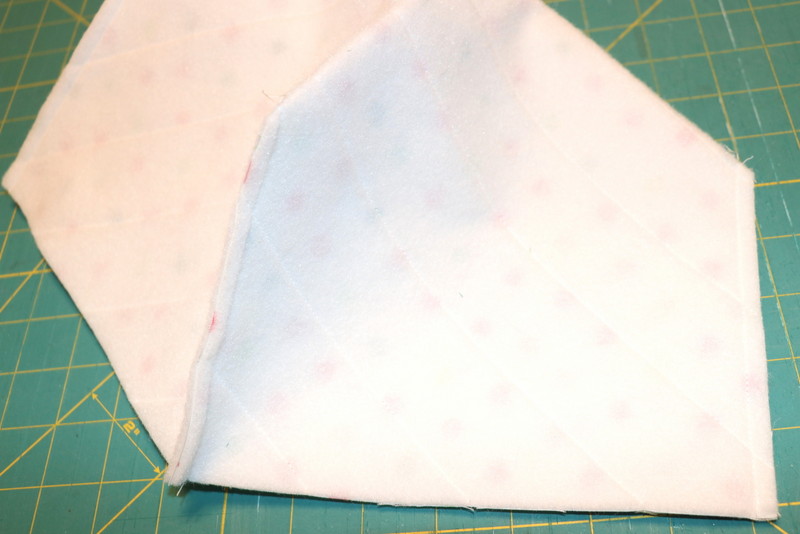
Step 5: Fold cut out corners of outer fabric, right sides together, as shown by arrows; pin. Sew 1/4” from the edge. Turn right side out. Repeat with lining, but do not turn inside out.
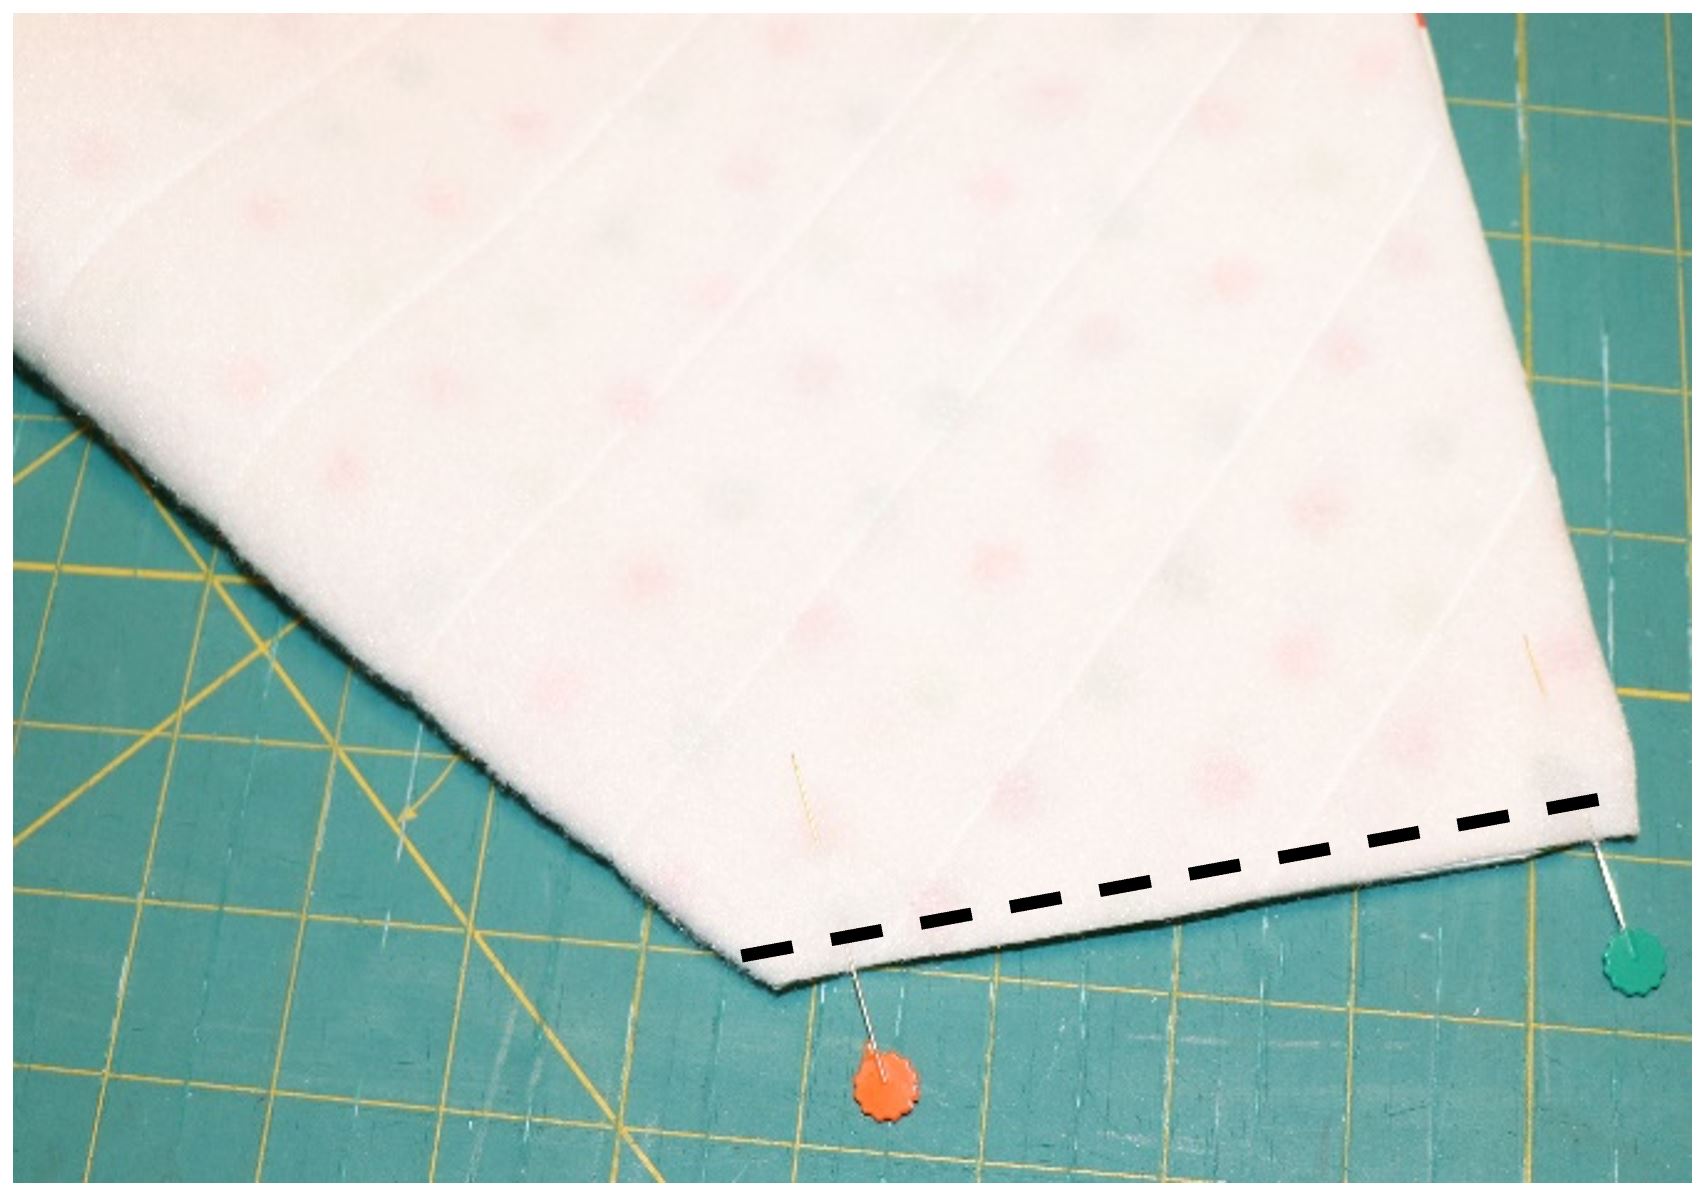
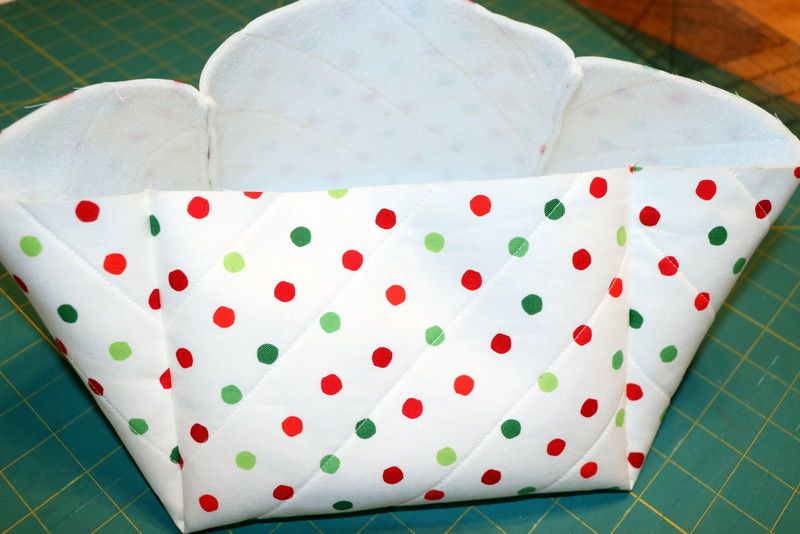
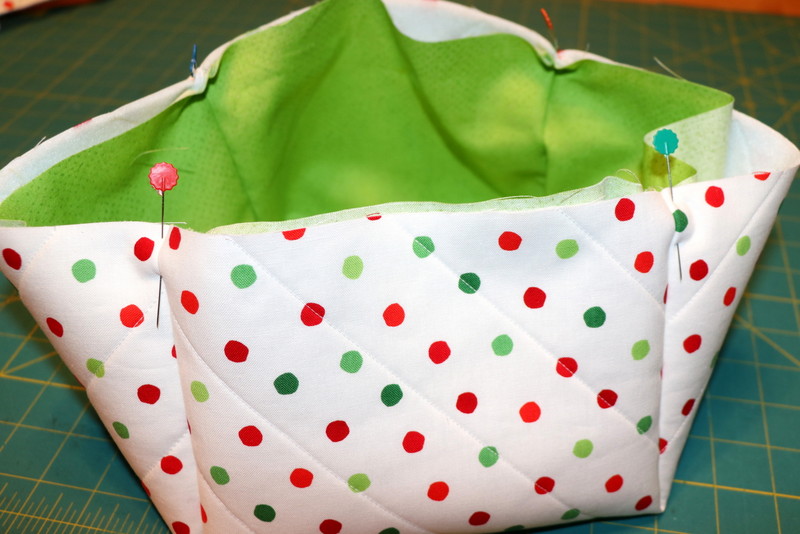
Step 6: Place lining inside the outer basket, wrong sides together. Pin top edges together matching seams and baste 1/4″ from raw edges.
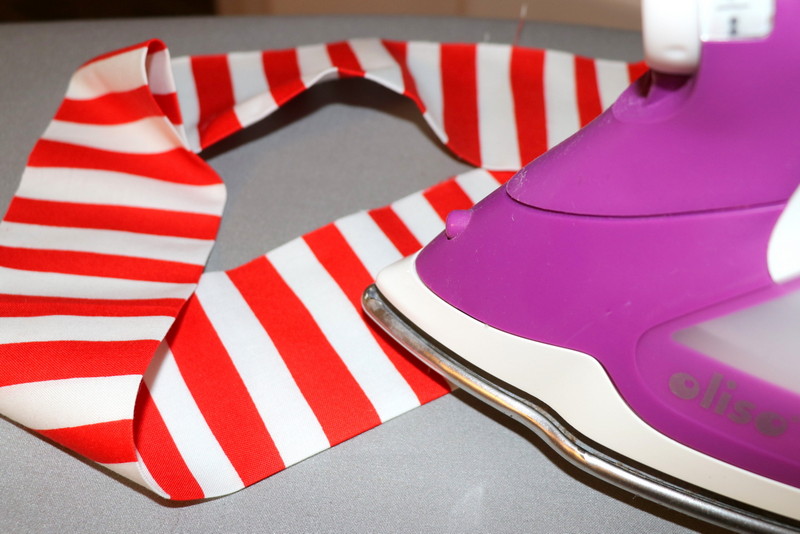
Step 7: With right sides together, sew short ends of basket trim fabric creating a circle. Press seam open. Fold in half with wrong sides together and press folded edge.
Step 8: Pin basket trim fabric, raw edges together, to inside of the basket. Sew 1/4″ from raw edges. Flip basket trim over to the outside of basket; press fold. *The basket trim will seem larger…pull slightly on the basket as you sew trim to it, easing it together.
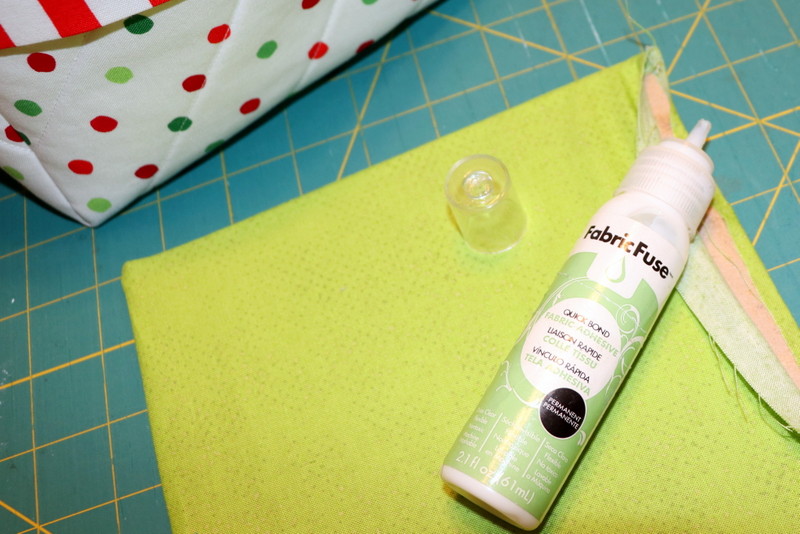
Step 9: Sew basket base fabric, right sides together around three edges; leave one short end open. Turn inside out and press. Slide cardboard square into the open end. Spread a small amount of Fabric Fuse Adhesive along open ends of fabric; tuck in ends; let dry. Insert in basket bottom.
The ideas for filling these baskets are endless…have fun and make a lot of them like I’m going to!

Mary
December 11, 2018 at 9:29 am (6 years ago)Those are wonderful and such a great idea.