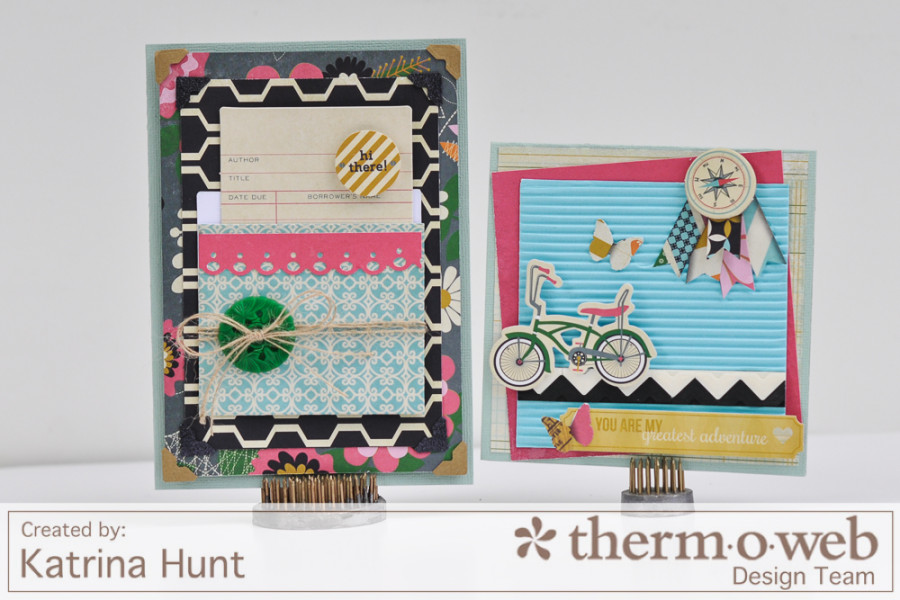
Hope you are enjoying all the Fancy Pants inspiration here on the blog! Katrina with you today to share a couple of cards with ThermOWeb and Fancy Pants’ “As You Wish” collection.
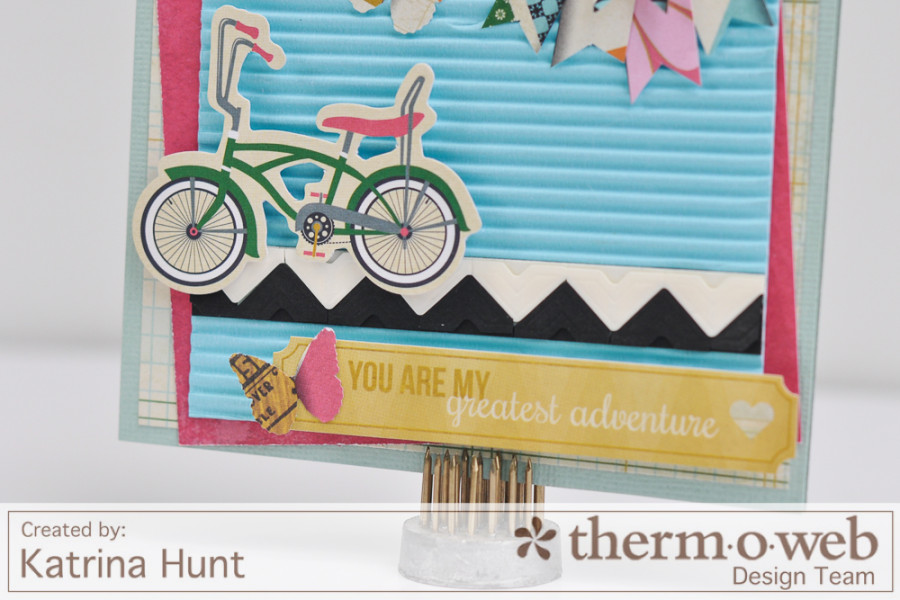
I am really getting into the new Decorative Photo Corners that ThermOWeb has. I have a fun little idea on how you can use them, along with a tutorial about how I made one of my cards. I also used the new Fabric Fuse Liquid Adhesive. You have GOT to get some of this if you are a paper crafter! It is not just for fabric use!
Therm O Web Supplies:
Therm O Web Glitter Dust™ Photo Corners-Nickel
Therm O Web Decorative Photo Corners-Ivory
Therm O Web Decorative Photo Corners-Black
Therm O Web Decorative Photo Corners-Kraft
Therm O Web 3D White Foam Squares-1/4 inch
Therm O Web 3D White Foam Squares-1/2 inch
Therm O Web Fabric Fuse Liquid Adhesive
Therm O Web Sticky Dot Mini Runner
Therm O Web Zots™ Singles-Medium
Other Supplies: Cardstock-American Crafts; Pattern Paper, Die Cuts, Embellishments, Stickers-Fancy Pants As You Wish collection; Twine-May Arts; Punch-Fiskars
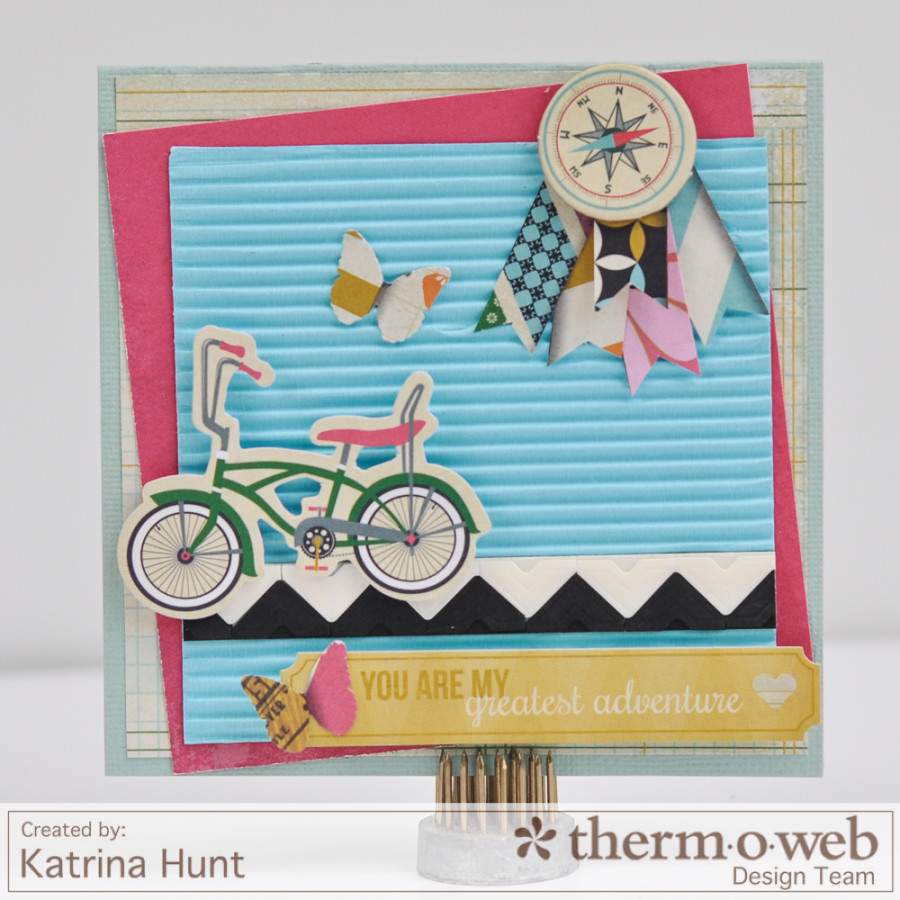
1. Cut card base at 5 in x 10 in and fold in half. Cut ledger paper 4.75 in x 4.75 in. Using the Mini Sticky Dot Runner center and attached the ledger paper on the card base front.
2. Cut pink paper at 4.5 in x 4.5 inch. Use the Mini Sticky Dot Runner to attach the paper off center of the ledger paper, making sure to keep all sides within the card base.
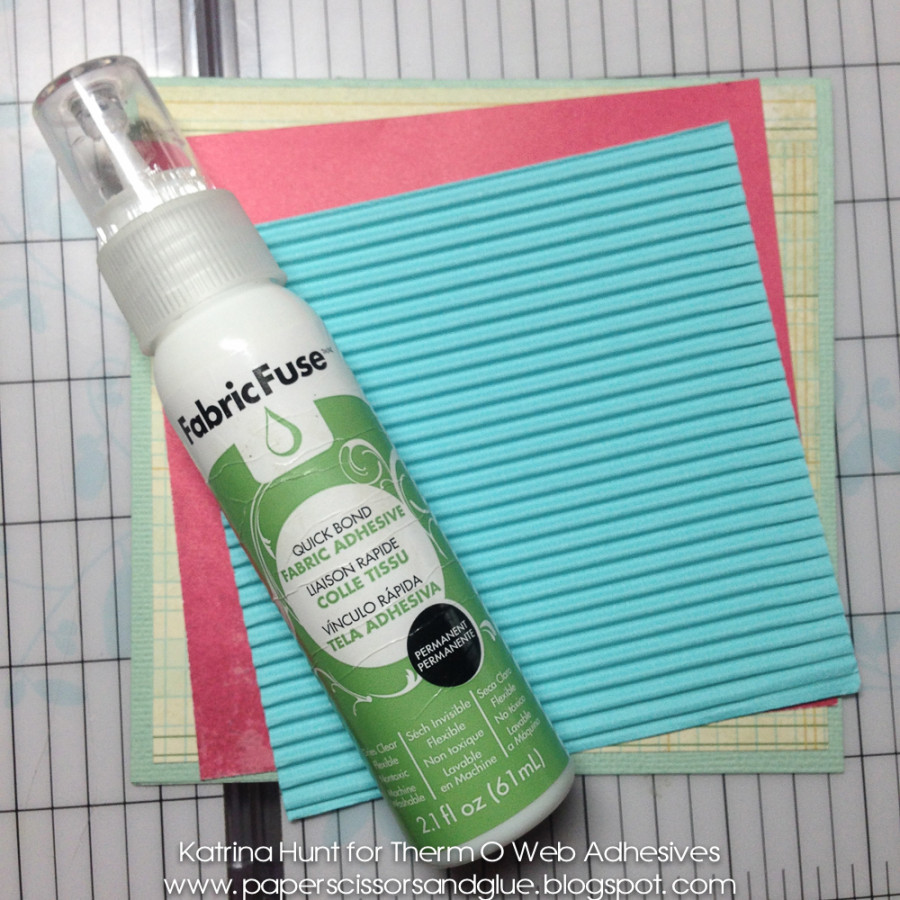
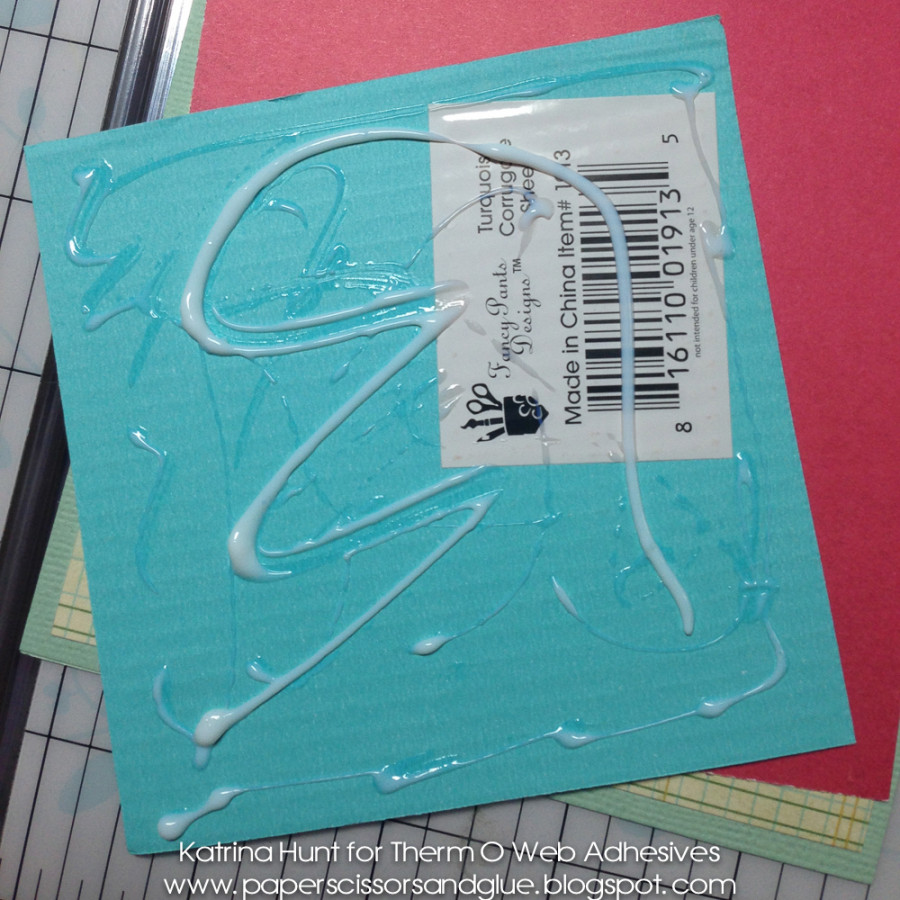
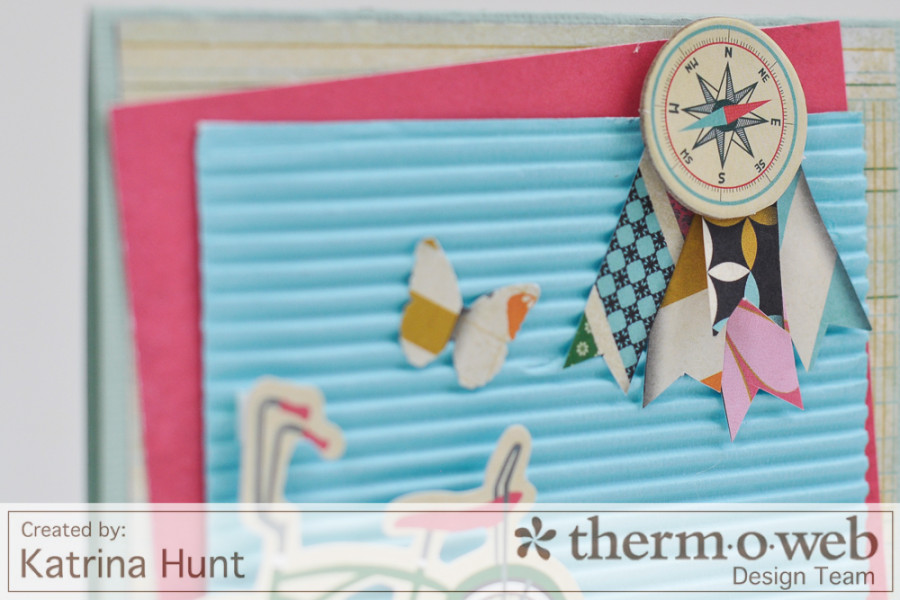
3. Cut blue corrugated square at 4 in x 4 in. Use Fabric Fuse Liquid Adhesive to attach the square.
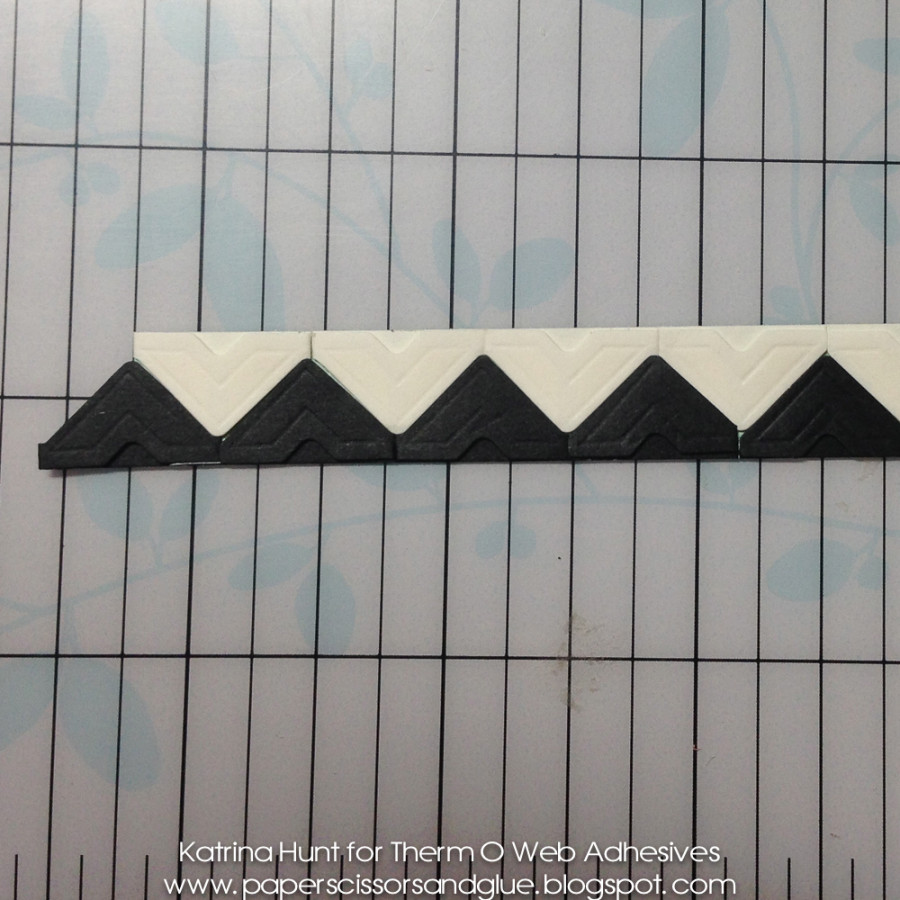
4. Cut a strip of cardstock a little longer than 4 in. Place two Decorative Photo Corners side by side on the cardstock. Place one Decorative Photo Corner in between the two where the triangle forms. Do this until you reach the end of your strip. Cut off the excess of the photo corners, leaving only the triangles that are attached to the cardstock strip.
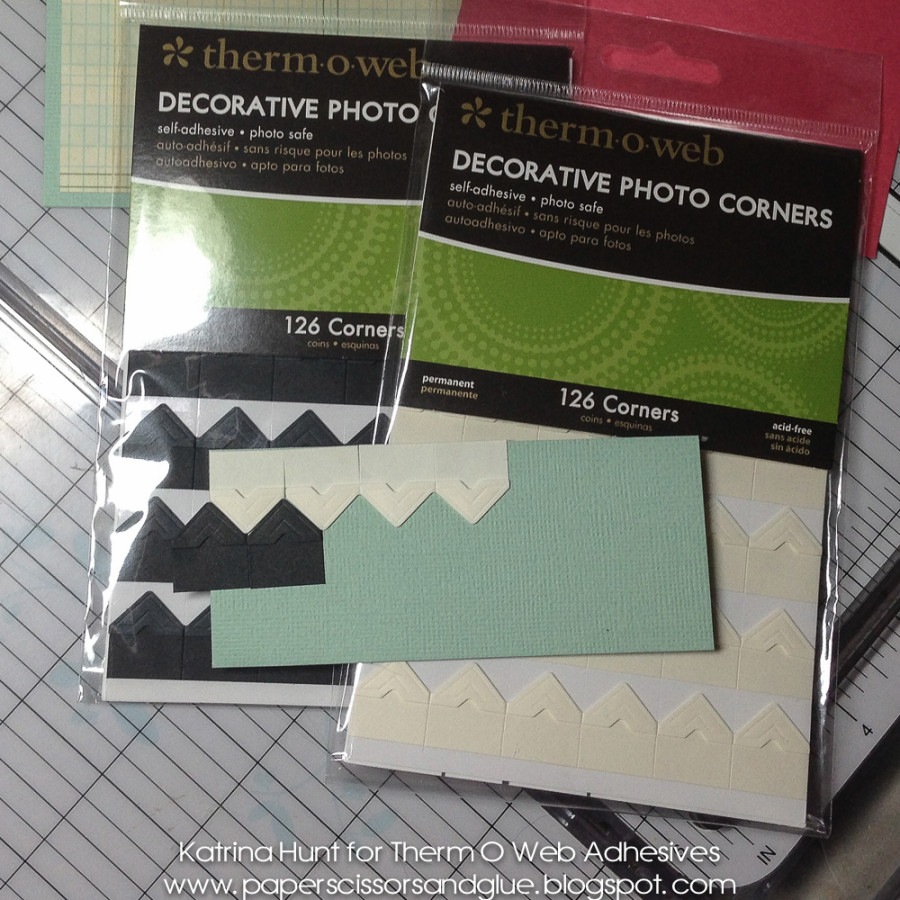
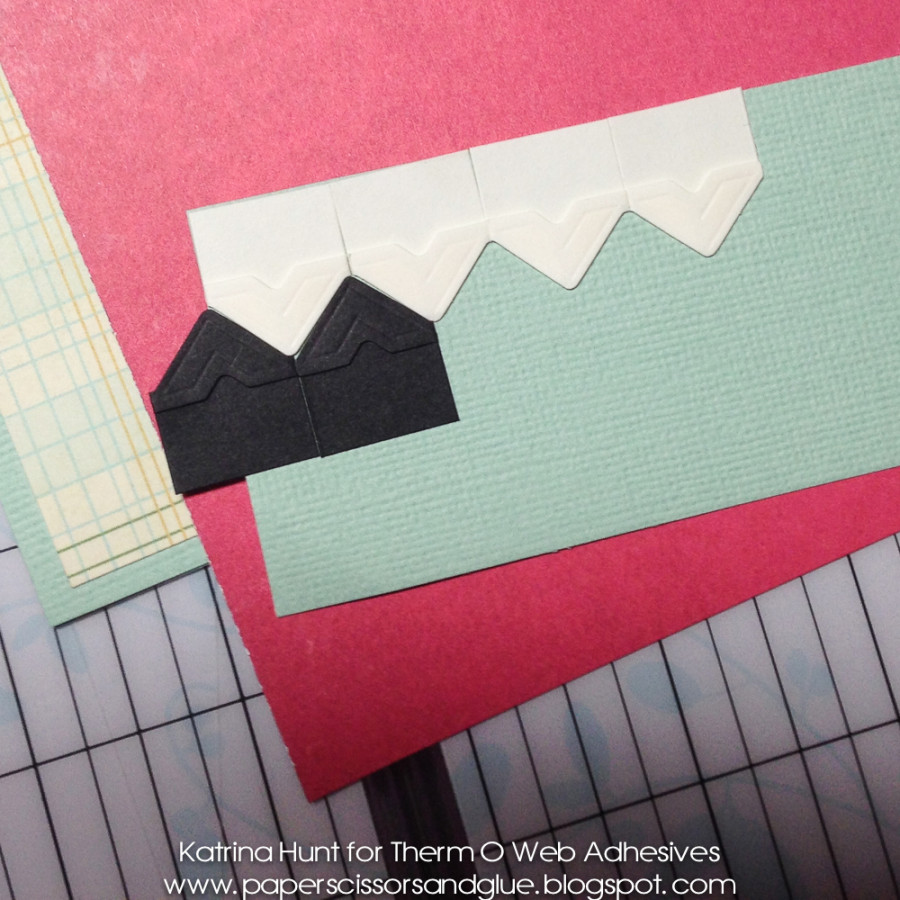
5. Trim the ends of the strip to fit your blue square and make them straight.
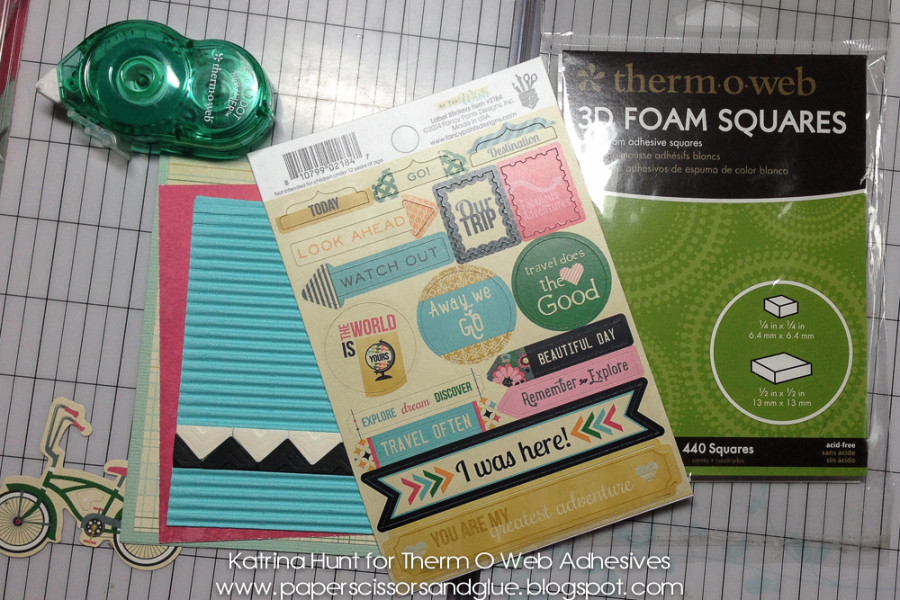
6. Decorate the front of your card with the embellishments. Use Therm O Web 3D Foam Square Adhesives to add dimension to your project.
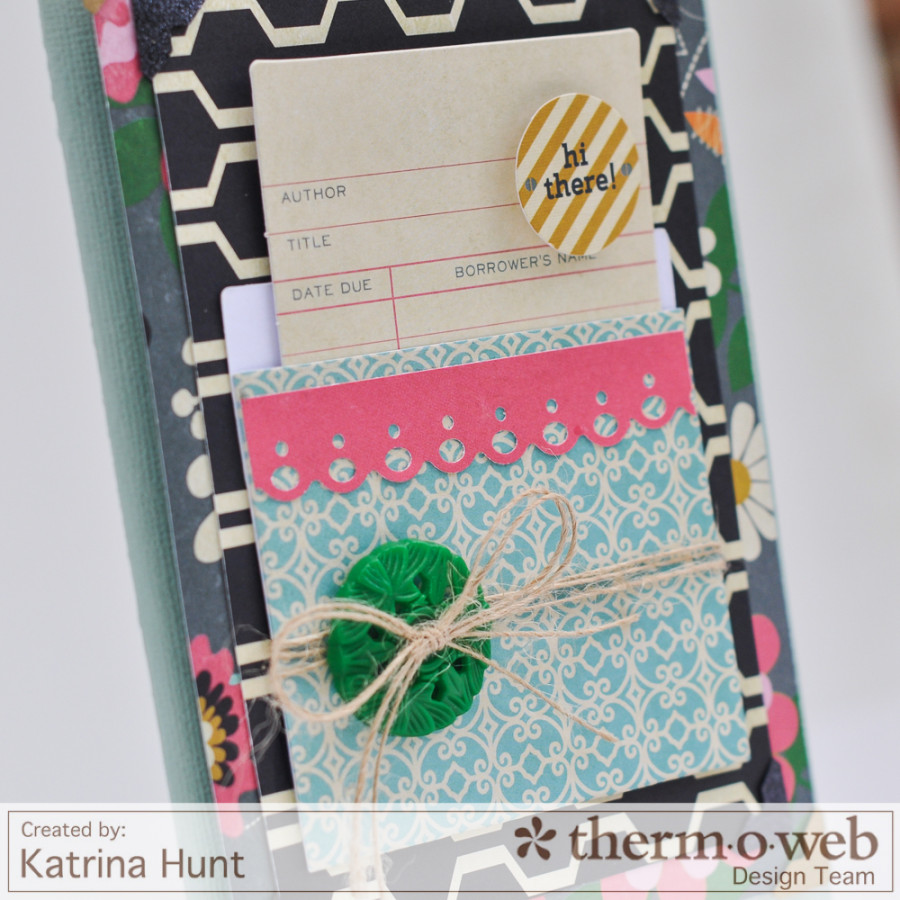
And here is my other card. This was quick to put together with some Decorative Photo Corners in Kraft and the Glitter Dust™ Photo Corners in Nickel.
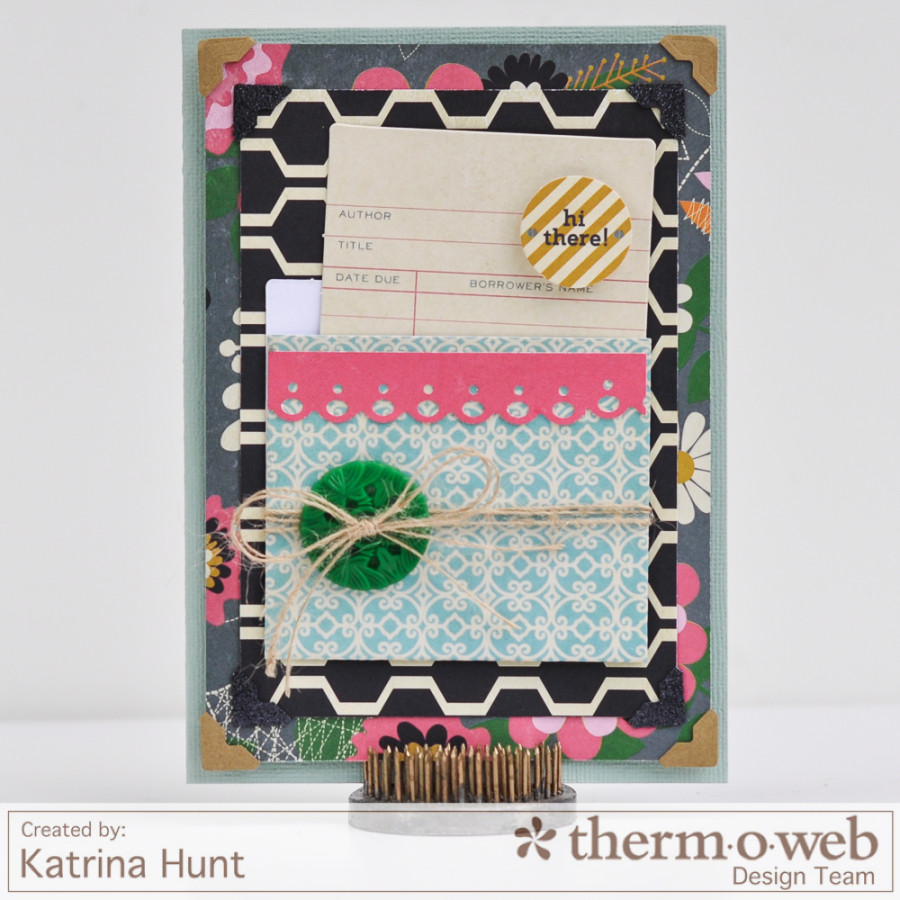
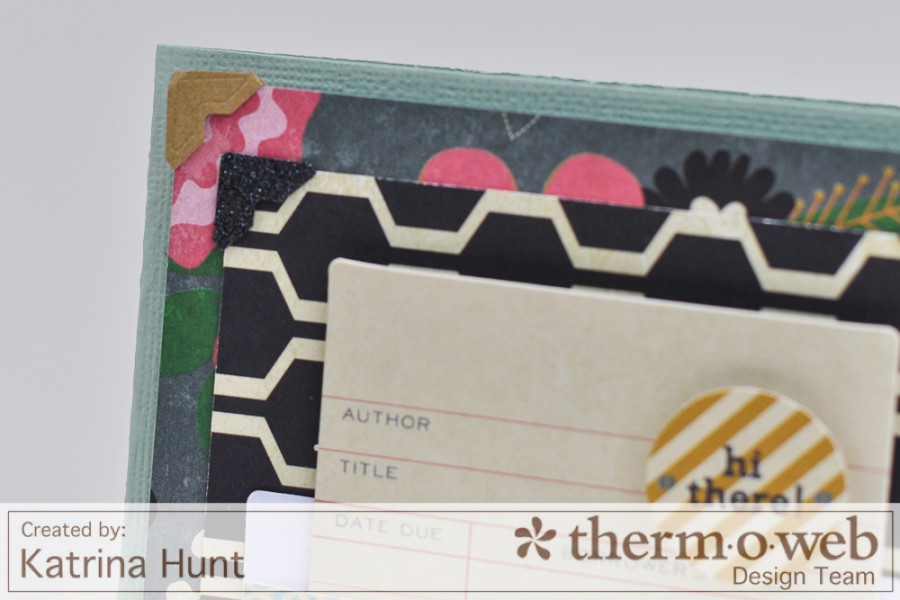
I used a Zots™ Singles Medium for the button and bow. I used liquid Fabric Fuse to attach the library pocket, since it was a heavier embellishment to the front of the card. A couple of 3D Foam Squares and my card was done!
Thanks for stopping by the Therm O Web blog today. I have a layout using the rest of the Fancy Pants collection over on my personal blog. If you would like to see it, you can check out the layout HERE.



We’d love for you to have a chance to play with the amazing products from Fancy Pants along with our Therm O Web Adhesives and more! Simply follow the Rafflecopter entry form to enter to win ! We’re giving away a kit filled with the fun Nautical Collection AND the As You Wish Collection. Plus an assortment of our Zots™, Tape Runners, Glitter Dust™ Photo Corners and more! Don’t miss out!

Heather Thompson
July 23, 2014 at 7:13 am (11 years ago)Very awesome week so far with Fancy Pants, love it. What a great idea with the photo corners, that rocks.
Cynthia B.
July 23, 2014 at 6:11 pm (11 years ago)Great use of the photo corners, especially on the first card for the border! Love the corrugated paper too. Both cards are awesome! 🙂
Robin Buchholz
July 23, 2014 at 6:28 pm (11 years ago)Beautiful cards! I love the colors and layering.
Tracy
July 23, 2014 at 9:38 pm (11 years ago)The photo corners trick is ingenious! I love the layering.
Debs
July 24, 2014 at 10:22 pm (11 years ago)Fun technique.
Linsey
July 26, 2014 at 1:29 pm (11 years ago)What a cool card and a super neat technique with the photo corners! loving it!! 🙂
Denise Bryant
July 27, 2014 at 11:28 am (11 years ago)Darling cards! Love all that layering and the fab idea with the photo corners!!!