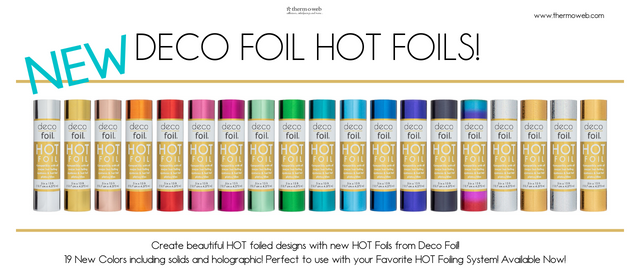
NEW DECO FOIL HOT FOILS!
Deco Foil® is heating things up with our new Deco Foil® HOT Foils!
Available in a variety of colors, including solids and holographics! HOT Foils will make every project sparkle and shine! HOT Foils can be used on a variety of materials including cardstock, ribbon, leather, fabric and more.
Intended to work with any standard hot foiling system and your favorite hot foil plates. Refer to your owners’ manual for instructions on how to create using your hot foiling system and hot foil plates. You can also create foiled designs using existing metal dies.
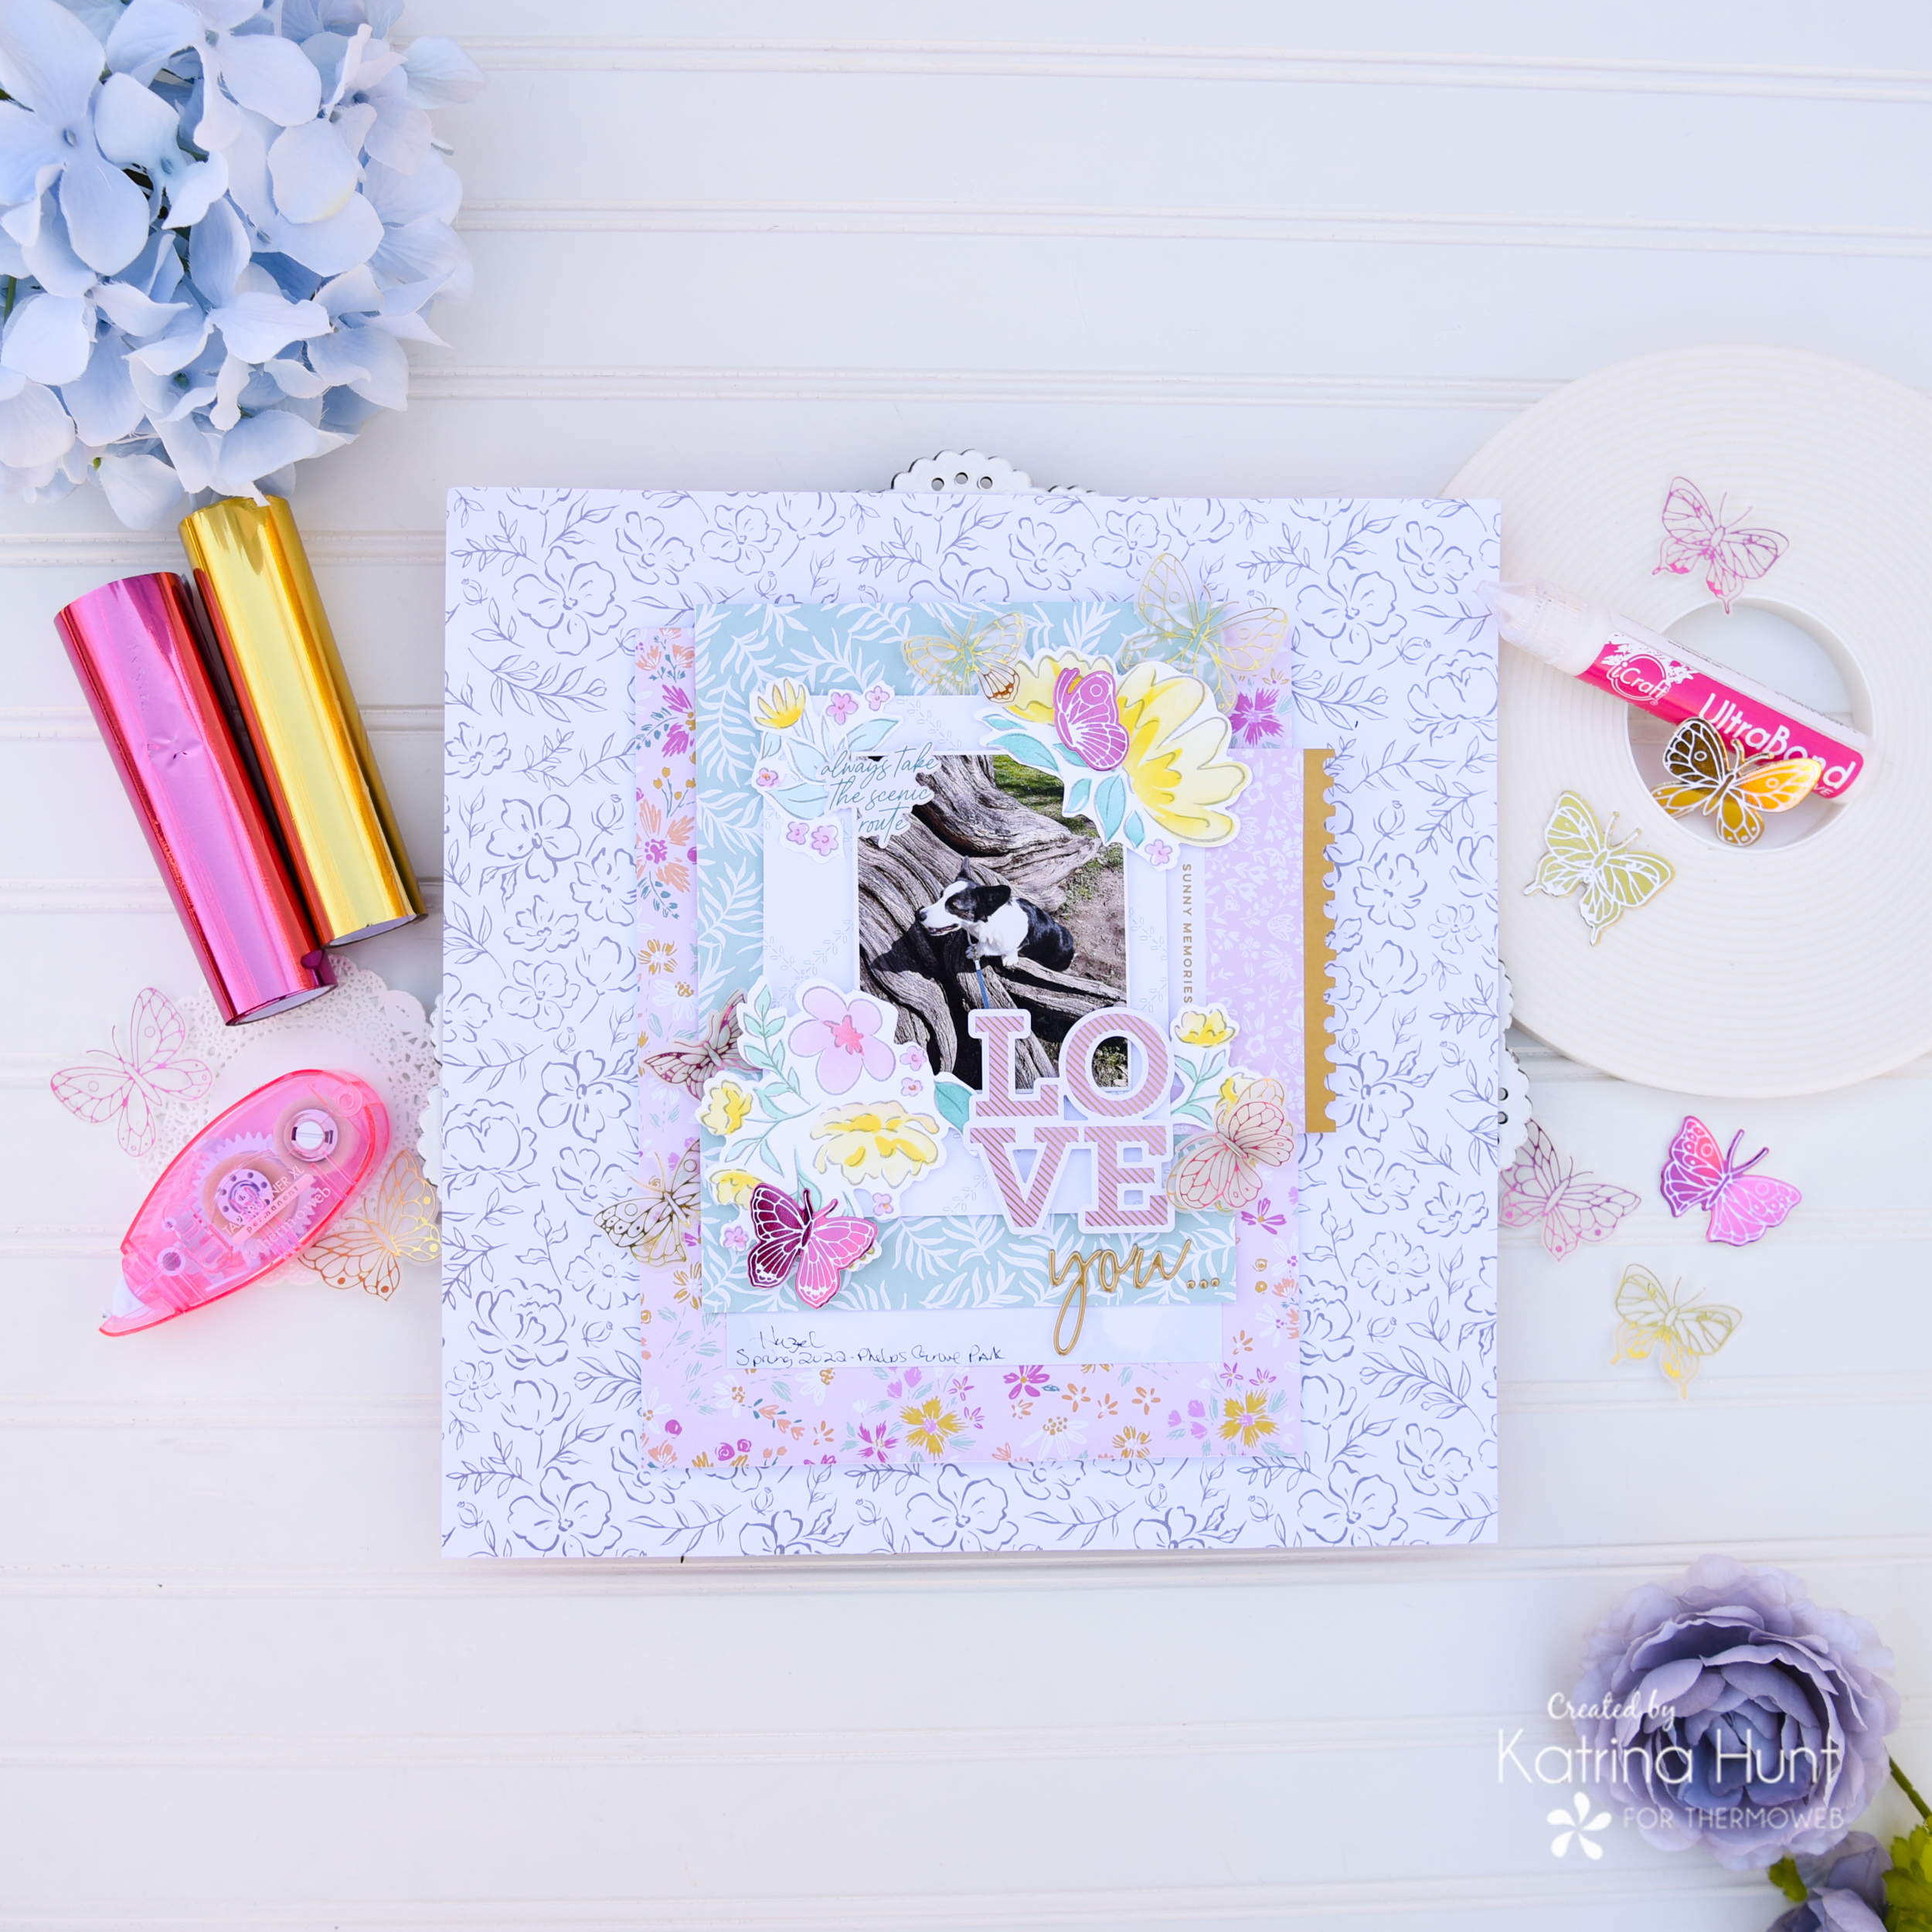
I got to play with a few of the colors, a fun bright pink and gold! Are you a sucker for gold… I am! PinkFresh products paired with my selection of hot foils perfectly. I happened to have the small butterflies hot foil plate and also the solid hot foil plate, so we are going to play with them today!
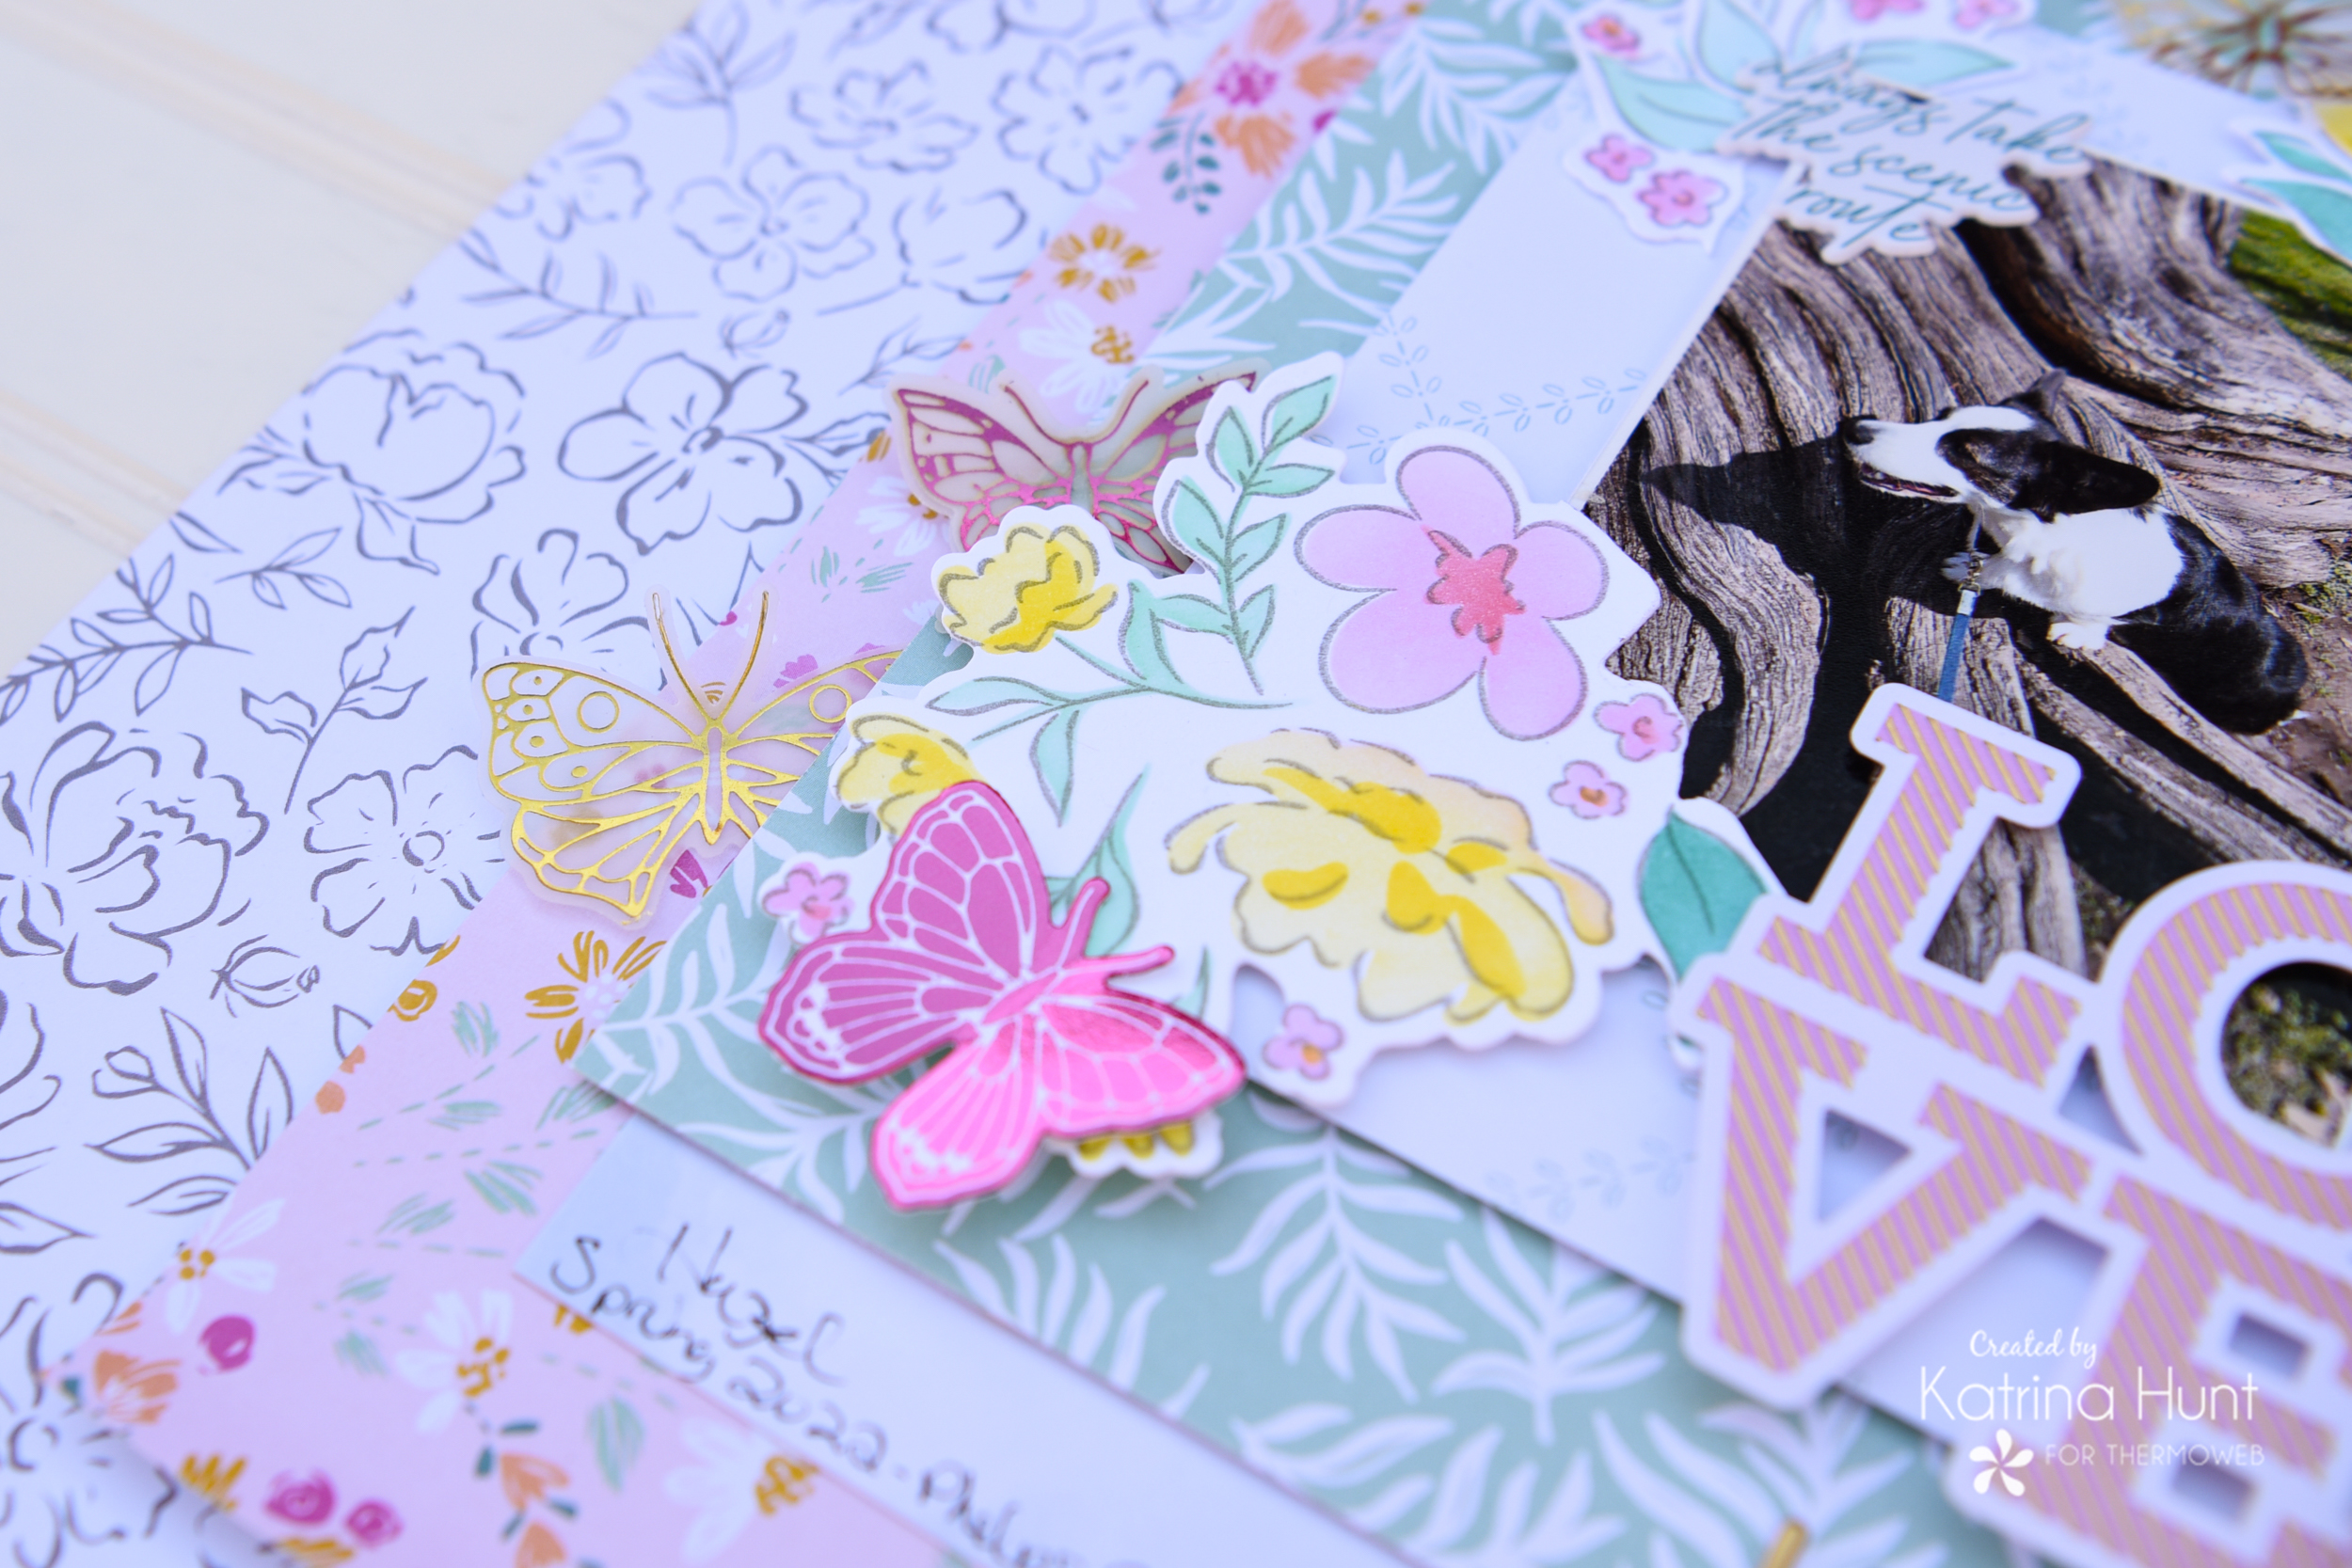
Scrapbooking with NEW Deco Foil HOT Foils
Therm O Web Supplies Used
NEW Deco Foil HOT FOIL-GOLD
NEW Deco Foil HOT FOIL-ORCHID
Ultra Bond Pixie Tape
Memory Runner XL
Memory Runner XL Refill
NEW 3D FOAM TAPE ROLL 1/16
NEW 3D FOAM TAPE ROLL 1/8
Ultra Bond Liquid Adhesive
Other Supplies Used
PinkFresh Studio-Happy Heart Collection
PinkFresh Studio-You Are My Favorite Stamp,Die,Stencil
Glimmer System from Spellbinders
PinkFresh Studio Inks
White Cardstock
Vellum
Deco Foil HOT Foils Layout Details
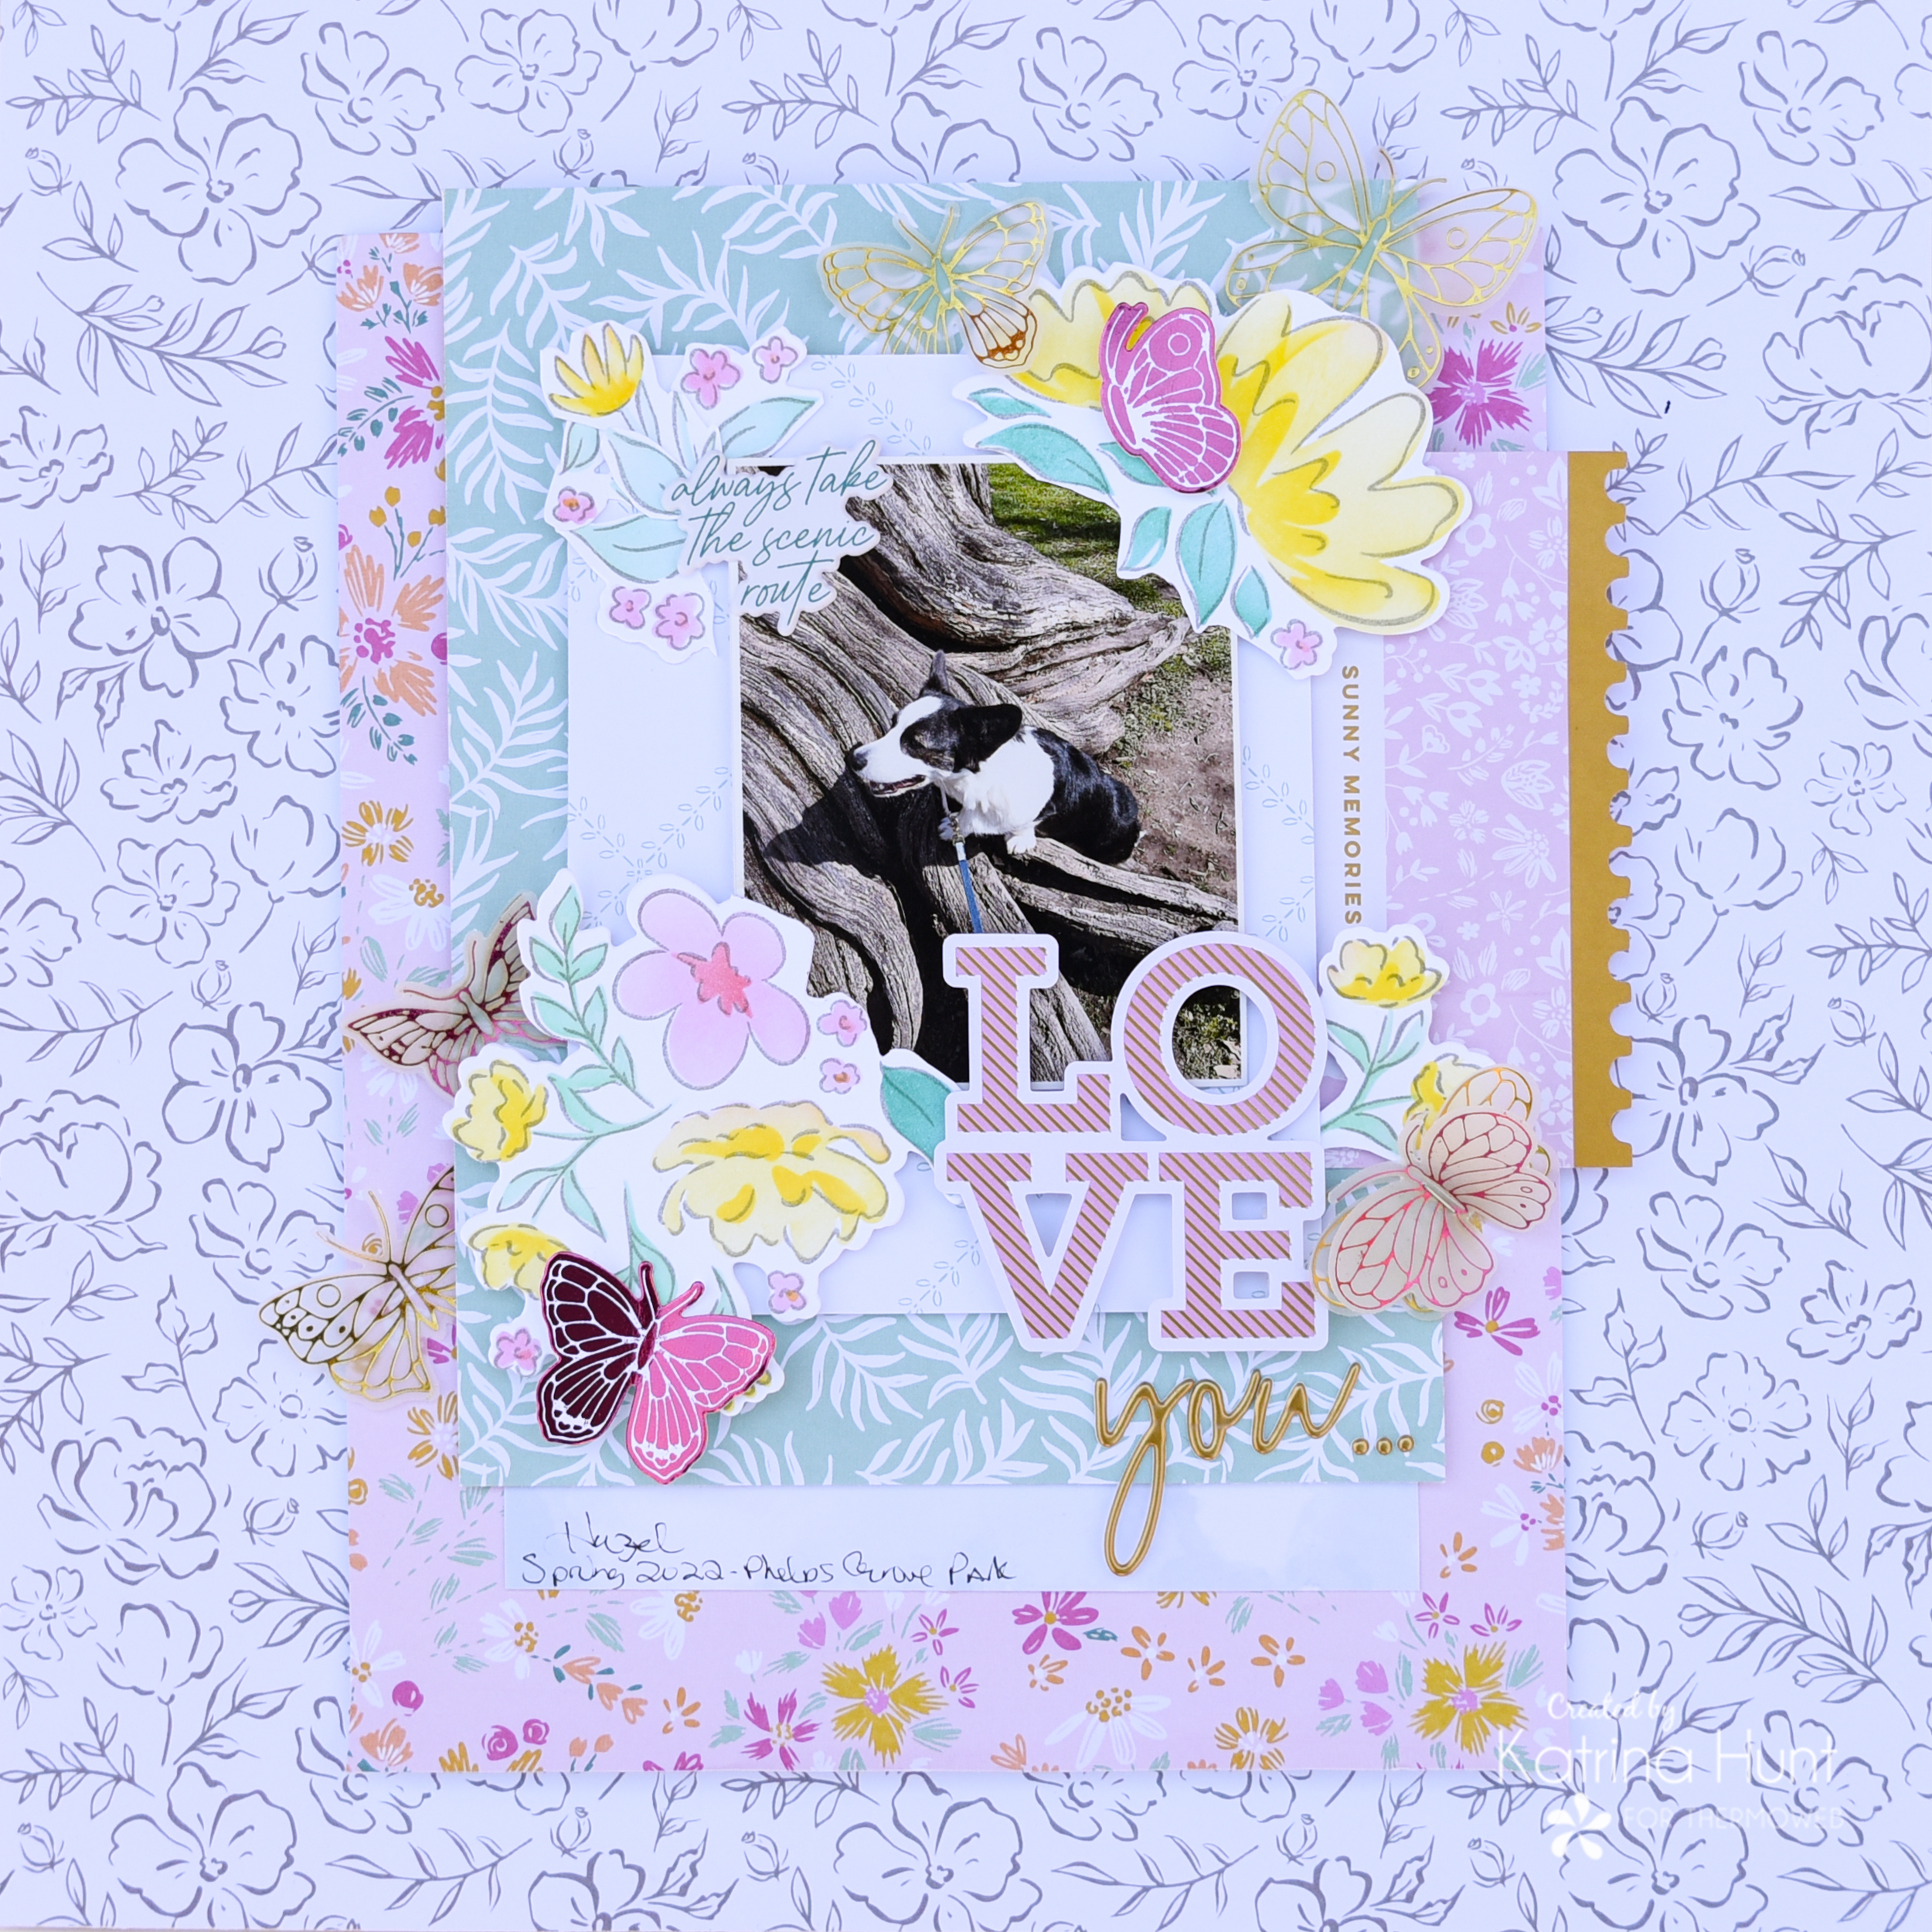
This layout came together so quickly. I will admit, the flowers were already stamped, stenciled and die cut from when I was at a crop and just playing around. The hot foiled butterflies were so easy to do and I am here to show you how to do them!
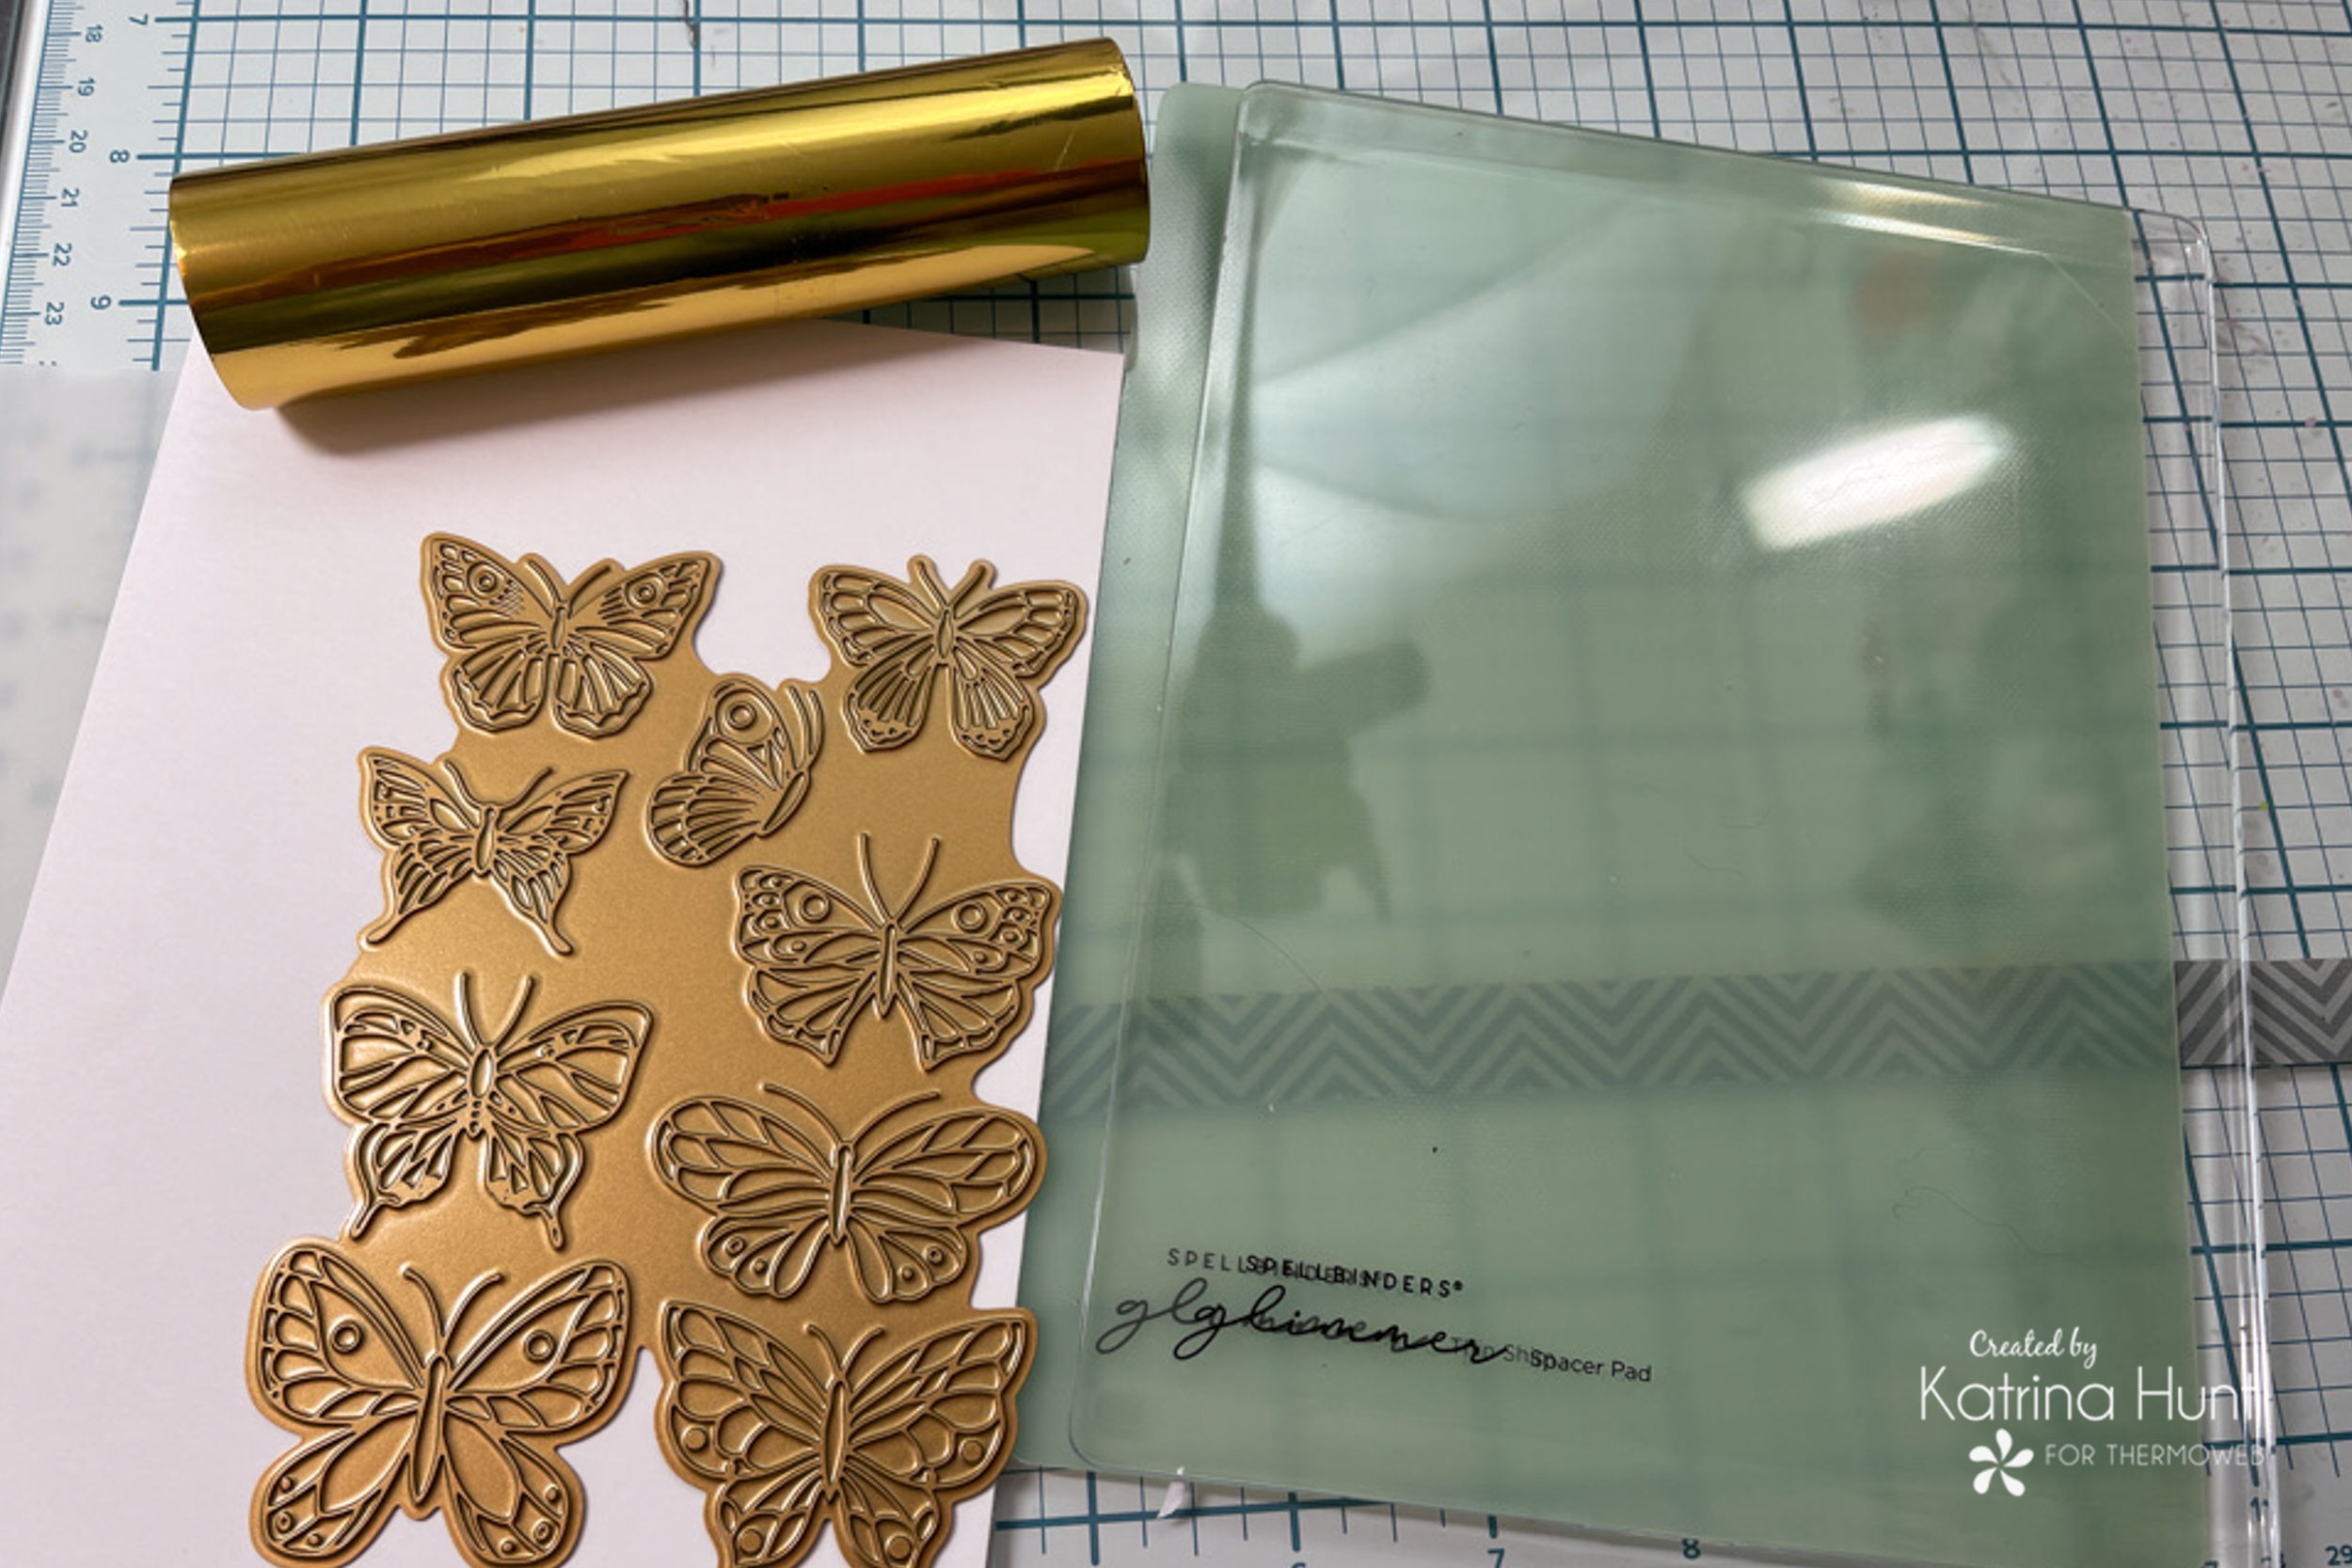
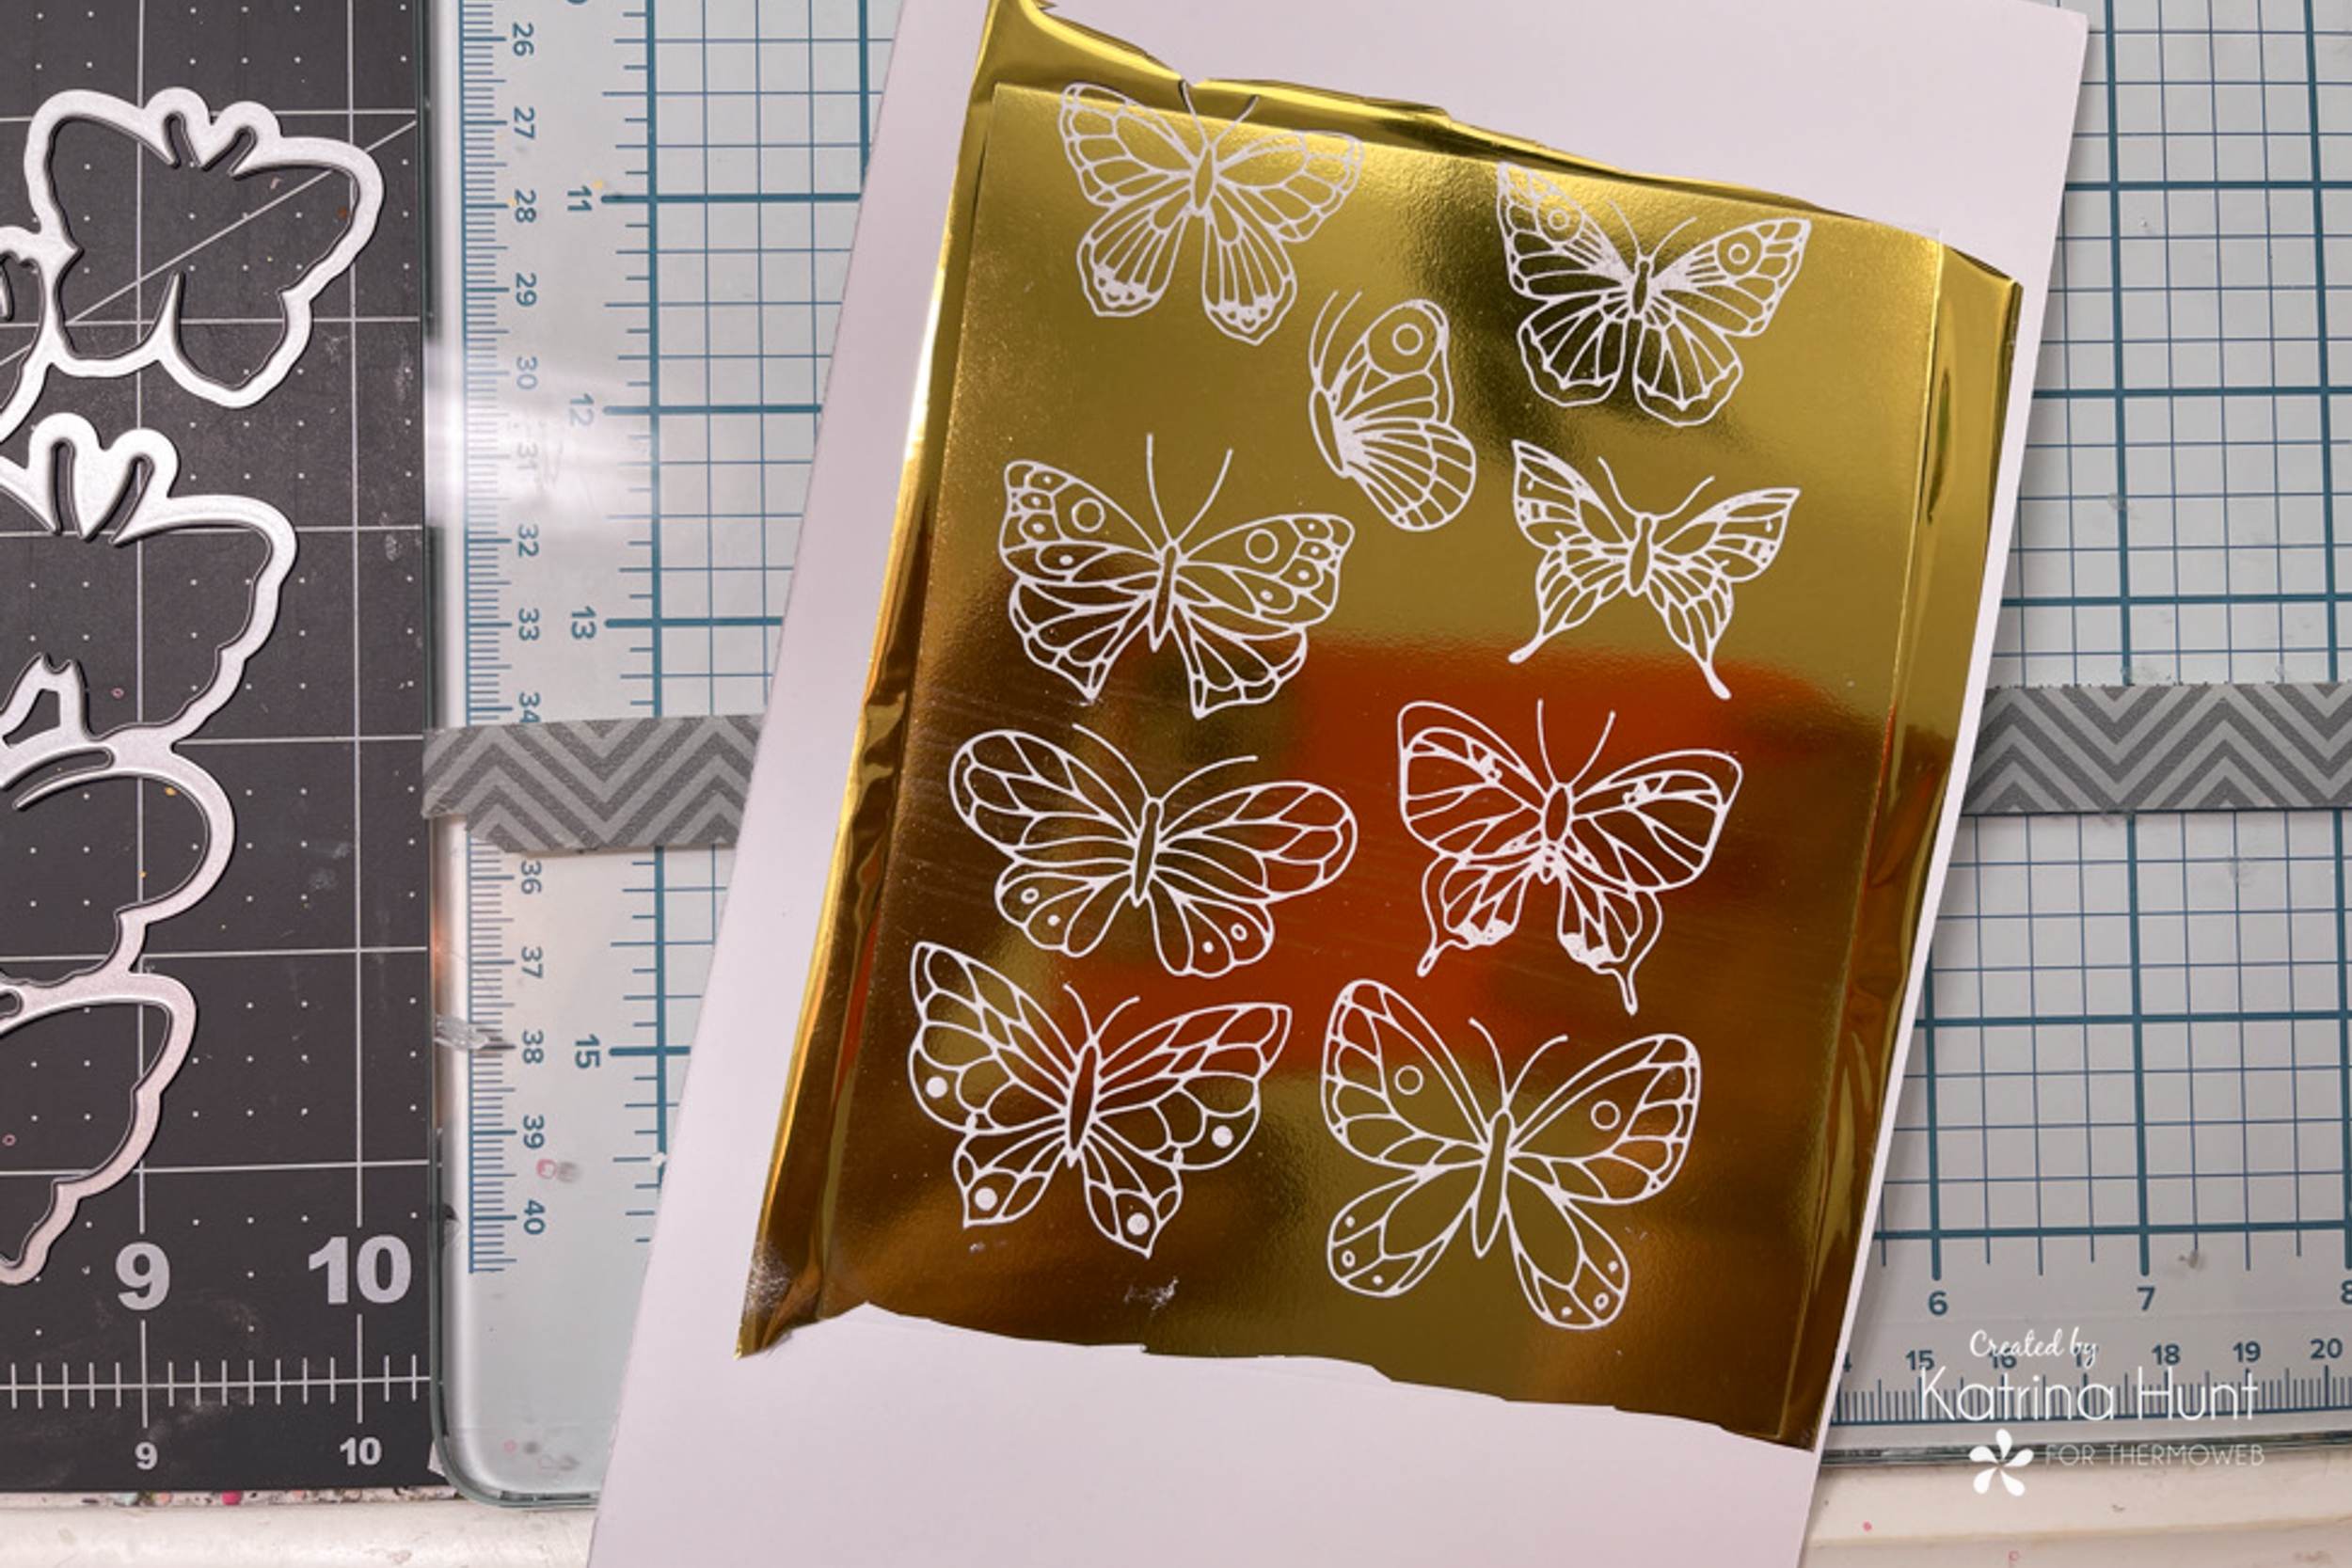
I have the Glimmer system to work with and this was my first time. You just grab your hot foil plate, your hot foil, and your glimmer system and you are ready to go! Heat your system up, I let mine heat for about 10 or so minutes as I was reading instructions! NOTE: There are a LOT of videos that can walk you thru this process! Just search for those on YouTube to help if you’re new to HOT Foiling.
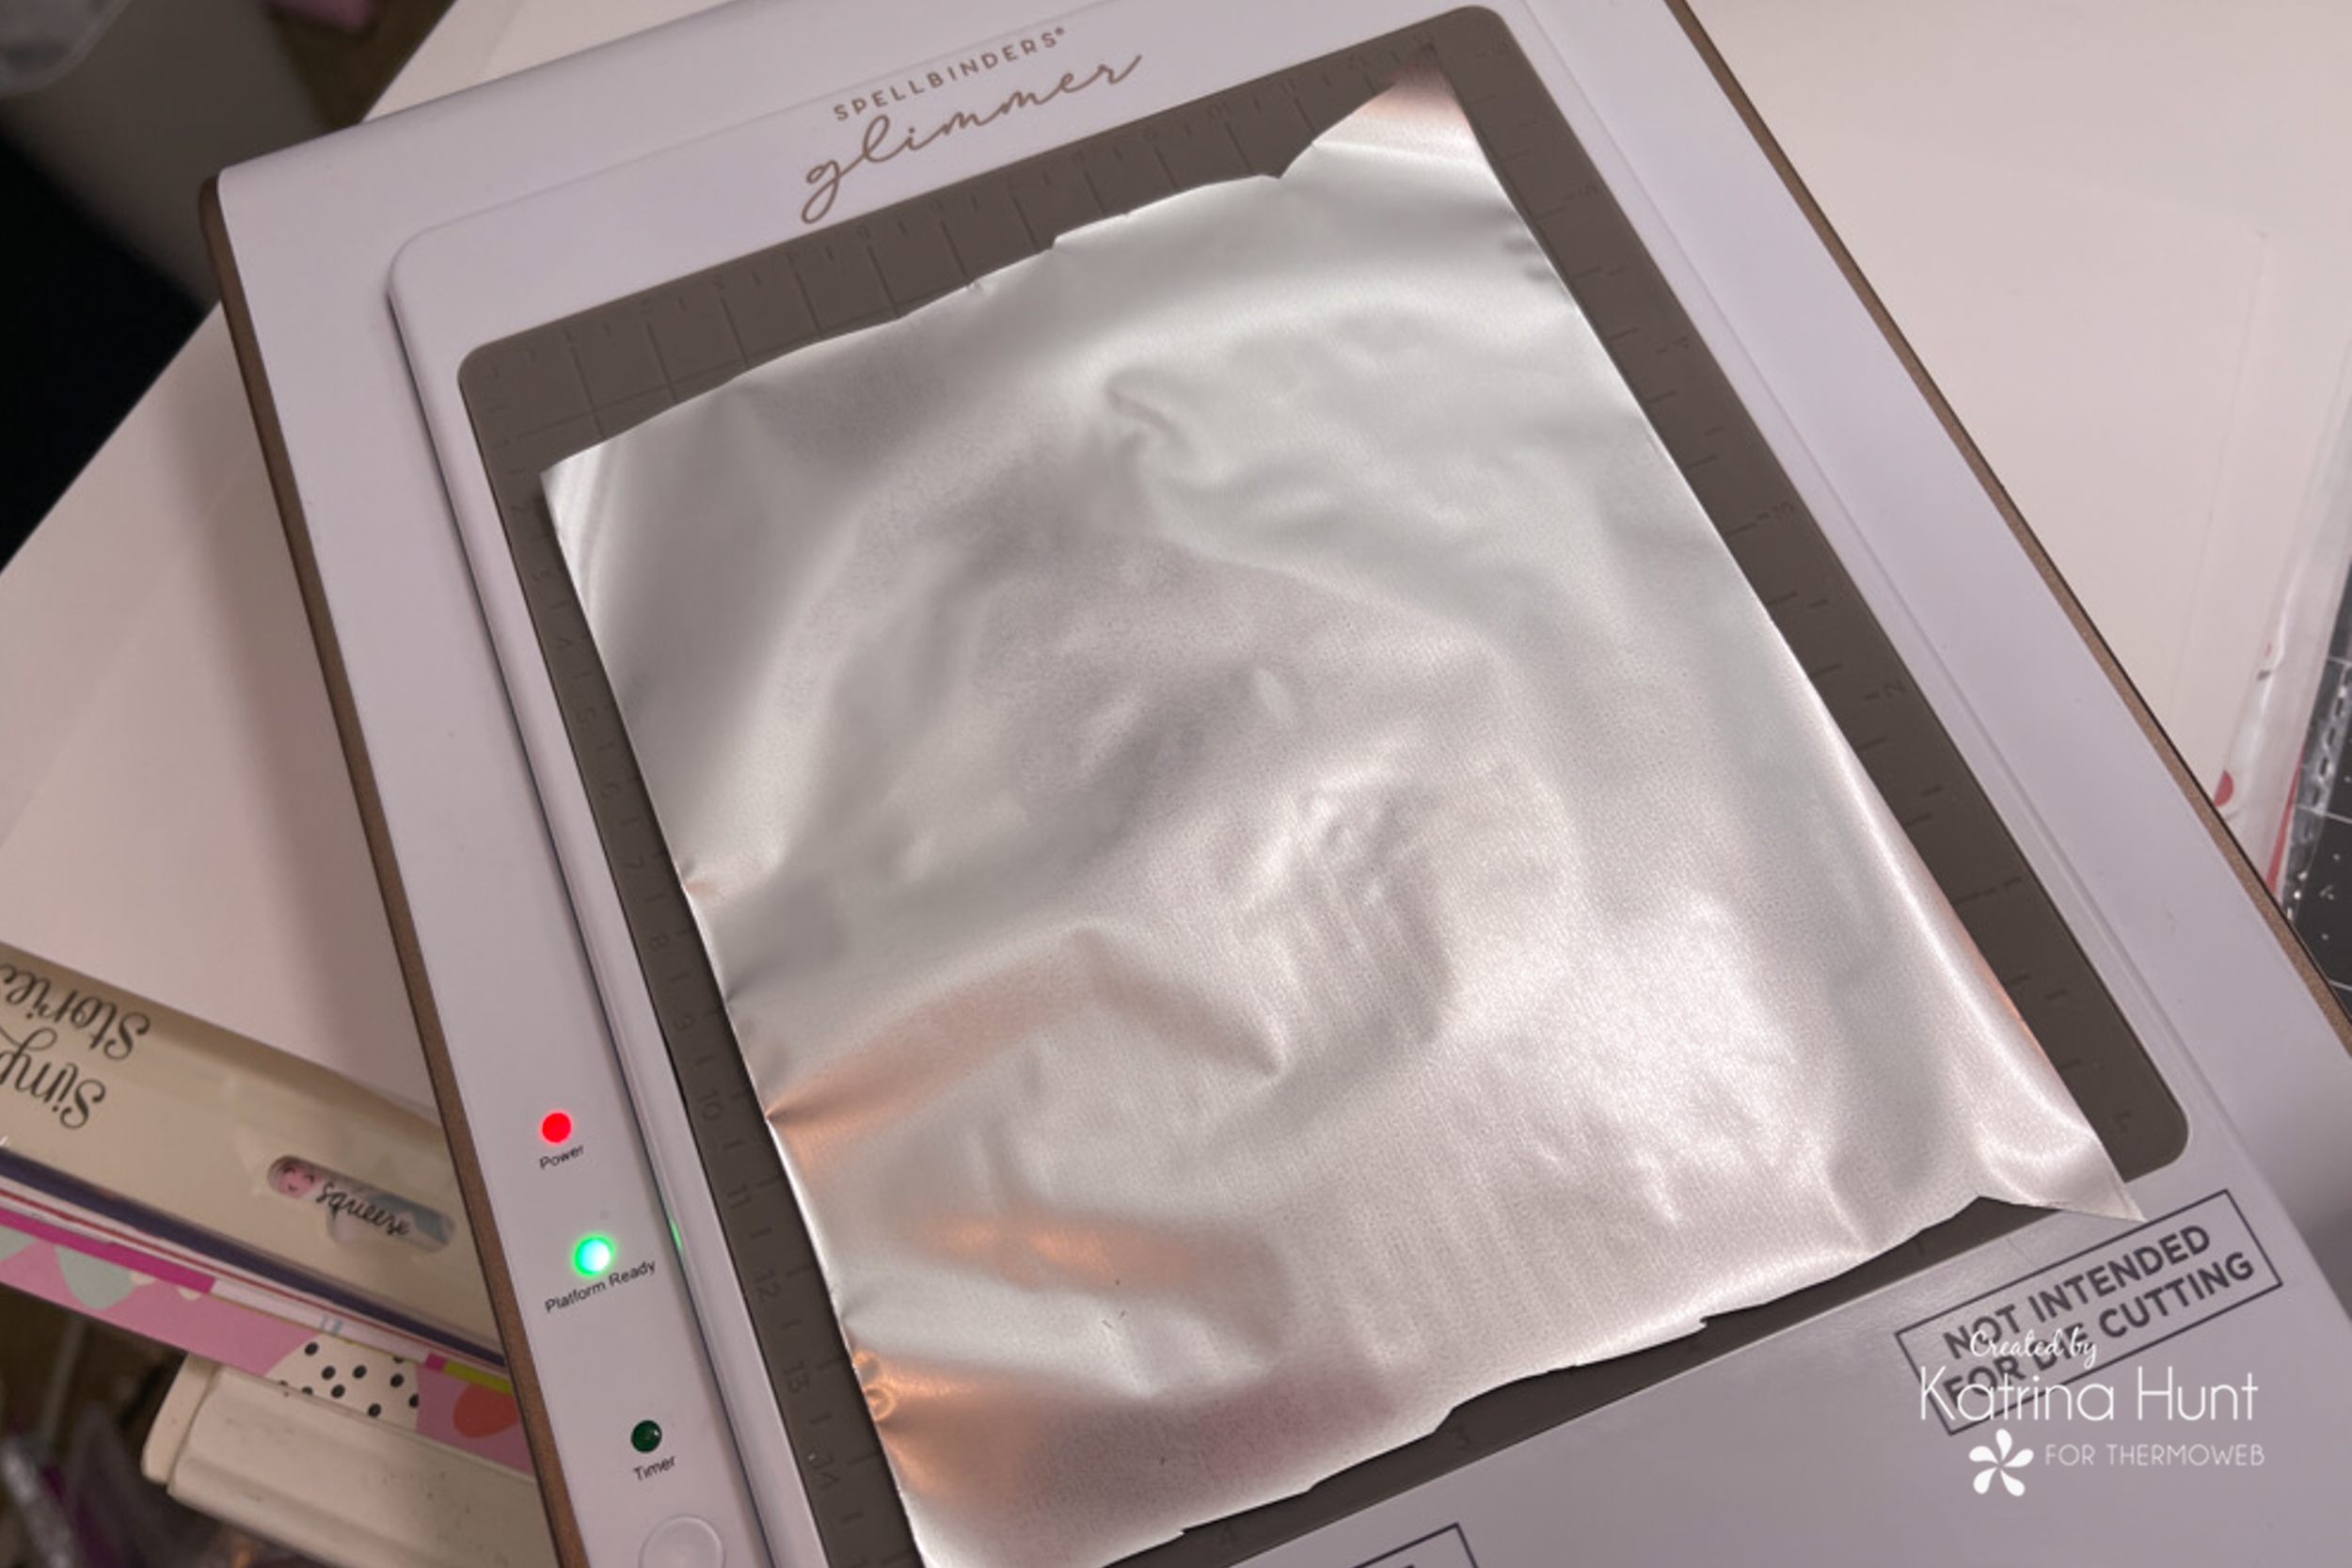
Cut a piece of foil as close to the size of your foil plate as you can. Lay your plate down on the platform, then your foil goes colored side down, Then I laid my vellum down on top of the foil, then my two plates for the system.
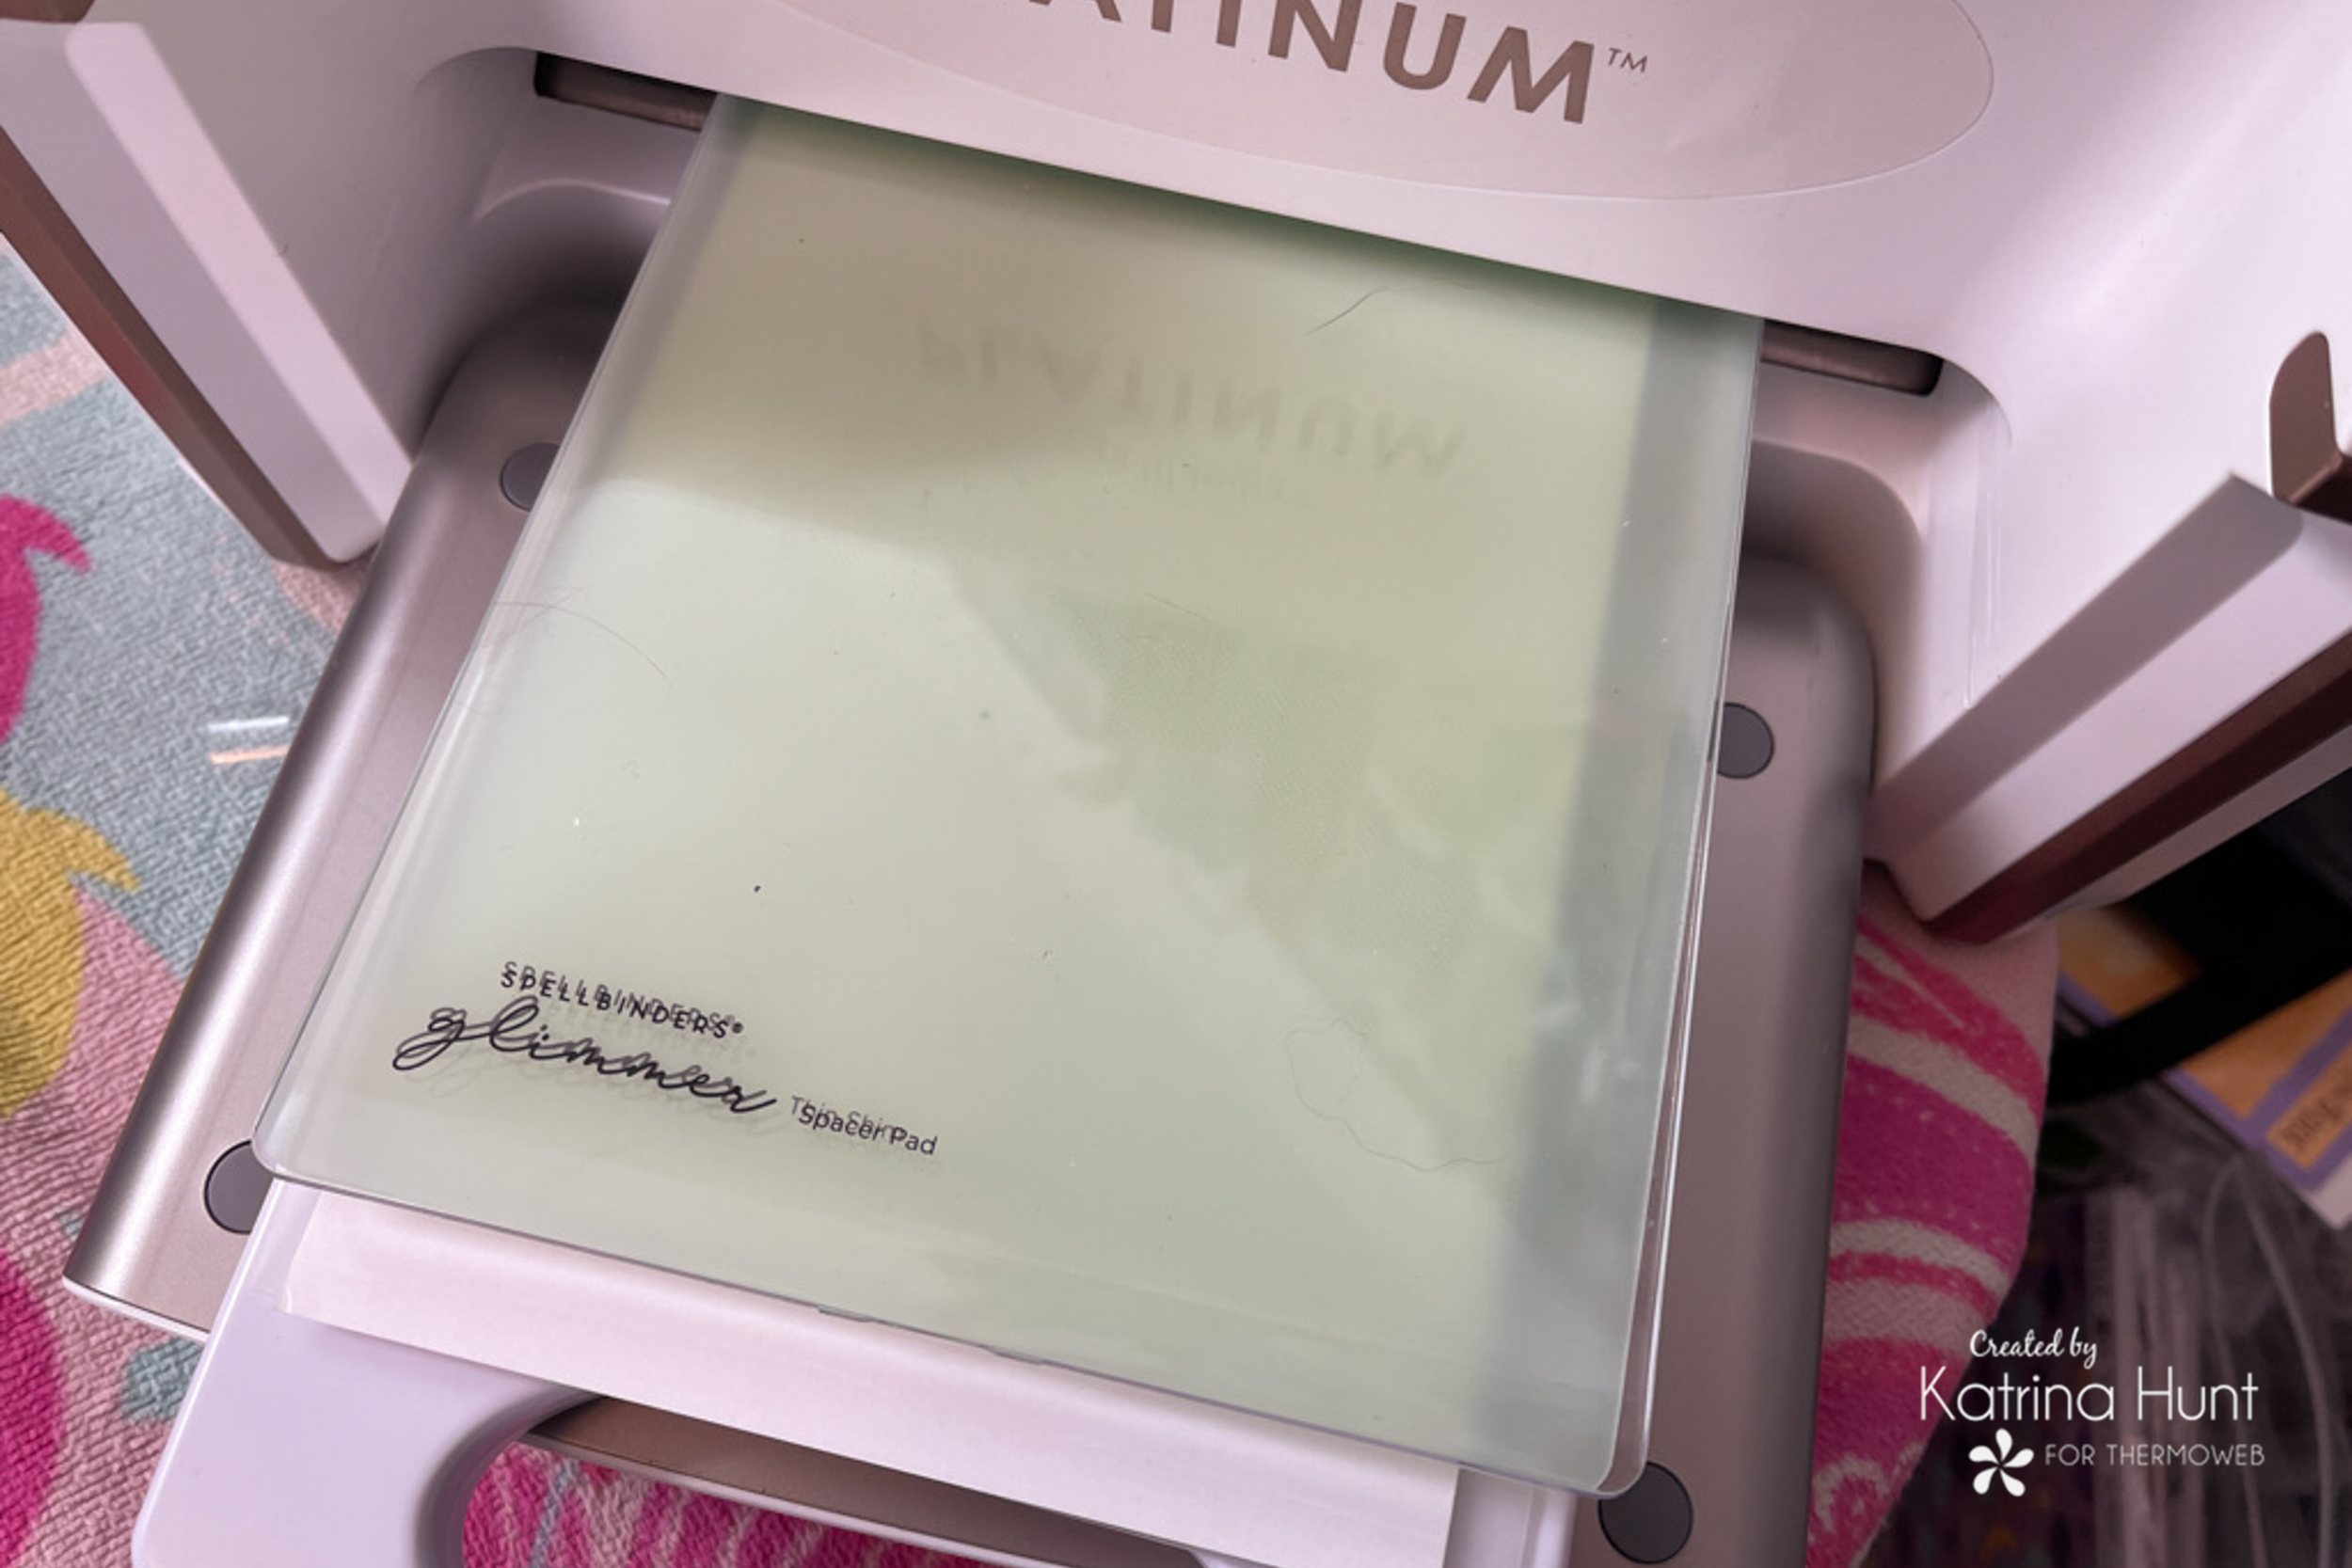
I ran the entire sandwich thru my Platinum machine. I did add a cardstock shim since I was using vellum. And look at those fun results below! I love the vellum look! I have the matching die, so it was easy to cut all these out!
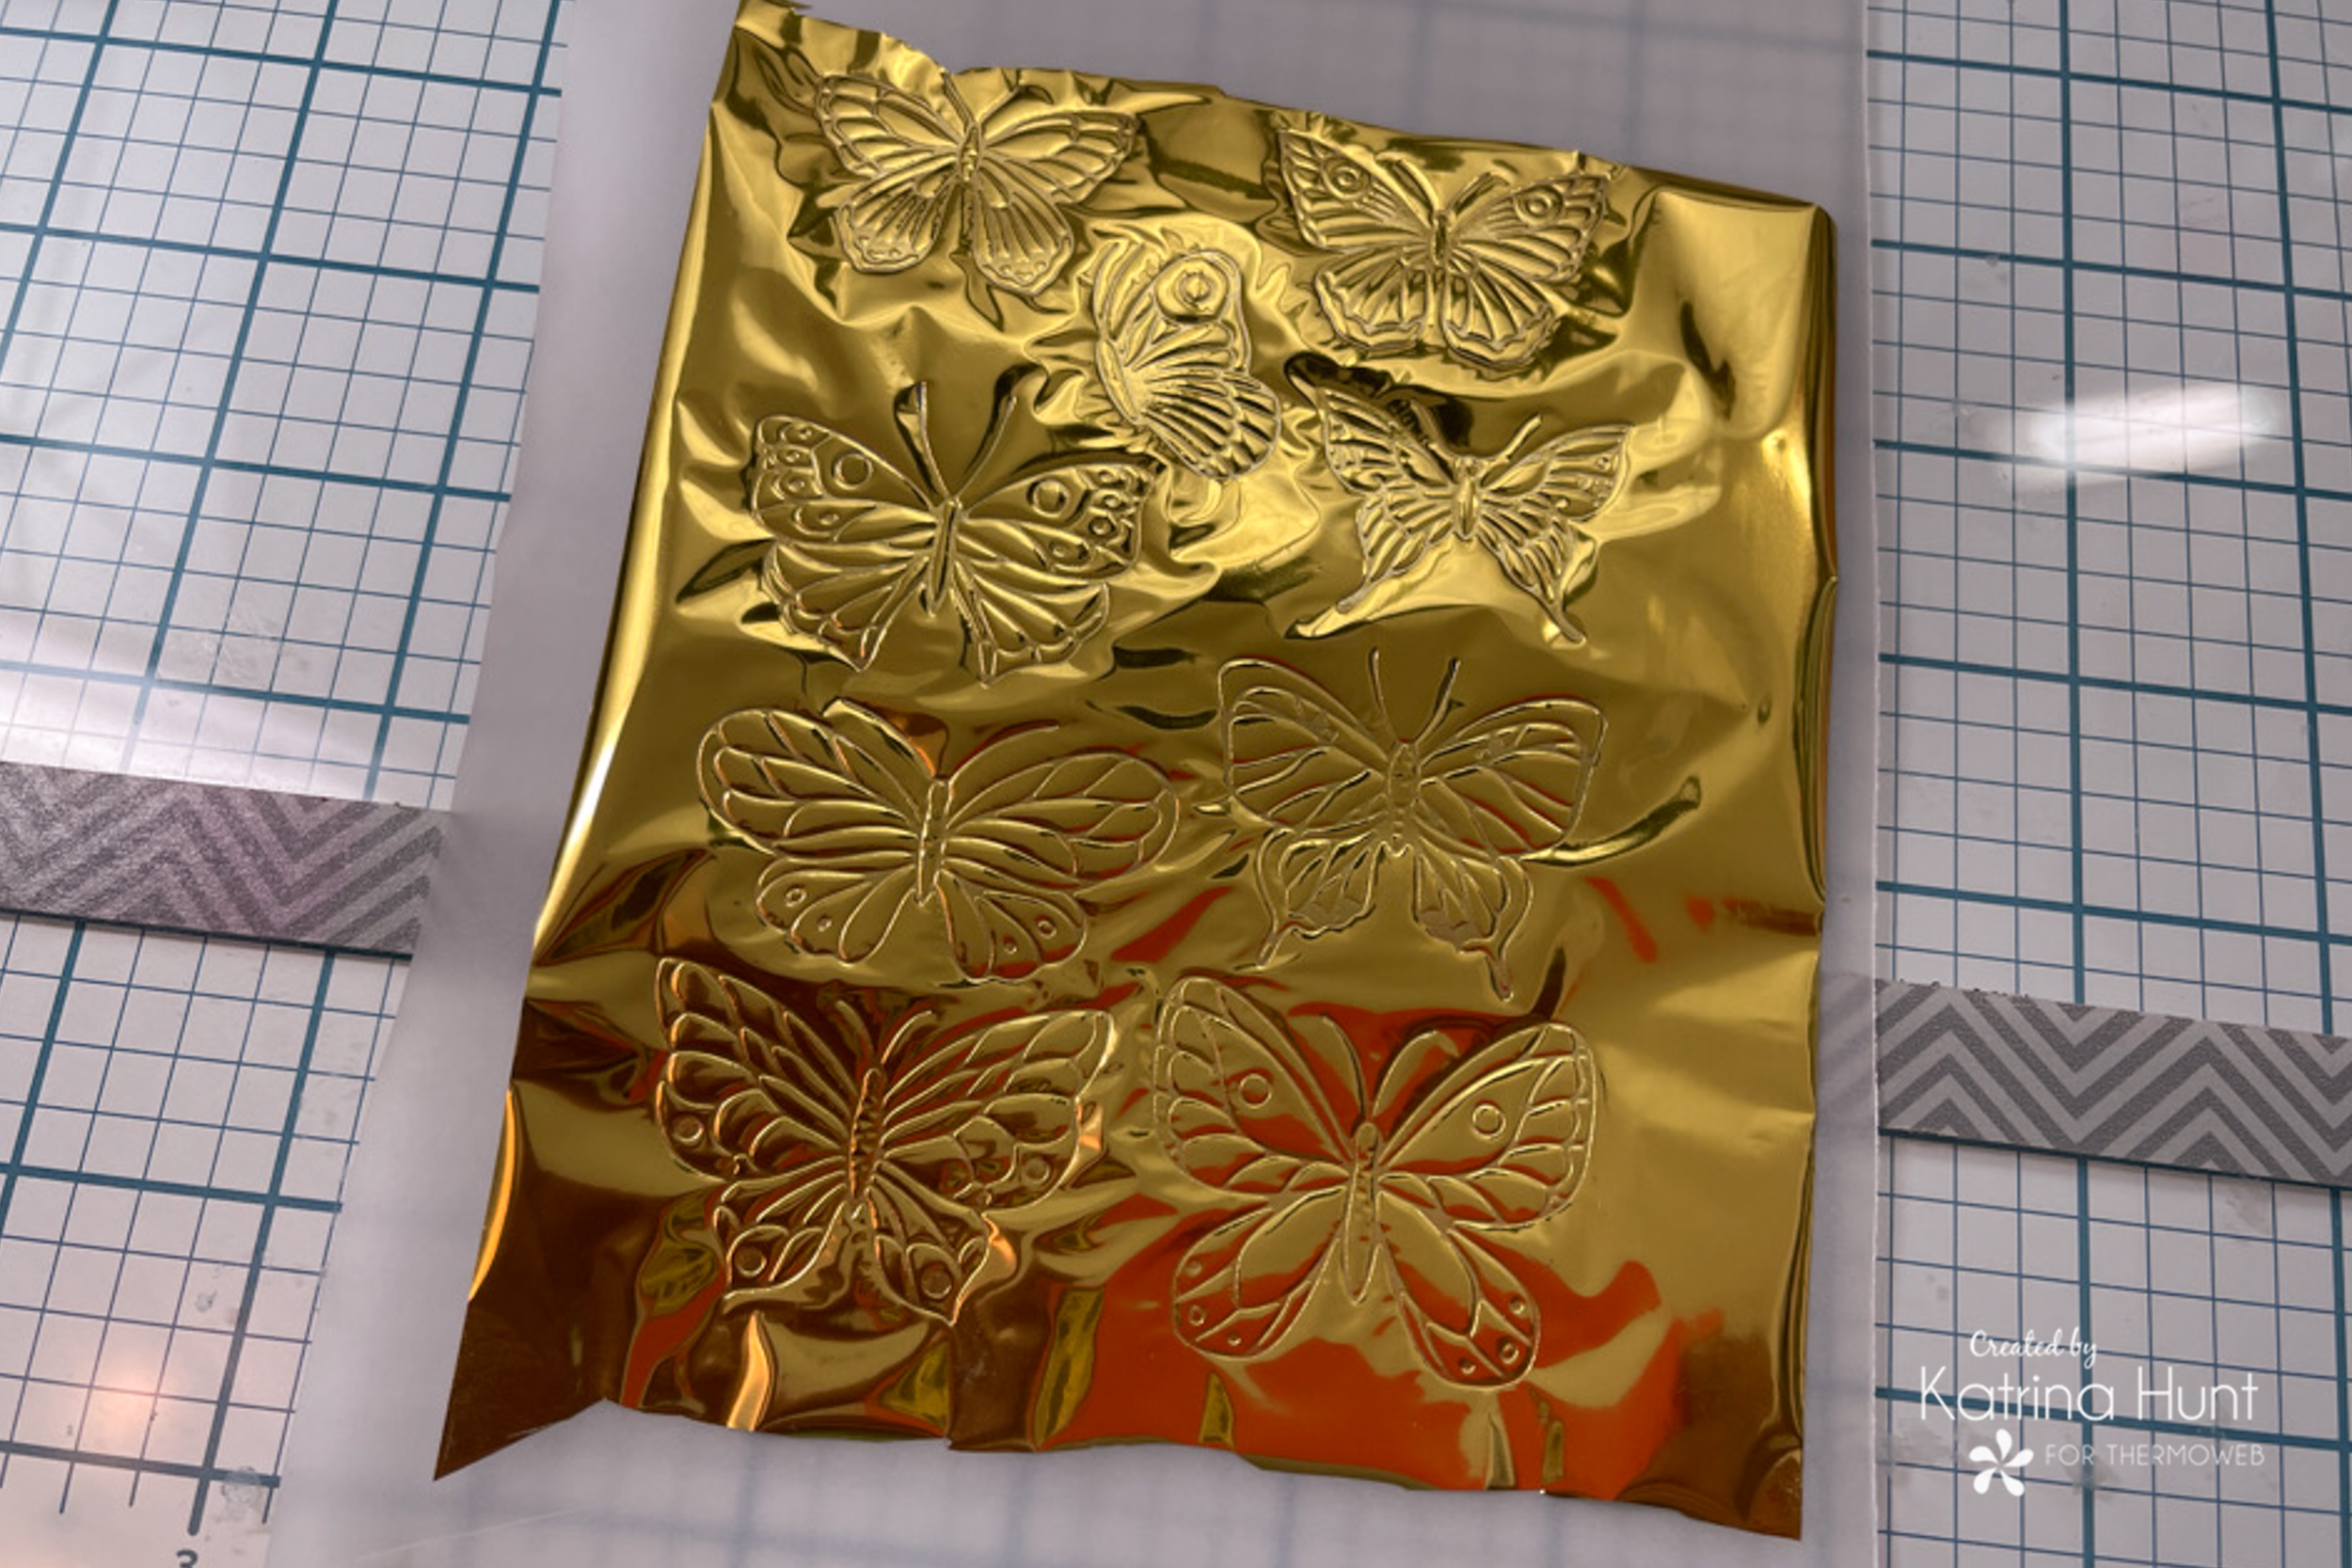
Before I put up my foiling items, I decided that I wanted to make some solid foiled butterflies by using the negative of the foil. So here, I just did the same steps, but used the piece of leftover foil and used cardstock instead of vellum. Remember to peel off the top clear layer from the foil. I forgot until I had my butterflies cut out!
I used Pixie Tape to hold down my foils and I had no trouble whatsoever with it sticking too much or causing a problem.
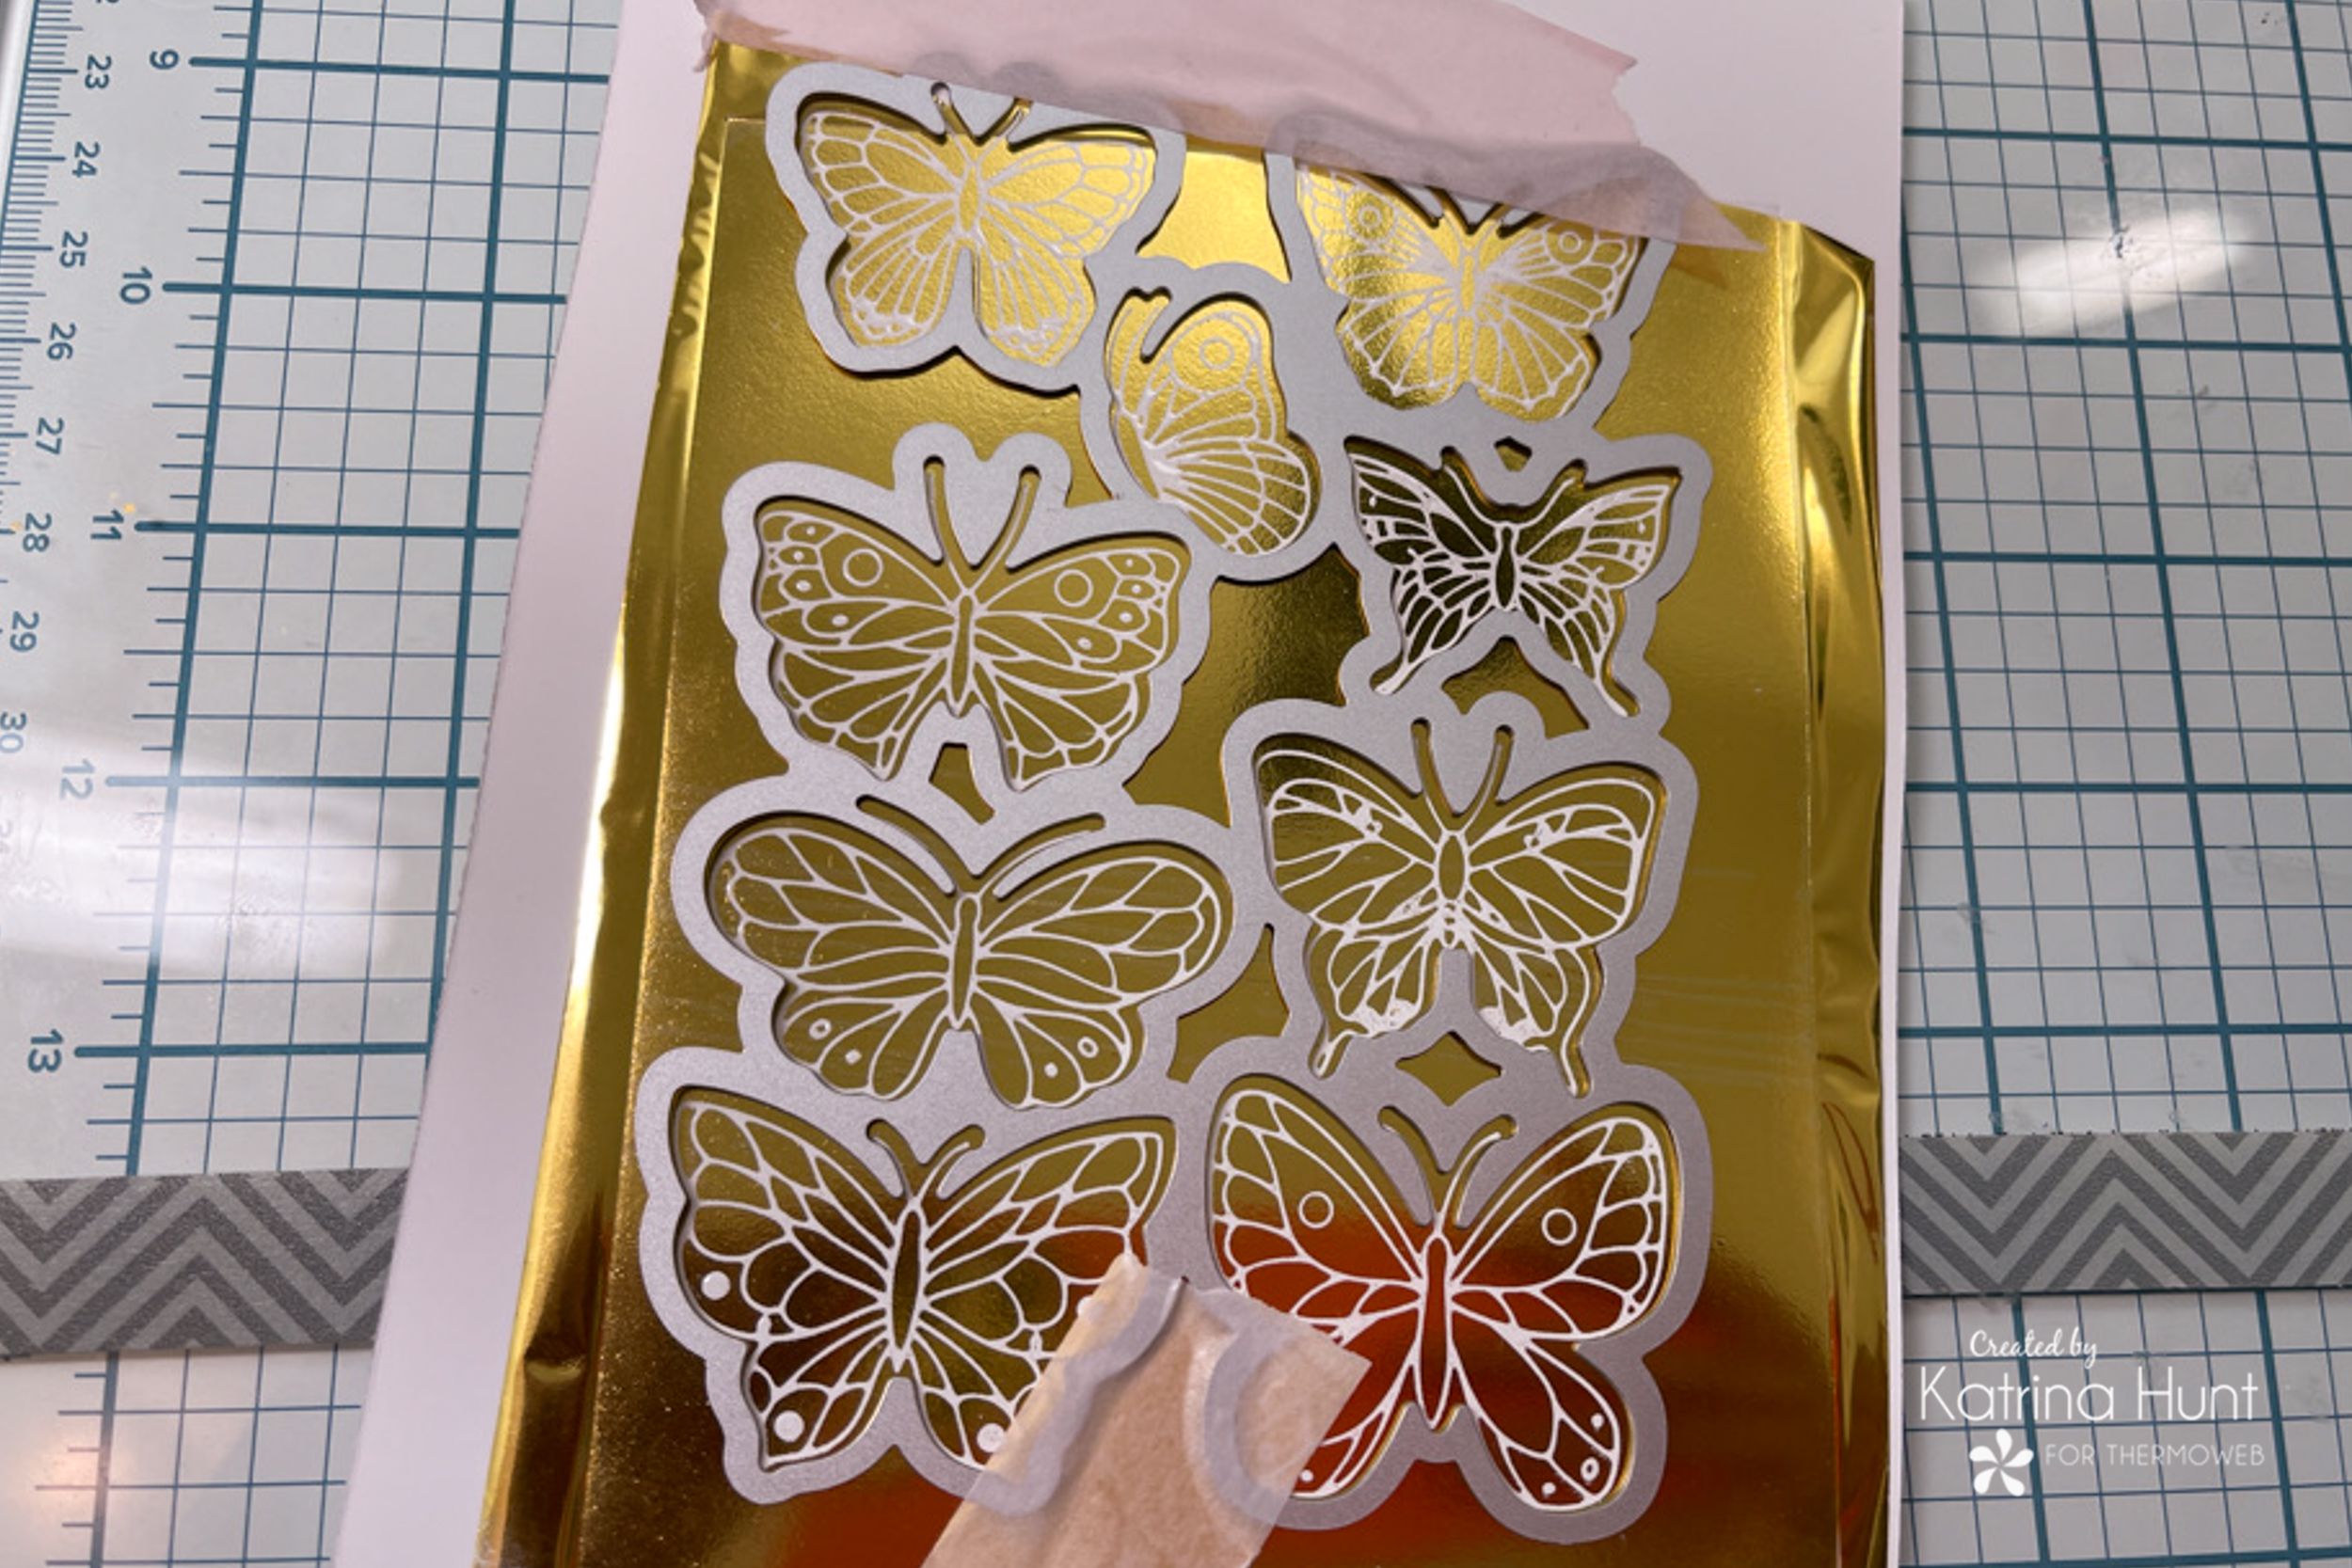
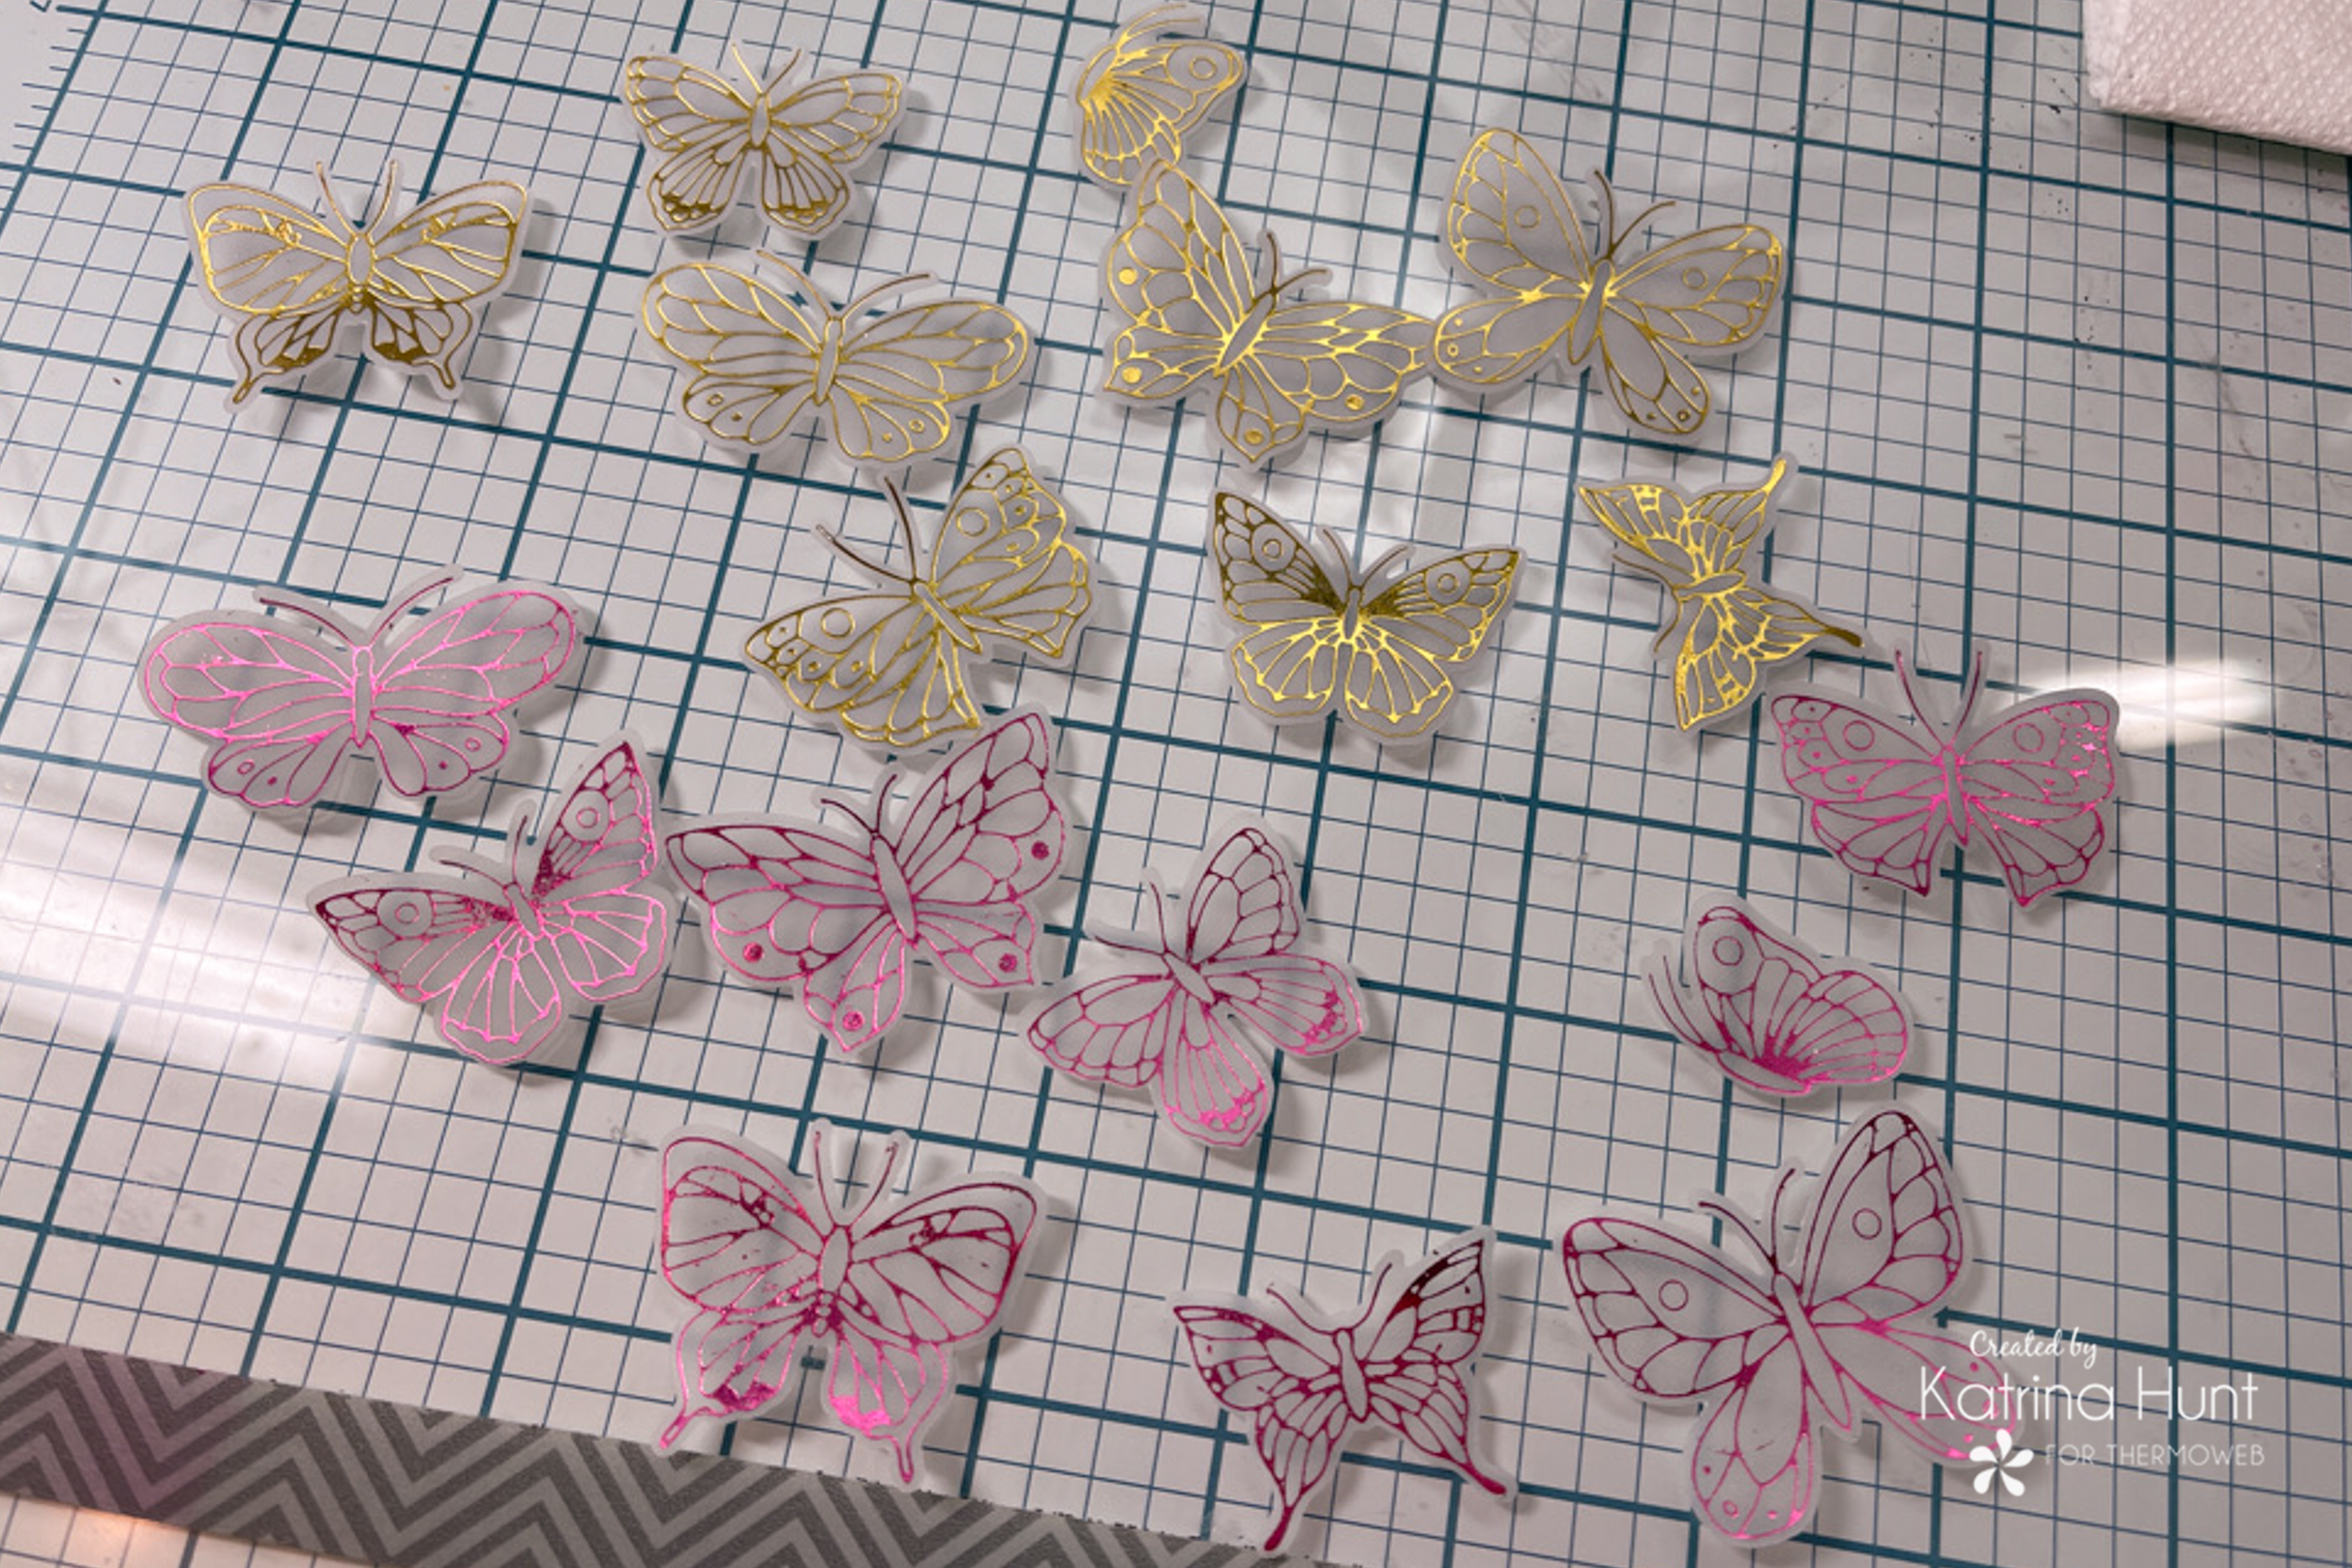
And then magic happens!
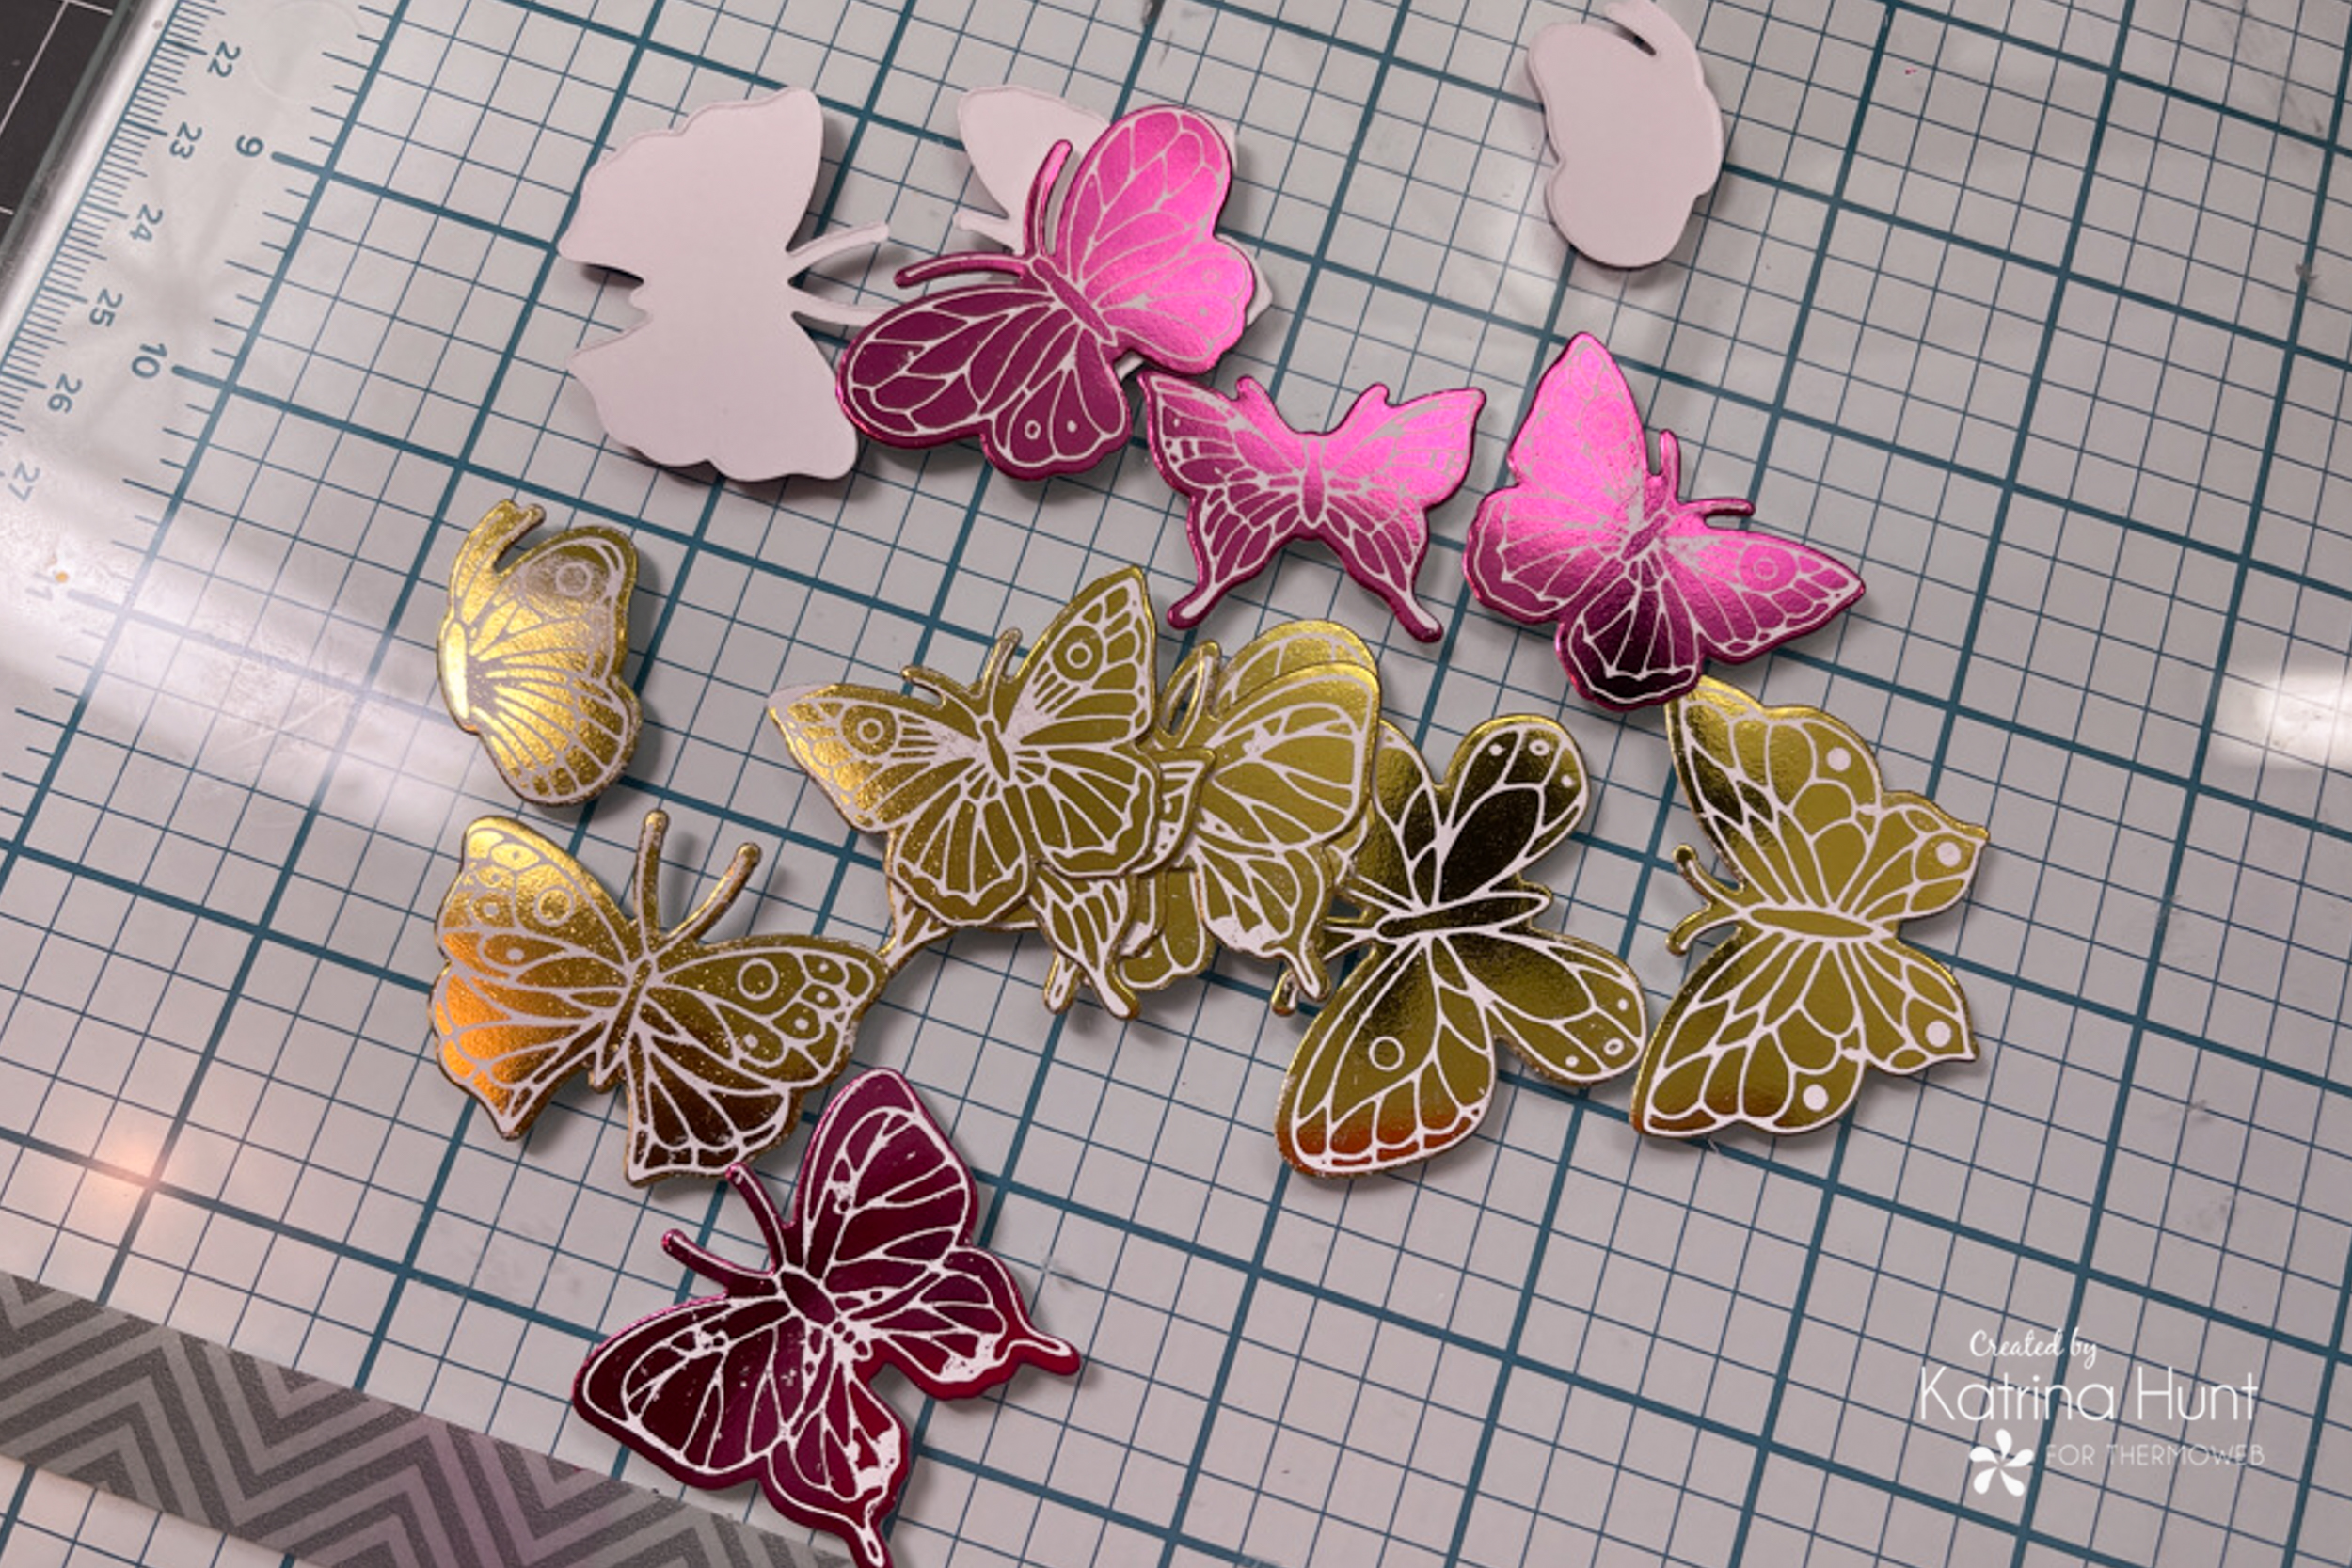
I had so many butterflies, I have leftovers for other projects!
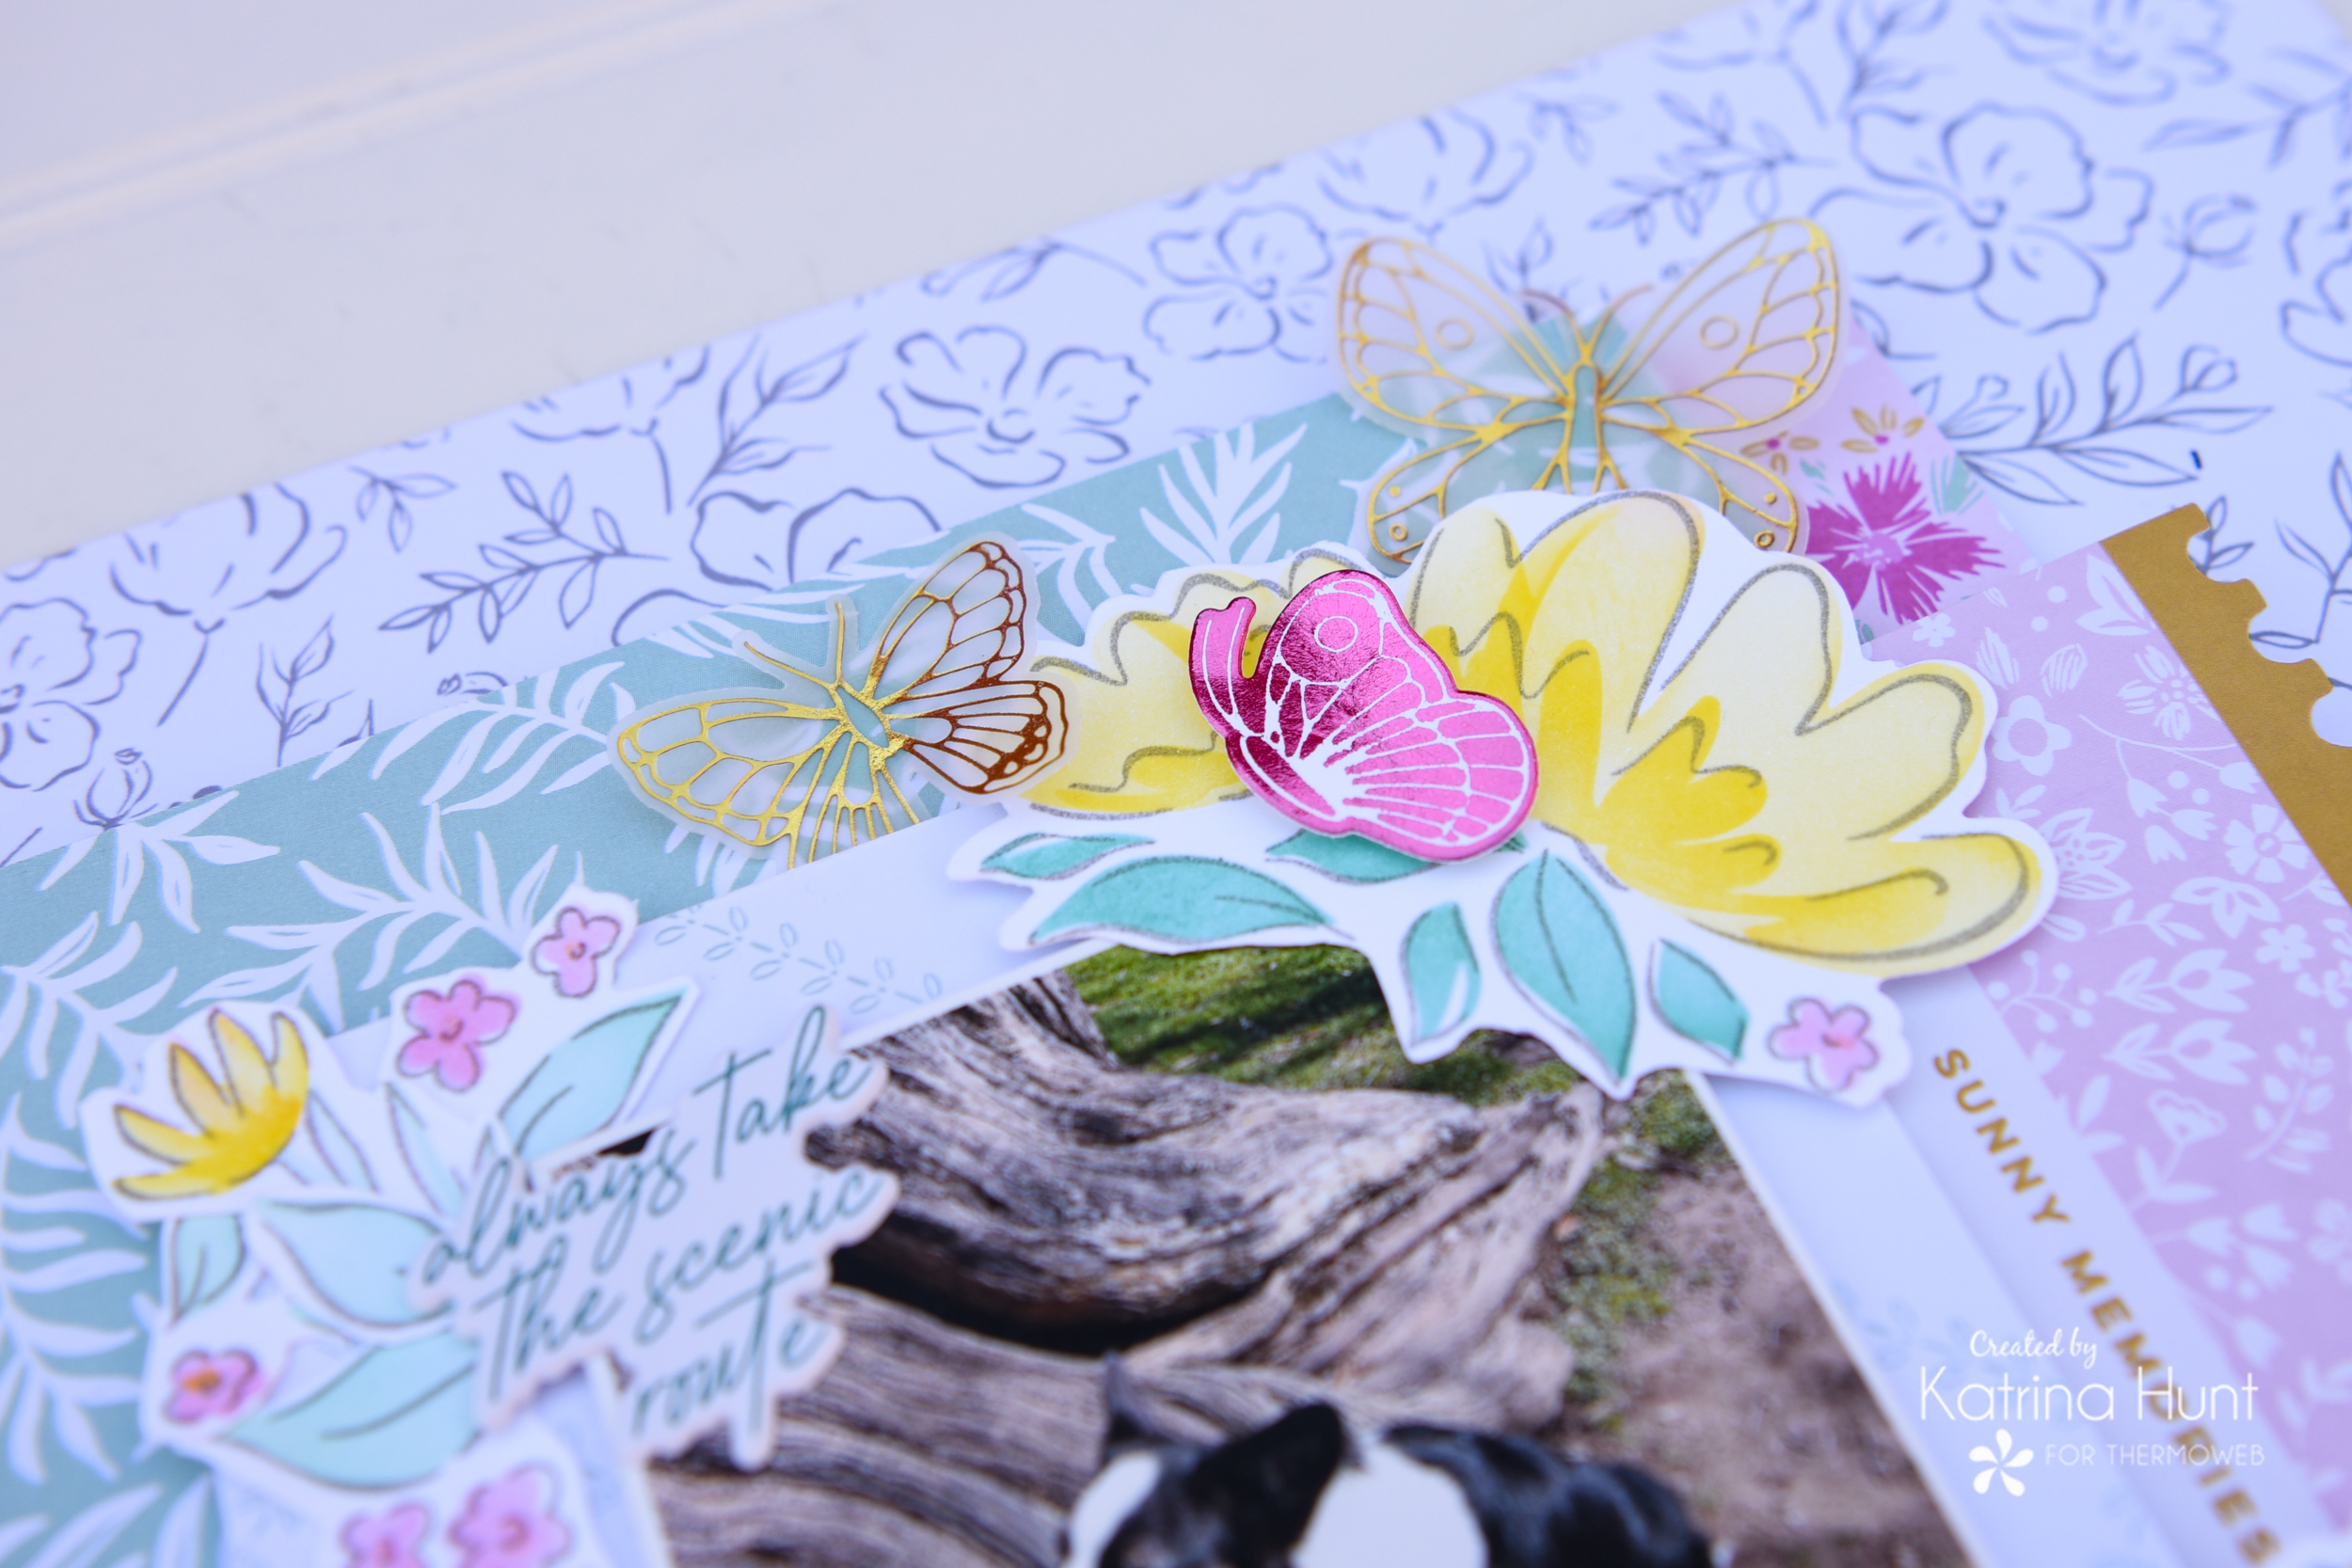
I used Ultra Bond Liquid adhesive to adhere those vellum pieces and it works perfectly. Just a little and you cannot see it since it dries clear!
Finishing Up
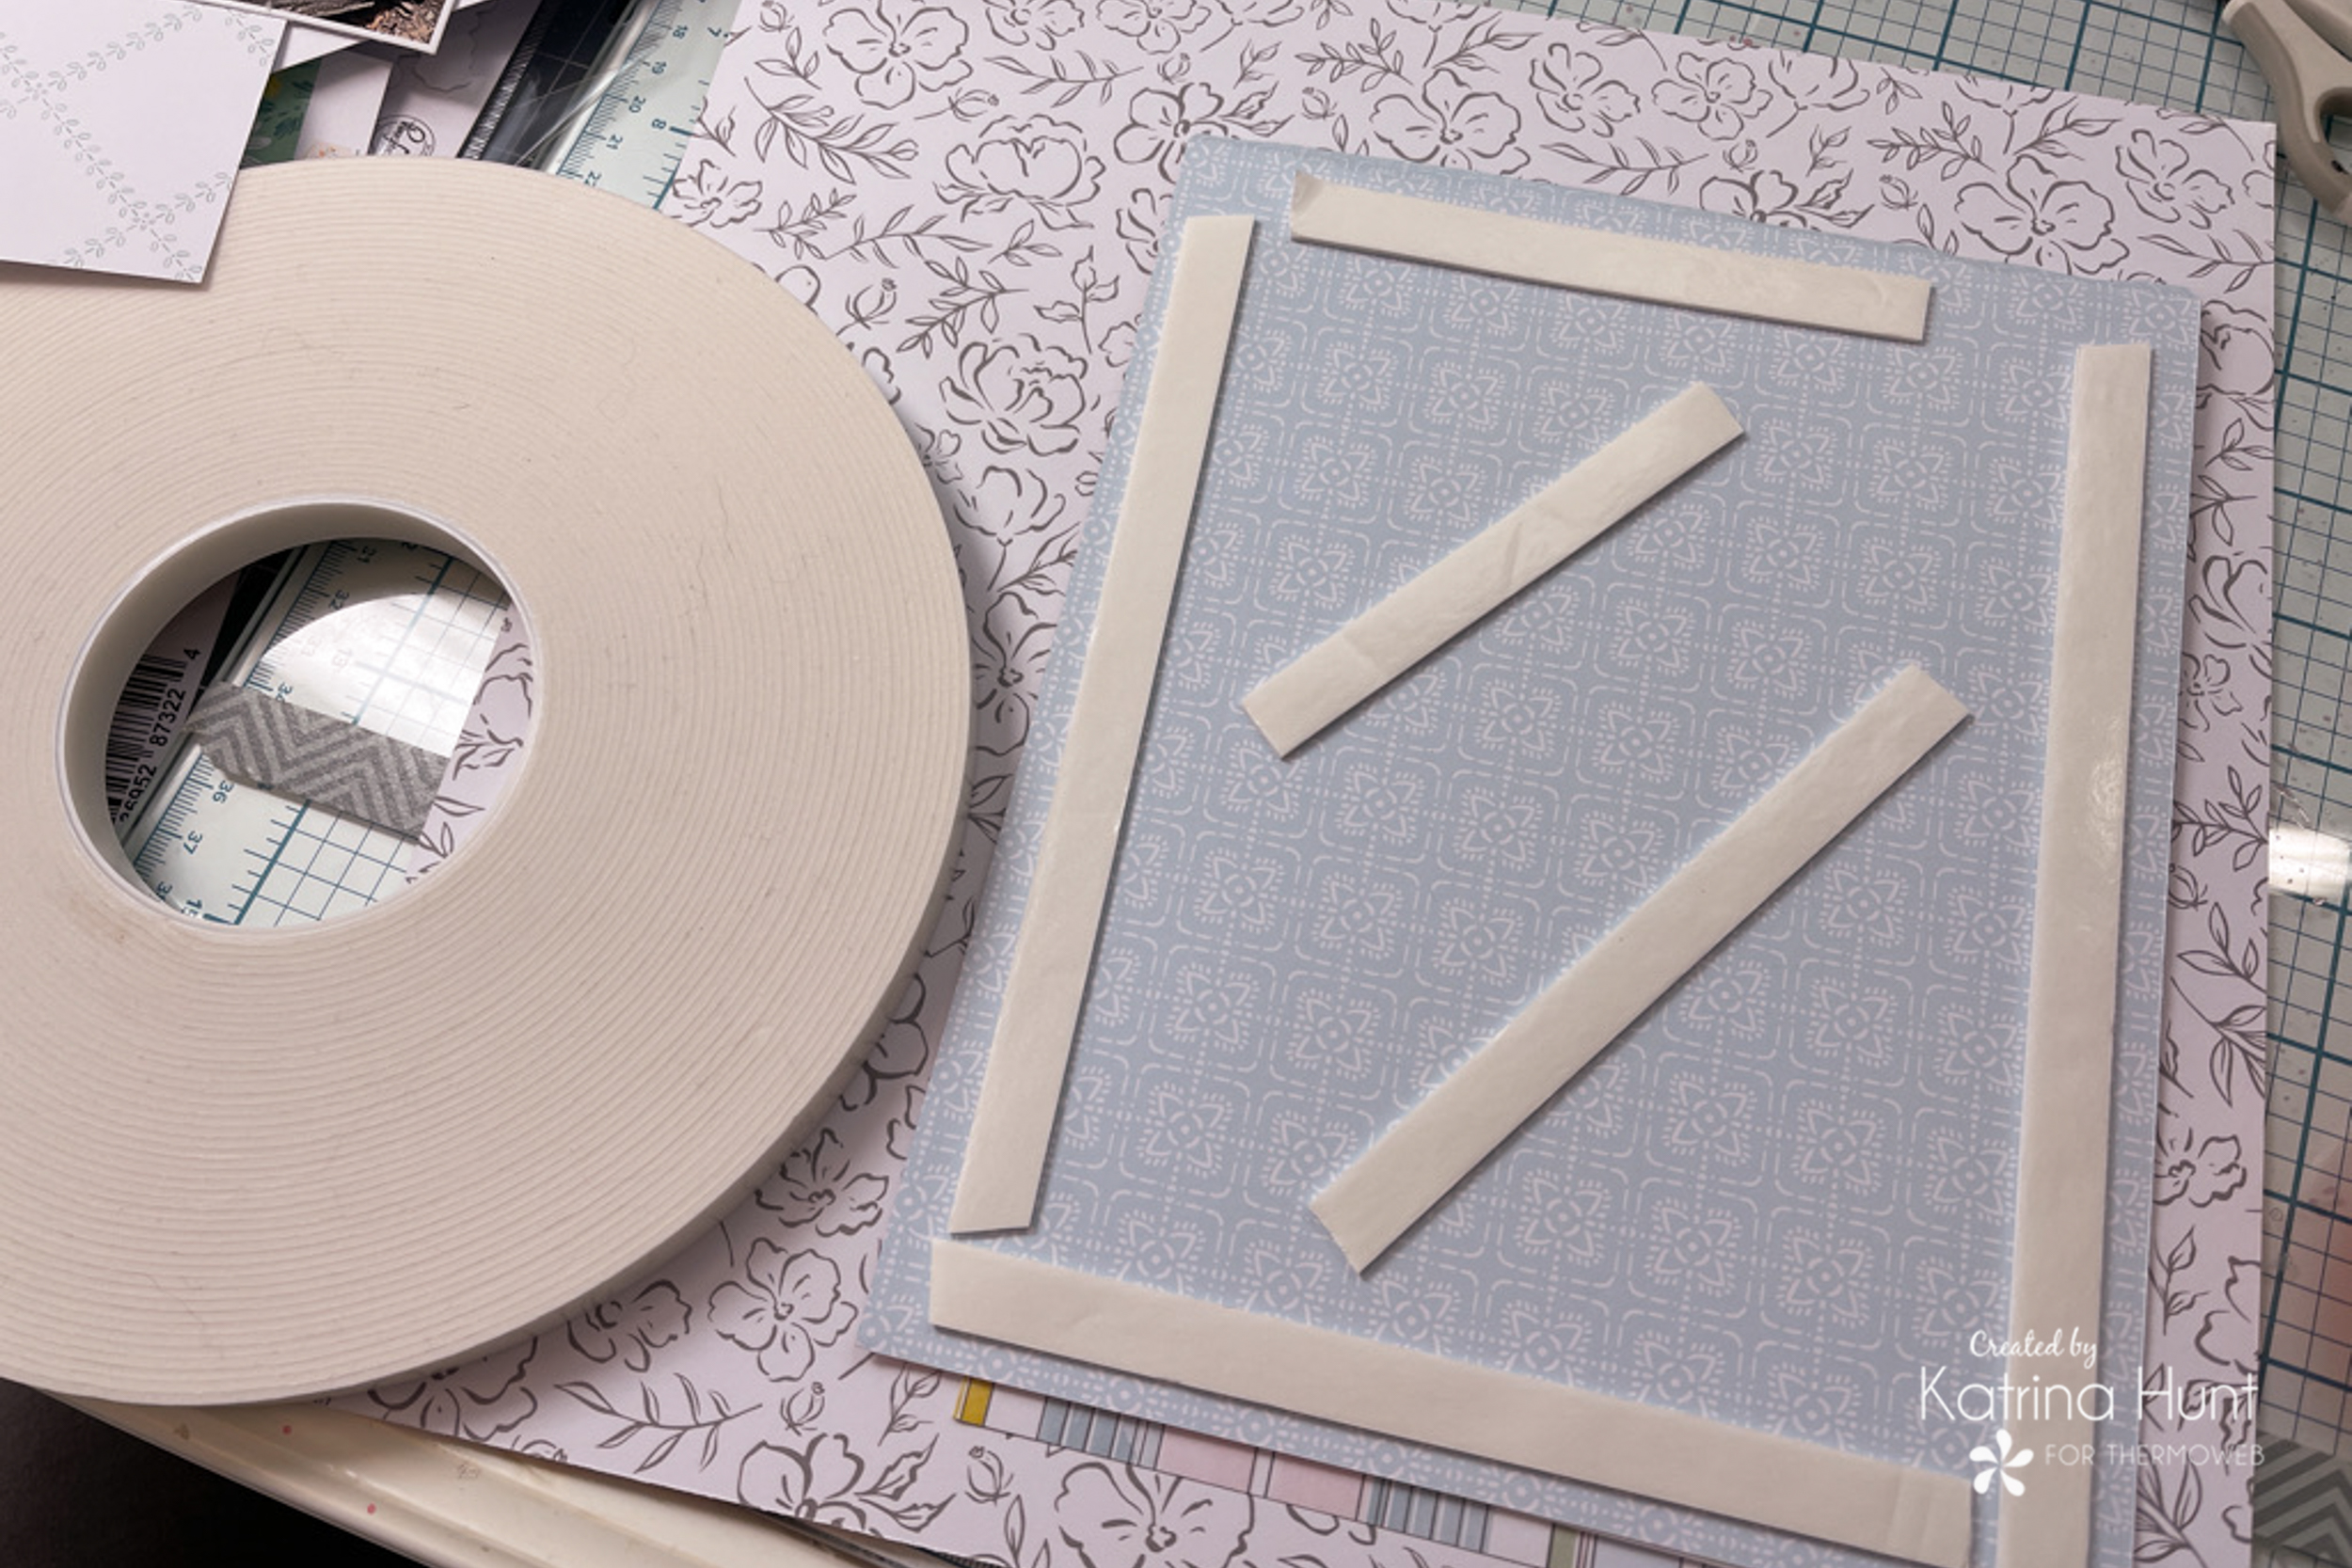
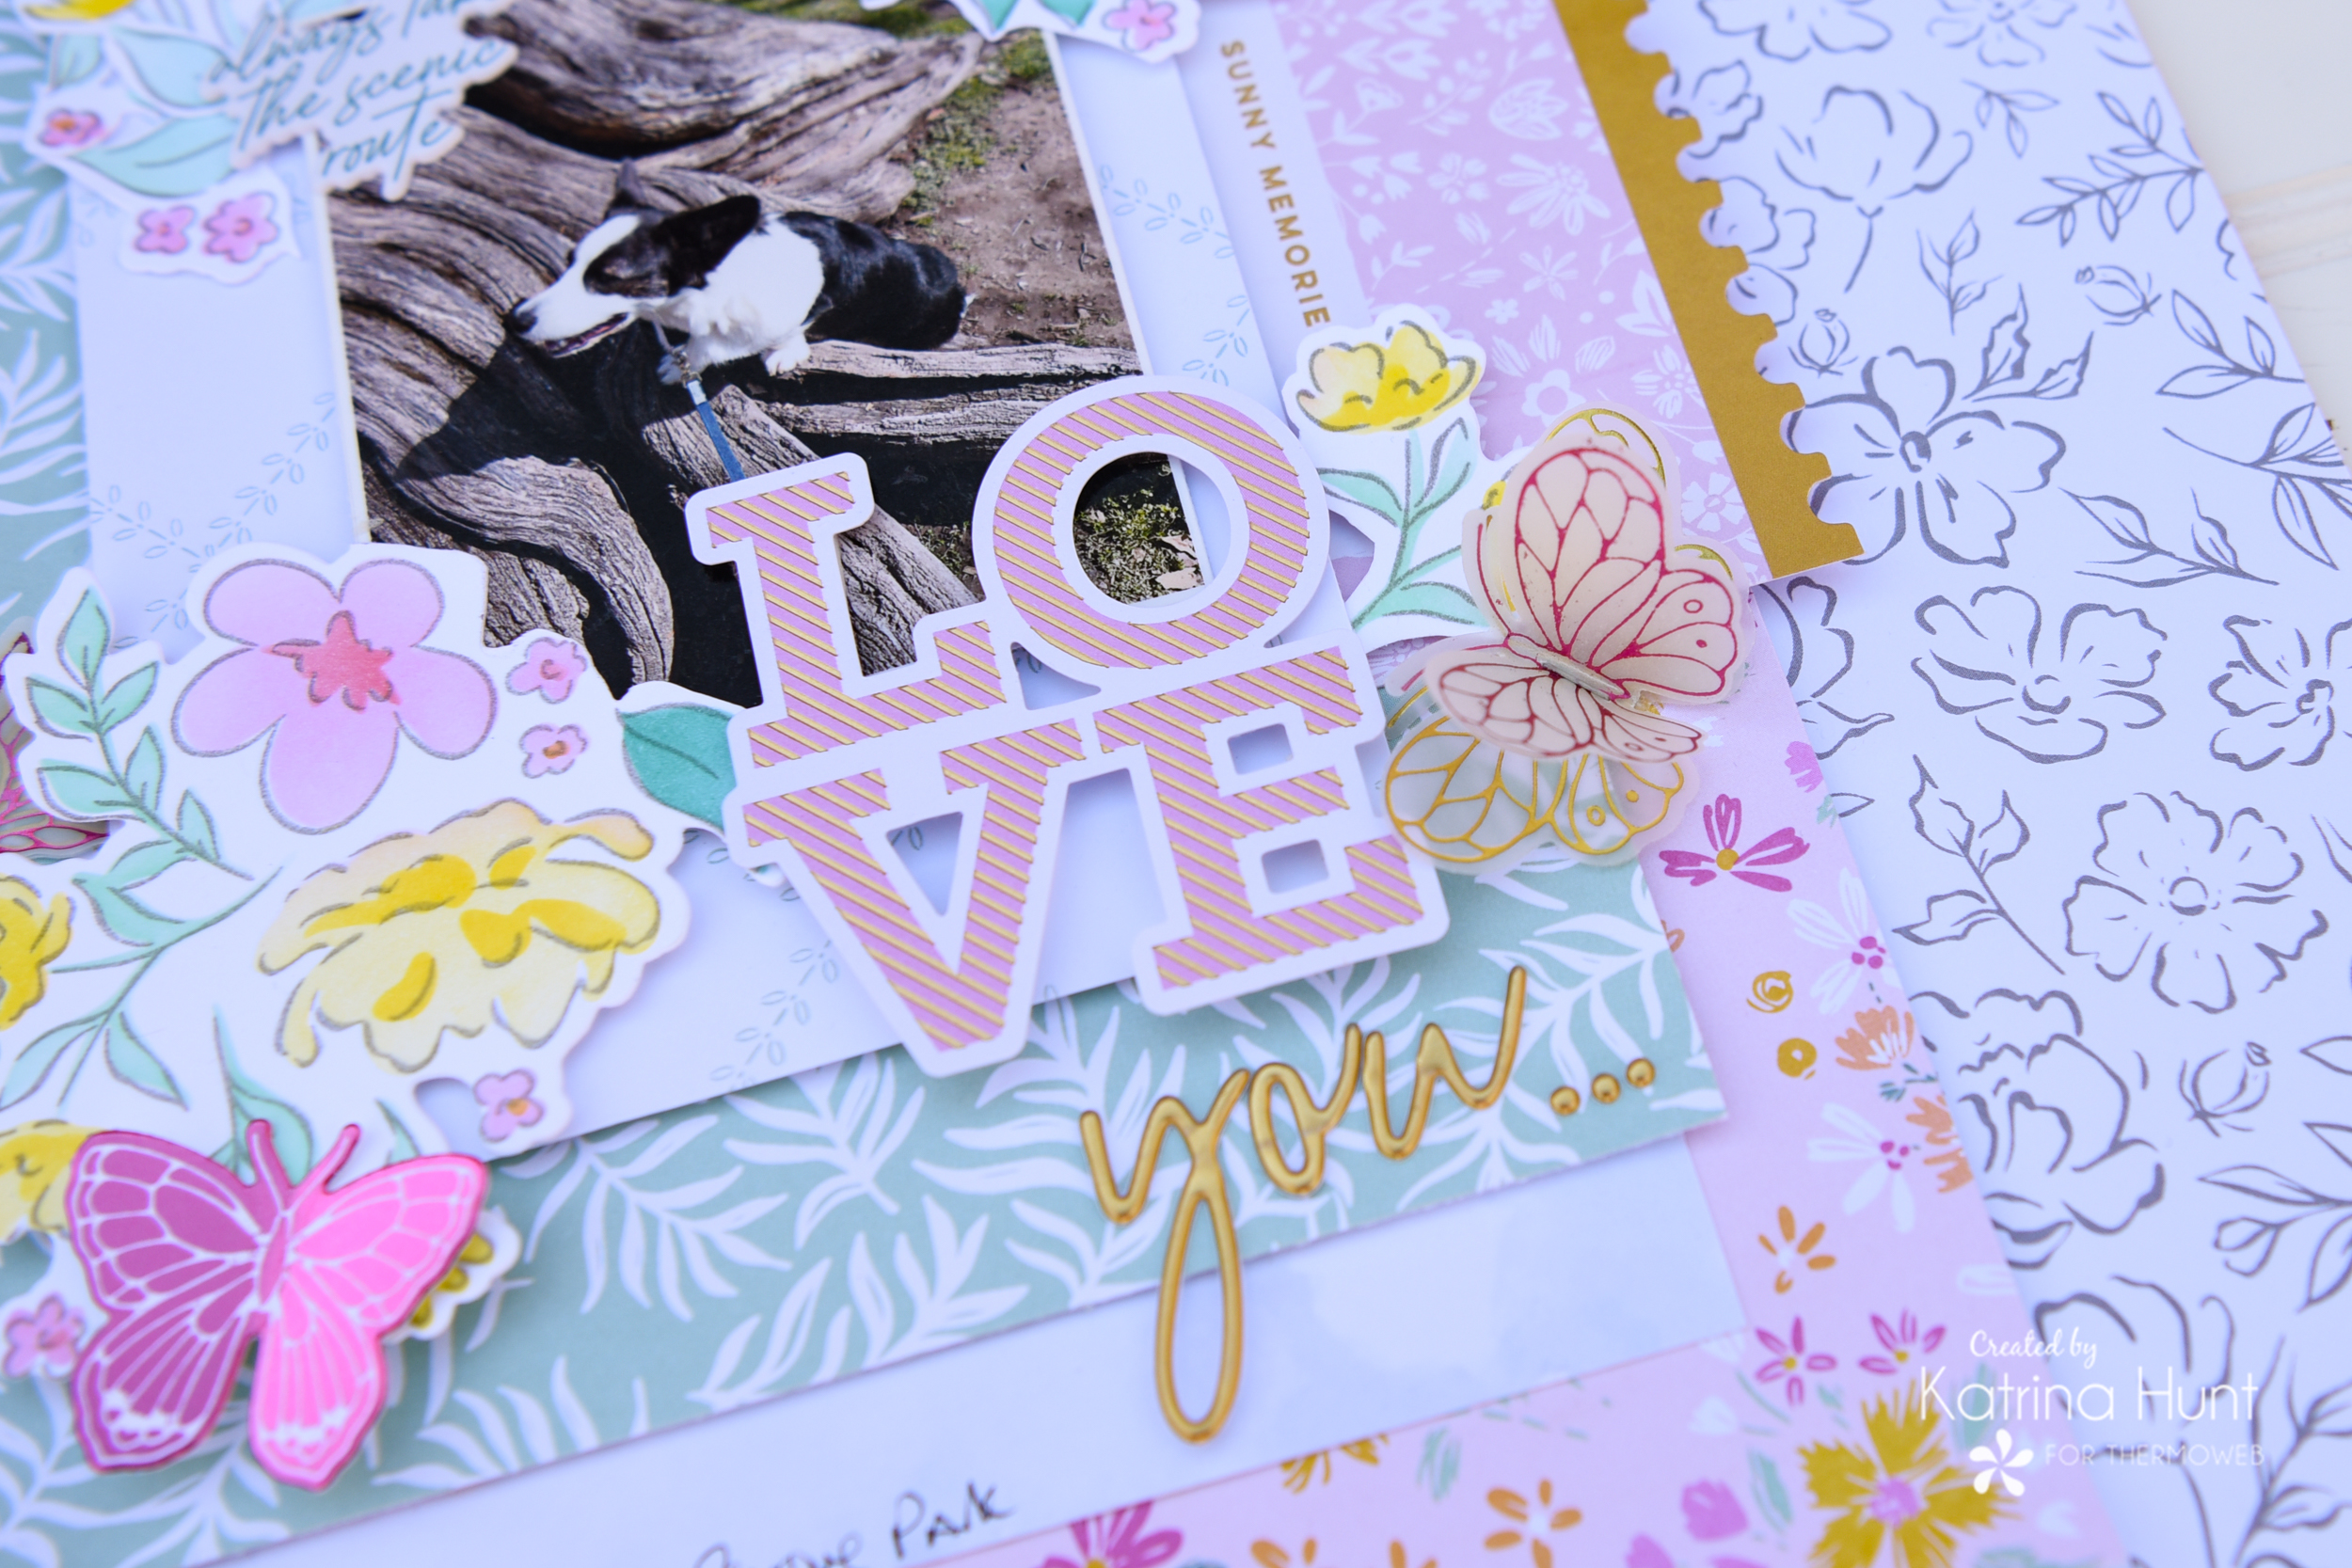
I used the 3D Foam Tape Rolls to put most of my layout together. Here and there I used a Memory Runner XL, but most of it was foam tape! I did double up a couple of the butterflies in the two different colors. I stapled them and then used the Ultra Bond glue to hold them to my page!
I hope you are as excited about the hot foils as I am. I have been wanting to play but have been a little scared to! It’s EASY and FUN! So, jump in with us! Happy Crafting!
 Now is the perfect time to pick up the Therm O Web Deco Foil HOT Foils…with stunning colors like Chili Red, Mint and Twilight just to name a few! Shop our website and receive one FREE HOT Foil with the purchase of three! Click the graphic to visit our site and start shopping!