


 Hi everyone and welcome to the ThermOWeb and Sassy & Crafty collaboration week! I am sharing some of my favorite ThermOWeb goodies and mixing them with ADORABLE Sassy & Crafty stamps and stencils and sharing some tips and tricks along the way!
Sassy & Craft Cow Cards with Glitz Glitter Gel
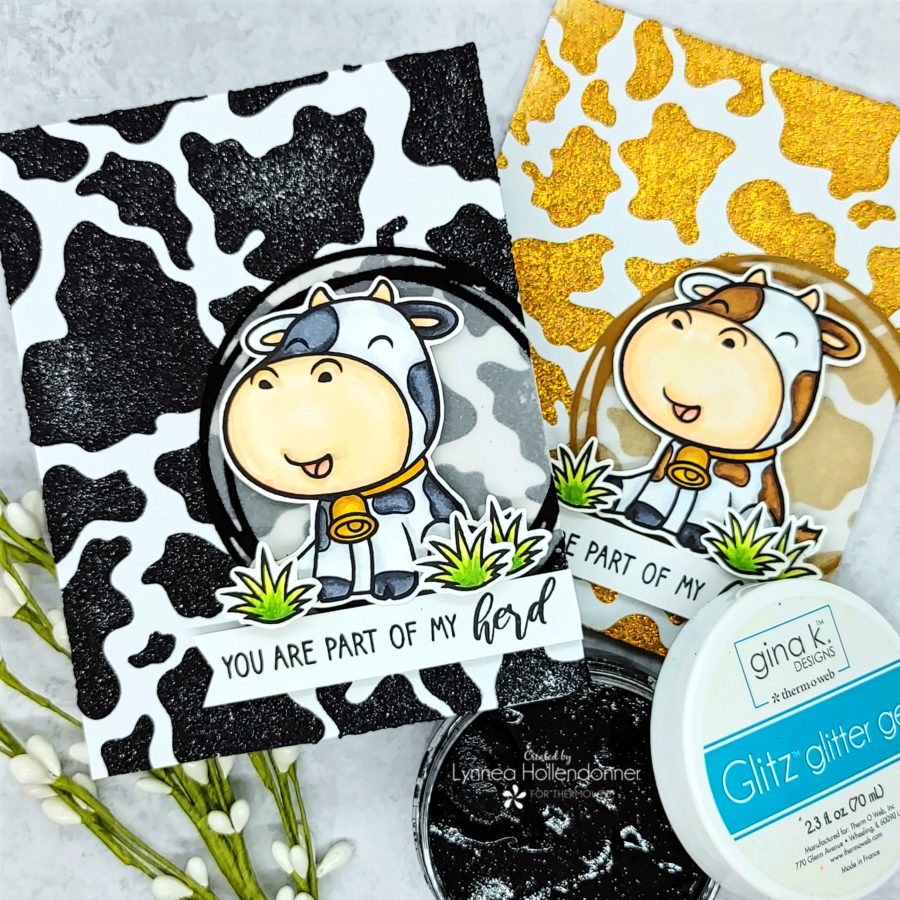
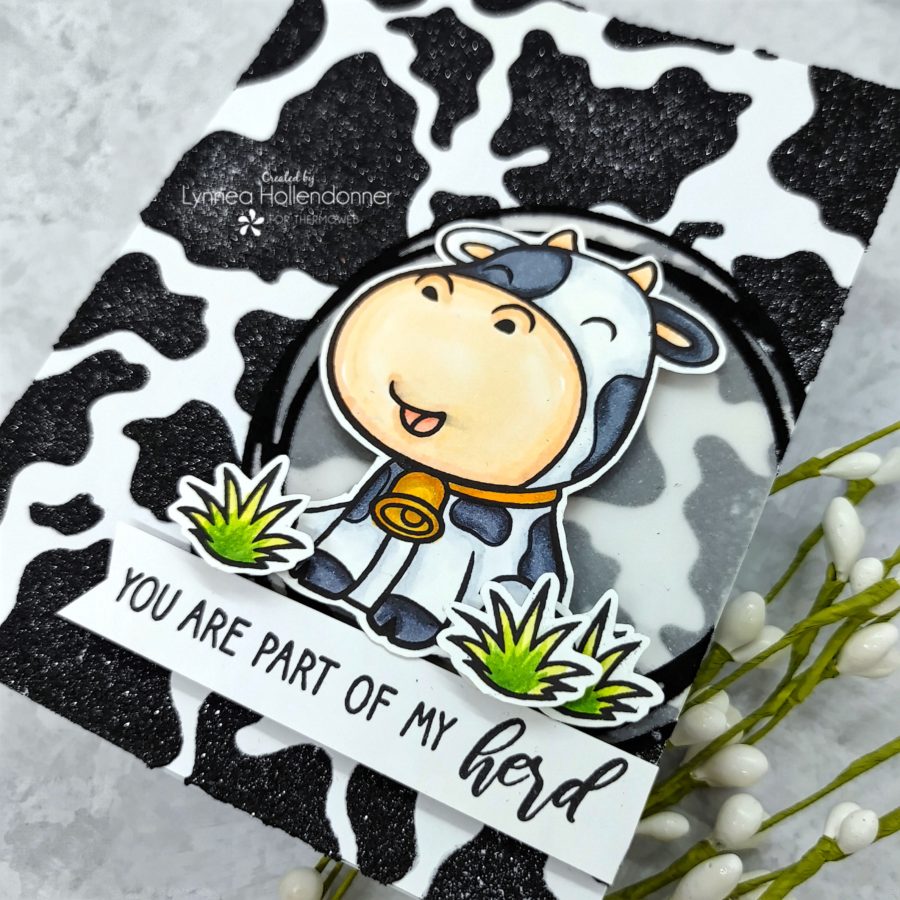
Black and White Cow Card with Glitz
When I make cards I tend to start with the backgrounds. They often take a bit of time to dry, so I start with them and by the time my coloring is done (I am SUPER slow) the backgrounds are often dry. I wanted to make some brown Glitz Glitter Gel to match my brown spotted cow design and the Gold Glitz Glitter Gel was just too gold for my vision.
So I made my own custom color! I took a bit of Iridescent Glitz Glitter Gel and placed it on my work surface and mixed in a few drops of Simon Hurley create. Grr! Reinker. This gave me a pretty light brown color! You can use a variety of products to change the color of your Glitz Glitter Gel – inks, pigment powders, etc. I just used what I have on hand!

I sprayed the back of the Seeing Spots and Paw Prints Stencil with Pixie Spray and tacked it onto a piece of white cardstock. I used my Stencil Pal to spread my custom Iridescent Glitz Glitter Gel over my cardstock. I removed the stencil, cleaned it, and replaced it with a second piece of white cardstock. This time I used my Stencil Pal to spread some Black Glitz Glitter Gel over the stencil. I set both pieces aside to dry for about 45 minutes.
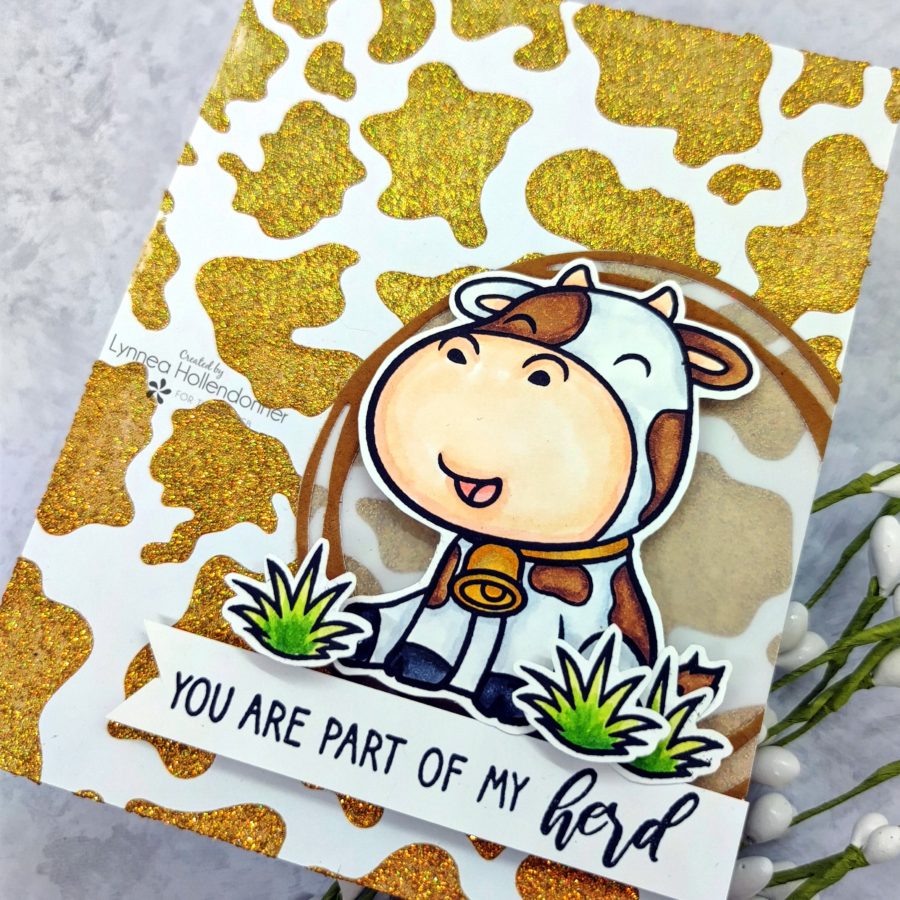
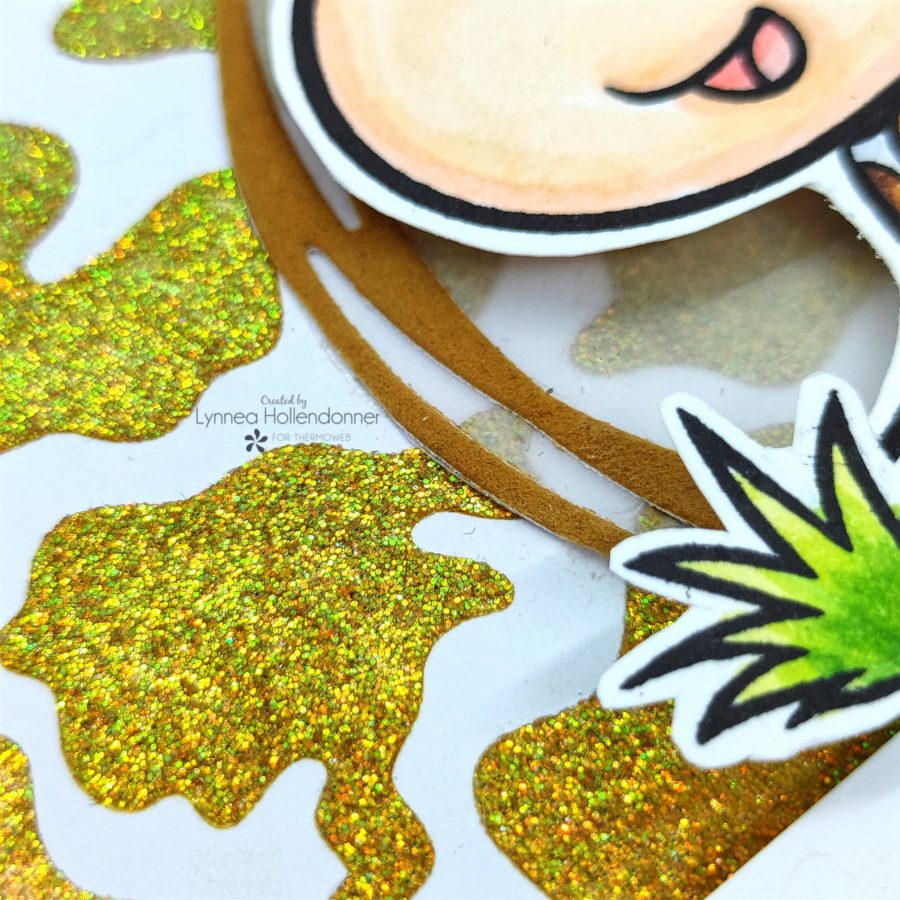
Gold Cow Card with Glitz
While the background dried I worked on my images. I stamped the ADORABLE cow from the Sassy & Crafty Have a Cow Stamp Set – and I have a tip in my video for getting crisp, dark black lines for your stamps! I colored them with Copic markers – one cow with brown spots and one with black spots to match my backgrounds – and cut them out with scissors.
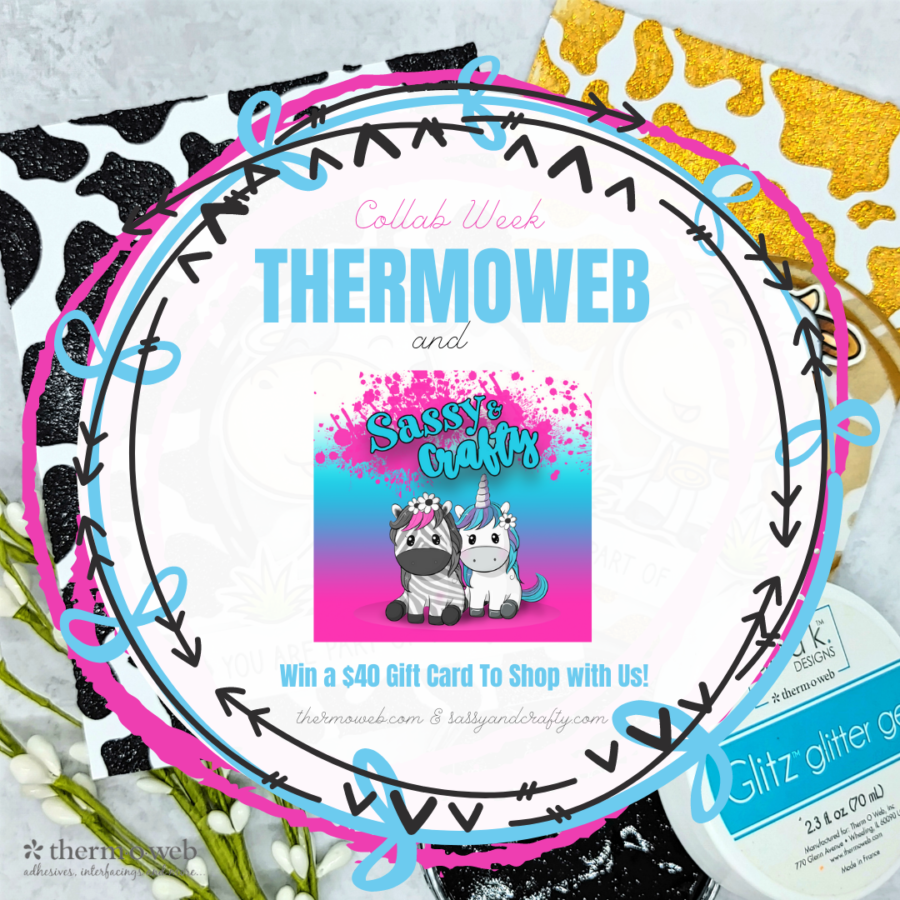
 One thing we know is it wouldn’t be a collaboration without offering you a chance to win some goodies! We’ve teamed up with our friends at Sassy & Crafty to give you a chance to win a $40 Gift Card to shop with them and with us! Just follow the entry steps and you’ll find the more you do…the more chances you get! So be sure to maximize your entry! And once you’ve completed the steps, do visit Sassy & Crafty to see the projects from their talented team of designers and enter to win there as well! Someone is going to WIN BIG!
This post contains affiliate links. For more information, see our disclosure HERE.