


 Welcome everyone!
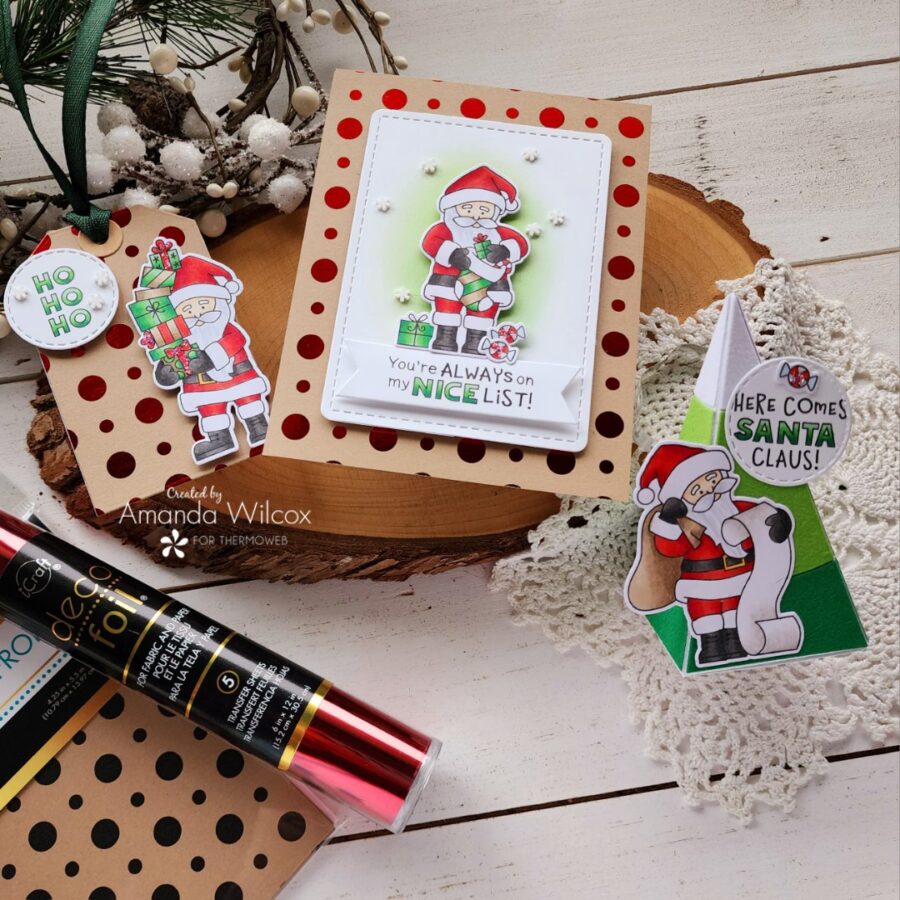
This is Amanda from Twiddler’s Nook to start off our Santa theme week. Today I have a trio of projects for you – a card, a tag and a cute box to finish off this great gift set. I hope you enjoy them all!
Santa Cards, Tags and Gift Boxes with Deco Foil
Products used:
Deco Foil – Red Transfer Sheets
Deco Foil Flock – Green Envy, White Latte and Emerald Green
Toner Cards Fronts – lots of dots
Ultrabond liquid glue pen
Easy Tear Tape – 1/4″
Foam squares and tape
Craft & Carrier Sheets
Newton’s Nook Dear Santa stamps and dies
Newton’s Nook Frames & Flags dies
Newton’s Nook Circle Frames dies
Ellen Hutson Pyramid Box die
Ellen Hutson Candy Corn Add On dies
Twiddler’s Nook Embellishment Tray – paw
Twiddler’s Nook Happy Feet clay embellishments
Stickles – stardust
Let’s Make Those Santa Papercrafts
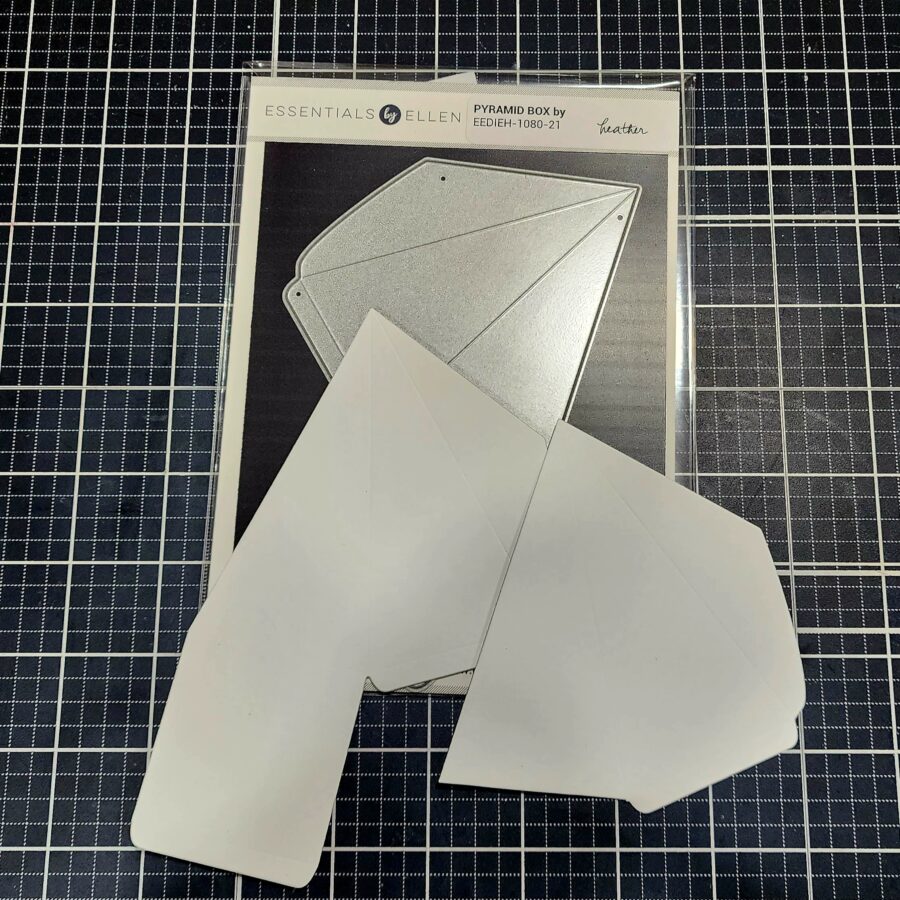
With a solid plan in mind today, I jumped right in to die cutting lots of things first. For the pyramid box you need two pieces and then you trim the flap off of one. See the bottom of the one on the right is missing part. After die-cutting two pieces, just trim that flap off with your scissors.
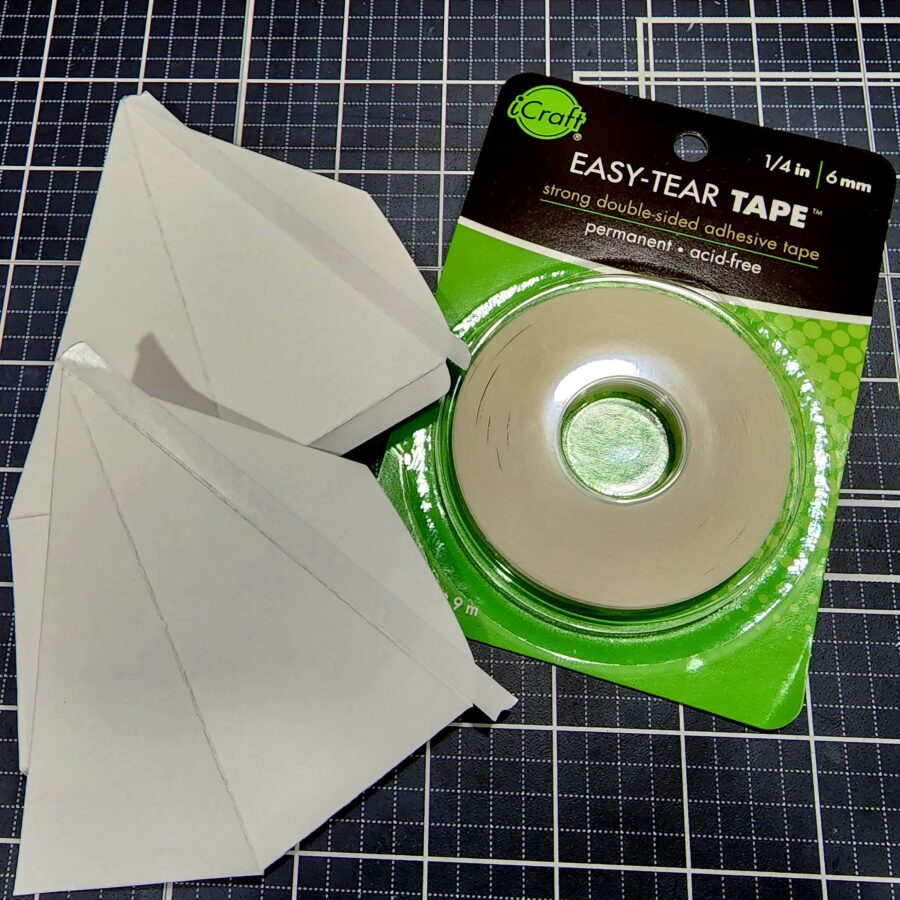
Then score all of your folds really well with a bone folder. This will help your box come together a million times easier. Add your easy-tear tape to the flaps and trim off any excess. For boxes especially, I like to go over the edge on purpose and trim right to the edge to help the box stick together and not pull if there is pressure from the goodies inside.
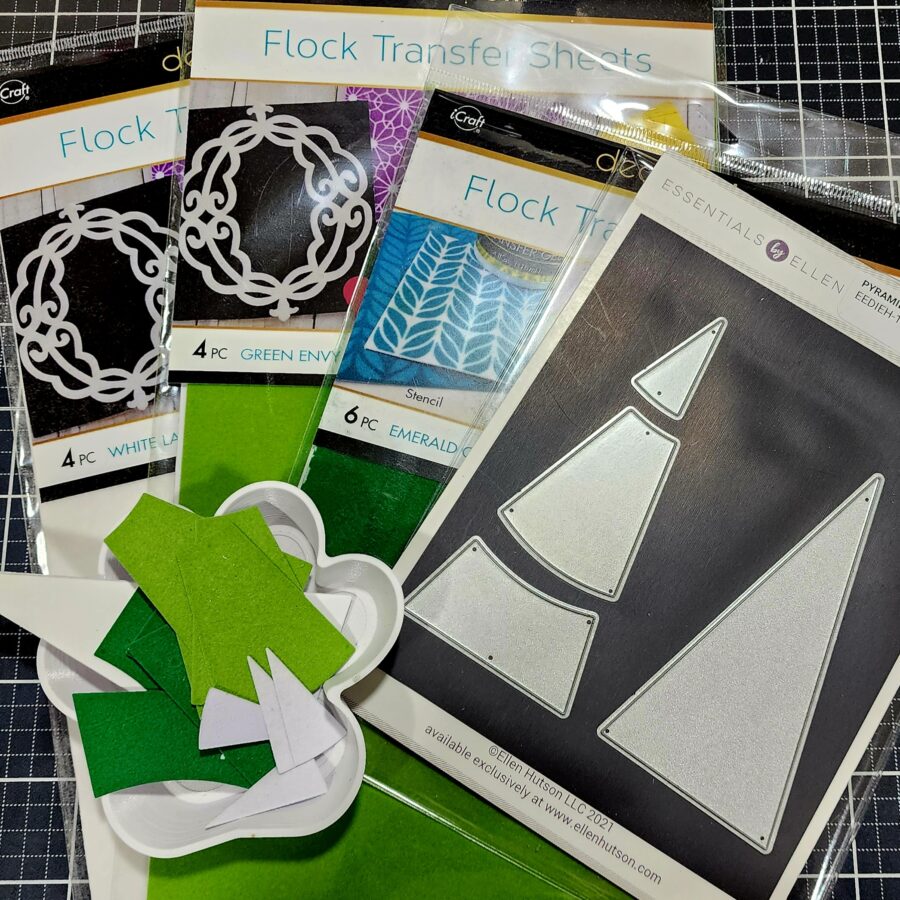
Next, grab your flock and some cardstock scraps to cut and piece together the sides of your box. I cut the solid triangle from white cardstock and the different sections from the flock for a fantastic texture to turn this candy corn into a tree! I used my Ultrabond liquid glue pen to adhere everything together and then added the sides to the box.
Set that aside for now while we work on the tag and card to coordinate together!
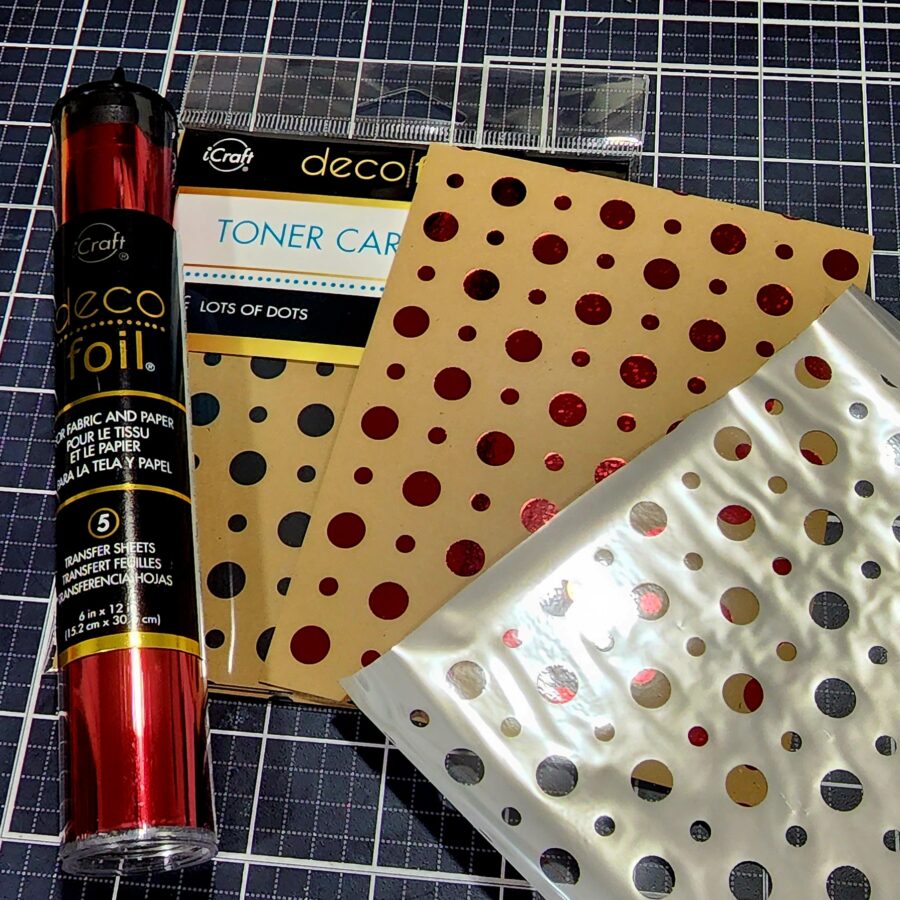
Heat up your laminator, grab your foil, toner card front and a craft & carrier sheet. Layer the foil on the toner card front, inside the carrier sheet and run that through your laminator. I always keep the negative from these to use on solid toner sheets later for a really cool effect too!
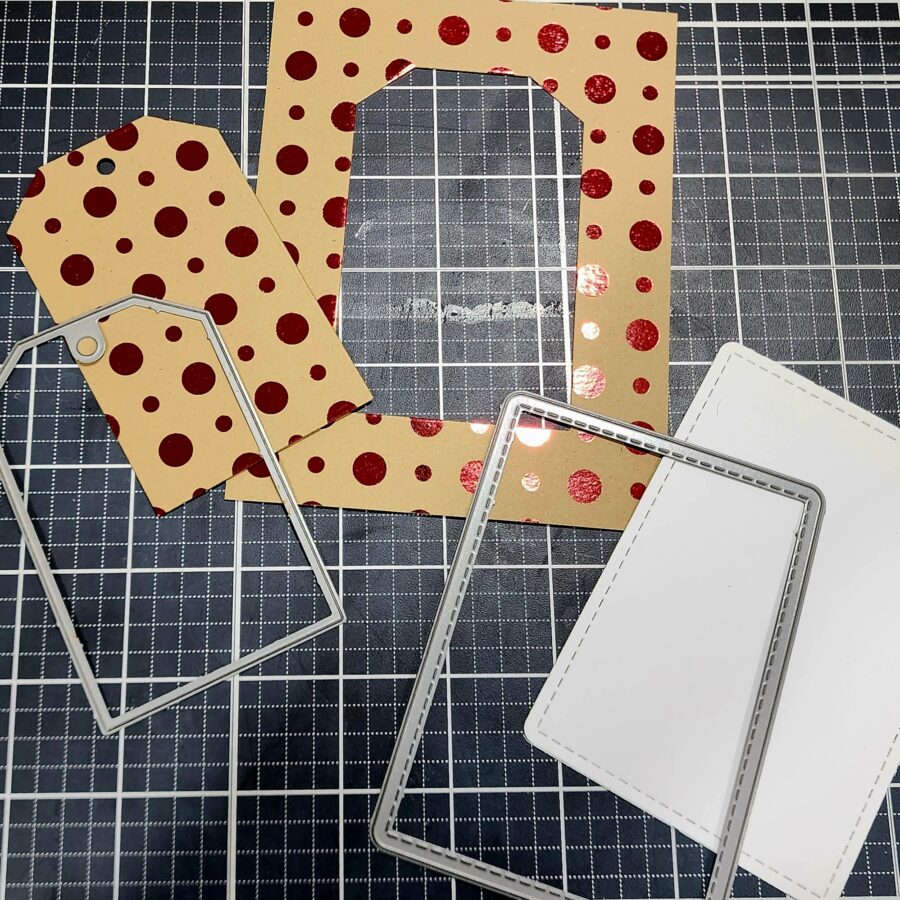
Now, I made this a two-for-one by carefully die-cutting my tag from the center of the toner card front where I will be covering it with a white rectangle. It really stretches your supplies to think ahead and do things like this when you know you’re going to cover something up like pretty foiling or specialty papers.
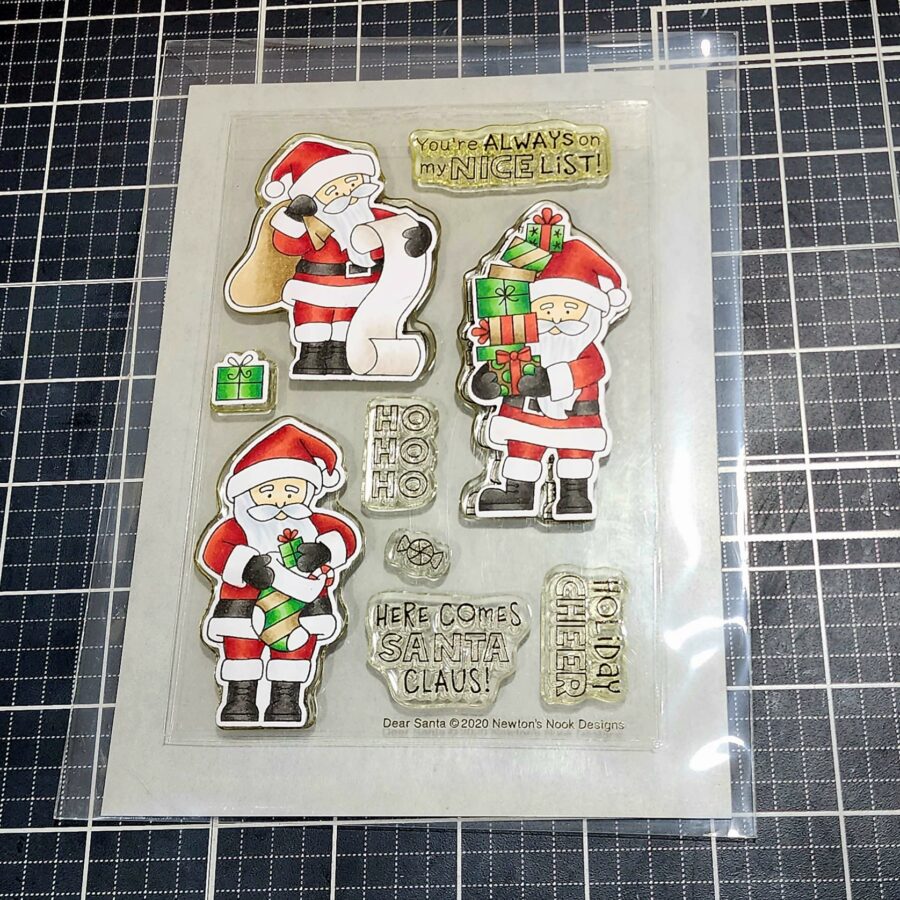
Finally, I stamped and colored the images from Dear Santa and used the coordinating dies to cut them all out. You’ll notice on the finished projects that I came back for sentiments from the set and a handful of those cute little peppermint candies too. Never be afraid to go back and stamp more things if you feel like things are missing.
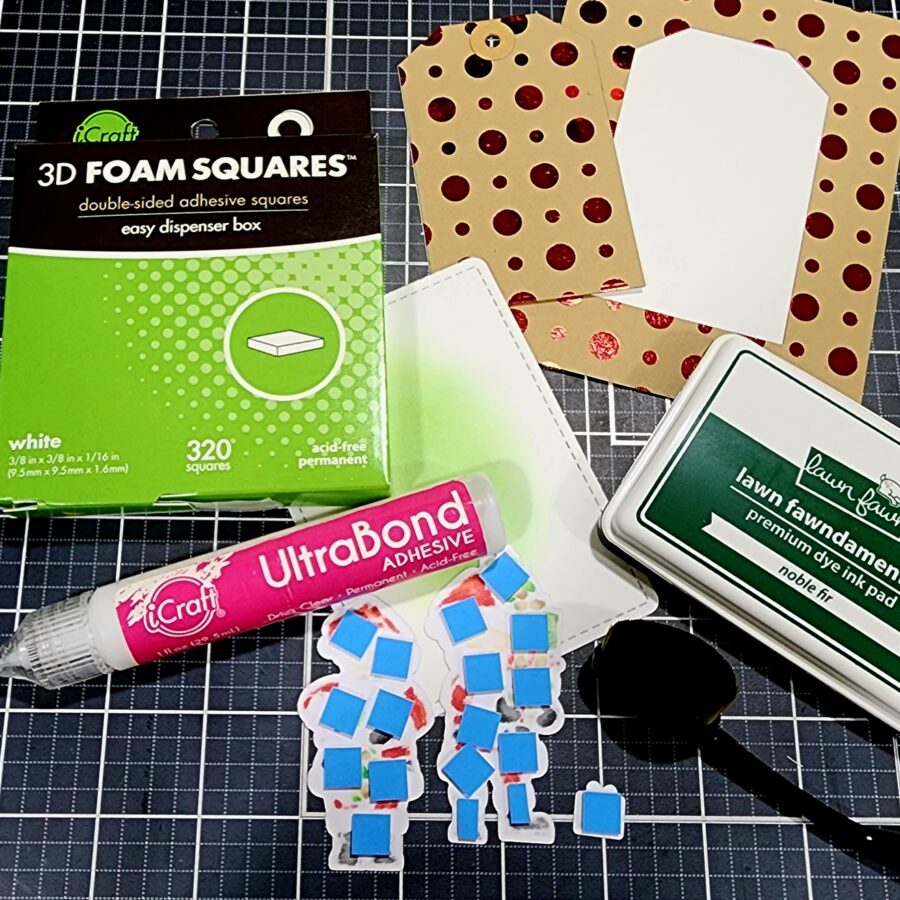
I added a little inking to the center of the white rectangle, glued my toner card front to a white card base and also added foam squares to the images, plus foam tape to the white rectangle. Now we can assemble everything!
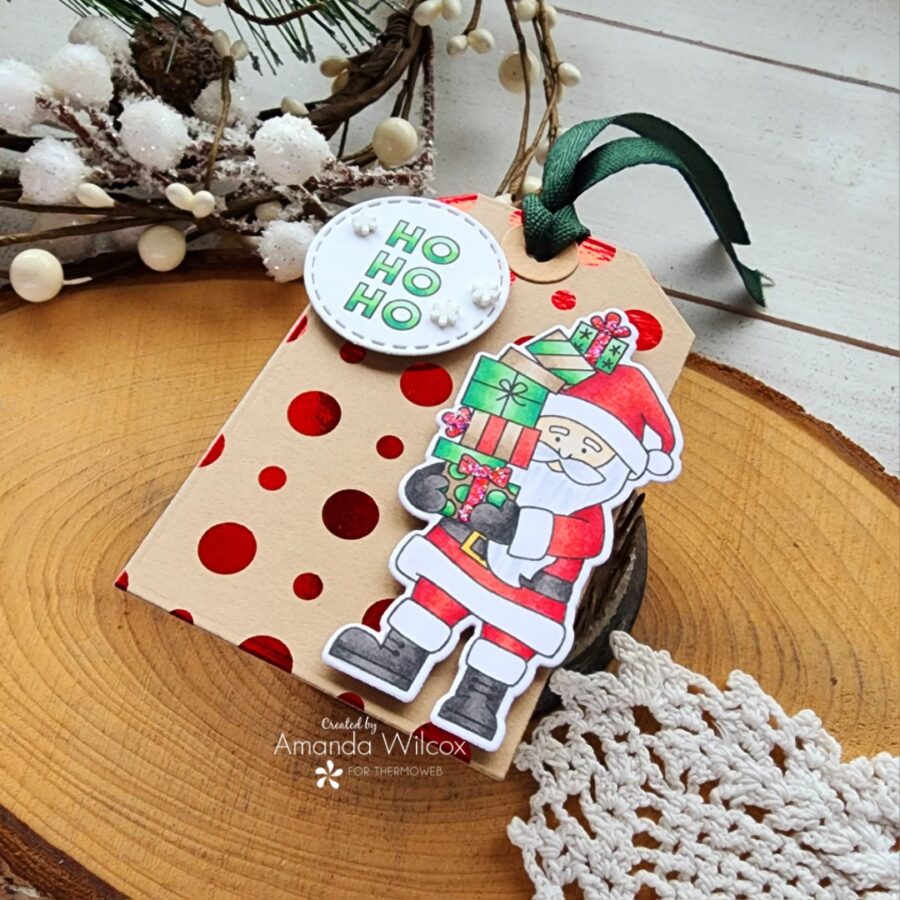
For the tag, I popped up the Santa and the sentiment circle. I also die-cut another tag from white cardstock to use as a backer where I’ll write the to and from with a message. For finishing touches, I added clay snowflakes and a little stardust Stickles to some packages.
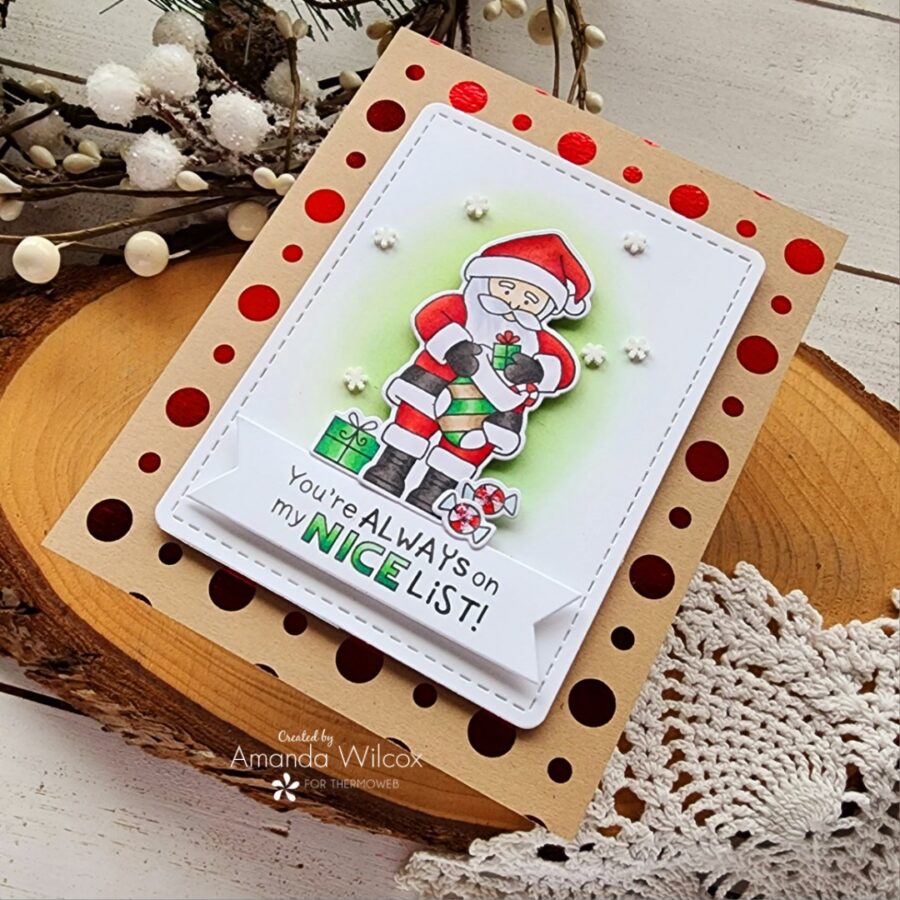
Next, I added my Santa with his package to the inked panel. I was going to directly stamp the sentiment but went back for a banner instead. Then his right side was quite empty so a few peppermint candies were definitely in order.
Finishing touches here are more clay snowflakes and stardust Stickles to the peppermint candies and bow on the package.
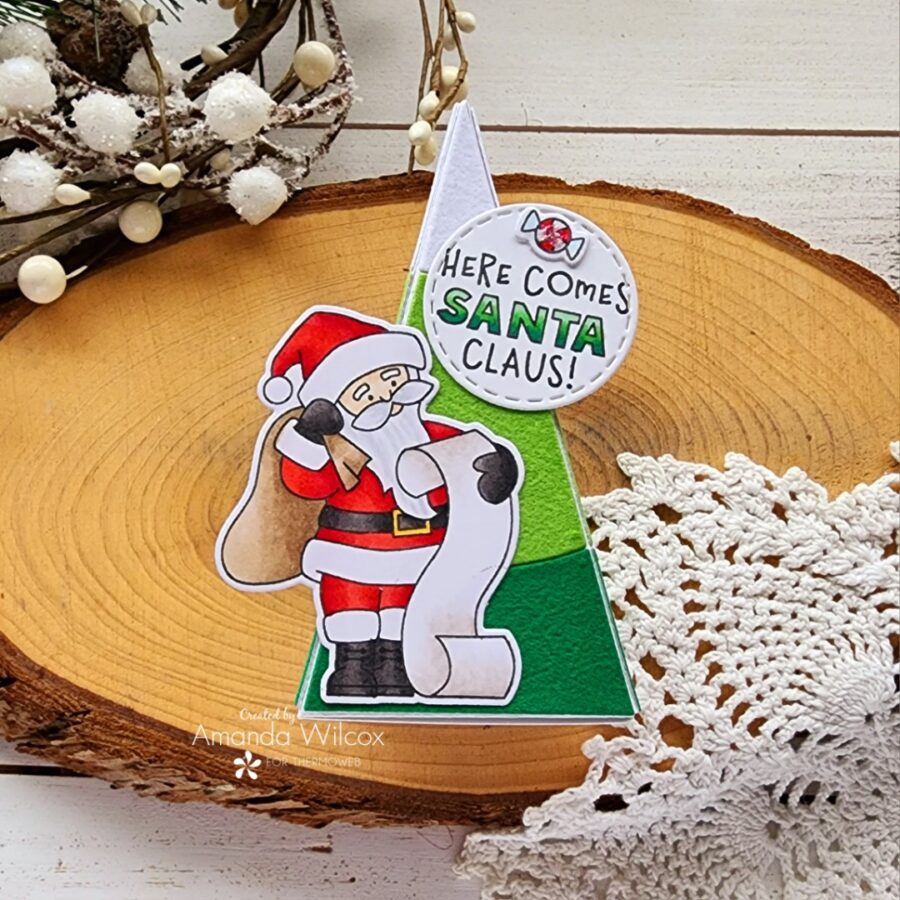
Finally, I added Santa to the fun tree box and sentiment with another one of those sweet peppermint candies too. These adhere with liquid glue directly to the box. Then I added stardust Stickles to the candy once again.
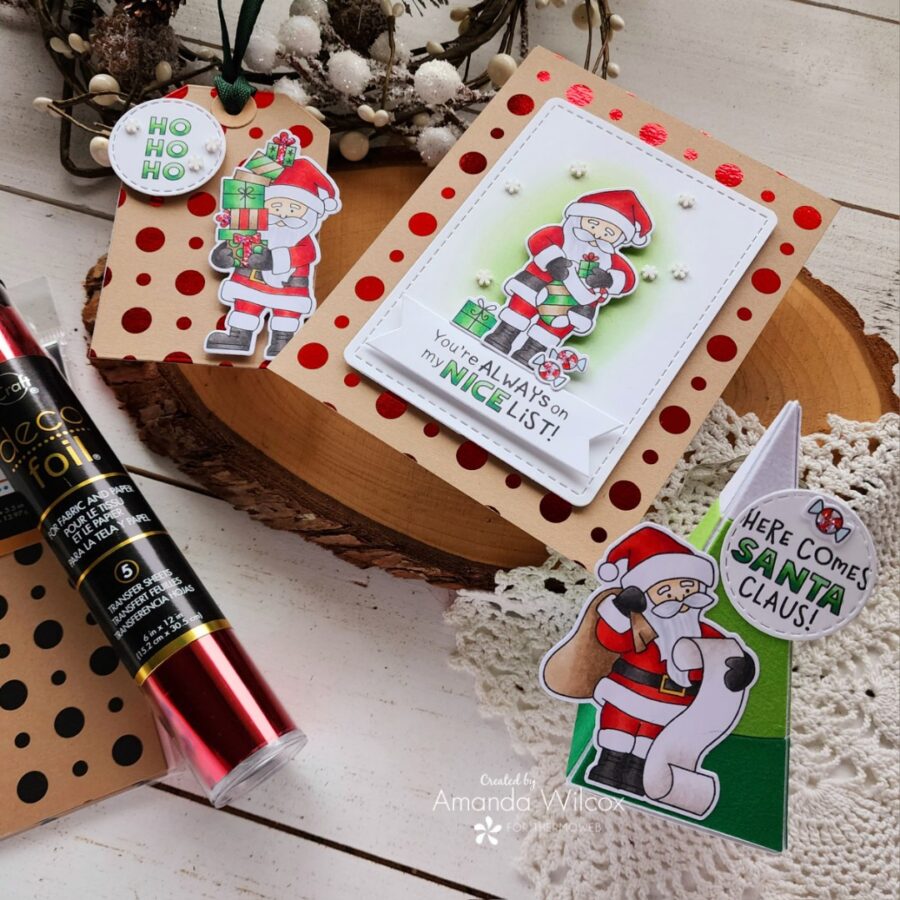
Here’s another look at all of the projects together. I think this is going to be such a super fun set to give to someone special for Christmas! The box will have candies, the card a special message and the tag will be tied to a green gift bag with their gift inside.
I appreciate you sharing your time with me. Have a fabulous day!