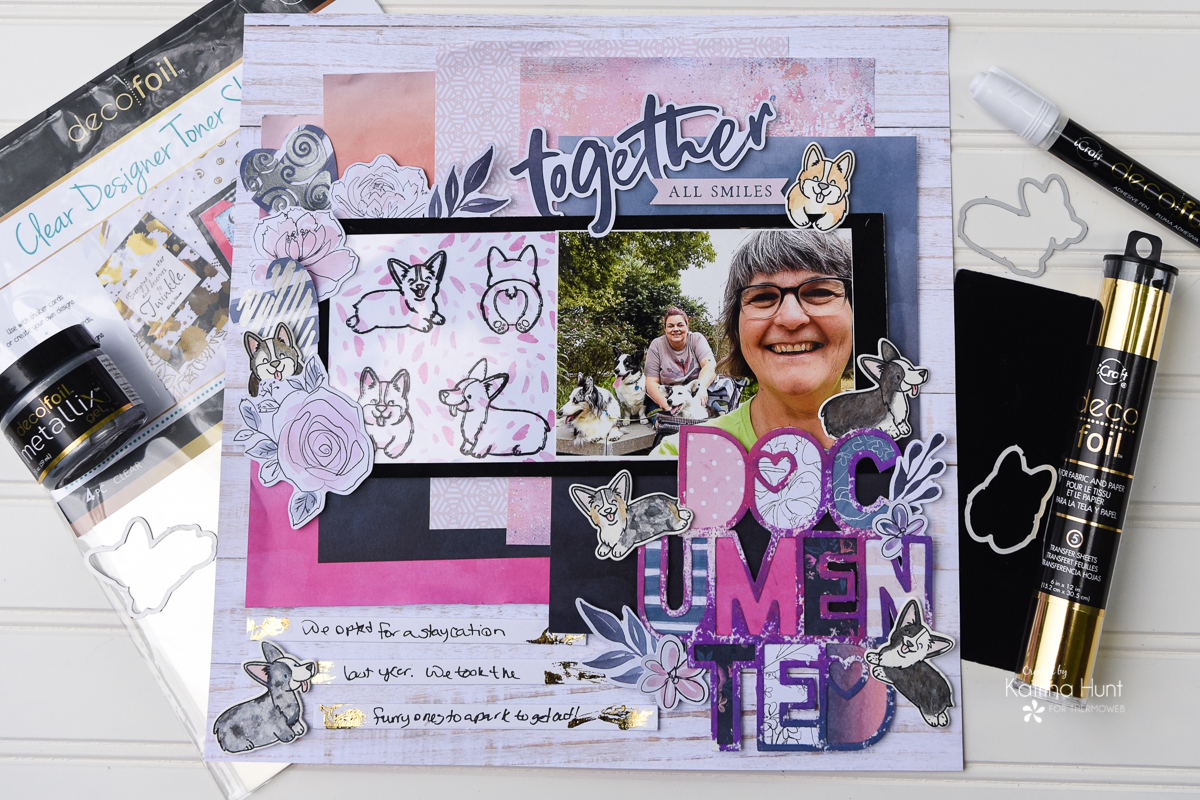
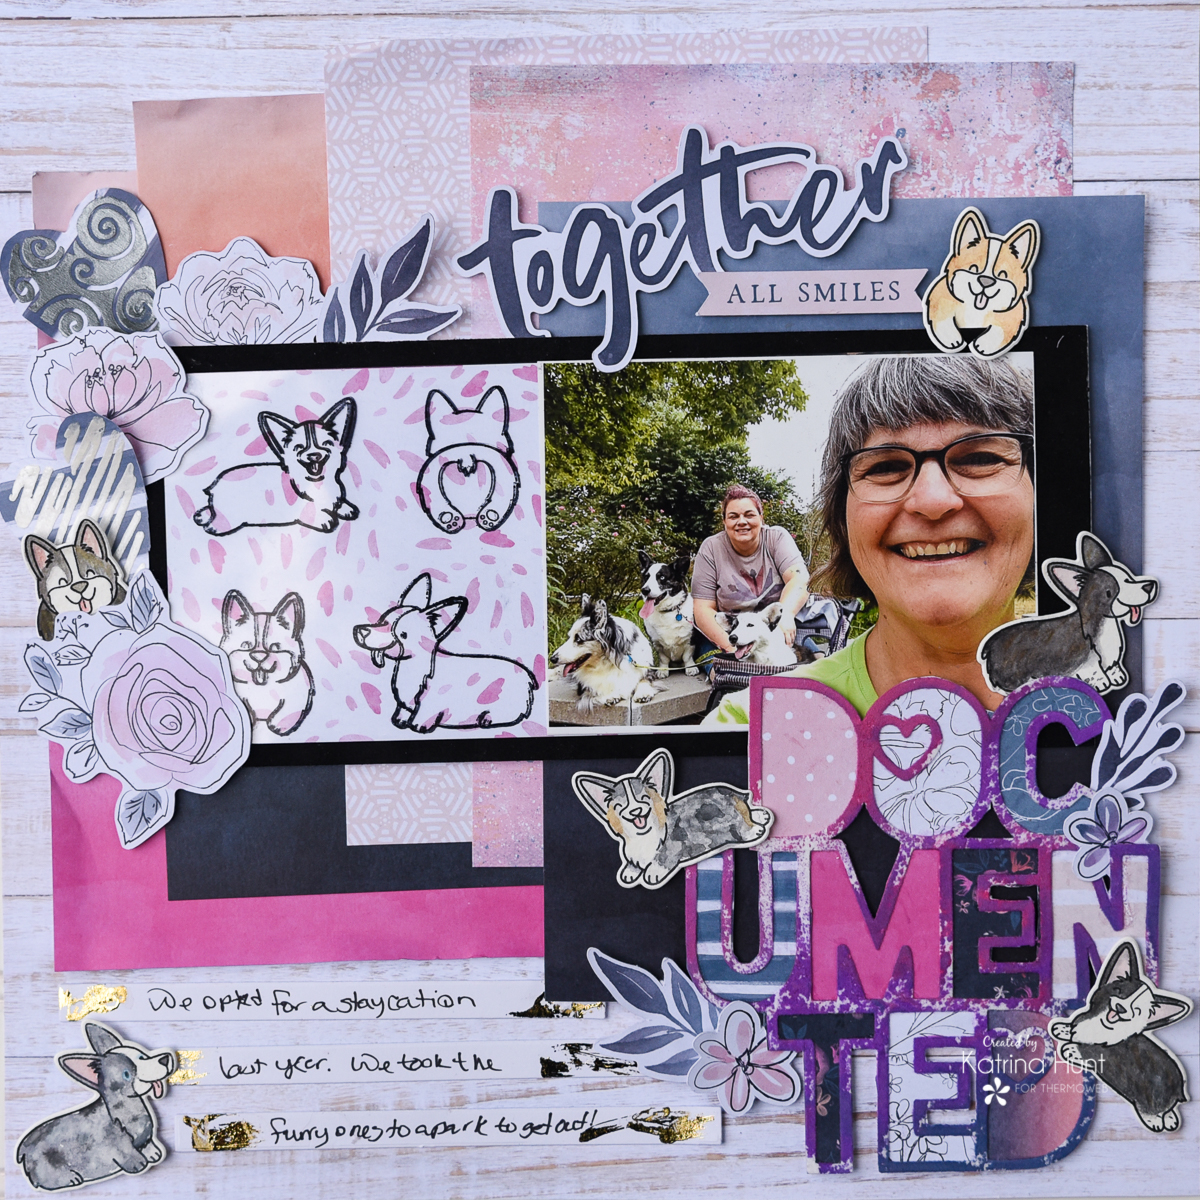
Yippee!! It’s Katrina from Paper, Scissors and Glue today here on the blog to share a layout using some fun Heffy Doodle stamps and die. Not to mention, pairing them up with Deco Foil products and how much fun that was!
Therm O Web Supplies Used:
Deco Foil Foam Adhesive Sheets
Therm O Web Memory Runner XL
Therm O Web 3D Foam Squares-1/2 inch
iCraft Easy Cut Adhesive Sheets
iCraft Deco Foil Metallix – White Pearl and Pewter
Deco Foil Flock Transfer Sheets-Black Velvet and White Latte
Deco Foil Stencil Pal
Deco Foil Adhesive Pen
Deco Foil Transfer Sheets-Gold
Deco Foil Clear Toner Sheets-Clear
iCraft Purple Tape -.5 inch
iCraft Ultra Bond Liquid Adhesive
Therm O Web Adhesive Pick Up Square
Therm O Web Zots – Medium
Heffy Doodle Items Used: Oh Crumbs Stamps and Dies and Strips of Ease Heffy Cuts
Other items used: Daniel Smith Watercolors; Misti Stamping Tool; Princeton and Escoda (watercolor brushes); Stazon Ink; Cocoa Vanilla Paper and Die Cut Collection-Midnight; Distress Oxides Sprays; Silhouette Cameo with cutting file by Cut to You.
Reverse Stamping with Clear Toner Sheets
Begin stamping by placing stamps on a stamp platform and putting into an arrangement that is pleasing for a pattern effect. Next, cut a piece of the clear toner sheet the size you have determined that you want to use and place in stamping platform to hold in place. Ink stamps with Stazon Ink (this is a specialty ink that will stamp on non-porus items, like the toner sheets) and stamp images. You may or may not have to stamp more than once for each pattern, depending on how juicy your stamp pad is.
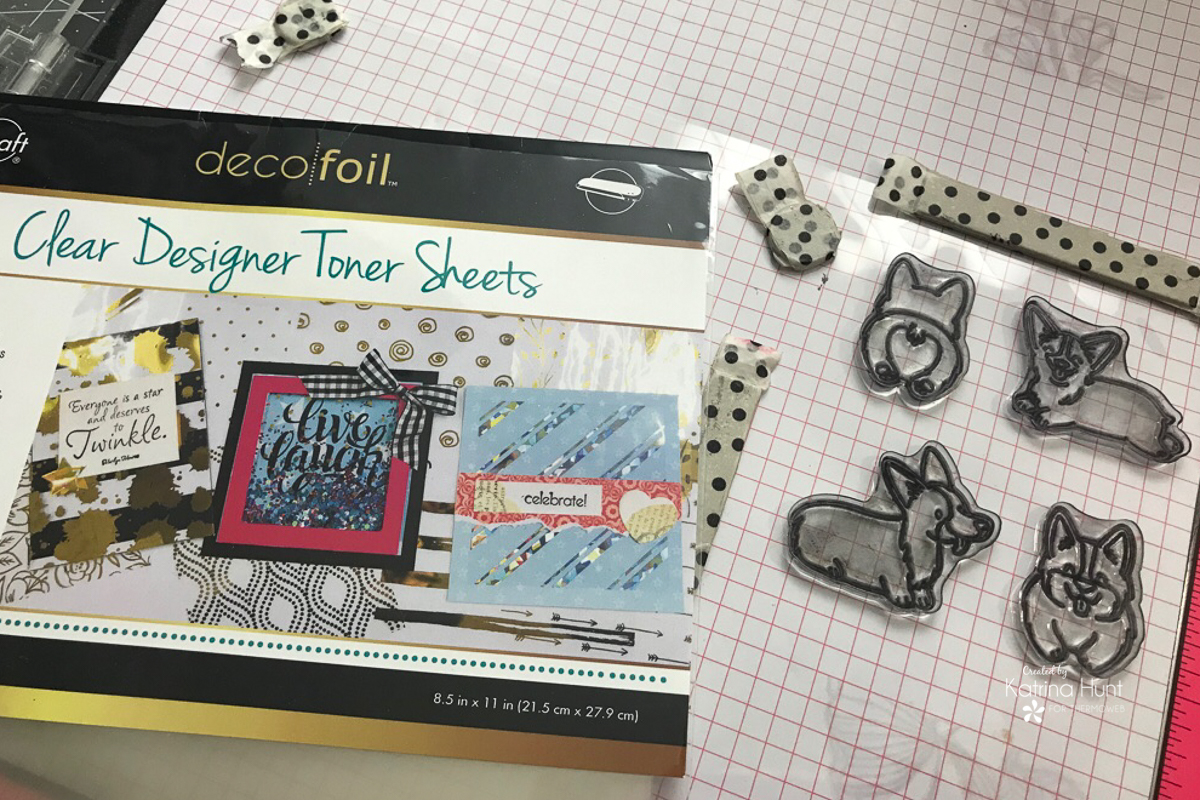
Once you have your images stamped one time, clean stamps very well and let dry. Also, make sure the images that you just stamped are completely dry, or they will smear. It may take a few minutes. You will then flip over your clear toner sheet so that the images you just stamped are backward facing to you. You can see in the image below the words “oh crumbs” is reversed. Then, arrange your stamps into your pattern again just past your already stamped images. Ink your stamps and stamp again.
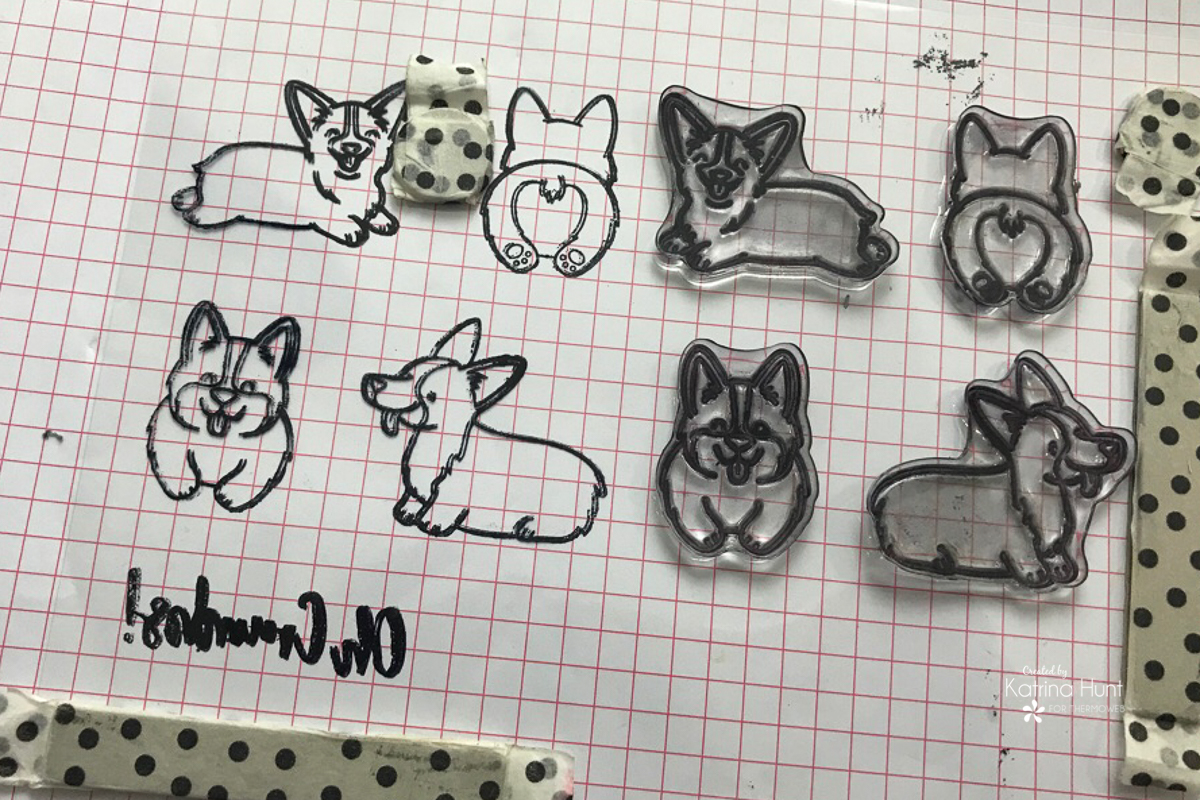
By doing this, you will be stamping on both sides of your clear toner sheet and your images will be reversed. This gives you more options with your stamps! I only used a section and saved my other section for a project later.
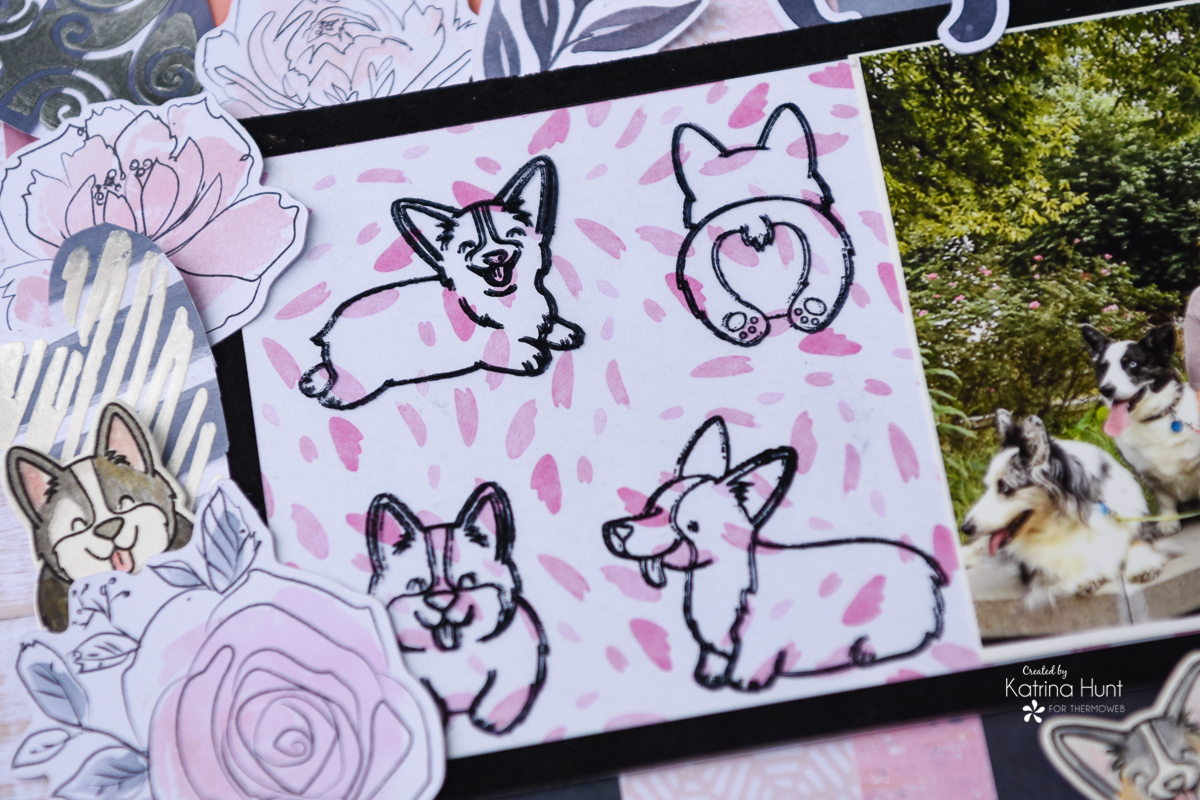
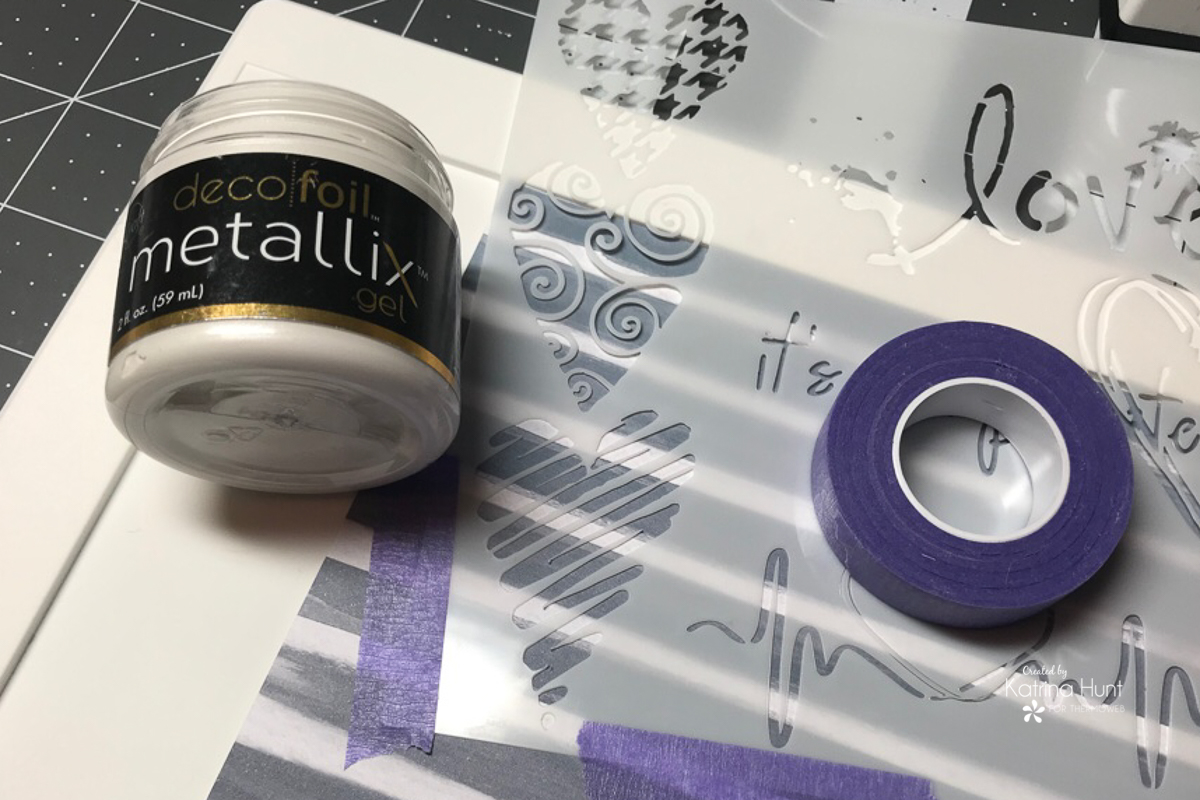
Now you can begin creating some unique embellishments by stamping the images on watercolor paper and coloring them or by using the coloring methods of your choice. In addition to the stamps, you can use stencils to create backgrounds or decorate hand cut embellishments using the Deco Foil Metallix Gel. I happened to have these heart stencils, so I used the Metallix Gel on them and then just hand cut out the hearts to tuck into embellishment clusters.
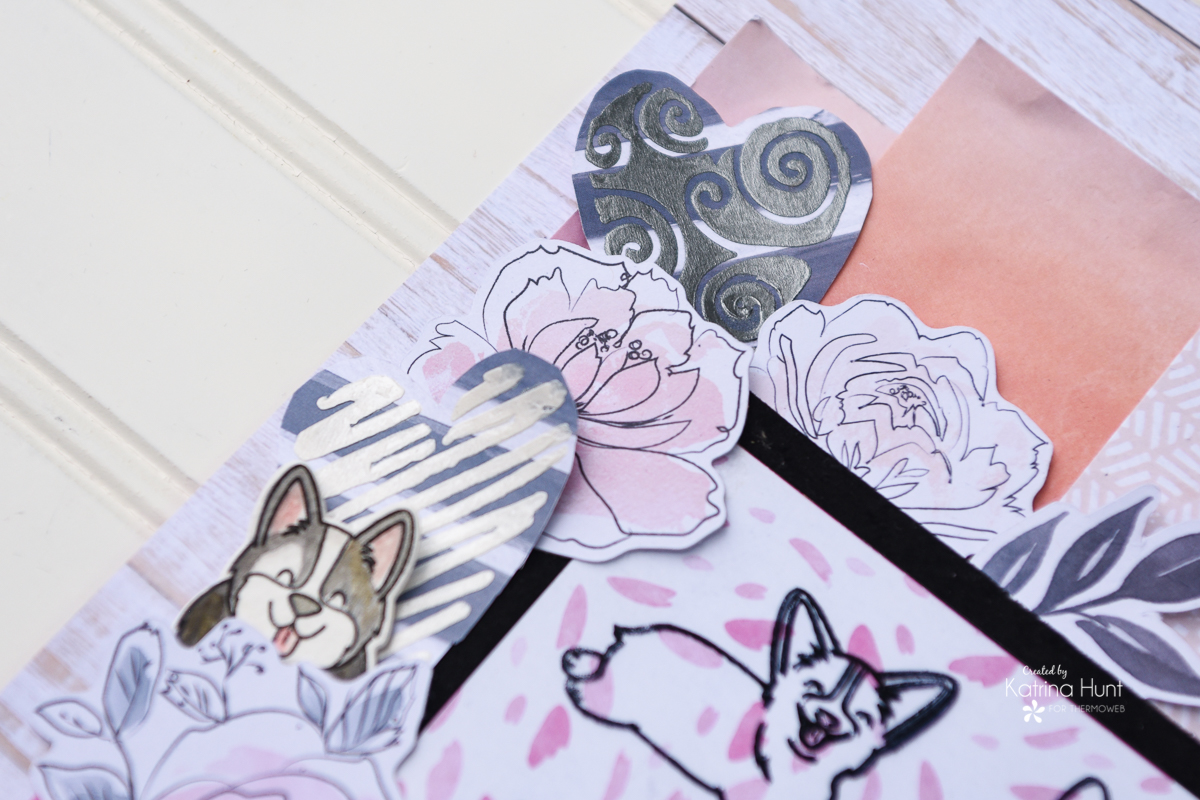
As can be seen, the Pewter Metallix went so well with the paper collection I had to use it on a heart also. NOTE: All embellishment clusters are using the 3D Foam Squares or Strips to adhere to them and give them dimension to the page.
 Fun With Flock Time
Now it’s time to work with some Deco Foil Flock Transfer Sheets! I will have to say, these sheets are so much fun to work with and the key, without making a big mess.
First, determine how big of a mat you will need behind your picture area. Mine was approximately 5×8 inches. Keeping this size in mind, cut a piece of Deco Foil Foam Adhesive the size you need, a piece of the flock transfer sheet, along with a piece cardstock the same size. Adhere the foam adhesive to the cardstock first, by removing the protective covering on one side of the foam and adhering to your cardstock. To apply the flock, remove the protective covering from the front of the adhesive foam and lay the flock transfer sheet, flock side down facing the adhesive. Next, run this thru a manual die cutting machine. Now, you will carefully peel away the flock transfer sheet, making sure the flock transferred to your “mat”.
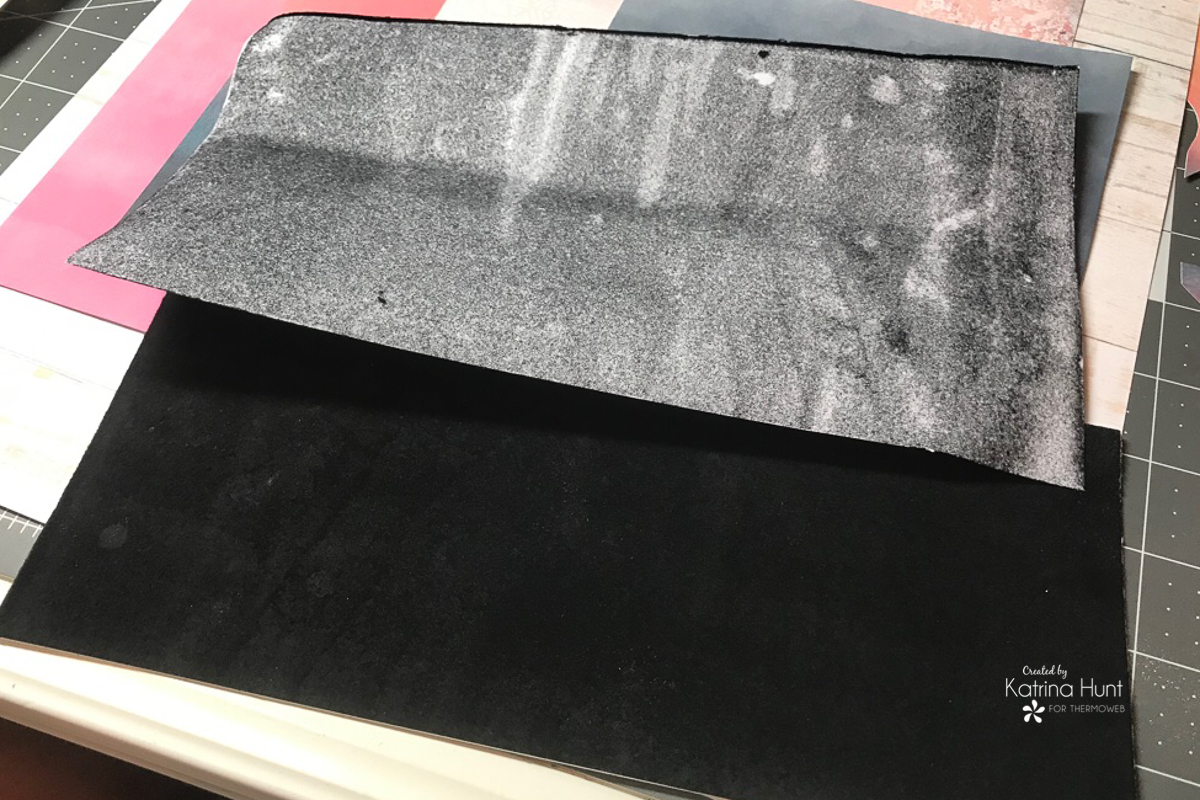
As you can see above, the flock easily transfers to the foam adhesive without the mess! NOTE: You will need to use liquid adhesive, like the Ultra Bond Liquid Adhesive to adhere any items to the flocked areas.
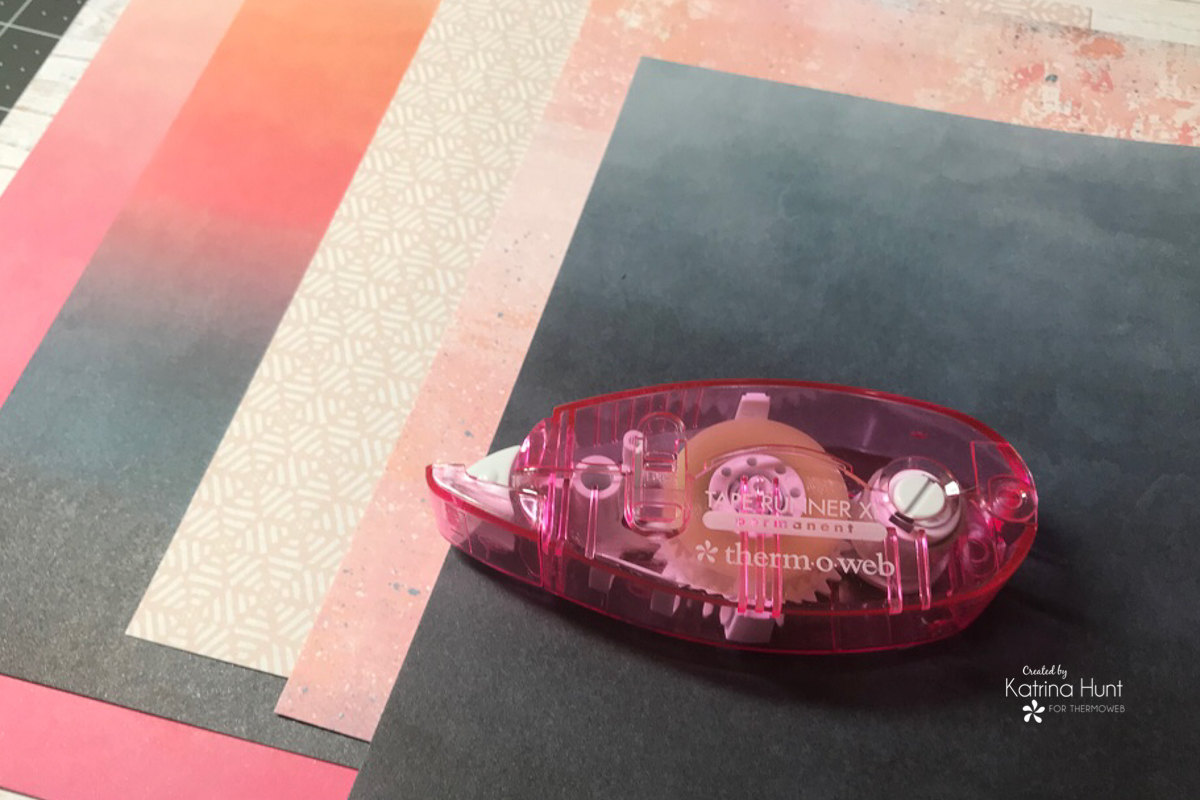
Time to move on to building your layout. Create layers in a pleasing pattern and adhere with the Memory Runner XL. Together, with various adhesives and embellishments, continue adding items until you get a look for your layout that you like.
In addition, we need to create the title. Large die cuts are some of my favorite types of titles and backing them with pattern paper makes a unique embellishment for your layout. So, I thought it would be fun to do a flocked title in white and then make it multicolored!
Begin by picking out a cut file and sizing it to the size you need for the area you are going to place it in. Next, cut a piece of cardstock big enough to fit your title and then cut a piece of the Easy-Cut Adhesive sheet the same size. Then you will apply the Easy-Cut Adhesive to the cardstock, by removing one side of the protective covering. (Make sure to leave the other side on.) An easy way to do this is to get the adhesive started and then smooth out with the Stencil Pal tool. It will help to even out the adhesive and break up air bubbles, etc. You could think of it as apply contact paper or wallpaper and smoothing it out!
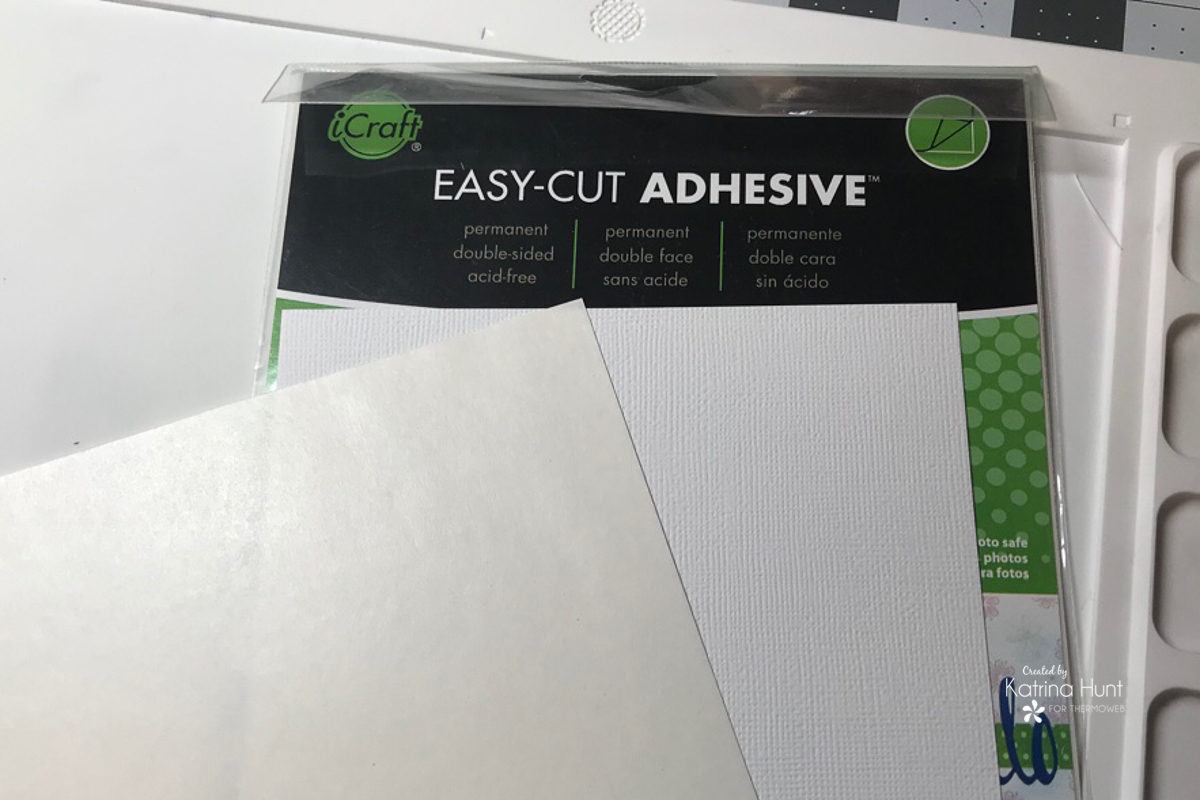
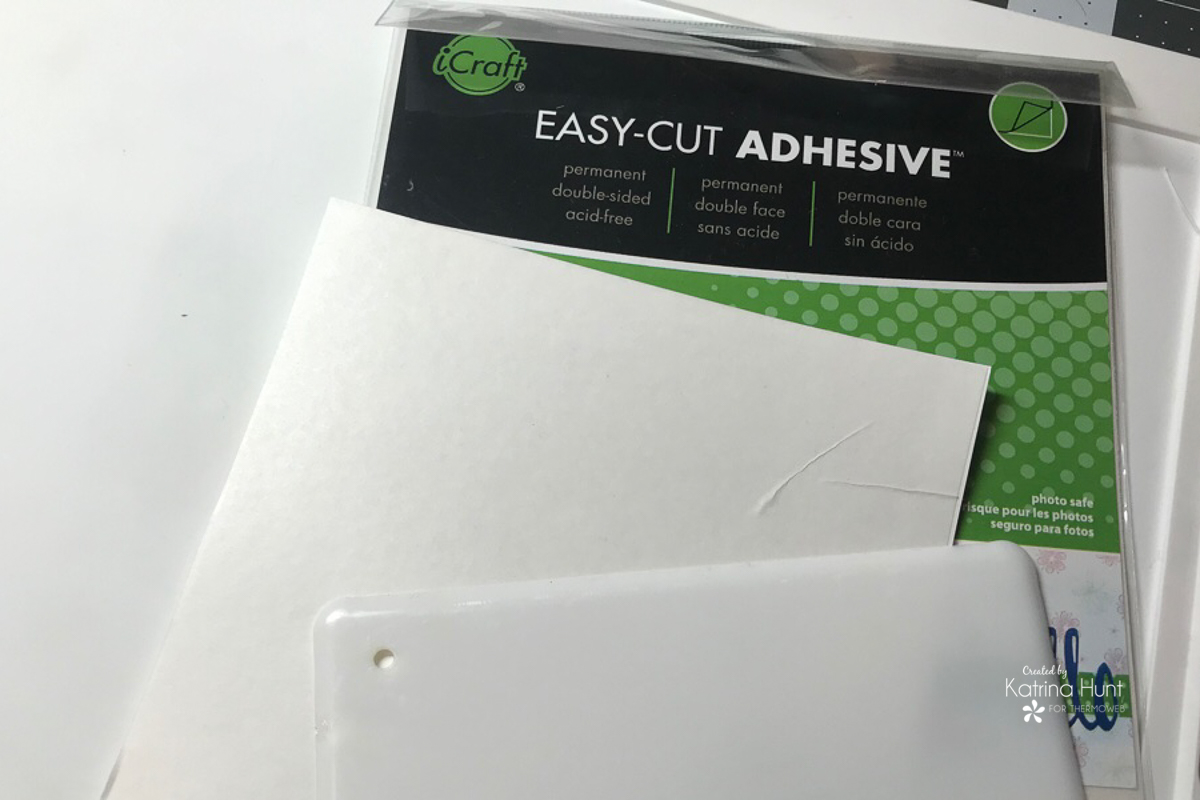
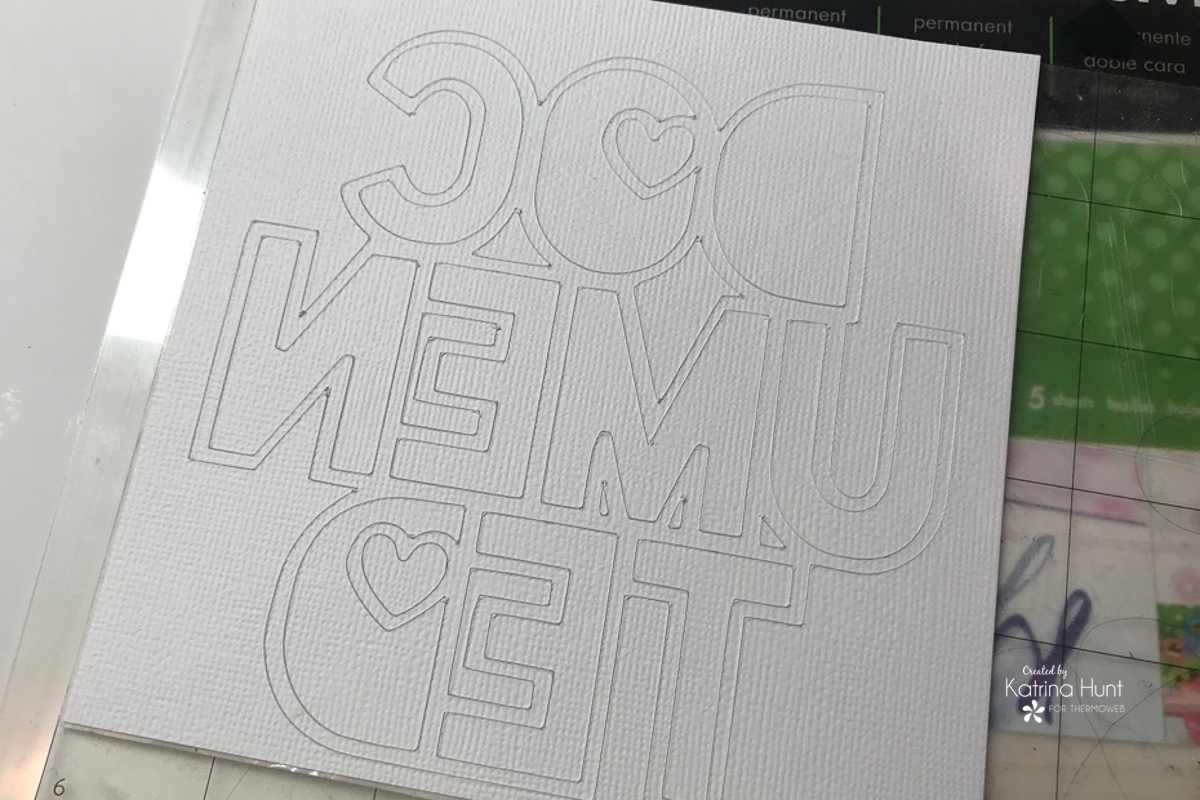
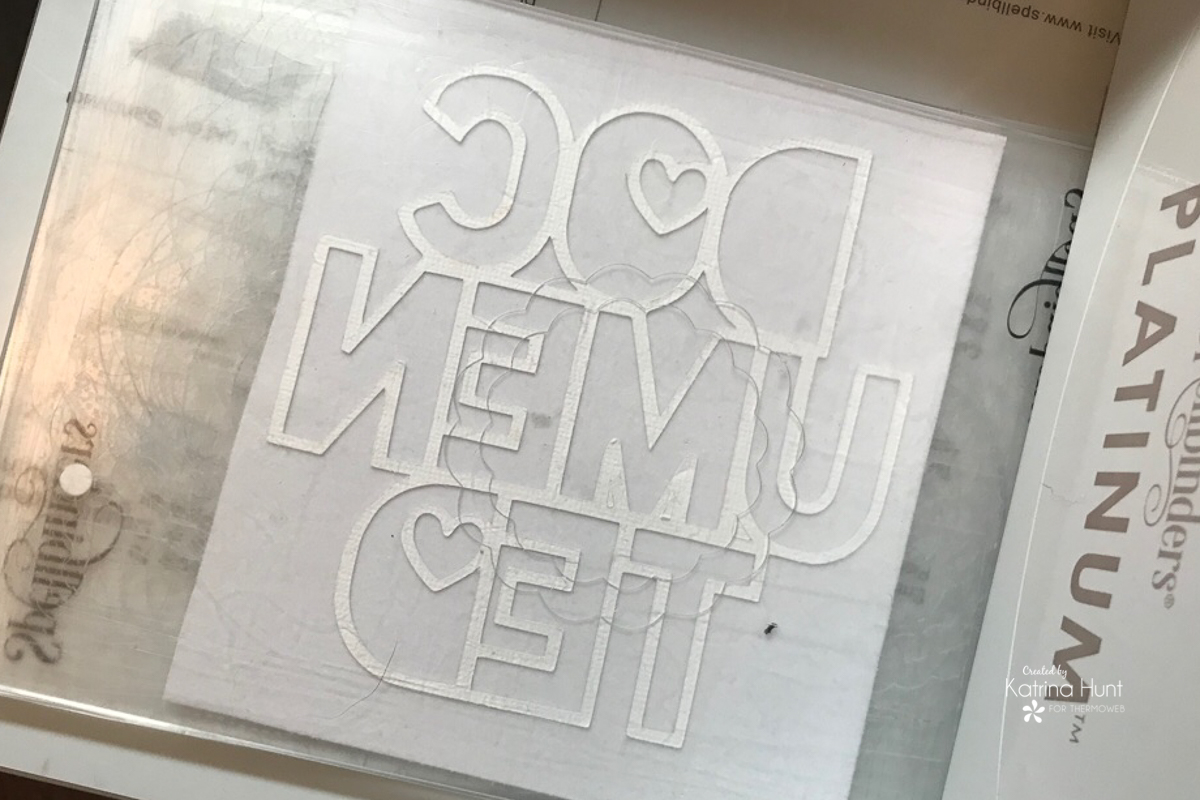
As soon as you have your adhesive covered cardstock, you will cut your title out from it. One thing you have to remember is which way your cut is going to cut on your mat. I placed mine with the protective adhesive cover laying on my mat, with the cardstock side facing up. This meant that I had to reverse the cut file by flipping horizontally. You can see this in the picture below.
Deco Foil Flock
Once you have your cut file, carefully remove it from your mat, weeding the extra bits and bobs that are the cutaways. Once you have your cut file weeded, then carefully remove the protective covering for the adhesive. Lay your white flock, flock side down to the adhesive side of the die cut, and run it thru your manual die cutting machine to apply pressure to it. Carefully peel off the flock transfer sheet.
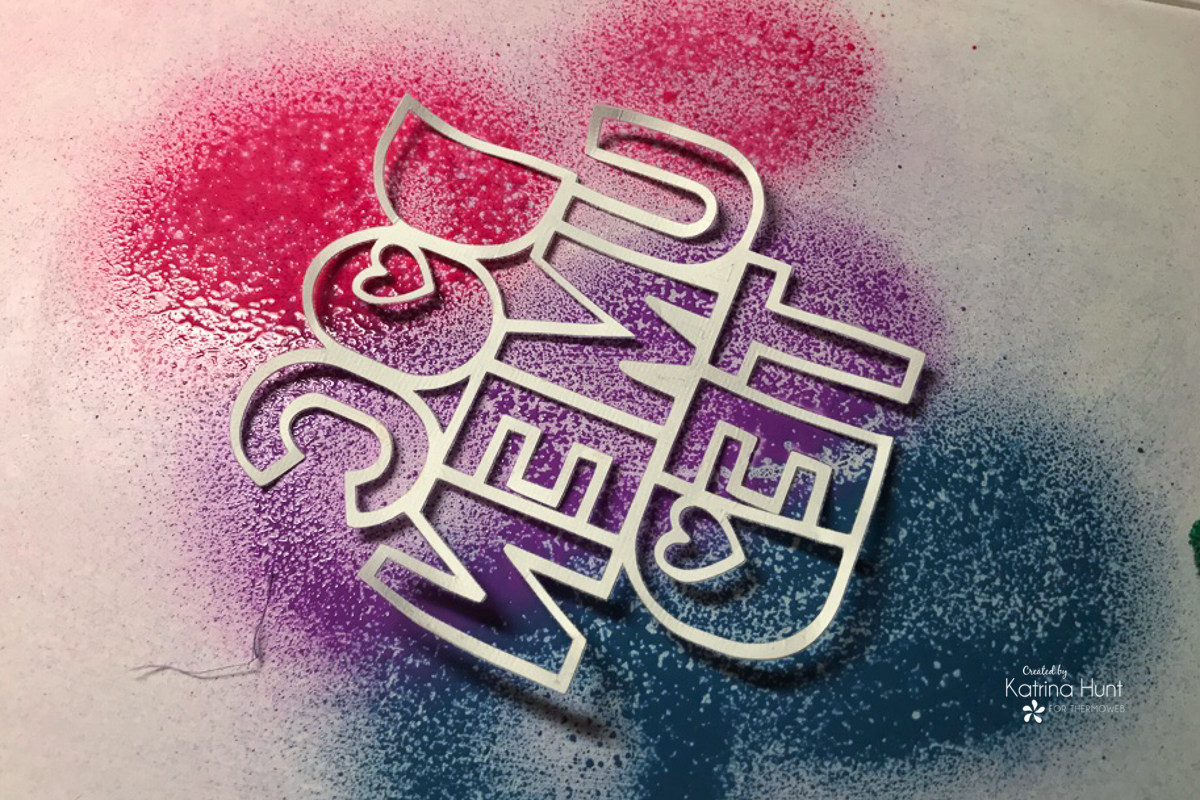
After you have flocked your titled piece, then it’s time to color it. Pick out some mists, I used Distress Oxide mists and spray them on a mat. Lay your title flock side down in the mists and then smash it into the mist a little. Then lift it up. You can either let this air dry or you can use a heat tool, but the die cut needs to be dry before moving on to the next step.
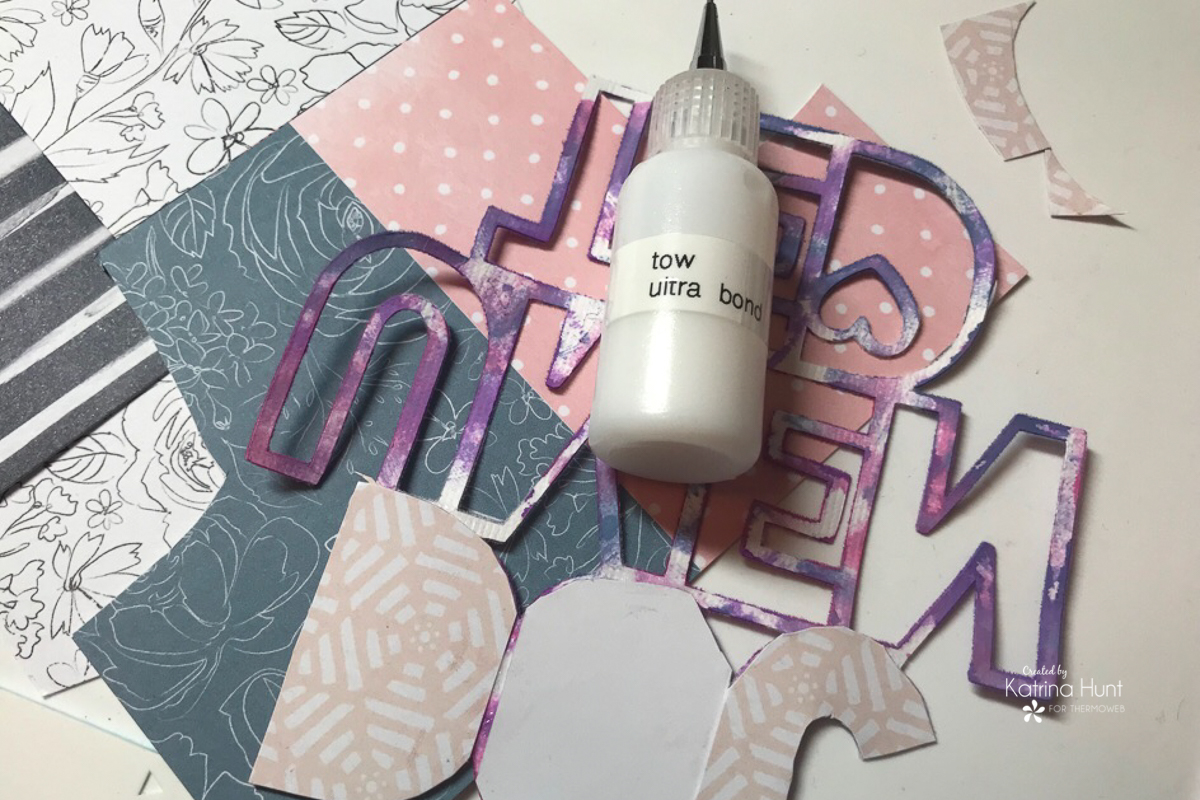
After die cut is dry, then you can start backing the openings with different pattern papers. Use the Ultra Bond liquid adhesive to adhere the papers. I transferred my adhesive over to a fine tipped bottle, so that I can do little areas easily and without over applying the glue.
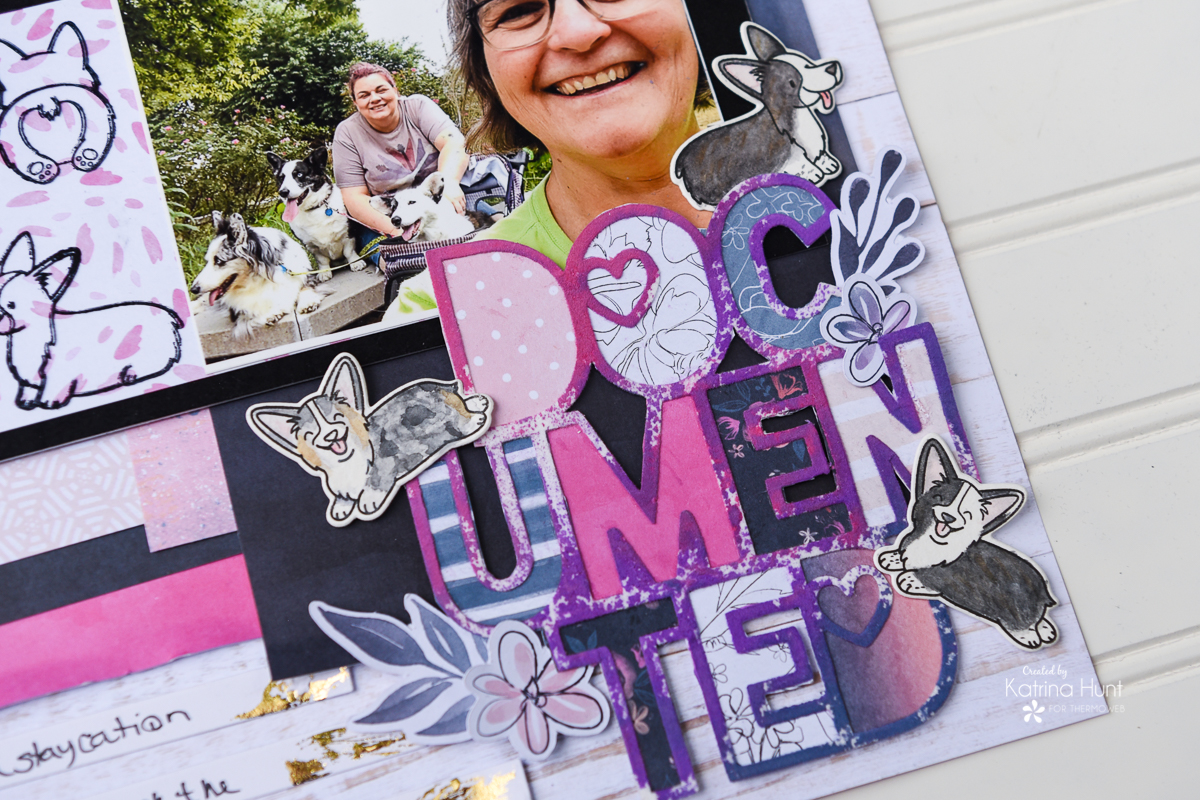
Now look at how fun and unique of a title you have! No one will have one like it!
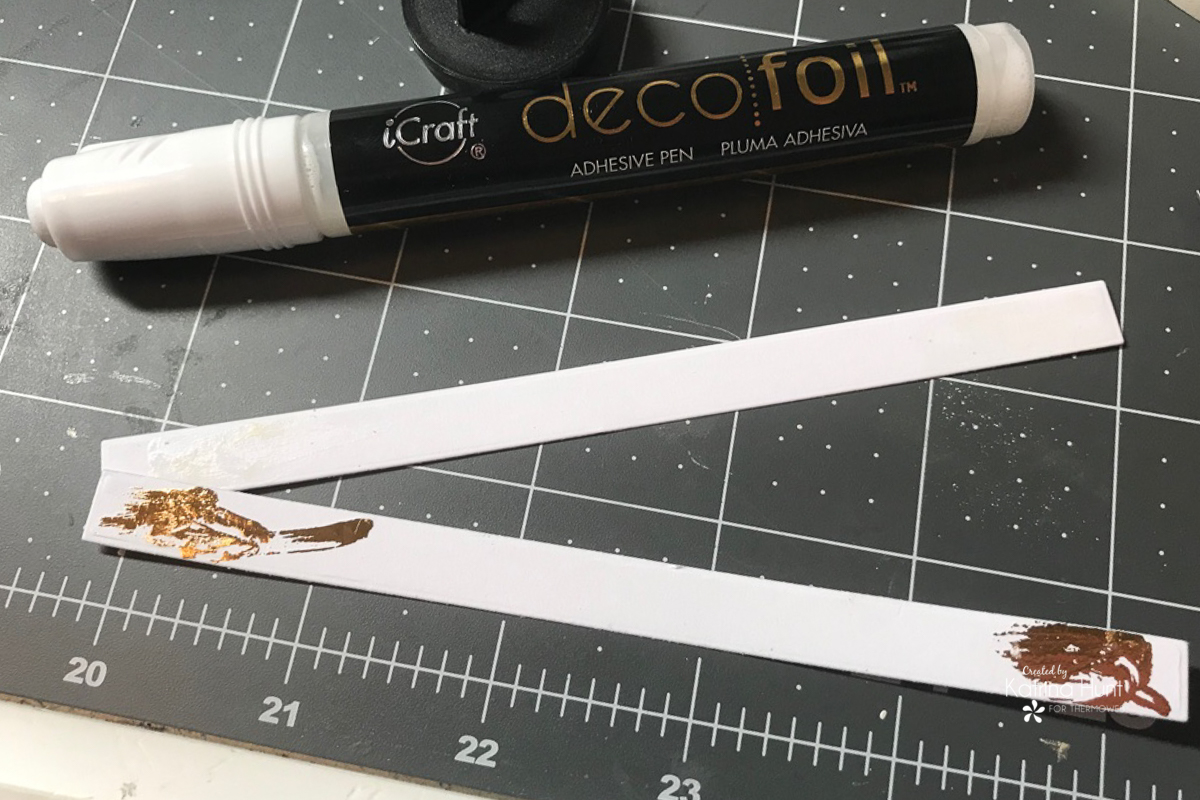
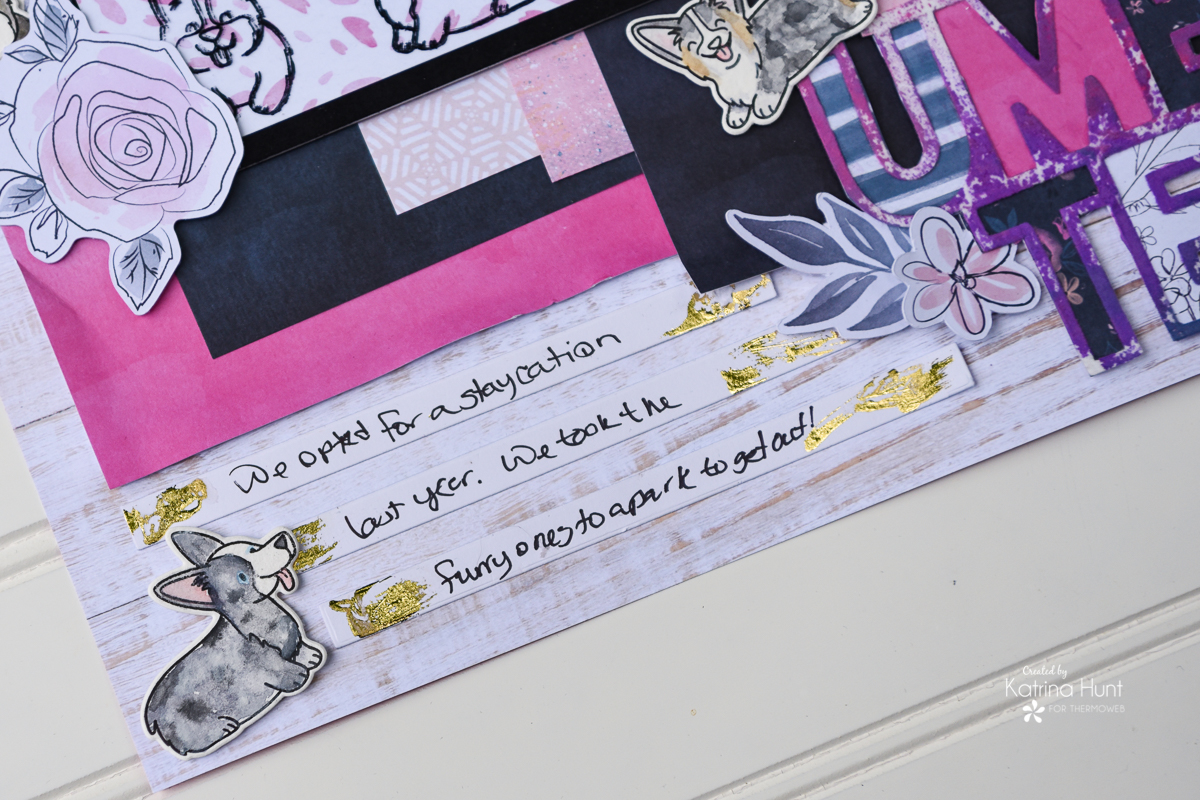
To wrap up your layout, you can either add journaling or not. One of my favorite ways to add journaling is to do strips. The Heffy Doodle dies were made for this! I die cut some strips of white cardstock and then decided they needed a little spiffing up. So I used my Deco Foil Adhesive Pen and applied a small amount of the adhesive on each end of the strip. Let dry about 30 seconds and then take the Stencil Pal tool and rub a gold Deco Foil transfer sheet on the adhesive areas….violia….foil tipped journaling strips!
Whew! This was a long post, but I hope I gave you some ideas on how to customize your layouts with all the fun Deco Foil products, along with getting more out of your stamps and dies! Have a great day!
We hope you loved today’s tutorial and projects! There are so many creative ways to use our Deco Foil products!
If you create something we hope you’ll share with us on Social Media using the #Hashtag #decofoil, #thermoweb as we LOVE to see what you create!! Be sure to stop by the Heffy Doodle Blog as well as their social media during this week for more chances to win!
Speaking of chances to win…we have one right here for you to enter. The more steps you do…the more chances for you to win with us! You can pick your own prize too…so select from our Deco Foil products, Gina K. Designs and so much more!

Lori Smanski
June 11, 2019 at 2:19 pm (6 years ago)some wonderful ideas. thank you. and those stamps are so sweet
Denise Bryant
June 11, 2019 at 2:46 pm (6 years ago)Cute Corgi stamps! And I love the look of the flock… pretty color and texture!
Sue D
June 11, 2019 at 9:23 pm (6 years ago)What a fun dog layout.
Marisela Delgado
June 12, 2019 at 7:20 pm (6 years ago)so cute