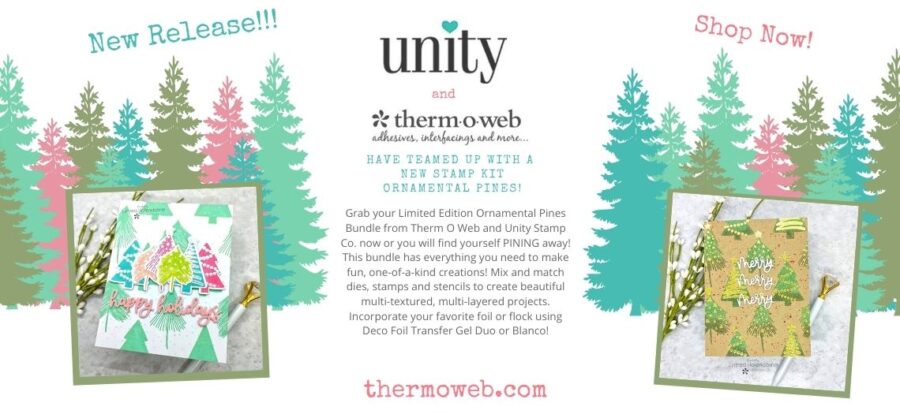
 HEY HEY!!! It’s looking like some Christmas fun and games on the blog here today! It’s Katrina from Paper, Scissors, Glue and Hybrid Too sharing a layout with the NEW Unity Stamp Co. Ornamental Pines Stamp, Stencil & Die Bundle!
Reindeer Games Scrapbook Page
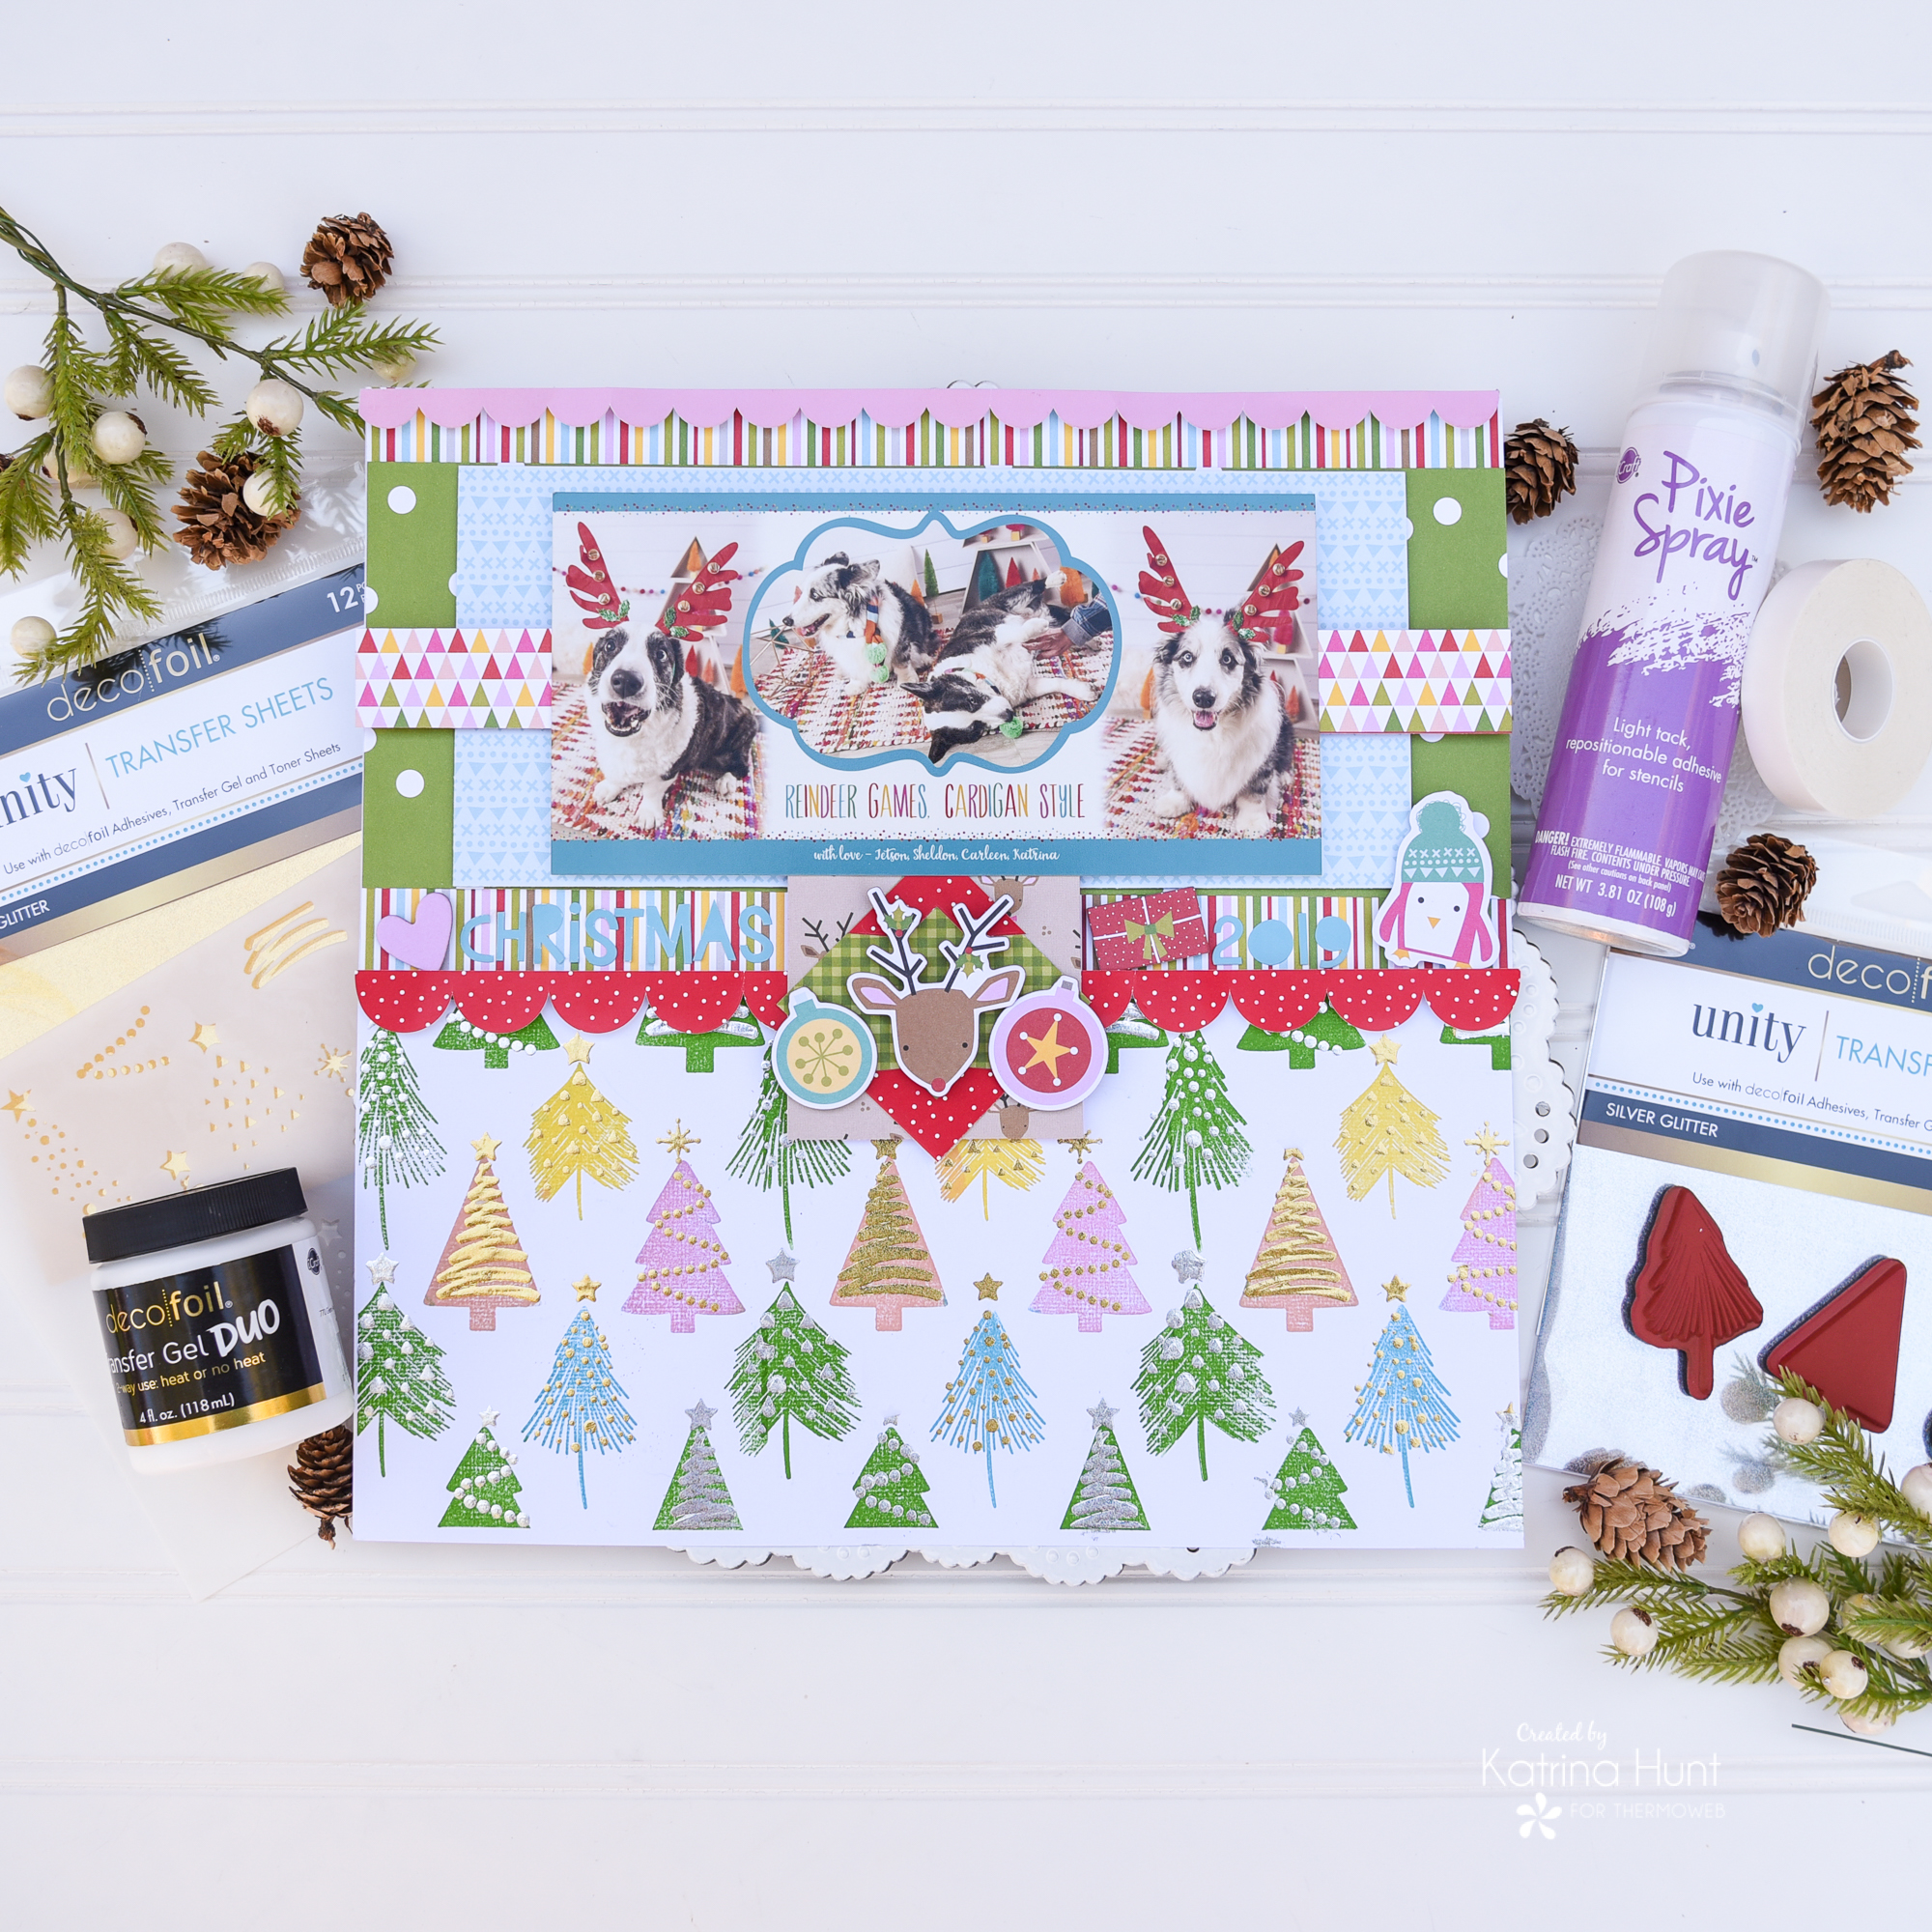
Therm O Web Supplies Used
Memory Runner XL
Memory Runner XL Refill
3D Foam Squares – Combo Pack
NEW 3D FOAM SQUARES BOX
NEW 3D FOAM TAPE ROLL 1/16
Deco Foil Foam Adhesive Sheets 6×12–White
Deco Foil Duo Transfer Gel
NEW Unity Deco Foil Transfer Sheets-Silver Glitter
NEW Unity Deco Foil Transfer Sheets-Gold Glitter
NEW Unity Ornamental Pines Bundle
iCraft Easy-Tear Adhesive 1/2 Inch
iCraft Pixie Spray
iCraft Purple Tape
Ultra Bond Liquid Adhesive
NEW ULTRA BOND LIQUID ADHESIVE PEN
Other Supplies Used
American Crafts White Cardstock
Bella Blvd Fa La La Paper Collection
Catherine Pooler Inks
*It’s A Girl
*Clay Mask
*Grass Skirt
*Fiesta Blue
*Limoncello
Catherine Pooler Blender Brushes
*Small
*Large
REINDEER GAMES SCRAPBOOK PAGE DETAILS
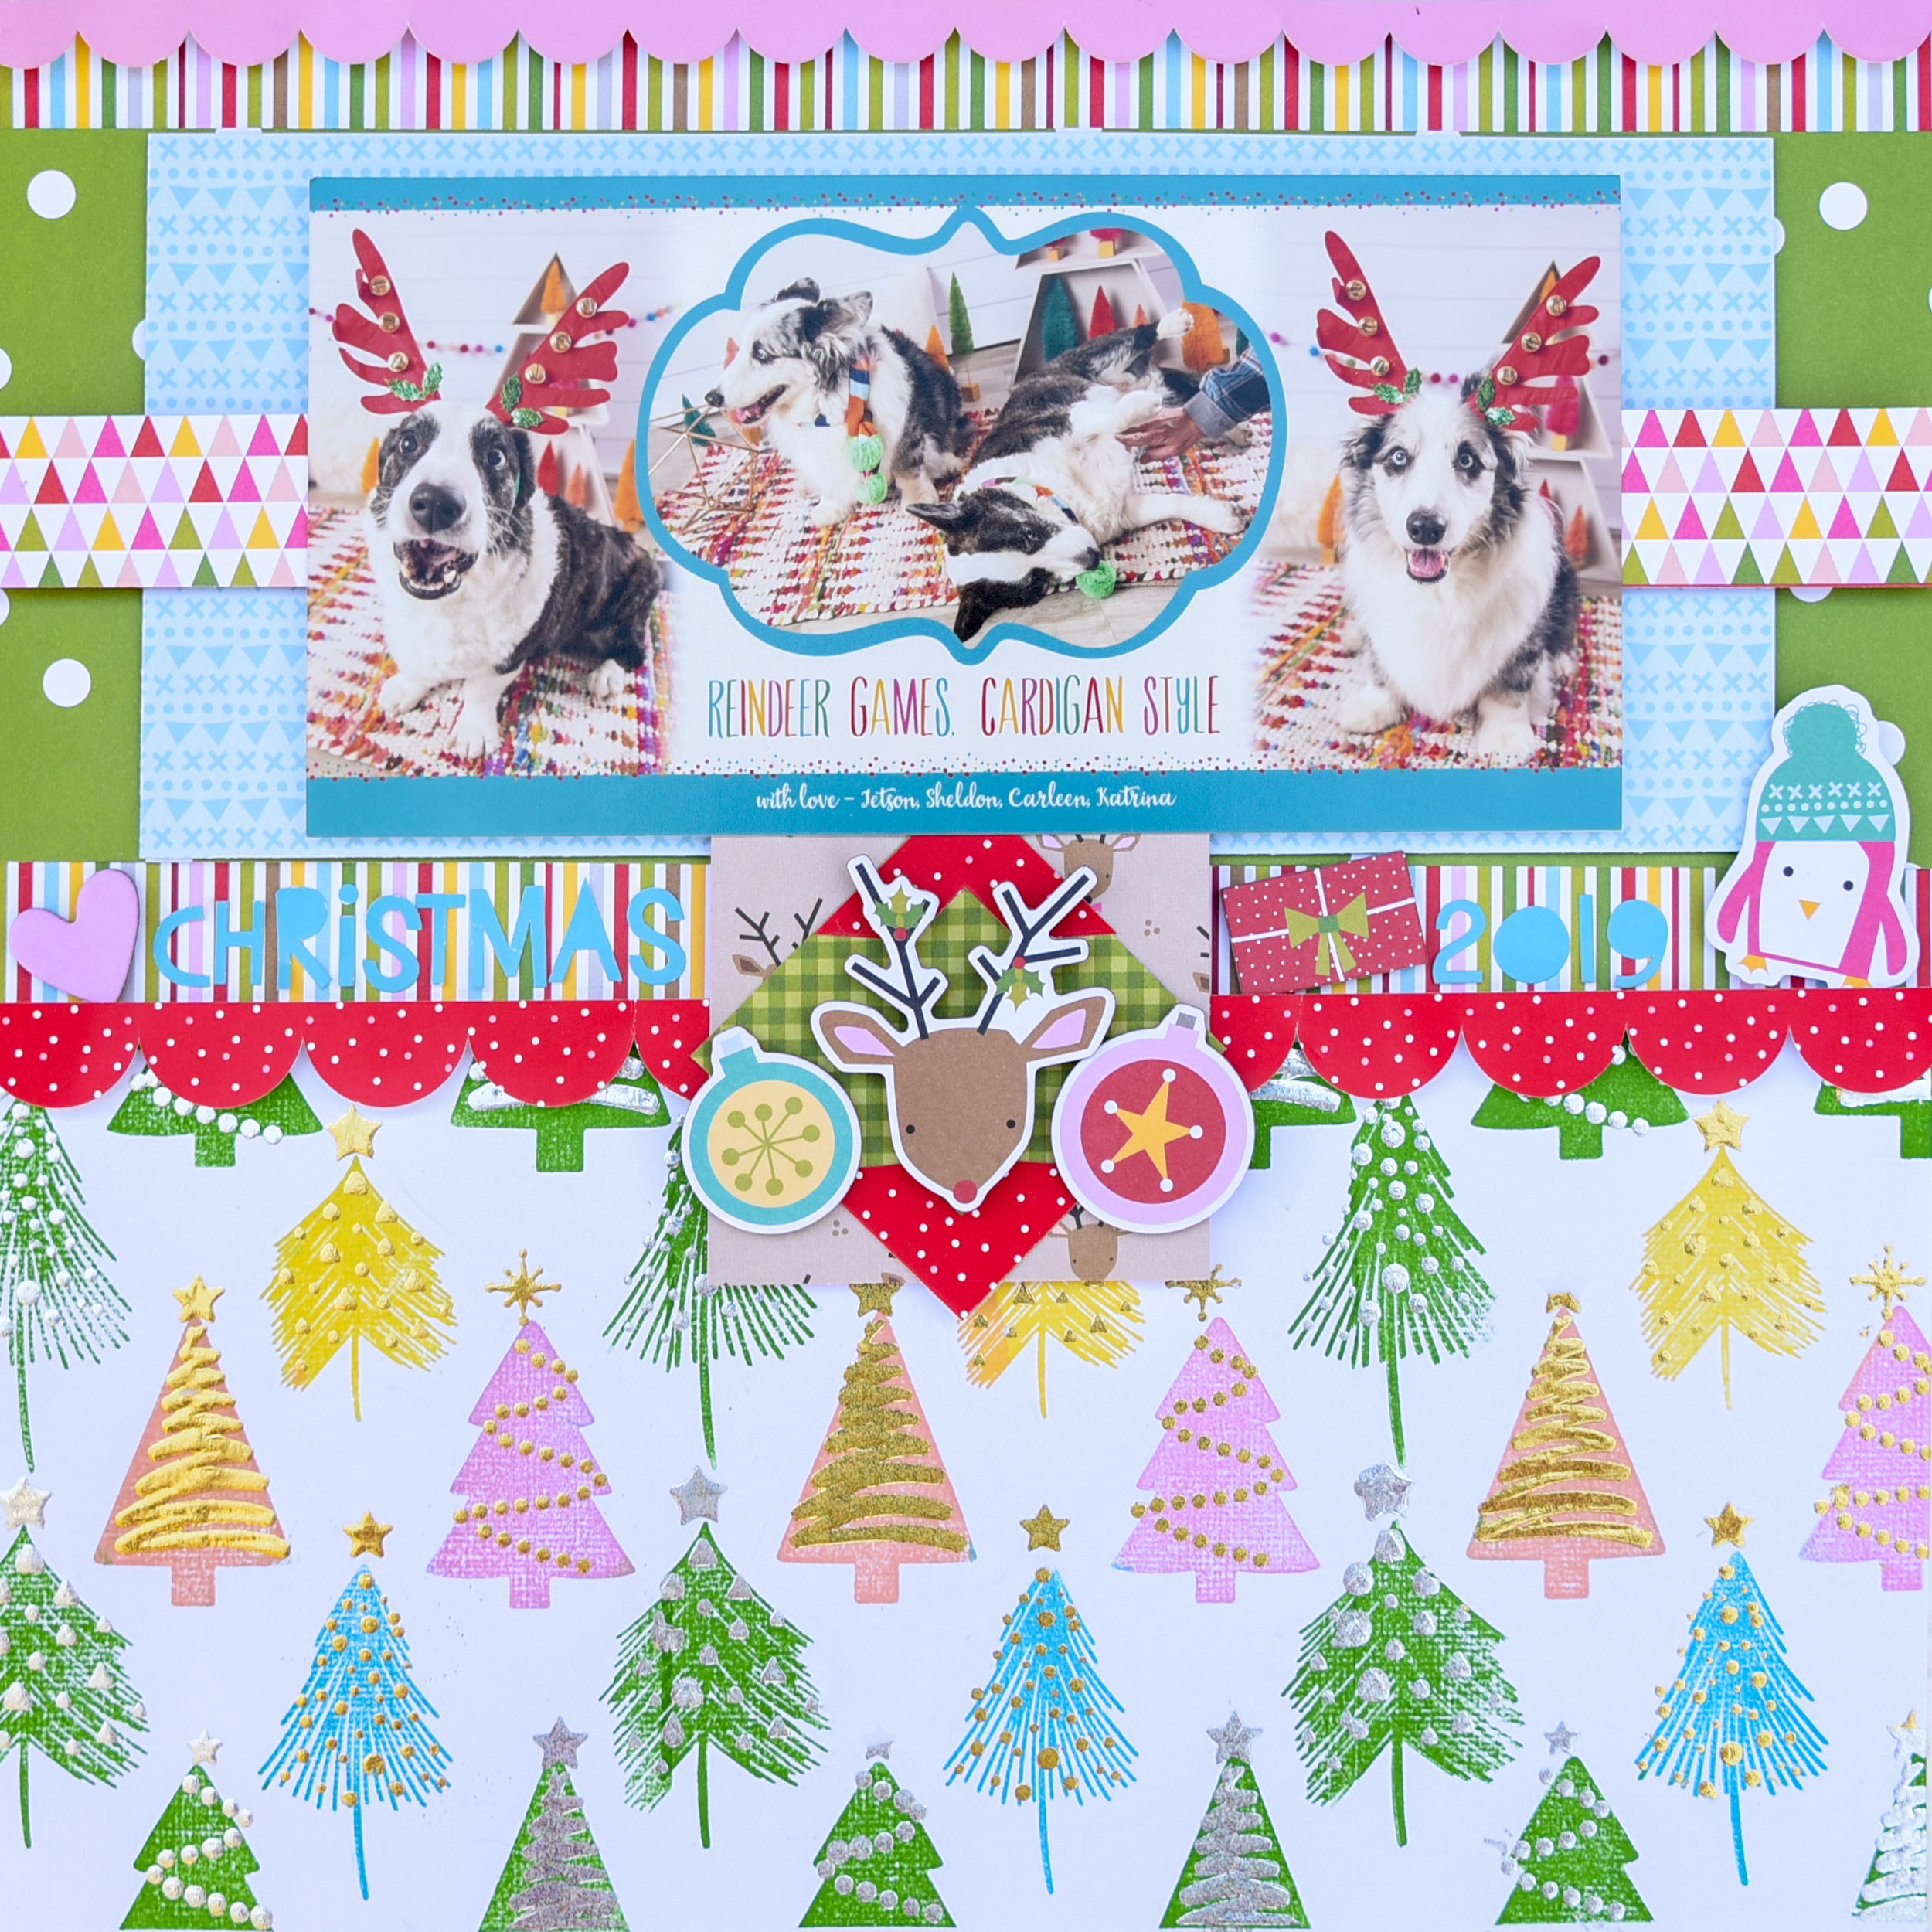
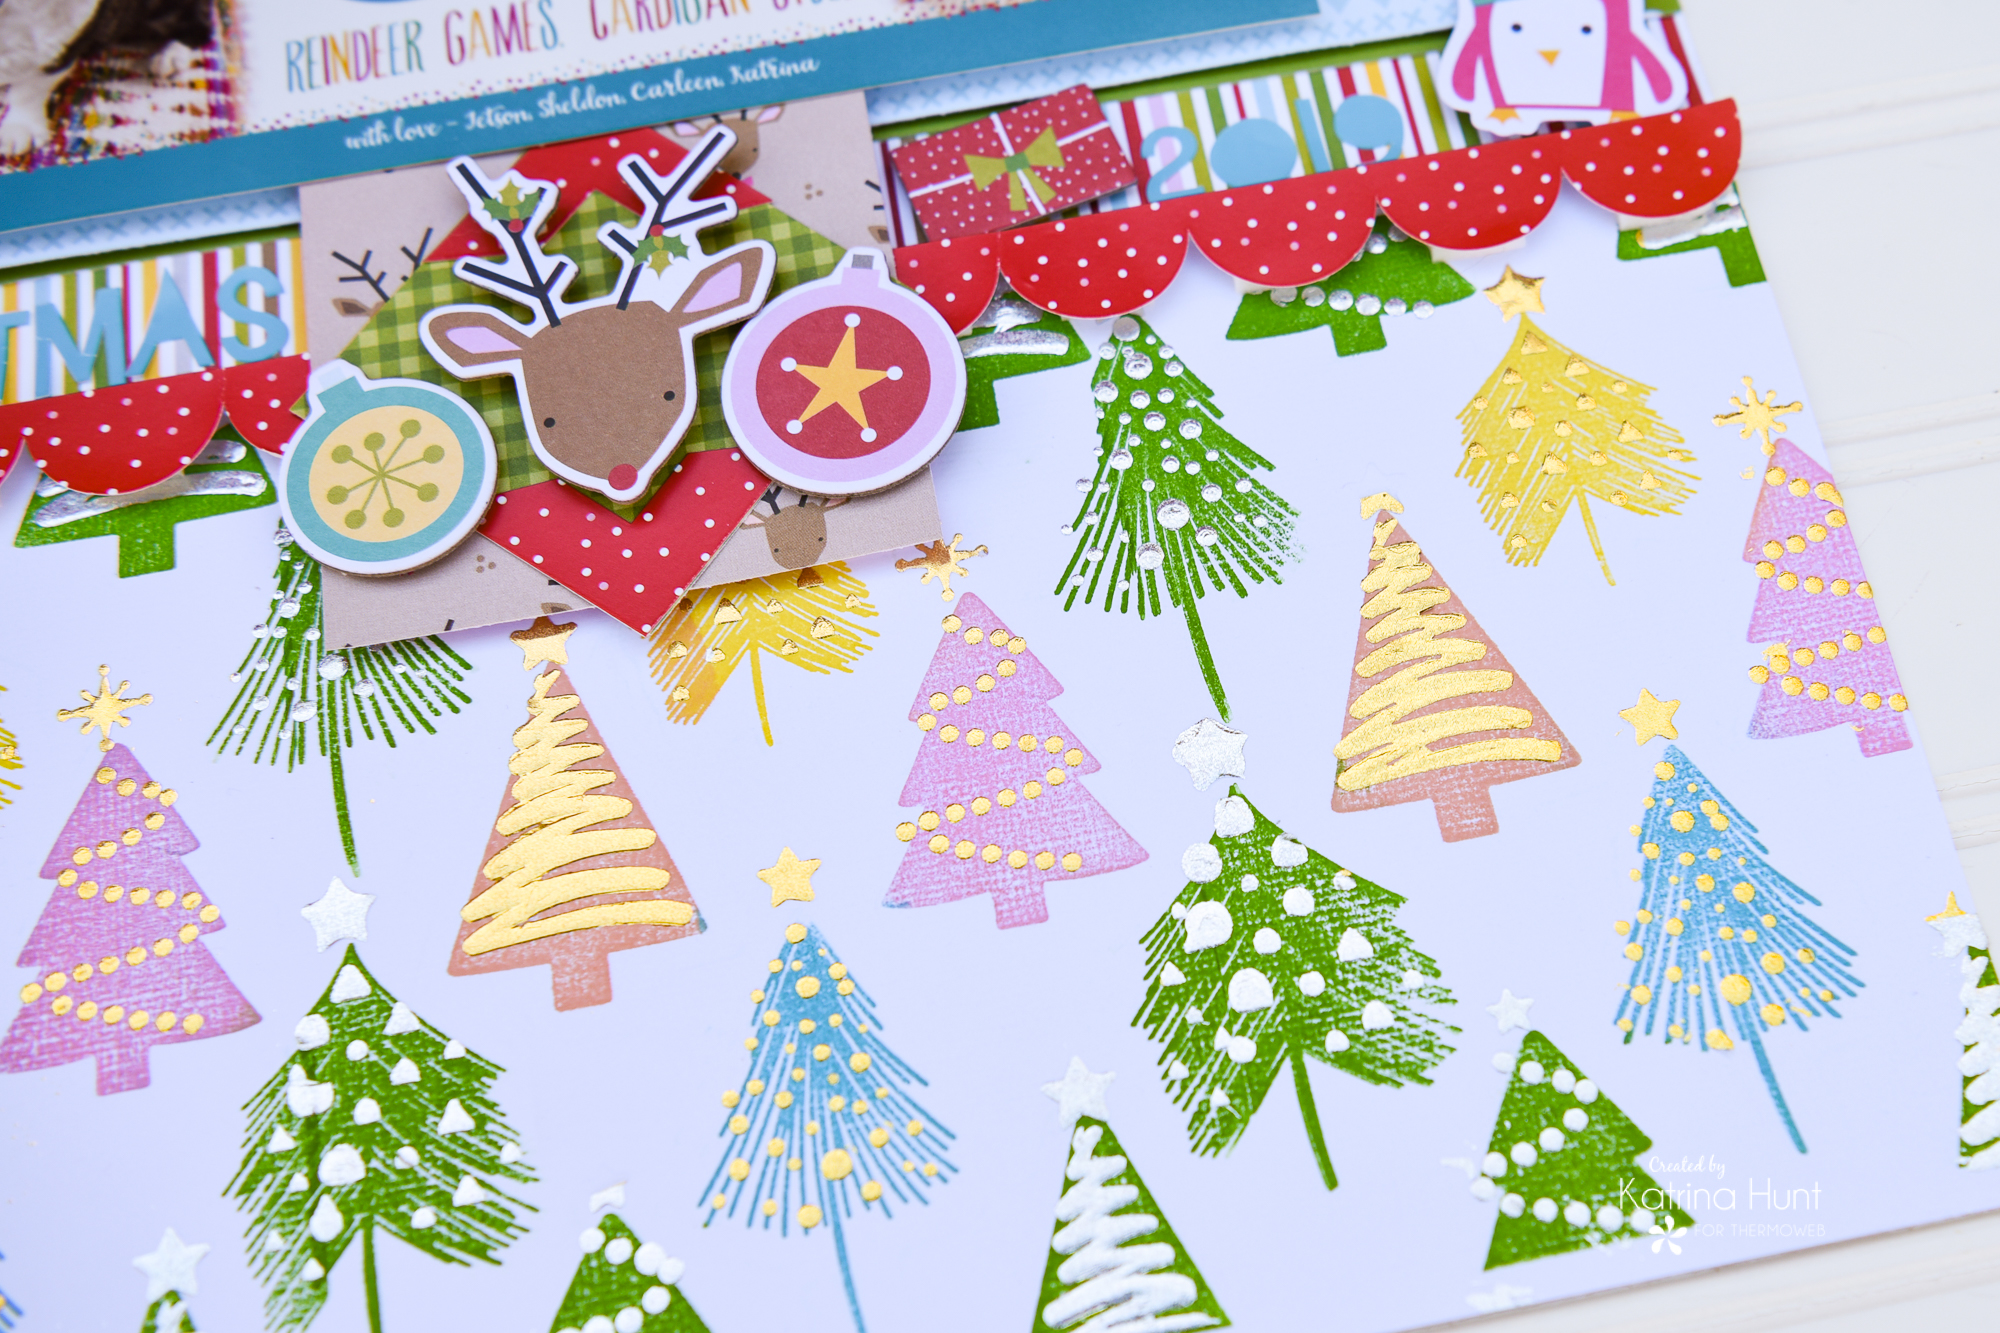
Those trees!!! Am I right?! I am swooning over them. As soon as I saw the stamp in the bundle, I knew I wanted to stamp a forest of them. I also knew I wanted color, lots of color for them! I picked out some Catherine Pooler ink colors that I knew would work with the Bella Blvd paper collection I was using.
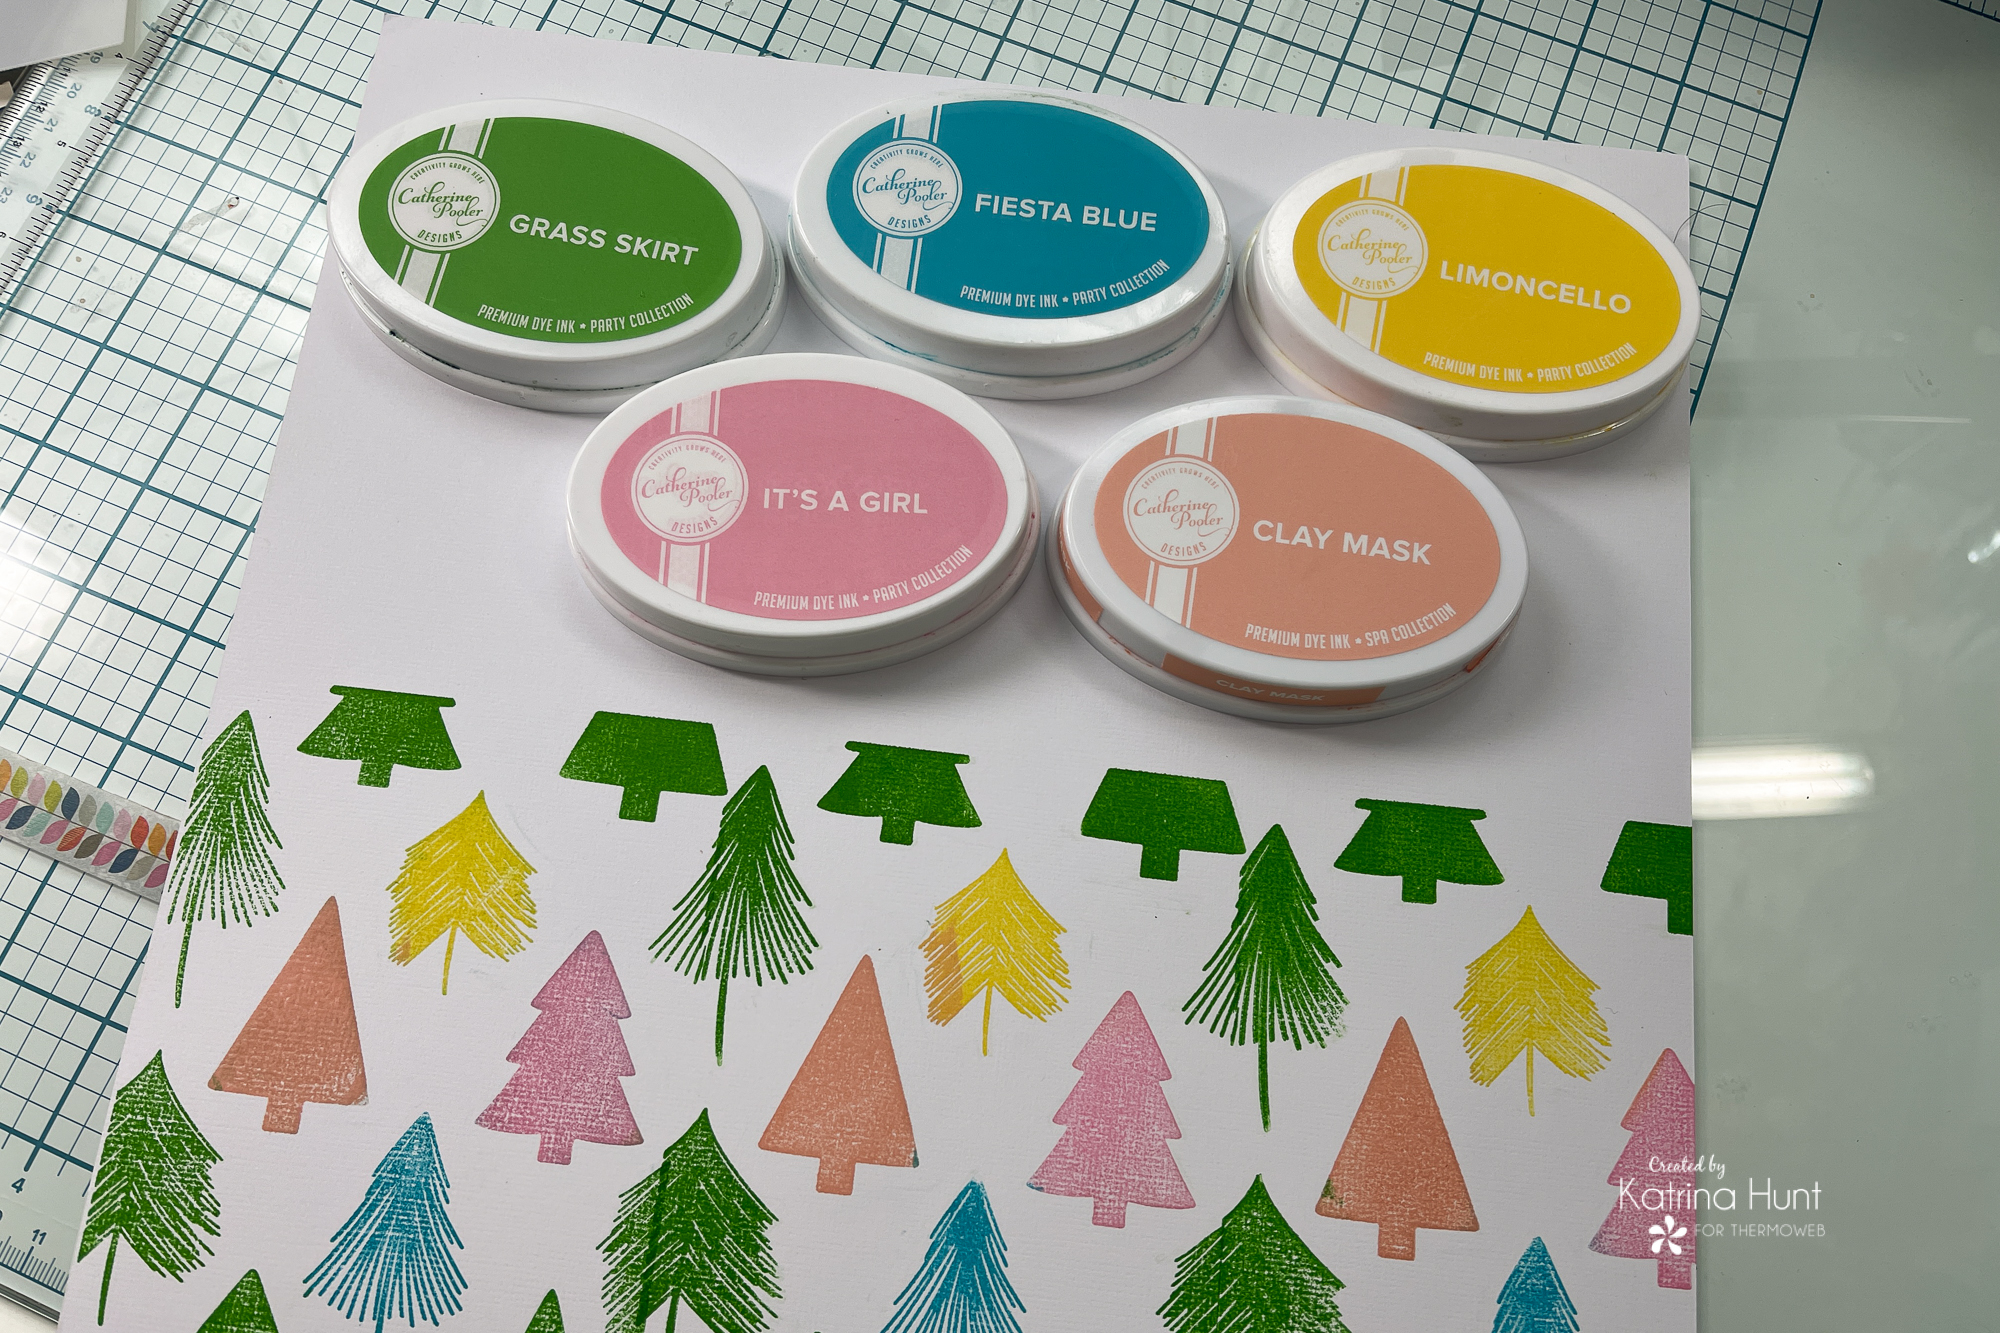
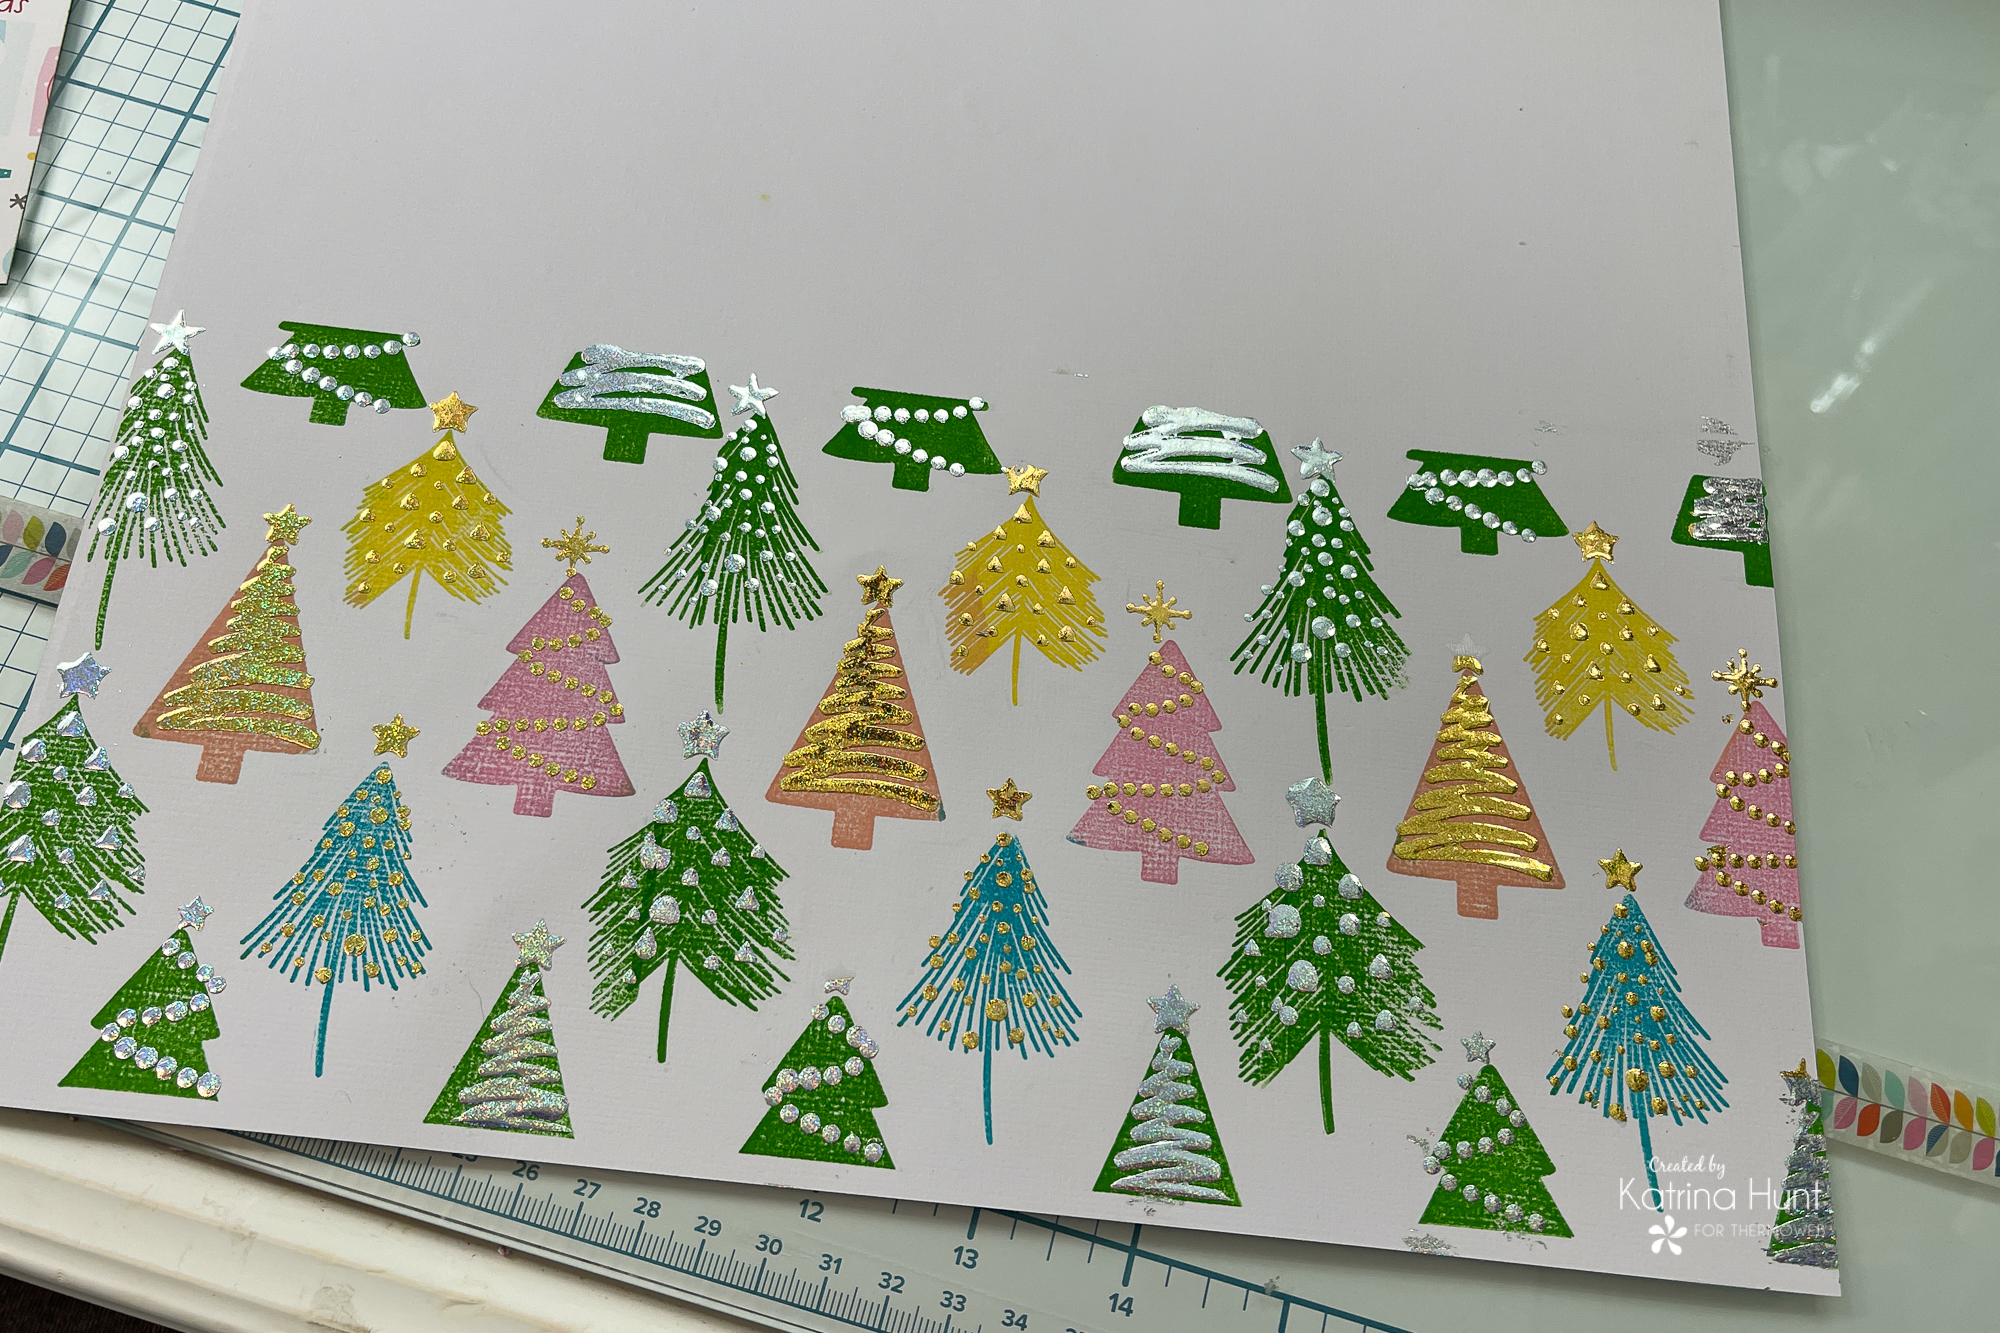
I decided that I would use the bottom part of my page as my forest. The stamp measures 4.25 x 5.50 approximately, so that helped me try to line it when stamping across the page. I also used my Misti 12z12 tool to help with that. I just took my time and tried to look to make sure where the trees would match up was as close as possible. I did practice a few times to get a feel for where I would need to place my stamp. The four fun color trees are stamps that pop out of the background. I found it was easier to pop those out, stamp my green first and then pop those back in to stamp them. This helped me keep from transferring colors over to other trees.
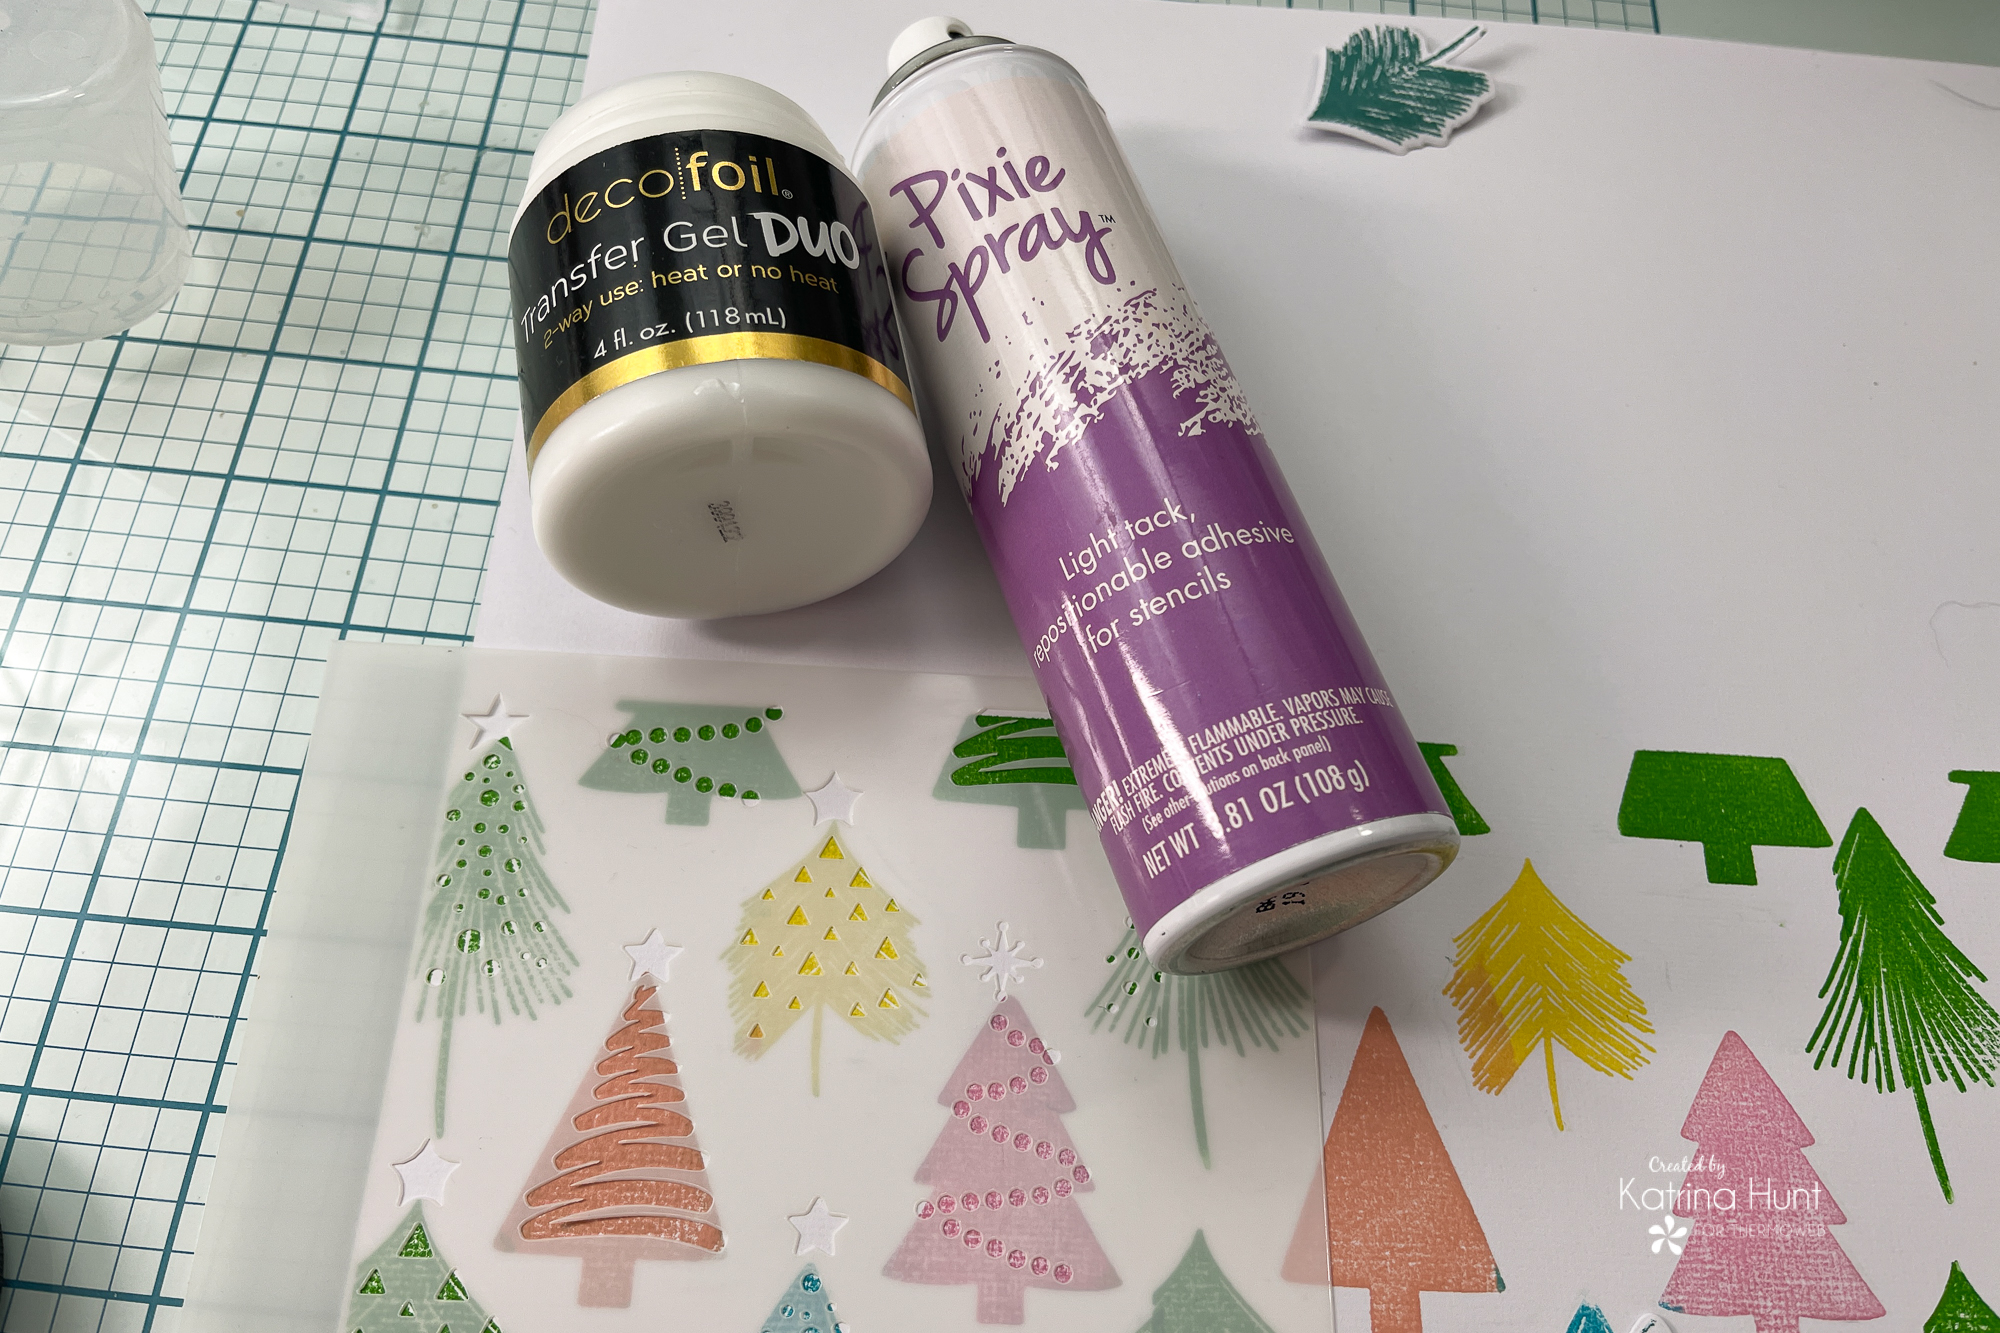
Once my trees were stamped, I used my Pixie Spray to adhere the stencil. I only sprayed it lightly in a couple of places, so that it was easy to move to the next area. Once my stencil was down I carefully spread my Deco Foil Duo gel over the stencil. I repeated this all across the page. And then I set it aside to dry!
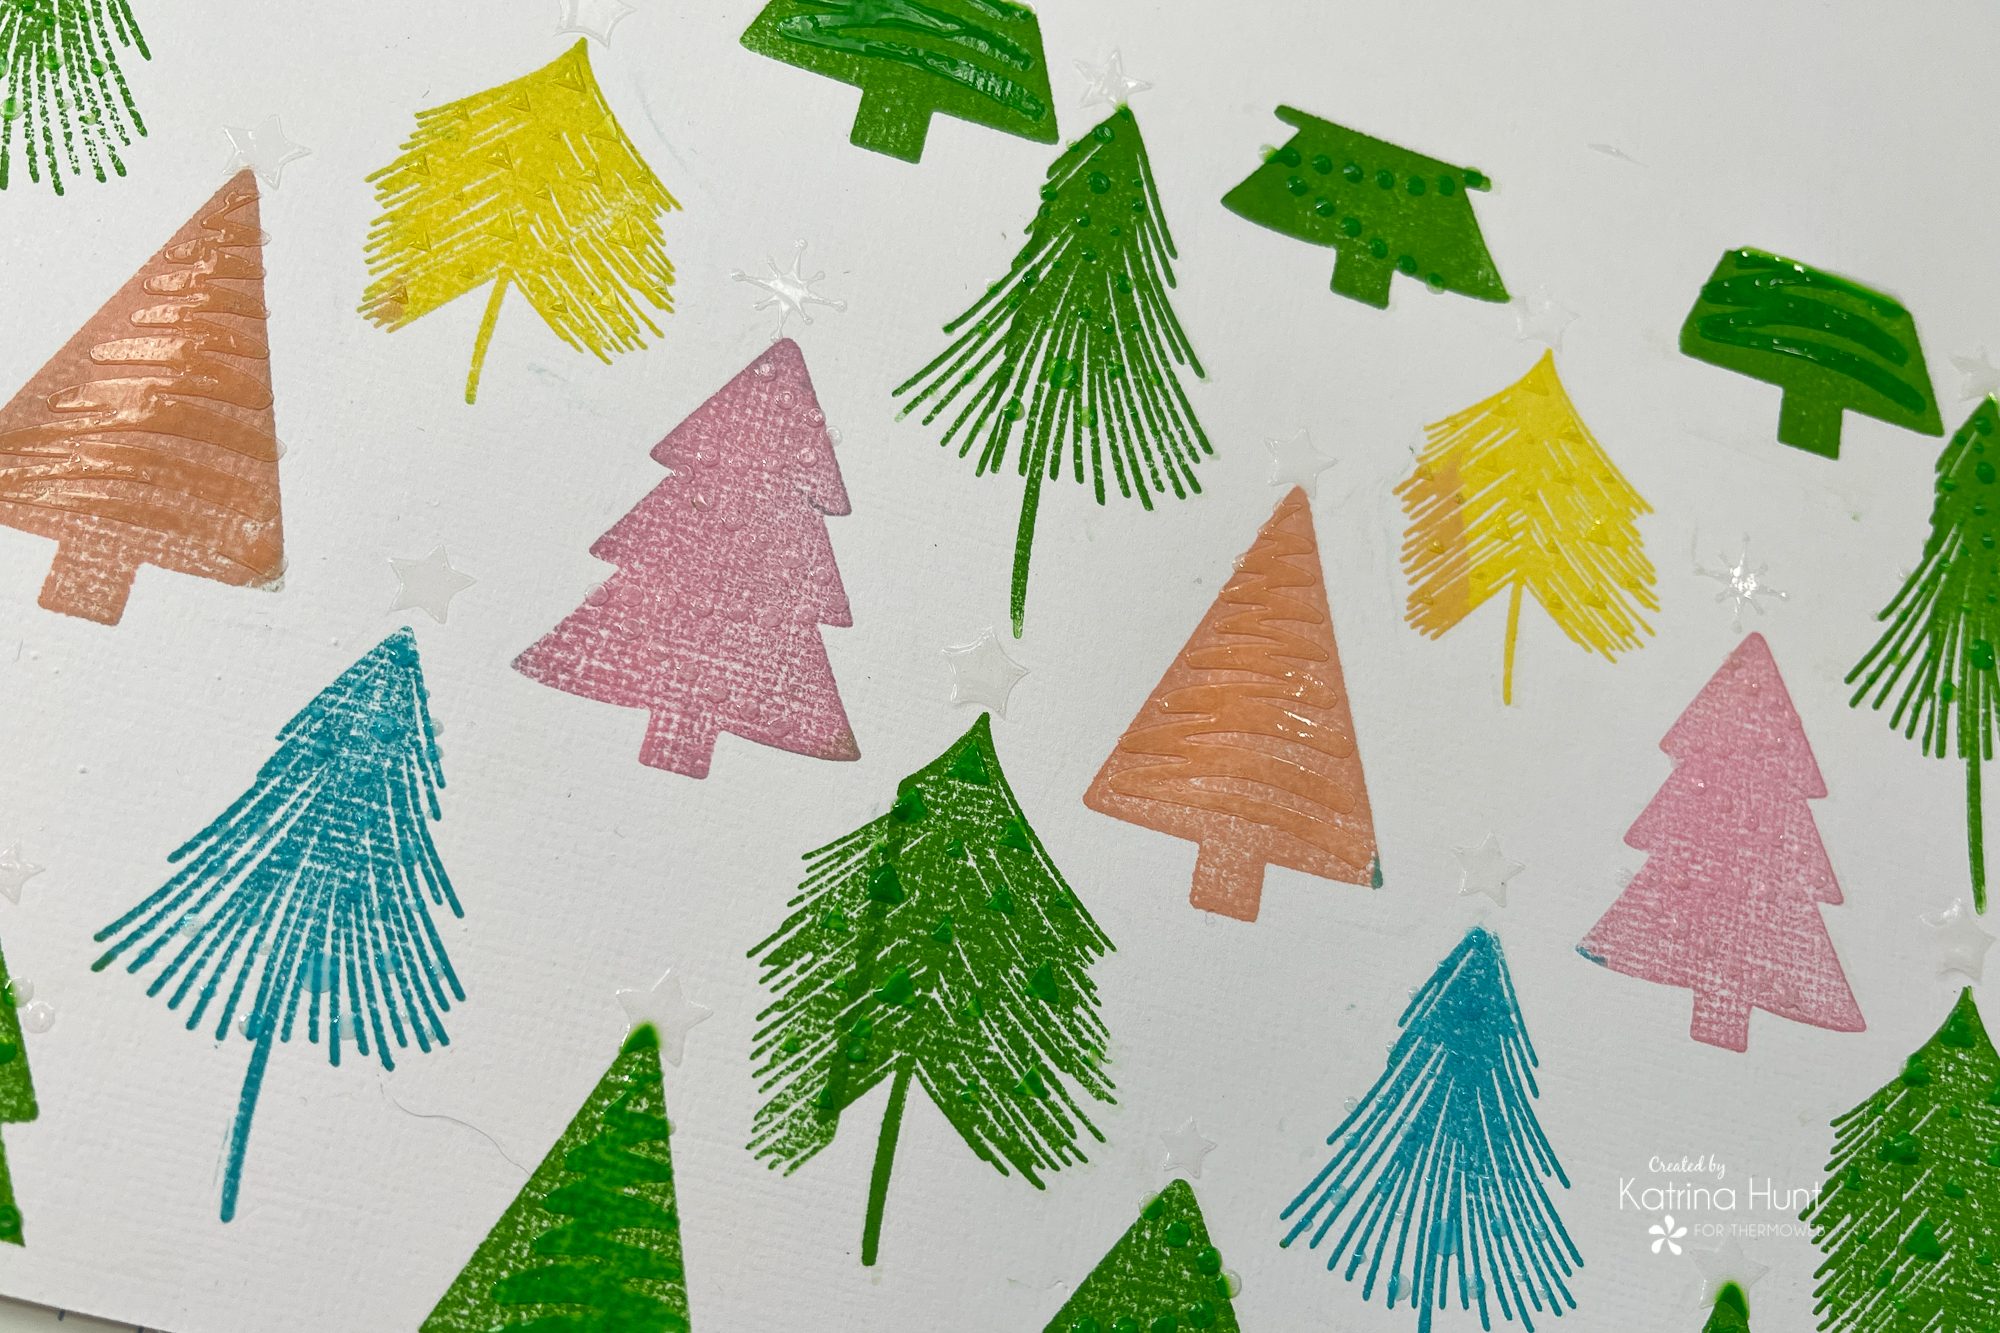
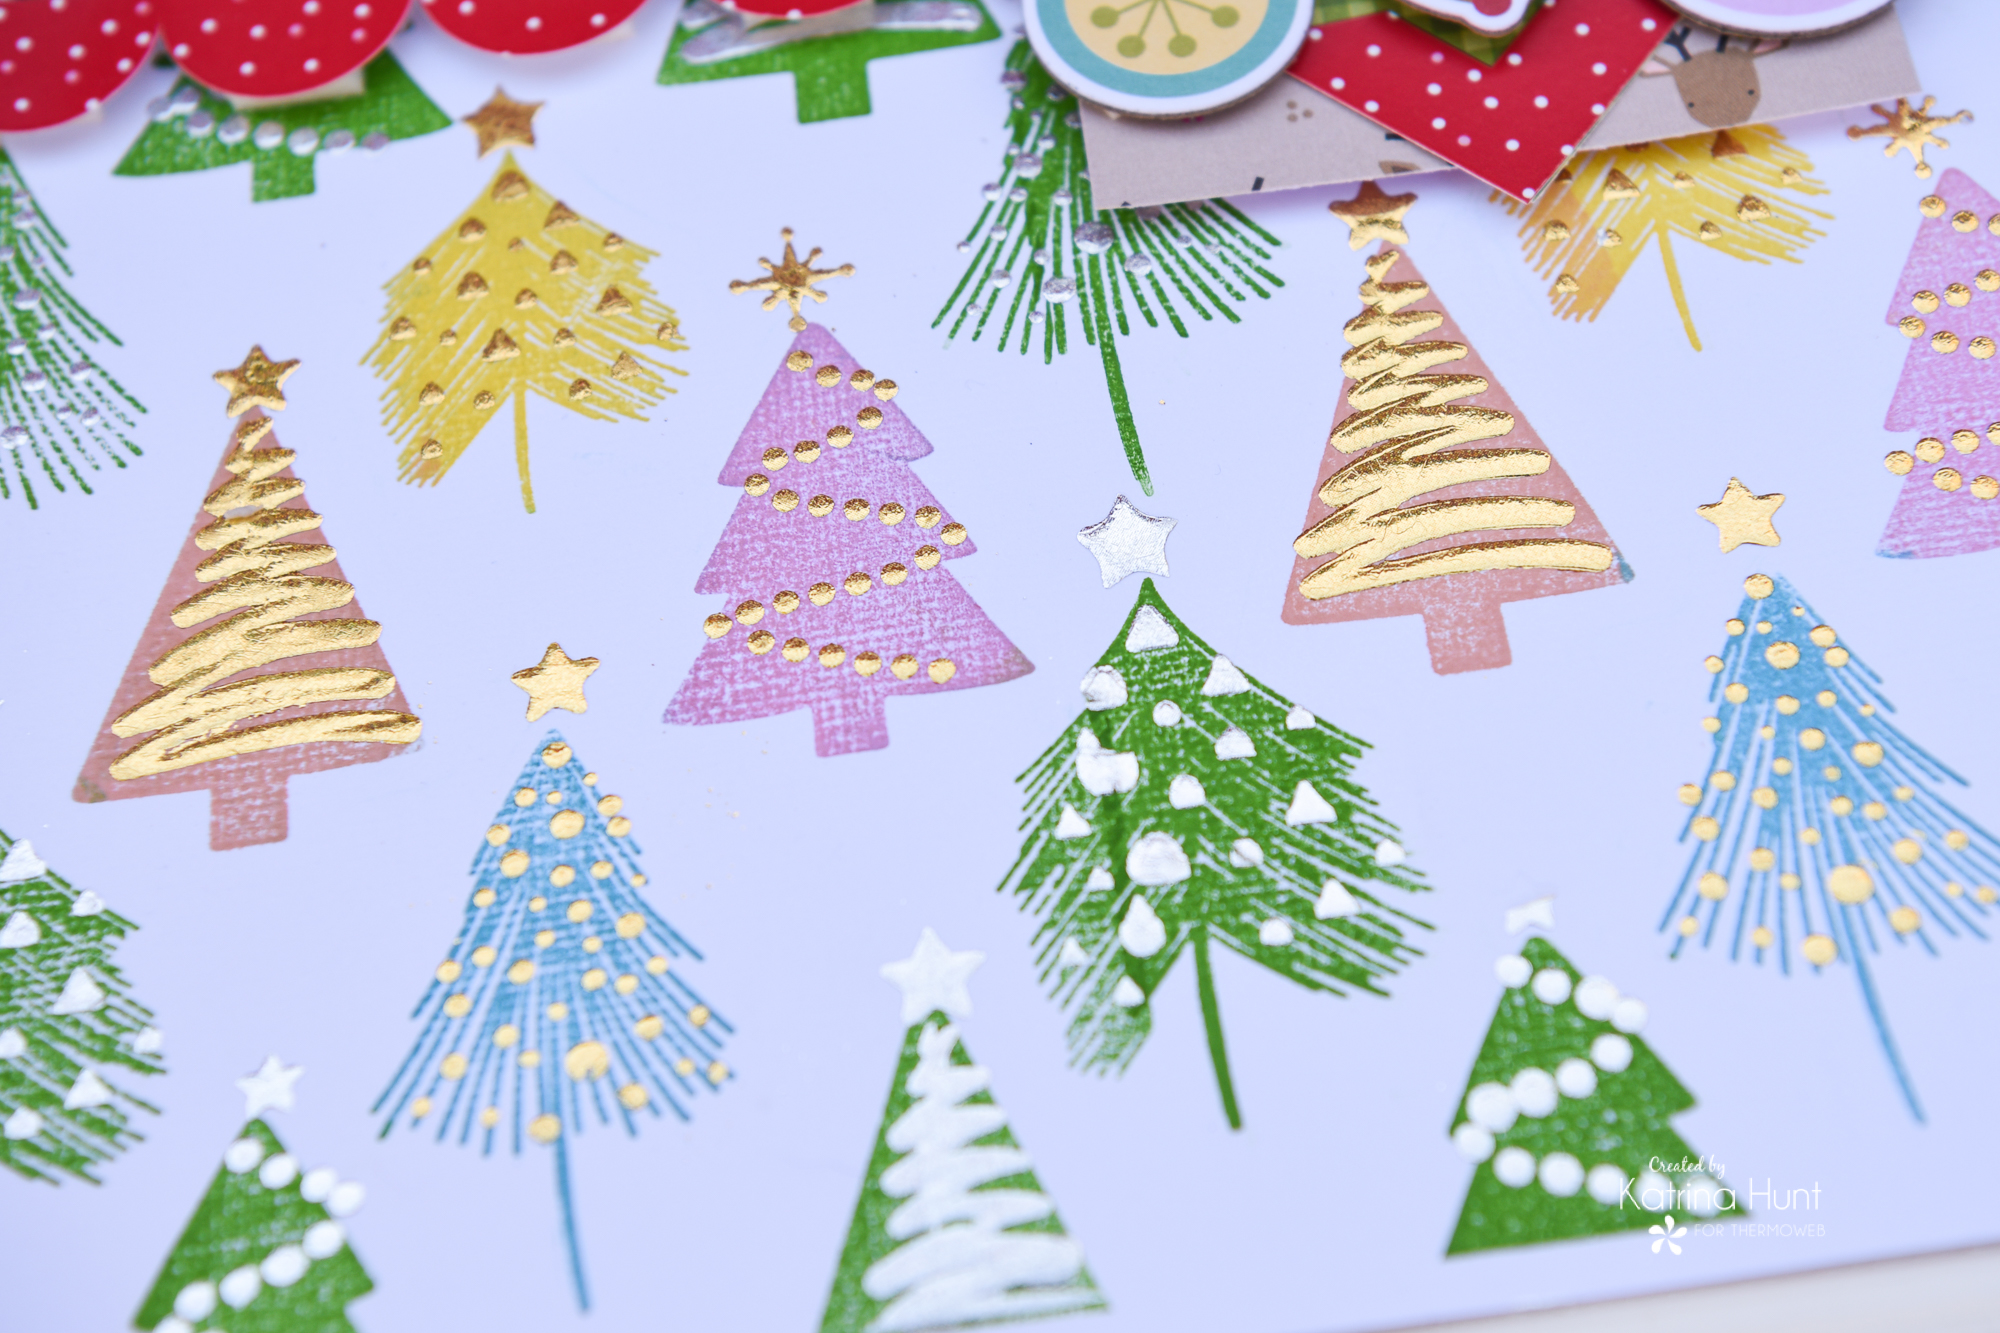
Once your gel is dried, it will look like the picture above. It loses its opaque color and turns clear and shiny. If you look at the green tree in the middle, that is where my stamp matched up in that area. I was happy with how well I matched it up! LOL Now it’s time to foil!
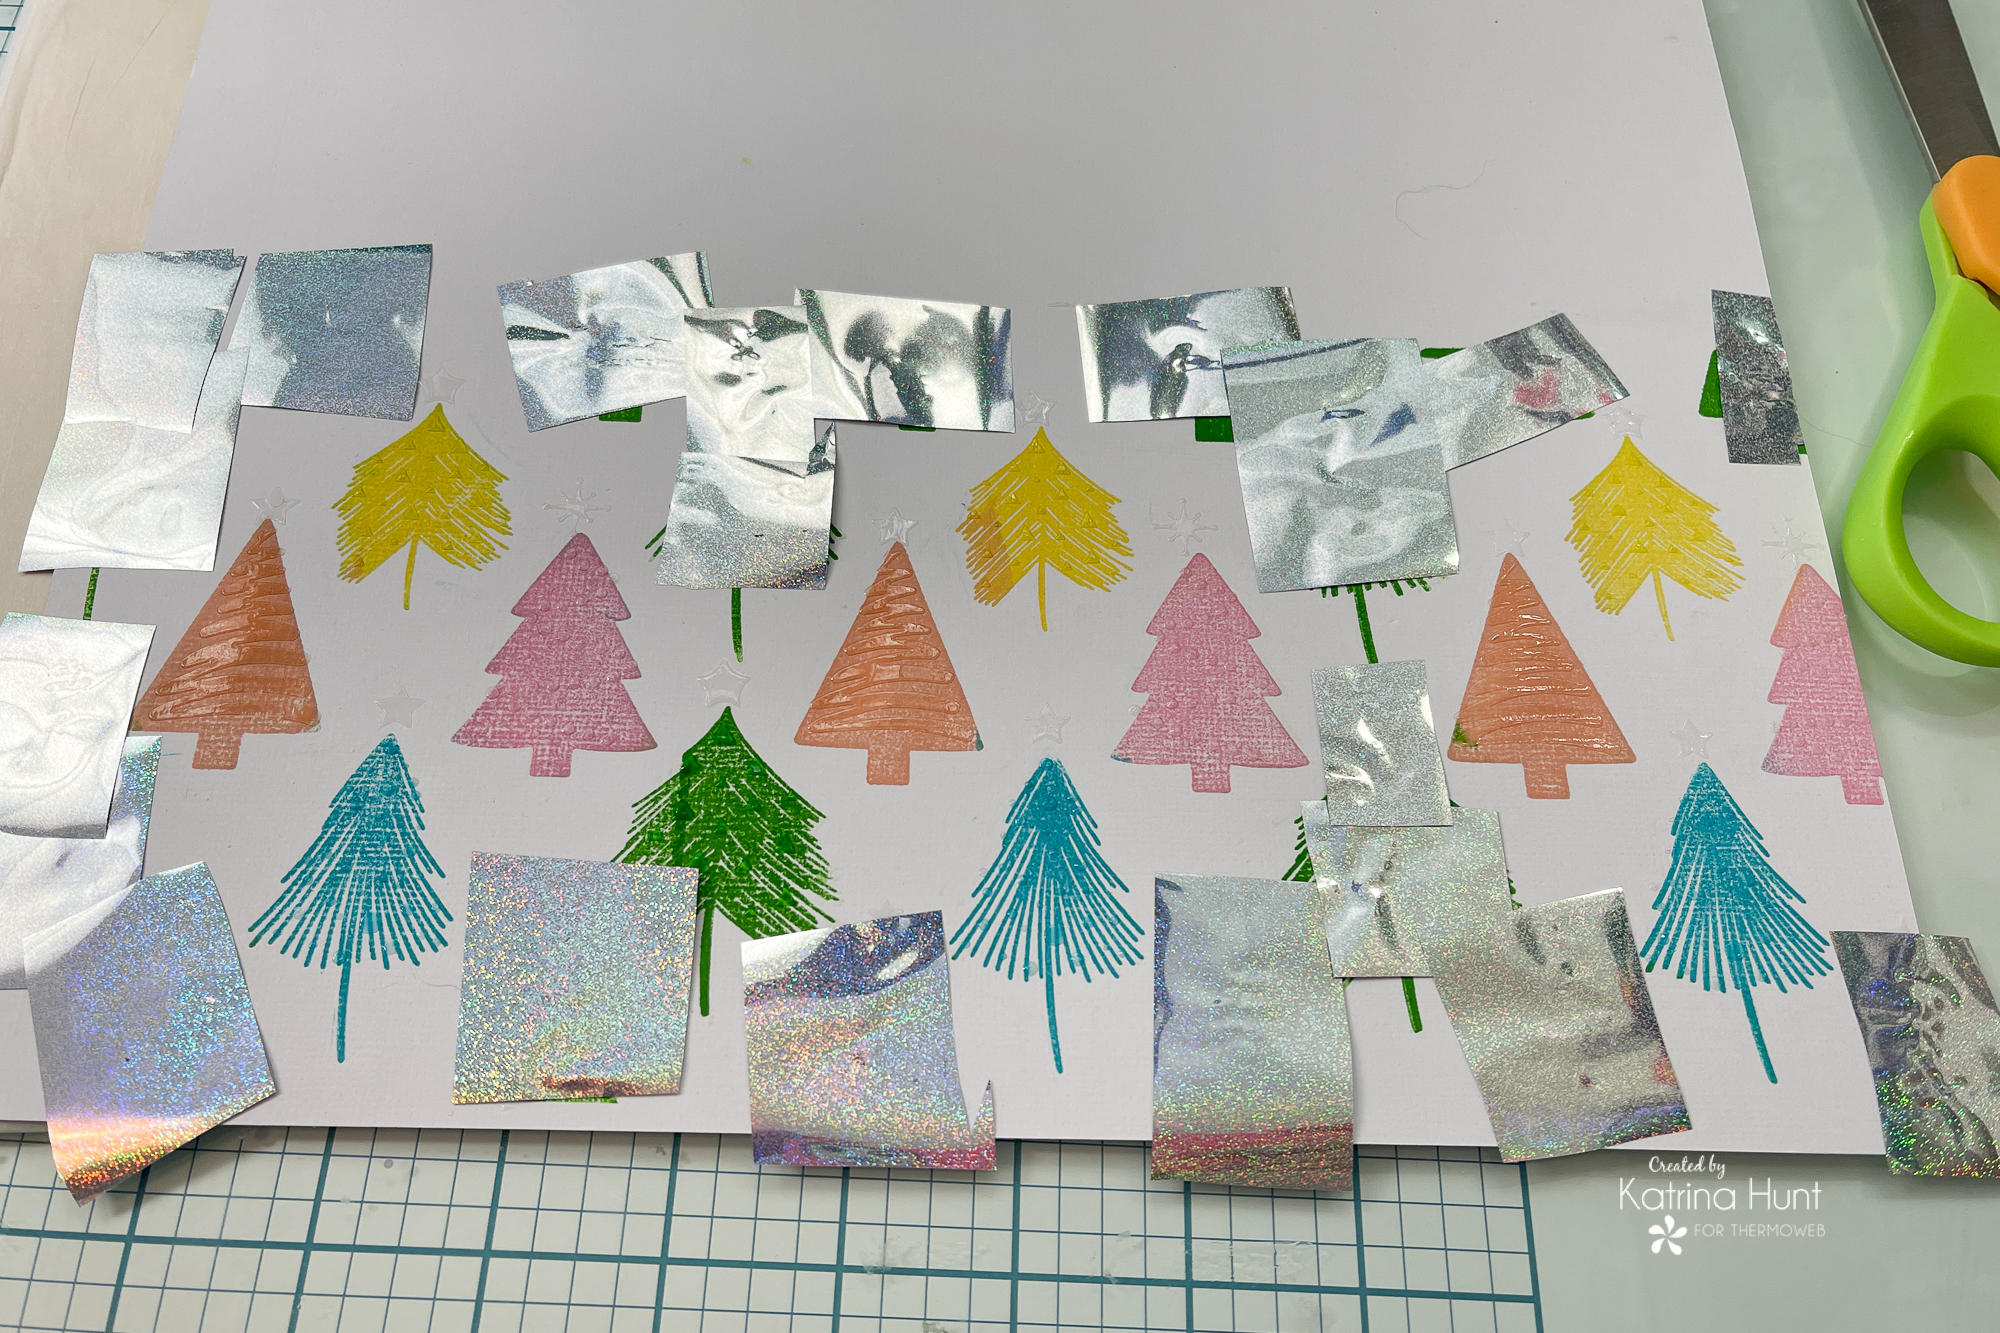
I wanted the green trees done in the Silver Glitter Unity Foil and then the fun colors in the Gold Glitter foil. The easiest and fast way to do this is to trim your foils down to the area they are going to cover. By doing this, you can then foil multiple colors with one pass! I ran this thru my laminator because it’s a 12 x 12 background, but this would work on a card front with a die cutting machine also!
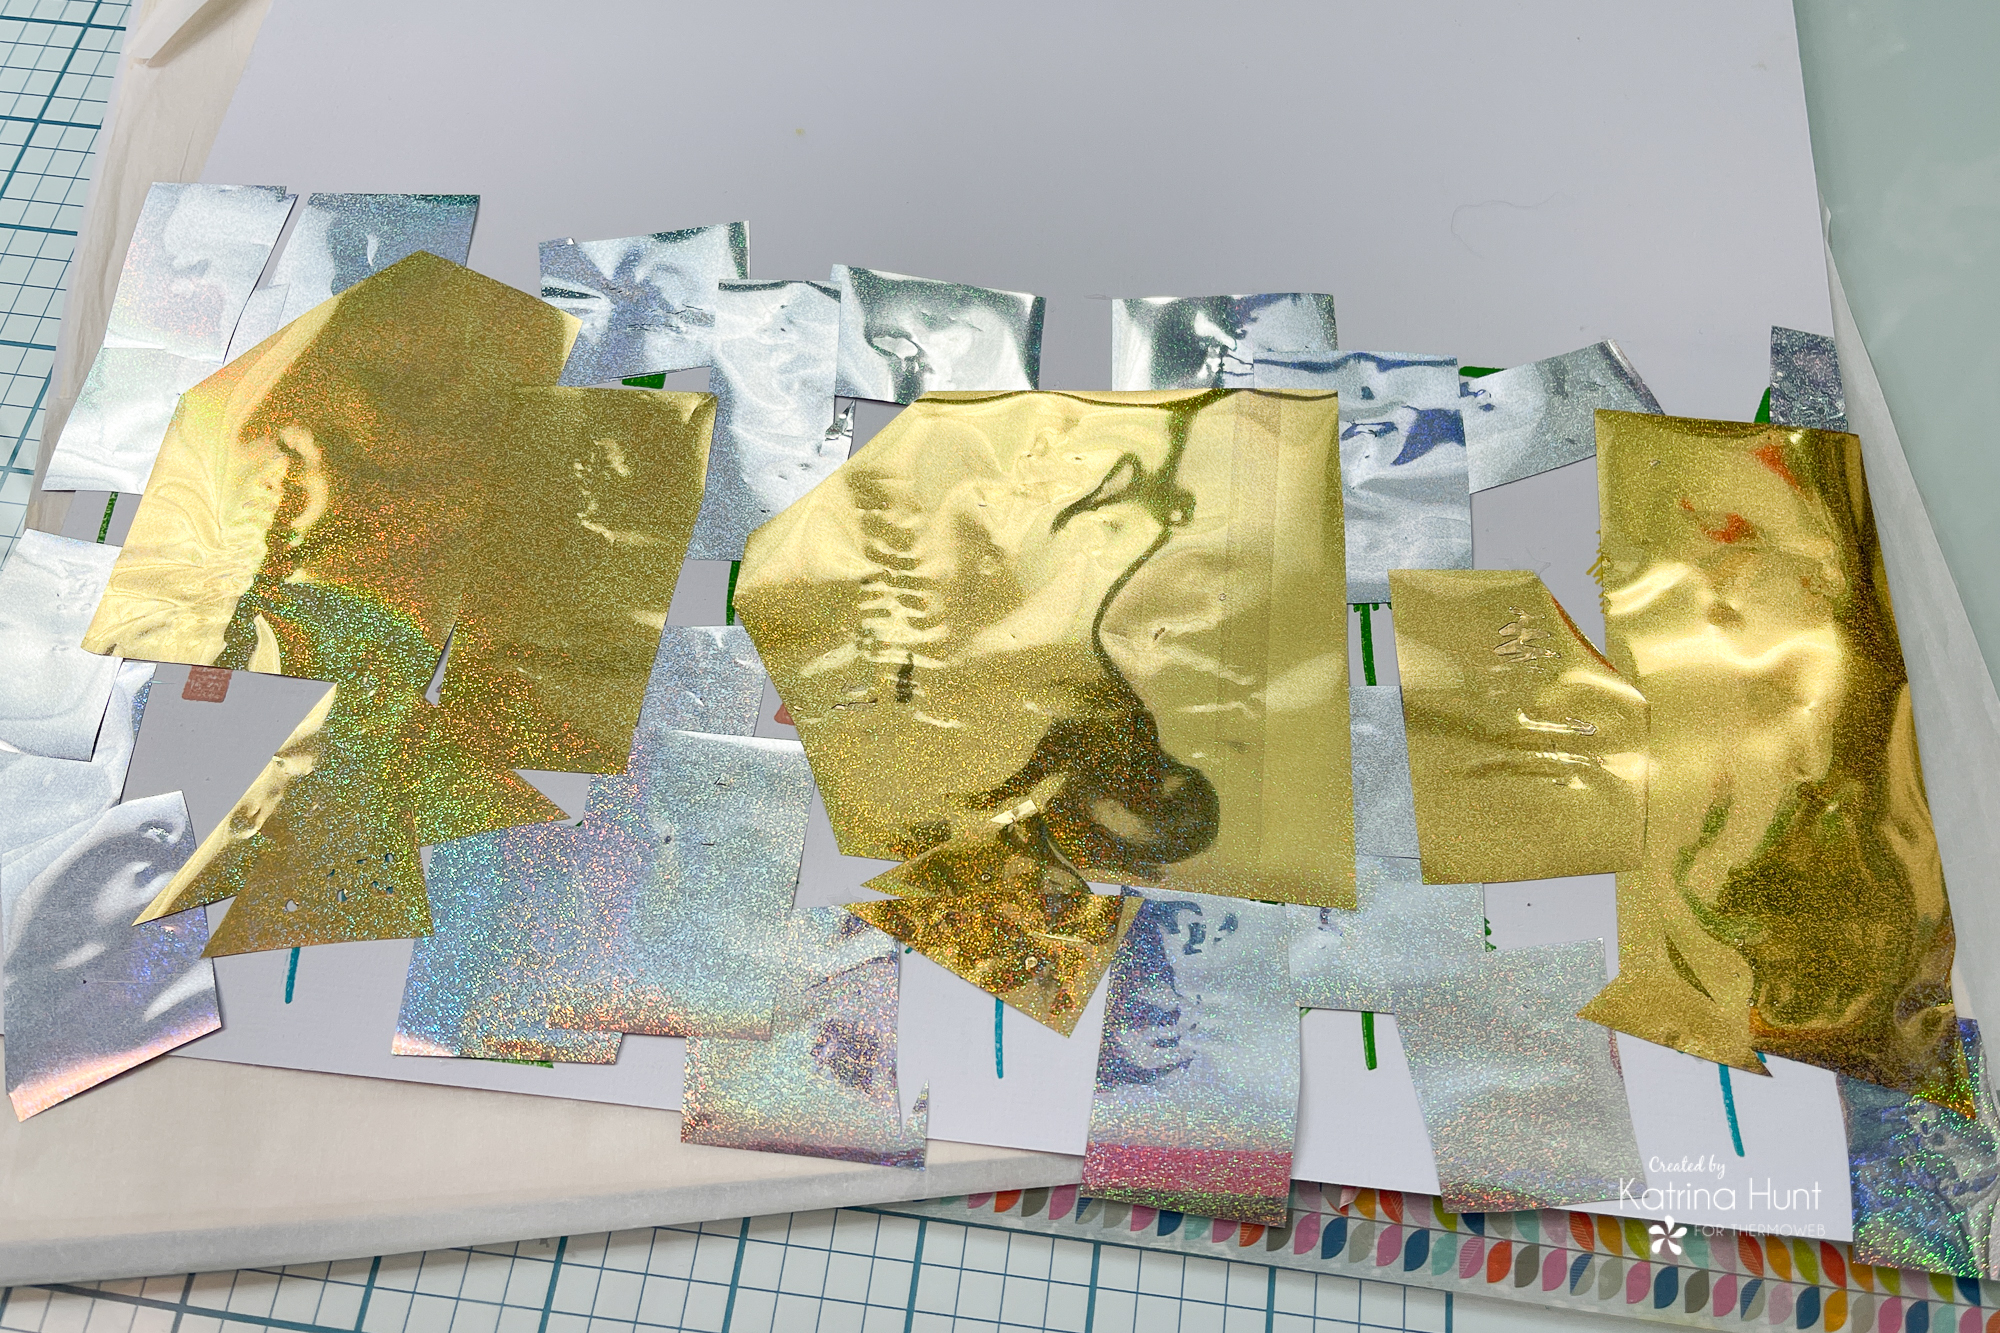
Once I let this cool for about 15 seconds, I carefully peeled the foil away to reveal pretty glitter trees!
See, that matched tree you cannot even really see the line!!! And I LOVE how these turned out!
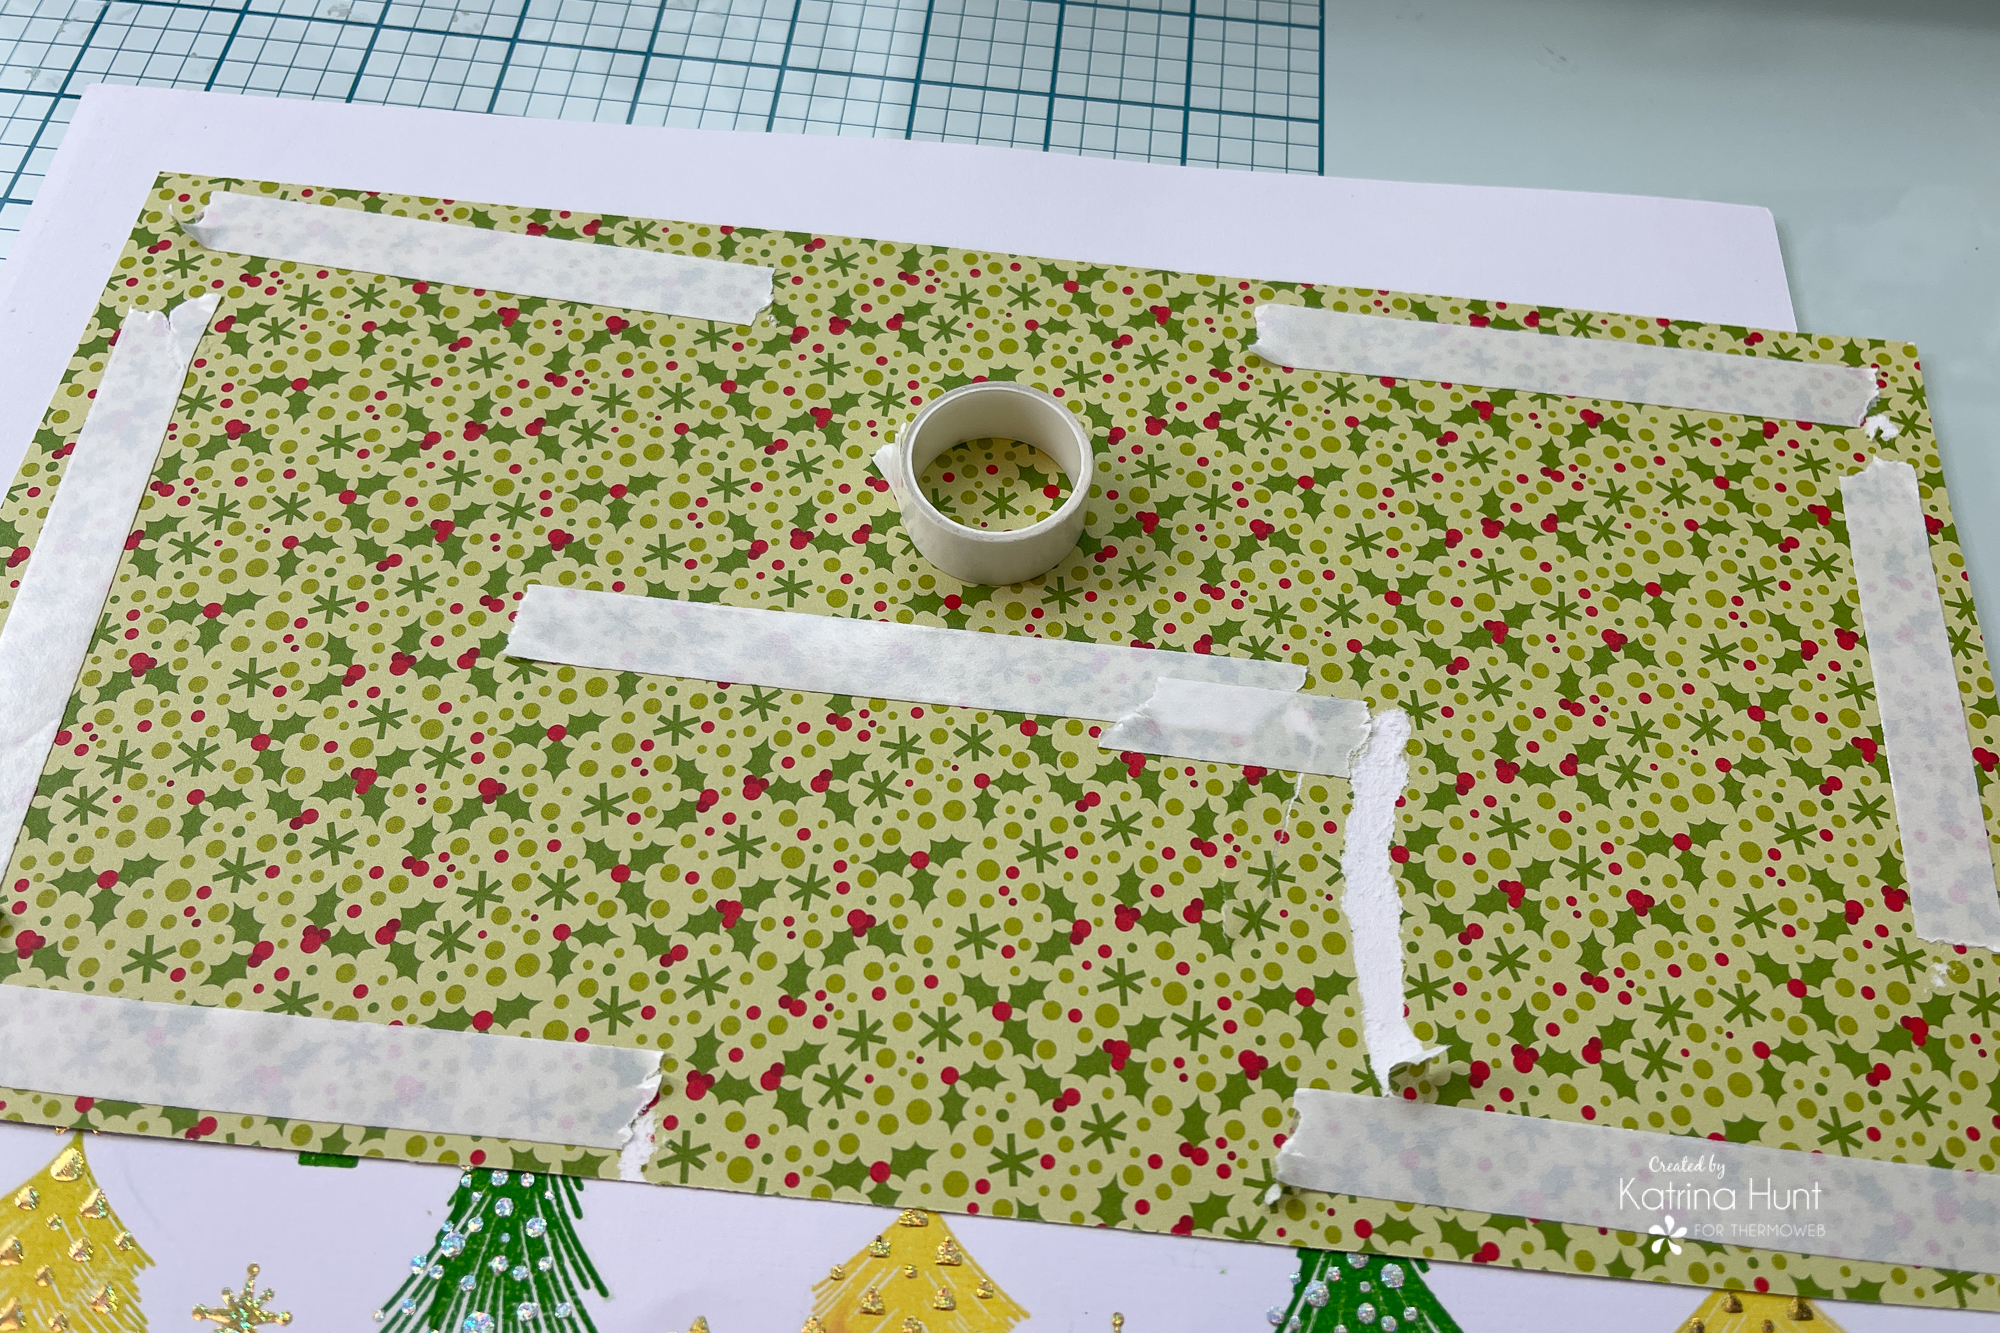
Once the tree area was complete, it was time to start on the rest of the layout. I used mostly the iCraft Easy Tear Adhesive 1/2 inch to put my layout together. It’s becoming my go-to adhesive for bigger sheets of paper! You should grab some!
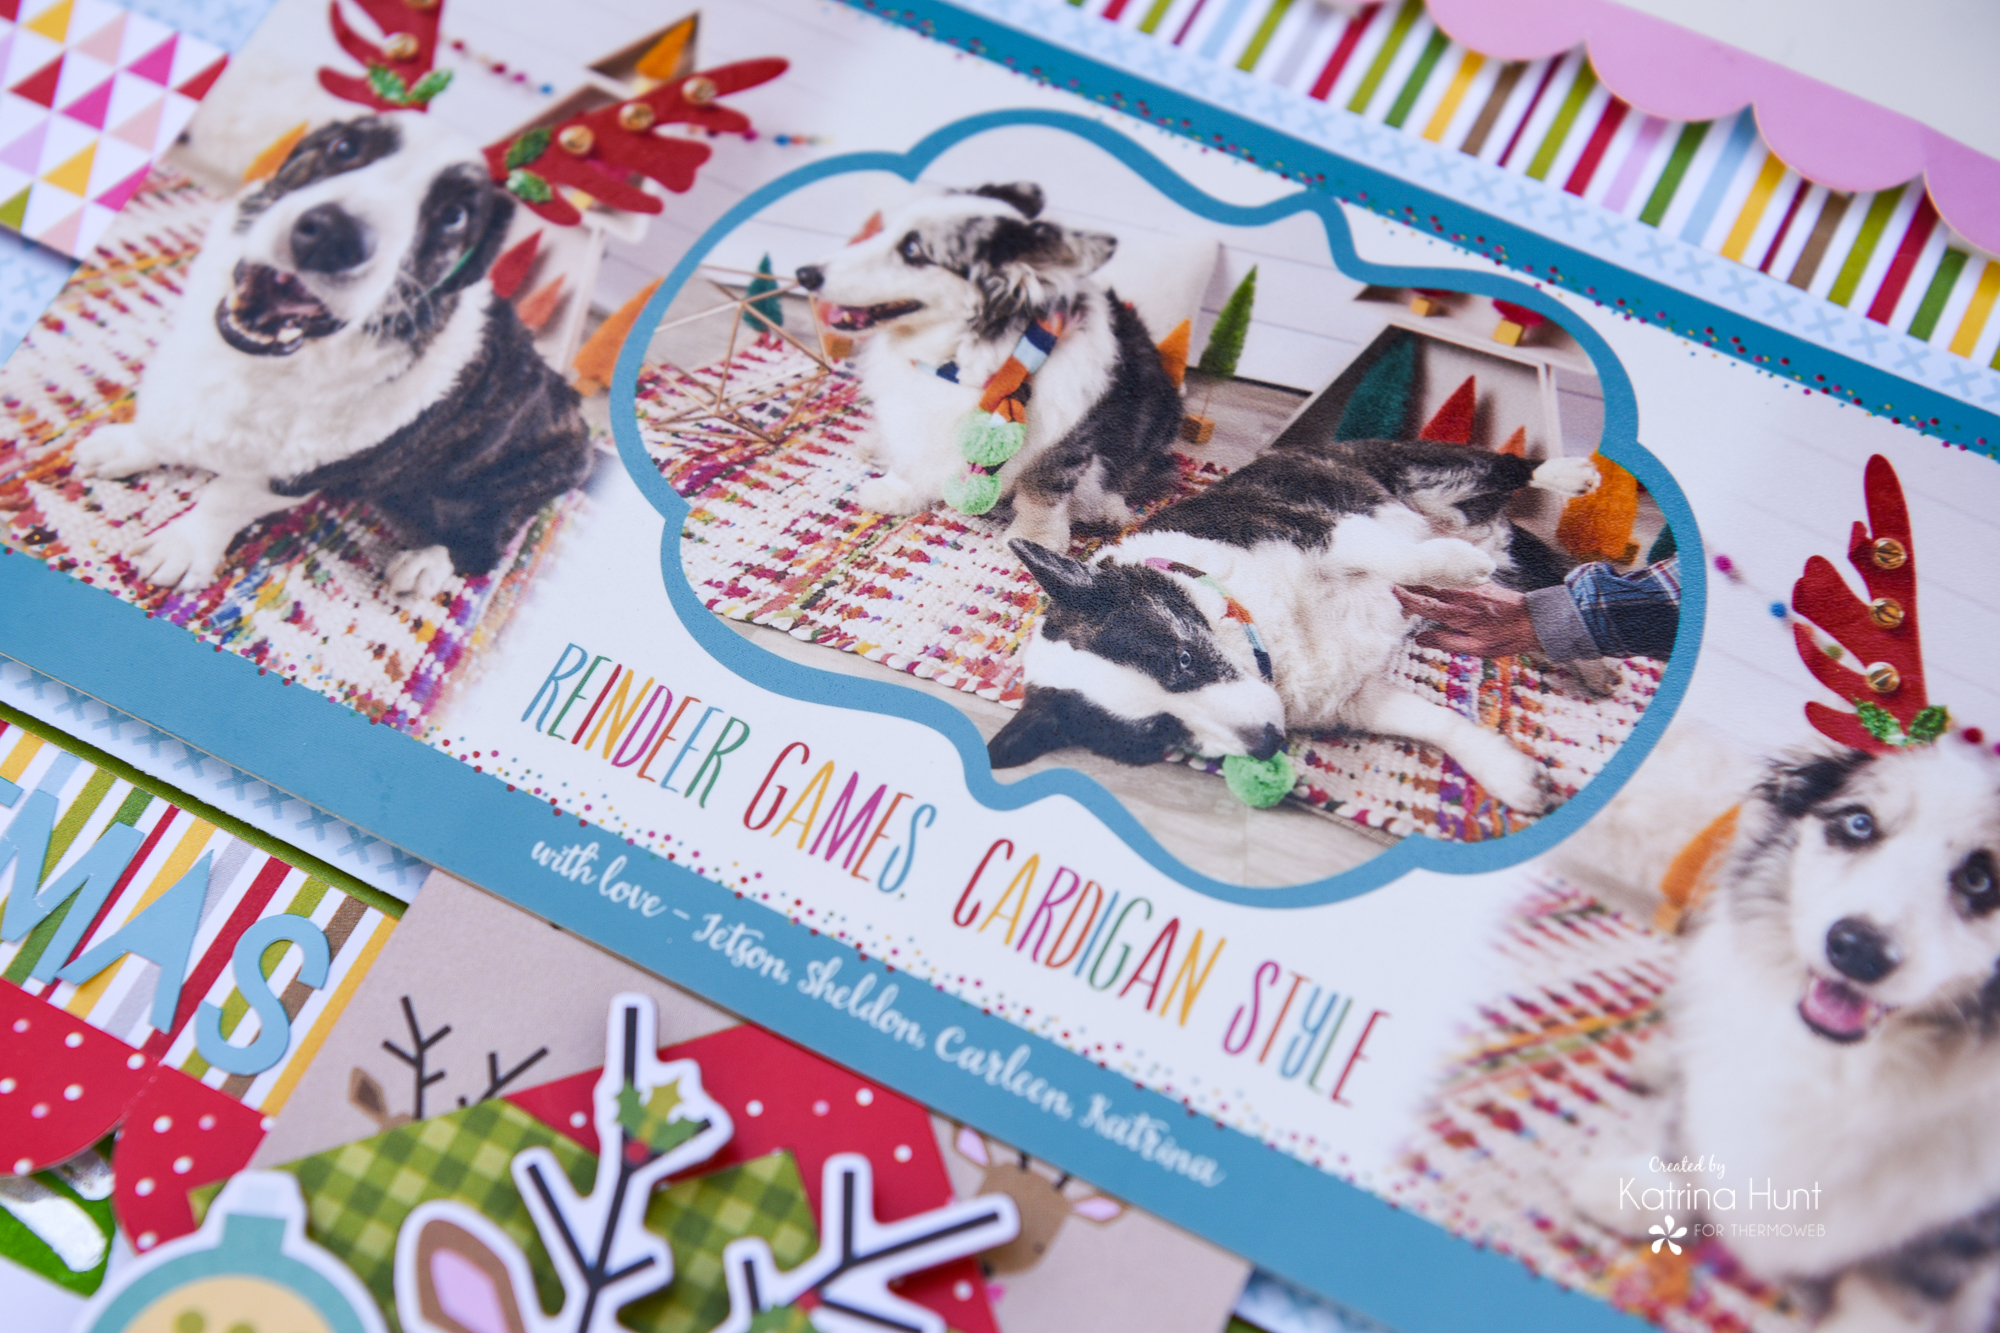
The picture was our Christmas card from 2019, so I kept the title simple with just Christmas 2019 and then made the little reindeer area to separate those. If you are wondering about picture dimensions….it’s a 4×8 sized card. Sooo…is that a slimline?! LOL LOL
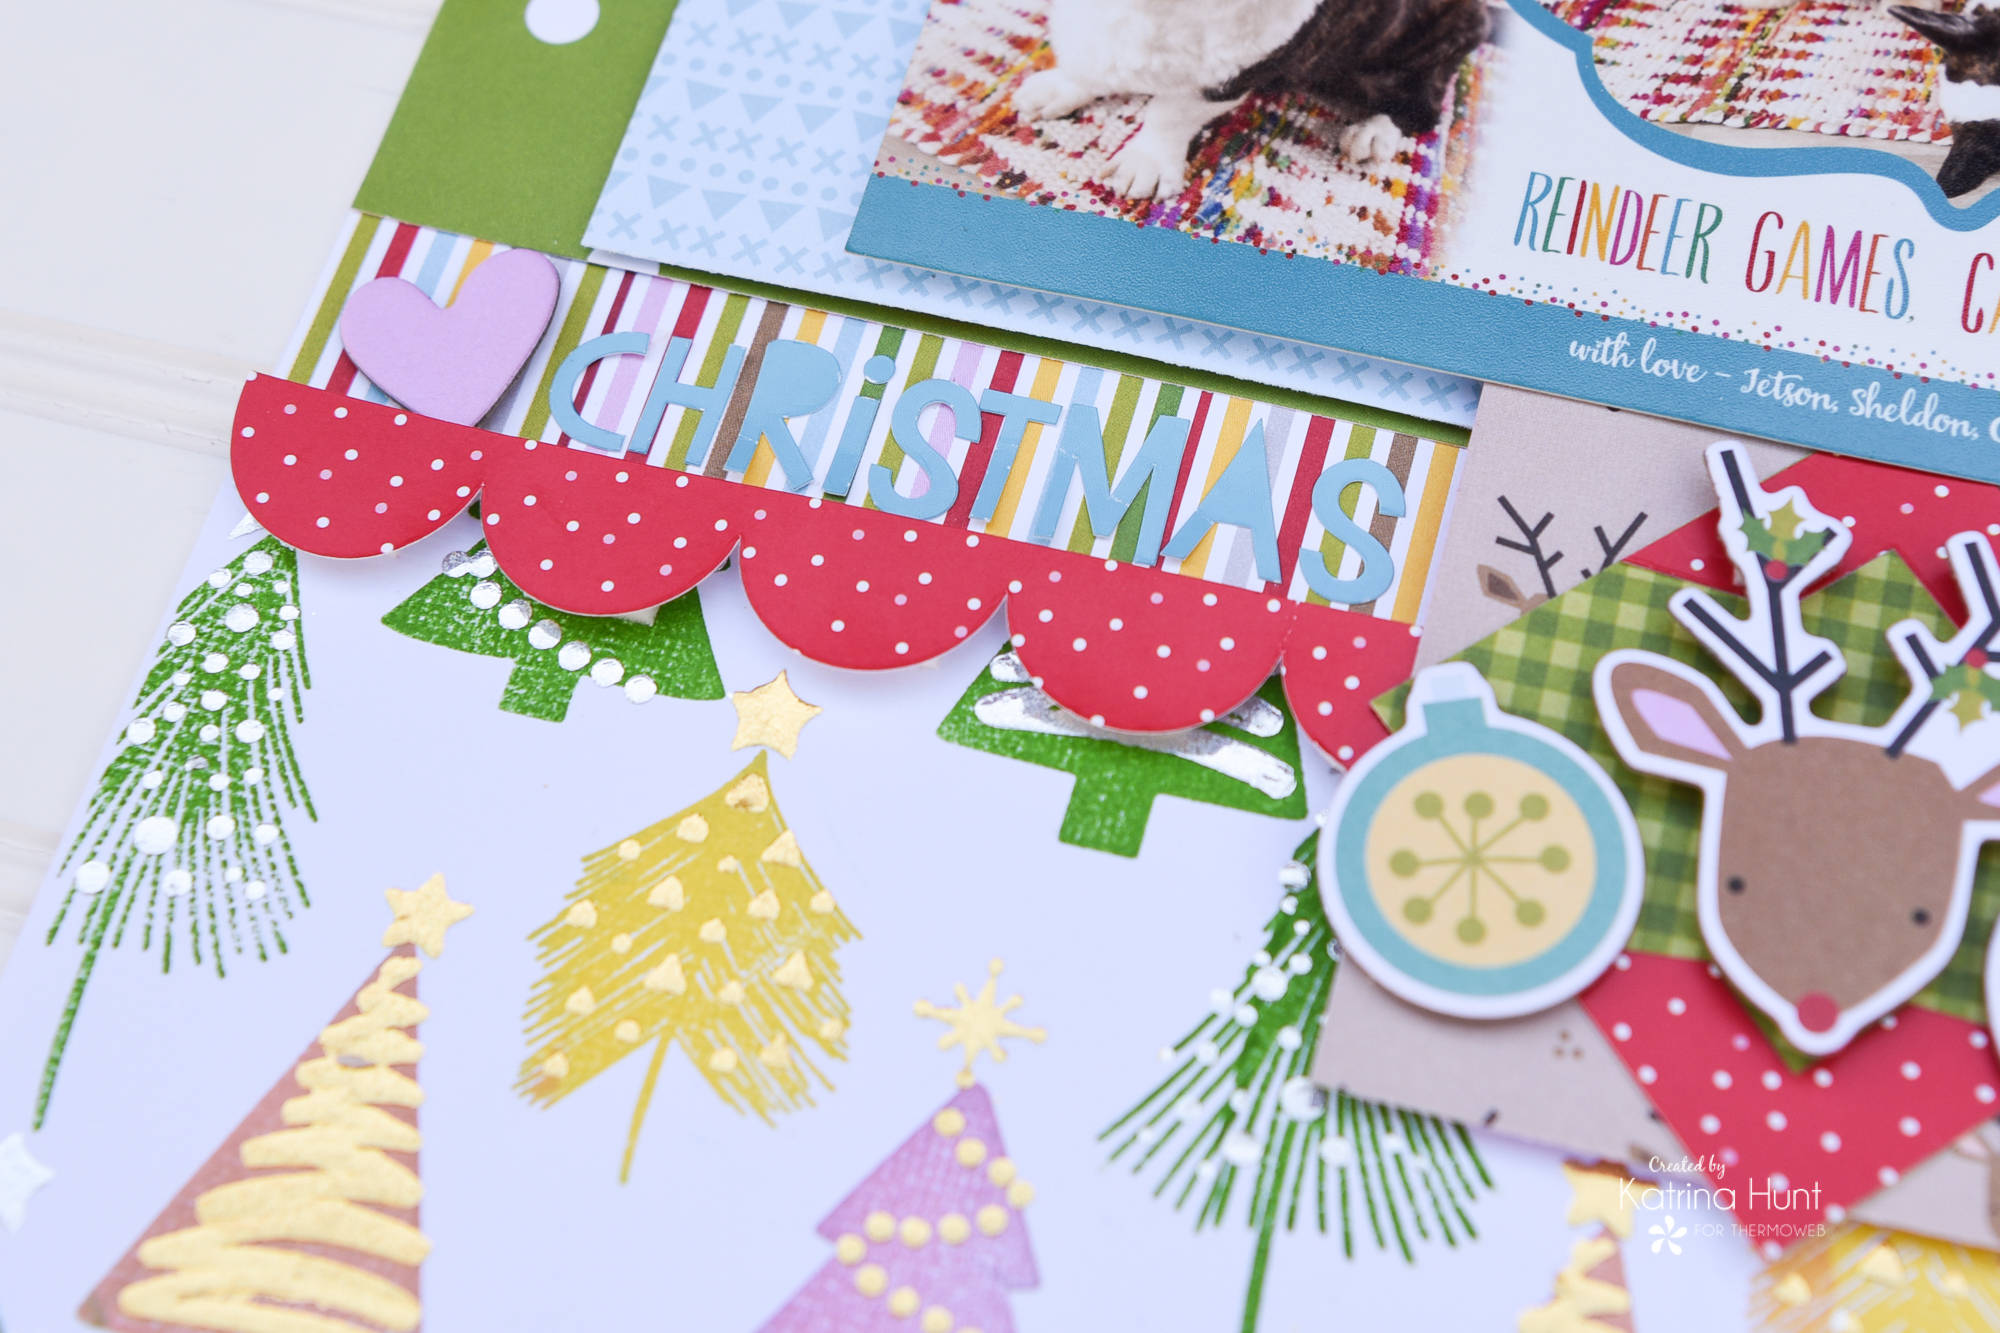
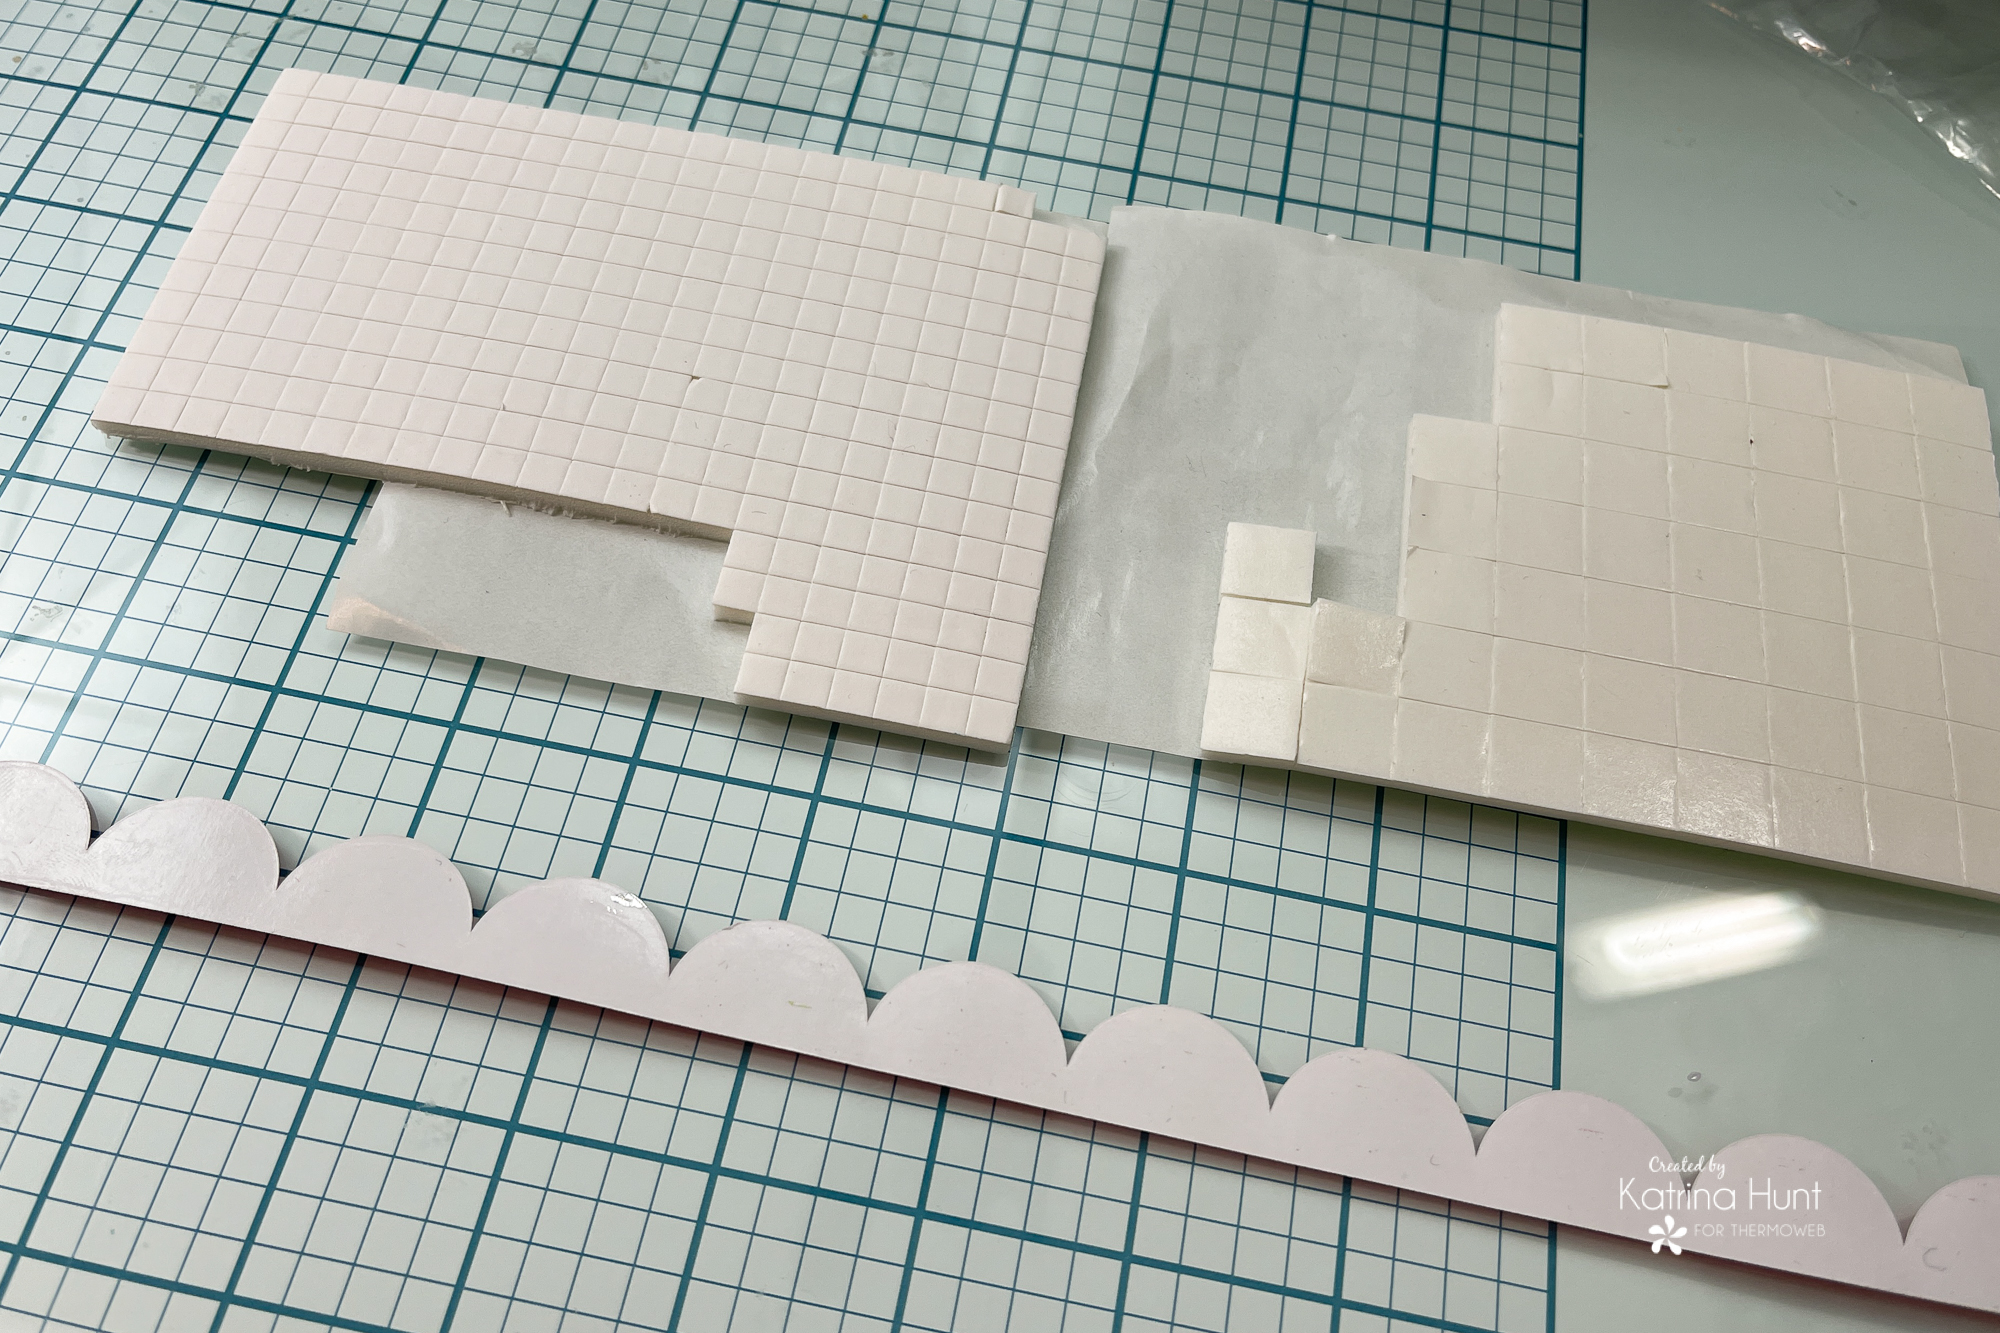
 While putting my layout together, I also used foam tape and squares of various sizes. The scallops were done with a foam square on each scallop.
And one last close-up of what USUALLY happens when we take the dogs to get photos! Sheldon and Jetson are gone now, but these pictures make me happy!
Thanks for stopping by the blog today. This paper collection is from last year, but I checked and it’s still available in a kit form. I hope my layout inspires you to GRAB that Unity Bundle and some other goodies from the Therm O Web store!
This post contains affiliate links. For more information, see our disclosure HERE.

[…] Visit the Therm O Web blog for more details. […]
[…] Go to the Therm O Net weblog for extra particulars. […]