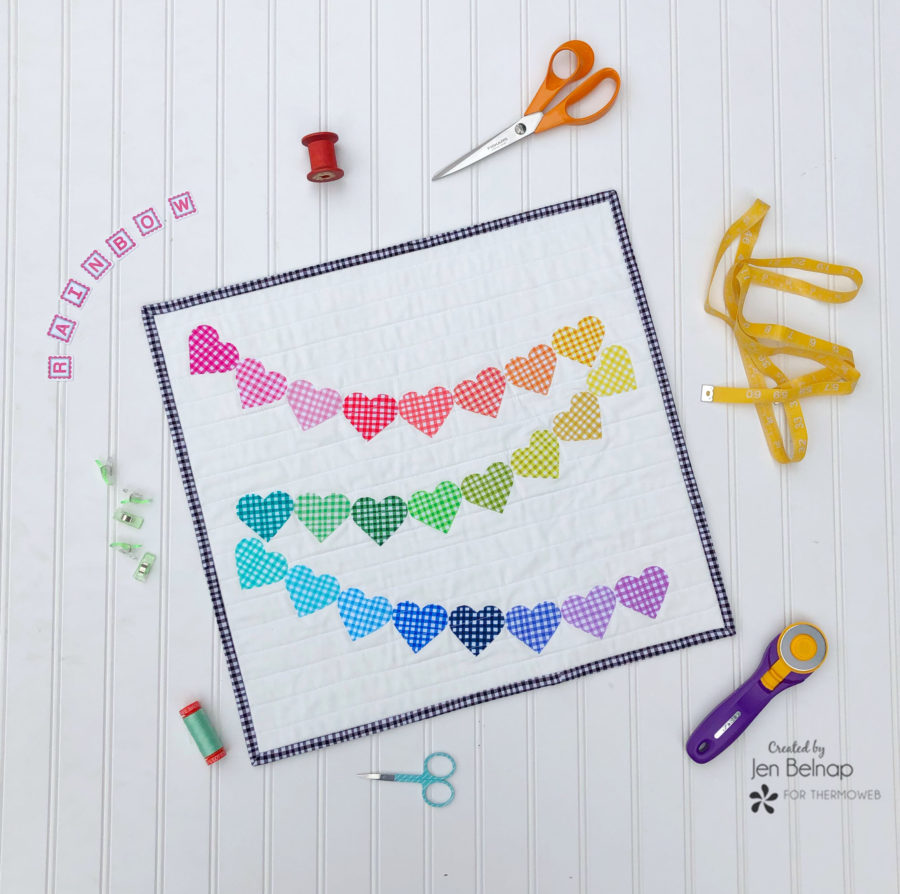
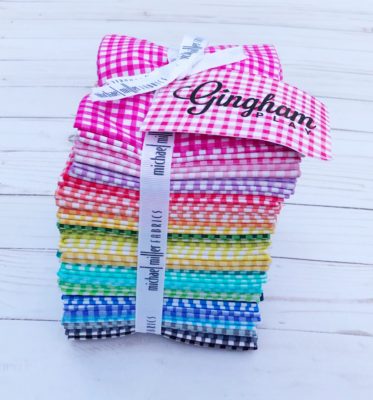
Hi! It’s Jen from The Smitten Chicken here today sharing my love of all things rainbows! I love putting things in rainbow order. So when this cute bundle arrived from Micheal Miller Fabrics, my rainbow heart nearly exploded. And its gingham! Which is one of my favorite fabric patterns.
Rainbow Hearts Mini Quilt
If you have been following me for a while, you also know that I love garlands! I string them up for any and every holiday. And I love hearts! So I came up with a mini quilt that has all three…hearts, rainbows, and garlands! Do you want to make one too?
Supplies you will need:
Rainbow fabric (I used a Fat Quarter Bundle, but you could use a charm pack or scraps!)
HeatnBond Ultra Hold Fusible Adhesive
20 Inch Square Background Fabric
Batting
Backing fabric
1 fat quarter for binding
Iron
You will also need to print off this FREE PDF pattern for the hearts. Or if you have an electric cutting machine you can cut out the hearts with this downloadable SVG file.
Let’s get started!
Rainbow Heart Mini Quilt
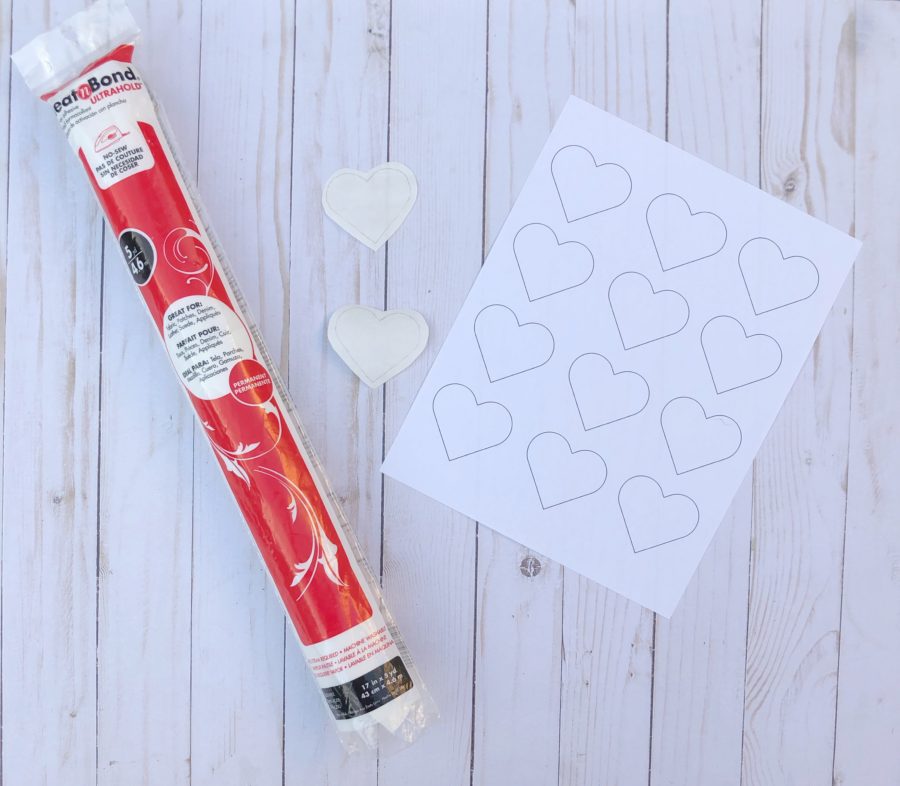
I chose to print out the PDF pattern. You will then need to trace 24 hearts onto the paper side of the HeatnBond Ultrahold. After you are done tracing, cut around each of the hearts, leaving about 1/4″ around the heart.
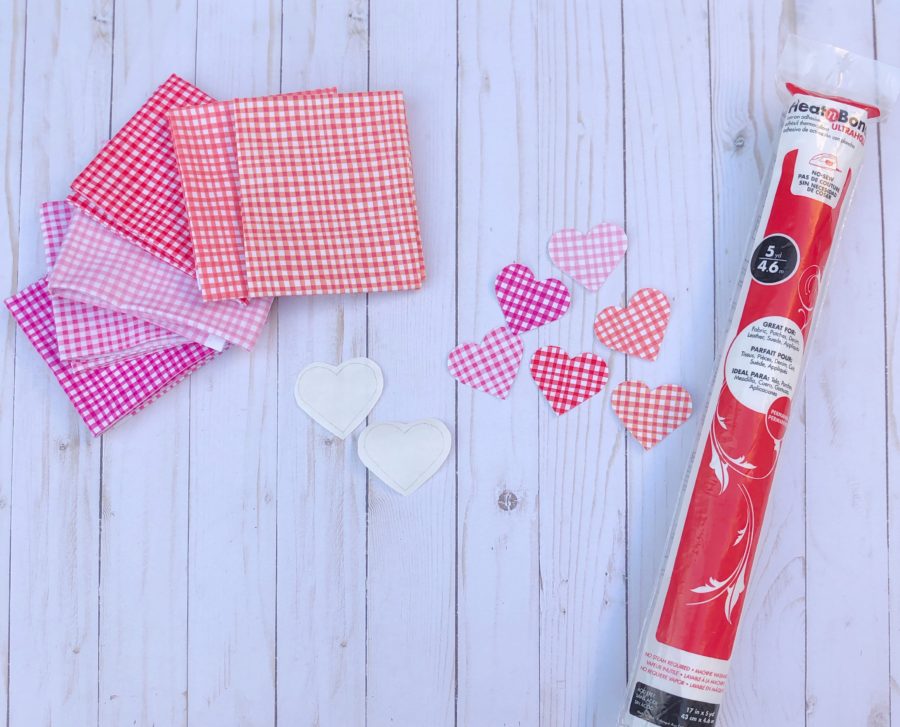
Adhere the heart shapes to the wrong side of the fabric using the manufacturer’s instructions. Then cut the hearts out on the traced line. I cut out one heart per color. Aren’t these pink and red hearts so cute?
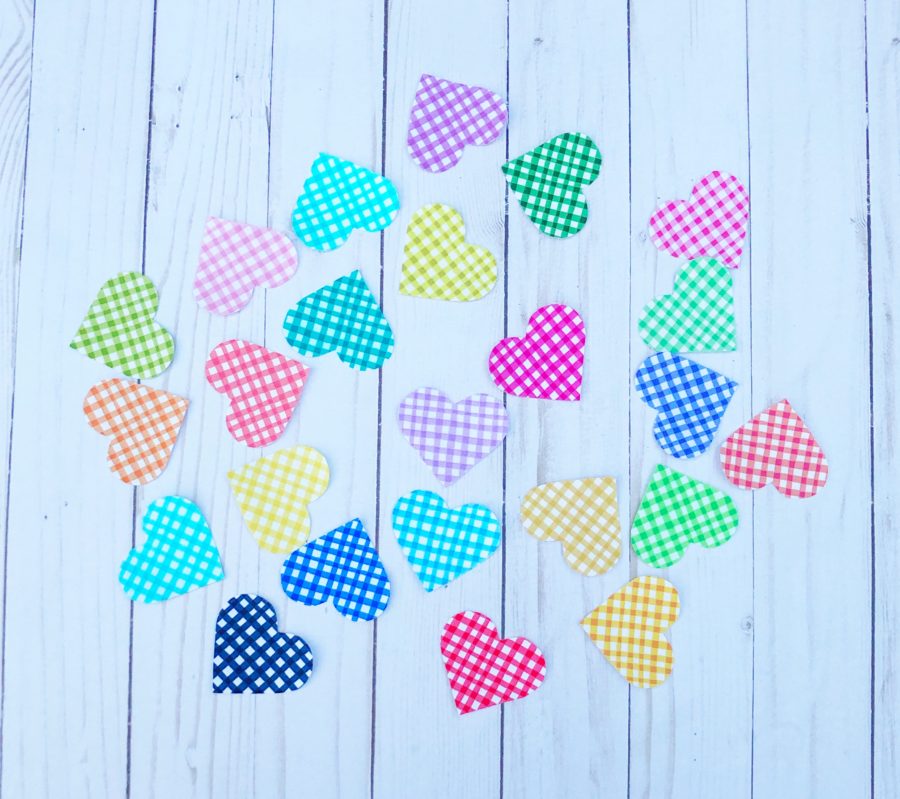
Finish cutting out all of the hearts. Then you will have a rainbow of hearts! Now you are ready to adhere the hearts to your background fabric.
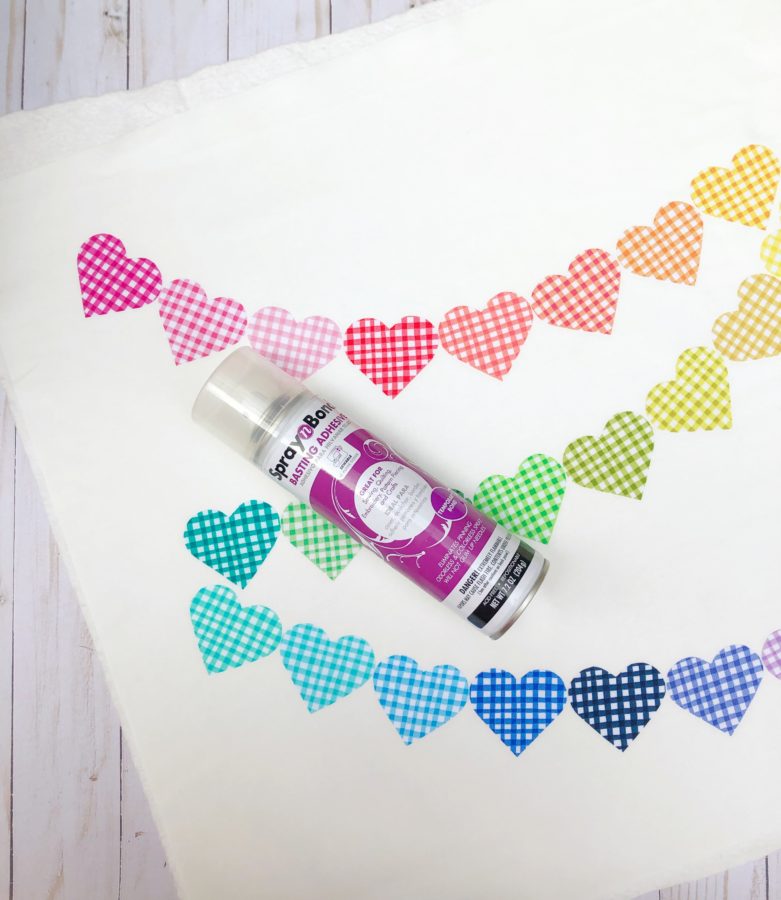
Arrange the hearts in rainbow order! I chose to make a garland string of hearts. There are 8 hearts per row. Adhere the hearts to the background fabric with your iron.
Then you will make a quilt sandwich which consists of your backing, batting and quilt top. Baste the layers together using the SpraynBond Basting Adhesive. This is my favorite way to baste a quilt! It is so fast and it never gums up my needle while quilting.
Then quilt as desired! I quilted straight lines 1 inch apart on my quilt. Trim and square up your quilt.
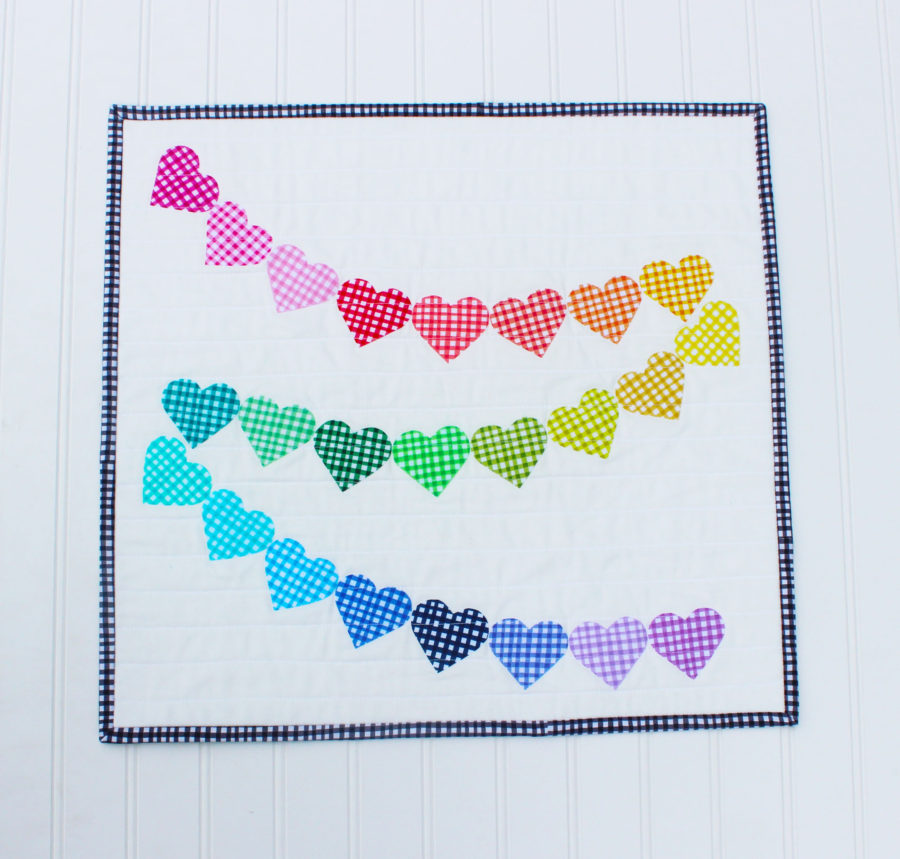
Last of all, you need to bind your quilt. I chose to use the black gingham fat quarter. Cut 4 strips at 2 1/2″. Use your favorite binding method to bind this mini.
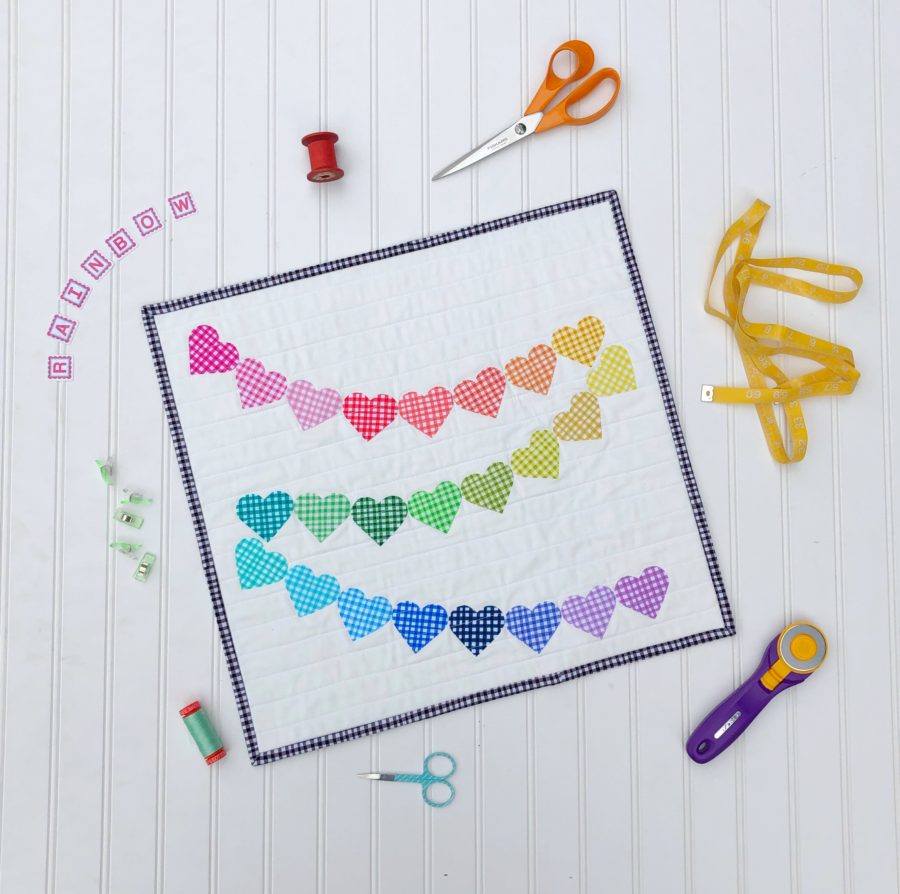
I couldn’t resist placing some of my favorite sewing notions in rainbow order around my mini quilt! All the love and hearts for my rainbow tools too!
Thanks for following along today! If you would like to see more of my quilting adventures you can follow me on my blog, Instagram, Facebook and/or Pinterest!
Chirp Out!
Jen
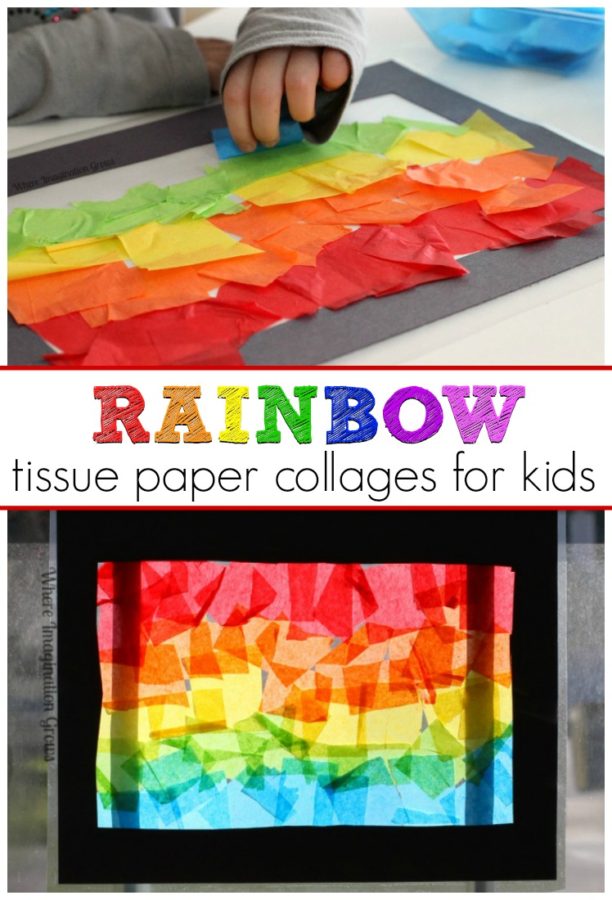
Was it just us who as a kid LOVED making those “stained glass windows” in art? No matter your age they’re an easy way to brighten up someone’s view. Perfect for a craft idea to then take to a senior home to bring some cheer! Kids can make rainbows along with flowers, birds…endless options.
Click here to get started on this fun craft!
And we have more rainbow crafts right here on our blog to share!
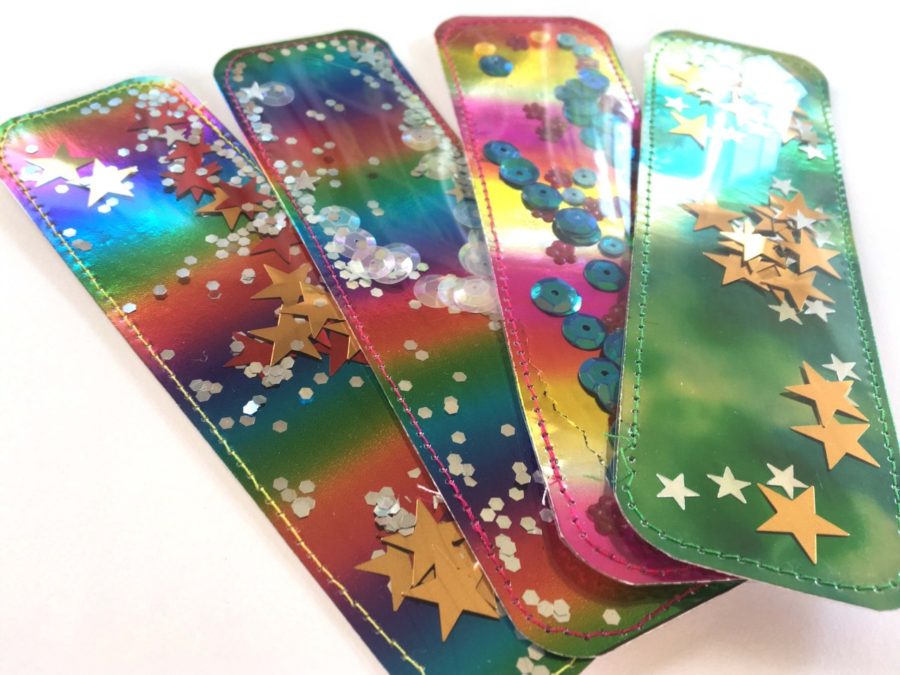
Grab some of our Deco Foil Transfer Sheets and get busy making these Rainbow Bookmarks!
You’ll need our Deco Foil Toner Sheets along with your choice of Deco Foil Transfer Sheets!
Shop online HERE for these supplies and more!
3 Comments on Rainbow Hearts Mini Quilt
2Pingbacks & Trackbacks on Rainbow Hearts Mini Quilt
-
[…] check out the Thermoweb Blog for this FREE pattern I designed. Then you can make a Rainbow Heart Mini quilt […]
-
[…] Rainbow Hearts Mini Quilt […]

Barbara Opett
April 12, 2019 at 9:33 am (6 years ago)Sew Pretty