We’re kicking off a new week with more NEW products because that’s just how we do things!
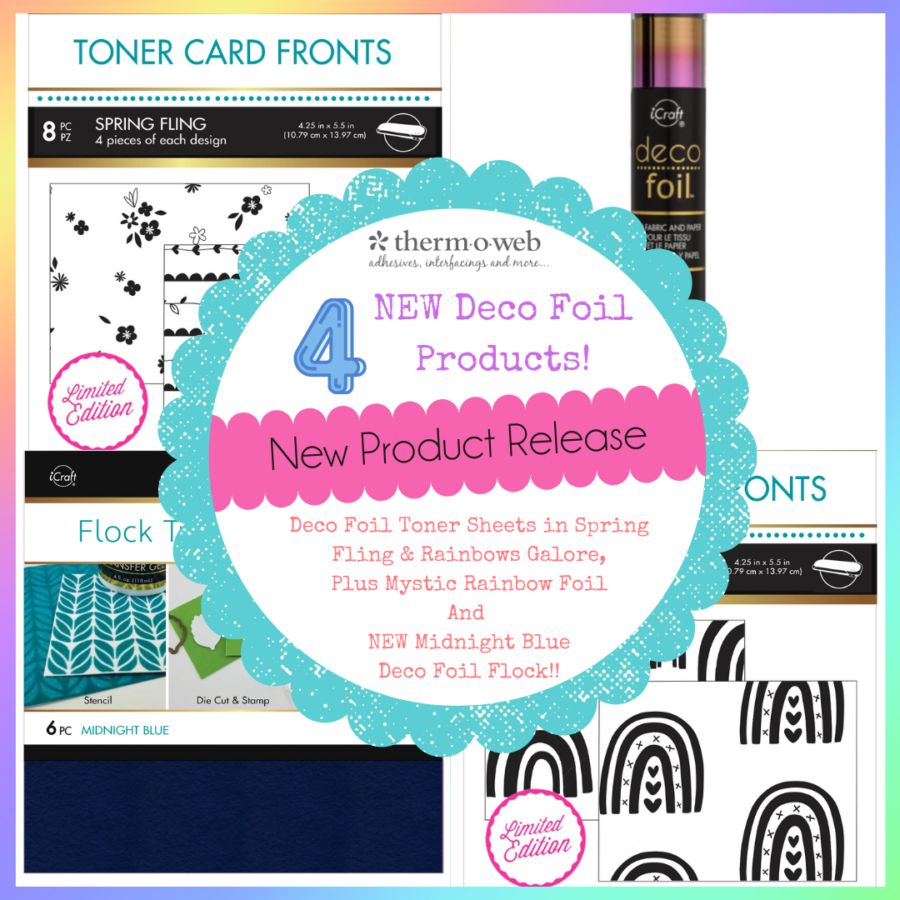
We could not be more excited about our NEW Mystic Rainbow Deco Foil, our two NEW sets of Deco Foil Toner Sheets – Spring Fling and Rainbows Galore and if that wasn’t enough…our NEW Midnight Blue Deco Foil Flock Transfer Sheets.
All this week we have projects to share with you featuring these new products that we’re certain you’re going to love as much as we do! Be sure to read through this post and then get entered to win a $40 Gift Card to shop with us!
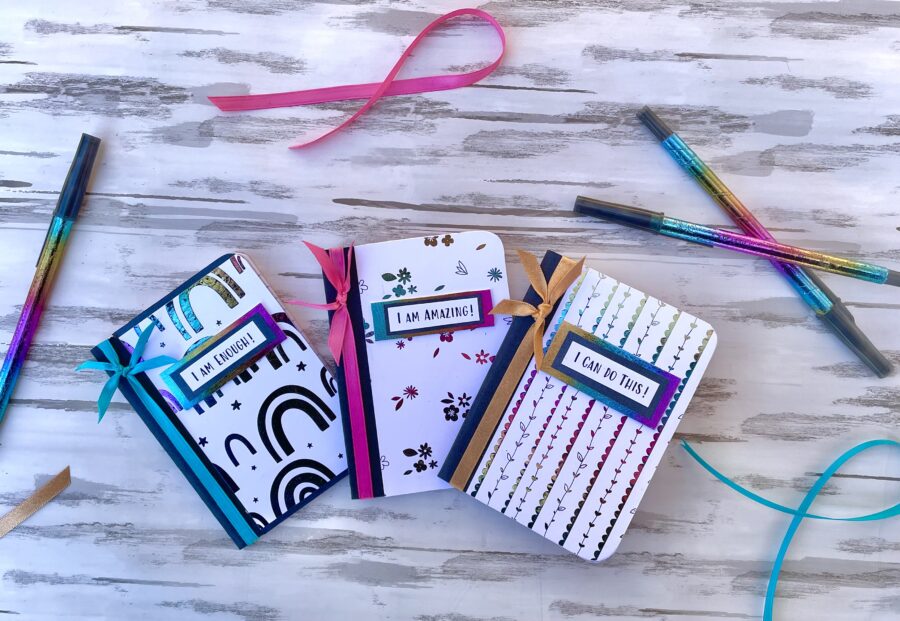
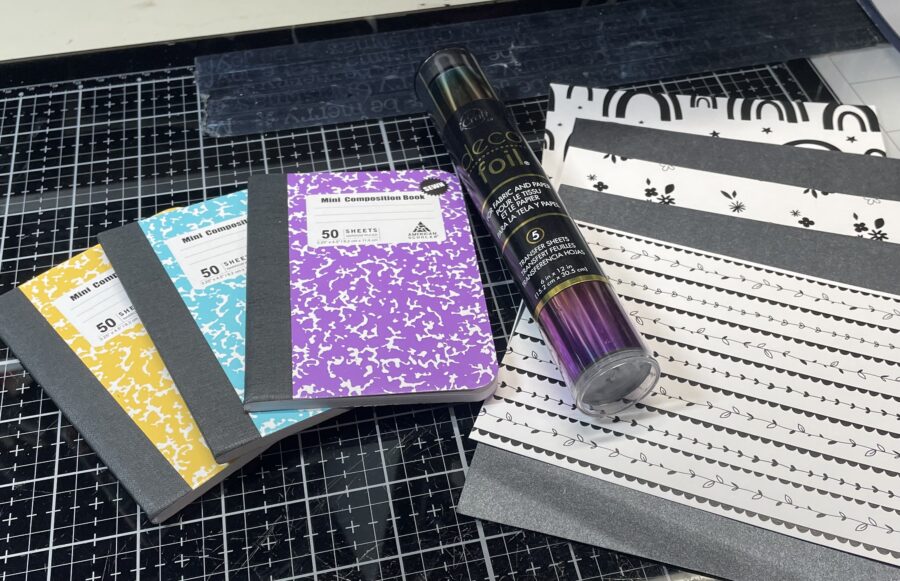
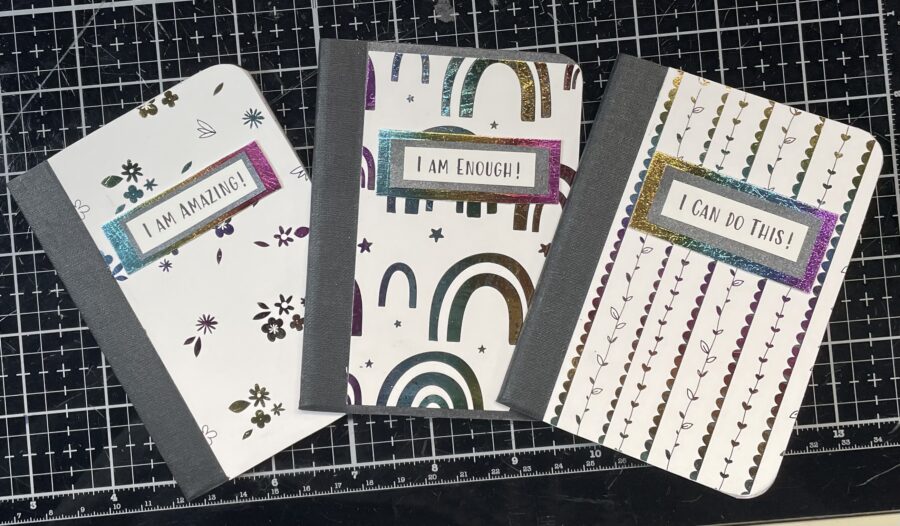
Hello crafty friends! Today I am here to share my mini affirmation notebooks with matching pens that highlight the new Mystic Rainbow Deco Foil Transfer Sheets and the Spring Fling and Rainbows Galore Toner Sheets. I needed some baby shower prize gifts and thought these would be just the thing. With affirmation products being so popular right now, this is a great way to make your own. These were so fun to play with and the end result is bright and happy! Make sure to read to the end for the BONUS PEN PROJECT.
Rainbow Affirmation Notebooks with Matching Pens
Notebook and Pen Supplies:
iCraft Deco Foil Transfer Sheets – Mystic Rainbow
iCraft Ultra Bond Liquid Adhesive Pen
iCraft Double-Sided Adhesive Foam Tape
iCraft Easy-Tear Tape, 1/4 in x 25 yd
iCraft PeelnStick Craft Double-Sided Adhesive
Other Supplies: mini composition books, cardstock or solid color paper, ribbon, printed affirmations, pens, powder, and laminating or foiling machine.
Affirmation Notes Step One
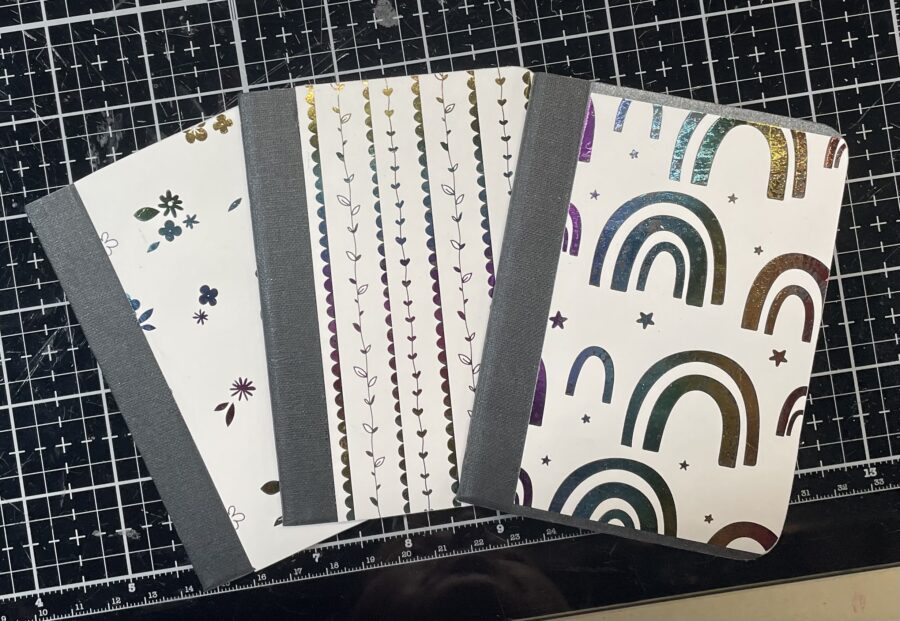
To begin you will need a few mini composition books or notebooks. I found mine at a local dollar store in a three-pack. These are a great size for the Toner Sheet card fronts, but you could also go larger and still use the card fronts.
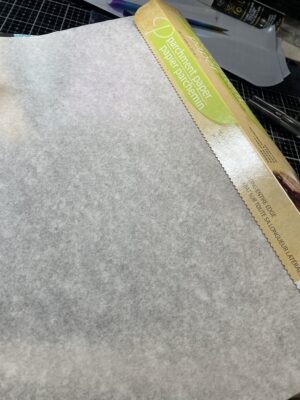
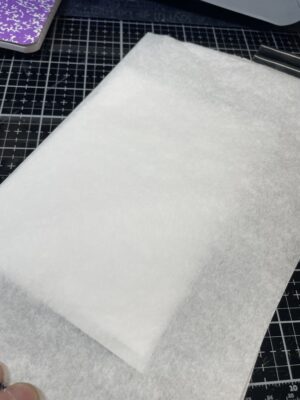
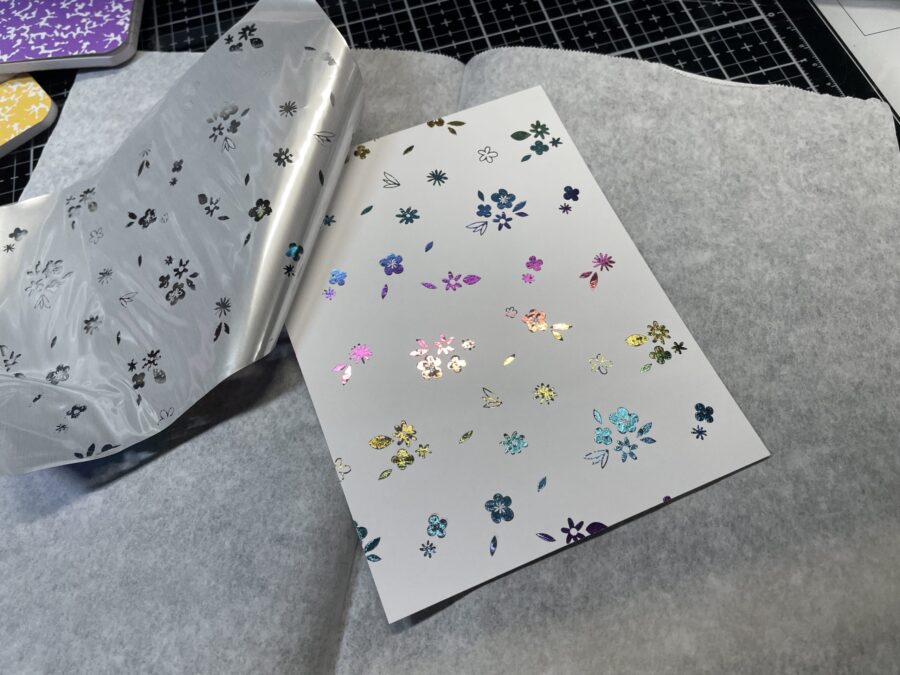
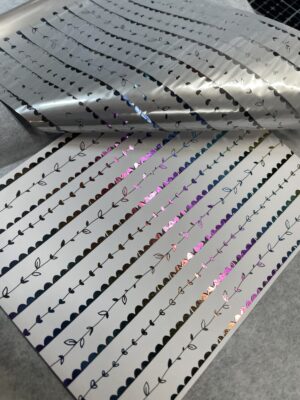
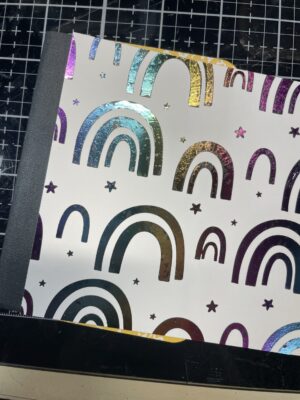
I chose one of each design and foiled them with the fabulous new Mystic Rainbow Foil Transfer Sheets. I like to use inexpensive parchment paper as carrier sheets for my foiling. Just tear off a piece twice the size of your project and fold it in half.
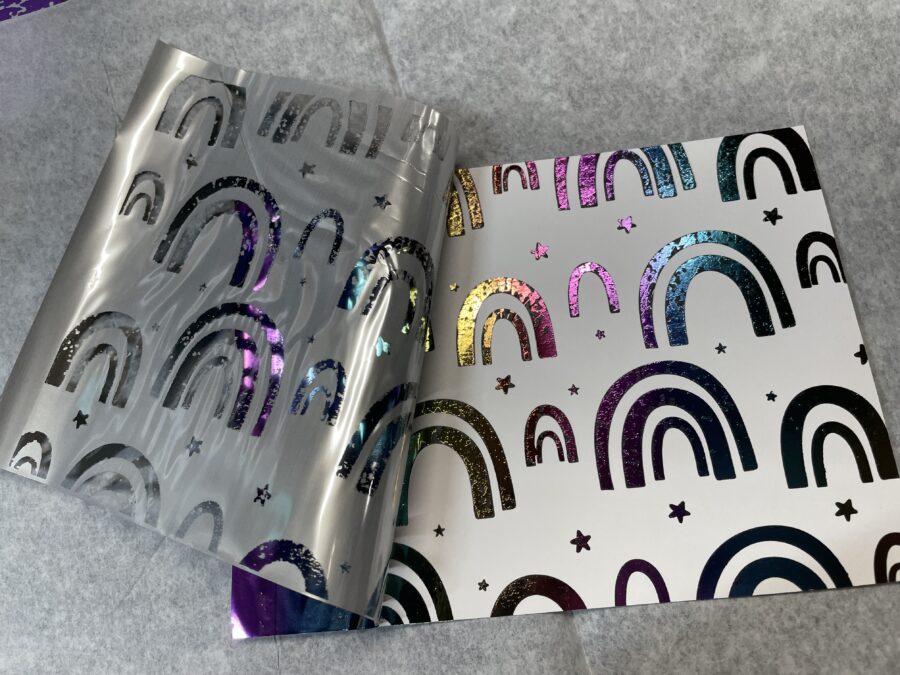
Place your Toner Sheet inside the parchment “folder” with your trimmed down foil transfer sheet (dull side against the toner printed side) and run through your machine.
Hint: I like to run mine through the machine twice, one face side up and one upside down and it always gives me a really nice, foiled image.
Affirmation Notes Step Two
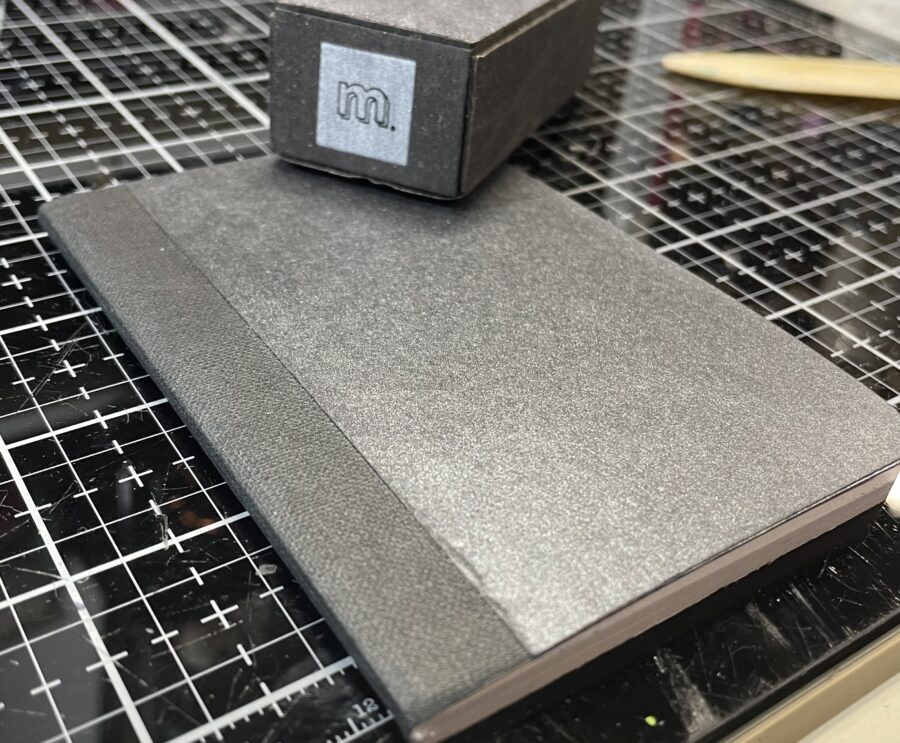
Secondly, adhere your toner sheets to the front of your composition books. As you can see, with the rainbow pattern I did need to use a solid color paper underneath because to have it directionally correct it was a little short. That did not deter me and I think it looks great.
I want to stop here and talk about Ultra Bond Liquid Adhesive for a minute. This adhesive is definitely my top choice for this type of project. The viscosity is a bit thicker than most which give it the ability to grab onto thicker papers like the Toner Sheets. Even though it’s thicker, it still dries super fast and the paper to paper hold is phenomenal. If you are using a thinner adhesive for this project, you may need to hold your Toner Sheet in place until it dries or it will probably move and “float” a bit. Because we are lining it up with the fabric binding, you want a nice straight edge.
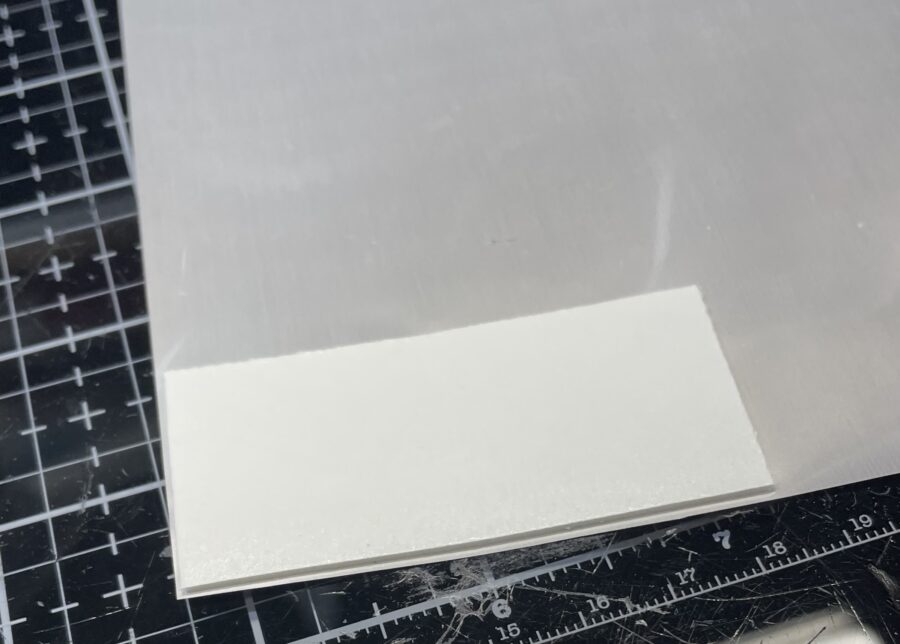
Next, trim off any excess Toner Sheet and use a nail file or sanding block to lightly sand the edges for a clean finish. I added the solid color paper to the backside of the composition books to save my Toner Sheets for even more books.
Hint: Less is more. Do not put too much adhesive because the Ultra Bond goes a long way.

Affirmation Notes Step Three
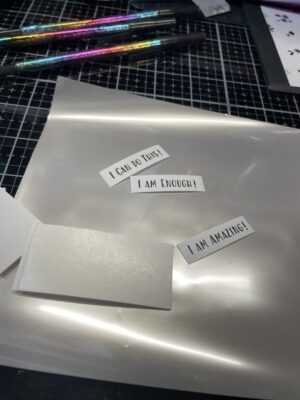
Next, we will add our affirmations. I wanted to bring just a little more of that Mystic Rainbow foil onto the cover. To do that, I used small pieces of Adhesive Foam Sheet, peeling off one side of the release paper and pressing it directly onto the dull side of the foil sheet. Burnish it lightly and then peel it up (I missed getting a photo before I adhered my affirmation – but it was so pretty). I think it looks great on the front cover.
Hint: If you don’t want to use affirmations, the possibilities are endless. You could use a simple title “notes” or even something personal to the recipient.
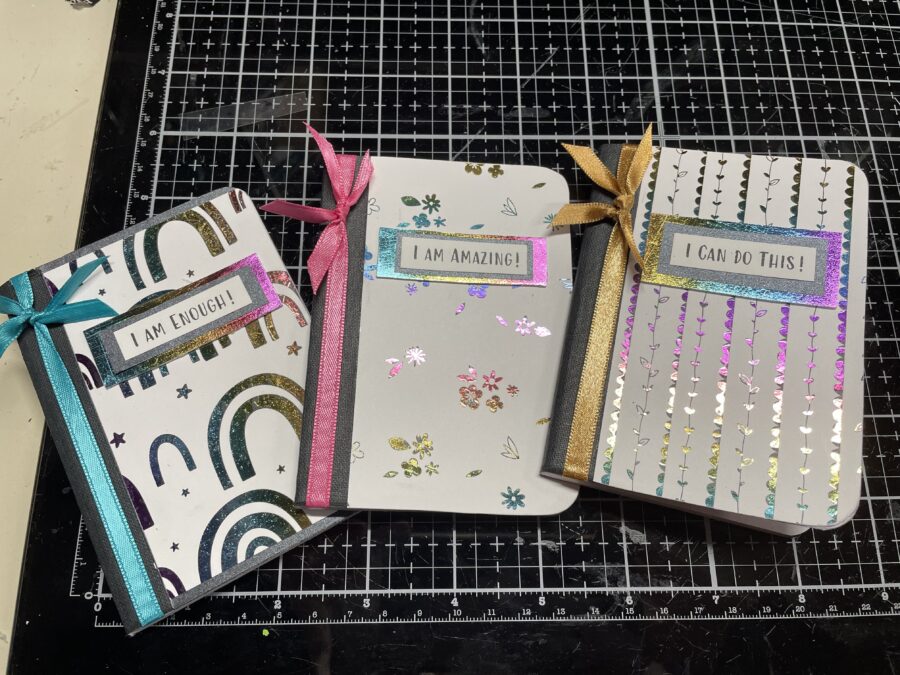
Affirmation Notes Step Four
Finally, to finish off the cover, add a bit of ribbon for even more color.
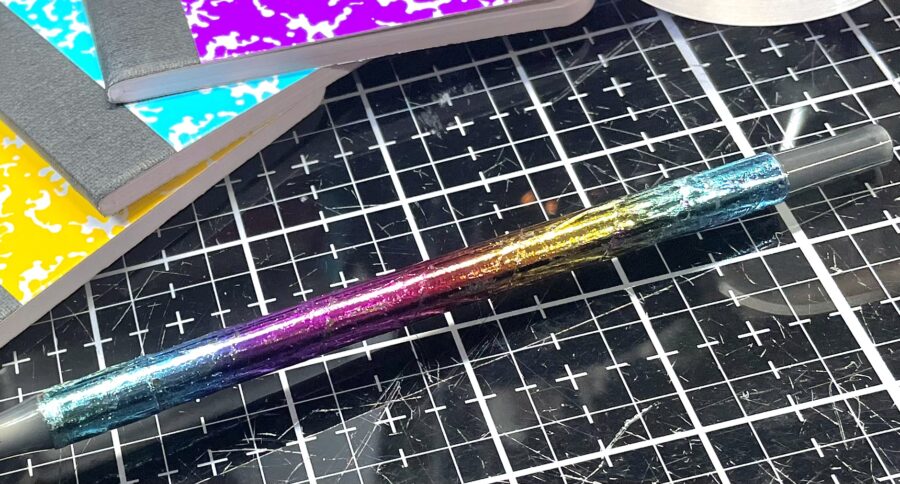
Let’s Talk Rainbow Foil Pens
I wanted some pens to match my notebooks so I decided to make some. I tried two different ways and I feel like they both look great.
First I tried Easy-Tear Tape which worked great after I realized the trick. You need to put a straight piece of tape at both the top and the bottom and then wind the tape diagonally down the barrel of the pen. I used scrap pieces of Foil Sheets and wrapped them around the taped area and burnished it. When I peeled it off I was amazed with the result!
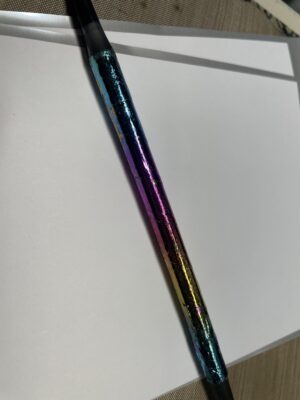
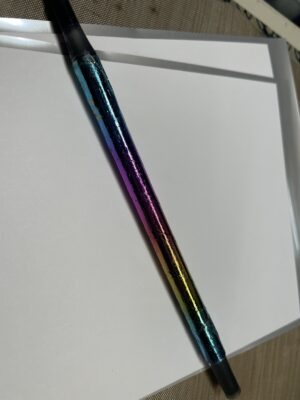
Next, I tried PeelNStick Adhesive Sheets which proved a little easier. With an adhesive sheet, there is no winding down the barrel. Just cut to size and wrap around the pen and add foil. I will say that this adhesive is a bit thinner so if you have a pen with a lid, this method is preferable. But as you can see from the last two images, they both look the same.
 After you foil your pens use a bit of powder (I used my powder pouch that I use when heat embossing) and brush it liberally over your pen to remove any sticky areas. Buff with a soft cloth to bring back the shine and your pen is ready to go!
I hope you enjoyed this tutorial and that it inspires you to put foil on everything!