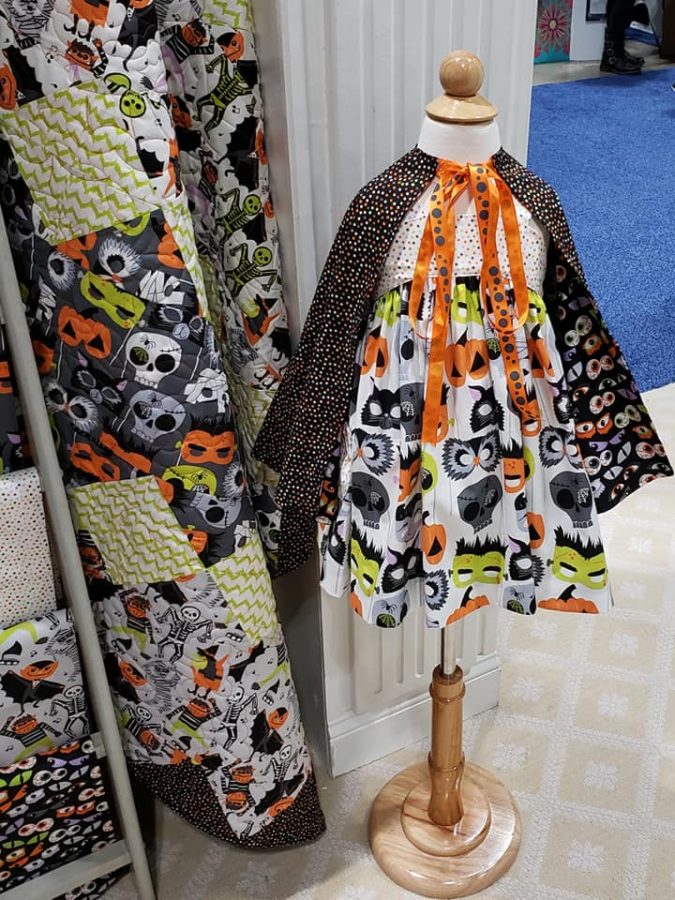
Hi, this is Jenifer here with you today. I’m going to share this little cape that I made that ended up in the Blend booth this spring. It is such a cute little cape, it is reversible and you can swap out the fabrics for endless possibilities.
Halloween Cape
Easy Halloween Cape Instructions
HeatNBond Woven Fusible Interfacing
Aurifil Thread #2021
Other Supplies:
Erasable marking pen, Iron (Oliso Pro), sewing machine, sharp scissors, other general sewing supplies, zipper, ribbon
This is very easy to sew and a great project for a beginner.

Step One
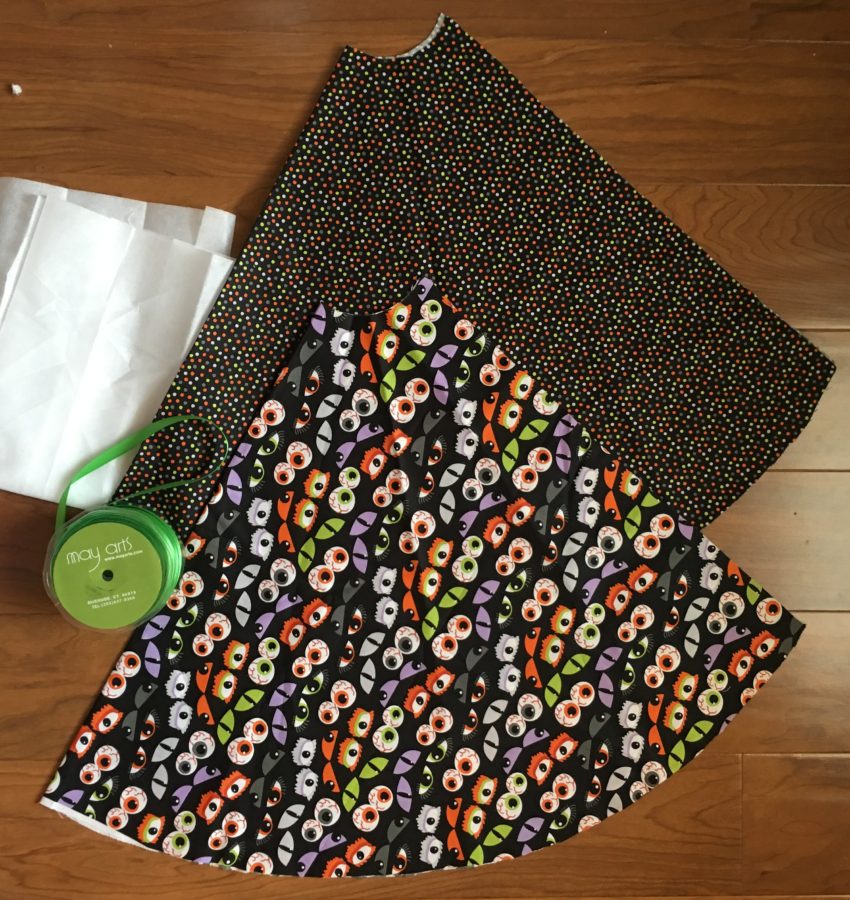
Fold your piece of fabric so that it is square. If your fabric is 44″ then fold it in half so it is 22 inches. You will make a circle from the 22″ on the fold to the 22″ on the salvage.
Step Two
Then cut a smaller circle from the top for the neck.
Step Three
Last cut two pieces in your fabrics and one in your interfacing.

Step Four
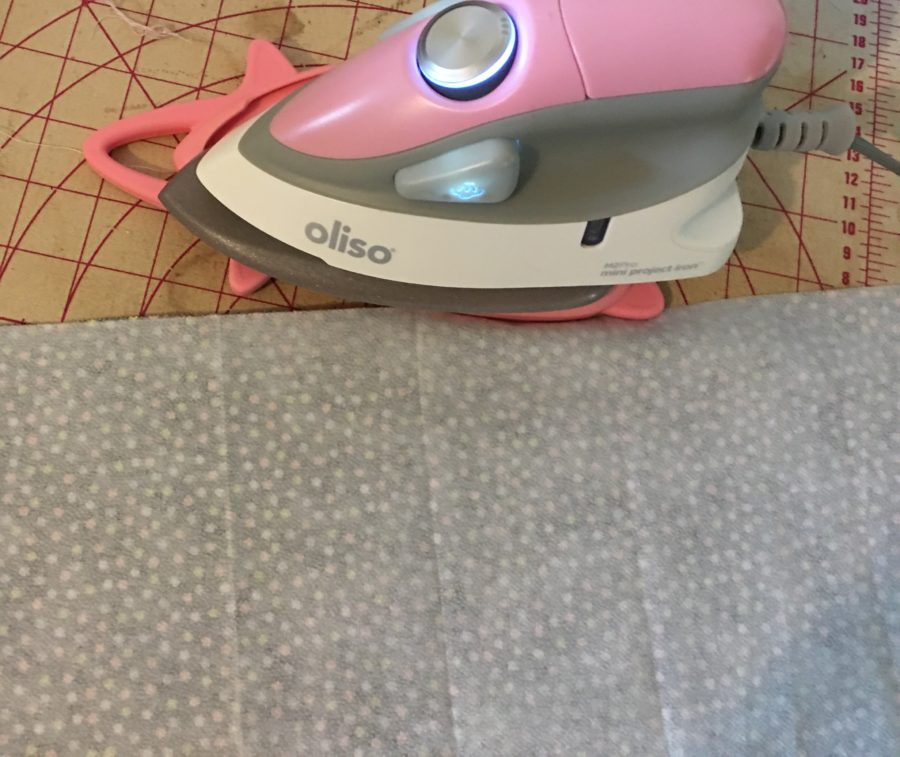
For a bit of added stability, I adhered HeatnBond Woven Fusible Soft Interfacing to one side of one of the fabrics.
Step Five
Sew around all of the edges leaving a 4″-5″ space to turn it right side out then stitch up the opening.
Step Six
Add a length of ribbon to each neck corner and you have a cape or a superhero.

