


My son-in-law, with the help of my daughter, had sewn his own necktie, but there were things about it he didn’t like. He showed me the changes he wanted and with his help, I drew up a tie that was exactly what he was picturing: A skinny tie that wasn’t too thick around the neck.
Quick to Make Boys Ties with HeatnBond Fusible Interfacing
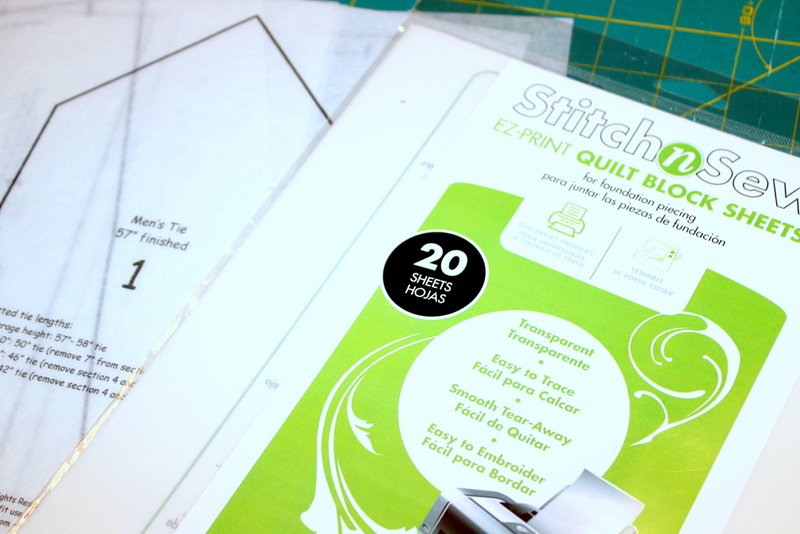
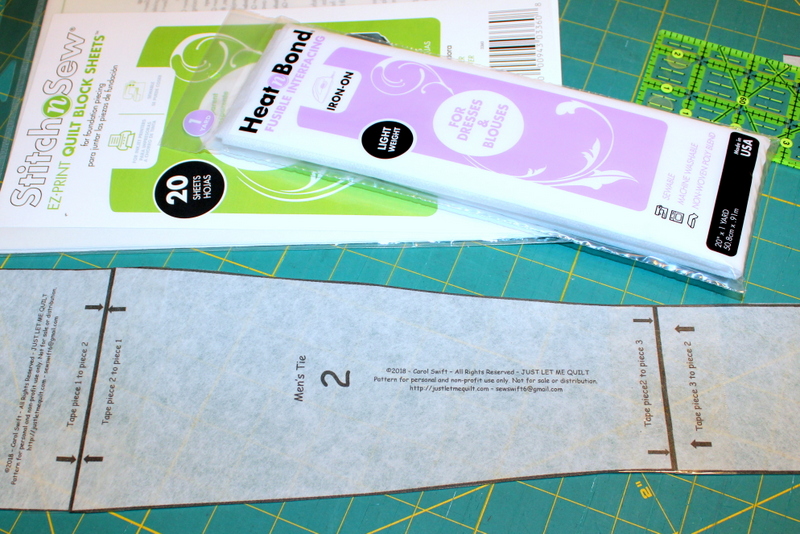
Because the tie was fun and easy to make, I printed the pattern on StitchnSew EZ Quilt Block Sheets before cutting the fabric.
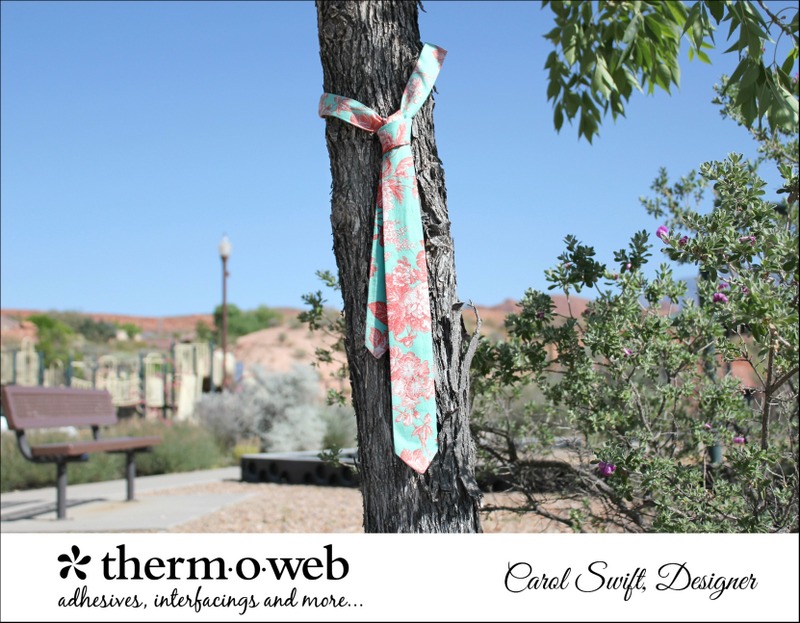
This Ties On You
A quick and easy skinny tie pattern for men, boys, and toddlers
By Carol Swift from Just Let Me Quilt.
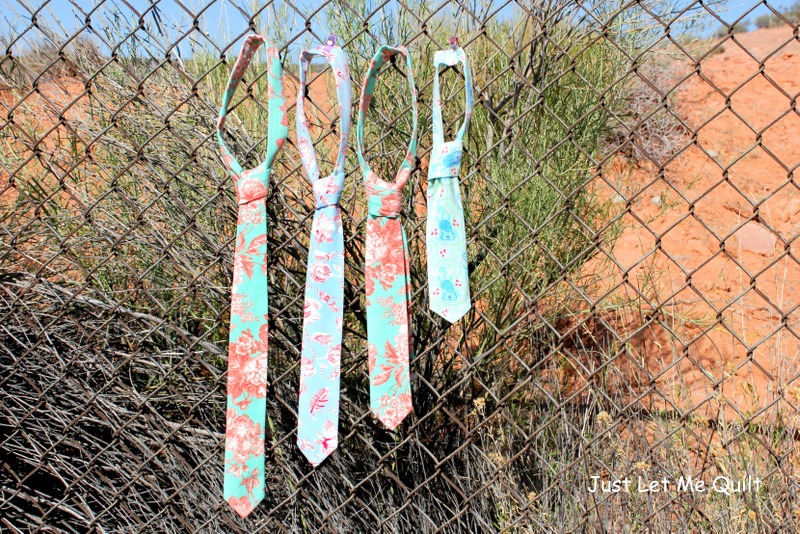
 I added a few extra sizes to the pattern, so the six grandsons can have a tie, too. Printing the patterns using Stitch n Sew EZ Quilt Block Sheets will make it easier for me to make more ties for them!
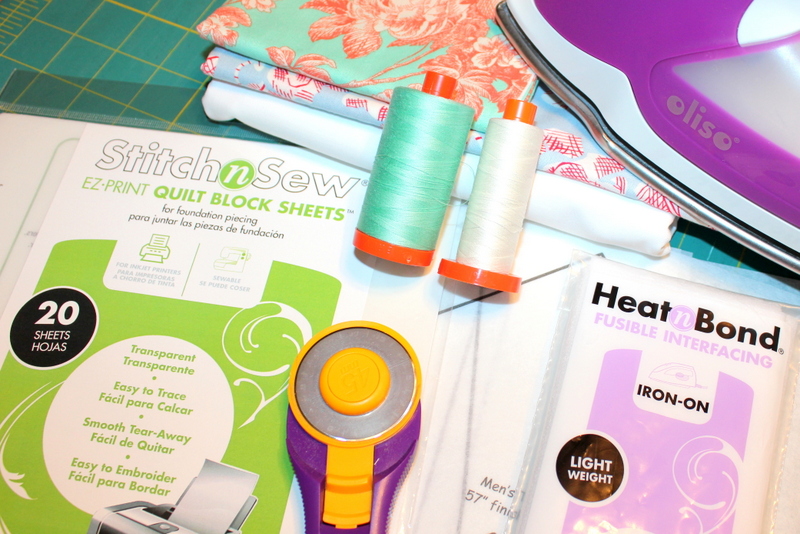
 Supplies you’ll need to make a tie:
Stitch n Sew EZ Quilt Block Sheets
Heat n Bond Fusible Interfacing – lightweight
Aurifil Thread, 50 wt (I used colors 2835 and 2024)
Oliso Purple Iron (I love ironing with this!)
Scissors and/or rotary cutter
Fabric
 Fabric needed:
3/8 yard fabric
3/8 yard lining
Quick to Make Boys Ties with HeatnBond Fusible Interfacing
Step 1: Following manufacturer’s printing directions, use Stitch n Sew EZ Quilt Block Sheets to print tie pattern. The EZ Quilt Block Sheets are great for patterns that you will use many times. If desired, print the pattern on regular paper. Print pattern onto Stitch n Sew EZ Print Quilt Block Sheets using an inkjet printer. The sheets are 100% polyester, transparent, easy to print and tear, and they are washable. Printers vary so make sure your pattern pieces print out at the correct size.
 Step 2: Tape tie pattern pieces 1, 2, and 3 together as indicated by arrows on pattern. Tape tie pattern pieces 4, 5, and 6 together as indicated by arrows on pattern.
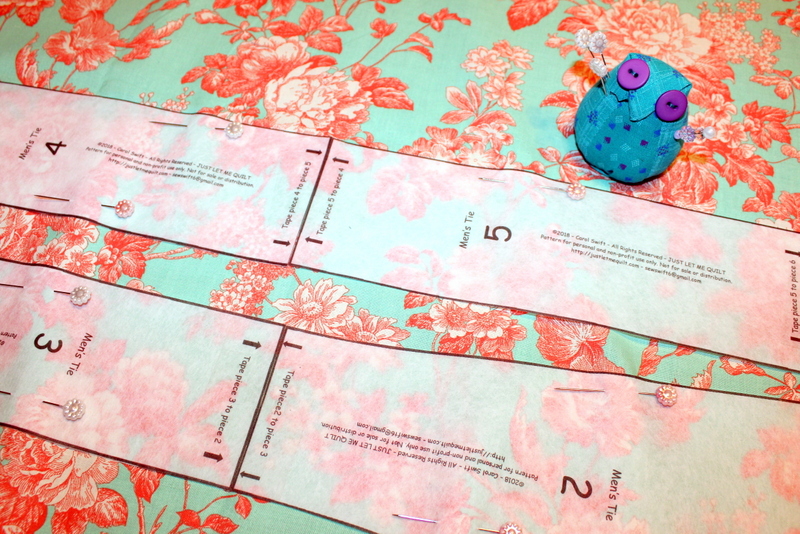
 Step 3: Cut fabric, lining, and interfacing:
Cut 1 fabric, 1 lining, 1 interfacing from taped pieces 1, 2, 3
Cut 1 fabric, 1 lining, 1 interfacing from taped pieces 4, 5, 6
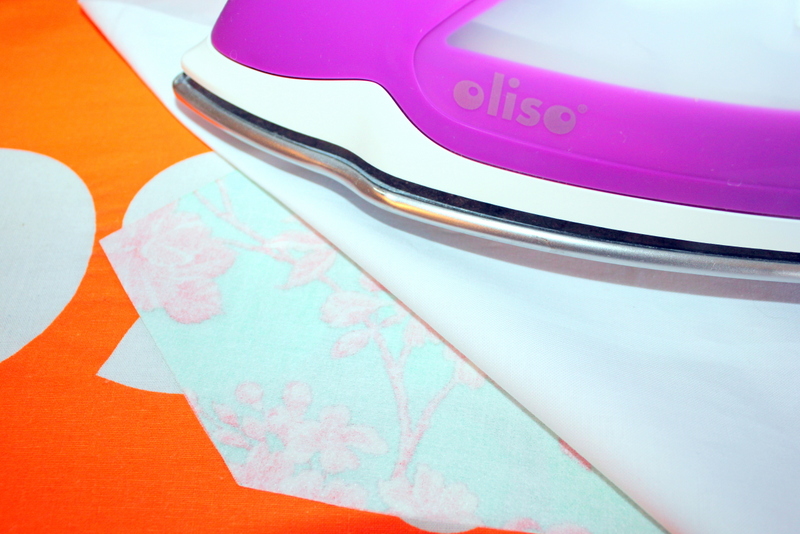
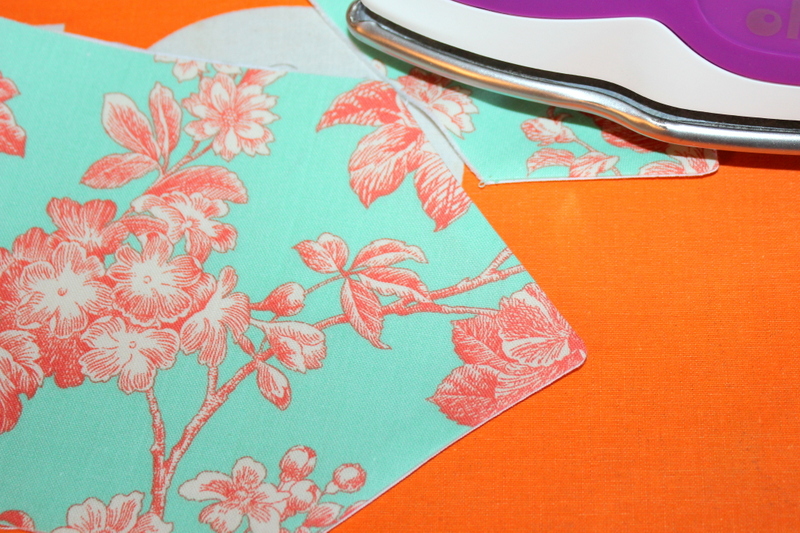
Step 4: Iron Heat n Bond Fusible Interfacing to wrong side of fabric pieces 1-3 and 4-6 following manufacturer’s directions. Be sure to use a pressing cloth when ironing interfacing to fabric.
*Use 1/4” seams when sewing tie sections together
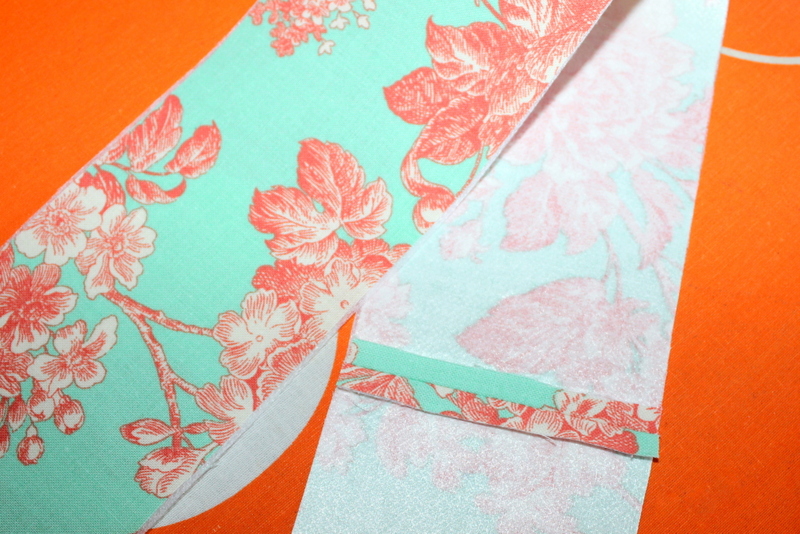
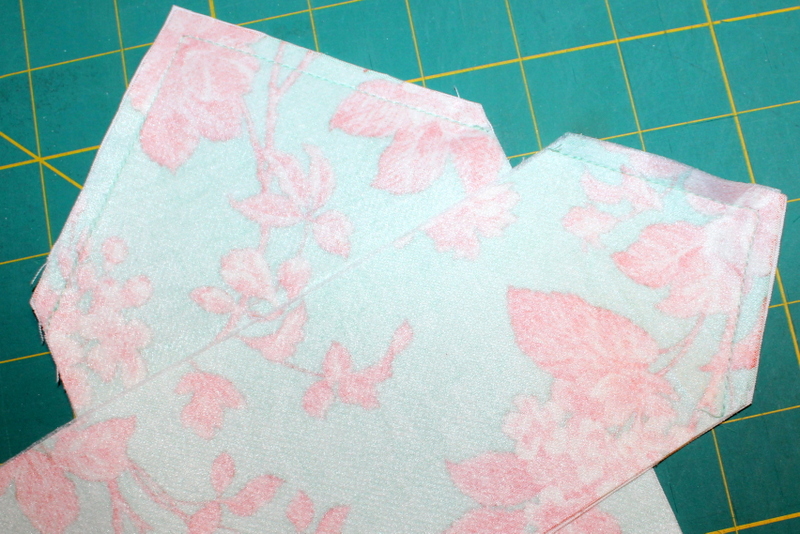
Step 5: With right sides together, sew fabric pieces 1-3 to 4-6 at the narrow center piece. Press seam open. Repeat with lining and press seams open.
 Step 6: Place fabric and lining ties right sides together lining up tie pointed ends. Sew around points at each end of the tie. Clip seams and tips of points being careful not to cut threads.
 Step 7: Turn inside out. Push out points and press seams flat.
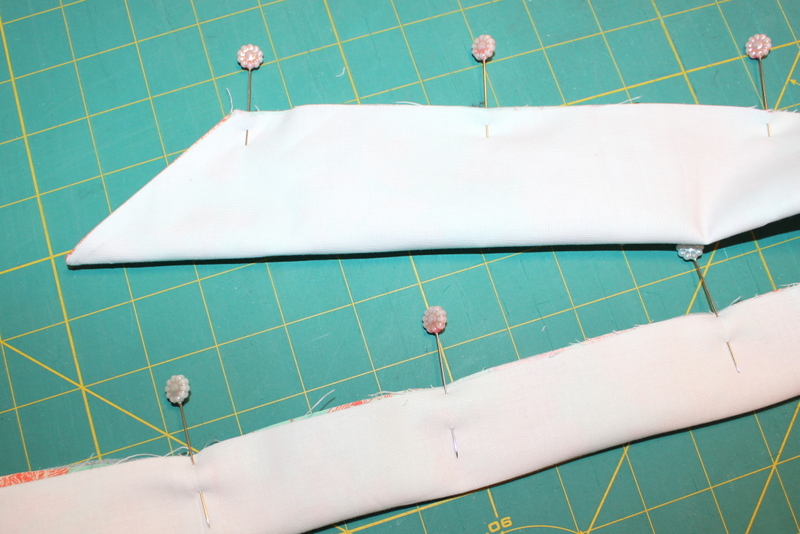
 Step 8: With right sides of fabric together, fold in half lengthwise and pin edges. Make sure you catch all four layers of tie/lining. Sew down the length of the tie (not across pointed ends.)
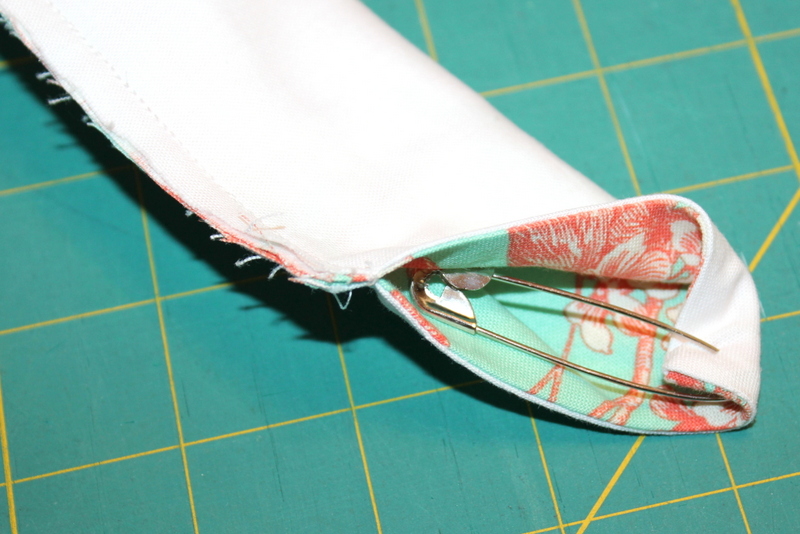
 Step 9: Turn inside out. Using a safety pin at one end to pull it through will help. It is a bit of a tight squeeze, but it will go through.
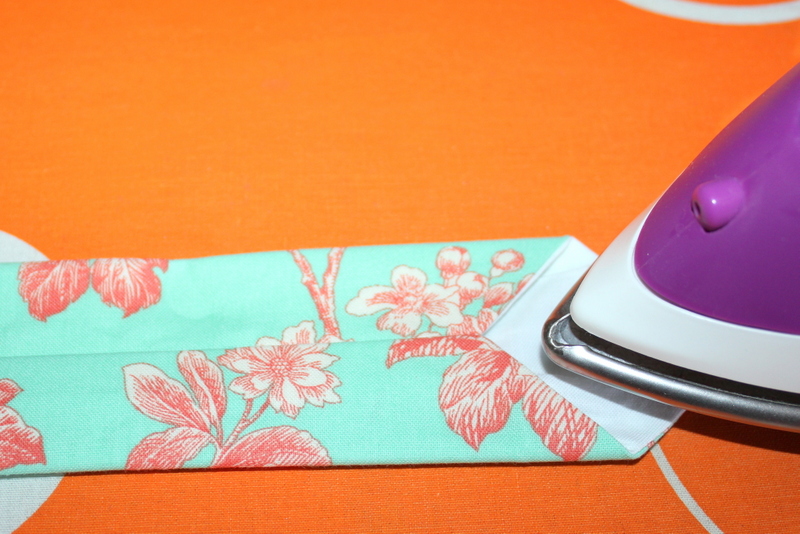
 Step 10: Line the seam up in the center of tie. Press tie flat.
 You can find This Ties On You pattern and instructions in PDF format at Just Let Me Quilt’s Etsy Shop HERE.

Sharon Gullikson
June 15, 2018 at 10:06 am (6 years ago)Just the other day my husband asked me if I can make him a tie for business. I just laughed and said no….Now I know that I really CAN, if I find fabric that is perfect. Thank you!!!!!!