Dear Santa, I’ve been good…really, really good! I’m sure you’ll bring me something amazing…right? One of the most common traditions that have been around forever is leaving a plate of cookies and a glass of milk on the table for Santa Claus on Christmas Eve. It’s possible this was done to offer a little bribe to Santa in hopes of getting the gift that was most wanted. I’m thinking maybe a warm mug of hot cocoa with marshmallows might be an excellent way to lure Santa into a good mood so the best ever gift for me comes out of his bag. At least that’s what I’m hoping for this year!
Santa Mug Rug
This 5½” x 8½” mug rug has a pocket that is perfect to slip a letter full of hopeful requests or even a small cookie. Adding shiny Deco Foil™ stars brightens up the mug rug to give it some Christmas joy and with iron-on vinyl on the back, Santa’s spills won’t leave a mark on the table. Giving it as a gift with a mug, hot cocoa, and marshmallows will certainly put a smile on your friends or family’s faces!
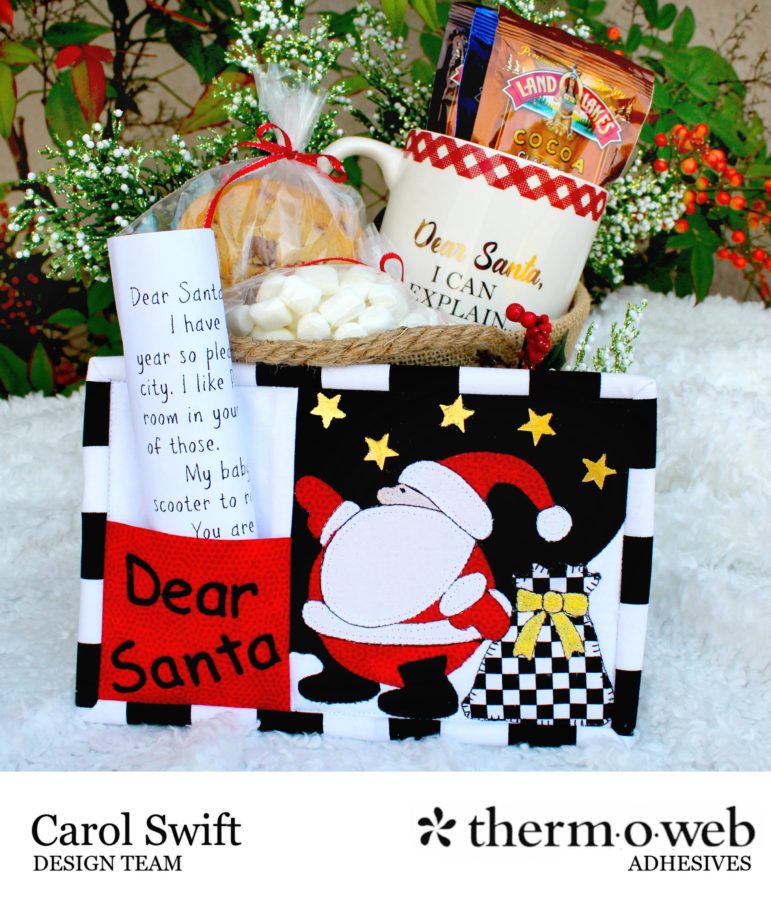
Dear Santa Mug Rug by Carol Swift from Just Let Me Quilt:
This is quick to make so let’s get started! Directions are given using fabrics from the mug rug shown above. Replace pattern designs and colors with your choice of fabrics. All seams are sewn at 1/4” wide.
What you’ll need:
Therm O Web Heat n Bond® EZ Print Lite sheets, 8½” x 11” or Therm O Web Heat n Bond Lite
Therm O Web Stitch n Sew Fleece Sew-in High Loft/Batting
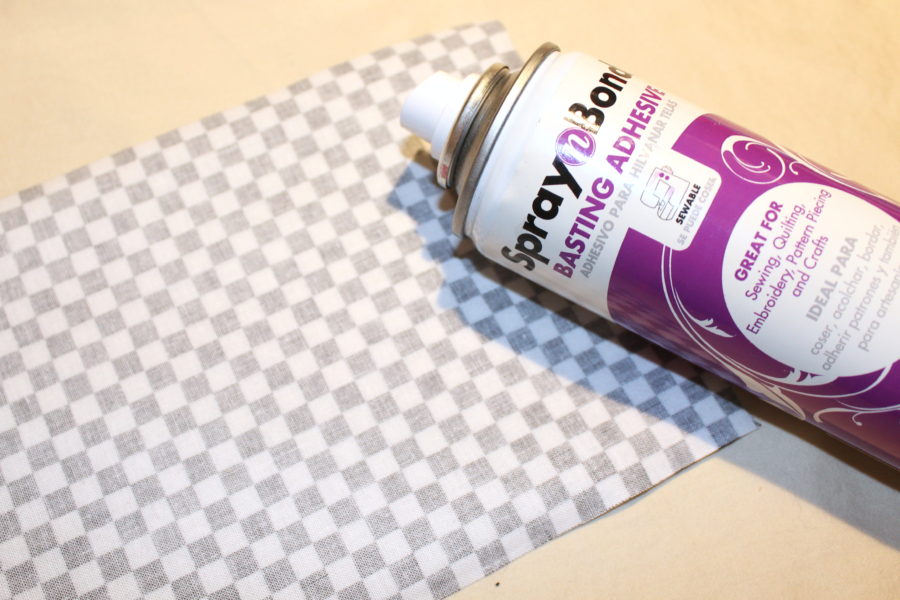
Therm O Web Spray n Bond® Basting Adhesive
Heat n Bond® Fusible Interfacing – Light Weight
Heat n Bond Iron-On Vinyl-Gloss
iCraft® Deco Foil™ Hot Melt Adhesive
iCraft® Deco Foil™ Sheets
A purple Oliso iron makes things more fun to iron!
Fabric
You can find this pattern in PDF format Dear Santa Mug Rug Instructions.
Optional: die punch/cutter, electronic cutting machine
Fabric needed:
1 fat quarter in each color:
Red, white, black, print
Fabric Scraps: pink, yellow
2½” x 42” binding fabric
iCraft® Deco Foil™ supplies needed:
1 gold iCraft® Deco Foil™ sheet
1 sheet iCraft® Deco Foil™ Hot Melt Adhesive
Cutting instructions:
Cut 1 – 3½” x 6” red fabric for pocket
Cut 1 – 5½” x 5½” white fabric for front
Cut 1 – 3½” x 5½” white fabric for behind pocket
Cut 1 – 5½” x 8½” print fabric for backing
Cut 1 – 5½” x 5½” Heat n Bond Fusible Interfacing
Cut 1 – 3” x 3½” Heat n Bond Fusible Interfacing
Cut 1 – 3½” x 5½” Heat n Bond Fusible Interfacing
Cut 1 – 5½” x 8½” Therm O Web Stitch n Sew Fleece Sew-in High Loft/Batting
Cut 1 – 5½” x 8½” Therm O Web Vinyl
Cut 1 – 2½” x 42” fabric for binding
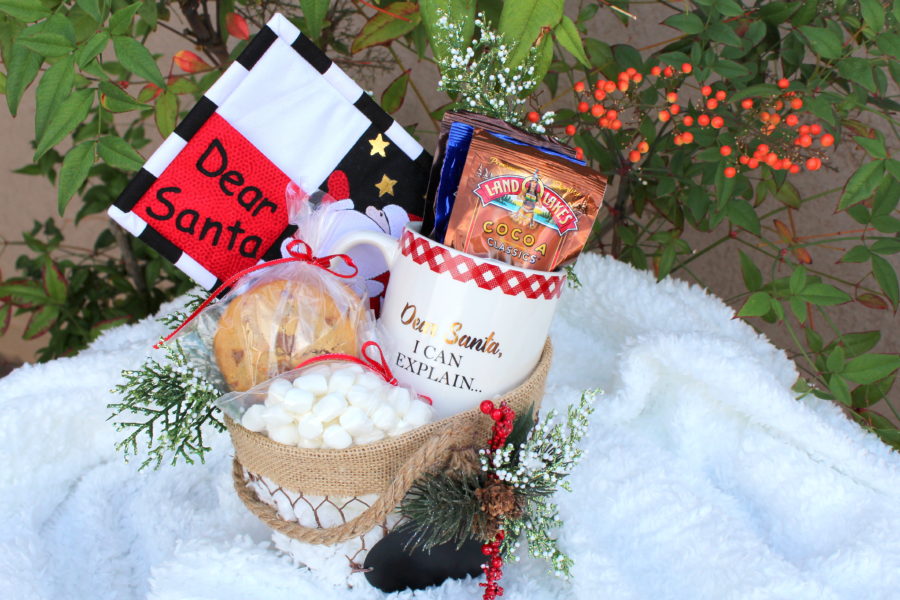
Santa Rug Mug
Sewing instructions:
Step 1: Prepare the applique patterns “Sky”, “Santa”, “Bag”, and “Dear Santa” following either of the applique instructions below.
a. Applique with printable Heat n Bond® EZ Print Lite sheets: Using your inkjet printer, print out applique pattern pieces with Heat n Bond EZ Print Lite sheets. Follow the manufacturer’s directions to iron adhesive pieces to the wrong sides of desired fabrics. Let cool. Cut out applique pieces.
b. Applique with Heat n Bond® Lite: Trace applique designs on the smooth side of Heat n Bond Lite. Follow the manufacturer’s directions to iron adhesive pieces to the wrong sides of desired fabrics. Let cool. Cut out applique pieces.
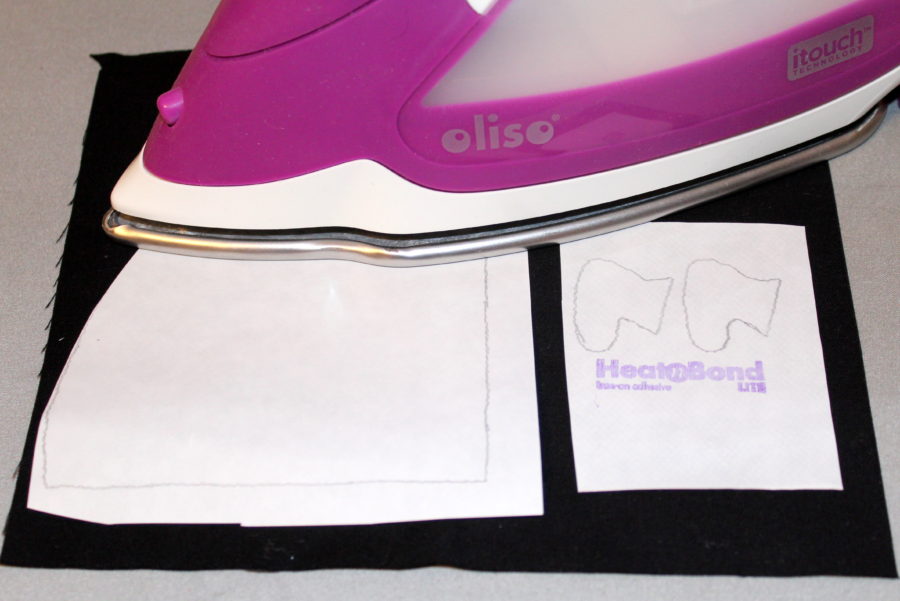
Step 2: Apply Heat n Bond Fusible Interfacing to the wrong side of 5½” x 5½” white front fabric following manufacturer’s directions. (Ironing Heat n Bond Fusible Interfacing to the back of fabric helps stabilize the fabric when sewing on applique pieces, keeps threads from showing through and helps maintain fabric size.)
Step 3: Iron the “sky” applique piece to right side of 5½” x 5½” square following manufacturer’s directions. Trim to square block if necessary (5½” x 5½”.)
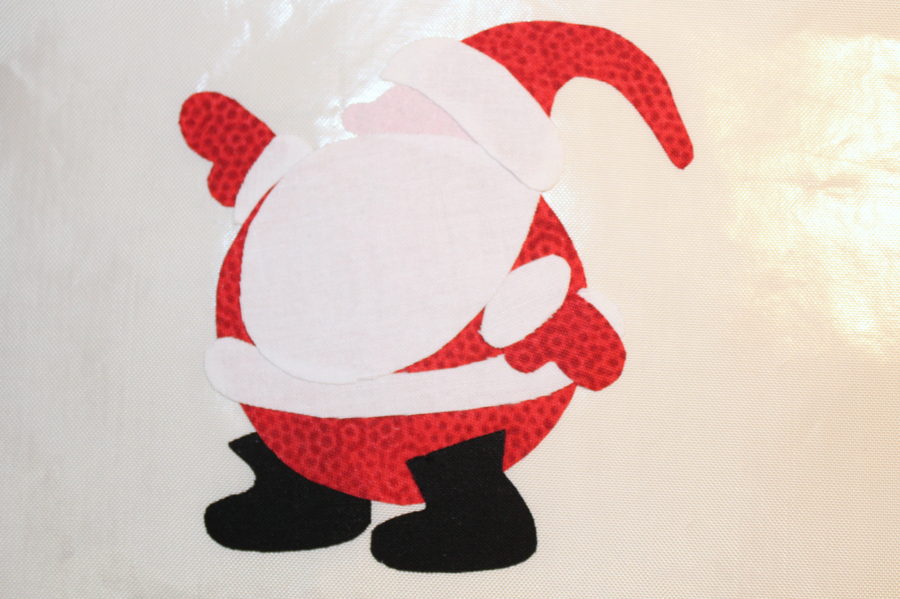
Step 4: Following the “Santa Key”, apply Santa applique pieces on 5½” x 5½” square with sky following manufacturer’s directions for the iron on adhesive.
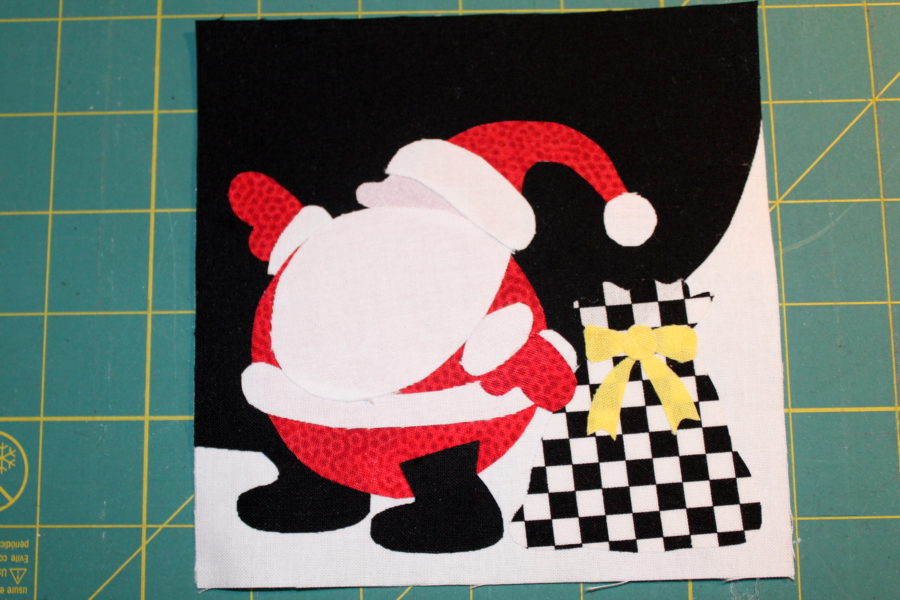
*Using a heatproof sheet helps to correctly place pieces before permanently applying to block. Lightly press the pieces as it goes together and then gently lift it to place it on the block.
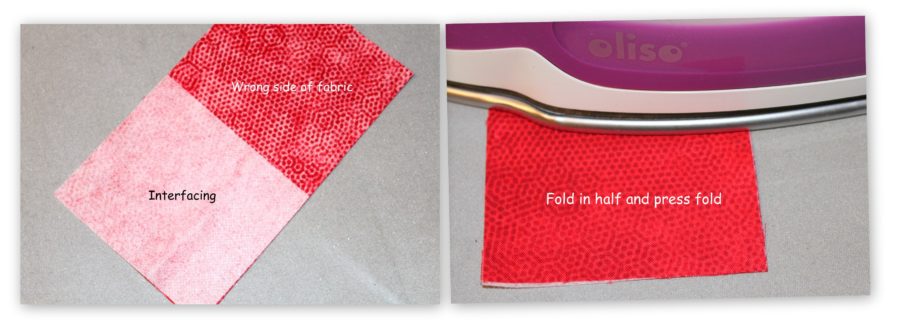
Step 5: To create a pocket, apply 3” x 3½” Heat n Bond Fusible Interfacing to the wrong side of the bottom half of 3½” x 6” fabric following manufacturer’s directions. Fold in half and press to crease.
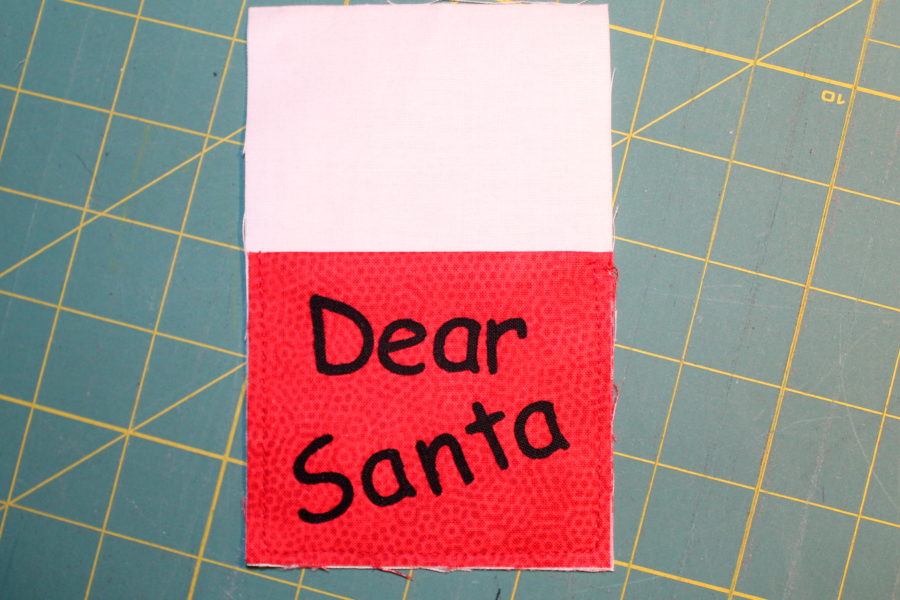
Step 6: Apply “Dear Santa” applique letters to pocket below the fold following applique instructions above. Stitch over letters with a straight stitch. *Be sure to stitch over letters before moving on to Step 7!
Step 7: With the folded edge of pocket facing towards the top, place on the lower half of 5½” x 3½” white fabric. Baste around three raw edges of red fabric (leave folded edge open) to create a pocket.
Step 8: With right sides together, sew pocket section to Santa block with ¼” seam. Press seam towards the pocket.
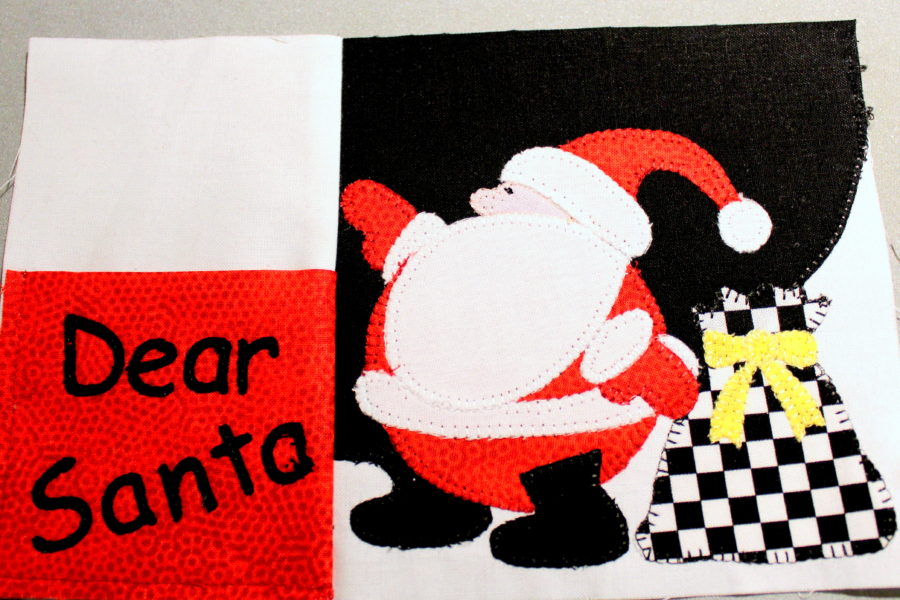
Step 9: Blanket stitch, straight stitch, or zig zag around sky, Santa, and Santa bag.
Step 10: Cut out stars from iCraft® Deco Foil™ Hot Melt Adhesive using templates, die punch, or cutting machine. Iron adhesive stars to fabric following manufacturer’s directions. Let cool. Remove the protective paper.
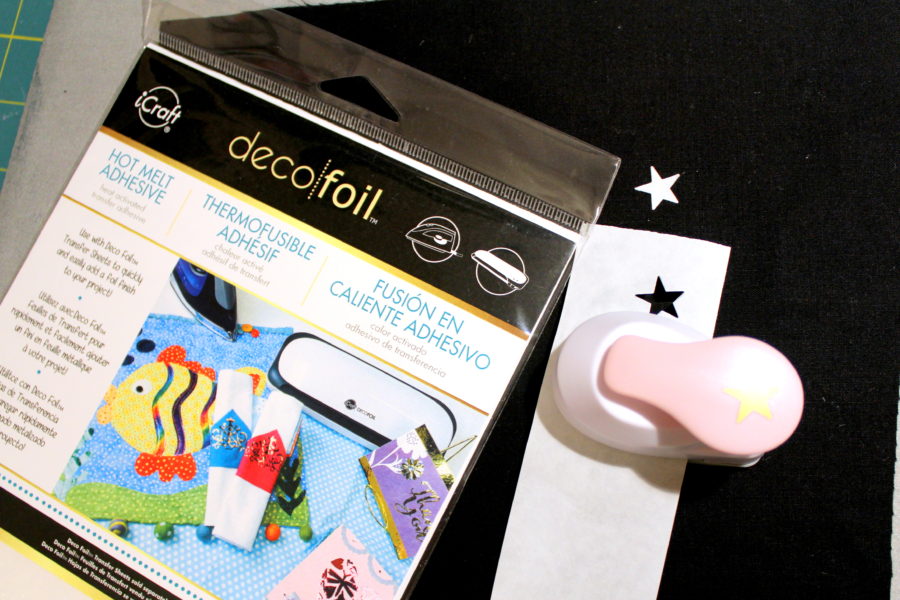
Step 11: Cut stars out of Deco Foil. Placing foil between two sheets of parchment paper makes it easier to die punch.
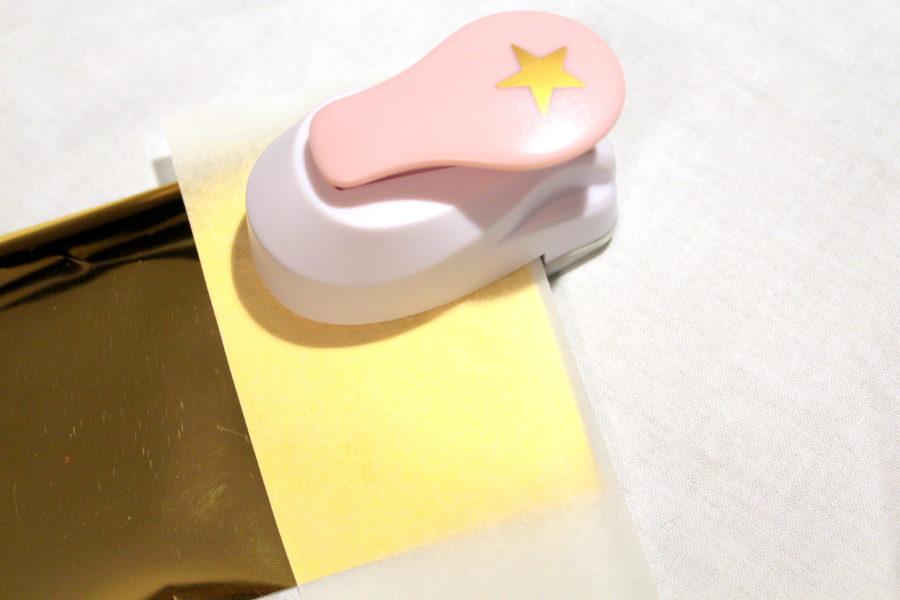
Step 12: Place Deco Foil stars over adhesive lining up the shape. Cover with parchment paper and press with an iron for 30 seconds on each star. Wait an hour and then rub the area with a soft cloth and remove the film from fabric. Be patient! It’s worth the hour wait to make sure the Deco Foil is completely cool.
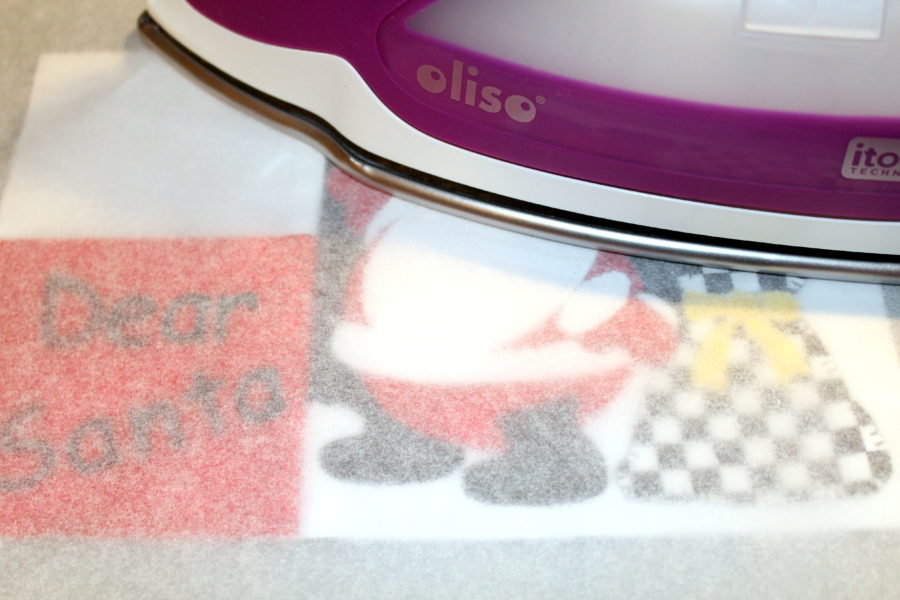
*Hint: To use a die punch or cut designs out of iCraft® Deco Foil™ Hot Melt Adhesive, it helps to maintain the shape if you place adhesive between two sheets of parchment paper or regular computer paper.
*Hint: It’s all about the pressure and length of time you apply to the foil that makes for good coverage. Put some muscle into pressing down on it or consider using a laminator. Plus, don’t remove the paper backings of the other pieces you are ironing if they are close together to avoid accidentally touching them with the iron.
Step 13: Following manufacturer’s directions, apply Therm O Web Vinyl to the wrong side of mug rug backing.
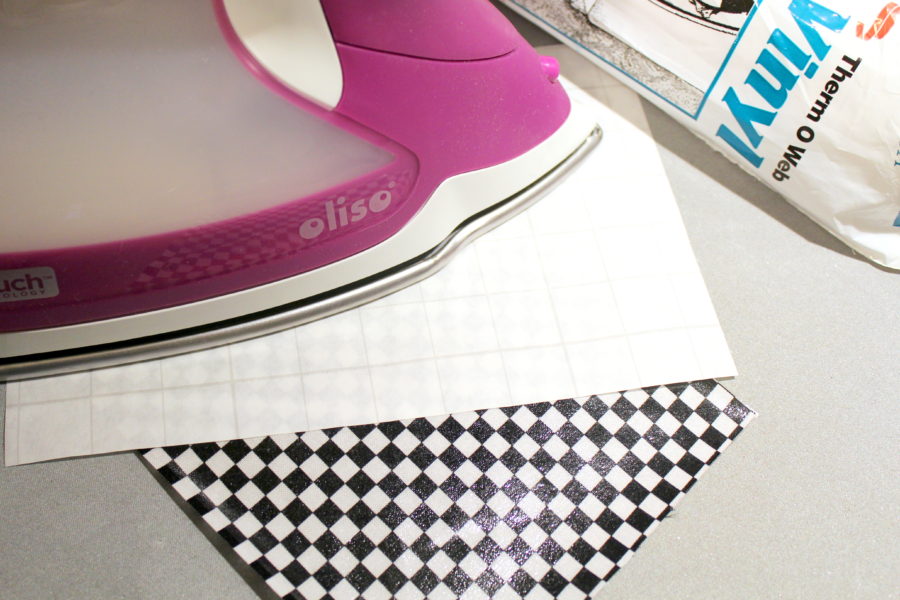
*Hint: Cover with parchment paper and iron from one side to the other, smoothing vinyl as you go. Be careful not to let iron touch vinyl…it will melt!
Step 14: Lay Therm O Web Stitch n Sew Fleece Sew-in High Loft/Batting on protective cloth or paper (to prevent overspray.) Spray the batting with Therm O Web Spray n Bond Basting Adhesive. Lay mug rug top, wrong side down, on sprayed batting. Smooth to remove wrinkles and creases. Quilt as desired.
Step 15: Spray the wrong side of vinyl backing with Therm O Web Spray n Bond Basting Adhesive. Lay quilted mug rug top, the wrong side down, on the sprayed vinyl backing. Smooth to remove wrinkles and creases. Trim if necessary to 5½” x 8½”.
Step 16: Add binding using your favorite method. *If it slips while sewing, try using a Teflon sewing foot or walking foot.
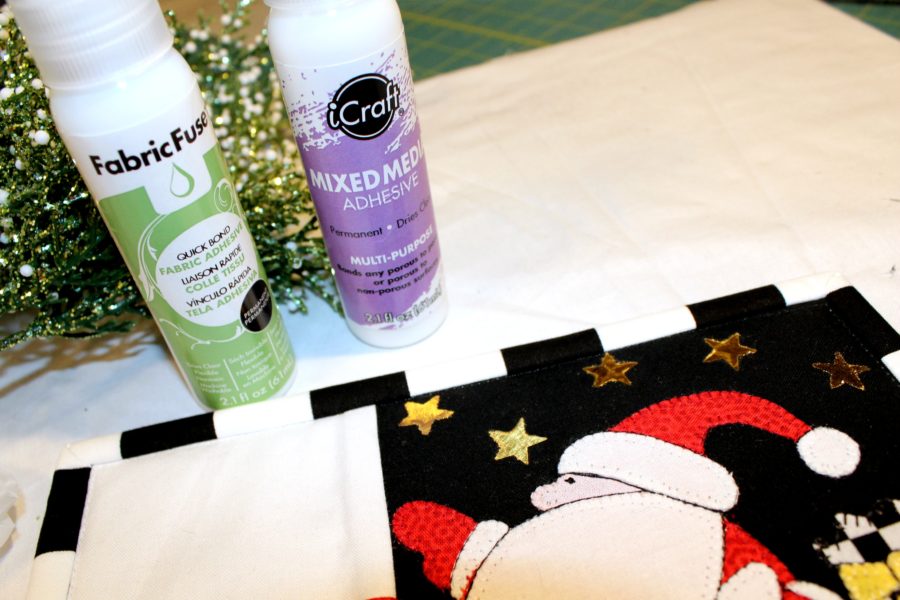
Step 17: A couple extra Therm O Web products that made this project even easier were Fabric Fuse and iCraft® Mixed Media Adhesive. I used the Fabric Fuse Liquid Adhesive to help hold the binding in place while I sewed it to the mug rug and the Mixed Media Adhesive to glue a couple of decorations to the basket.
I hope Santa enjoys those cookies and hot cocoa you leave for him!
