Hi! It’s Jen from The Smitten Chicken. Today I am sharing a super fun and festive skirt with you. I don’t even know how many of these skirts I have made over the years. (I do have 5 girls!!! Haha) This skirt is fast and easy! I am excited to show you how to make one today!
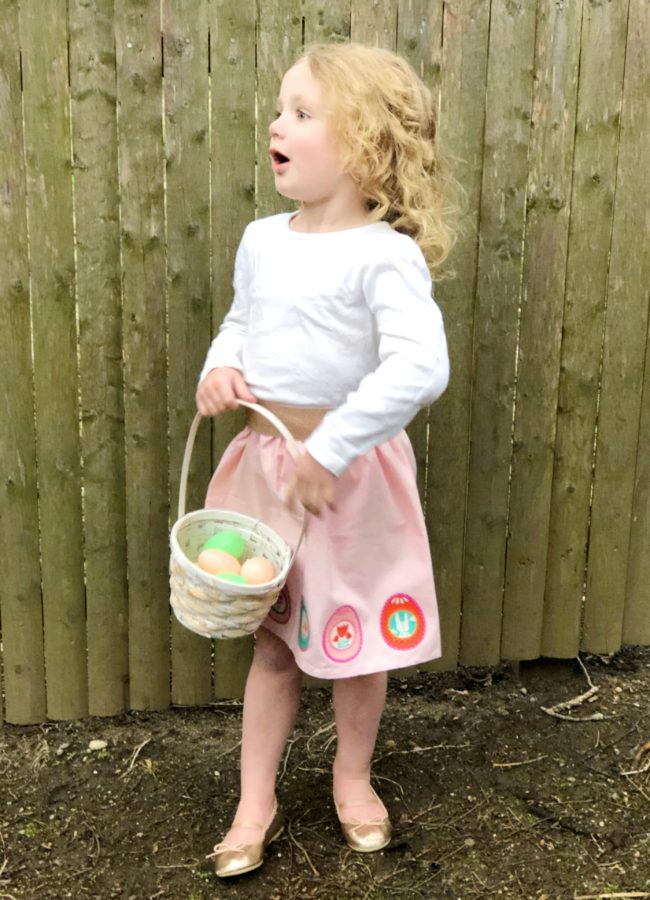
With a finished skirt, you can be THIS surprised when the Easter bunny arrives!
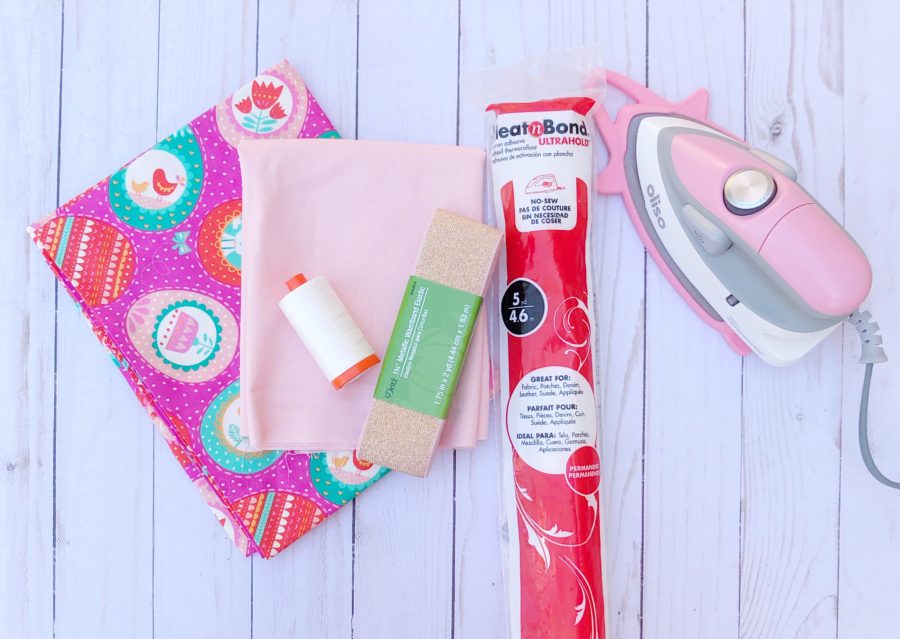
Start by gathering your supplies:
2/3 yard of your favorite fabric (I used Moda Bella Solid Pink)
Elastic by the yard
Spring Bunny Fun Fabric print by Stacy Lest Hsu for Moda (this is the print with the eggs- you could use any fun fabric to fussy cut.)
Any size skirt pattern found here
HeatnBond Ultra Hold Fusible Adhesive
Sewing machine
Let’s get started!
Jen Skirt Pattern
Cut your fabric and elastic as stated in the pattern. Trim off the selvage edge of the fabric and sew the ends together using a 5/8″ seam. Press the seam open.
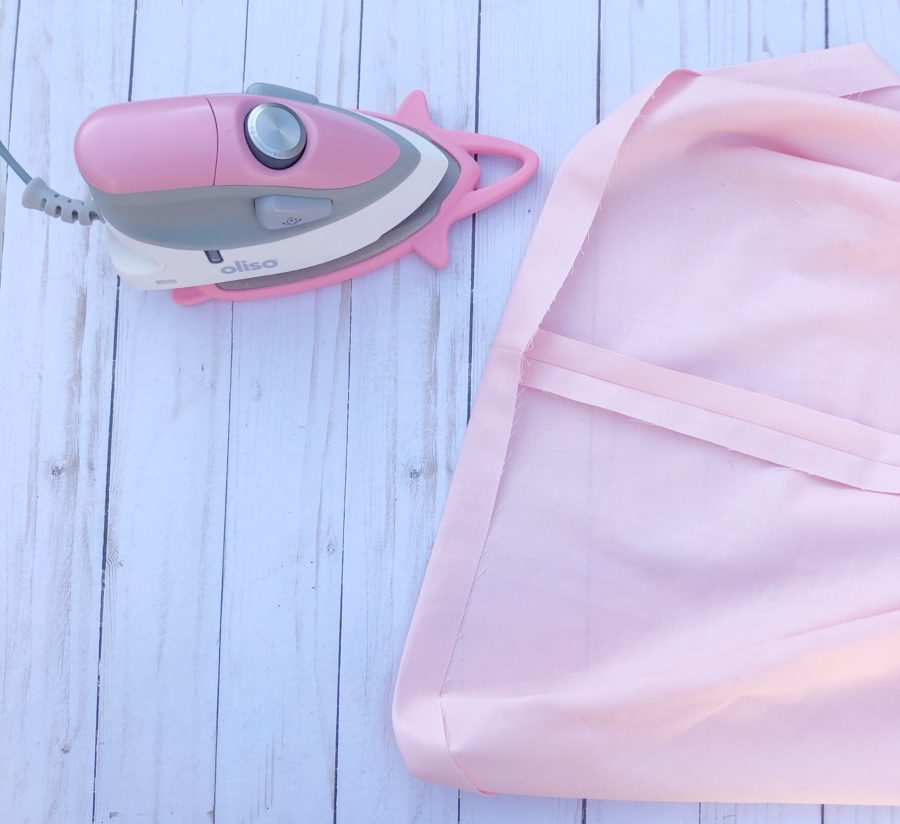
Press up 1 inch on the bottom of your skirt for your hem.
Open it up and line up the raw edge of the fabric against the pressing line. Fold the fabric again, enclosing the raw edge. Then hem your skirt.
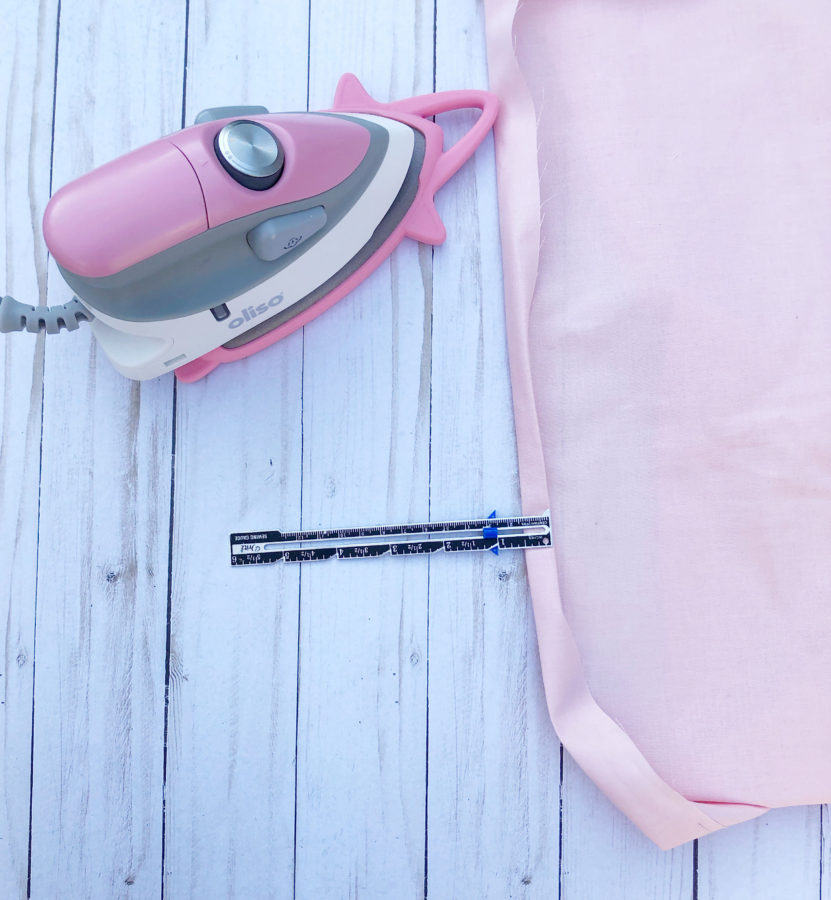
I chose to hem my skirt using a really cute bunny specialty stitch. This stitch is on my new Bernina sewing machine! You can hem with any decorative stitch. Or just straight stitch the hem. And of course, I used my favorite Aurifil thread!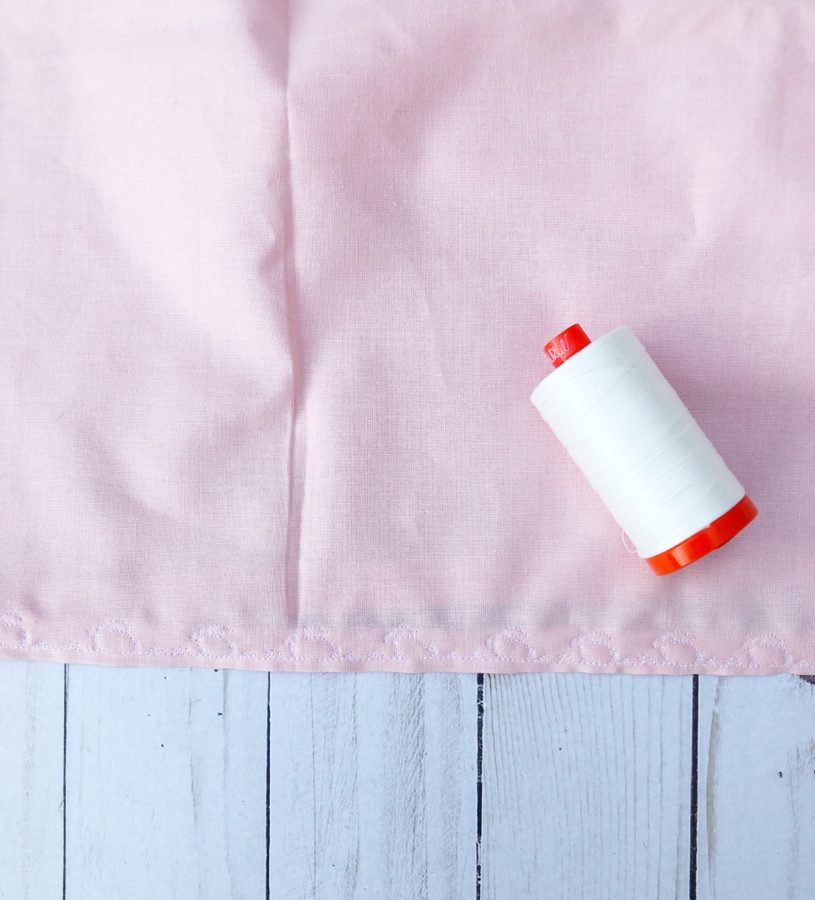
Next, we will add the cute eggs!! Press the HeatnBond to the WRONG side of the fabric. Follow the instructions on the package for best results.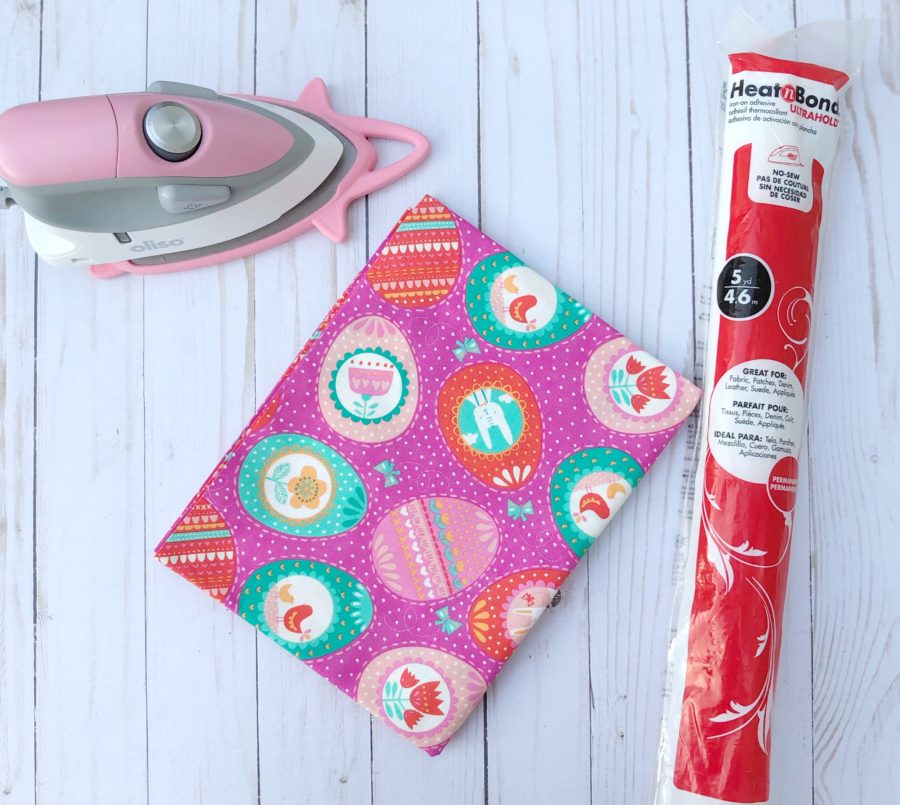
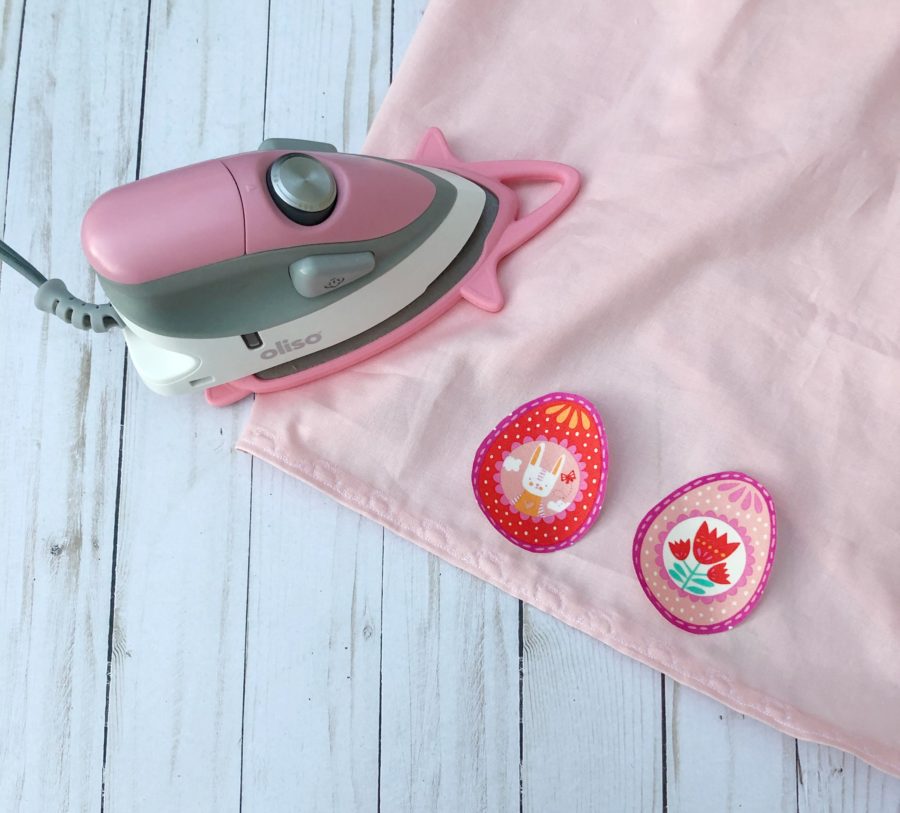
Then cut out each of the eggs. Place the eggs where you want them. I placed mine about 1 inch apart. Removed the paper backing and press into place. Since this HeatnBond is UltraHold, you don’t have to sew them into place!
Now we will attach the elastic. Sew the ends of the elastic together with a 1/2″ seam, making a circle. Divide the elastic into 8ths, marking it with pins. Divide the top of the skirt into 8ths as well, marking it with pins. (Note: I did serge the top of the skirt. This is to prevent fraying. You don’t have to serge it, but you should use a zig-zag stitch to prevent fraying.)
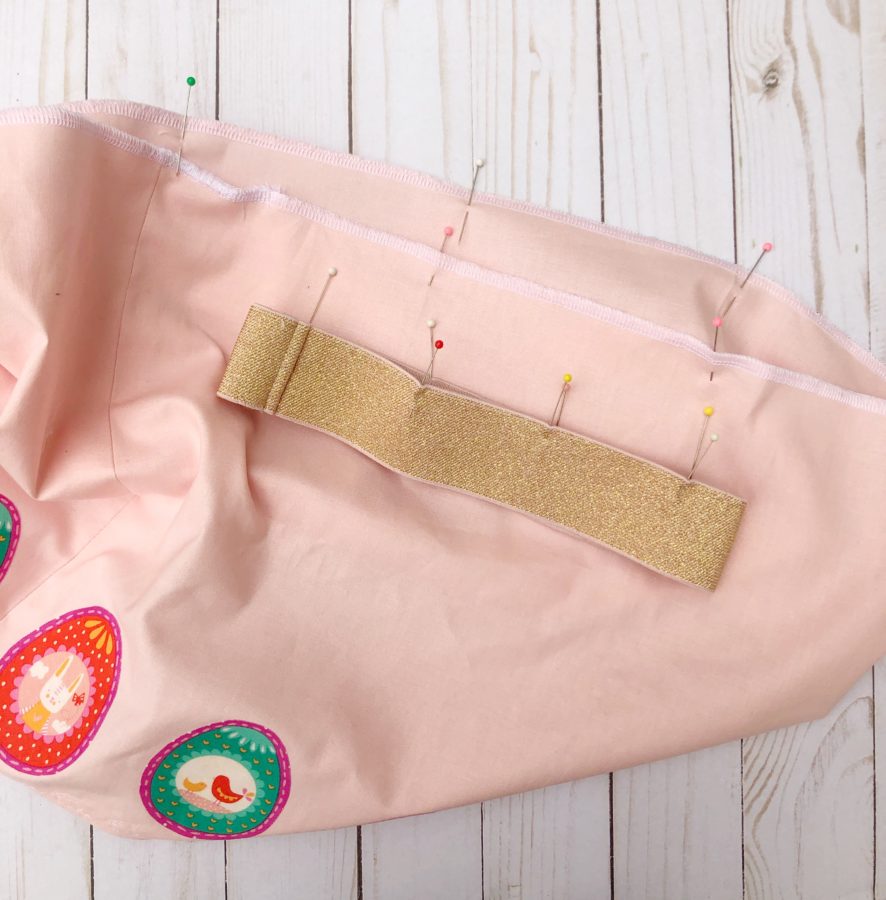
Now match up the pins from the skirt to the elastic. Match the seam at the back of the skirt to the elastic seam. Then go around the skirt matching the pins together and pinning them in place. They will NOT match up perfectly as you have more fabric in the skirt than on the elastic. If the fabric droops between the pins, you are doing it right!
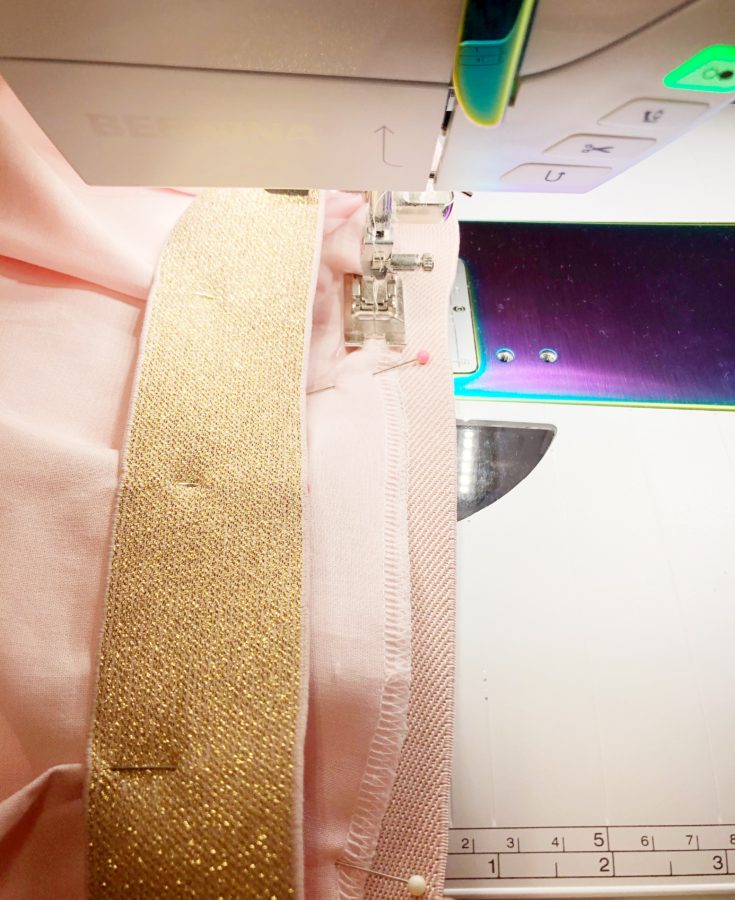
Here’s the trick! As you sew, you will be gathering the skirt to the elastic. Pull the elastic so it is even with the fabric. Stitch from pin to pin as you continue to pull the elastic. This is your arm work-out for the day! Sew all the way around the skirt.
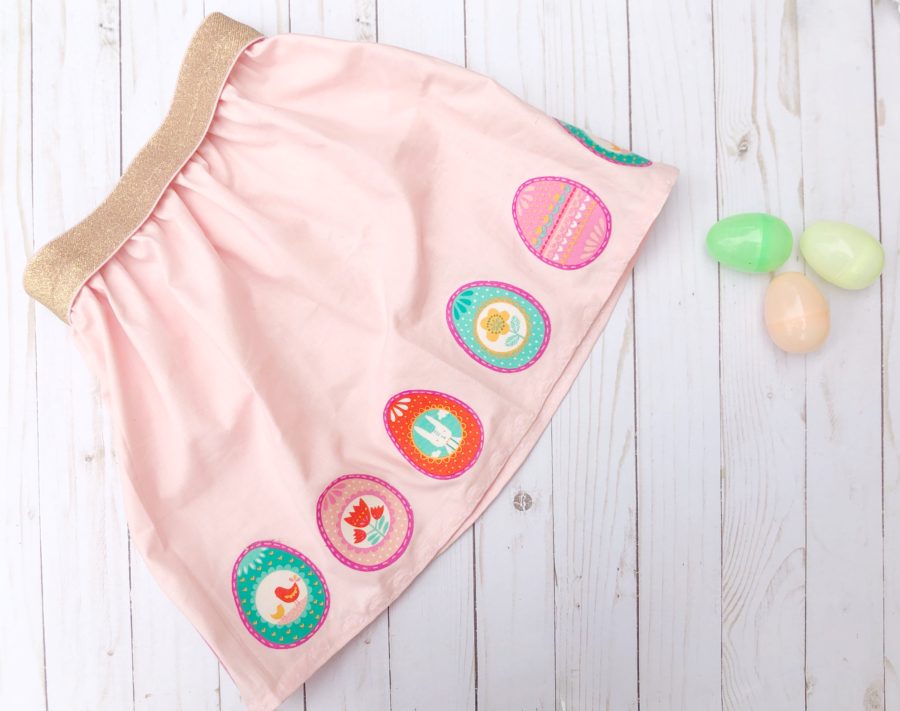
And you are done!

Now you are ready for your favorite Easter egg hunt!
Thanks for following along today! If you would like to see more, you can visit me on my blog, Instagram, Facebook or Pinterest!
Chirp Out!
Jen

[…] want to make this fun Easter skirt? I have a FREE tutorial on how to make this basic skirt on the Thermoweb blog. You can make it just in time for […]