With the Memorial Day holiday just around the corner, now is a great time to show your appreciation and gratitude to all those special armed service men and women who help keep our great country safe. Today I have a pretty patriotic card idea to share, featuring the new Therm O Web Fancy Foils and Foil-Mates products by Gina K.™ Designs.
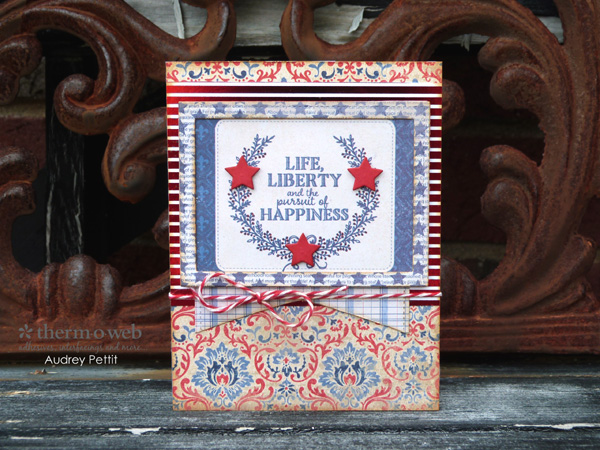
Life, Liberty and the Pursuit of Happiness Patriotic Card by Designer Audrey Pettit
Supplies:
Therm O Web Gina K. Designs Prime Time Premium Cardstock: Red Velvet
Gina K. Designs Fancy Foils: Red Velvet
Therm O Web Gina K. Designs Foil-Mates: Stars & Stripes
Gina K. Designs Die Set: Rectangle Large Set
Royal Sovereign Laminator
XL Memory Tape Runner
Therm O Web Mixed Media Liquid Adhesive
Therm O Web 3D Foam Adhesive Squares
Patterned Paper, Journaling Card: Authentique Freedom Collection
Twine: The Twinery
Distress Ink, Distress Marker: Ranger
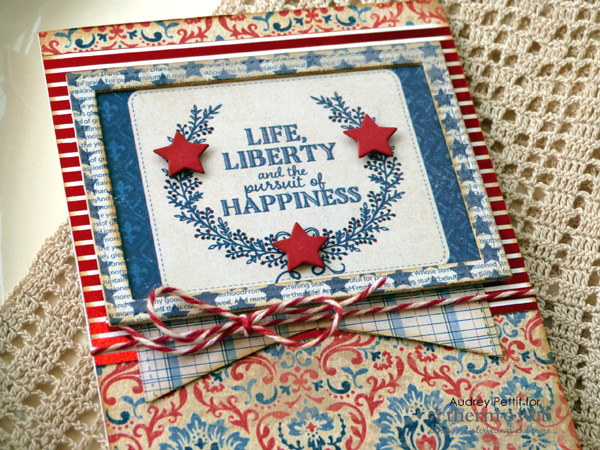
Pursuit of Happiness Patriotic Card Instructions:
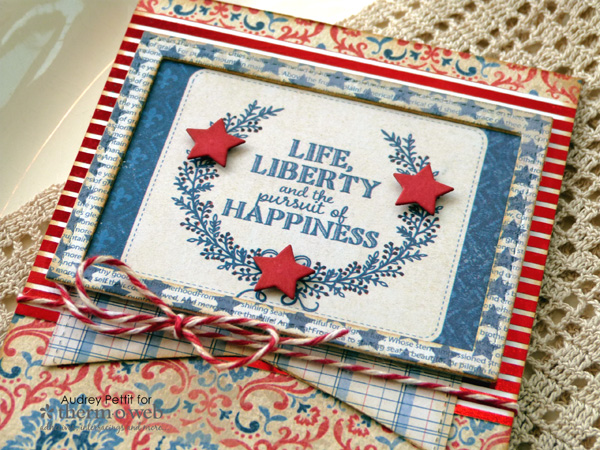
I pulled out a favorite older paper collection from Authentique for this card, as I absolutely love their patriotic designs and think the aged vintage look is such an amazing contrast to the beautiful shine of Deco Foil™. I’ve got the complete tutorial to share with you, so let’s take a closer look.
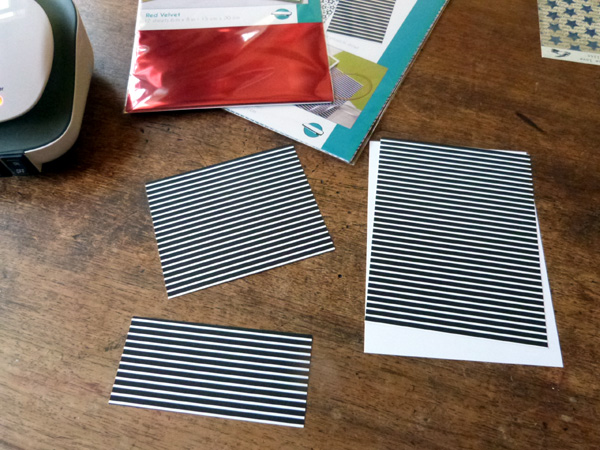
To begin, trim down a panel of the striped Foil-Mates sheet to 4.25″ x 3.5″. Save the extra pieces for another project. Turn on the laminator and let it come to temperature as you ready the rest of the supplies.
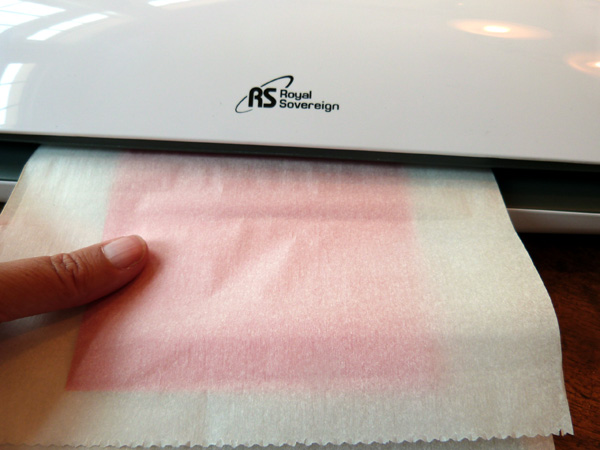
Trim a sheet of Red Velvet Fancy Foil that is slightly larger than the Foil-Mates panel. Place the foil onto the Foil-Mates panel, with the colored side up and the silver side down. Add a piece of scrap cardstock behind to add a bit of stability, and place this sandwich between the sheets of a folded piece of parchment. Run this through the laminator.
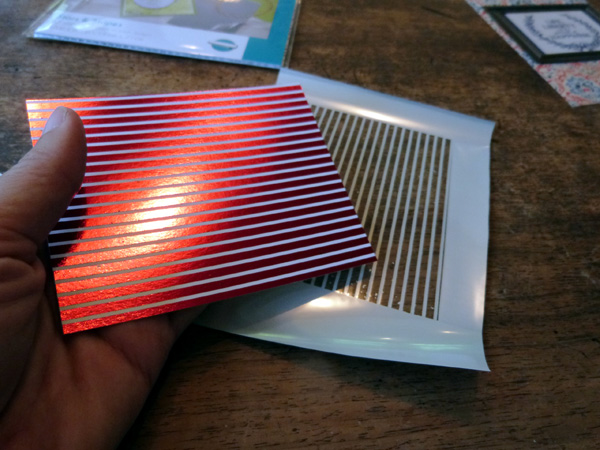
Peel off the Fancy Foil sheet to reveal the amazing foiled paper panel. Adhere this panel to the top of your patterned paper card base using Therm O Web Memory XL tape runner.
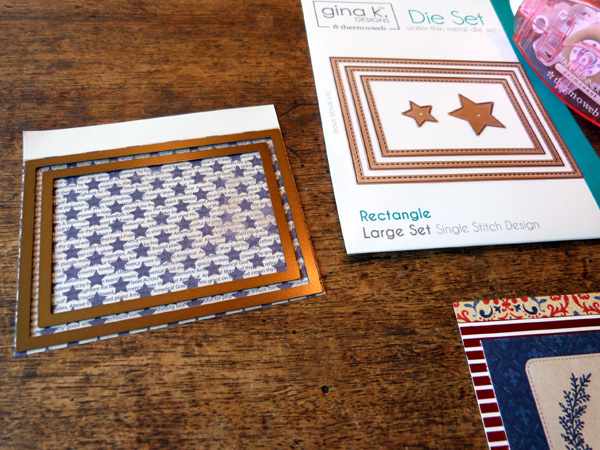
Select a journaling card to use as the focal point of the card design. Trim a contrasting piece of patterned paper to die cut a frame for the journaling card using the two largest rectangle dies from the Gina K. Designs Rectangle Large Set dies. Nest the two frames, and secure them together with a bit of post-it or washi tape.
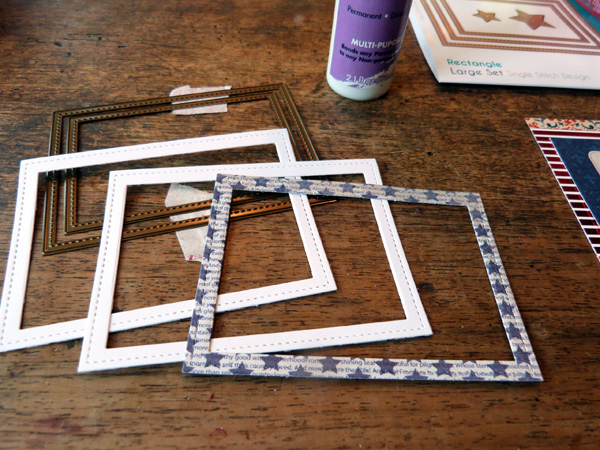
Die cut the frame once from the patterned paper, and two more times from plain cardstock. Stack the frame die cuts together using Mixed Media Liquid Adhesive to adhere. Edge the die cut frame, and the card base, with Distress Ink using an ink blending tool. Then adhere the frame to the journaling card, trimming off any excess paper from around the edge of the frame, if needed.
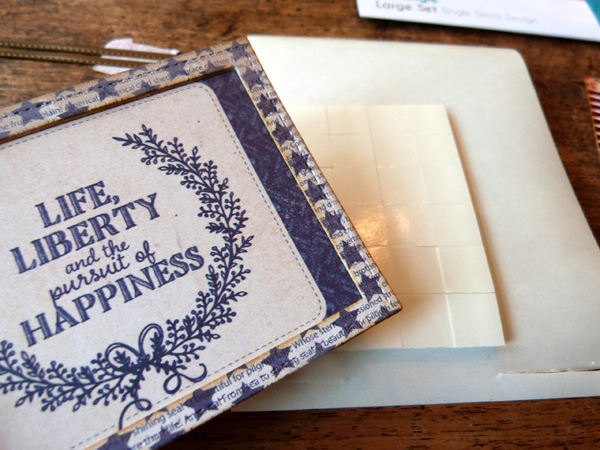
Place 3D Adhesive Squares onto the back of the framed journaling card. Take the panel of patterned paper that was leftover from the center of the frame, and place it behind the frame so that it extends below. Trim the bottom into a large V-notch. Adhere the frame to the center of the foiled panel.
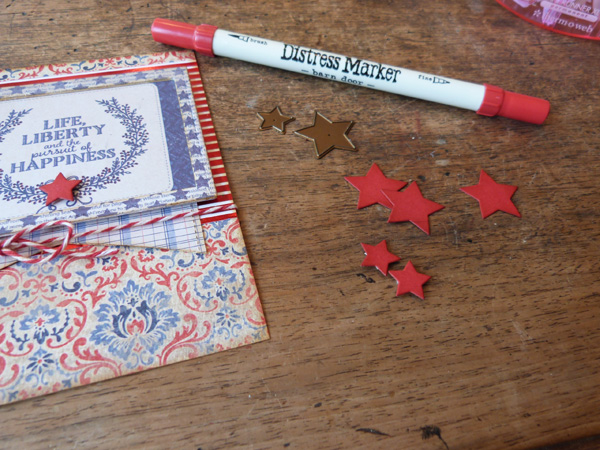
Die cut stars from matching Red Velvet Premium Cardstock using the star dies from the Rectangle Large Set dies. Edge them with Distress Ink and place foam adhesive squares behind. Adhere the stars to the journaling card. I also added color to the card using a Distress marker. Tie twine around the center of the card.
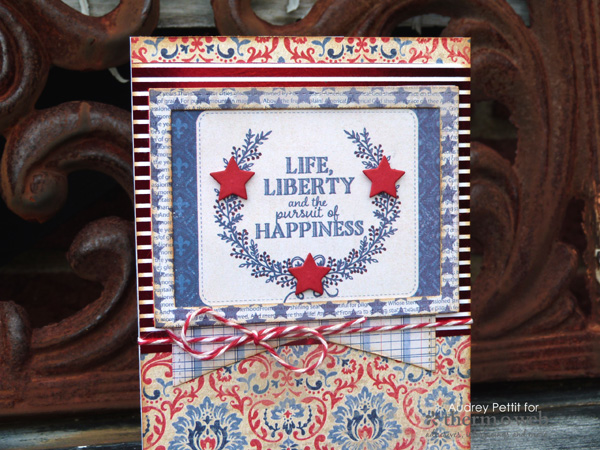
Enjoy! Happy Memorial Day!
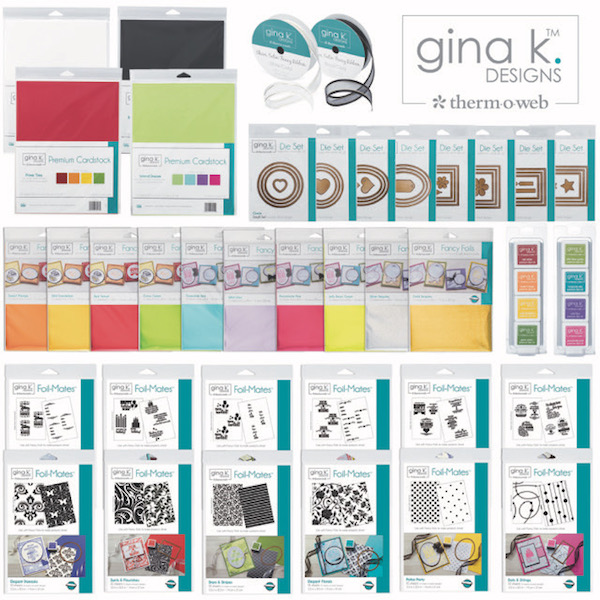
Remember you can shop online for the complete Gina K. Designs collection here!
Save

T Smith
May 30, 2017 at 3:21 pm (8 years ago)Awesome card. Thank you for sharing. And especially for remembering.