Hi Friends,
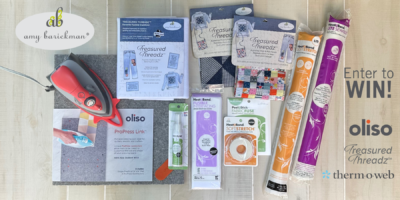
It’s Dawn Gehring, Creative Director here at Therm O Web, jumping in quickly to tell you about an AMAZING GIVEAWAY you can enter now that includes more than $300 worth of fabrics, tools and notions from Therm O Web and our friends Amy Barickman, Colonial Patterns and Oliso. We’ve had so much fun collaborating and drawing inspiration from one another this year that we wanted to celebrate in a big way just in time for back-to-school crafting … and the holidays are just around the corner too!
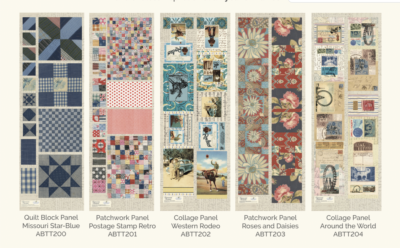
Amy Barickman’s NEW Treasured Threadz Patchwork & Collage Fabric Panels, distributed exclusively by Colonial Patterns, are as innovative as they are beautiful! Available in five different themes, each fabric panel has been curated and designed into an original work of art using Amy’s own collection of rare vintage art, textiles and quilts.
To pair perfectly with the panels, Amy created Treasured Threadz Favorite Fusible Stabilizer to give projects an extra layer of stability and softness, ideal for your hand quilting and embroidery projects. And the Oliso M3Pro Project Iron is the perfect tool for working with all kinds of fusibles, from Amy’s Treasured Threadz Favorite Fusible Stabilizer to our HeatnBond Iron-On Adhesives and Fusible Interfacings.
Amy’s newest blog post highlights some of the projects our Therm O Web Design Team has created this year using Treasured Threadz Fabric Panels and Favorite Fusible Stabilizer. All of the details for entering the giveaway are also in Amy’s blog post, so be sure you enter and follow the instructions to earn some bonus entries, as well. Contest ends September 2nd and the winner will be notified via email on September 3rd. Good luck!
ENTER HERE >
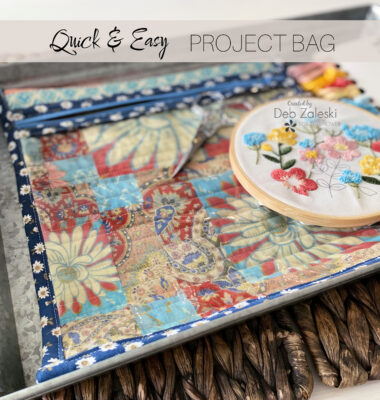
Now, let’s have fun learning how to make Deb Zaleski’s Project Bag with a View!
____________________________________________________________
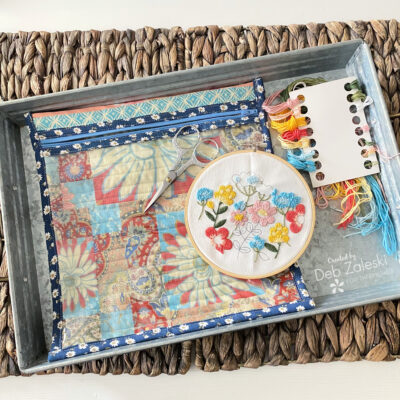
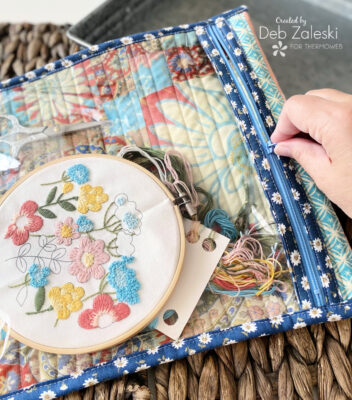
I always have a project on the go, sewing, quilting, or hand embroidering. I try to keep everything organized in clear bins so I can quickly see what is in the bin. Sometimes, I run out of bins and other times, I don’t have the right size. I decided to create my own “storage with a view” so I know what project I’m grabbing without taking everything out! For this project, I used the Roses & Daisies Fabric Panel from Treasured Threadz for Colonial Patterns.
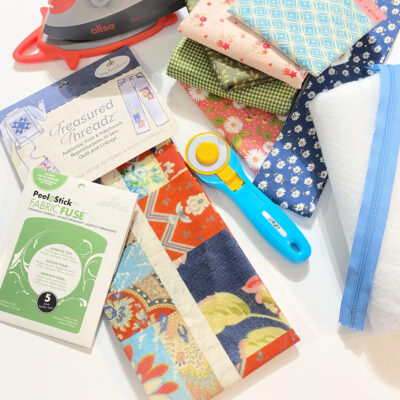
It’s time to get creative, so gather your supplies and tools!
SUPPLIES:
- Roses & Daisies panel from Treasured Threadz for Colonial Patterns
- PeelnStick Fabric Fuse Adhesive
- StitchnSew High Loft Sew-In Fleece (not fusible)
- Your favorite fabrics from your remnant bin
- Clear vinyl (10″ x 12″)
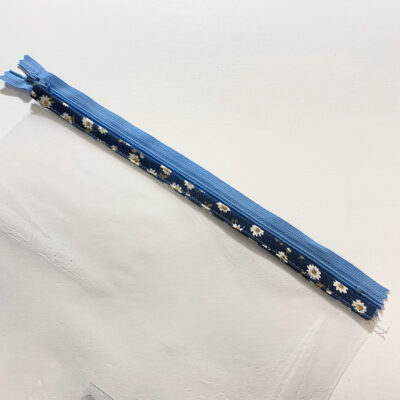
- 12″ zipper (or longer)
- Coordinating thread
TOOLS:
- Sewing machine
- Scissors
- Oliso M3Pro Mini Project Iron
- Olfa Rotary Cutter
- Self-healing mat
- Quilting ruler
GETTING STARTED:
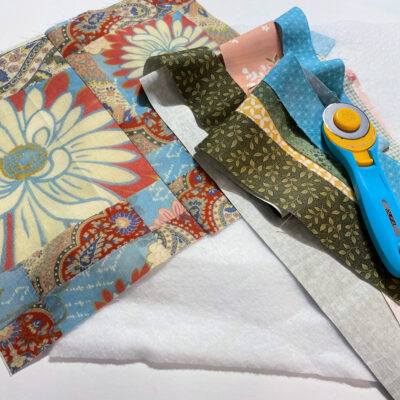
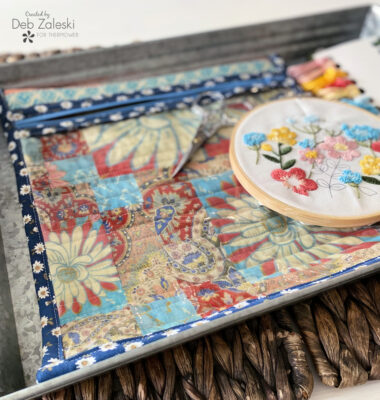
1. My finished project bag measures about 12″ x 12″, but you can make it any size you need. Start by cutting the Roses & Daisies Treasured Threadz Fabric Panel to 12.5″ x 14″. I wanted to use the side with the daisies and keep the side with the roses for another project, so I simply sewed two 12.5″ x 7.5″ rectangles together to get the size I wanted.
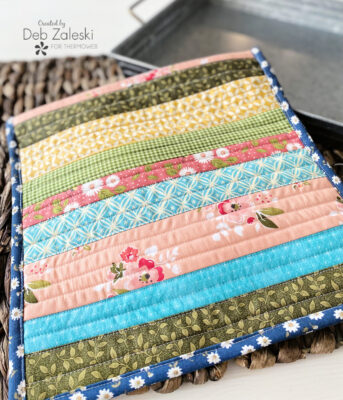
2. Using your rotary cutter and ruler, cut strips of remnant or scrap fabric to 1.5″ to 2.5″ wide. You can make them all the same width or you can make the width of each strip completely random. Make sure the strips are at least 12.5″ long. These will be used for the back side of the project bag.
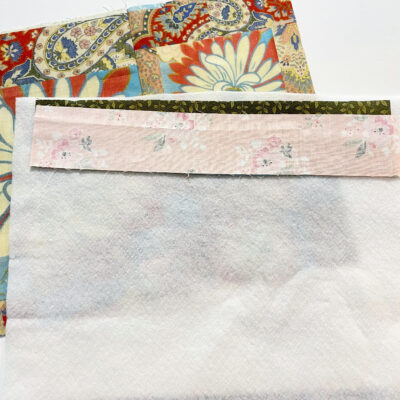
3. To give yourself some wiggle room, cut at least a 13″ x 16″ rectangle of StitchNsew High Loft Sew-in Fleece.
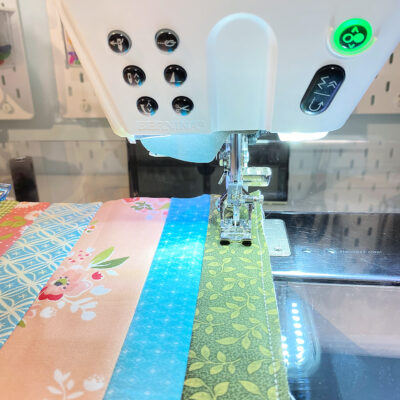
4. I used a quilt-as-you-go method for the outside of the bag. To start, take two strips, right sides together, and place them near the top of the fleece rectangle. Stitch a straight line down the length of the strip and press the seam open using your Oliso M3Pro Mini Project Iron. The mini-iron is perfect for small projects like this one. We will press after each strip is sewn which is why we don’t want to use fusible fleece with quilt-as-you-go projects.
5. Place a third strip face down, even with the bottom of the second strip, and stitch in place. Press flat.
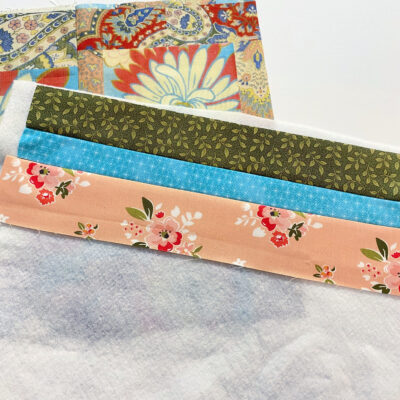
6. Place the next strip face down, even with the bottom strip, and stitch in place. Press after each strip is sewn in place. Continue this way until you have filled the rectangle with your favorite prints.
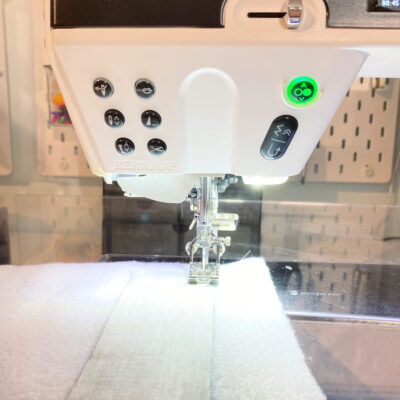
7. Place the Treasured Threadz panel you prepared in Step 1 face down. Place the quilted piece on top, facing up. Quilt as desired; I just stitched a straight line about every 1/2″ to 3/4″.
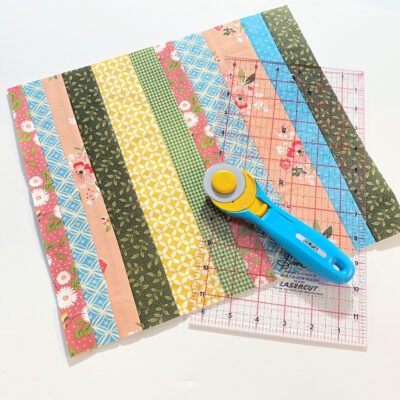
8. When you’re finished quilting, trim the rectangle to 12″ x 14″.
ASSEMBLING YOUR BAG:
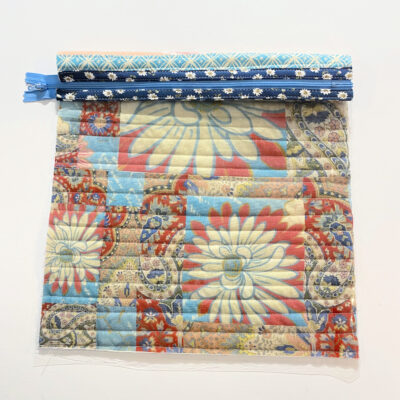
1. Cut a piece of clear vinyl about 12″ x 10″ to be the front of your project bag. Cut five strips of fabric 2.5″ by about 16″, for the binding for the zipper, sides and bottom of the bag.
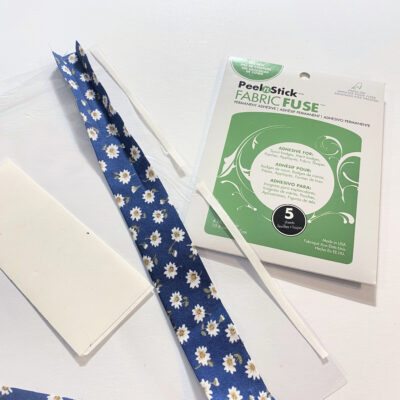
2. I love using PeelnStick Fabric Fuse as a method of basting certain elements together, especially if they are hard to pin or heat sensitive like vinyl. You don’t need an iron for this step since PeelnStick Fabric Fuse is pressure sensitive and permanent, even washable. Cut thin strips of PeelnStick Fabric Fuse, about 1/8″ thick, and place them along one 12″ edge of the vinyl on one side. Remove the remaining liner from the adhesive strips. Fold the fabric binding strip in half lengthwise, wrong sides together, and line up the raw edges with the edge of the vinyl, over the adhesive.
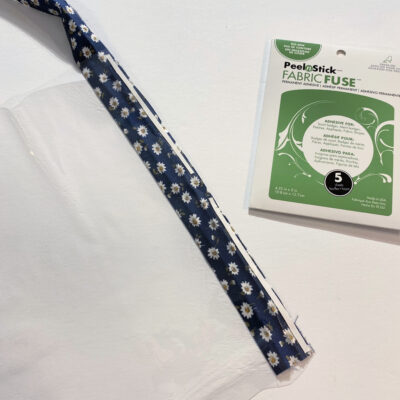
3. Place another row of PeelnStick Fabric Fuse strips on the other side of the vinyl and fold over the binding. With the welt in place, go to the sewing machine and stitch along the edge of the welt (about 1/2″ from the edge).
4. With the zipper facing up, place the vinyl with the bonded edge over the zipper, making sure the zipper teeth are exposed. Stitch in place.
5. Repeat the process with the quilted rectangle. If the zipper is too long, sew a few stitches over the zipper teeth, going slowly to avoid breaking a needle, and cut off the excess zipper tape. Fold the bag so that the bottom edges meet and the sides come together. Repeat Steps 2 and 3 of the assembly process on the sides and finally on the bottom of the bag.
TIP: While you want to avoid sewing directly through PeelnStick Fabric Fuse, If your sewing machine needle gets sticky from going through it, use an alcohol swab to clean the needle.

Thank you for joining me. I hope I’ve inspired you to create something that will help you stay organized and also help you get through all those beloved leftovers from your stash! If you liked this project, please let me know by posting a comment. And don’t forget to stop by my Instagram and say “Hello!”