Hi everyone!
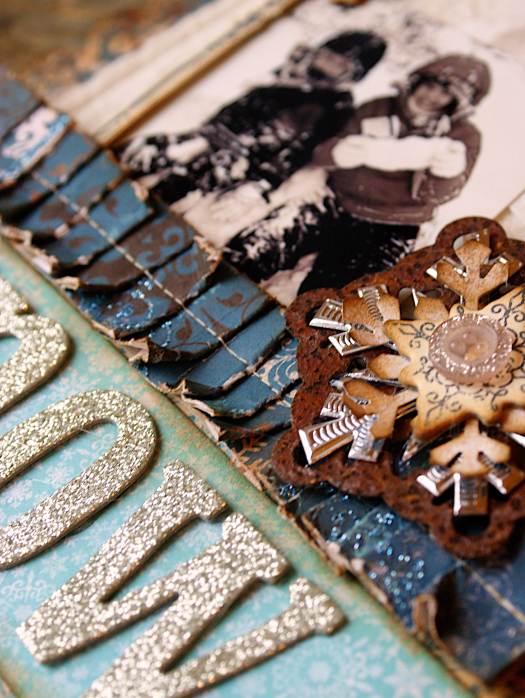
I know a lot of readers are hoping Spring comes soon, but as for me, since I live in the South…I long for more Winter! So for this month, I created a vintage Winter wall-hanging and I’m going to show you how I made the pretty folded paper border used at the bottom using one of my favorite adhesives, SuperTape.
I love SuperTape for so many reasons! When it comes to adhering heavier embellishments, creating borders, (like the one below), or just when you need that extra “support” of a stronger adhesive, nothing works better than Therm O Web‘s, SuperTape. It also comes in a ton of different widths so you always have the size you need for your project. For my project, I used the 1/4 inch. I hope you enjoy!
![]() This is how I made my folded paper border:
This is how I made my folded paper border:
First cut 2 strips of pattern paper 1 x 12 and then a strip of cardstock 3/4 x 12, (you can trim of any excess to fit the size of your project). Then, using your Therm O Web, 1/4 inch SuperTape, adhere it the length of the cardstock on both edges as close as you can get it.
The reason for this is, you want the center free from any tape so you can machine stitch the layers down. Now take your strips of pattern paper and free fold it back and forth to create “folds”. Remember…it doesn’t have to be perfect, in fact it looks better if it’s kind of messy.
Once your pattern paper is folded adhere it to the strip of cardstock that has the SuperTape on it. This will keep it firmly in place. Then, when your strips have all been adhered, bring it to your sewing machine and stitch right down the middle. It’s completely secured now, then when your ready to use it on your project, cut it to the desired length, distress it if you’d like and adhere it to your project using the same SuperTape.
Below are some pictures to help guide you.
I hope you enjoyed the project!


