


Hi there! This is Jenifer Cowles here with you today to share this fun little back to school pencil pouch. This is a simple project that can be customized to fit the personality of each individual.
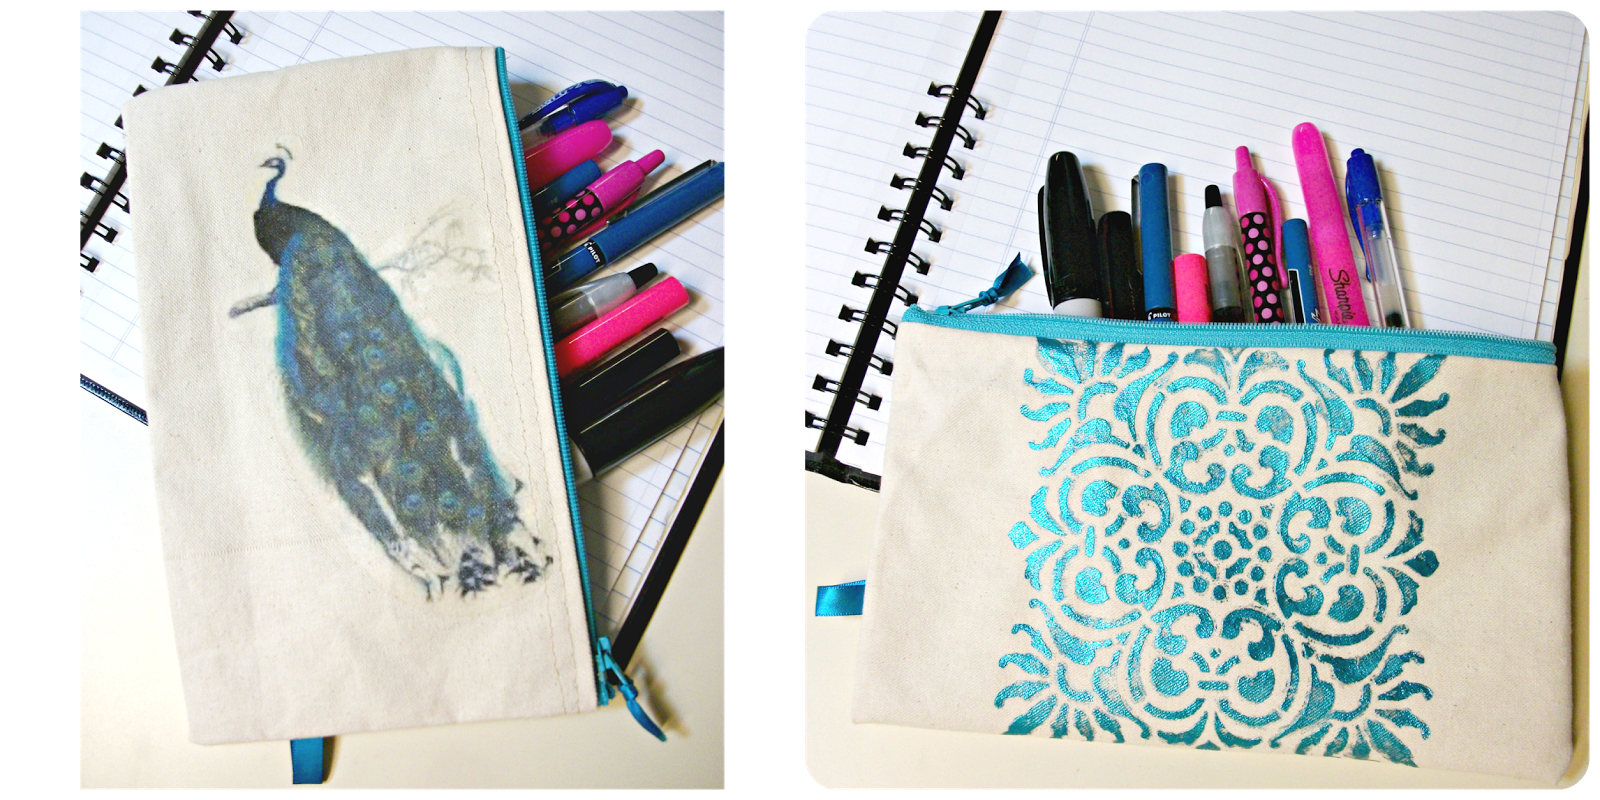
Pretty as a Peacock HeatnBond Pencil Pouch Tutorial
Therm O Web supplies:
Deco Foil™ Transfer Sheets – Aqua
HeatnBond® EZ Print Inkjet Transfer Sheets
Other Supplies used:
Canvas
Zipper
Stencil-DCWV
Ribbon-May Arts
Oliso Iron
Project Instructions:
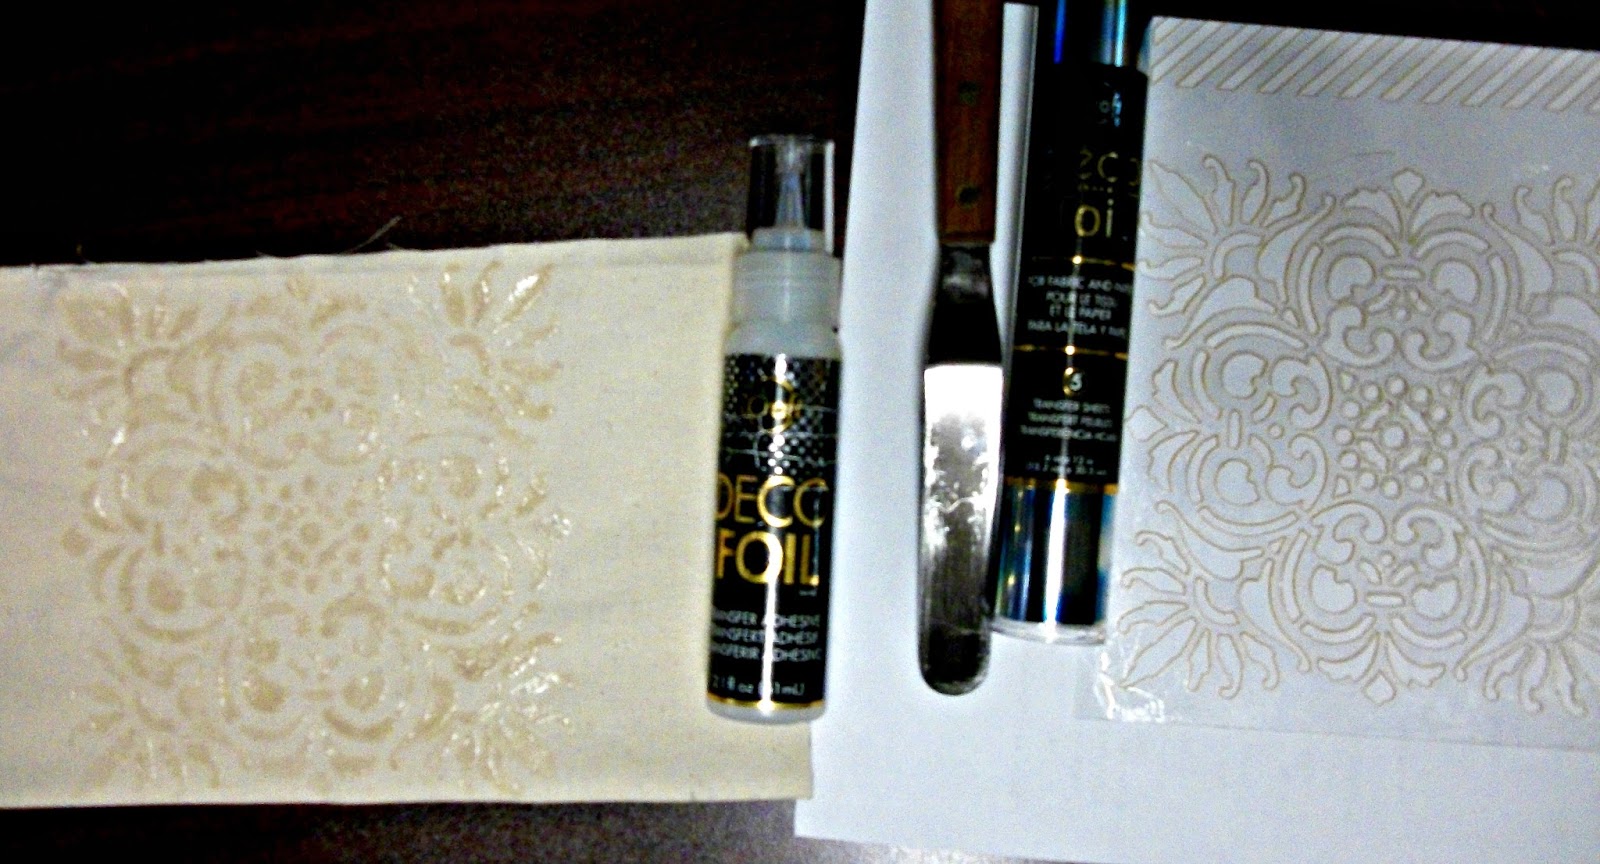
Step 1: Apply the Deco Foil Liquid Adhesive using a scraping tool or even a used gift card and scraping it over the stencil making sure you get into all of the little nooks and crevices.
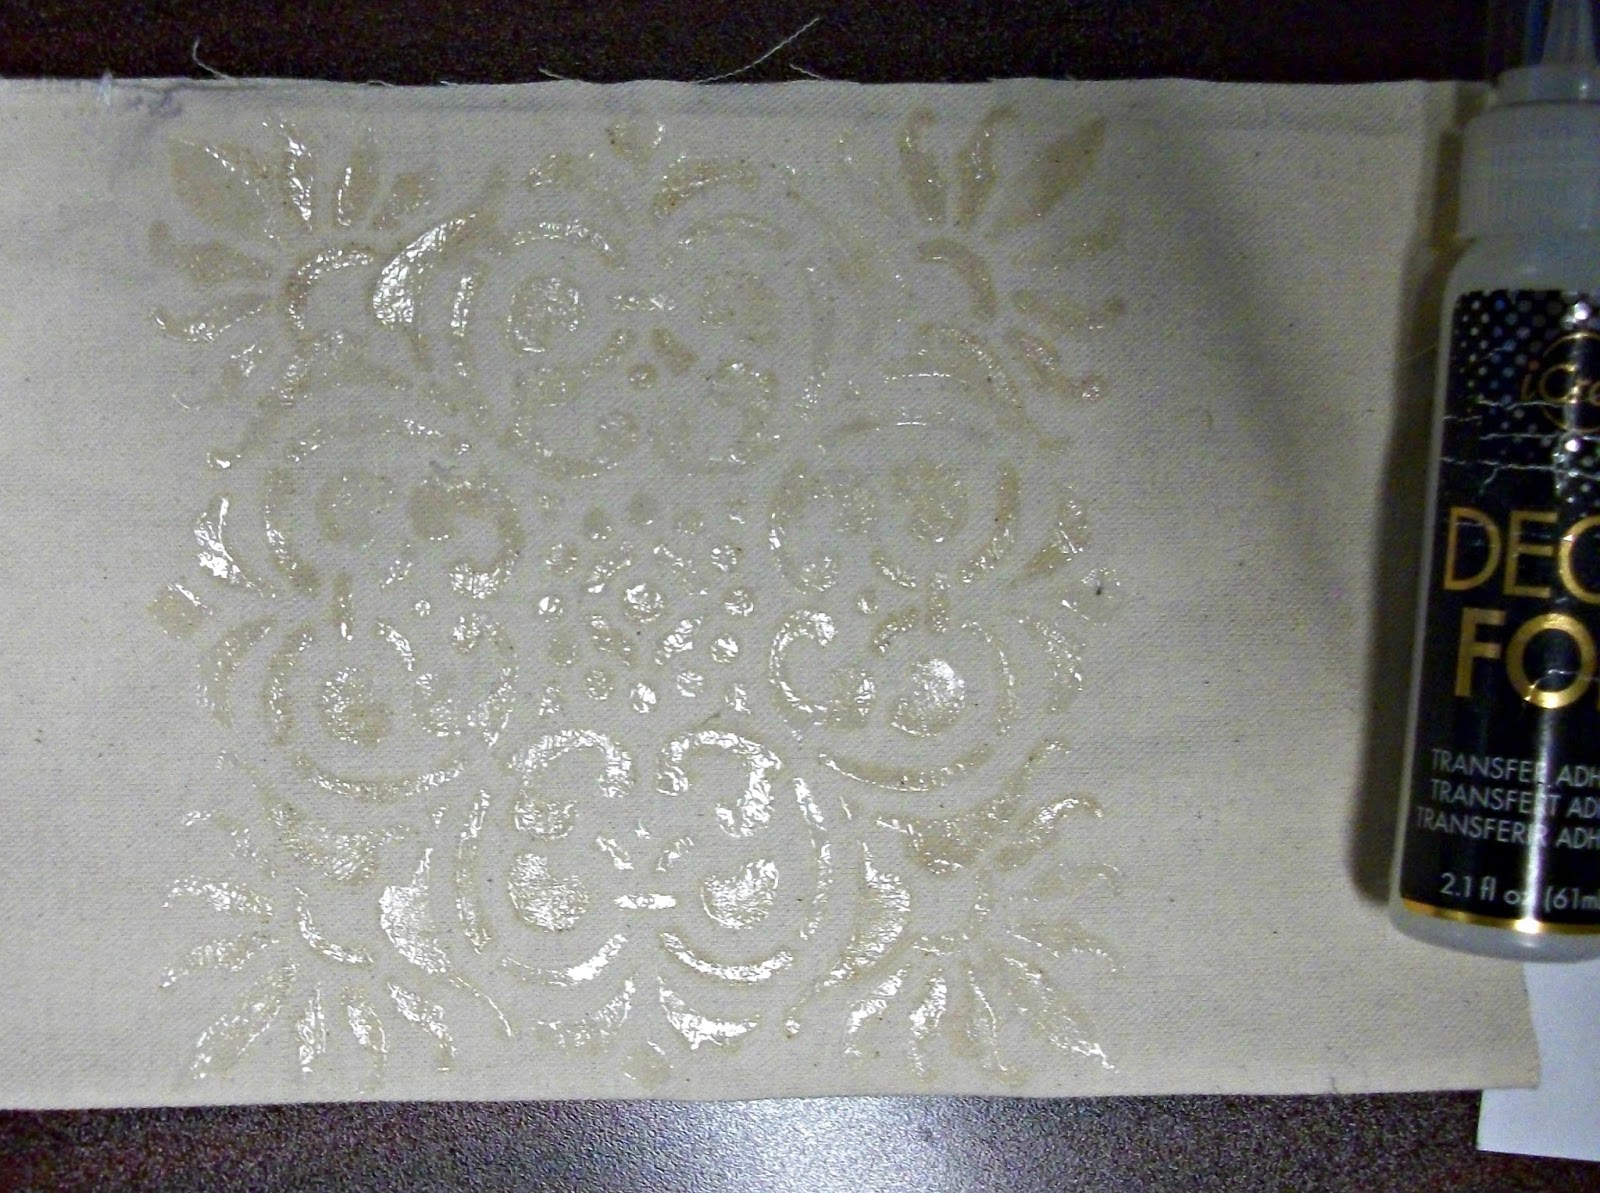
Step 2:The adhesive will be pretty shiny, wait for it to dry clear and then you can apply the foil. I like to use a brayer and another used credit card to really make sure I get the foil into all of the little spaces.

Step 3: Print out the desired image using the EZ print Inkjet sheets cut around the image and Iron it onto the fabric following the directions on the package.

Step 4: Sew up the pouch. Sew the zipper along the top and then sew the sides together.

This project comes together fairly quickly and you will be sending happy kids off to school with their very own custom made pencil pouch.