


Hello Hello!
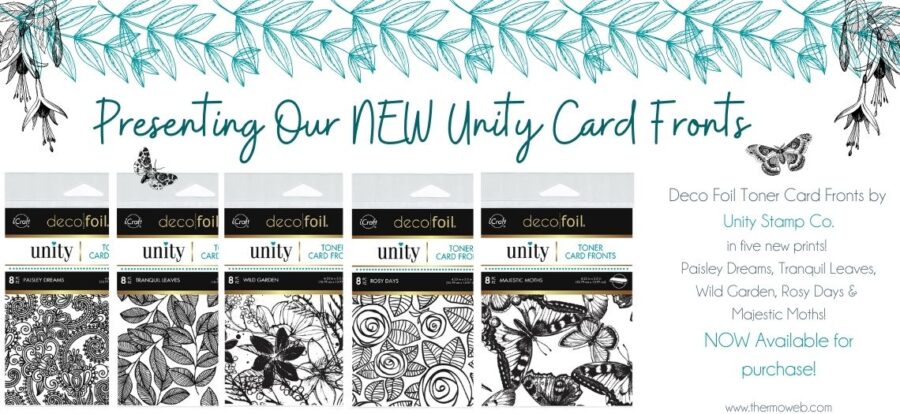
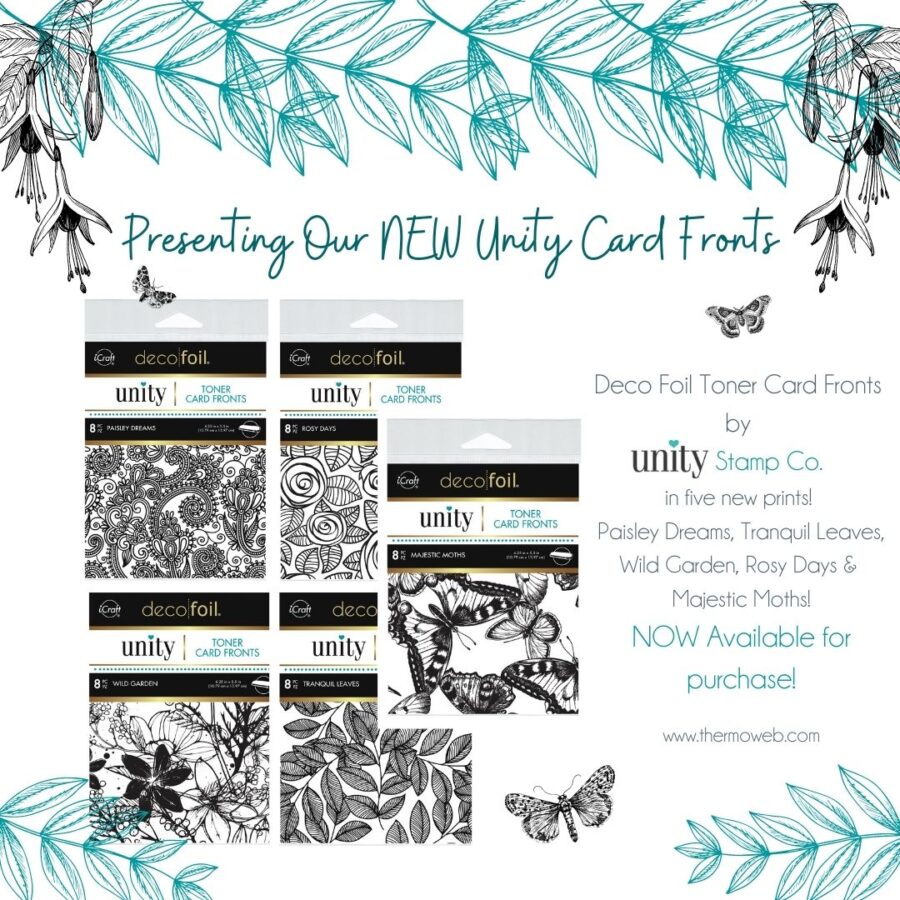
You might have joined the amazing Facebook Live last Thursday from our friends at Unity Stamp Co. celebrating their 13th Birthday and showcasing the newest Unity Card Fronts! Just in case you missed it…we’re thrilled to present five new designs we know you’re going to love!
Wild Flowers Toner Card Front
This one is simply incredible with the beautiful flowers, stems, and more. Cut out the designs for a unique look and layer a second for added dimension.
Rosy Days Toner Card Front
Ahh…so fun and just beckoning for some equally fun cards to be made with this. Or use for a patterned paper on a scrapbook layout!
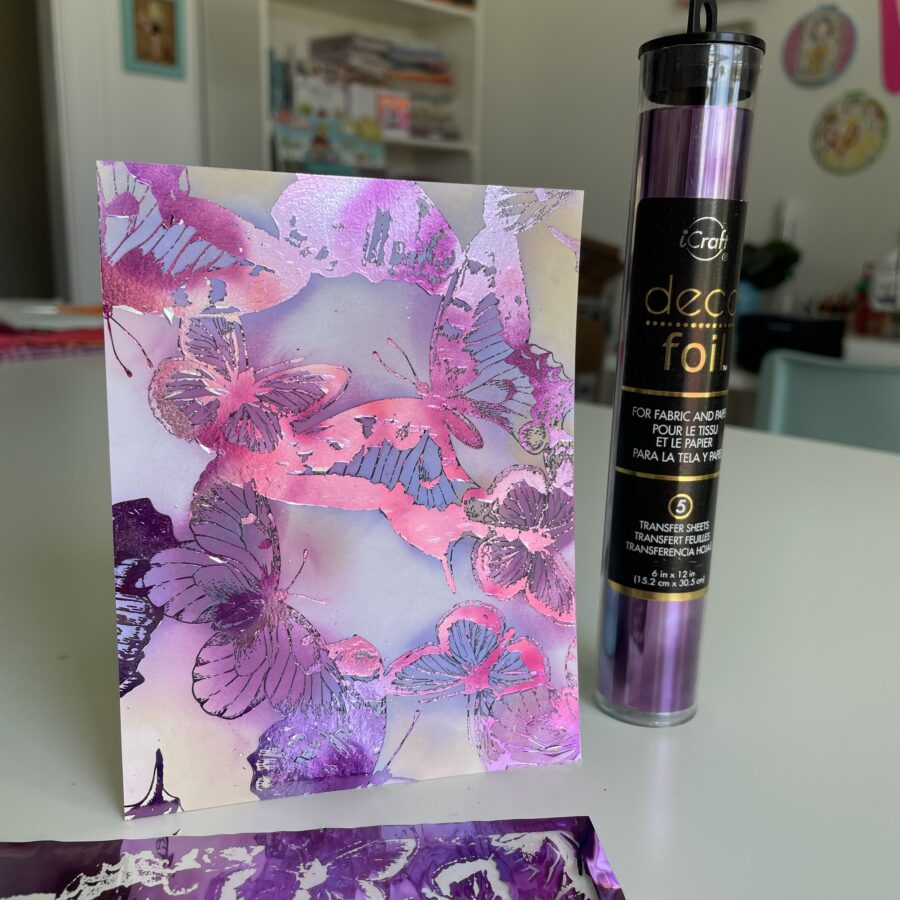
Majestic Moths Toner Card Front
Need we say more about this one? And use our Amethyst Featured Foil for a stunning look when foiled!
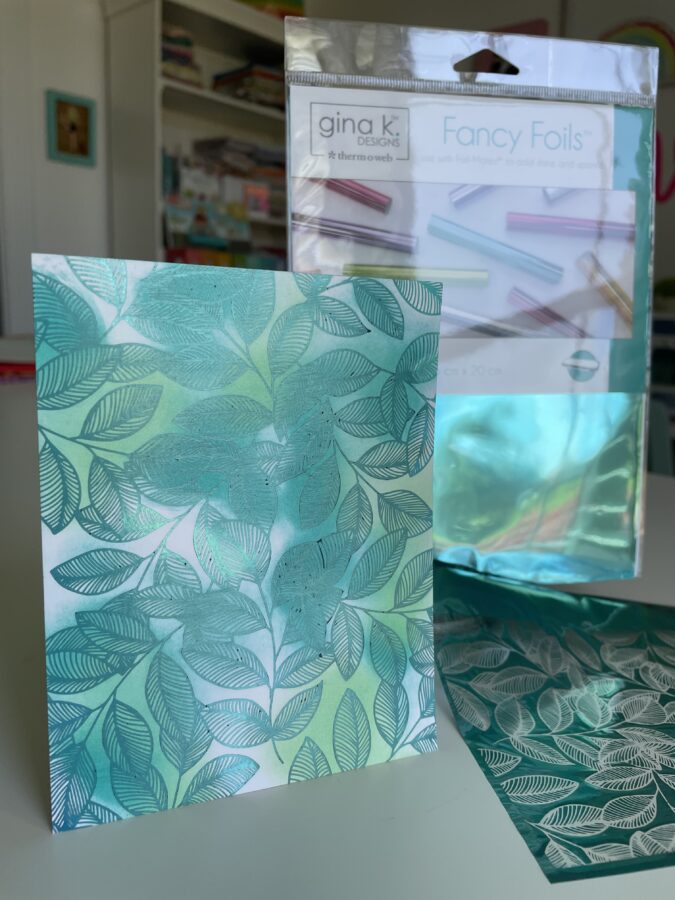
Tranquil Leaves Toner Card Front
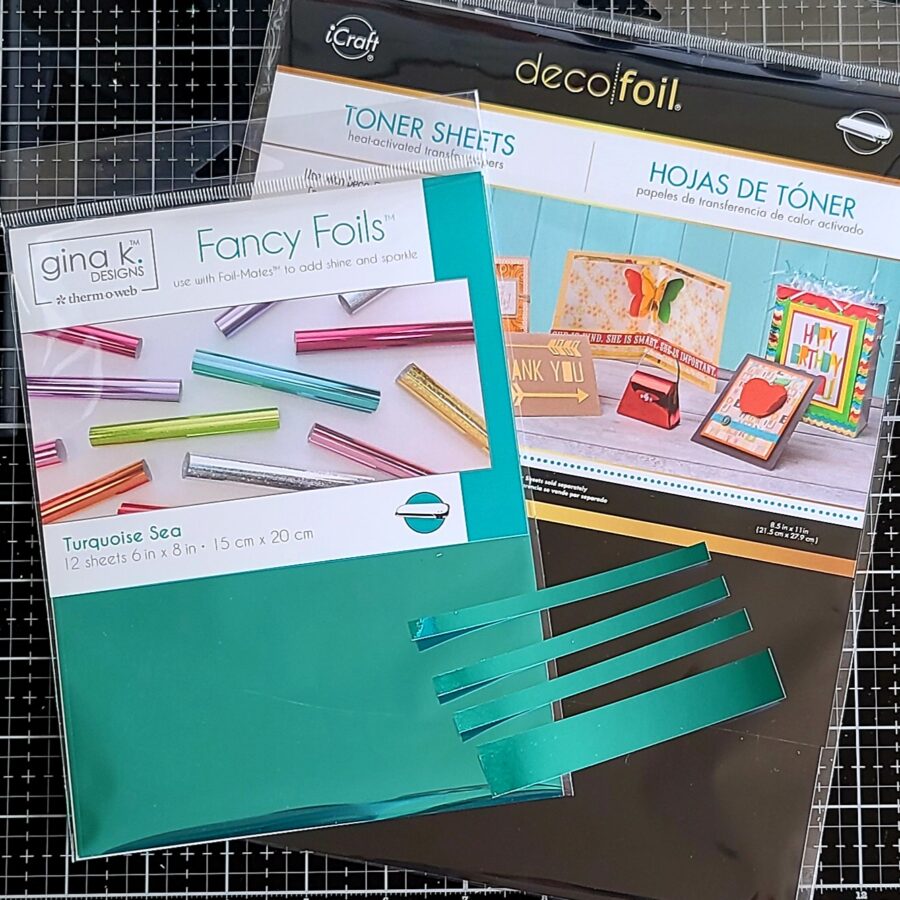
Can you feel the zen coming off all that beautiful greenery?? Our Gina K. Designs Turquoise Sea Foils make them extra lovely!
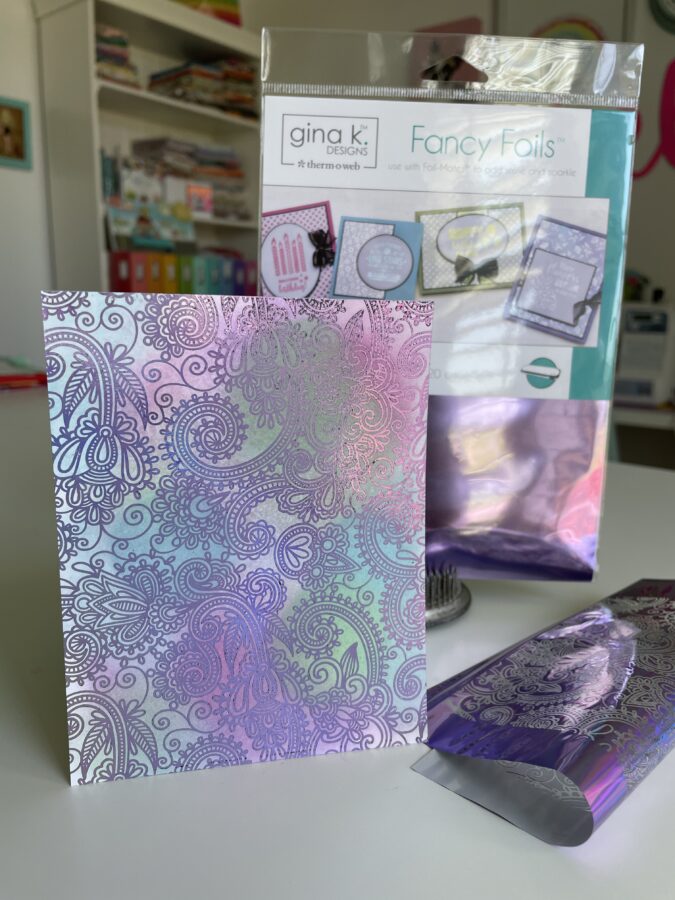
Paisley Dreams Toner Card Front
Last but not least is this fun design that we know will be a hit! Pair this pretty with our Gina K. Designs Wild Lilac for a gorgeous start to your card front! You’ll find all five designs in stock now and available for purchase on our website along with the Five Featured Foils shown as well!

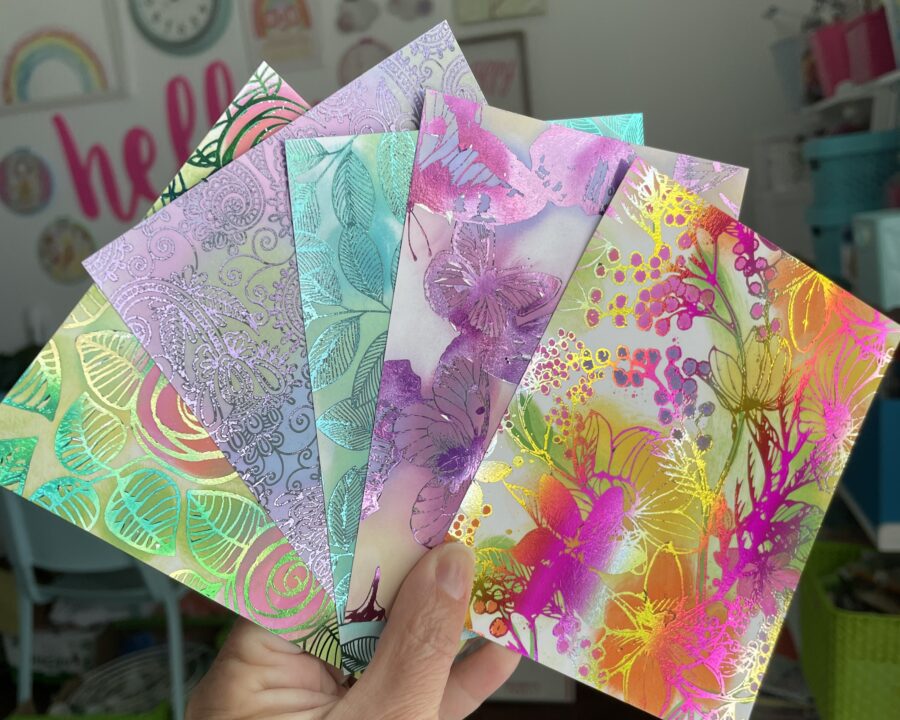
To kick things off Amanda has some gorgeous cards to inspire you with the NEW Unity Toner Card Fronts and their New Stamps!
Hey friends! It’s Amanda from Twiddler’s Nook popping in to have some fun with the brand new Unity Toner Card Front Release! These are absolutely incredible! You’re going to love every single design! Today I’m playing with the tranquil leaves pattern and a couple of fun foils!
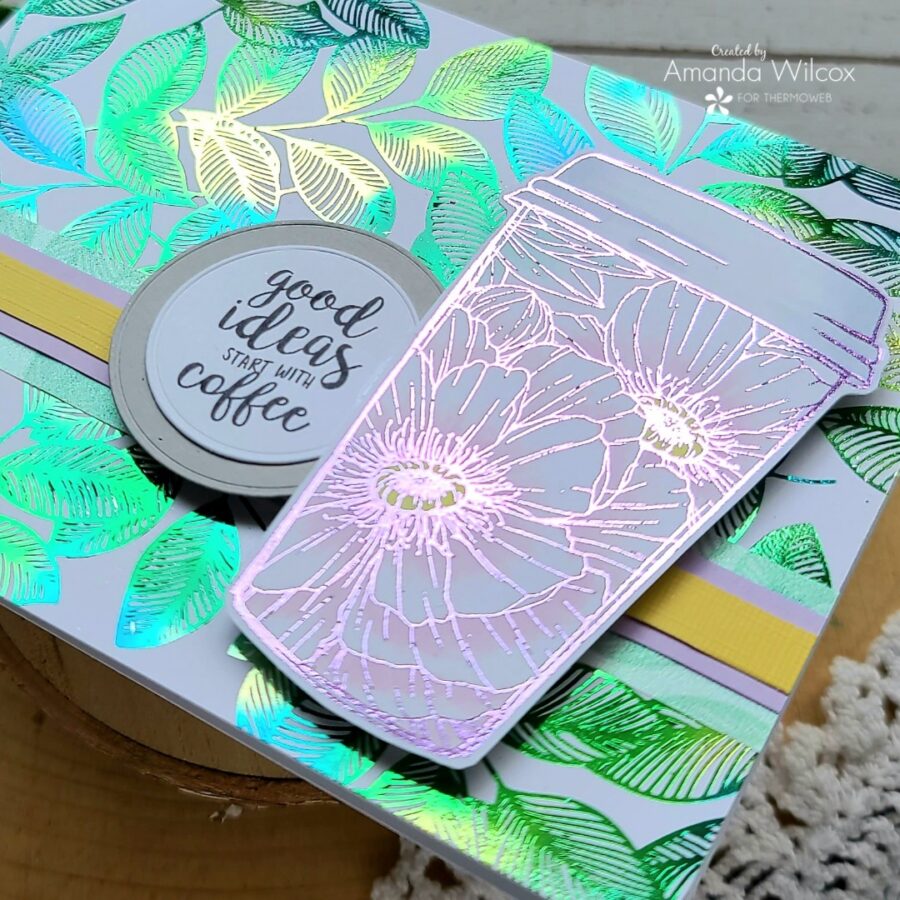
Good Ideas Start With Coffee and Unity Toner Card Fronts! Card
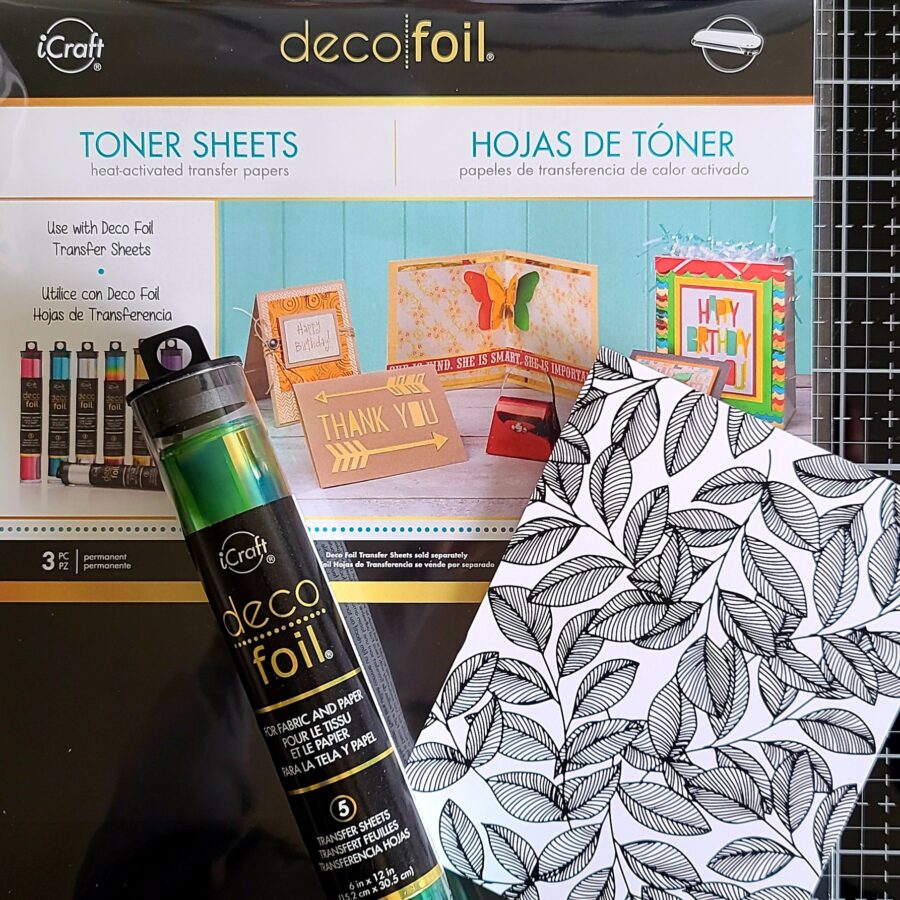
Products used on today’s projects:
Unity Toner Card Fronts
Emerald Watercolor Deco Foil
Wild Lilac Deco Foil
Turquoise Sea Deco Foil
Toner Sheets
iCraft Foam Squares
iCraft Ultra Bond liquid adhesive
Unity Spring Coffee stamps
Trinity Stamps embossed edge circle stack dies
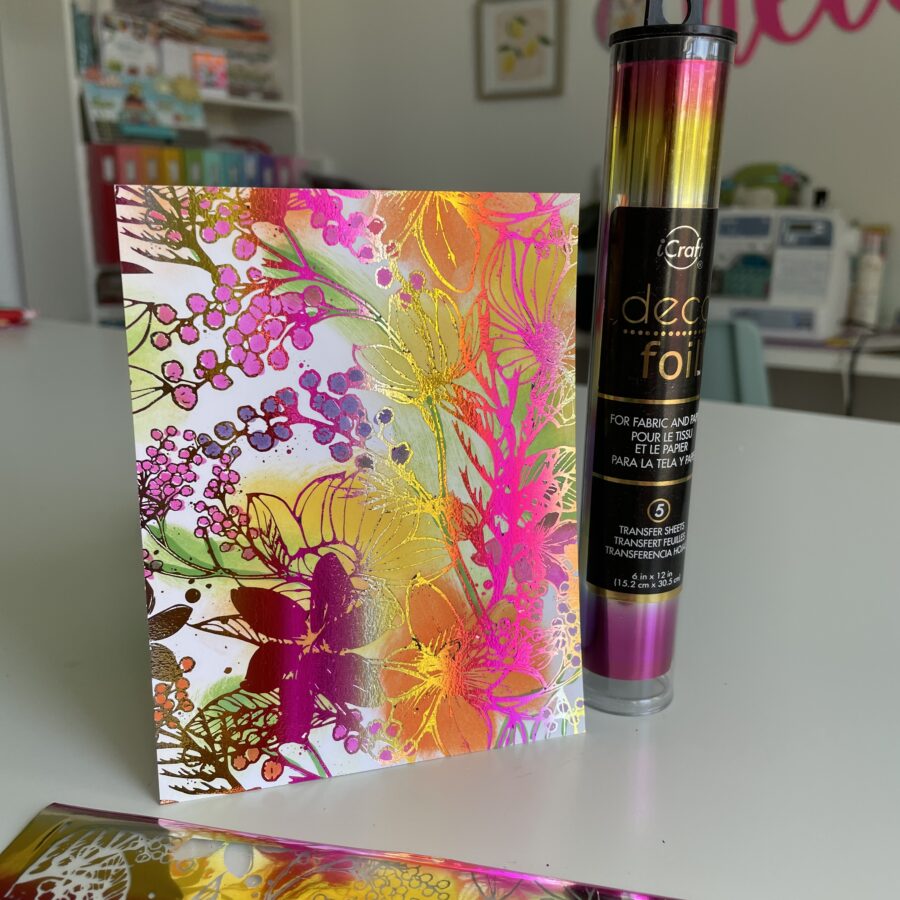
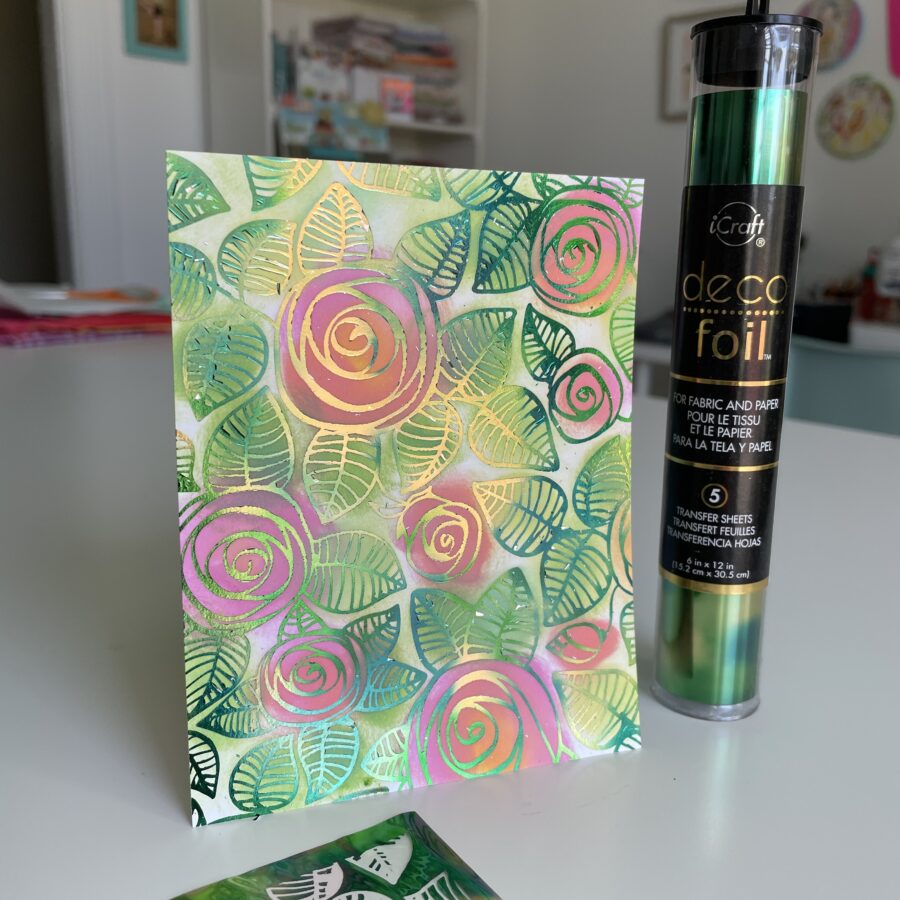
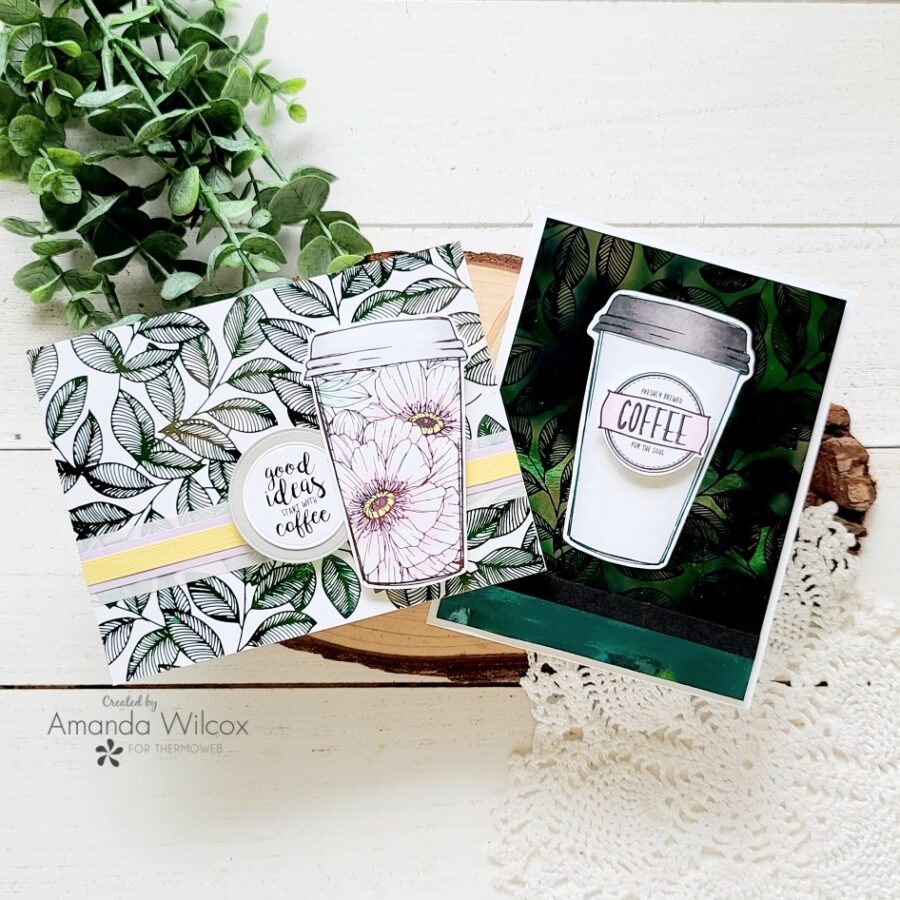
I started my cards knowing that I wanted to try foiling the card front and then using the “waste” or negative image on a toner sheet. The girls have done this a bunch but I haven’t been brave enough to try it. So I heated up my laminator and ran the tranquil leaves pattern toner card through with emerald watercolor Deco Foil. Then I trimmed a piece of toner sheet to 4×5.25 and used the negative Deco Foil sheet and ran them through my laminator together. Oh my goodness! This is the coolest thing ever!
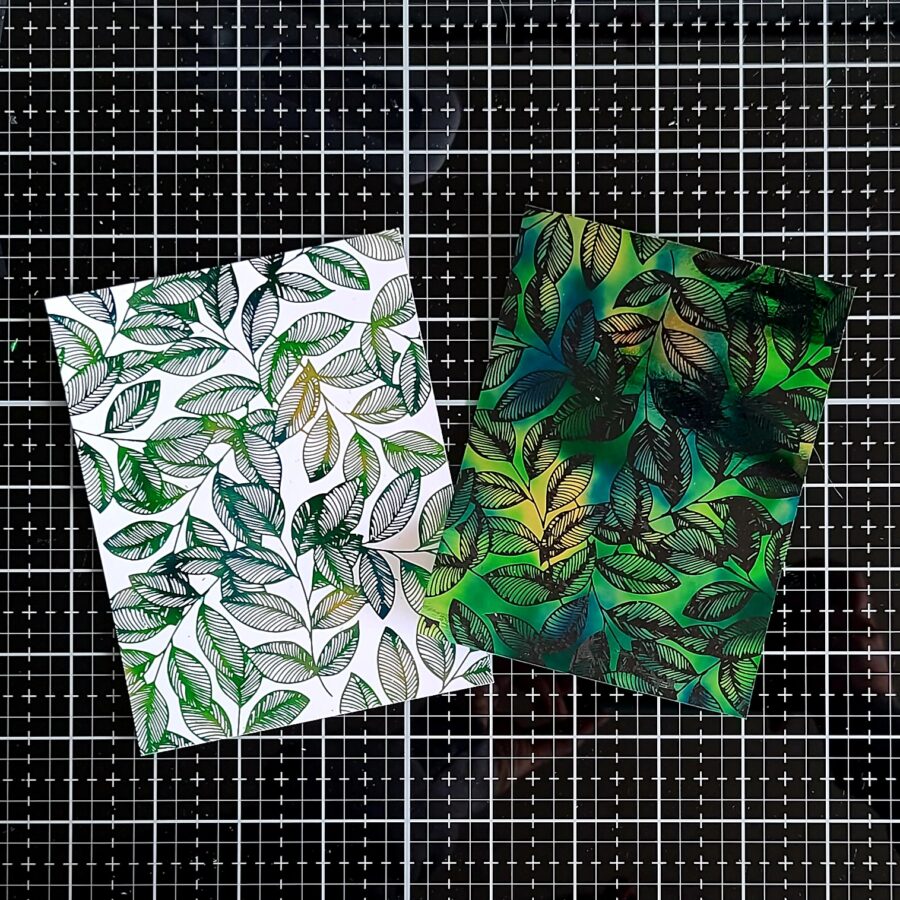
Two for one and they are both stunning!!!! I can’t believe I waited this long to try this. If you haven’t yet, it’s definitely a must! So wonderful and think of how many more cards you could make! Okay, back on track. After I had my two backgrounds I had to decide on what to put on them. I went with the new Unity Spring Coffee stamps – which we had in digital due to the lag in product times we’ve seen across the world.

But because they were digital, I had them printed on a toner machine so I could foil my pieces! I used wild lilac for the flower cut and badge and turquoise sea for the plain cup. One of the many great things about foiling is you can Copic color over it and it doesn’t hurt it. So great! So I added shading and simple coloring to my pieces too.
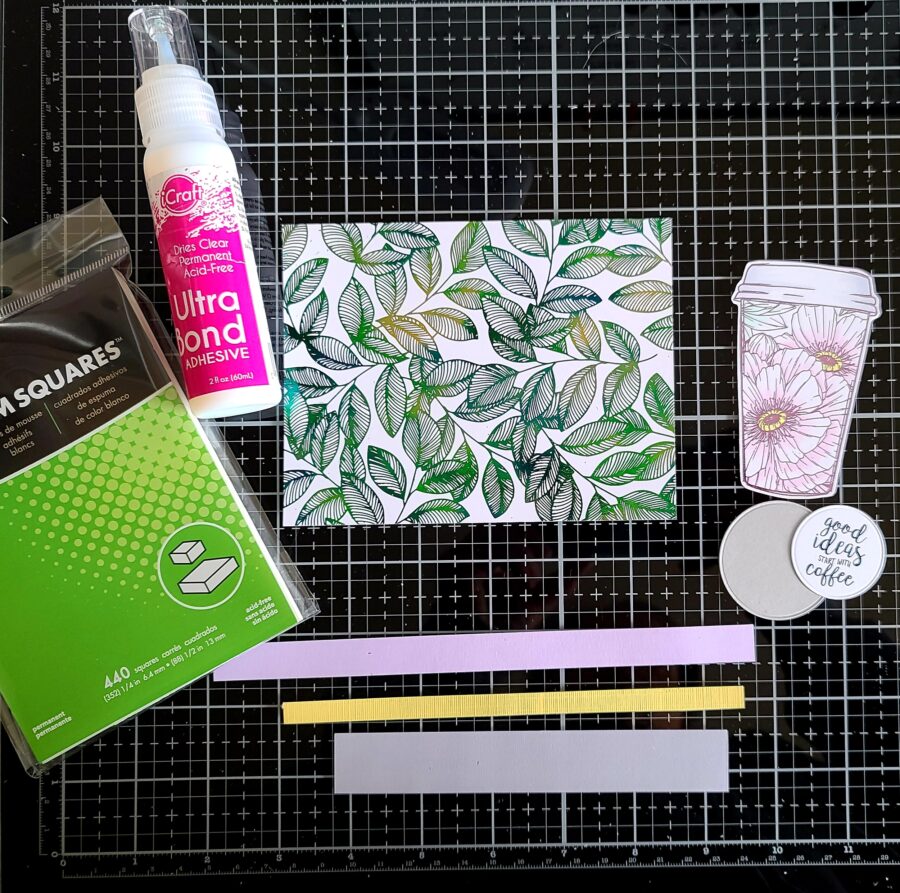
Moving on to assembly, I adhered my white background to a card base with liquid adhesive. Then I trimmed some strips of vellum, purple and yellow cardstock and layered them together with liquid glue. I adhered them to the card front with the same liquid glue. I seem to favor that lately. Then I chose a sentiment, die-cut it with a Trinity Stamps embossed edge circle and another the next size up from gray cardstock, and glued them together. I added foam squares to the back of the cup and sentiment and popped them in place.
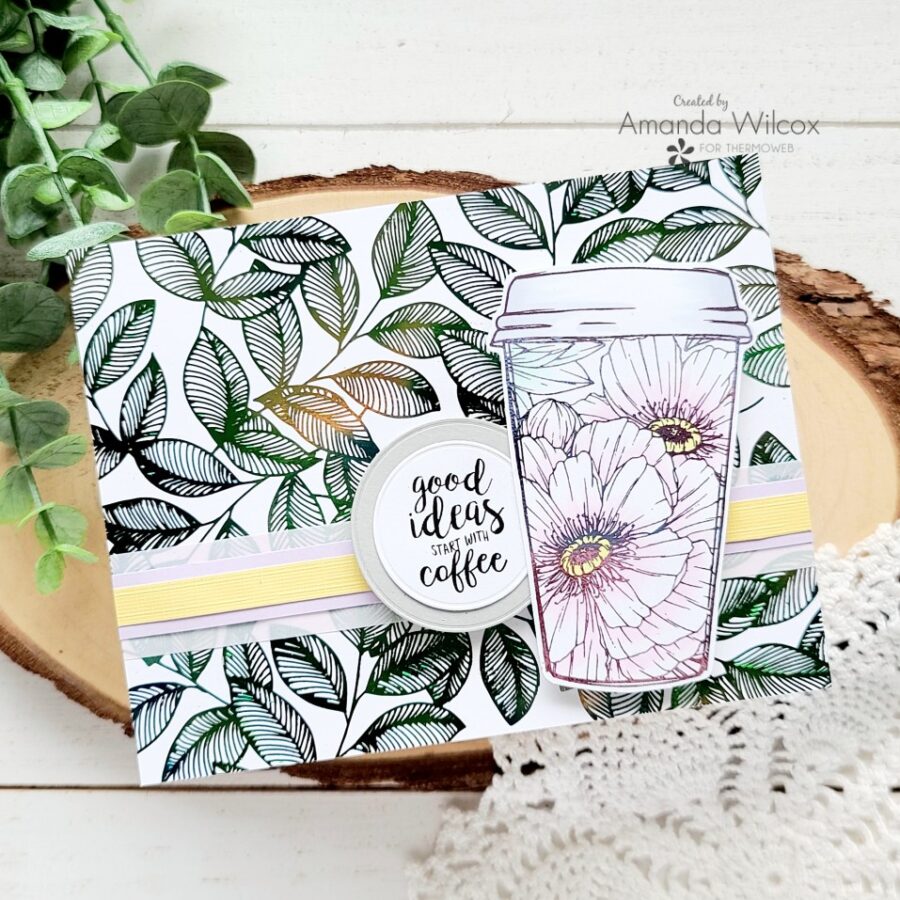
Voila! I like these images together. And the different colors of foils are beautiful too! Here’s a closer look at the foiling. I could stand and move this around in the light for days. It’s mesmerizing!
Now, for my “bonus” card featuring the negative of this toner card front. (I’m still mind blown by this awesome technique!) Let’s play some more!
I had an idea to add some foiled striped behind the coffee mug on this design so I cut some strips of toner sheet and ran them through the laminator with turquoise sea Deco Foil. As you’ll see in the finished card, I didn’t love the look so I saved those three strips for some other day and used the wide strip at the bottom instead.
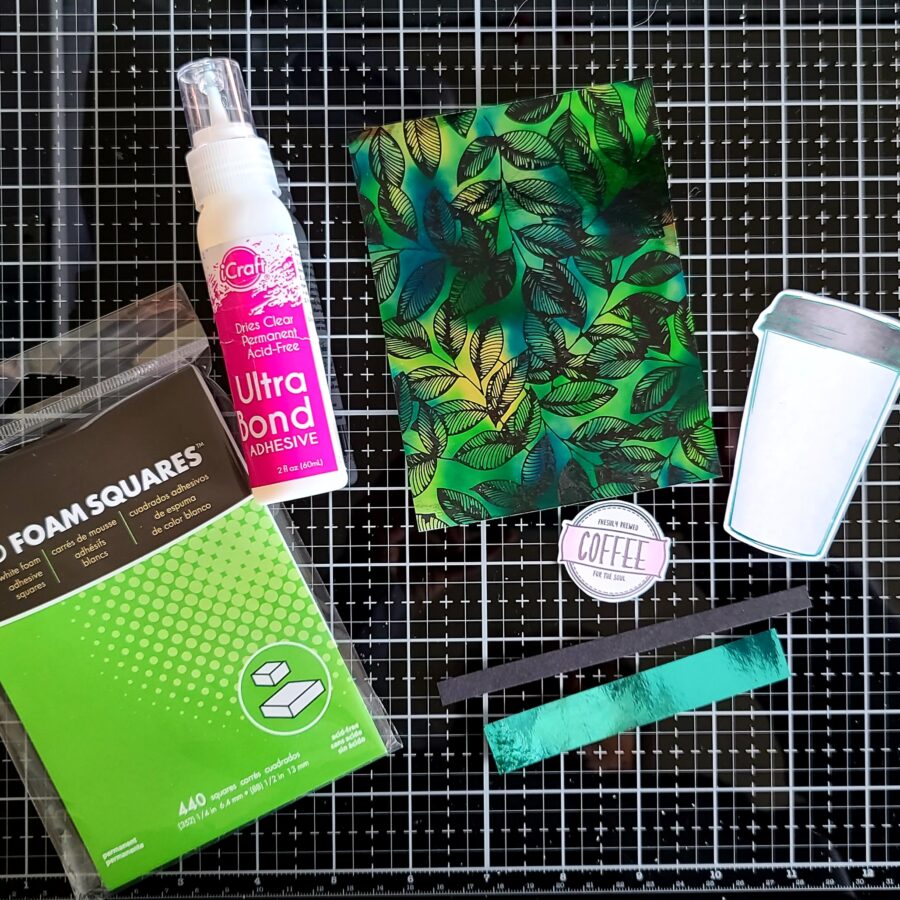
For assembly on this card, I added foam to the back of the badge and popped it on the coffee cup. Next, I adhered the turquoise foil strip to the bottom of the leaf panel with liquid glue. I thought it was an abrupt transition so I cut a 1/4″ strip of black cardstock and glued it over the top. I added foam squares to the back of the cup and popped them on the upper portion of the background panel. Finally, I added the whole panel to a white card base.
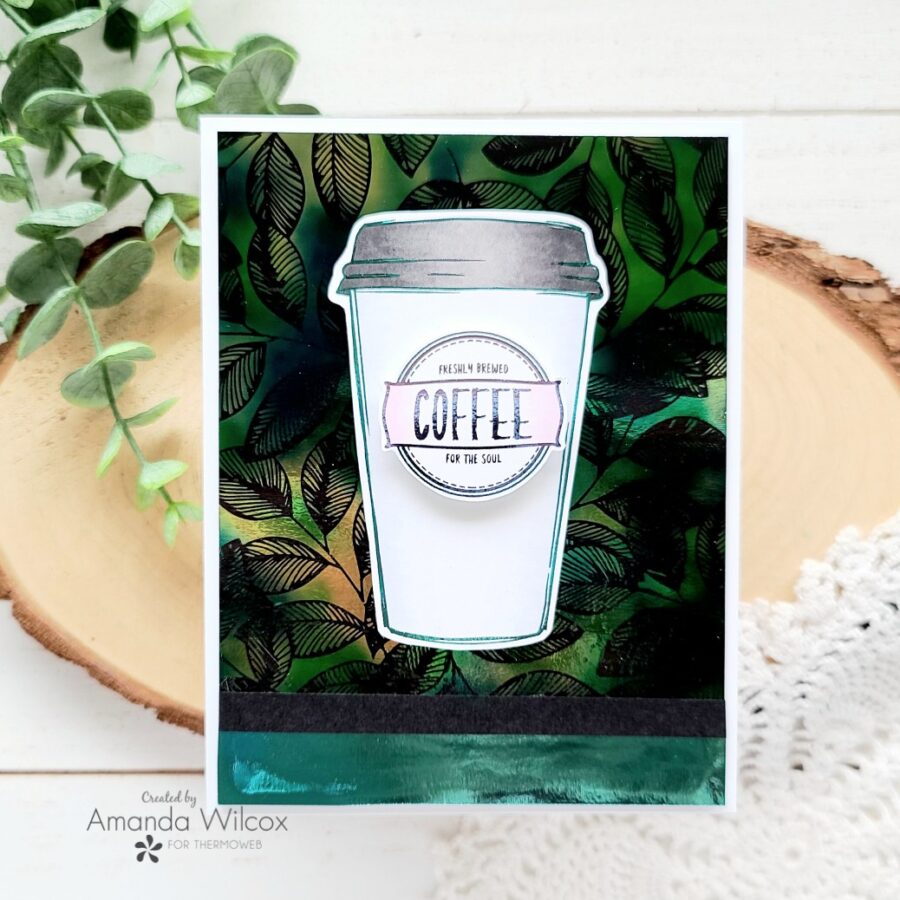
Because I had originally cut my toner sheet for the background panel to 4×5.25 inches it gives a nice, clean white border, which I really like.
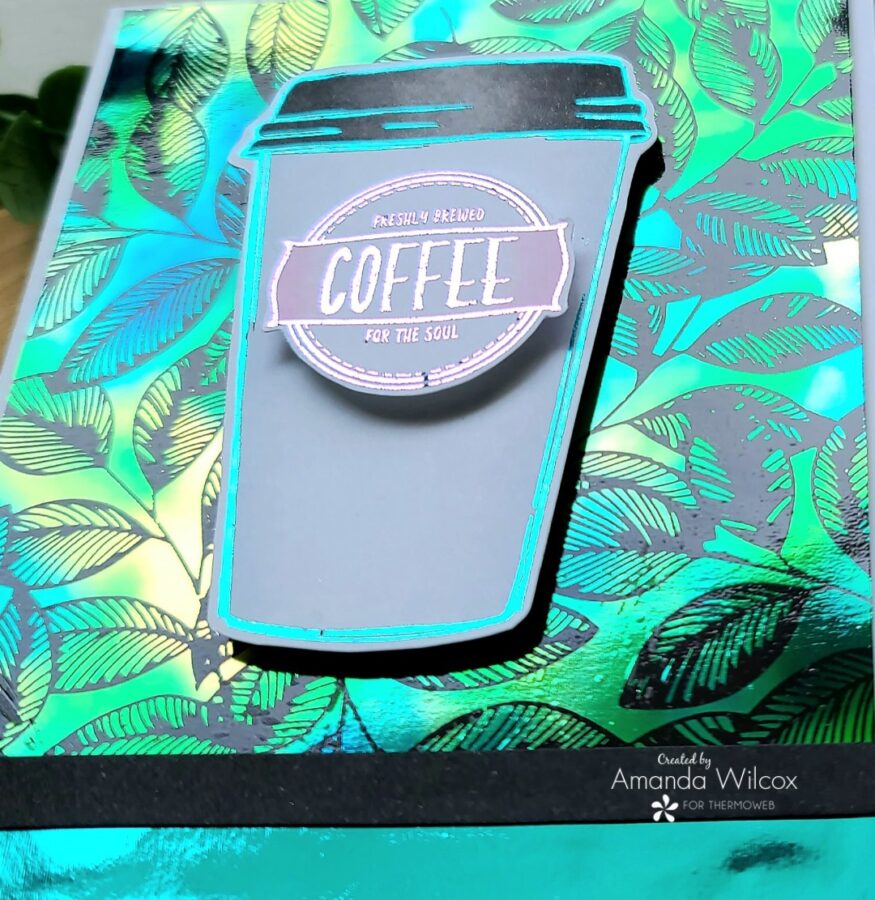
And here’s a cool look at all this beautiful foiling in the light too. This watercolor Deco Foil is wonderful, especially in the denser areas like this second card. I am hooked!
I appreciate you sharing your time with me. Be sure to join us again tomorrow as we have a special event planned with Unity at 12pm Central Time on Instagram! Have a fabulous day!
This post contains affiliate links. For more information, see our disclosure HERE.
Patricia Wilson
May 3, 2021 at 3:00 pm (3 years ago)These new toner sheets are so pretty and love that you’re showing us ink blending, etc. on them. Thank you. Was amazed at how many different colors of foil you have.