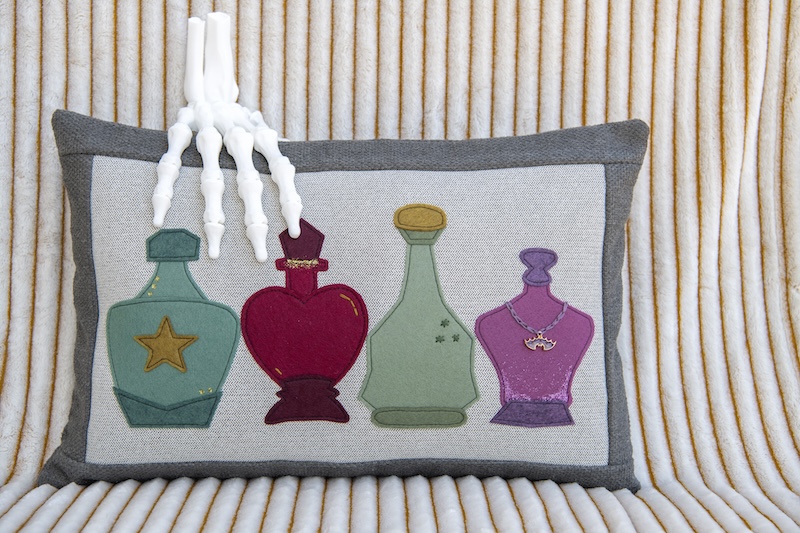
Welcome to Handmade Holidays with Benzie Design + Therm O Web! We’re sharing autumn-inspired creative tutorials on both blogs all week, along with chances to win gift cards from Therm O Web and Benzie Design. Find the giveaway details at the end of this spooky, bejeweled Magic Potion Bottles Pillow tutorial designed by Therm O Web sewing & quilting educator Lisa Summerhays. Lisa also added the perfect glittery accents to her bottles with NEW HeatnBond Sparkle Paste by Jennifer Long of Sew A Story.
Hi friends! It’s Lisa from Stubbornly Crafty back to share a new project with you. Today we are going to sew a spooky potion bottle applique using felt from Benzie Design. They carry the nicest wool felt that doesn’t pill. It’s the only quality felt I work with for all my applique projects. I’ll be turning my potion bottles into a pillow cover but you can make a table runner, trick or treat bag, break them up and make a banner, or any other spooktacular project using the same applique method.
I’ve designed patterns for years and years but this is the first pattern I digitized all on my own. My husband has digitized and put together the layout on all my patterns in the past but I’m learning how to do so myself. Just a heads up that it’s not as perfect as usual but a girl has got to start somewhere. I think I did a pretty fab job, I’m pretty proud of myself, and excited to share it with you. Let’s get sewing.
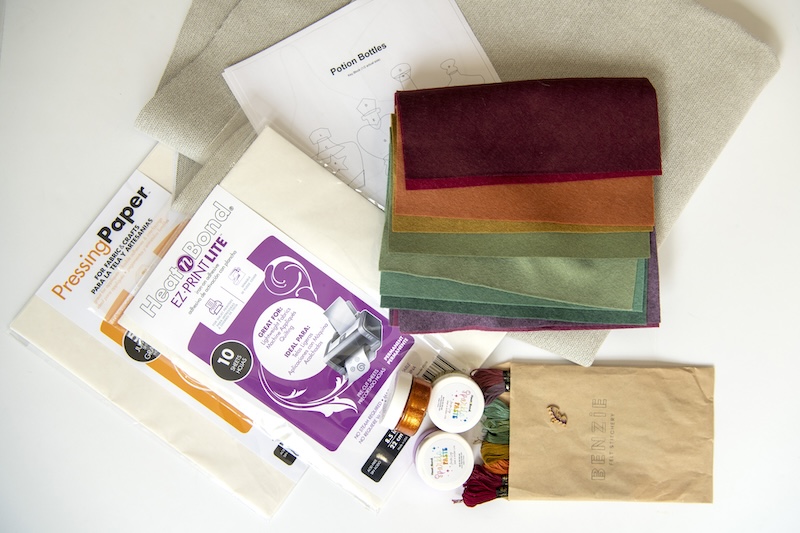
Supplies:
- Pattern pieces (print here)
- HeatnBond EZ Print Lite
- Benzie Designs Eucalyptus Palette Felt
- At least a 9.5”X15.5” base fabric to applique onto (I am using a woven home dec fabric)
- Pressing Paper
- Benzie Designs Eucalyptus coordinating embroidery floss
- Sparkle Paste by Jennifer Long of Sew A Story: Pumpkin, Sunshine, Lilac
- Charm
- Pillow form needed- 12”x18” (I found mine on Amazon)
**The center panel on this pillow is 9.5”x15.5” if you want to leave the borders off. If making your potion bottles into something else, it needs to at least be 9.5” wide x 14.5” tall.
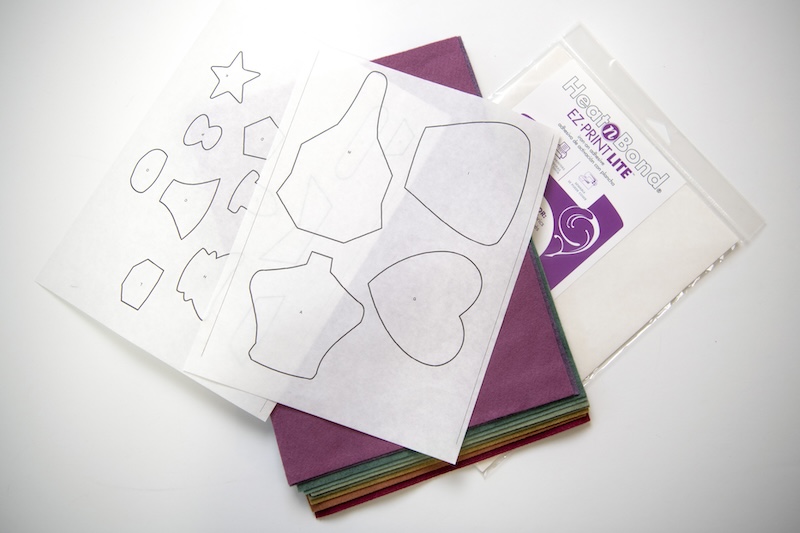
First print your pattern pieces out on your HeatnBond EZ Print Lite sheets. You must use an inkjet printer to do so; a laser printer could melt the adhesive. Cut out your pieces, leaving some negative space around each piece.
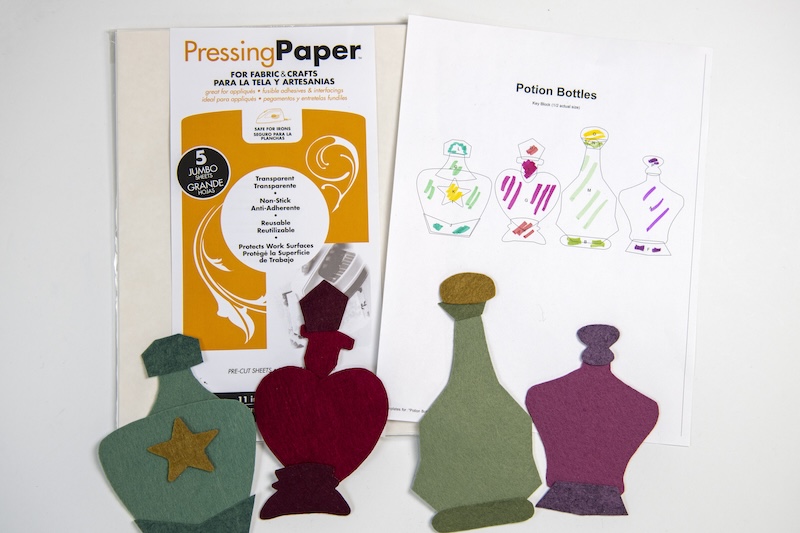
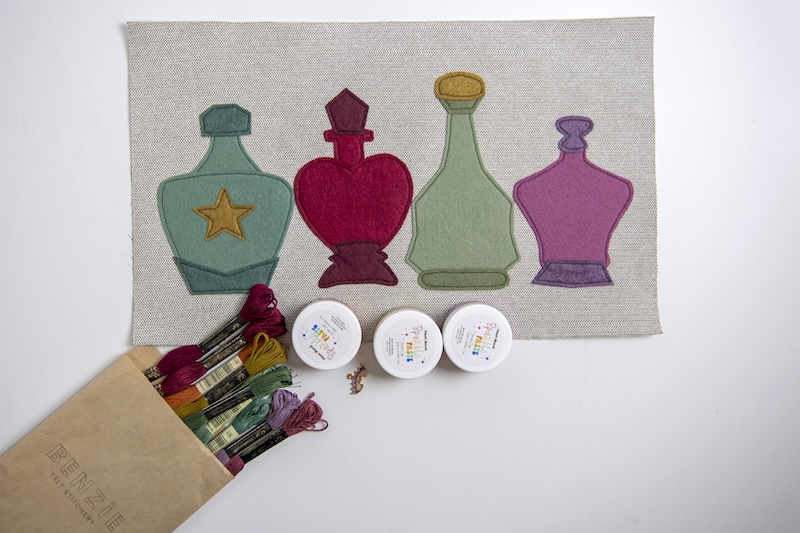
Use your placement guide to determine which pieces go to each potion bottle. I colored my placement guide as well to determine which color felt I wanted each piece to be before adhering the iron-on adhesive pattern pieces to the felt sheets. Using your Pressing Paper, adhere the pattern pieces to your felt (smooth side that has the printing on it is facing your iron). Cut out each piece.
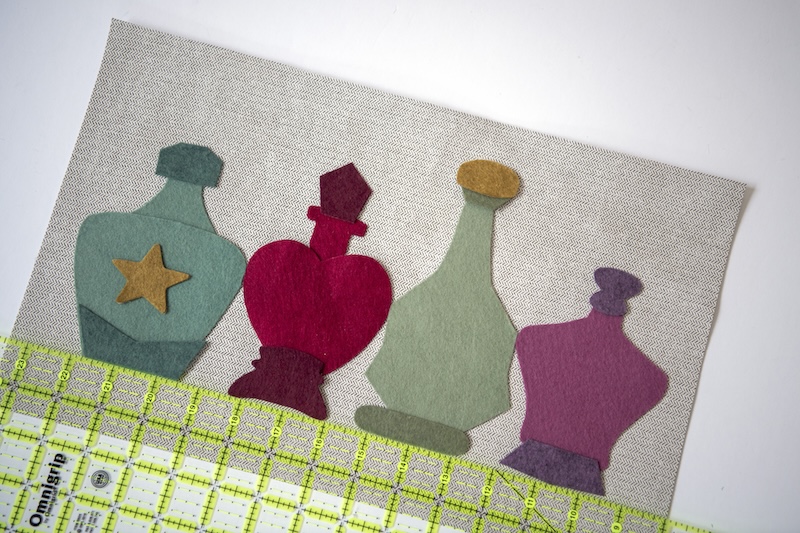
We will be adhering the pieces in three separate stages. We will first adhere pieces C, E, N, and A. Measure 1.5” up from the bottom of your fabric. Situate your potion bottles on your base fabric to get them how you’d like them to look when completed, removing the backing paper from the Stage 1 pattern pieces listed above as you place them. These pieces will be situated tucked under the other pieces.
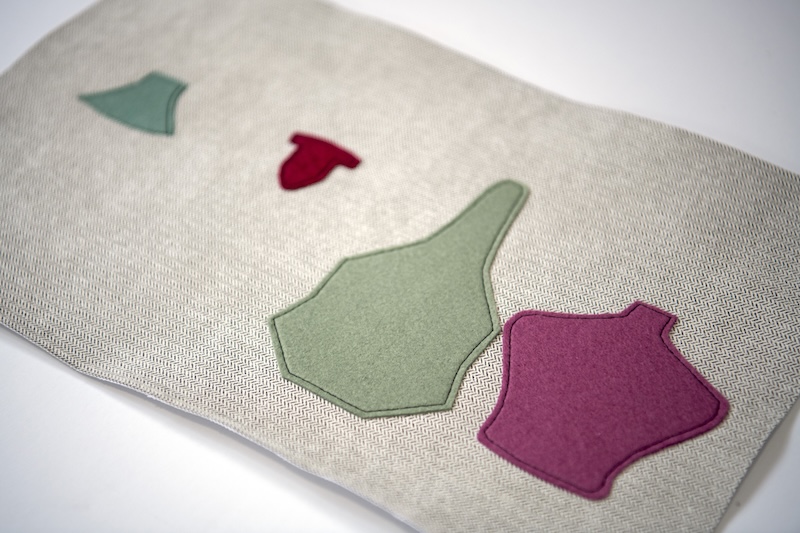
Keep those four Stage 1 pieces in the same placement but carefully remove all other pieces. Use your barrier cloth to press the pieces, adhering them to your base fabric. Take them to your sewing machine and stitch around the perimeter of each piece. Instead of back stitching, pull the tails to the back and tie them off. This will keep our project looking clean.
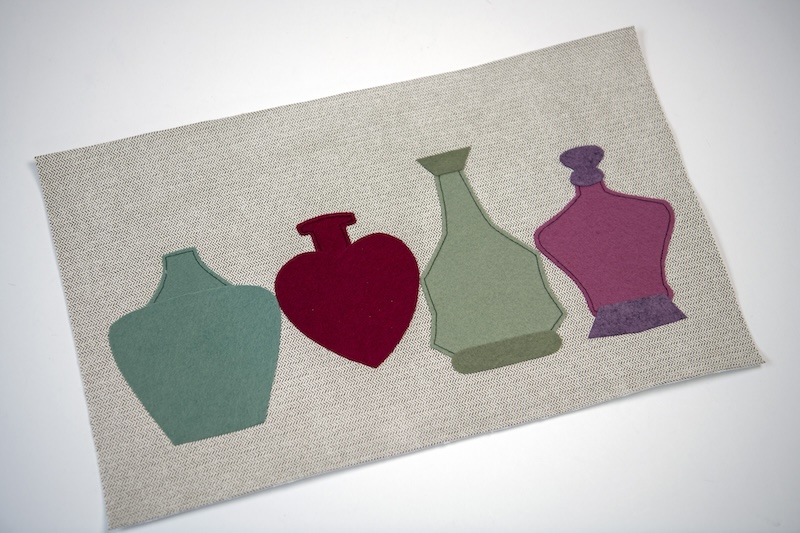
For the next set, place pieces I, G, B, N, F, and P. Make sure to take the papers off the backs before pressing with your iron. Topstitch around the perimeter of each. Place the remaining felt pieces next, press, and topstitch around the perimeter of each.
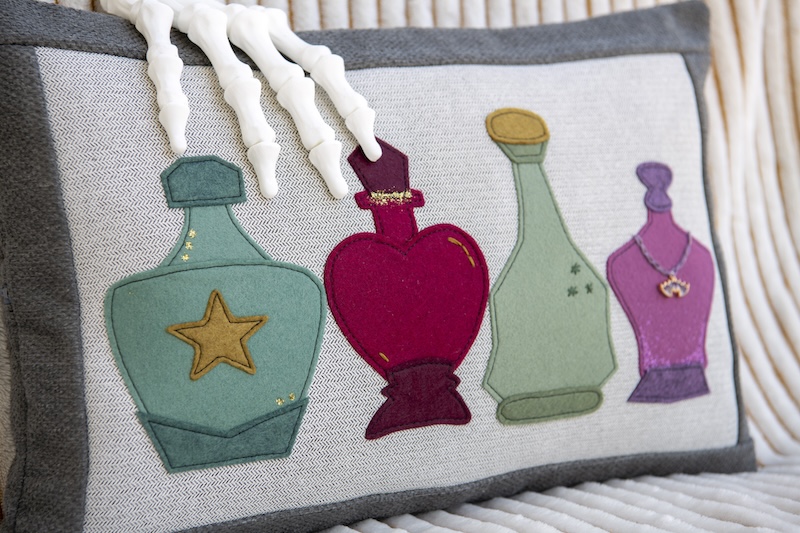
Perfect, our potion bottles are complete. Add any embellishments you’d like. I added some Sparkle Paste using a small paintbrush, some Benzie Design embroidery floss, and a fun bat charm.
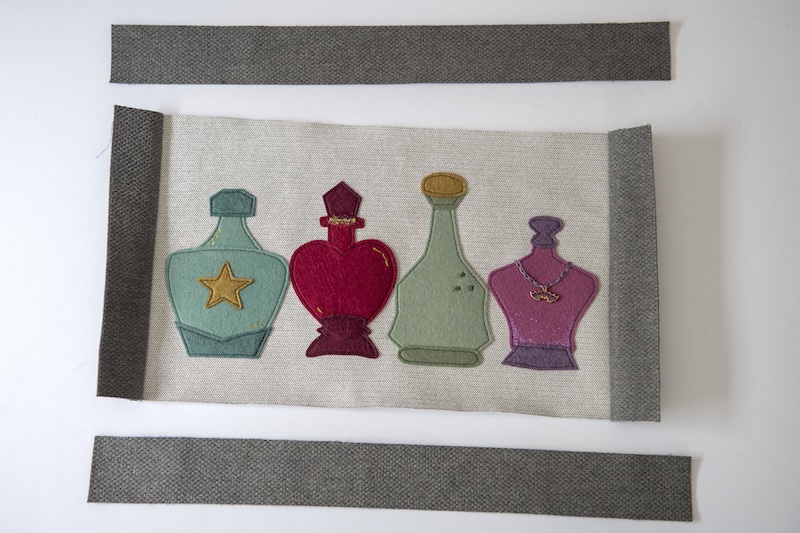
If making a pillow, add a 2”X9.5” strip to both short ends using a ¼” seam allowance. Press. Then sew 2”X18.5” strips to the top and the bottom. That finishes your front panel. The back panel measures 12.5”X18.5”. You can add a zipper or leave an opening and hand stitch after adding the pillow form.
Thank you for sewing along! Please tag me (Stubbornly Crafty) on Instagram so I can see your potion bottle applique makes, too! Happy sewing!
BENZIE DESIGN x THERM O WEB GIVEAWAY DETAILS
We wanted to send a huge THANK YOU to our friends at Benzie Design for supplying the gorgeous wool felt, wool-blend felt, poms, floss and tools for the projects being featured this week. Be sure to follow both Therm O Web and Benzie Design on Instagram and comment on the Instagram post promoting this tutorial for a chance to win a $25 digital gift card to thermoweb.com. Watch for more chances to win and more Handmade Holidays projects all week on the Benzie Design and Therm O Web blogs.
Meghan Kennihan
September 27, 2024 at 5:21 pm (9 months ago)This pillow is sooo fun! I LOVE the potion bottles what a great idea!