


Hello, it’s Stephanie from Sissy Belle Sews here to share this super fun and easy Easter inspired mini quilt. First of all, though, I just have to share my excitement over the fact that it is finally Spring! I have to admit, spring is my favorite. I love the longer days, the sound of the birds chirping, the (slightly) warmer temps, and all the green things! Green is probably my favorite color, so it’s no surprise I included lots of it in this fun little spring quilt.
If you are new to applique, please don’t be afraid to try this project. I use Heat n
Bond Lite interfacing on all my applique projects to make turning the pieces easier and to eliminate raw edges. I LOVE using interfacing for applique; I get a neat and clean edge every time, and it’s much faster to use the interfacing than it is to turn under the edge of your fabric as you go.
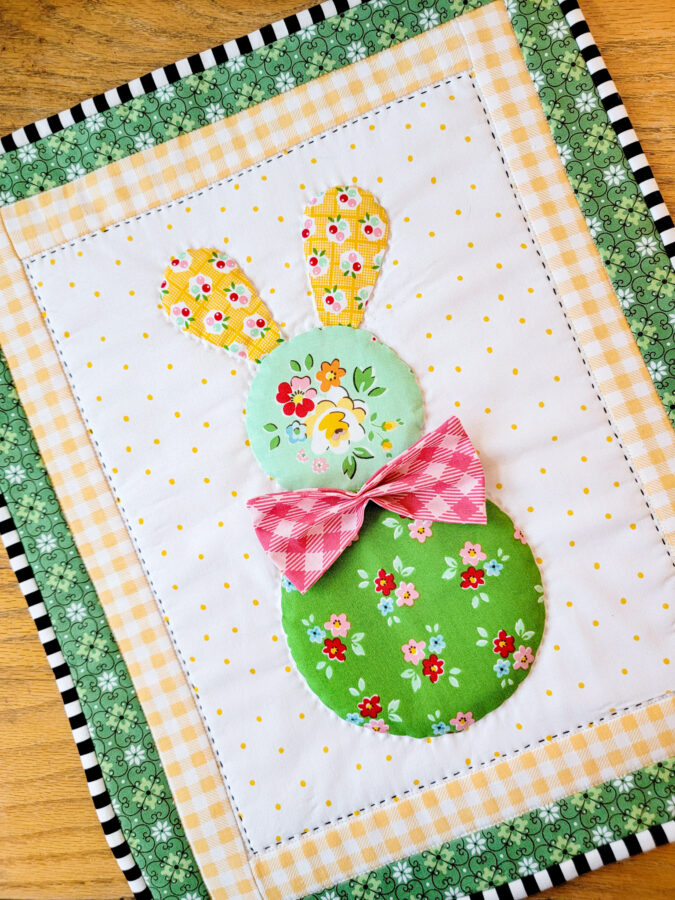
Spring Bunny Mini Quilt
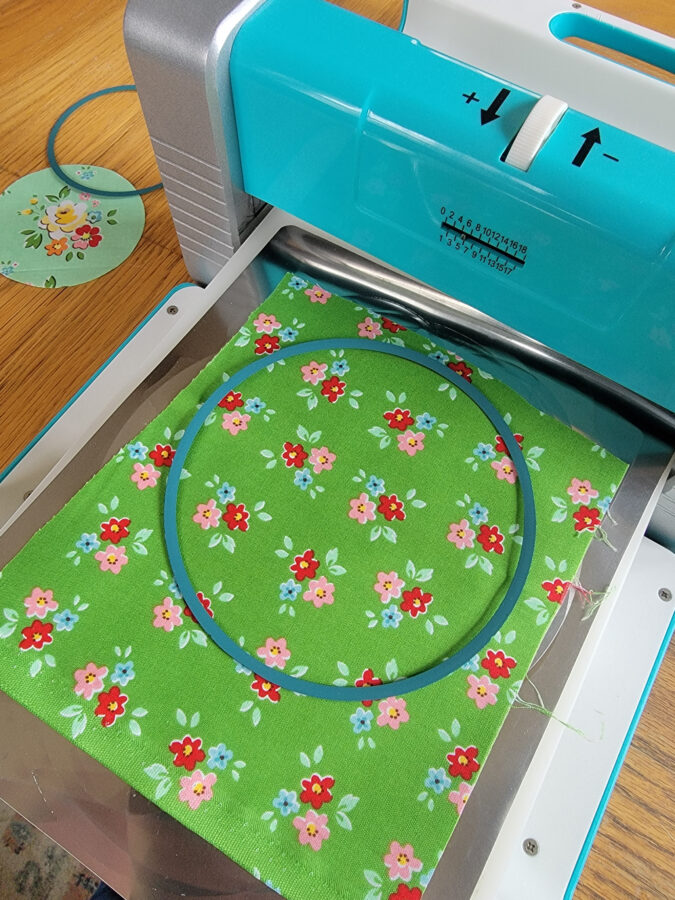
For my applique pieces, I used my Crafter’s Edge Crossover II fabric cutting system with both the circle templates and the Dresden templates. However, if you don’t have the fabric cutting machine, you can draw your own circles, and any size will work! You could make big bunnies or tiny bunnies. I guarantee whatever you come up with, it will be darling!
Spring Bunny Mini Quilt Supplies

- Fabric:
- Scraps for the bunny, 1/4 yard for the binding, 1.5″ x WOF strips for the borders, and a 10″ x 13″ rectangle for the background.
- 14″ x 21″ rectangle for the backing
- Batting: 13″ x 20″ rectangle of batting
- Crafter’s Edge Crossover II Fabric Cutting Machine
- Circle Templates: You will need the 4″ and 5 1/2″ circle templates
- Dresden Templates: You will use the smaller Dresden template (it comes with two sizes)
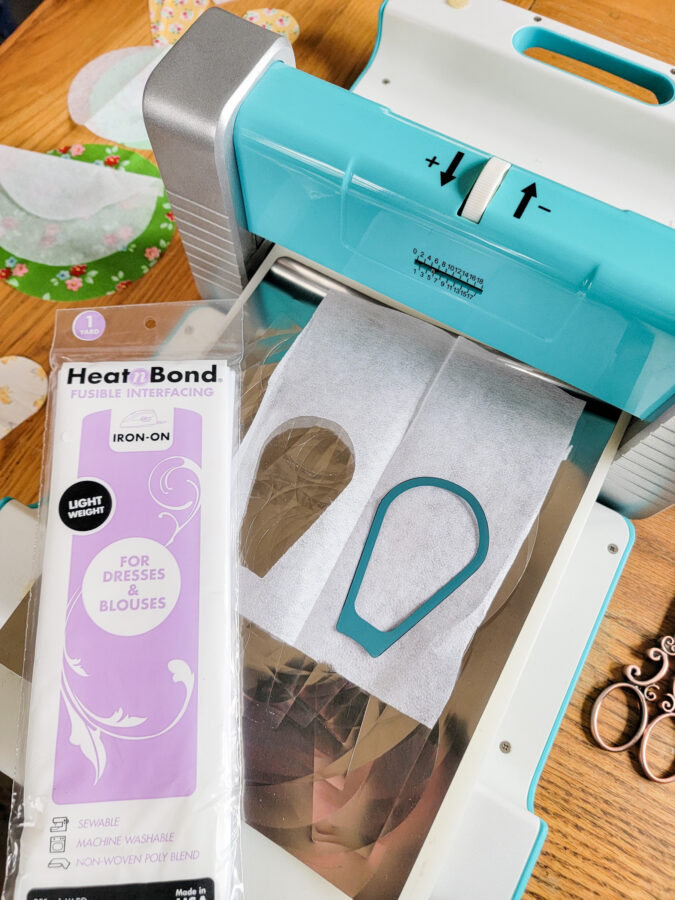
- 1 package of Heat n Bond Lite fusible interfacing
Sewing Instructions
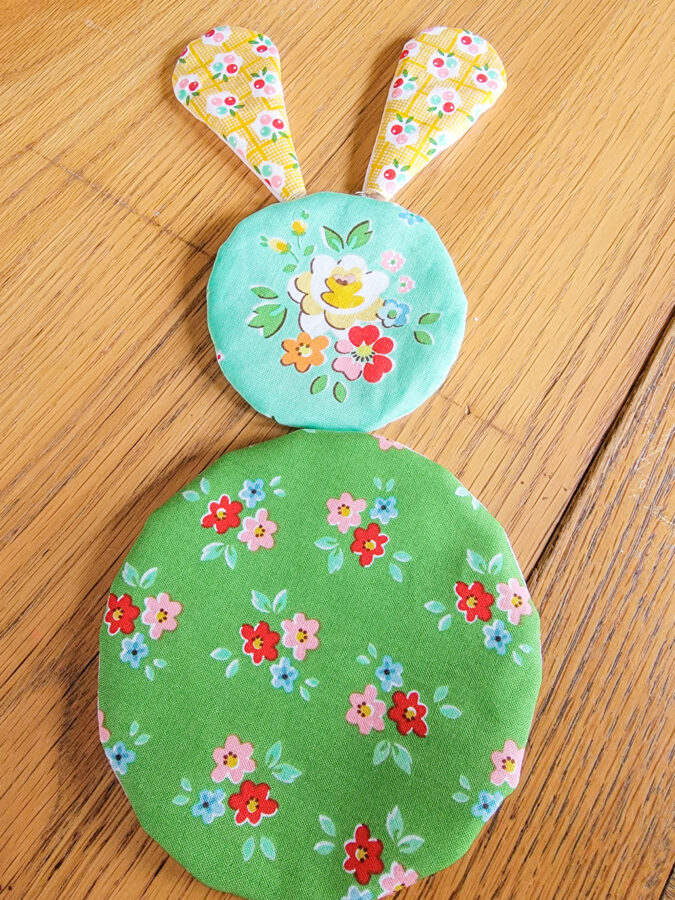
- Cut out fabric pieces. You will need one 5 1/2″ circle, one 4″ circle, and two of the smaller Dresden blades.
- Cut out applique pieces from the interfacing. You can use the cutting machine for this step too.
- Piece of advice: unfold your interfacing before running it through the machine. Don’t try to cut several pieces at once. The pressure from the machine will cause the glue of the interfacing to stick to itself, and your pieces will stick together. Don’t ask me how I know that…
- Pin the fabric and interfacing pieces together, right side of the fabric to bumpy side of the interfacing.

- Sew all the way around your shapes. Cut a small slit in the interfacing.
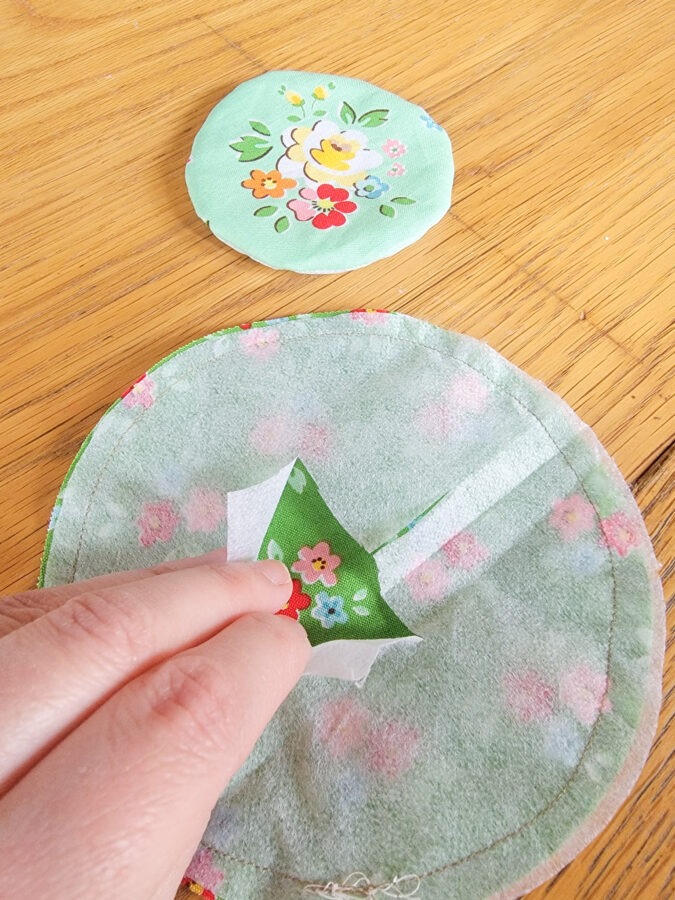
- Turn your shapes out through the opening of the interfacing. No raw edges! Set applique pieces aside while you piece your mini quilt.
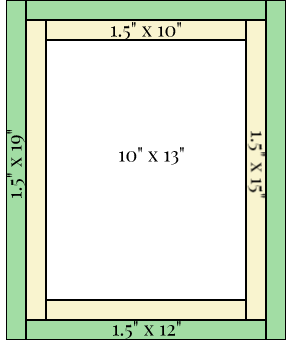
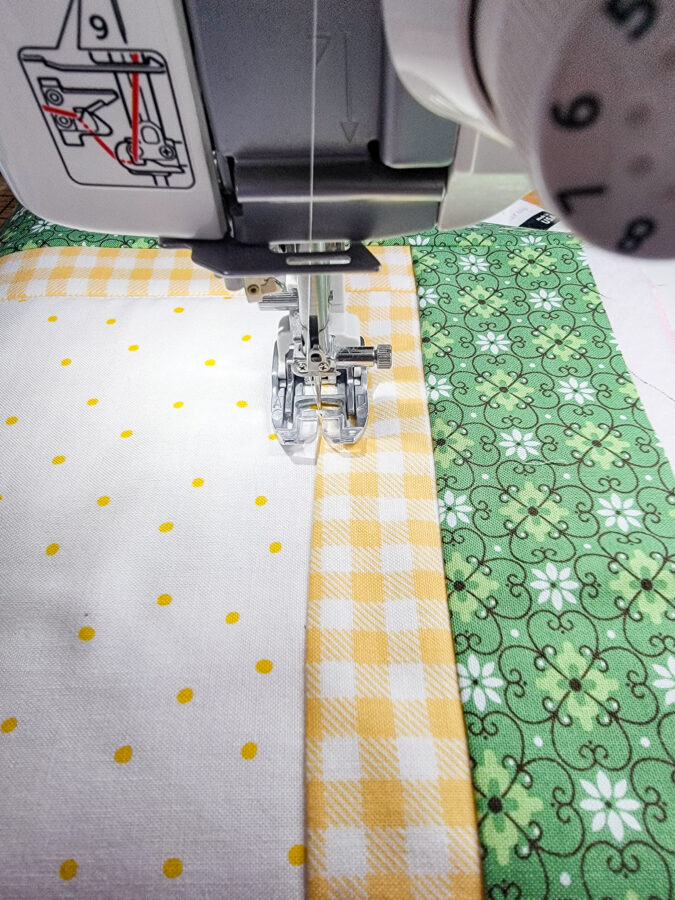
- Piece the quilt according to the diagram below. You will need:
- White: 10″ x 13″ rectangle
- Yellow Border: (2) 1 1/2″ x 10″ rectangles, and (2) 1 1/2″ x 15″ rectangles
- Green Border: (2) 1 1/2″ x 12″ rectangles, and (2) 1 1/2″ x 19″ rectangles
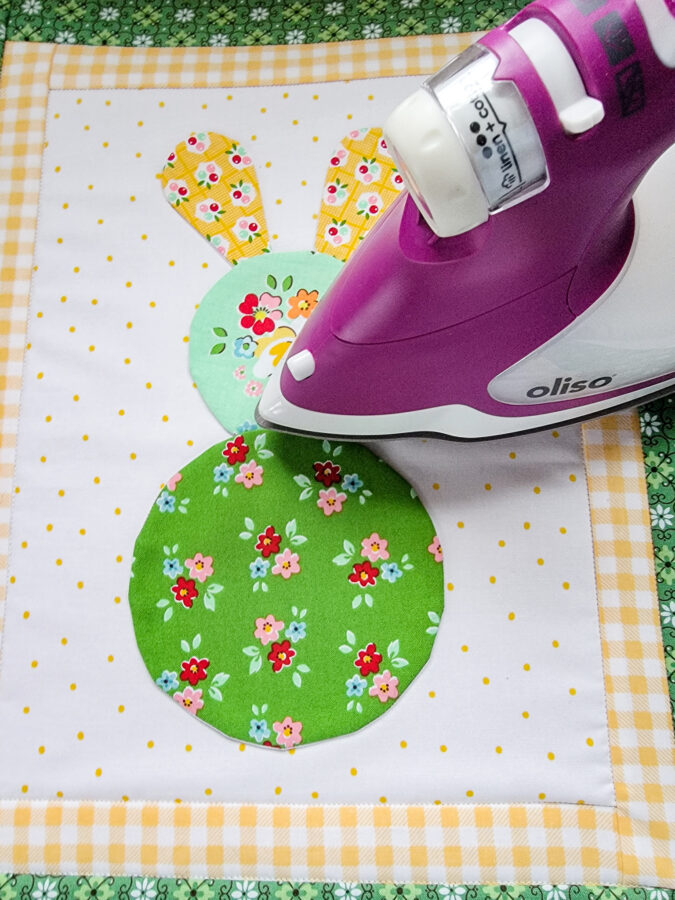
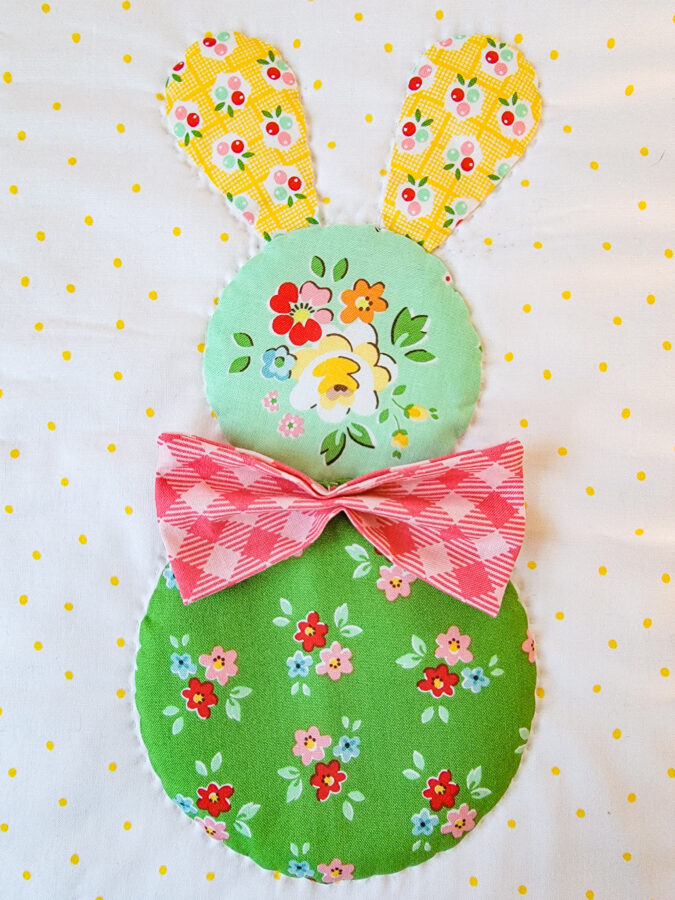
- Once your mini quilt is pieced, arrange applique pieces in the center and press them in place. I used my beautiful Oliso purple iron. It fit right in with these springy colors. Once you iron your pieces in place, stitch to secure. I always hand sew my applique pieces because it makes them a little puffier, which I like.
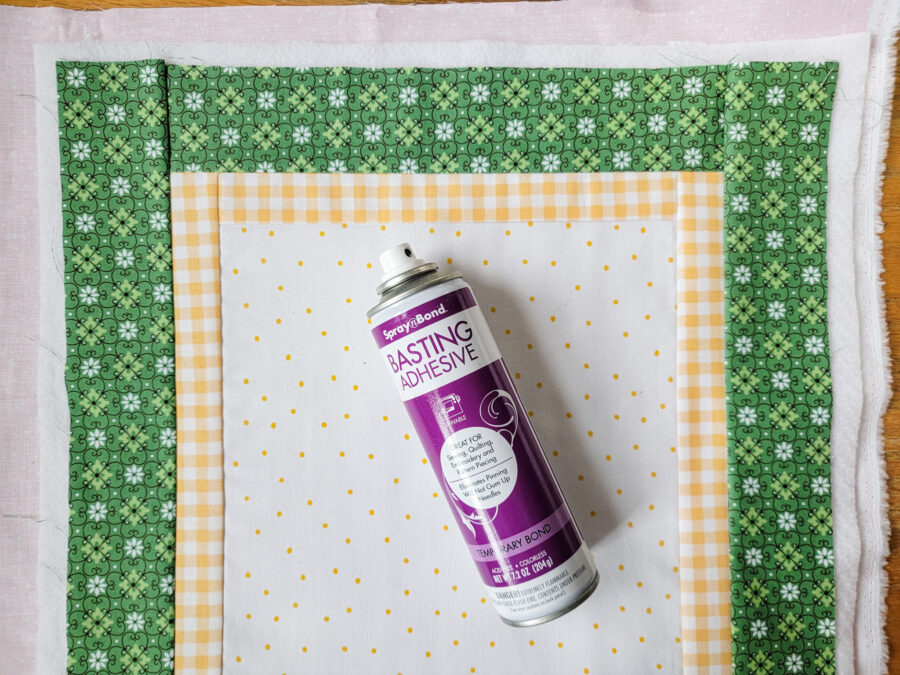
- Prepare your quilt sandwich: layer your quilt top, batting, and backing. I always use Spray n Bond basting spray to secure my layers, even for smaller projects.
- Quilt as desired. I stitched in the ditch around my borders, then hand-quilted around the bunny and around the edge.
- Add your binding, using your favorite method.
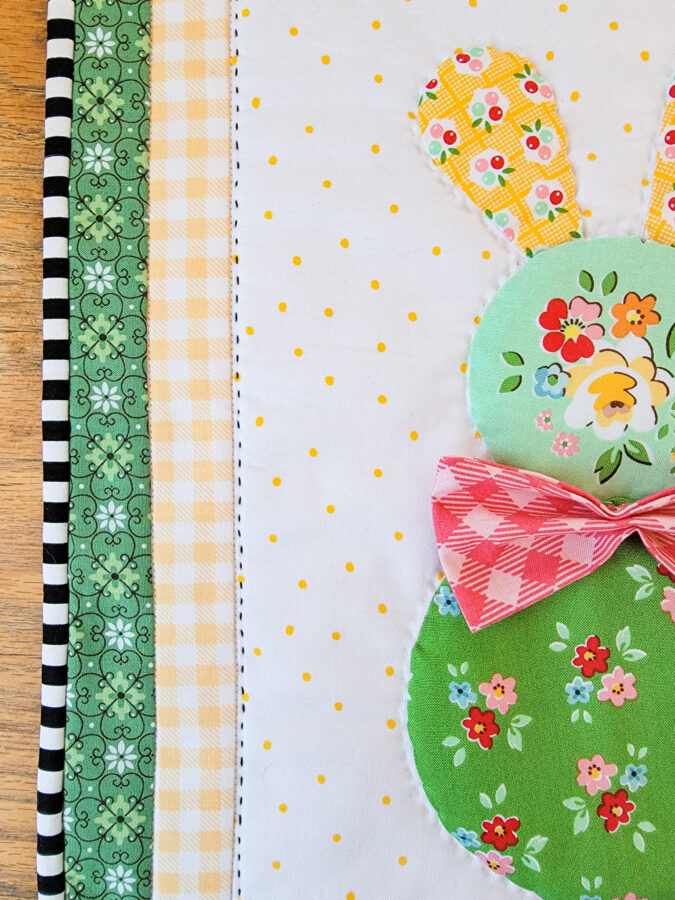
- After I added my binding, I thought the bunny needed a little extra something, so I made him a bow tie. I took a 5 1/2″ square from a charm pack, folded it in half, right sides together, and stitched it around the edge, leaving an opening for turning. I turned it out through the opening, stitched the hole shut, and pinched it in the middle. I then hand-sewed it onto his little neck. I’m so glad I did that! I love how he looks all dressed up!
- I hung my little mini quilt on an old crib spring that hangs above my couch in my living room. But really, you could put this little cutie anywhere!
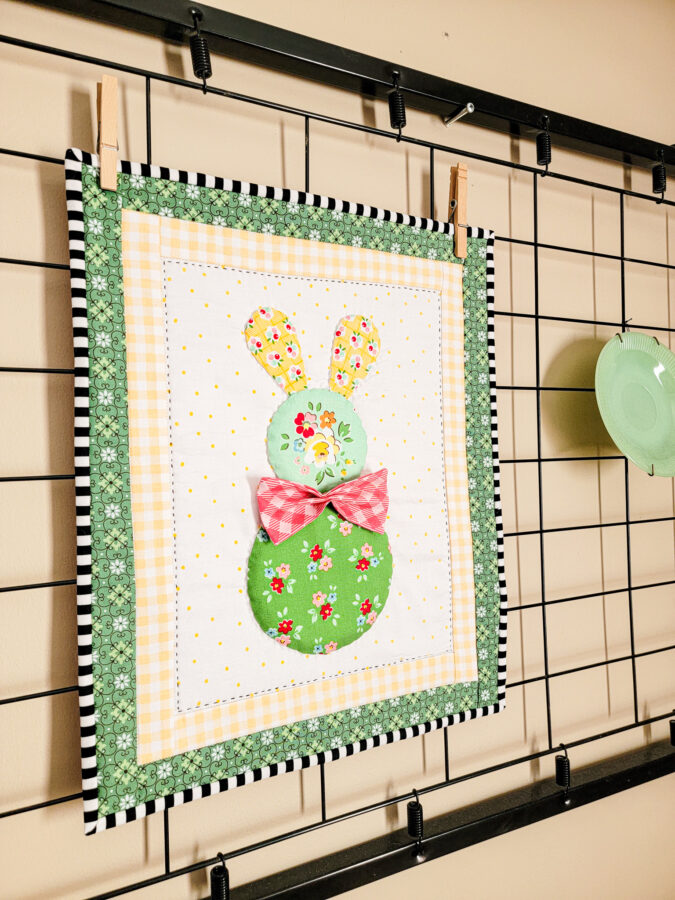
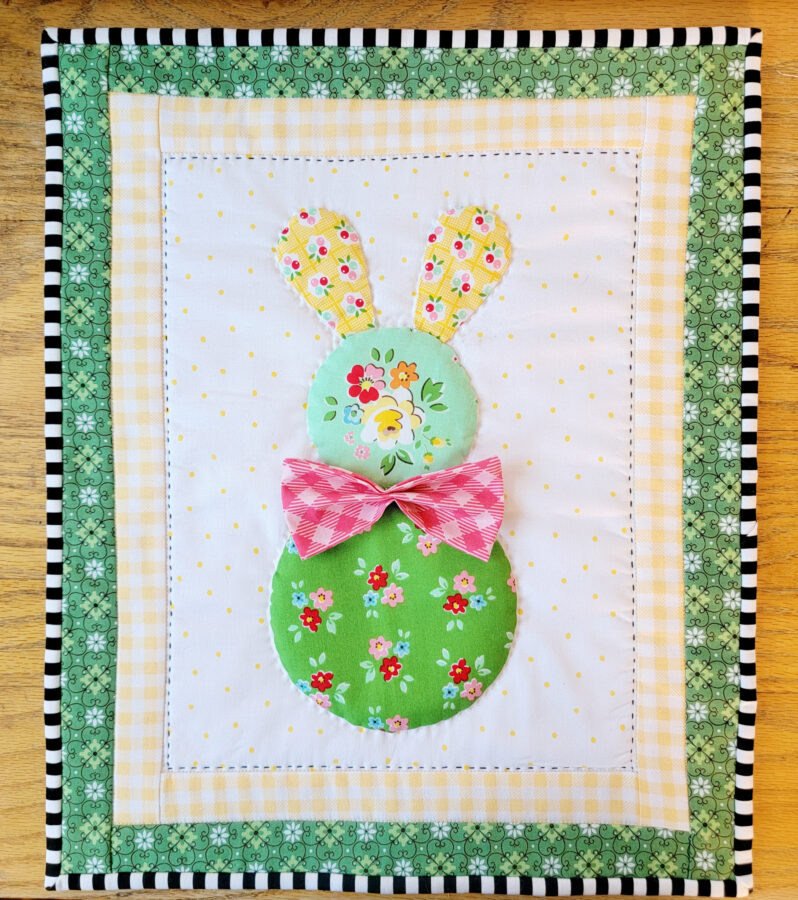
 I really love how he turned out. If you decide to make one too, be sure to tag me on Instagram @sissybelle sews.
Happy sewing!
-Stephanie-