HI, everyone! Mandy Koeppen here with you today to share some tips and tricks on how I use ZOTS™ and 3D Foam Squares on my projects. Here is the layout I created to share those tips and tricks. I’ll just share a few cause I can’t tell you all my secrets right? HA, just kidding.
Little Mo By. Mandy Koeppen
PRODUCTS USED TO CREATE THIS LAYOUT
3D White Foam Squares • 1/2 in
3D White Foam Squares • Combo Pack
Pattern Paper: Basic Grey, Studio Calico
Stickers: Studio Calico, American Crafts
Paper Clip: Freckled Fawn
Printables: Studio Calico
Vellum: The Paper Company
Here are a few of my favorite Therm O Web supplies I started with.
I’m a moverarounder—-this is a Mandy word not found in the english vocab. It means as I scrap I don’t adhere anything down until I have the design in place and know what I’m doing. Sometimes I do use a smidge of the repositionable runners but nothing permanent.
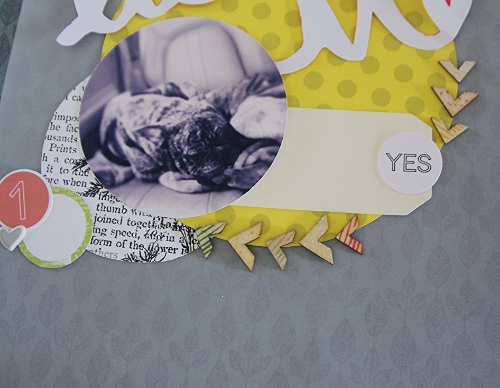
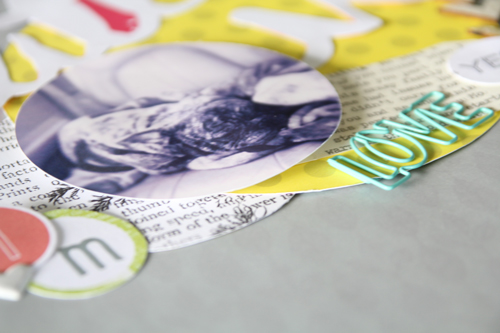
Once I have the design figured out I usually start adhering the top layers working down to the cardstock then I adhere the my embellishments. TIP: If you adhere your photos with 3D Foam Squares it’s easier to tuck bits and pieces like tags underneath your photos to give those ending touches to your layouts.
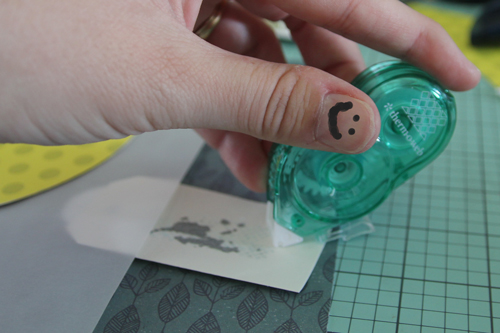
Not a ZOT™ or 3D Foam Square but here is another tip use Sticky Dot Tape Runner to adhere tags to cardstock or scrap paper to run through your printers and typewriters. Makes typing so much easier!
The 3D ZOTS™ are really cool! They give that added dimension but not as much as the 3D Foam. TIP: I like to put these on the end of tags as you can see in this photo it give them a little pop off the page and makes the journaling stick out a little bit more. You can curl the edges of you papers and tags up a bit too when using the ZOTS™ too.
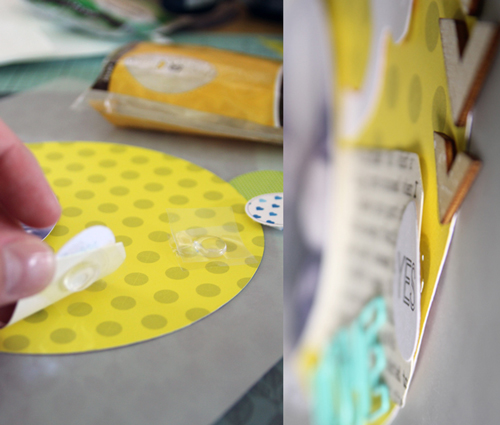
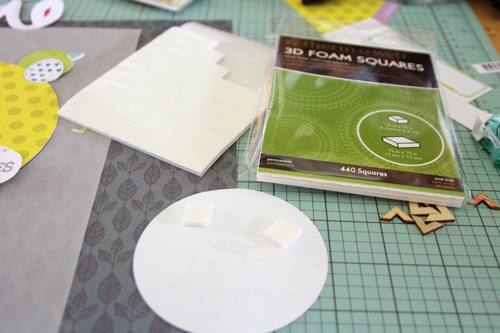
Everyone who knows me knows that I LOVE using 3D Foam squares on my projects! I love the dimension, I love that I can add layers later if I want, I just love them!. TIP: Add 3D Foam squares to flat embellishments to give your projects added dimension. This works great for all those printables available online(I used a few on this layout).
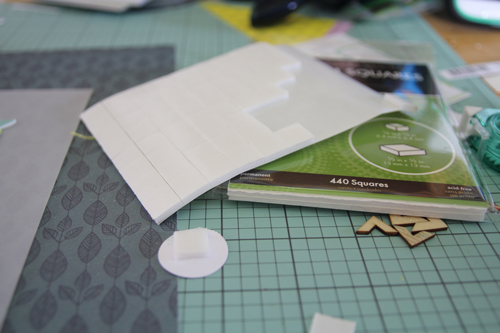
TIP: When creating embellishment clusters add 3D Foam Squares to just one of the embellishments like in the photo below. Sometimes I will do this with photos too just add the squares to the top 2 corners not all 4. It gives you a different look.
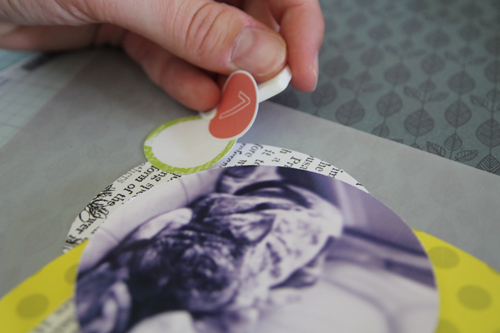
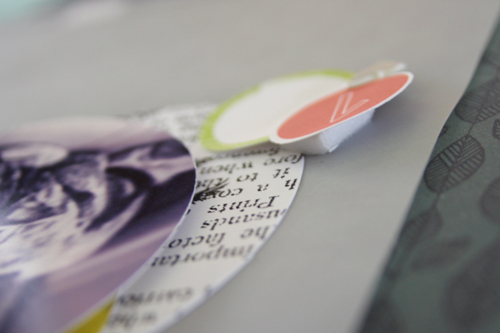
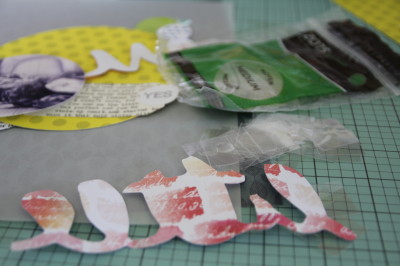
The ZOTS™ are perfect for hand cut and die cut titles or those alphas that won’t adhere themselves anymore.
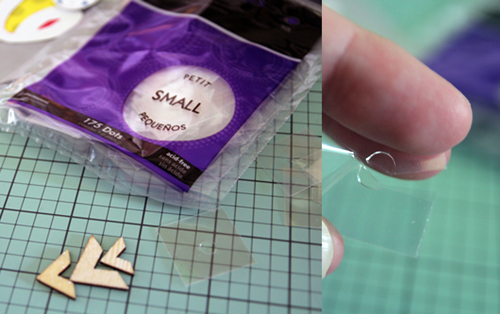
Last Tip: from me today is use the small ZOTS to adhere those hard to adhere embellishments like wood veneer. The ZOTS come in many sizes but you can customize those sizes to fit your needs like I did for these 3 different sizes of arrow veneer I used on this layout.
Here is another look at the layout again.
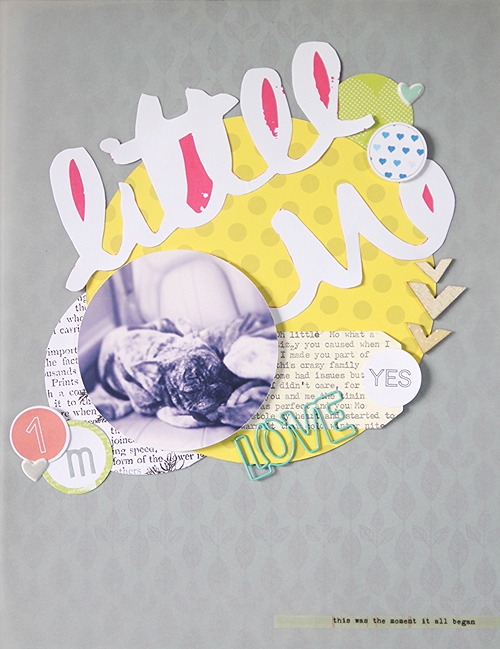
Final thoughts… There are 3D Foam Squares here and there, but there are lots and lots of ZOTS everywhere!
Thanks for joining me today!

