


 Hello and welcome!
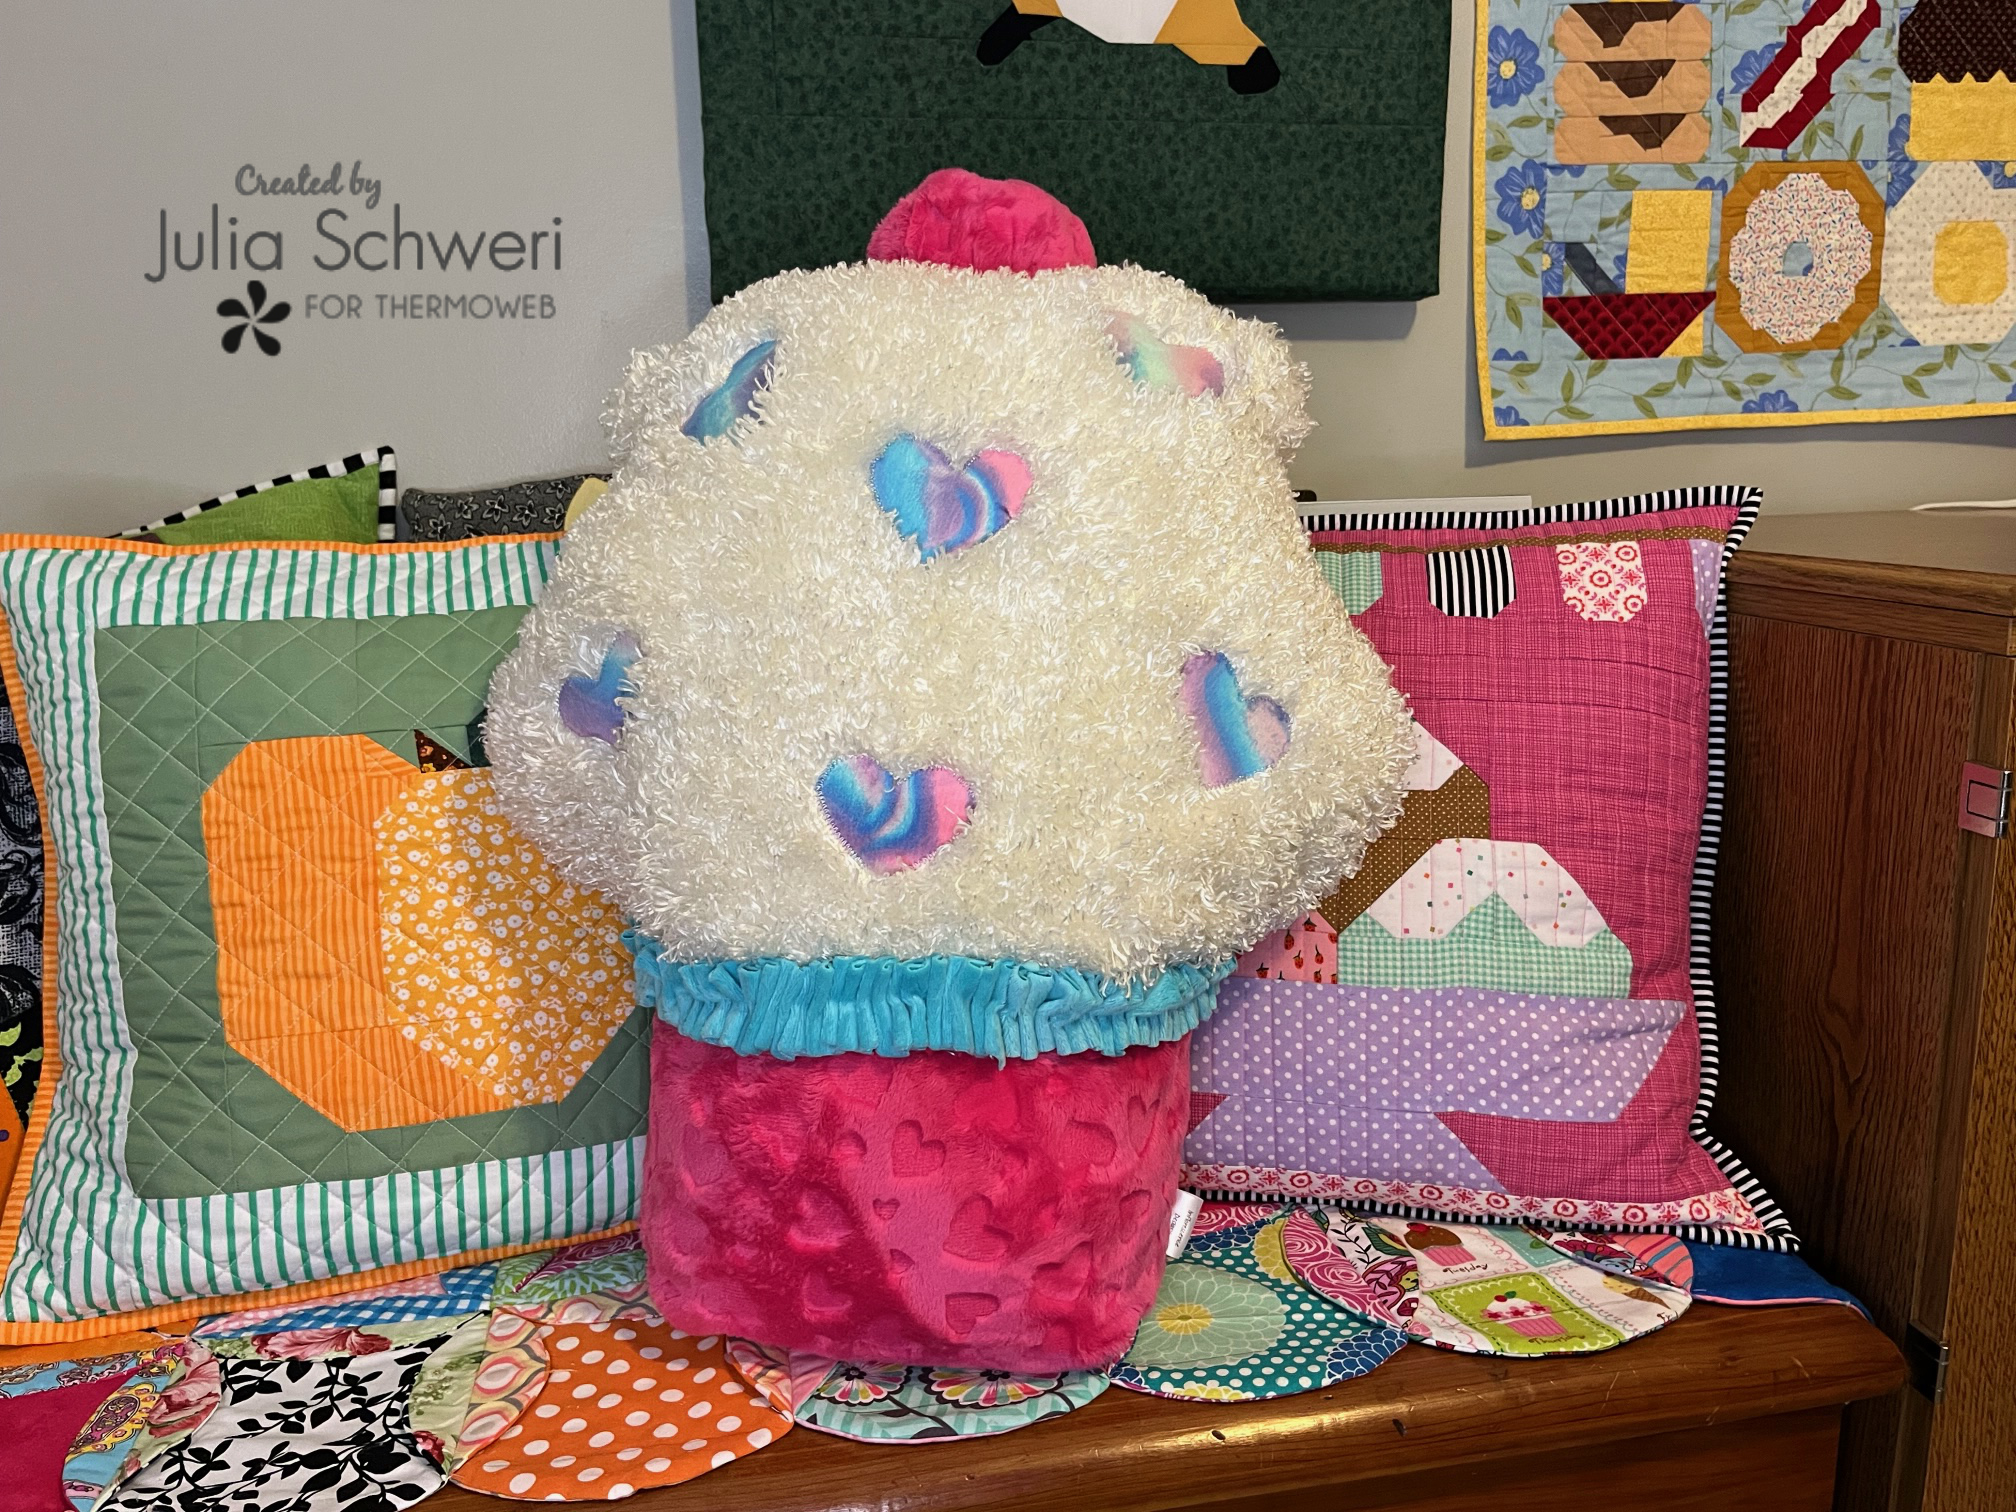
It’s Julia from Inflorescence Designs! Today I have a fun and squishy pillow tutorial to show you for Thermoweb’s SWEET TREATS WEEK!
Plush Cupcake Pillow
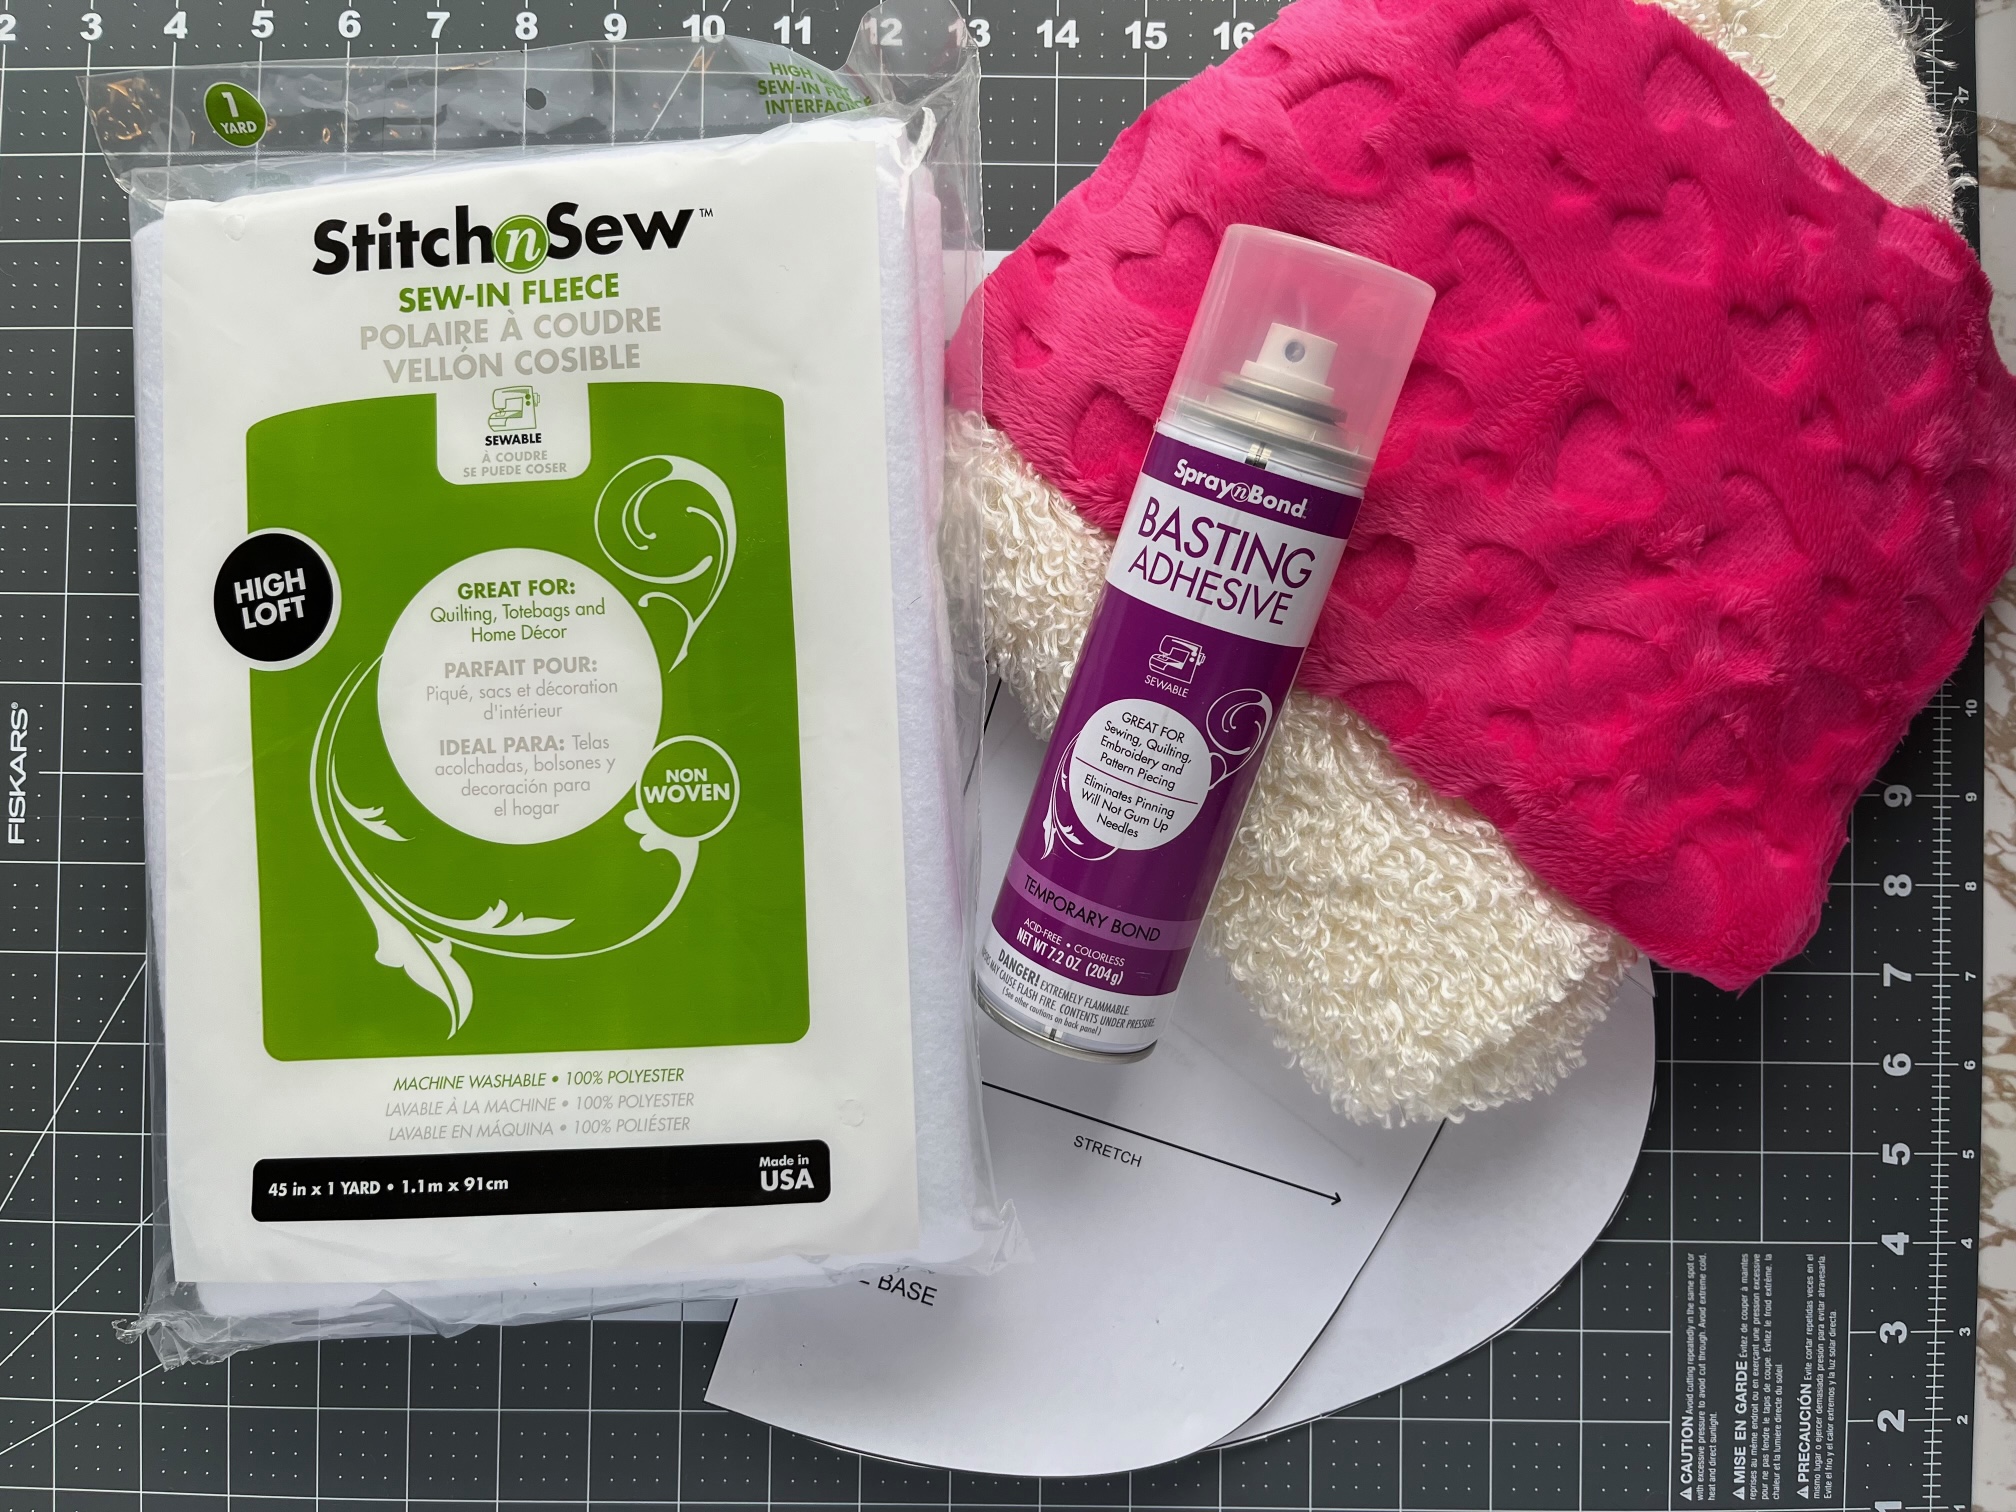
Supplies:
-
START BY DOWNLOADING THE FREE PDF PATTERN HERE
- Thermoweb StitchnSew 1 yard package
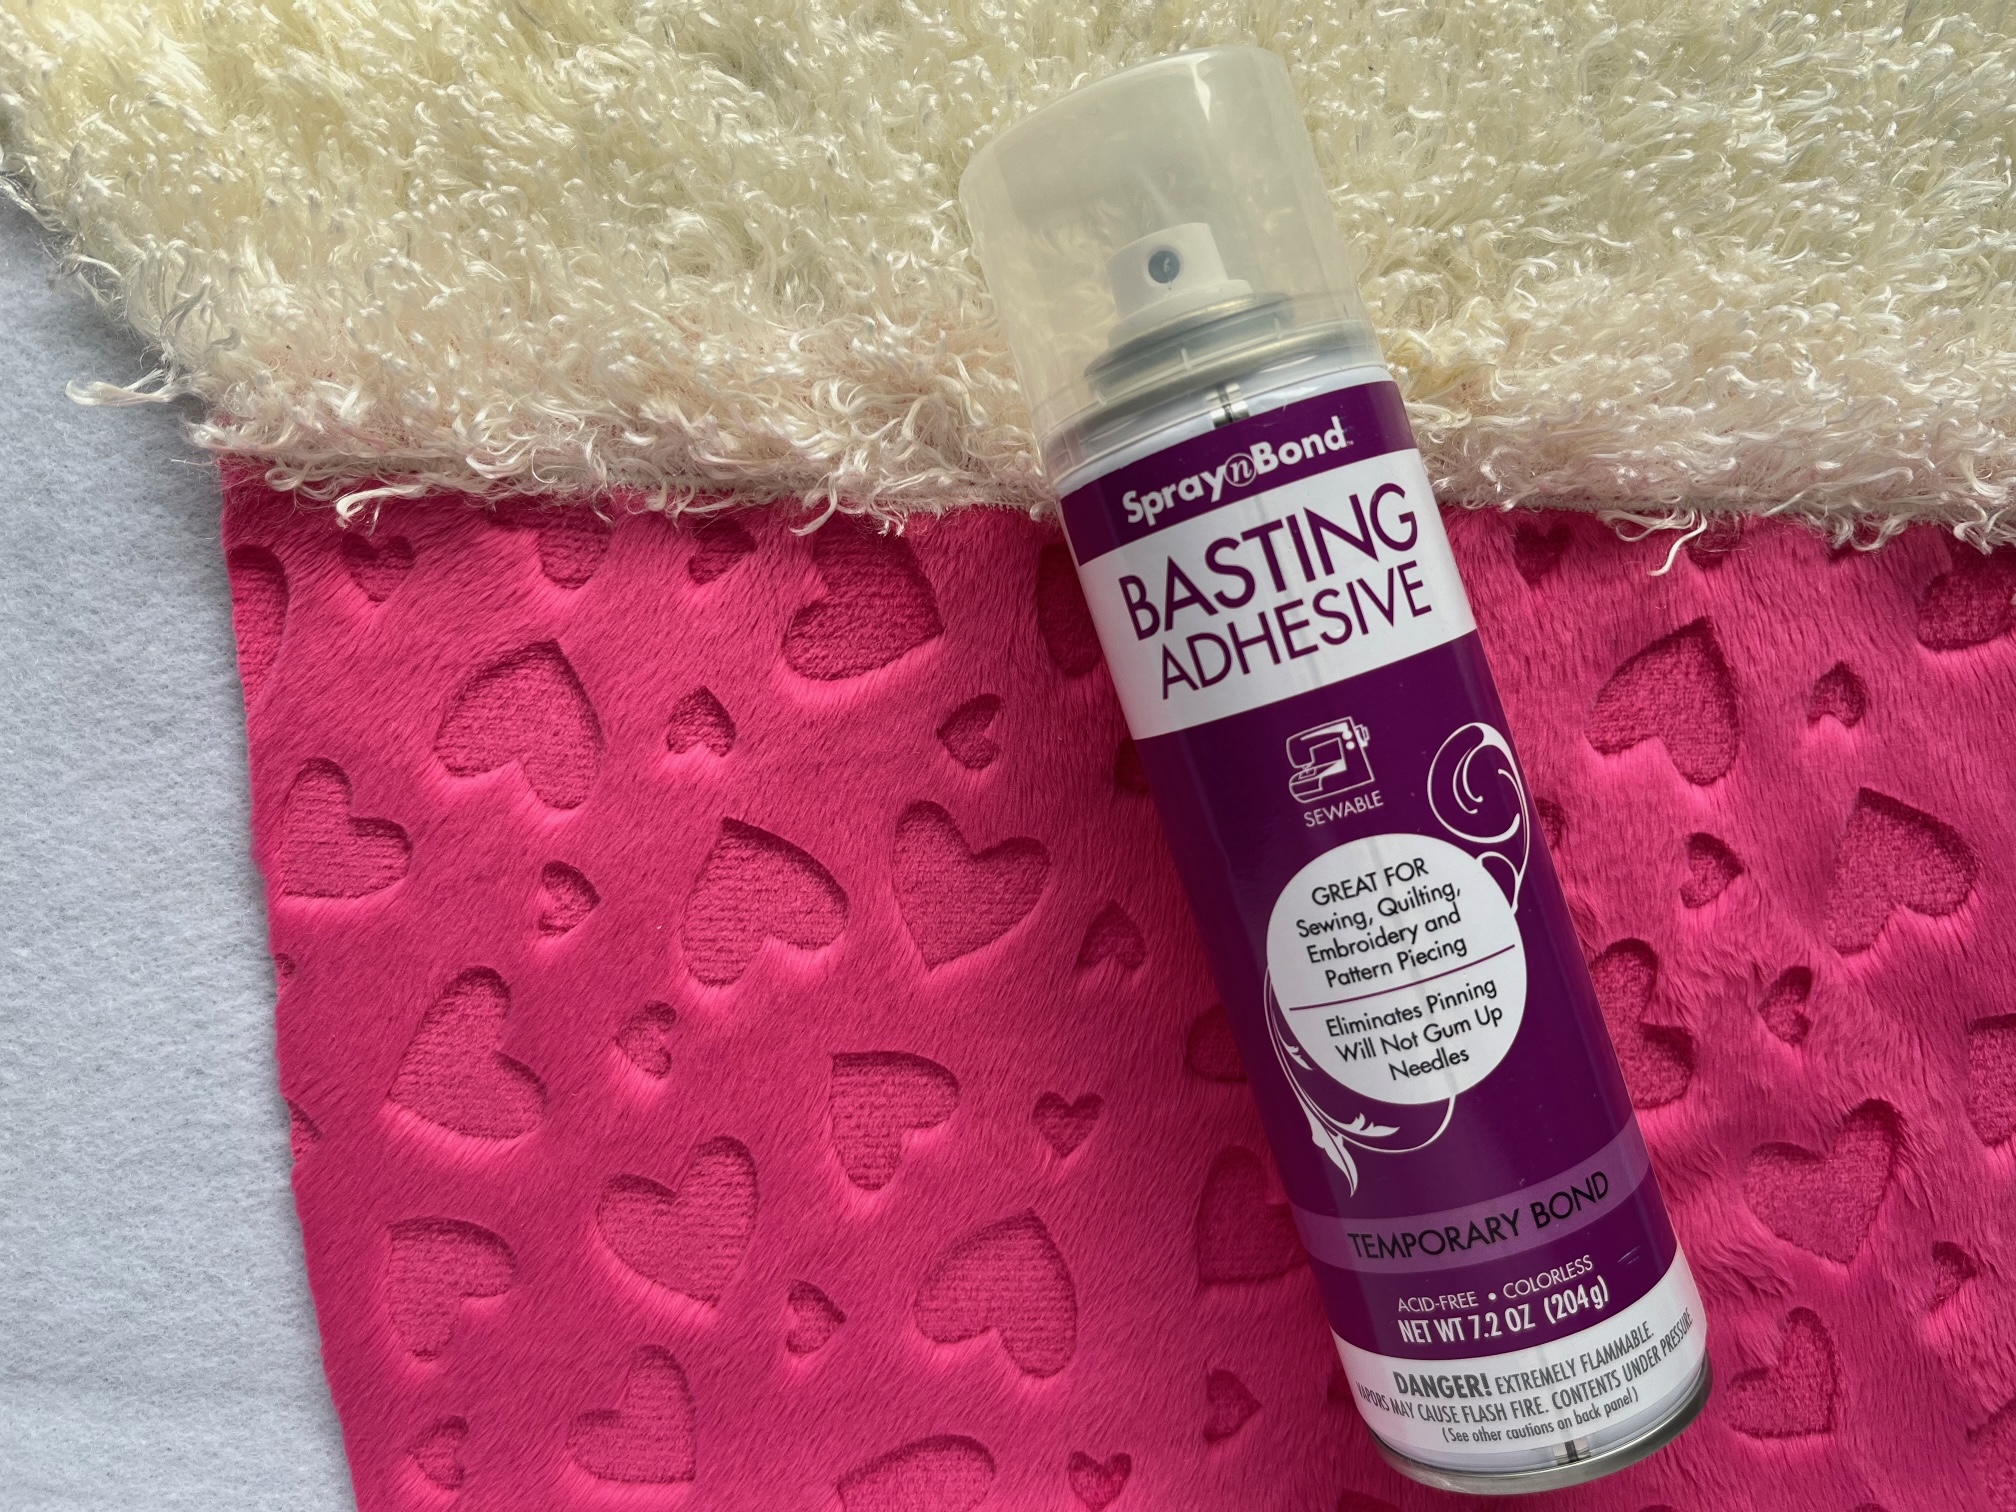
- Thermoweb Basting Adhesive
- Shannon Minky Cuddle Embossed Heart Fuchia 20″ x WOF
- Cream Curly Pile Fleece 25″ x WOF (Joann Fabrics)
- Soft & Minky Fleece Solid Blue 5″ x WOF (Joann Fabrics)
- Soft & Minky Fleece Fabric Pastel Tie Dye (Hearts) (Joann Fabrics)
- Sewing Needle
- Upholstery Thread Cream/White
- Sewing Machine
Rotary Cutter, ruler and mat - Basic Sewing Notions
- Poly-Fil Fiber Fill Stuffing
Cupcake Pillow Sewing Instructions:
Important Tip: For more detailed photo instructions, refer to the printable PDF pattern.
Begin by…
Print off your FREE “Plush Cupcake Pillow” pattern located in the supplies list above. Cut out and piece together your paper pattern pieces. Continue by cutting out 2 bottom and 2 top cupcake pieces.
Spray baste your cupcake front and back pieces to the fleece.
Overlap the top or icing of your cupcake over the bottom cupcake liner piece by 1″ and spray baste in place. Then, stitch across the top using a zigzag stitch. Repeat these steps for the other pattern pieces.
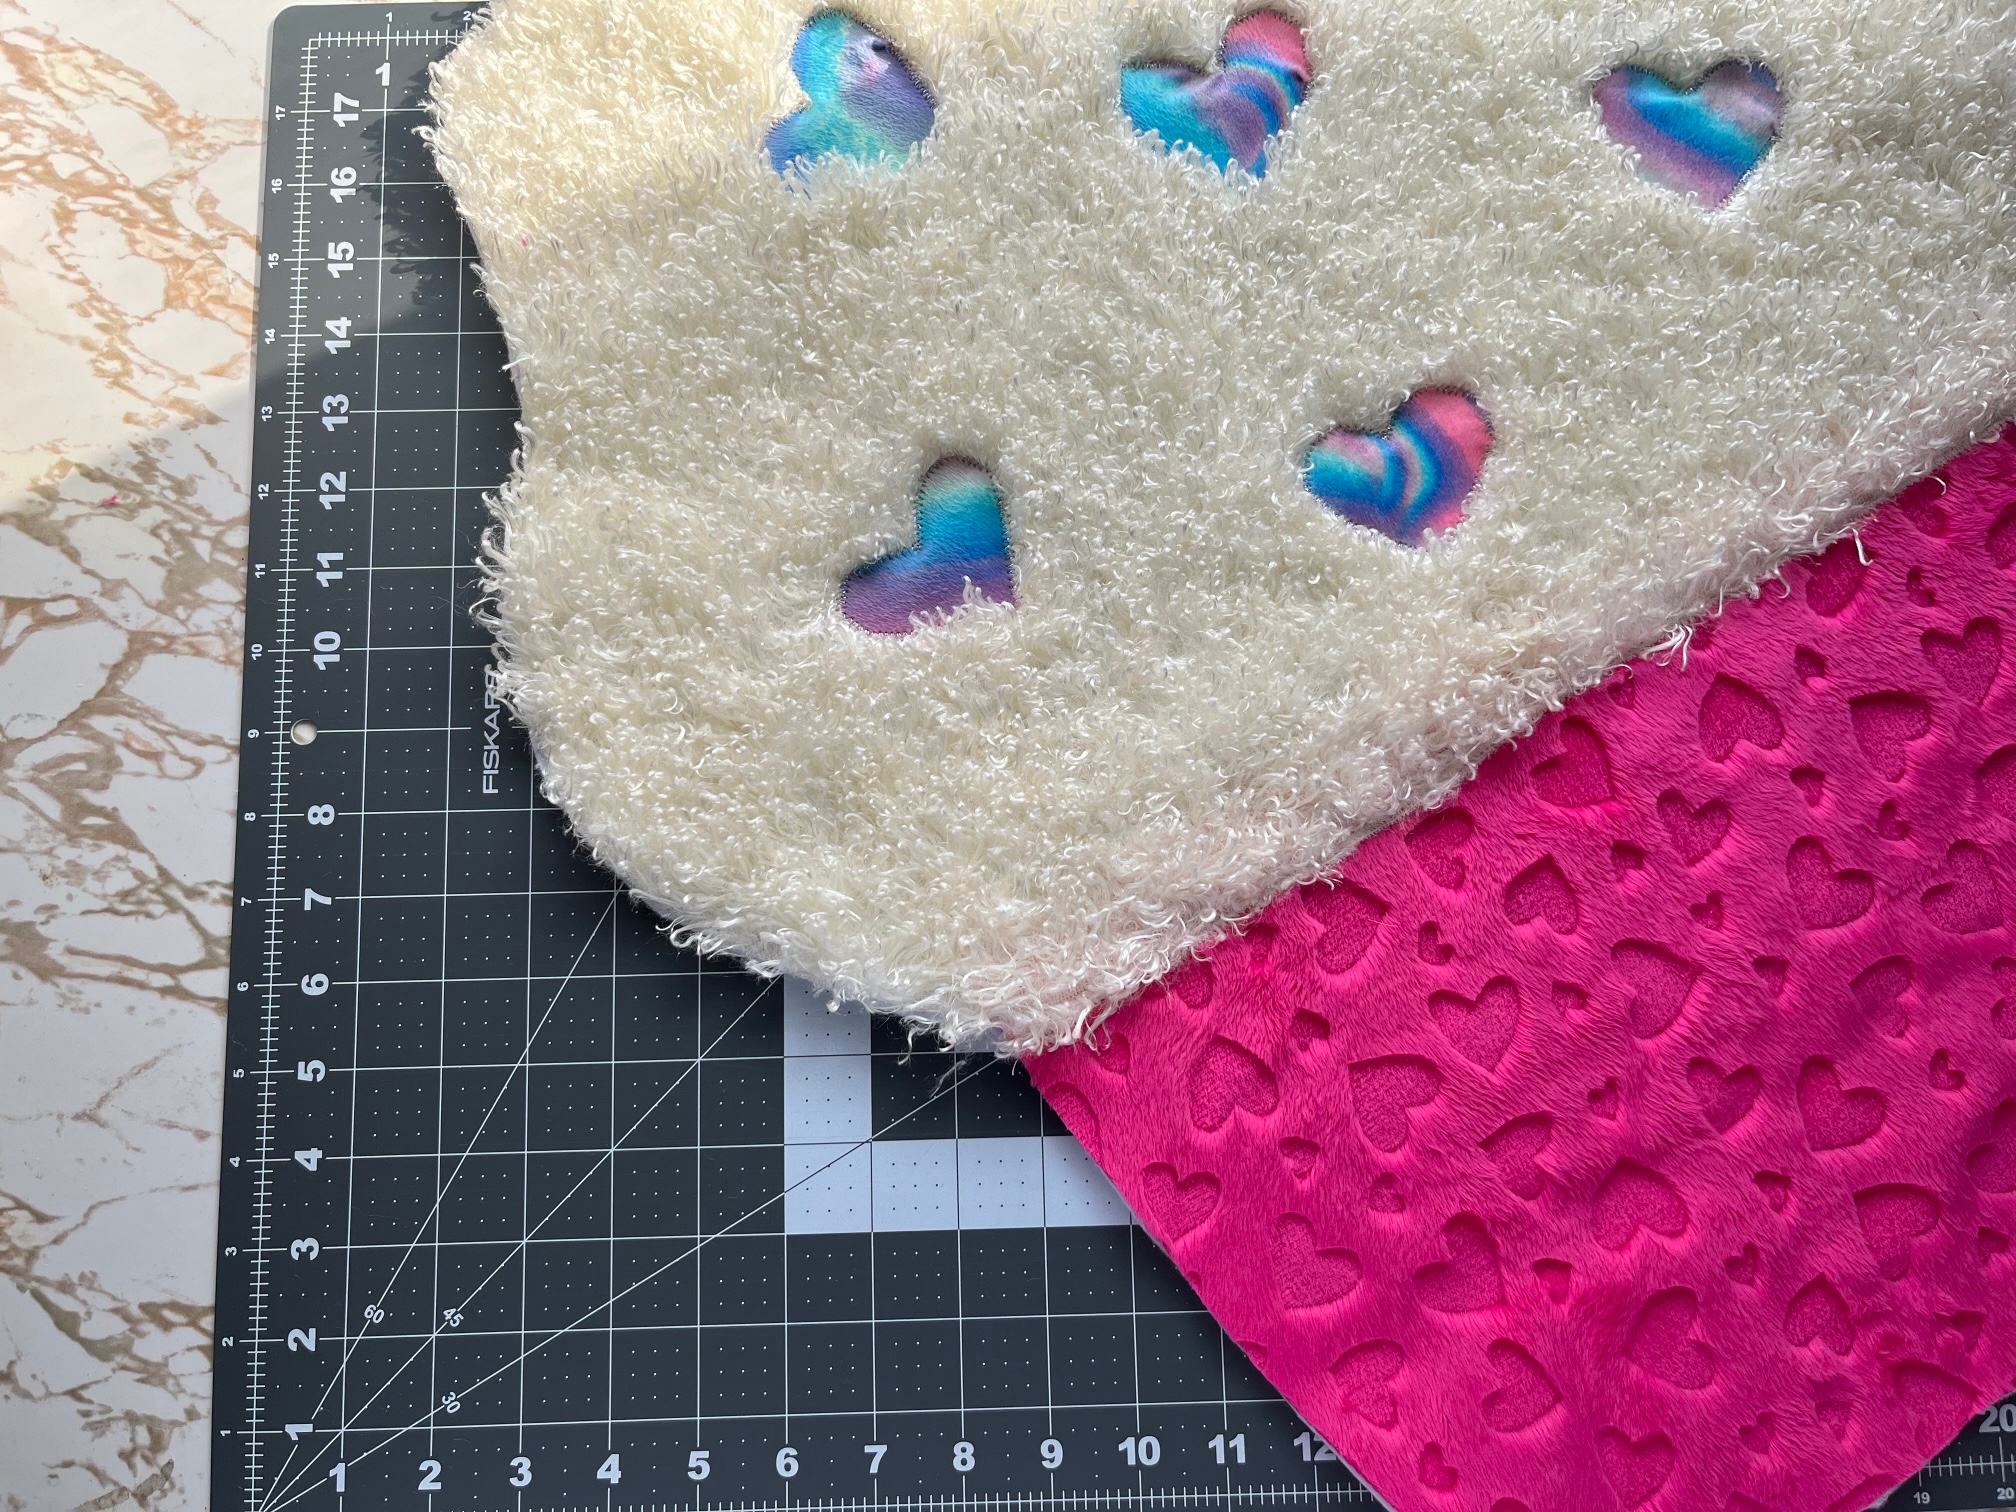
Continue by cutting out your heart sprinkles and spray baste those to the front as well. Once your hearts are basted, applique around each heart using a zigzag or another decorative stitch.

Continue your pillow by…
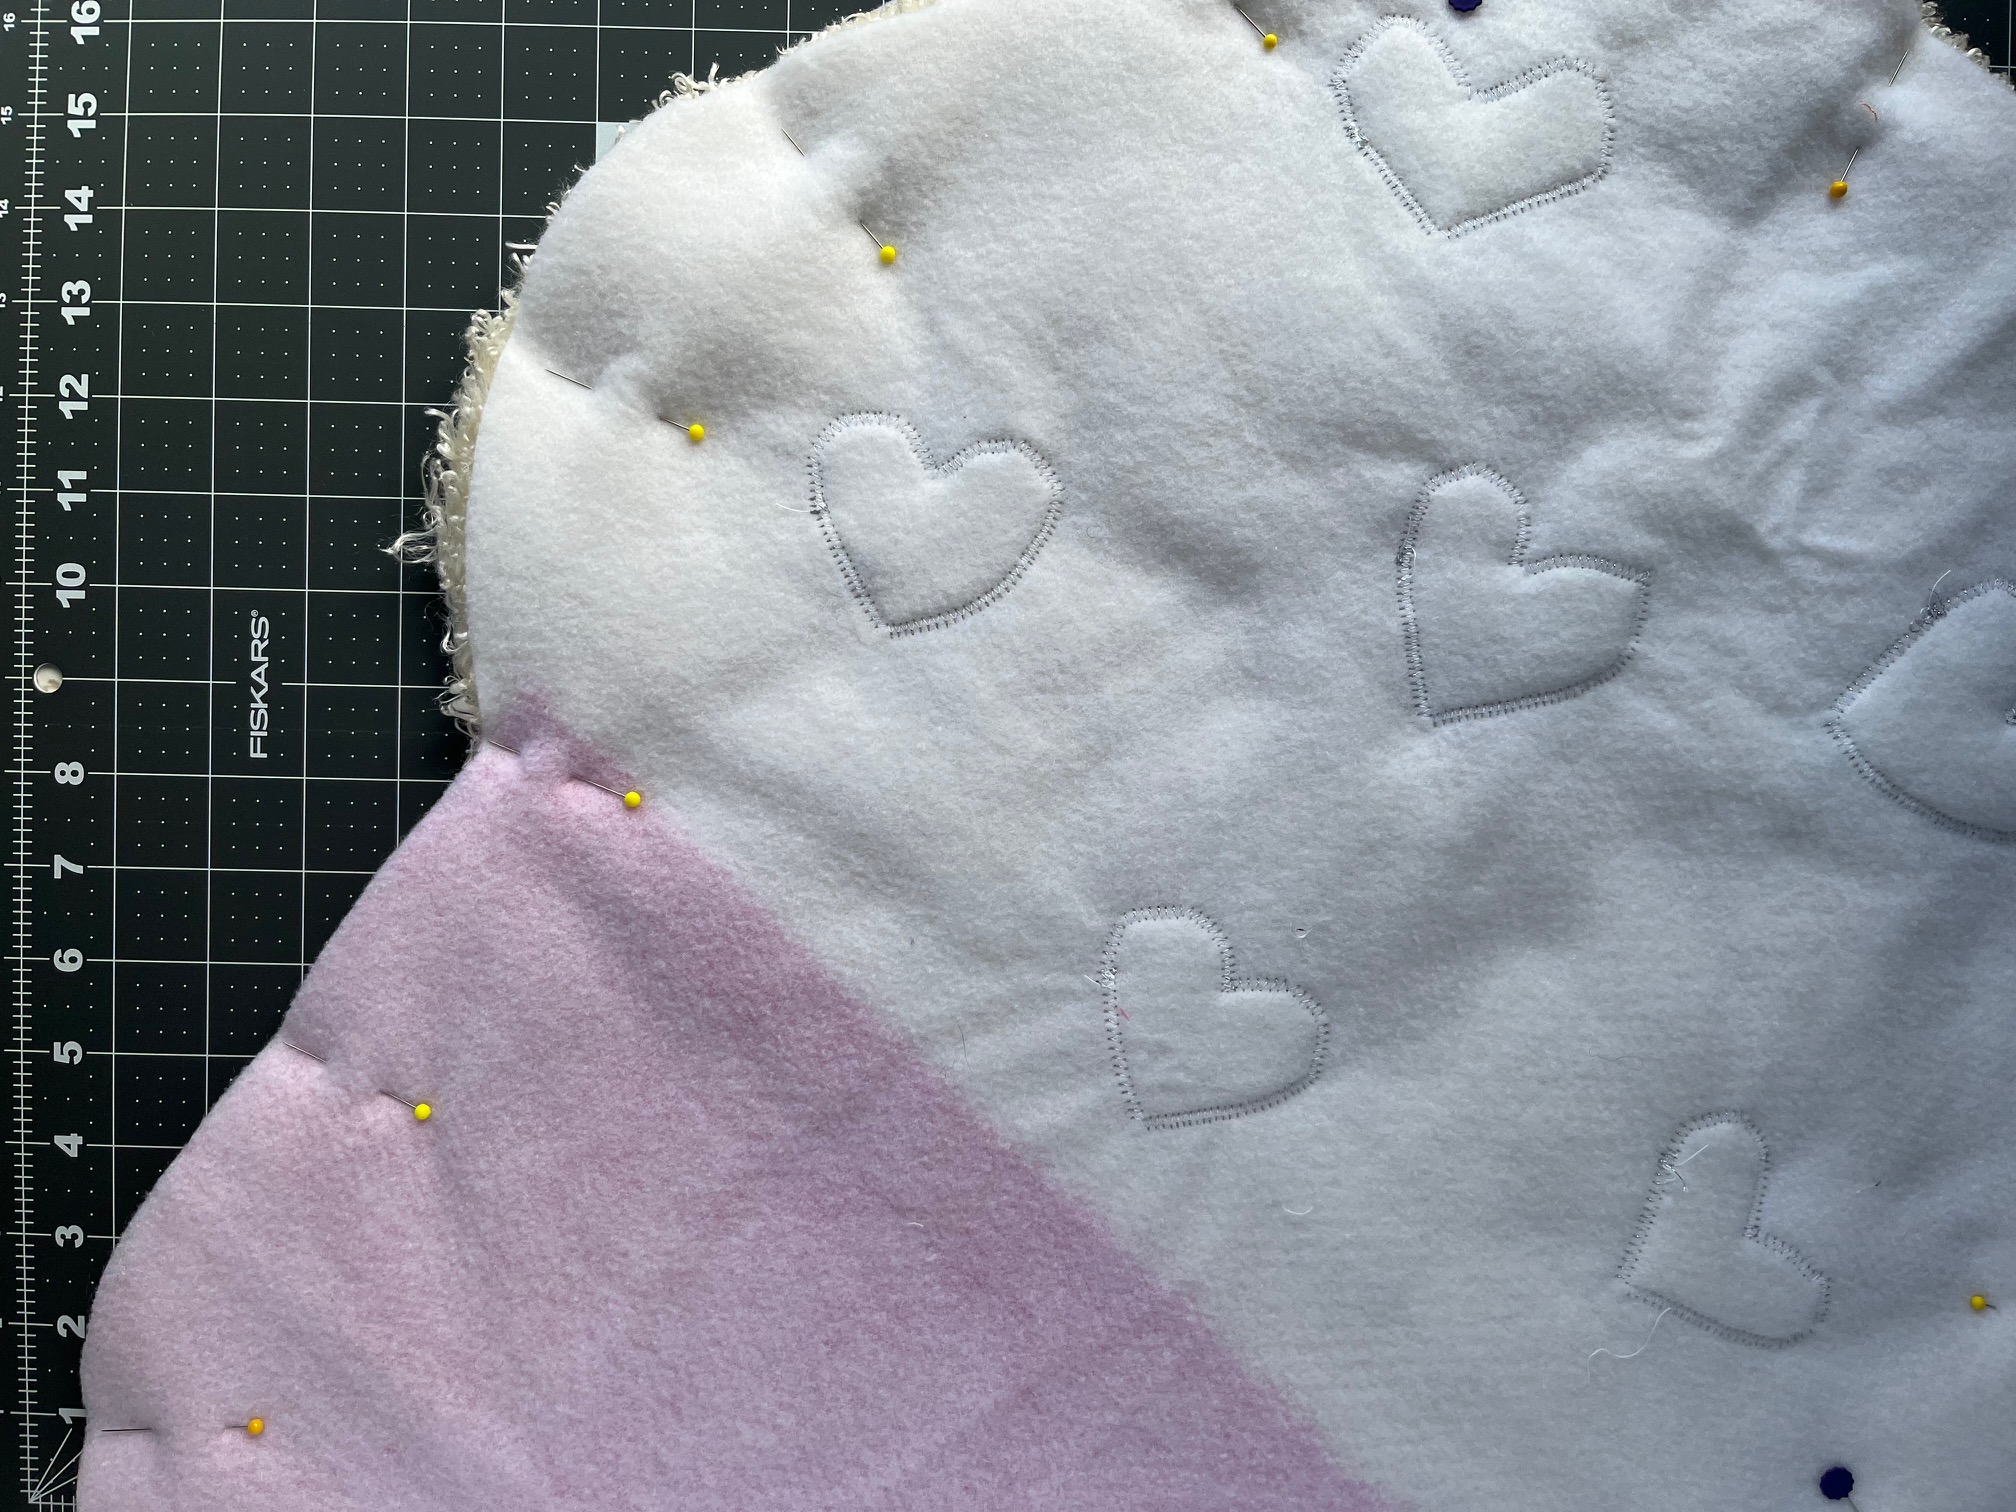
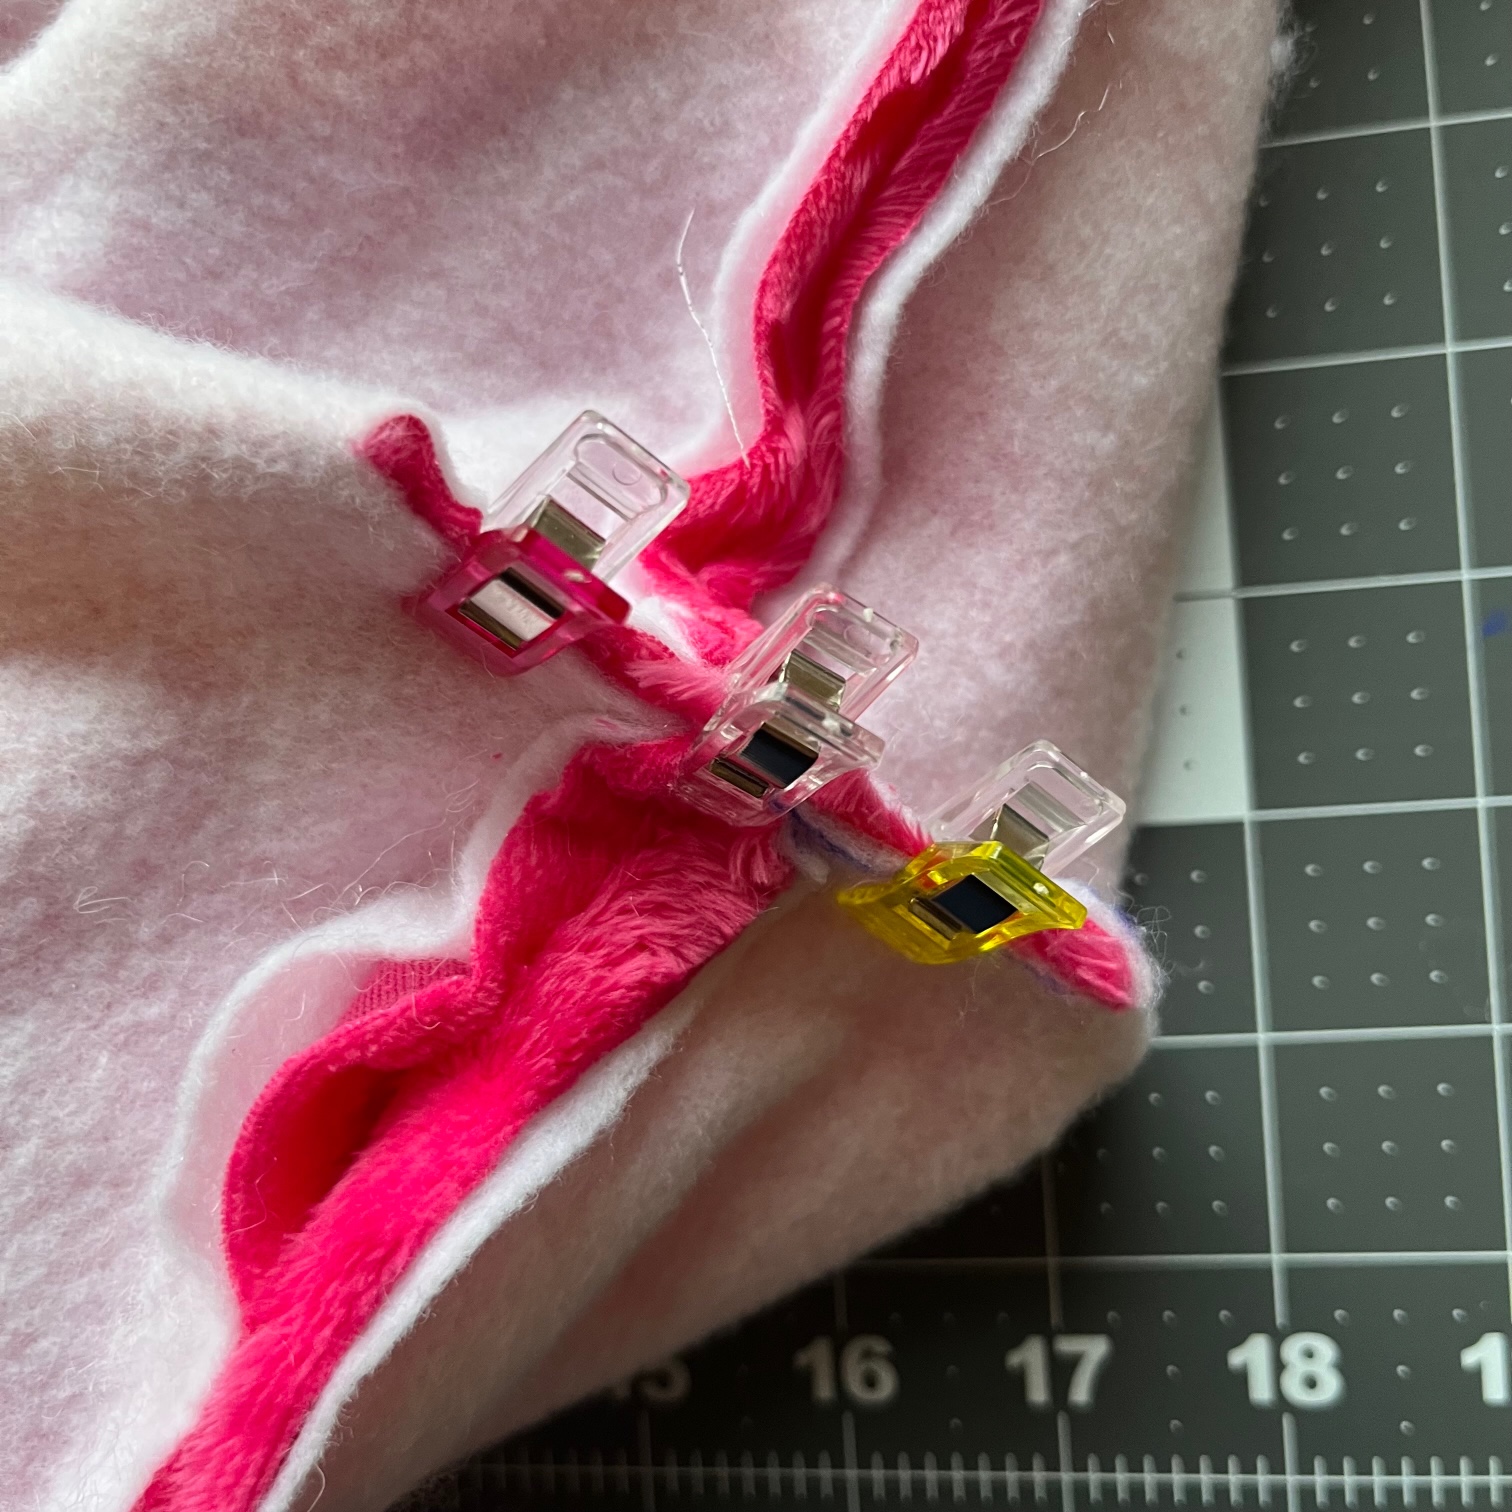
Trimming away the extra StitchnSew fleece. Then, put your pillow front and back right
sides together and pin. Sew around your pillow with a 1/2″ seam leaving a 6″ opening
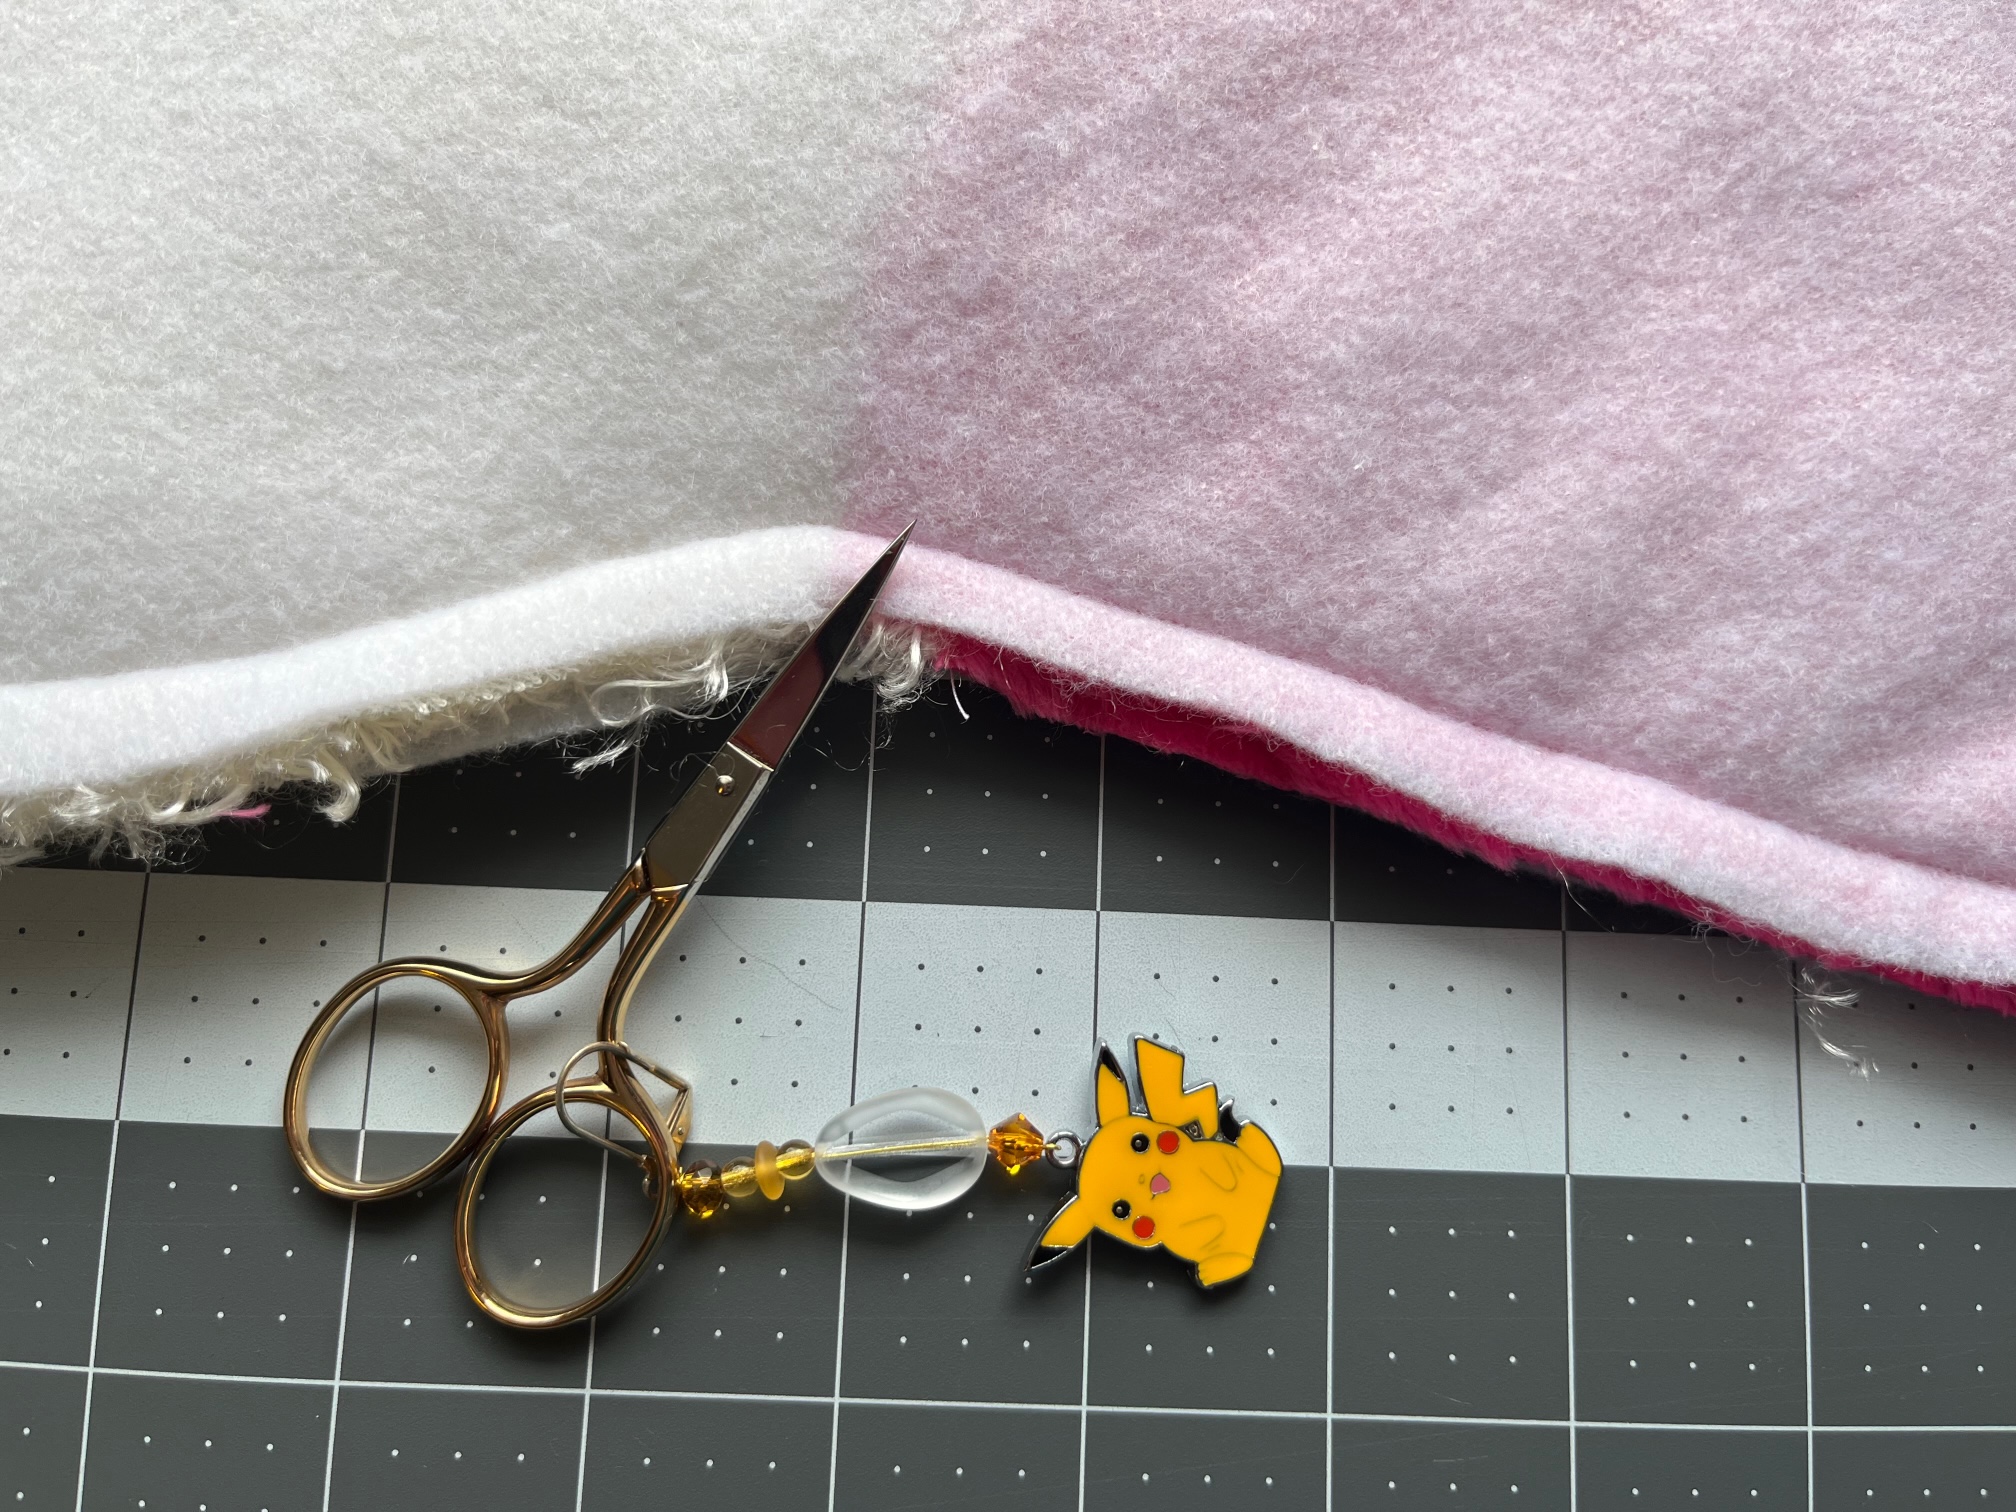
on the bottom for turning. Next, clip your cupcake corners where the icing meets the cupcake liner.
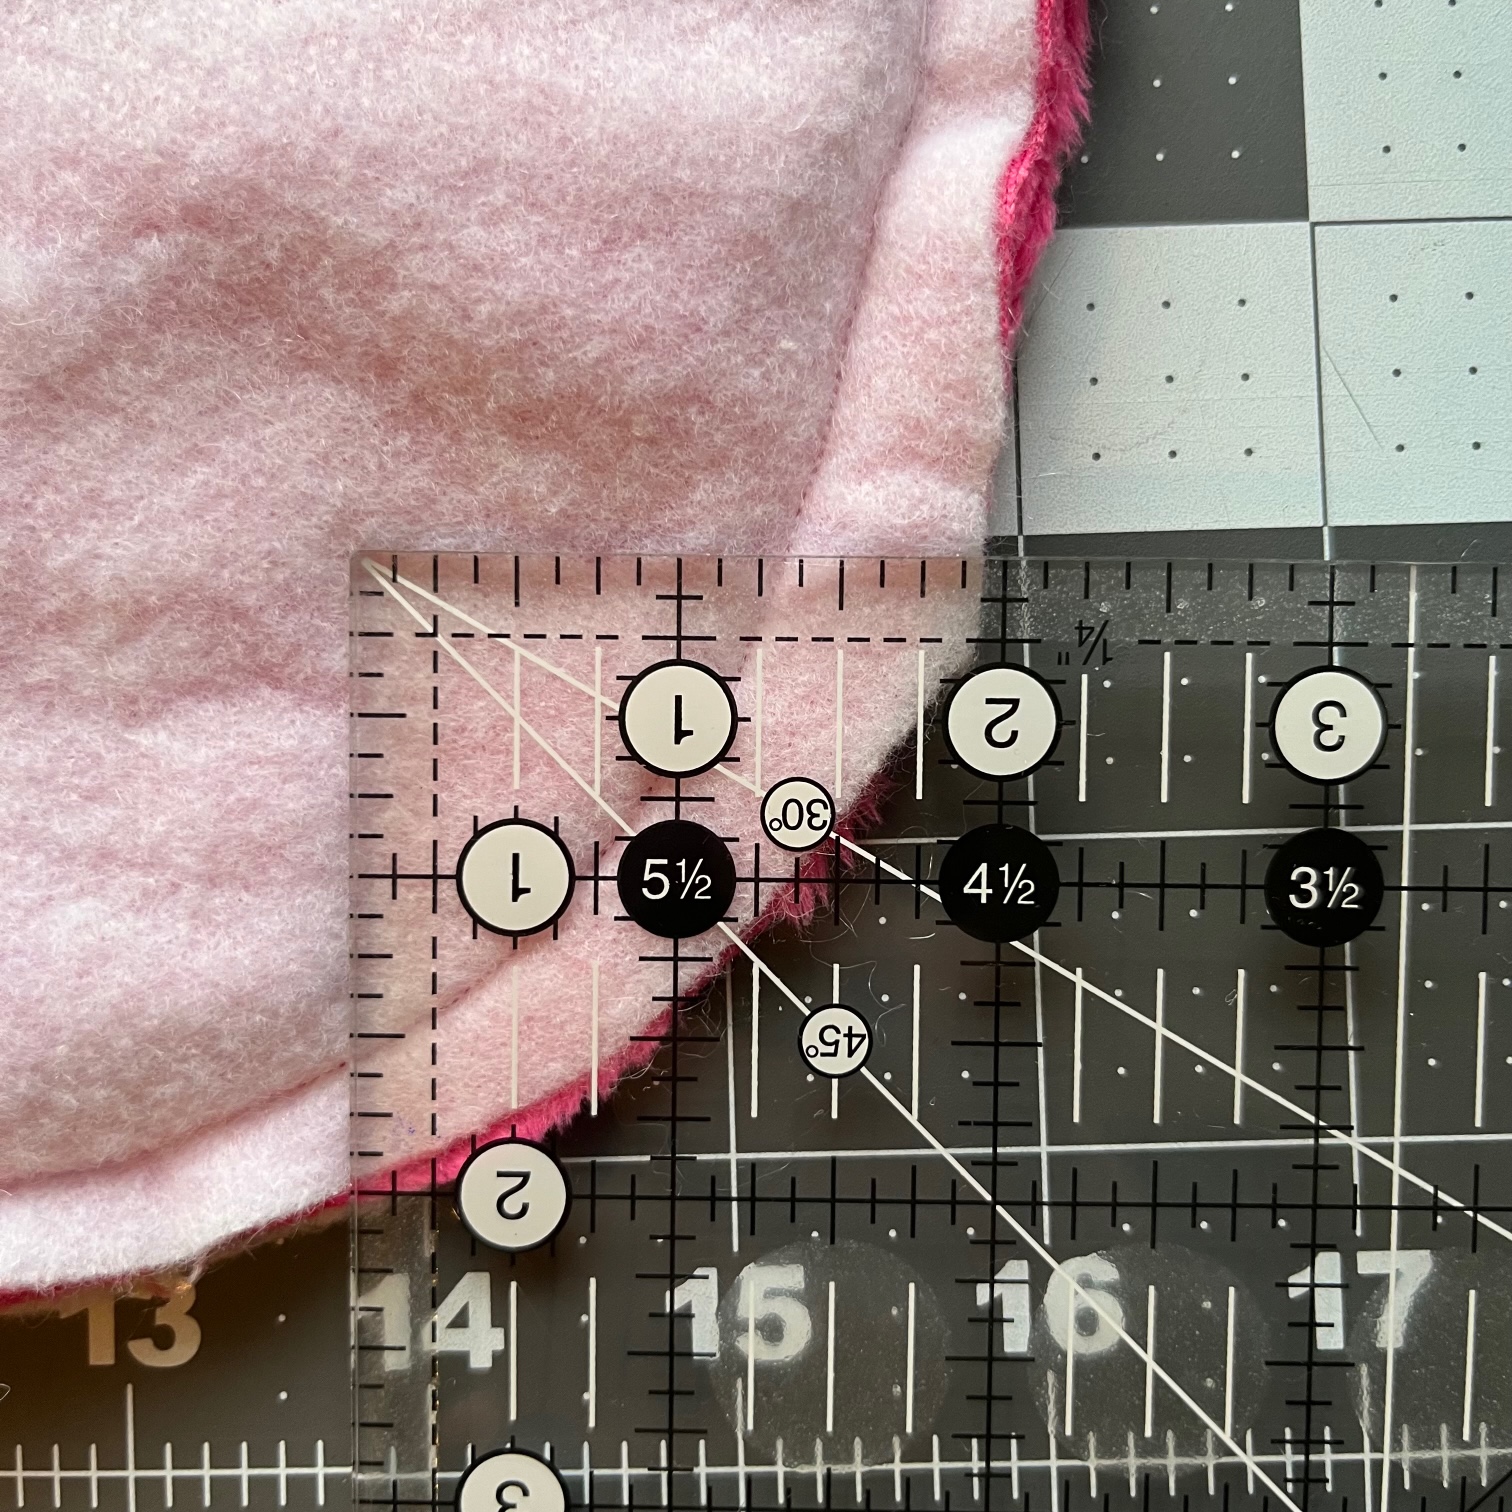
Boxing the Bottom Corners
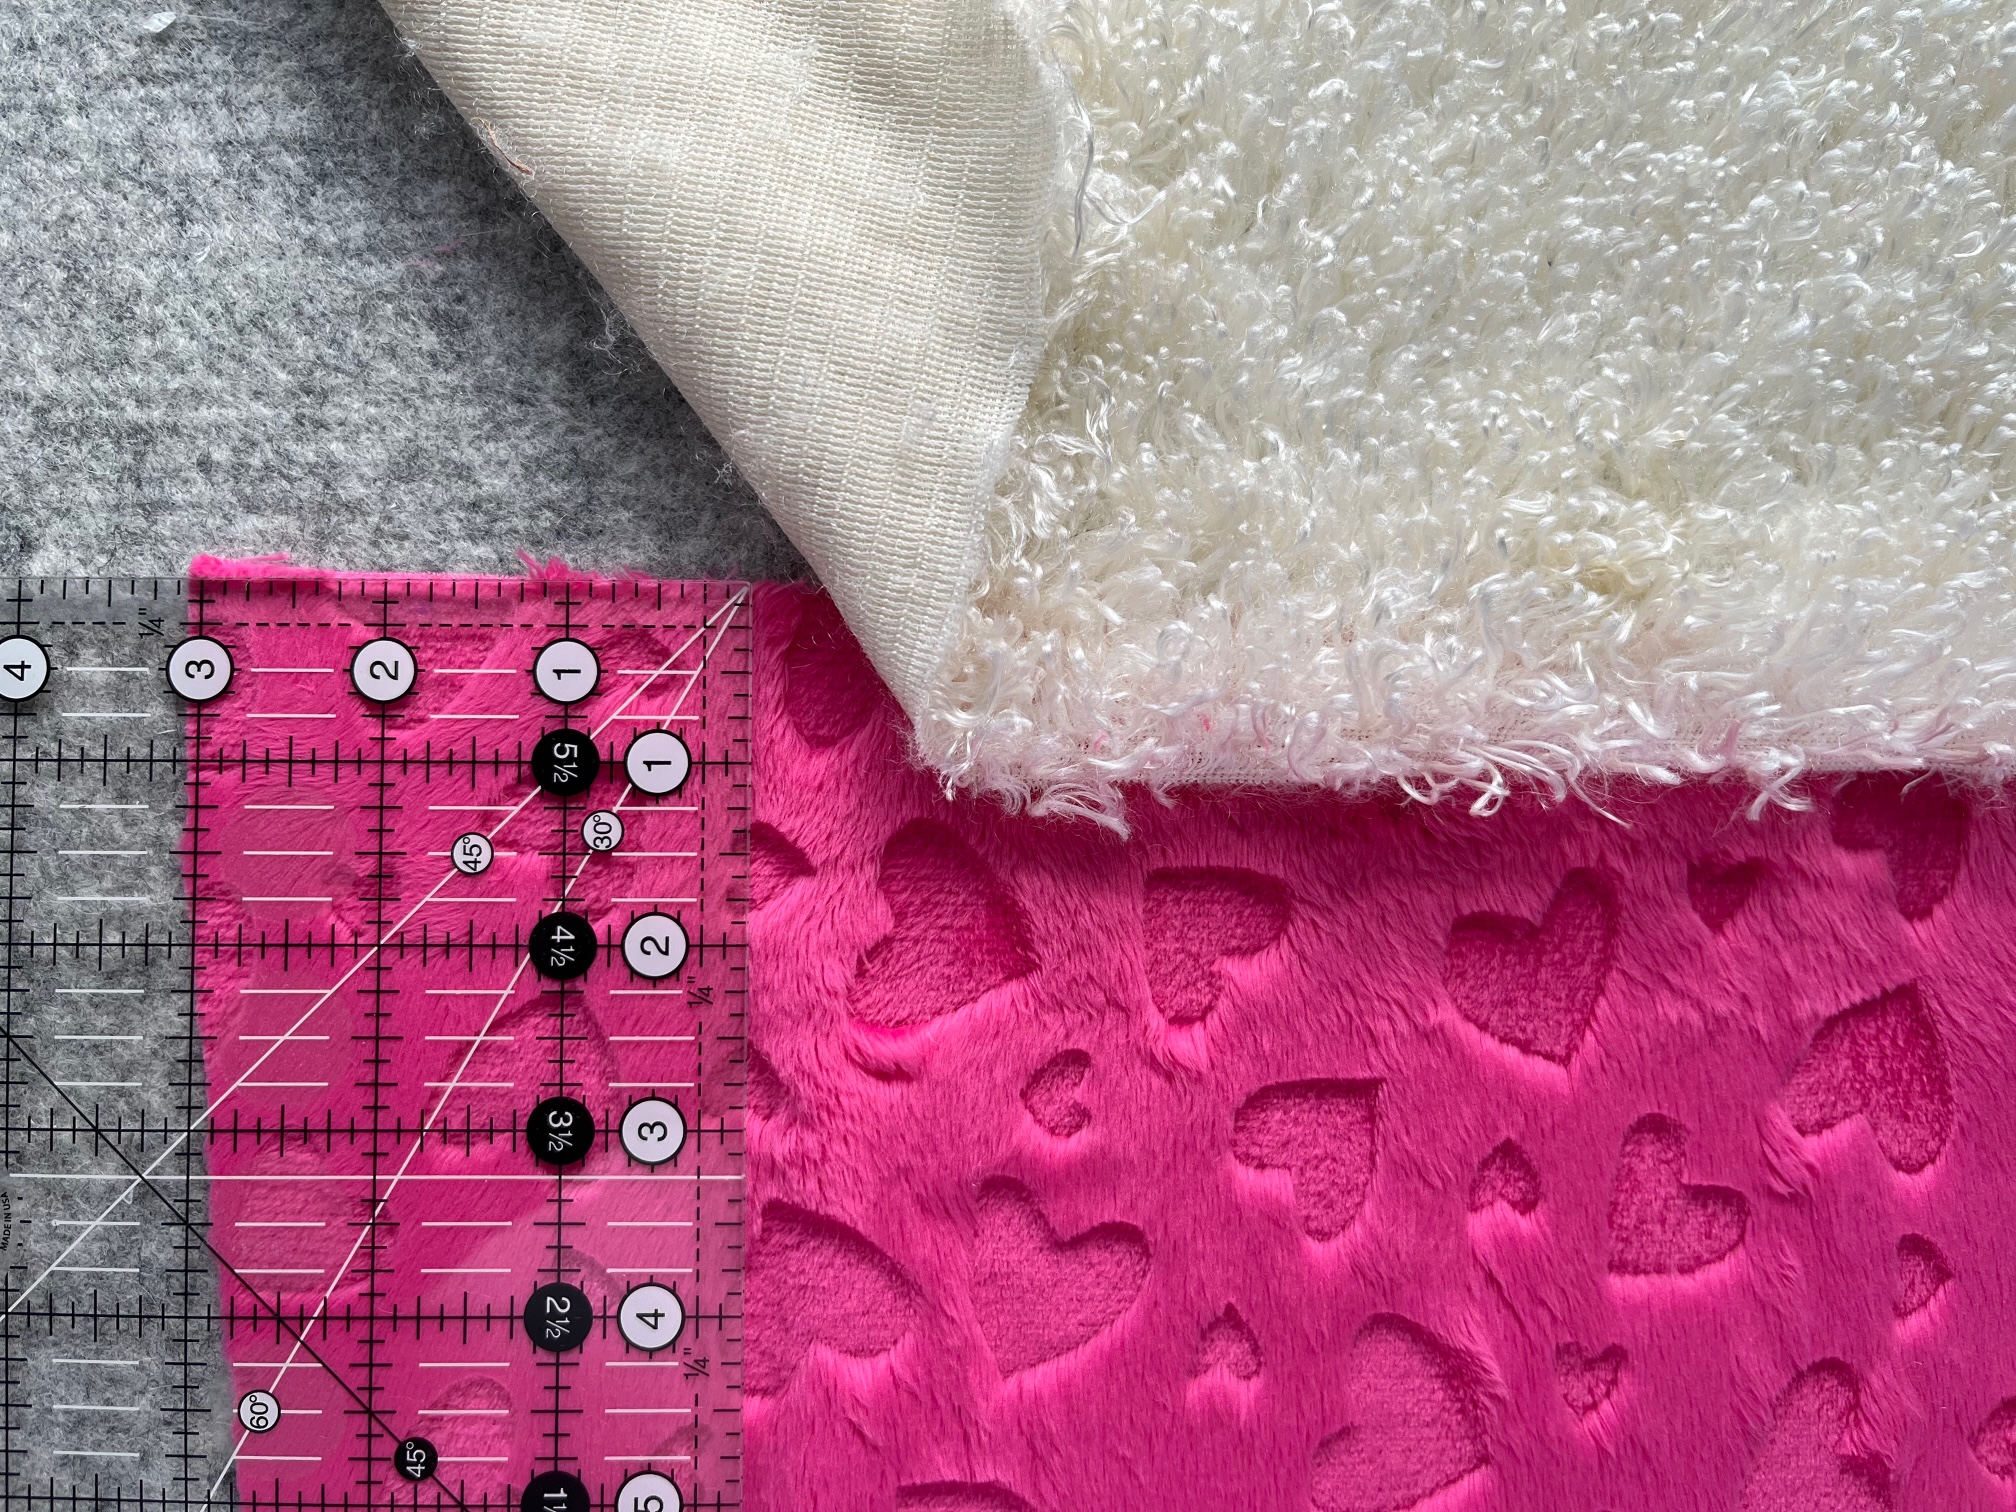
Using your ruler, place the 2″ ruler line on the side and bottom of your cupcake, mark the lines and cutaway that section of your pillow.

Next…
Squeeze together the newly cut opening and match the side and bottom seam together. Pin or clip in place. Stitch a 1/2″ seam across the opening. Repeat the steps above on the other side. Then, turn your cupcake pillow right side out and stuff with fiber fill. Finish your main cupcake form by sewing a blind stitch across the bottom.
Important Tip: The printable PDF has instructions on how to sew a blind stitch.

Next…
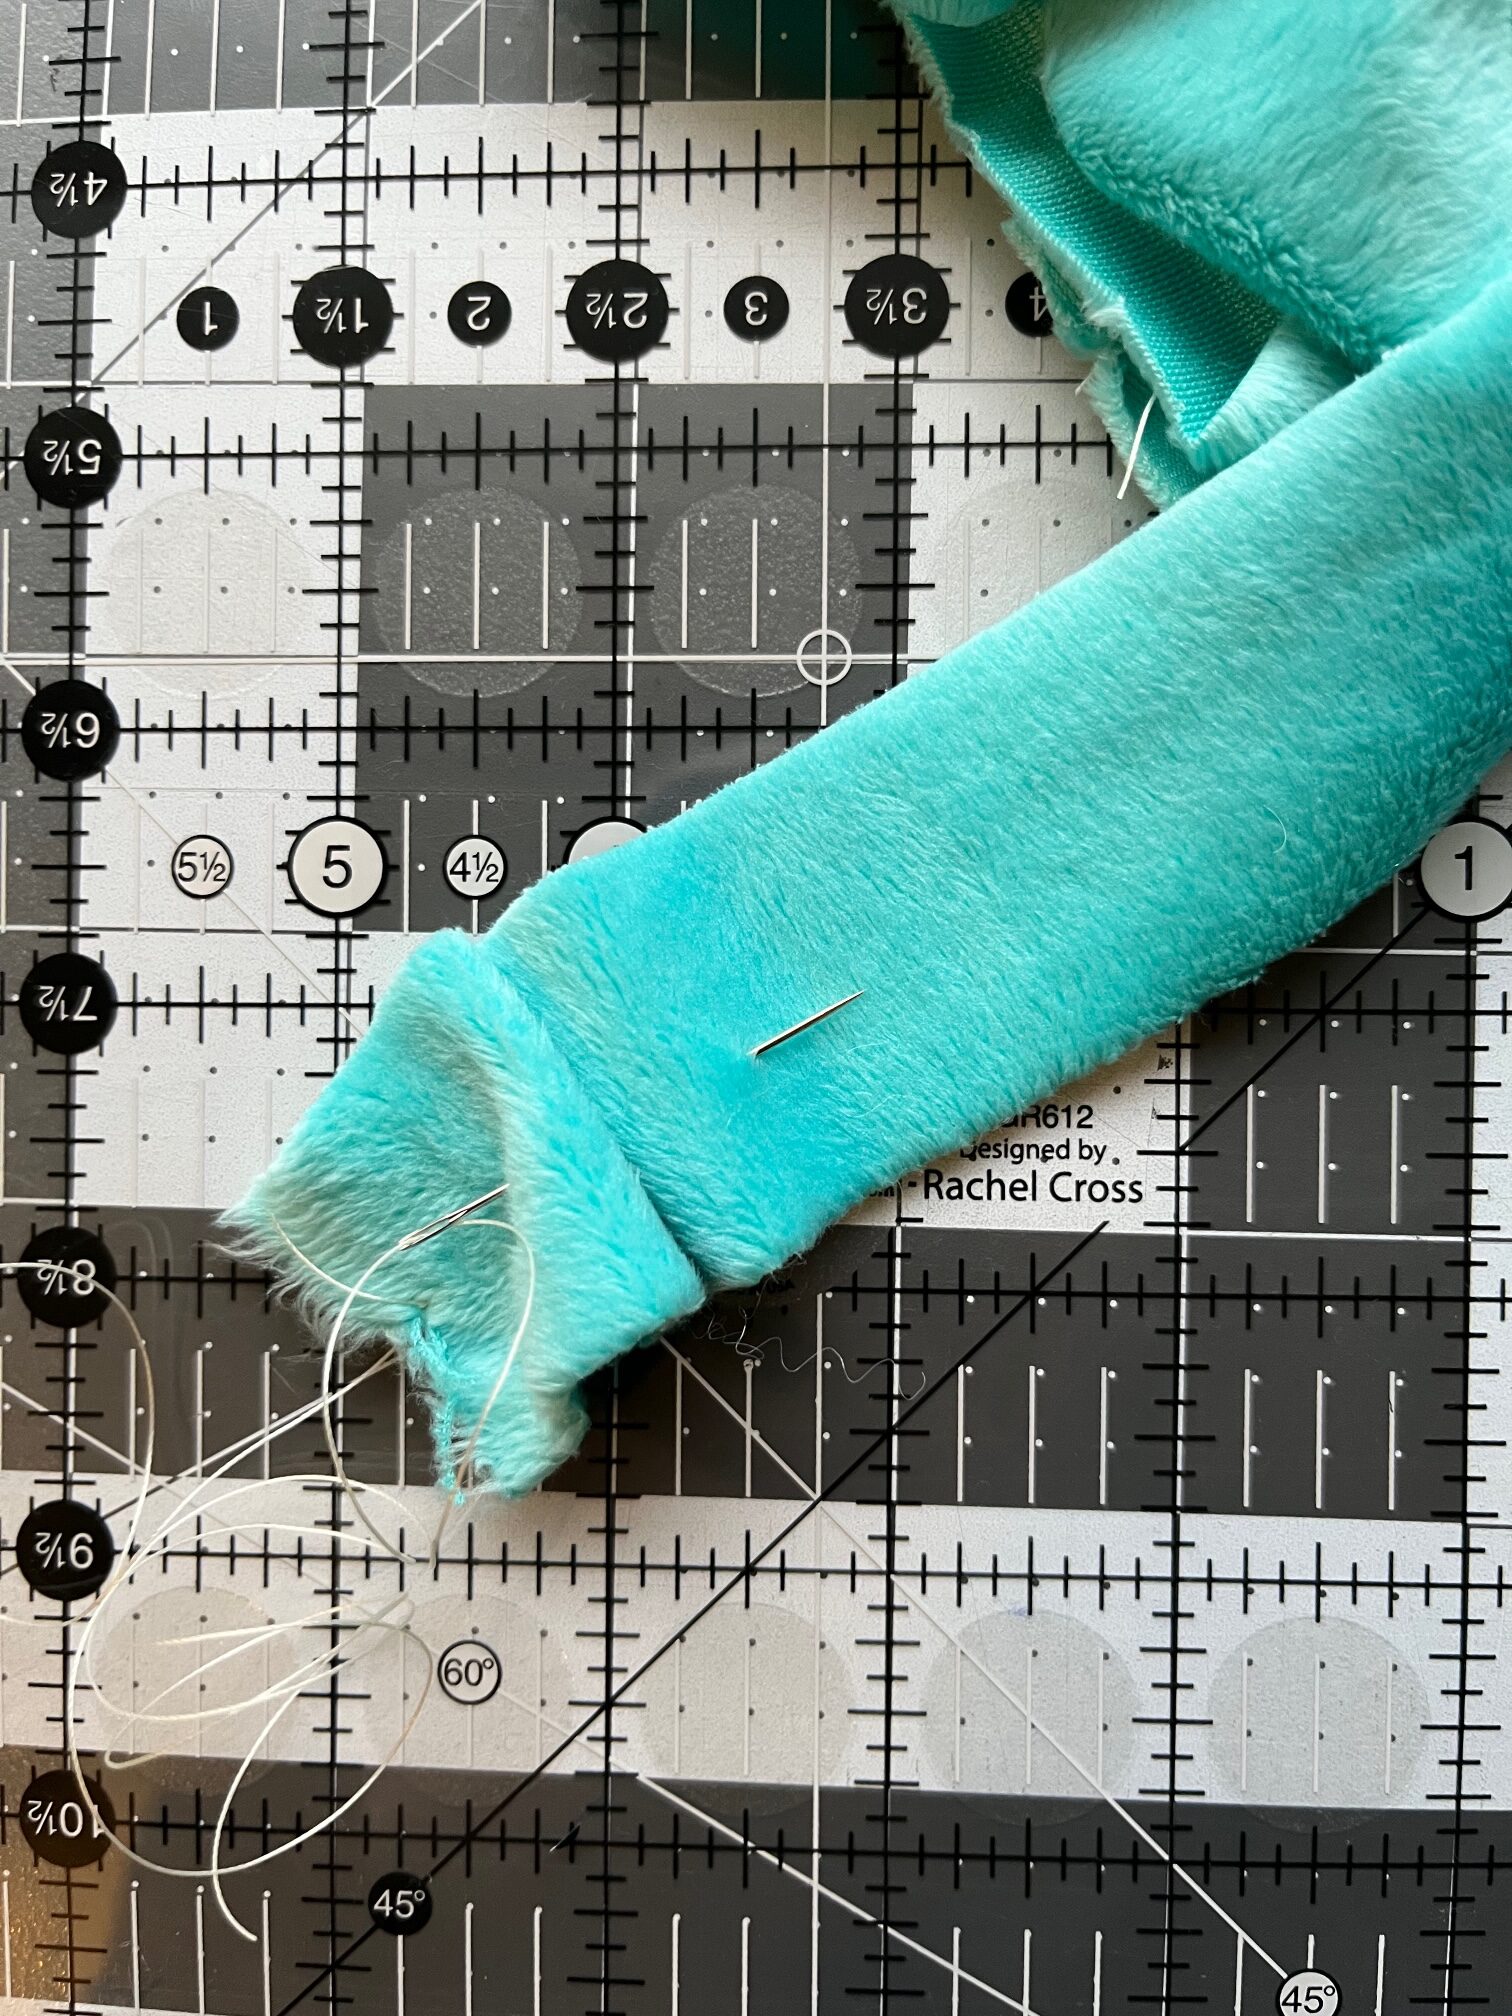
Cut out a 9″ circle. With your needle and upholstery thread, make a large running stitch and pull the circle closed. Stuff with fiberfill before stitching closed. Attach the cherry to the top of the cupcake.
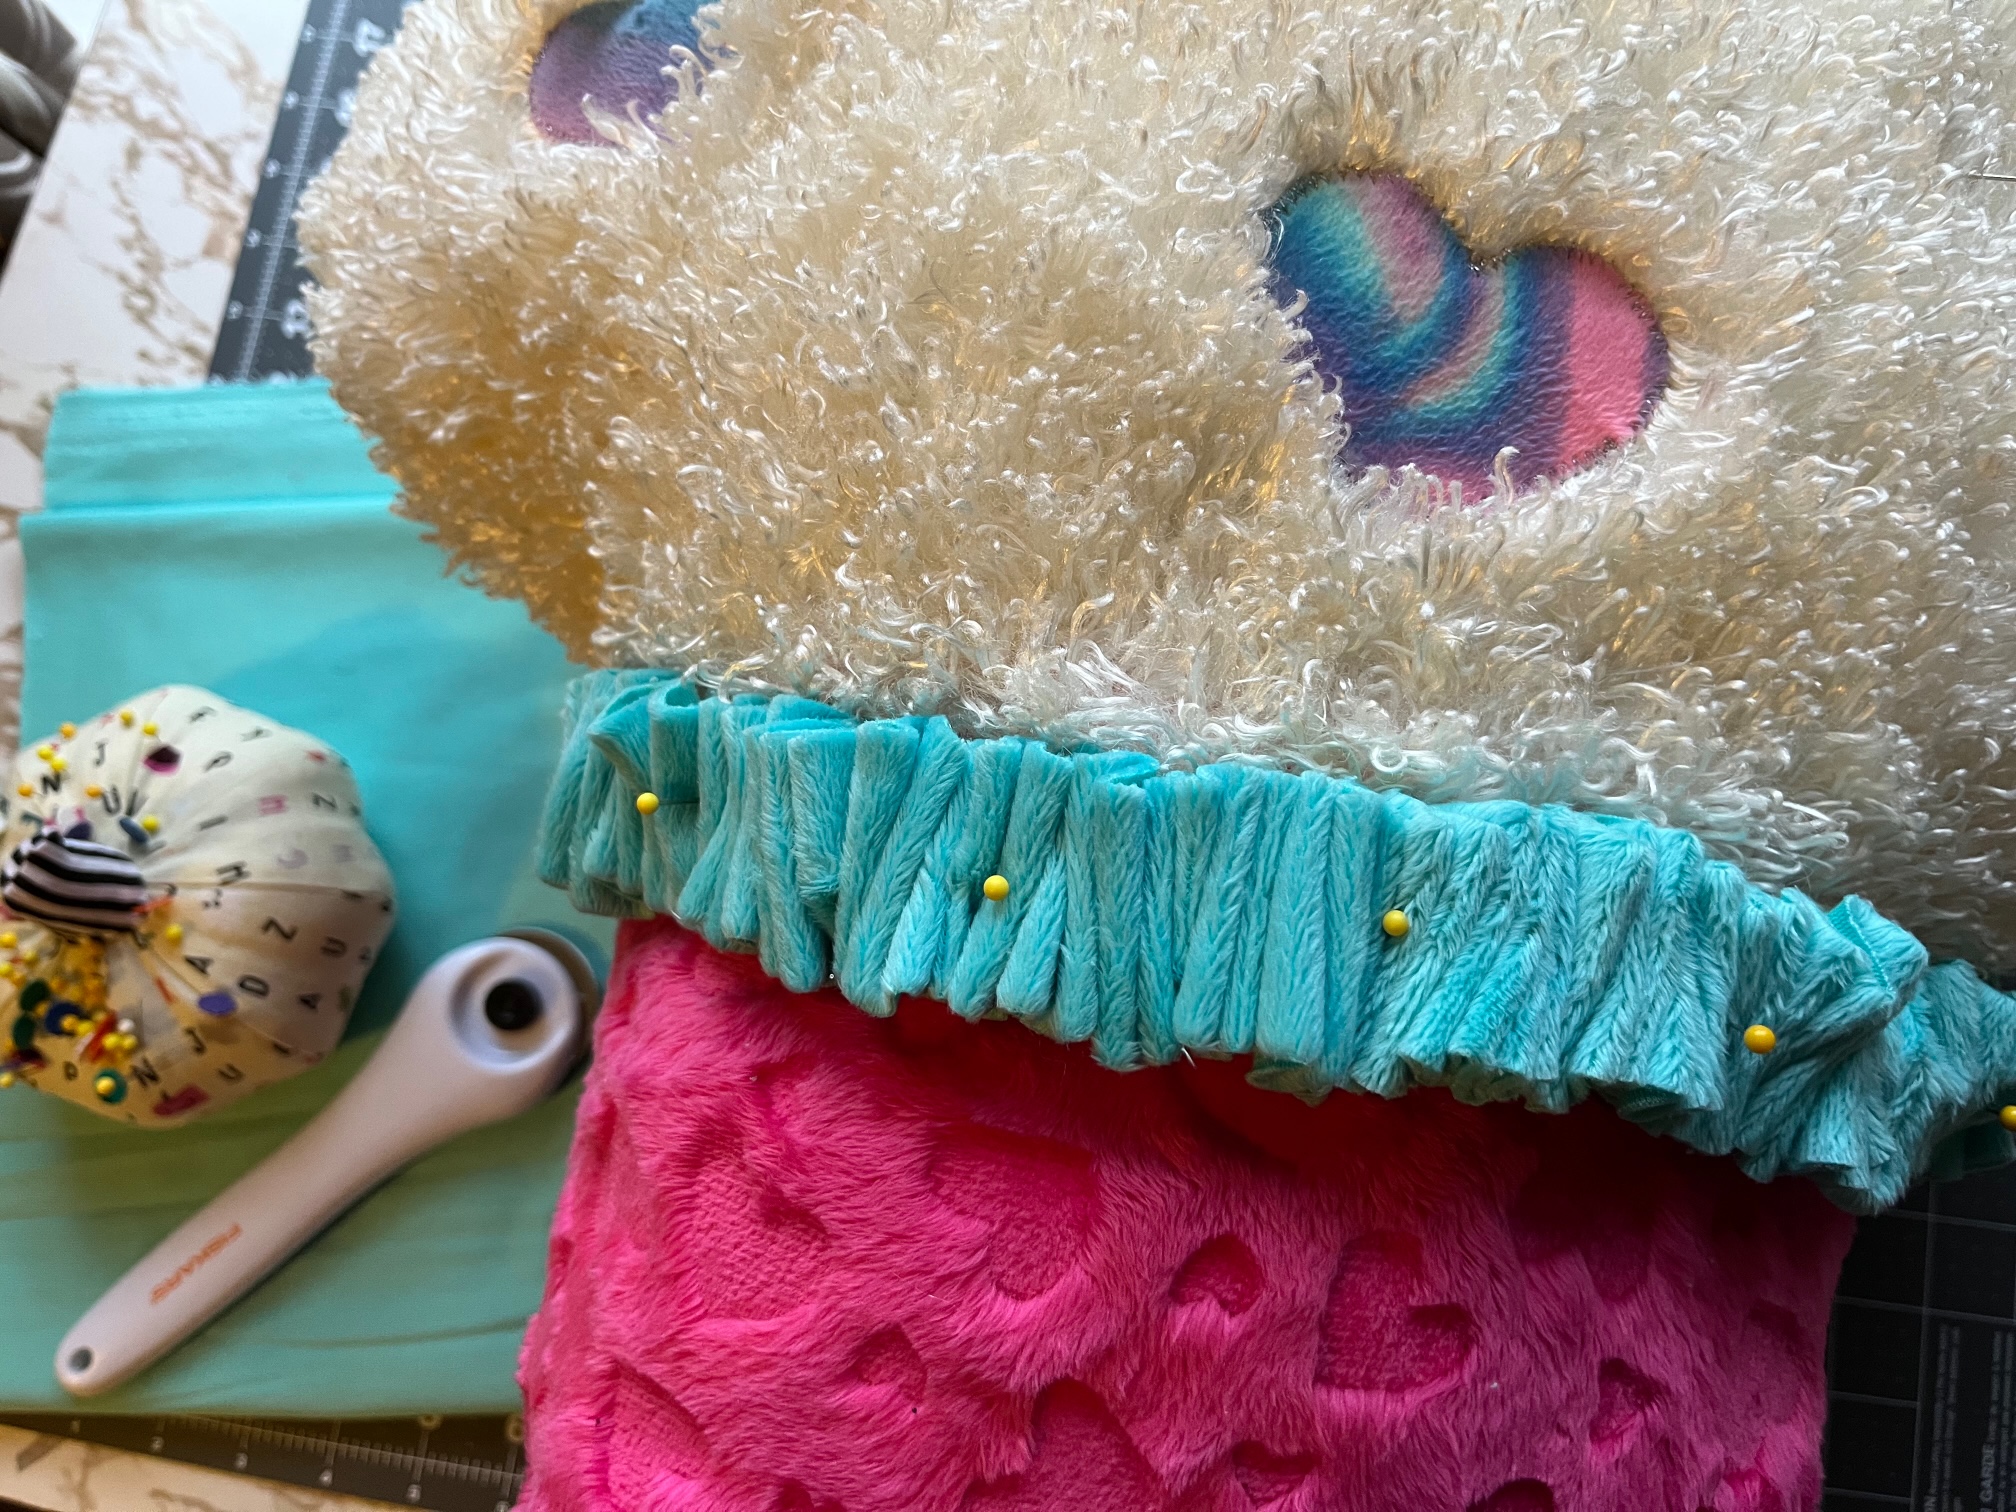
Continue by cutting 1 1/2″ strips of the light blue Minky fabric. Pull and shake the strips to eliminate the fuzz. Secure at one end of the strip with your upholstery thread and then make a large running stitch along the length of the mink strips. Pull together to create the ruffle. Using the upholstery thread, attach your ruffle to the edge of your cupcake icing and liner. I stitched between every 2 ruffles to securely attach my ruffle to my pillow.
FINISHED!
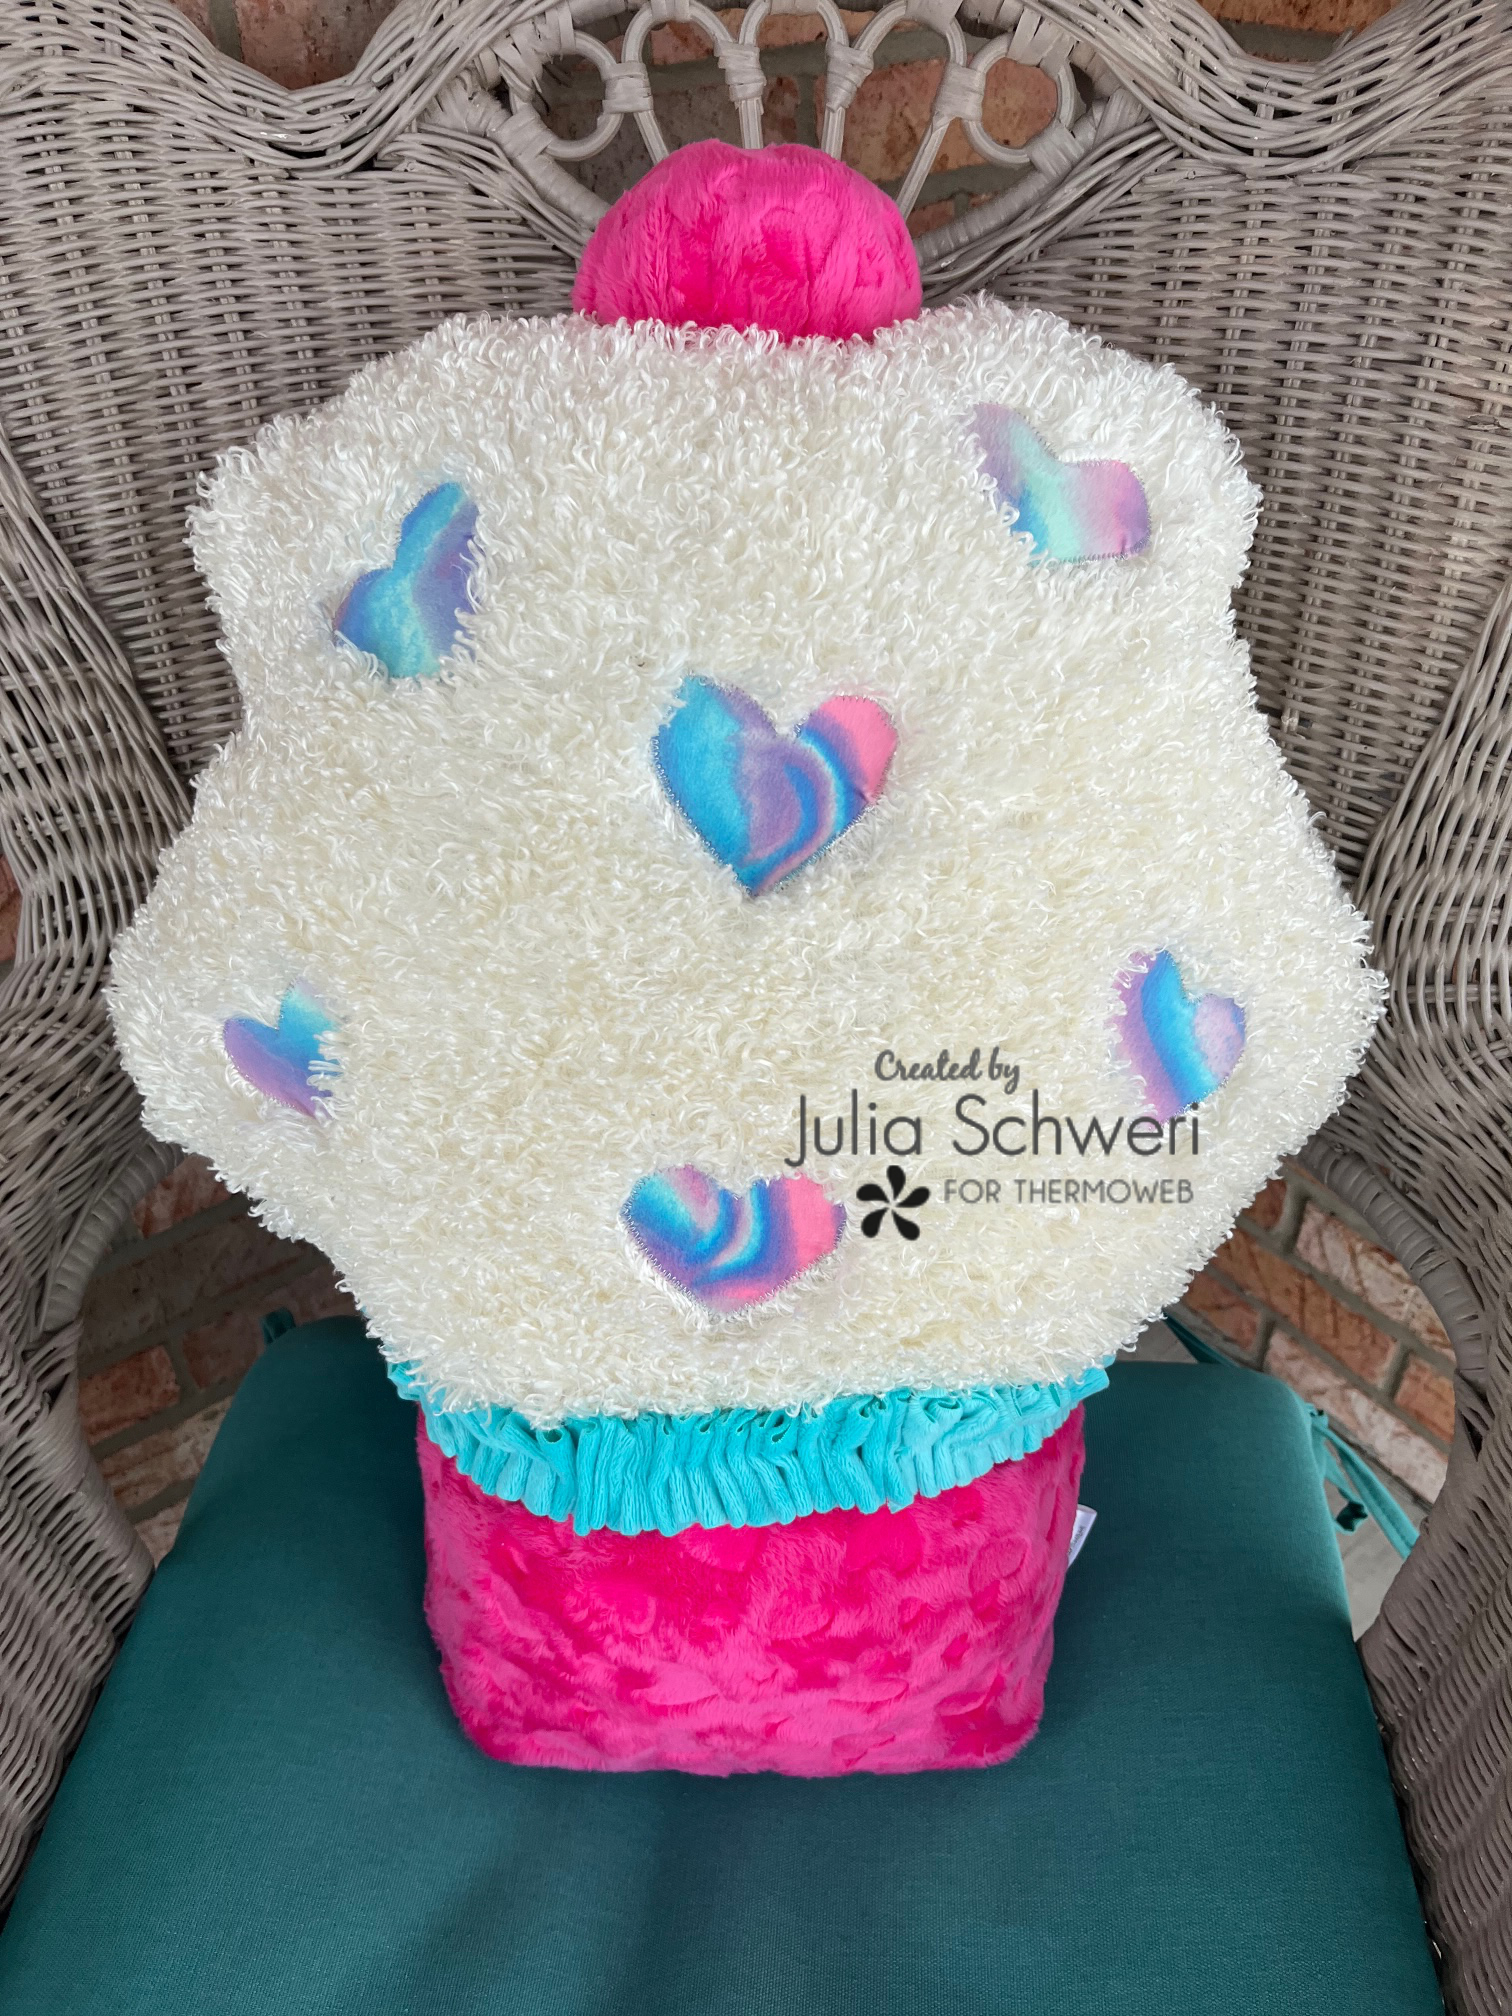
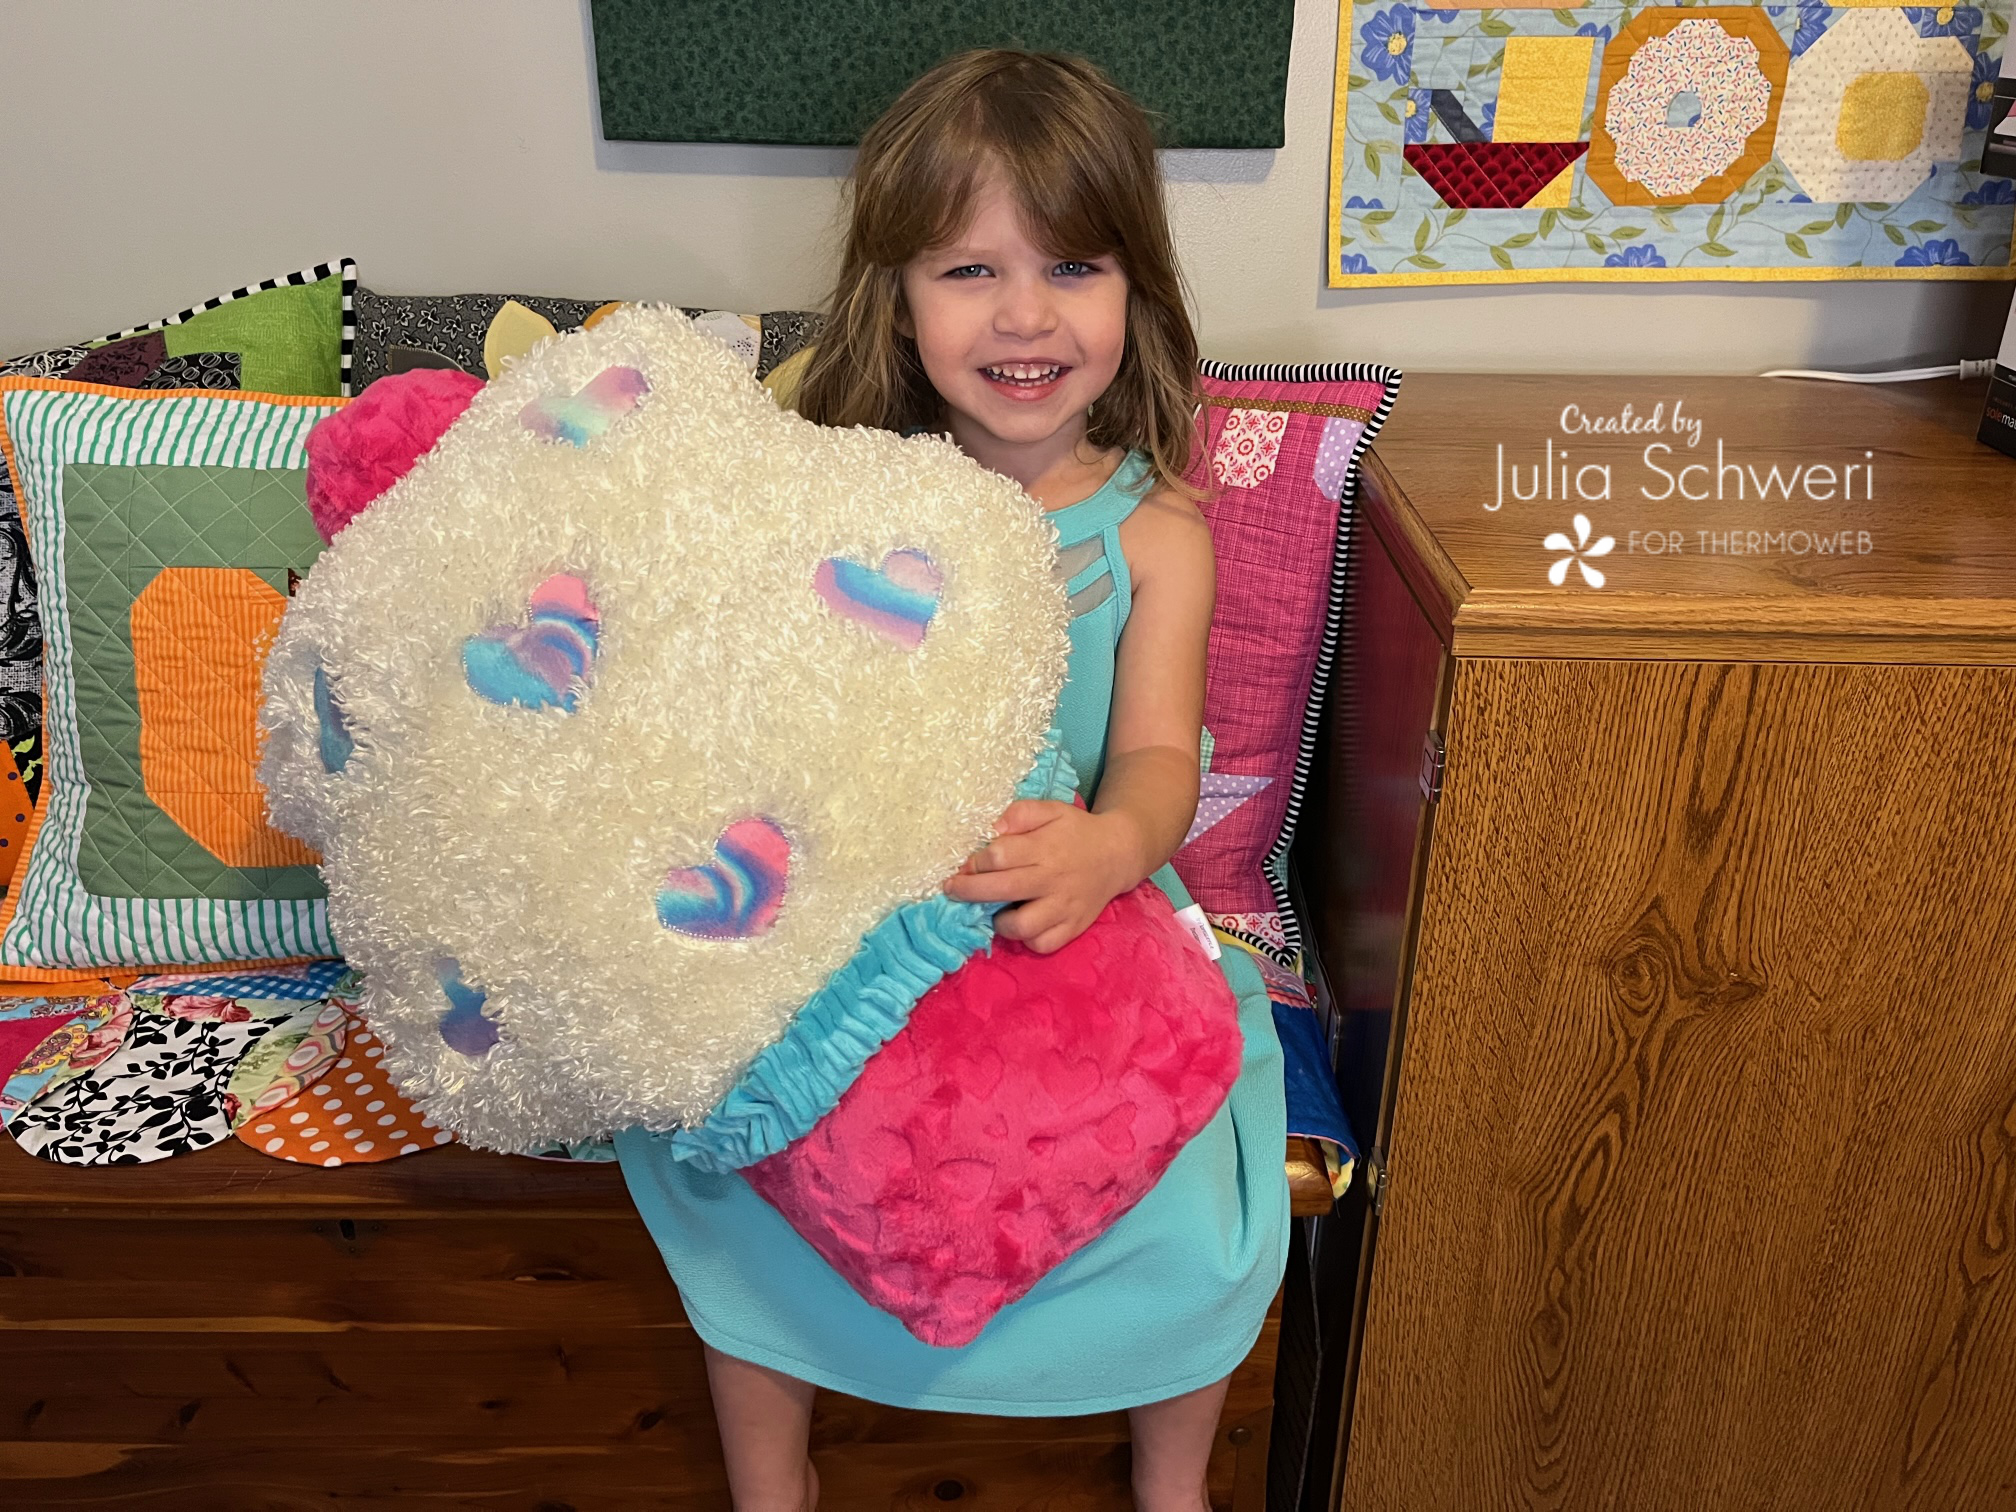
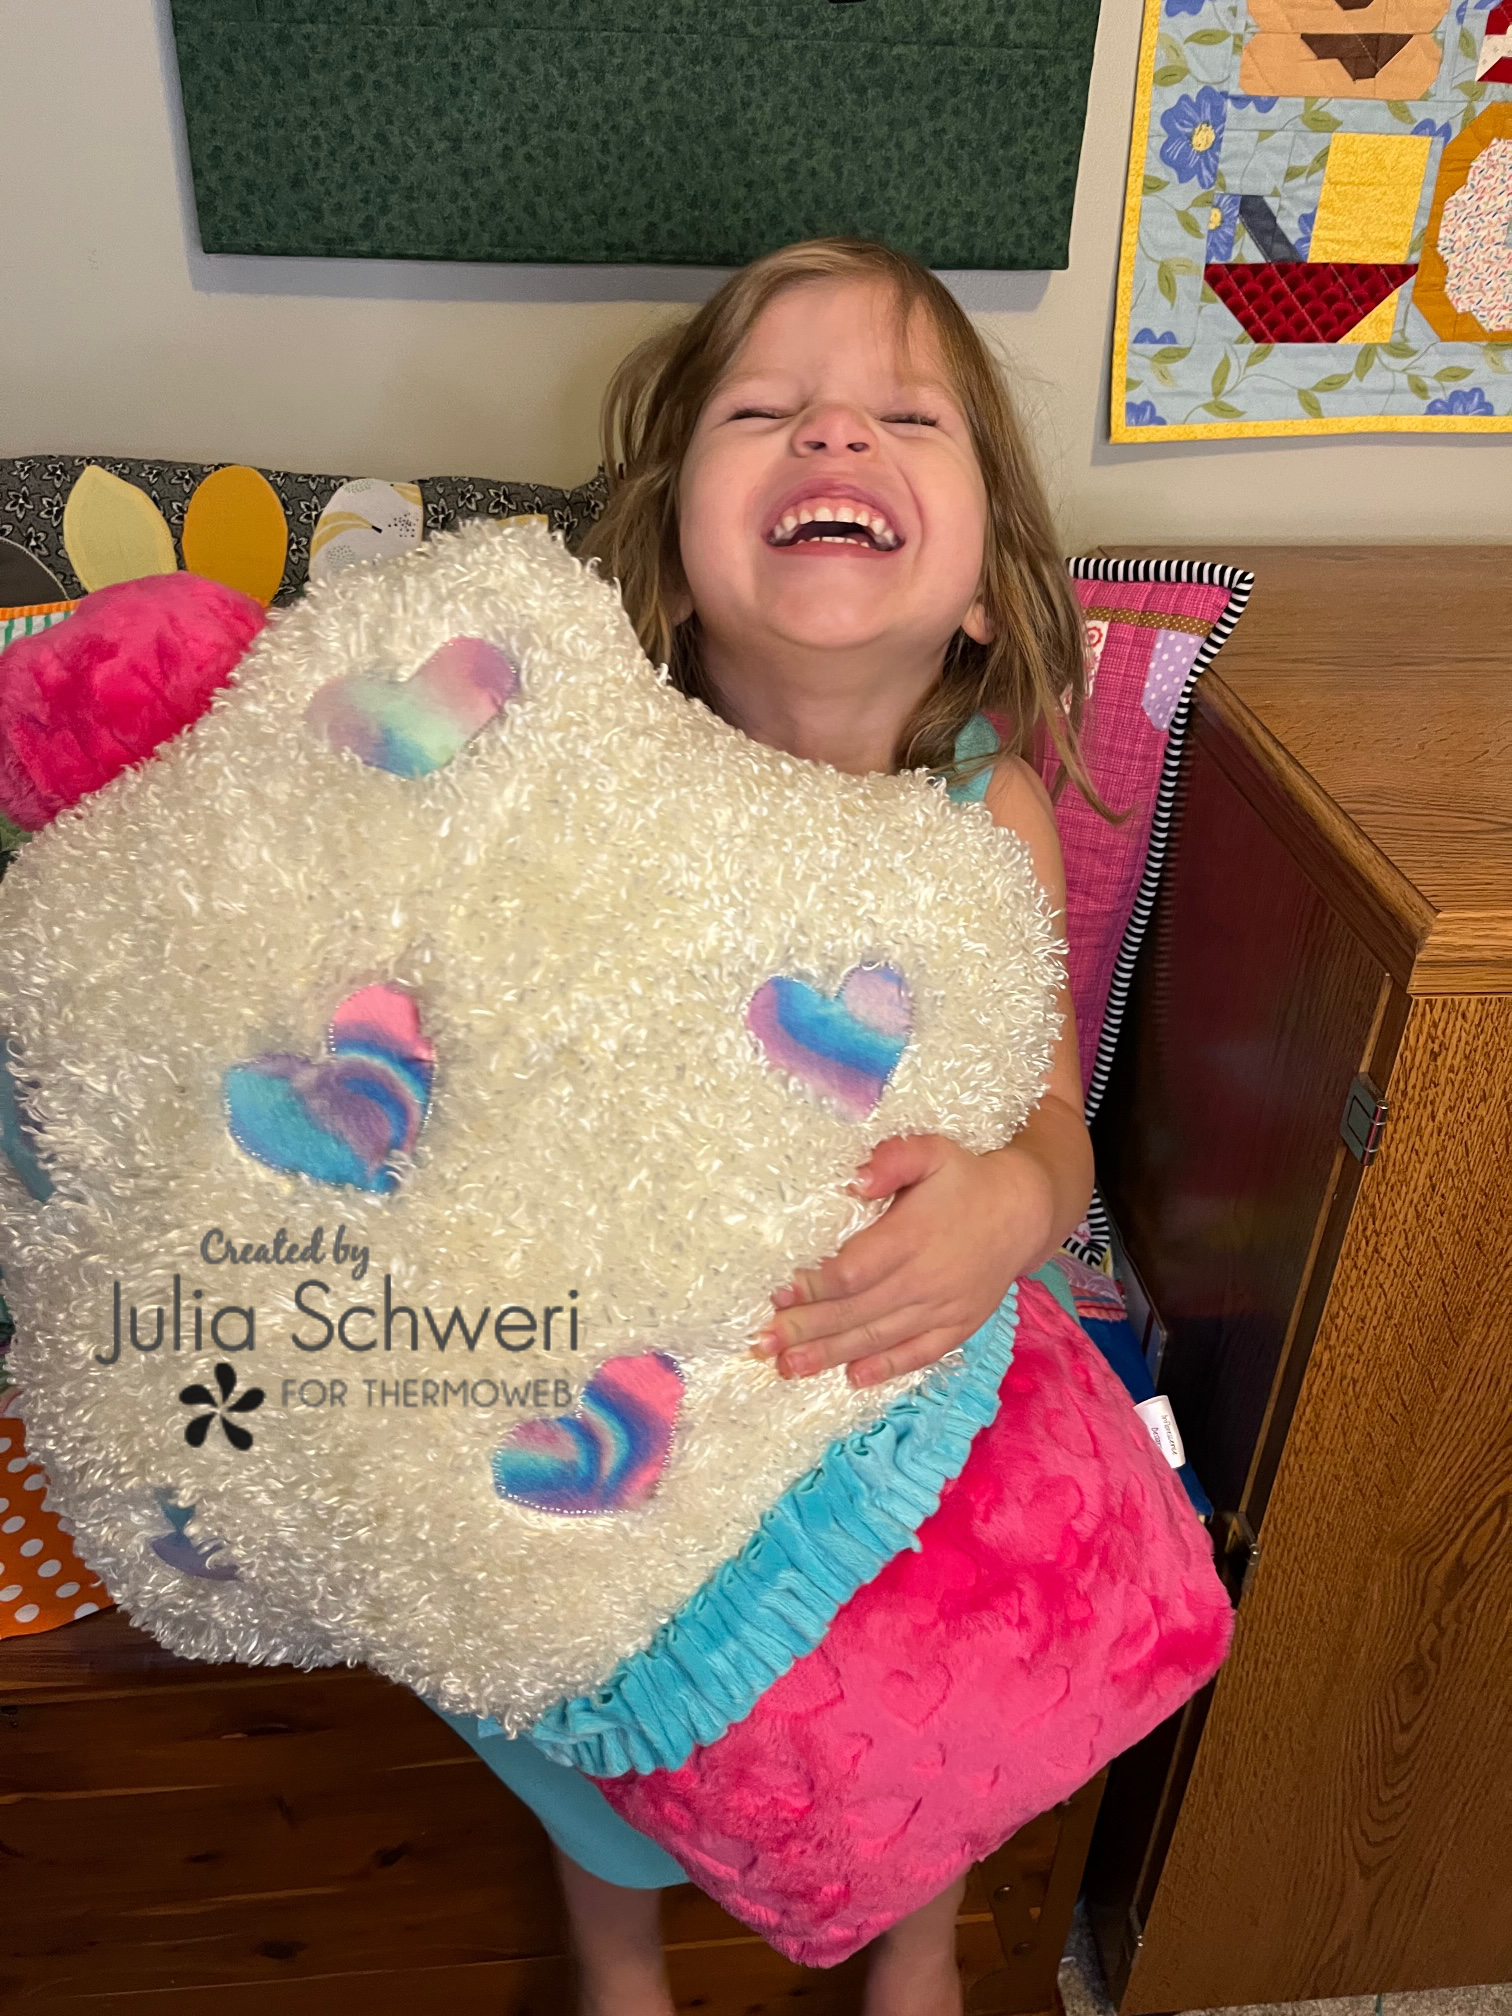
Thank you for following along with me today! I hope you enjoyed my “Plush Cupcake Pillow” tutorial. Come back soon to see what else will be starting to bloom with Inflorescence Designs!
This post contains affiliate links. For more information, see our disclosure HERE.

Don’t miss a chance to enter to win a $40 Gift Card to shop with us! Click here for all the details!