This past week I was honored to be a featured blogger on the Big Picture Classes blog during Gift Wrap Week. The theme for the week was crafty holiday packaging. My post was a simple idea for ways to dress up plain white gift boxes with scrap pattern paper and embellishments. Since we have been offering a lot of holiday ideas here on the Therm O Web blog, I thought it would be fun to share my blog post here as well.
Begin with a simple white gift box. I often buy these in multi packs in the holiday gift wrapping sections.
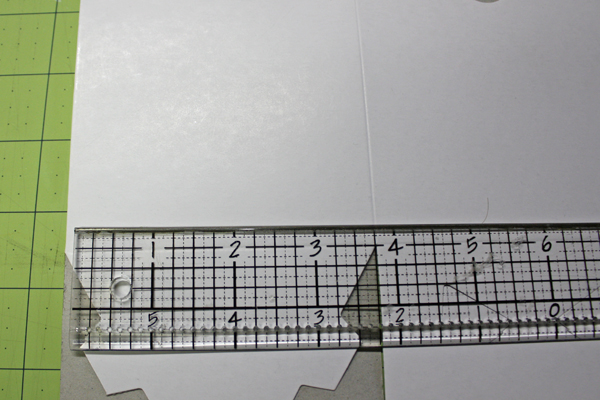
Measure the sides of the boxes that you plan to embellish. On my box, I wanted to embellish the four sides and the lid. Each were almost 4″ square.
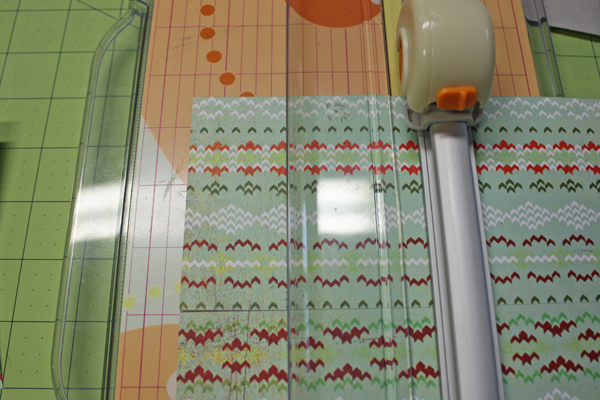
I wanted to leave a small white border on each side, so I cut my paper in 3 1/2″ squares. For one of my boxes, I cut my five squares of paper from five different pattern paper scraps. For the other, I used one piece of double sided paper, alternating the patterns.
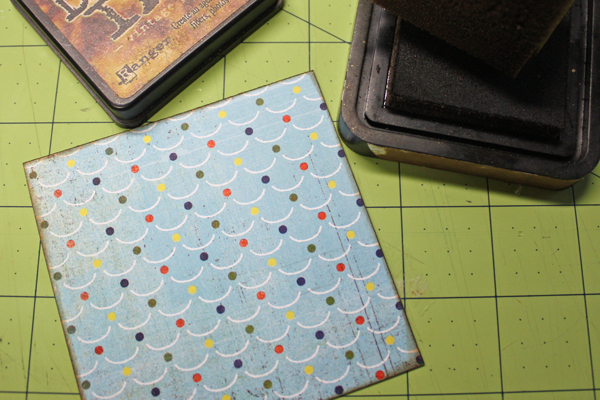
If you love a vintage or distressed look, brush the edges lightly with the Distress Ink of your choice. If you love clean and simple, use the squares as is, or perhaps add a simple doodled border with a marker.
Apply adhesive around the outer edges of your squares. I find that on the slick surfaces of gift boxes, tape adhesives work best. If you are covering a larger box, for instance a shirt box, you will want to add adhesive through the center of the paper as well to keep it smooth and nicely in place.
Apply each square to the center of each box side.
After applying the paper to the box lid, embellish the lid with ribbon and a gift tag.
On my second box, I added a sticker and strung a gift tag with bakers twine and adhered with adhesive foam squares.
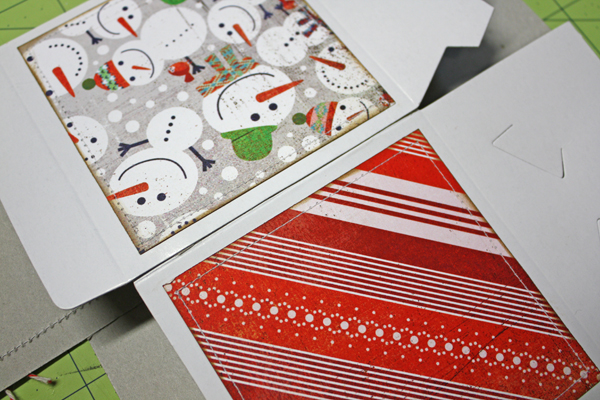
If you would like to take your box a step further, you can add machine stitching to the edges of each square. To begin, you will need to flatten the box by carefully pulling it apart where it is glued. On my box, there is only one glued seam. On a shirt box, you would have four glued areas.
After flattening the box, machine stitch around each paper square. When you have finished, apply adhesive to the flap where the box was originally glued.
After re-adhering the flap, assemble the box as usual and embellish.
So quick and so easy and yet fun and something unique!
Supplies-
paper, stickers, and tags- BasicGrey Nordic Holiday


Janelle
December 12, 2011 at 11:13 am (12 years ago)Love ’em! Can’t wait to dig out some of my boxes and bags and try this! So simply yet so inspiring! I’m making dog biscuits for some friends and family — this would be a nice way to present them! Thank you! Merry Christmas!
Vanessa G.
December 12, 2011 at 7:05 pm (12 years ago)These are so cool!!!
maobullock
December 15, 2011 at 8:34 am (12 years ago)Love this! great idea