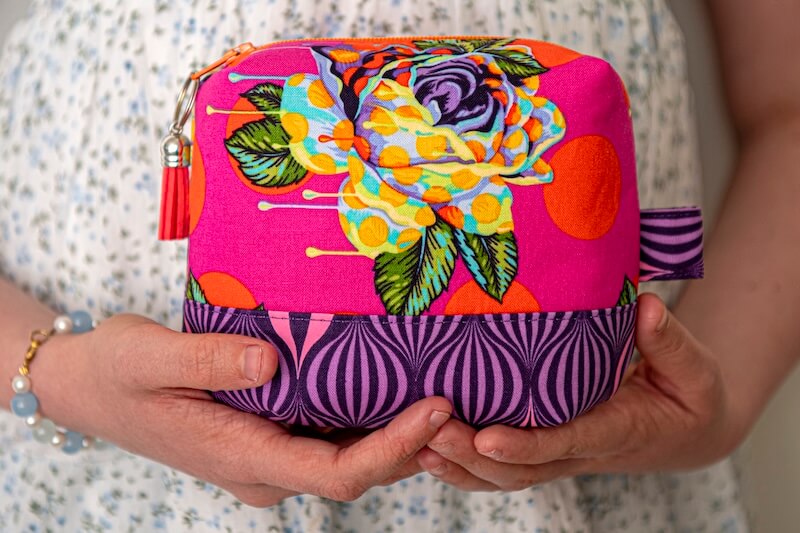
Hi friends! Lisa Summerhays here from Stubbornly Crafty to share another fun pattern with you. Today, we will be making what I’m calling the Petite Zippy Pouch. It’s a pouch small enough to fit in your hand. You could easily add a swivel clip on the side to make it attachable to a larger tote or backpack. I have mine full of quilting clips.
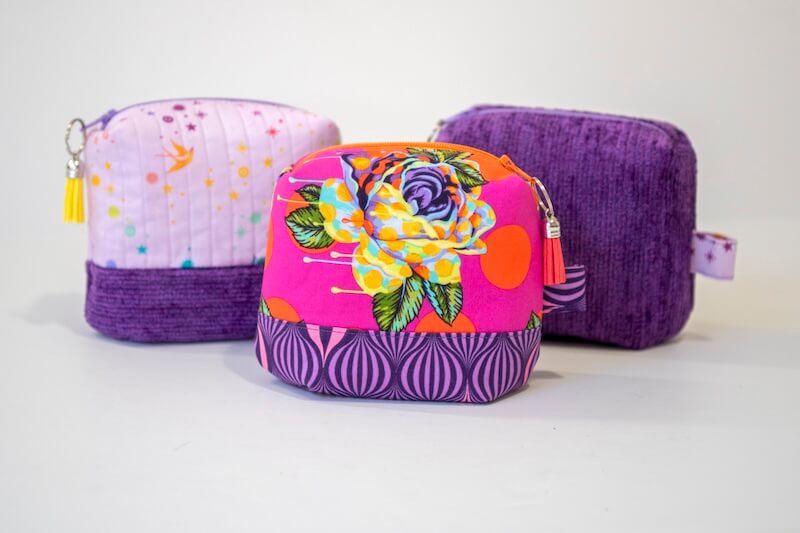
For this fun little pouch, you can keep it extra simple and make it using one single fabric or dress it up with more. Today, we are going to use two coordinating Tula Pink designer cotton prints. I’ve also made it using a thicker home décor fabric, which worked out great as well. Let’s get started!
Supplies
-
Pattern (DOWNLOAD AND PRINT HERE)
-
Two coordinating fabrics
-
Main: Fat Eighth
-
Secondary: Fat Quarter
-
-
7-inch (or larger) zipper
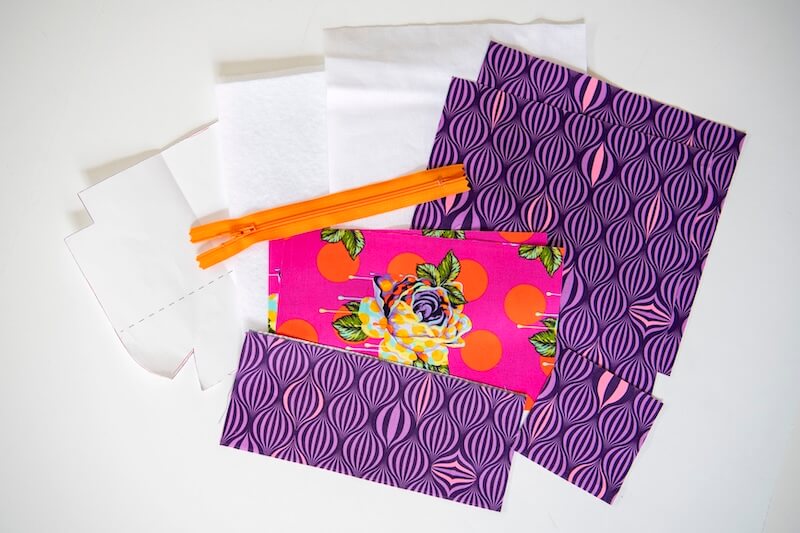
Cut Guide (WxH)
-
HeatnBond Fusible Fleece: (2) 8.5” x 8”
-
HeatnBond Soft Woven Fusible Stabilizer: (2) 8.5” x 8”
-
Main Fabric (top section): (2) 8.5” x 5”
-
Secondary Fabric (bottom section, tab, and lining):
-
(2) 8.5” x 3.5”
-
(1) 3.5” x 3.5”
-
(2) 8.5” x 8”
-
Note: This project uses a ¼” seam allowance.
Sewing Instructions

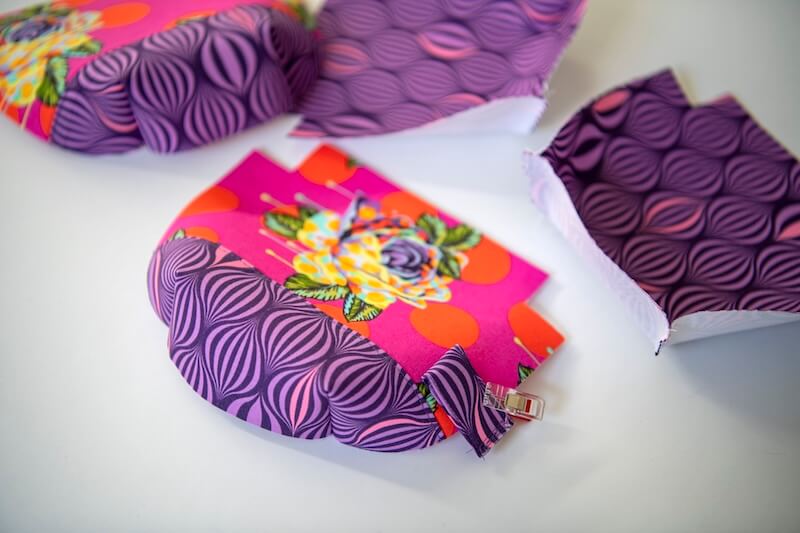
1. Start by grabbing your two main fabric rectangles and your two 8.5” x 3.5” secondary fabrics. Sew the secondary fabrics to the bottom of the main fabric. Press. Then, adhere these two panels to your fusible fleece. For the secondary panels (8.5” x 8”), adhere them to your HeatnBond Soft Fusible Stabilizer. Topstitch along the sewn seam.
Cut out your pattern. Place the pattern over all four of your panels and trace the shape on each. On the main panel, line up the dotted line with your seam between the two fabrics. Cut out the shape.

2. Take all four panels and sew both of the darts on the bottom of each panel. To do this, fold the “V” in half so both sides touch, then sew using your ¼” seam allowance. There will be a little overhang along the bottom, but when you open the dart up, it will match perfectly along the curve.
3. Next, let’s make our tab. Grab your 3.5” square of fabric. Fold it like you would to make double-fold bias tape. Fold it down the middle, open it back up, then fold the outside edges into the center crease and press. Fold it again along the center crease, closing in the raw edges. Topstitch. Fold your tab in half and tack the raw edges together. Place the tab right above the sewn seam on your front panel. I added mine to the right side, but it really doesn’t matter.
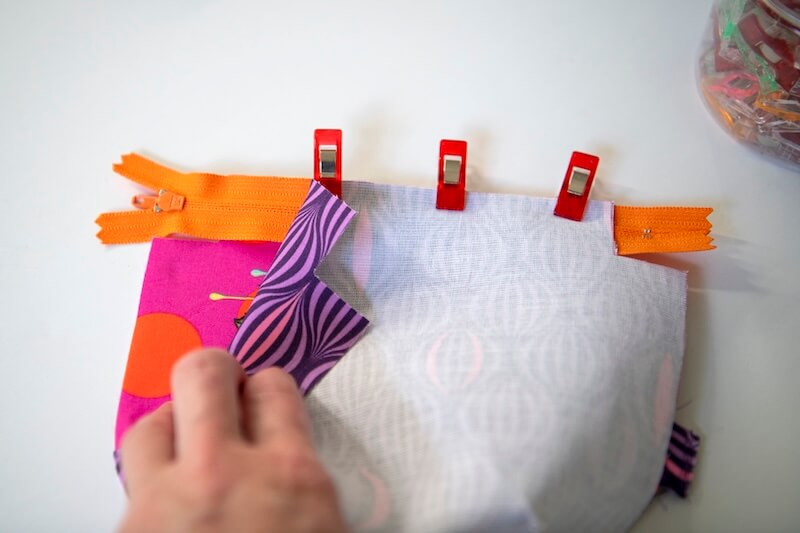
4. Now, we are ready to sew in the zipper. Grab your zipper. Place one main panel on your work table with the right side up, with the main fabric on top. Lay your zipper over the fabric, with the zipper slide on the left, facing down. Center the zipper so that there is overhang on each side of your fabric panel. Sandwich one of your lining panels on top with the wrong side facing up. Pin all three layers together. Sew just along the top edge using a zipper foot.
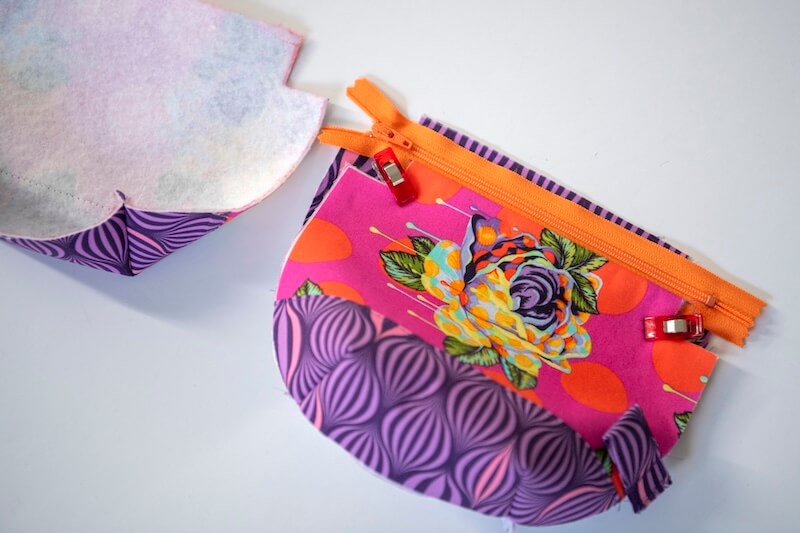
5. Open it up and press. Repeat this with your second main fabric and lining fabric on the opposite side of the zipper.
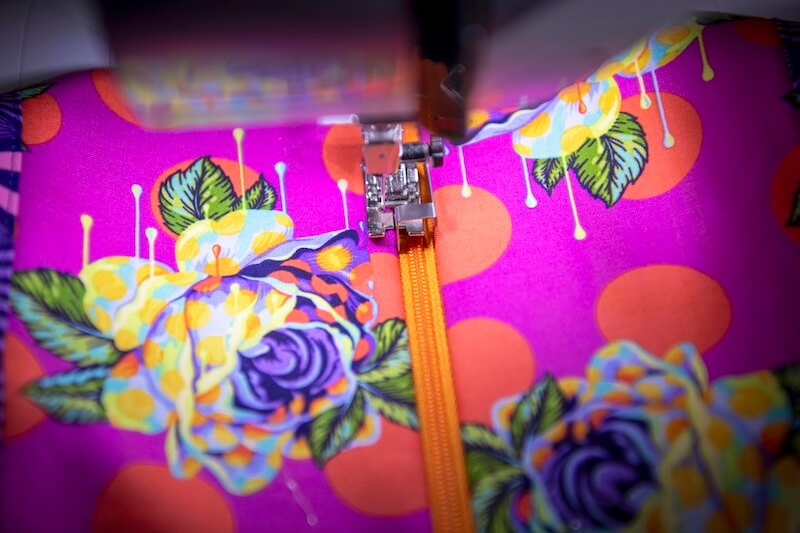
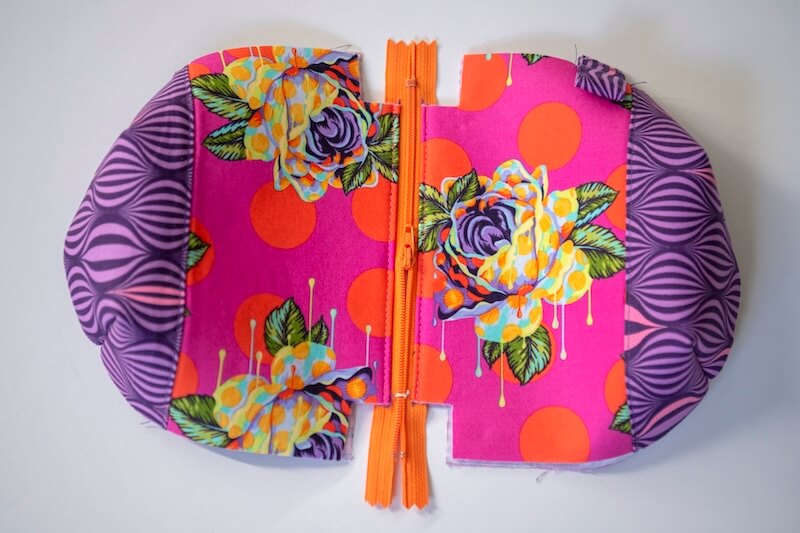
6. Press the panels so they lay flat, with the right sides facing out on the main fabrics, and the lining when you flip it over, with the zipper showing in between. Take it to your sewing machine and topstitch along the zipper edge on both sides.
7. We are ready to sew our panels together. Open the zipper halfway and tack the opened end of the zipper tape together.
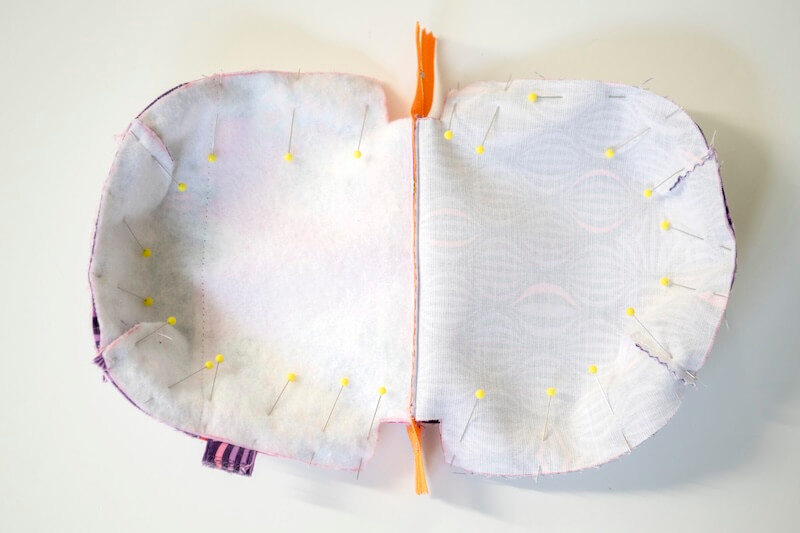
8. Pin your panels all around the perimeter of your bag, leaving your boxed corners near the zipper open. Leave an opening on one side of your lining for turning. Sew around the perimeter—both lining and main—making sure to leave that opening for turning.
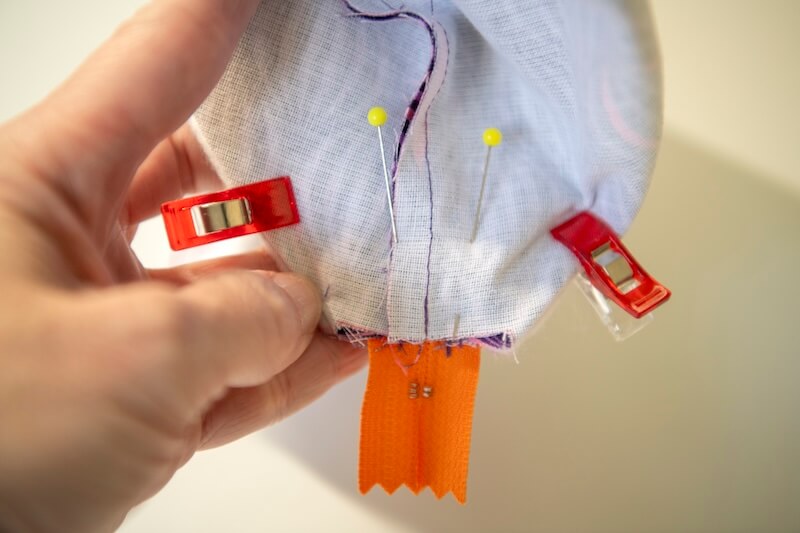
9. Next, we need to close up those boxed corners. Start with one of the lining corners. Place your fingers in the boxed corner and pull the sides out so that the seam aligns on top of your zipper teeth. Pin. Repeat with the main fabric corner on the back. You want the raw edges of your main fabric and lining fabric to line up together, with the zipper sandwiched between the two. Stitch through all the layers (including the zipper) using your ¼” seam allowance. Trim the excess zipper. Repeat on the opposite side.

10. Turn the pouch right side out. Make sure to get all those corners turned out nice and crisp. Sew your opening closed.
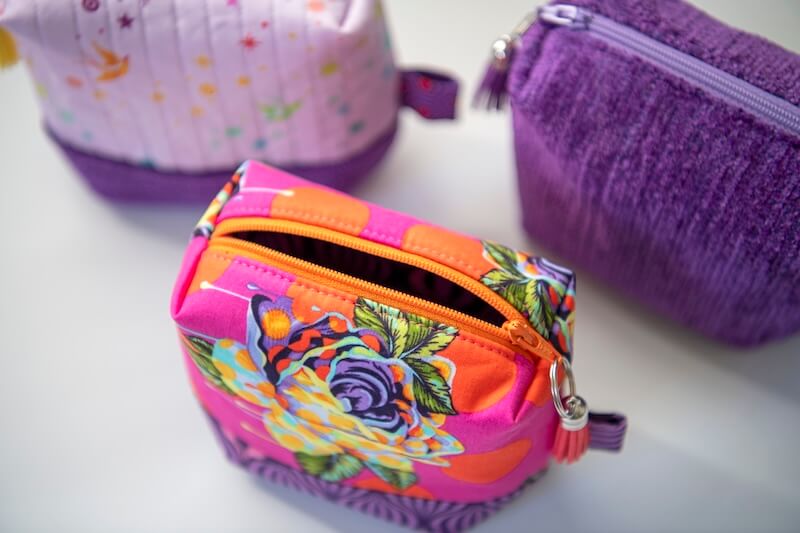
I love this pouch so much, and I hope you do too! It’s such a fun little project that comes together in no time. If you make one, please tag me (@StubbornlyCrafty) or use #scpatterns on Instagram so I can check it out too! Thanks for sewing along!