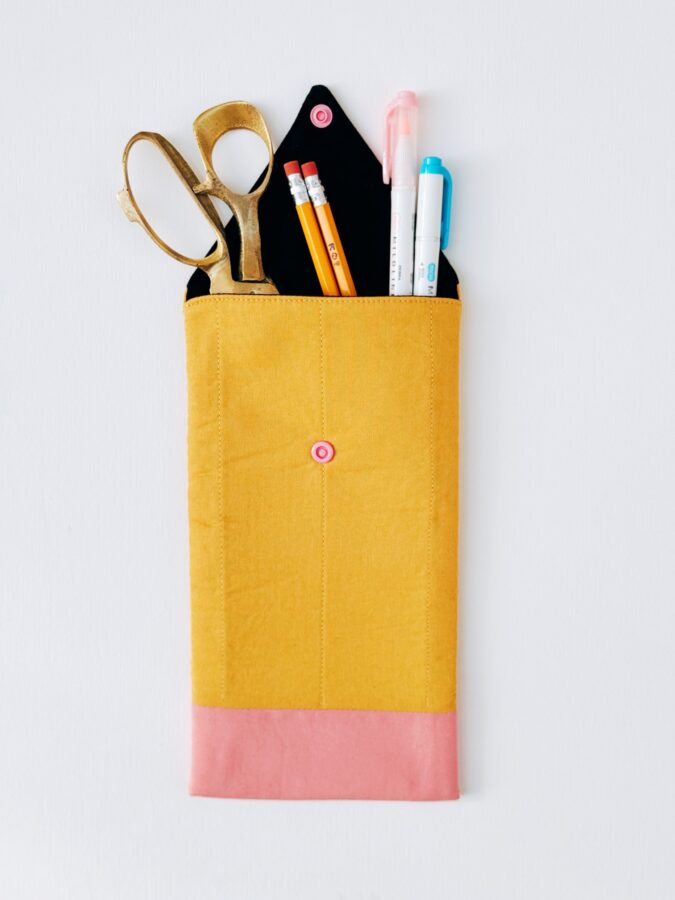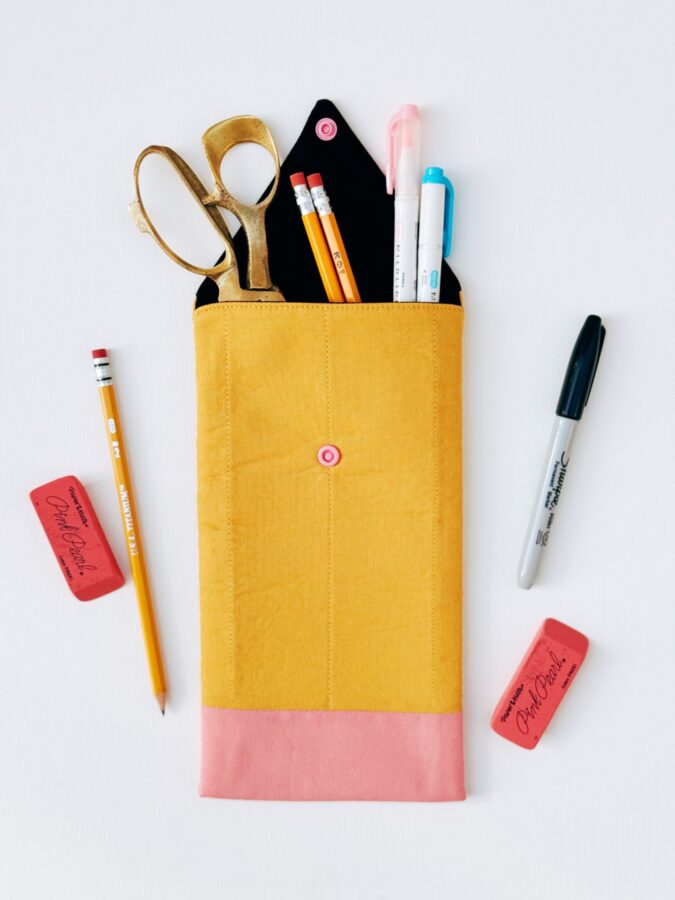
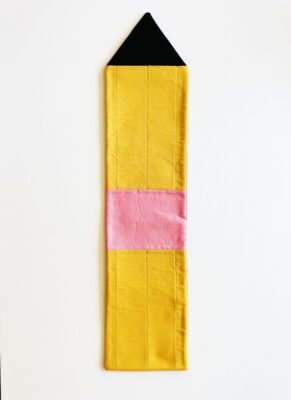
Hello! The school year is almost over or already over for some and I have the cutest idea for a teacher gift for anytime of the year – a handy dandy Pencil Pouch – in the shape of a pencil of course! This pouch is a little larger than a standard size pouch, so you can store large scissors, pencils, markers, maybe even a small notebook.
Pencil Pouch Instructions
Materials Needed:
- 1 fat quarter in yellow cotton – for pencil body
- 1 small piece of black cotton – for pencil lead tip
- 1 small piece of pink cotton – for eraser
- 1/8″ yard of black cotton – for inner pouch lining
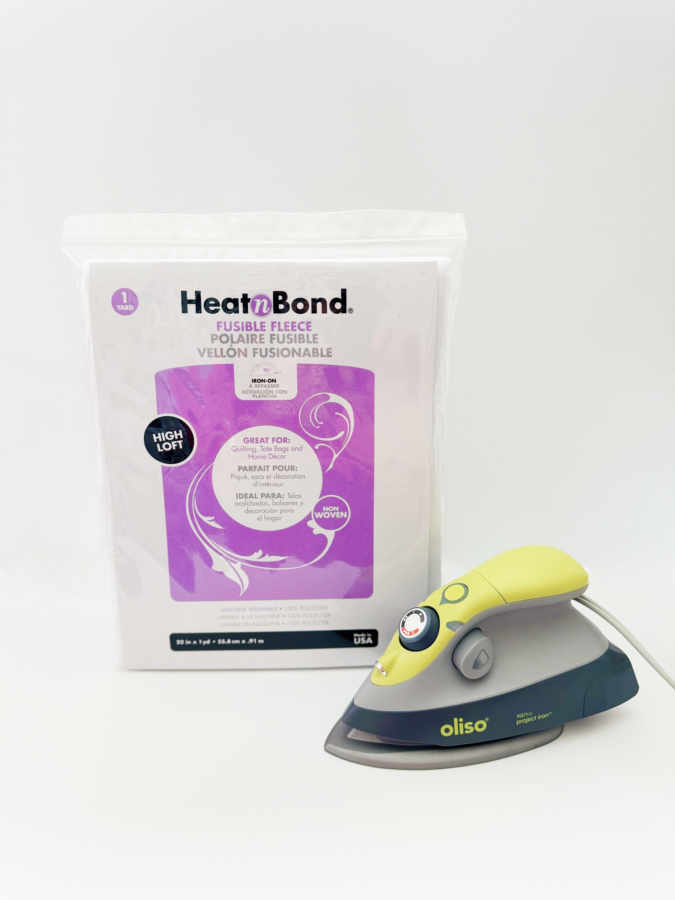
- 1/8″ yard of HeatnBond Fusible Fleece
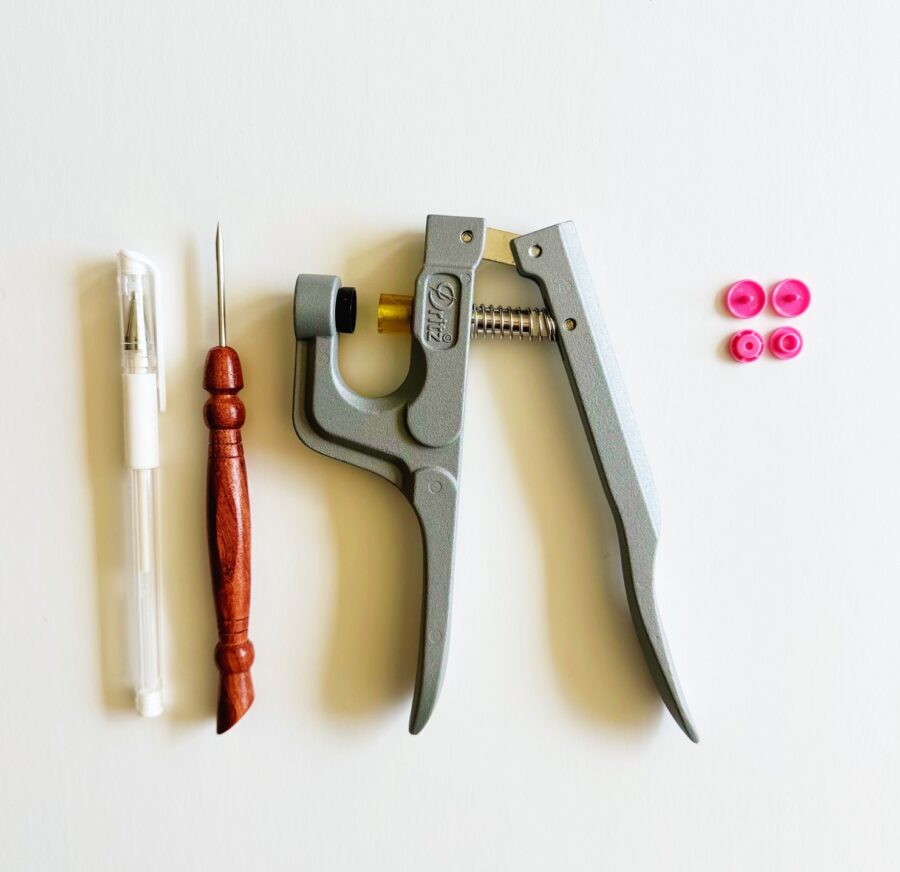
- Cam button set
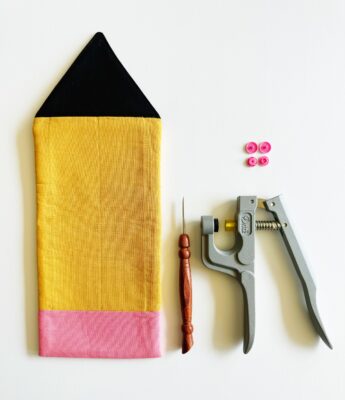
Tools Needed:
- Cam Button Tool
- Sewing Machine
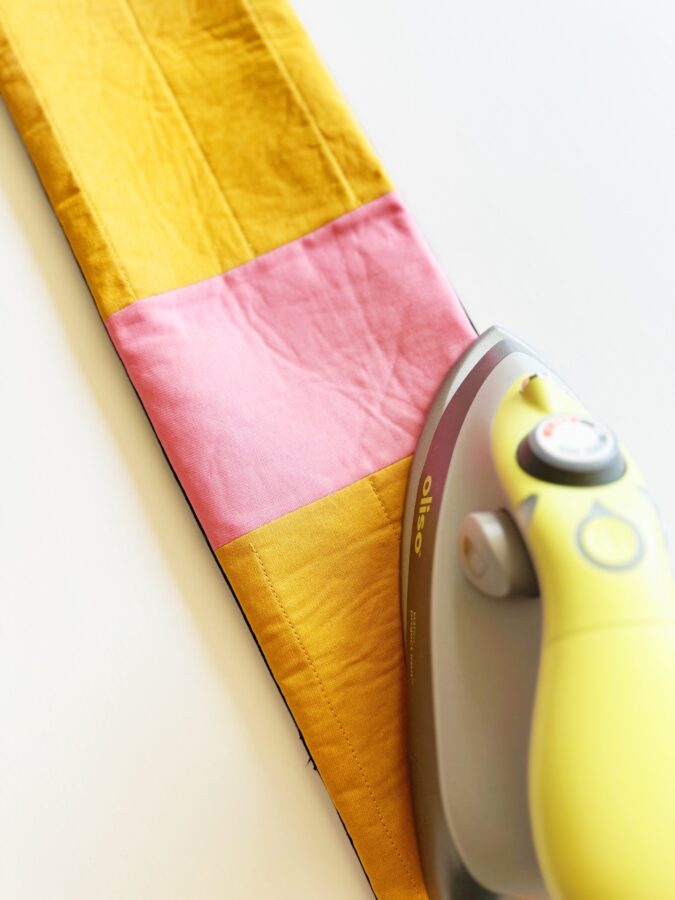
- Iron – I love oliso!
- Needle and thread (for hand sewing pouch at the end)
- Stilleto or chopstick – to turn the pouch right side out
- Marking pen in white – to mark the black fabric
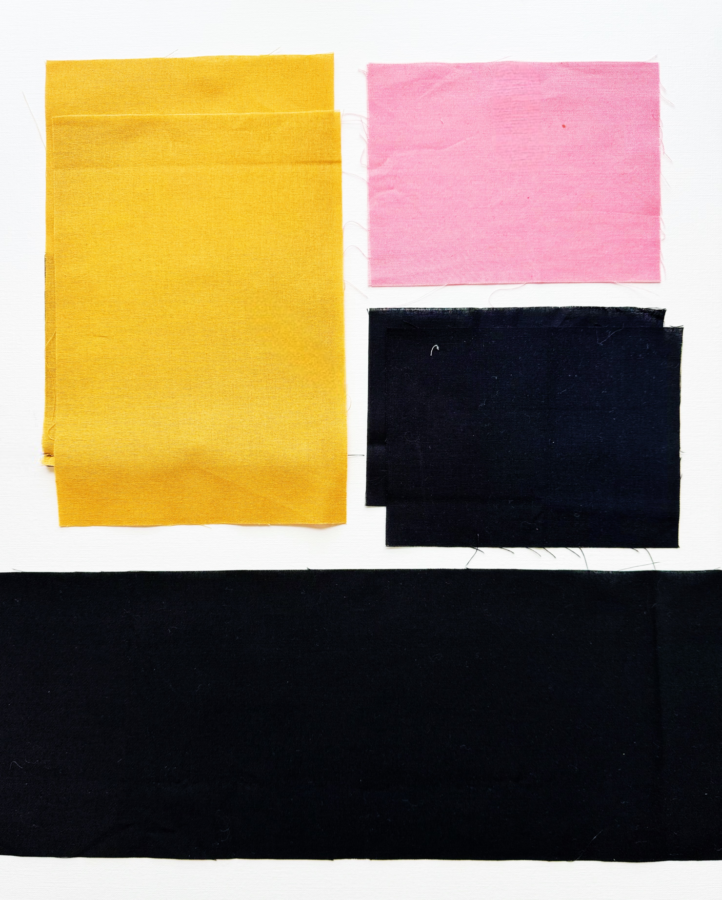
Cutting:
- Cut two 7 1/2″ x 6″ yellow cotton pieces – for the pencil body
- Cut one 4 1/2″ x 6″ pink piece – for the eraser
- Cut one 4″ x 6″ black piece – for the pencil lead tip
- Cut one 24 1/4″ x 6″ black inner lining piece
- Cut one 24 1/4″ x 6″ HeatnBond Fusible Fleece piece
Tips:
- Use a 1/4″ seam allowance unless noted otherwise
- Follow the instructions for HeatnBond Fusible Fleece as directed
Let’s Begin!
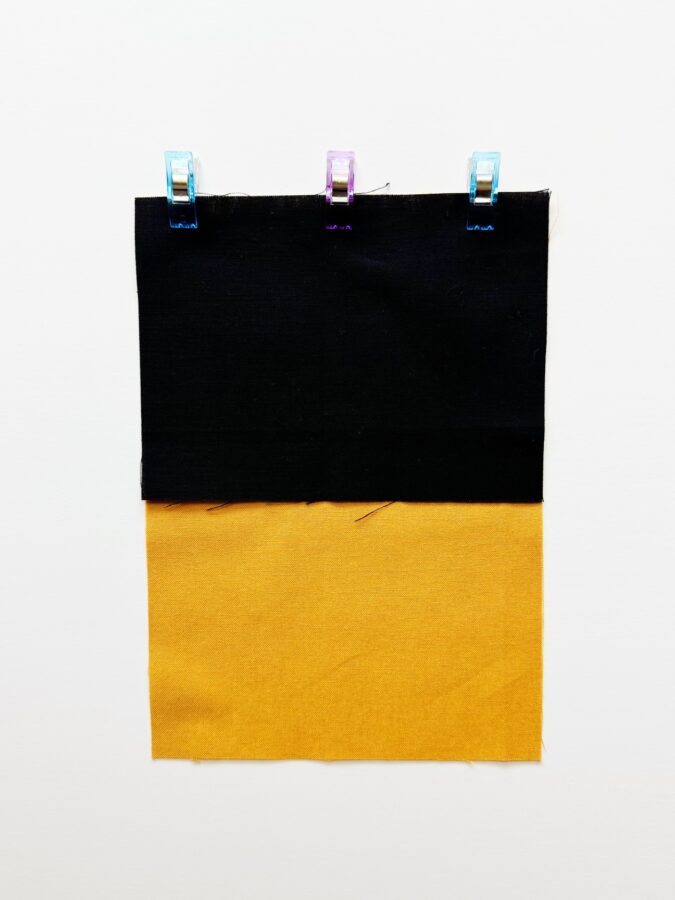
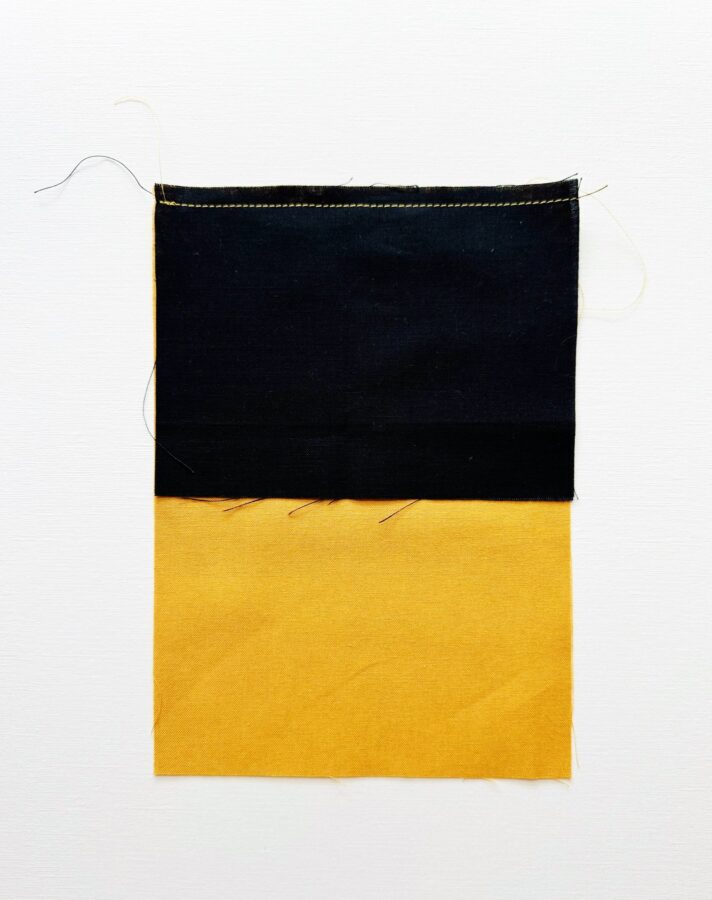
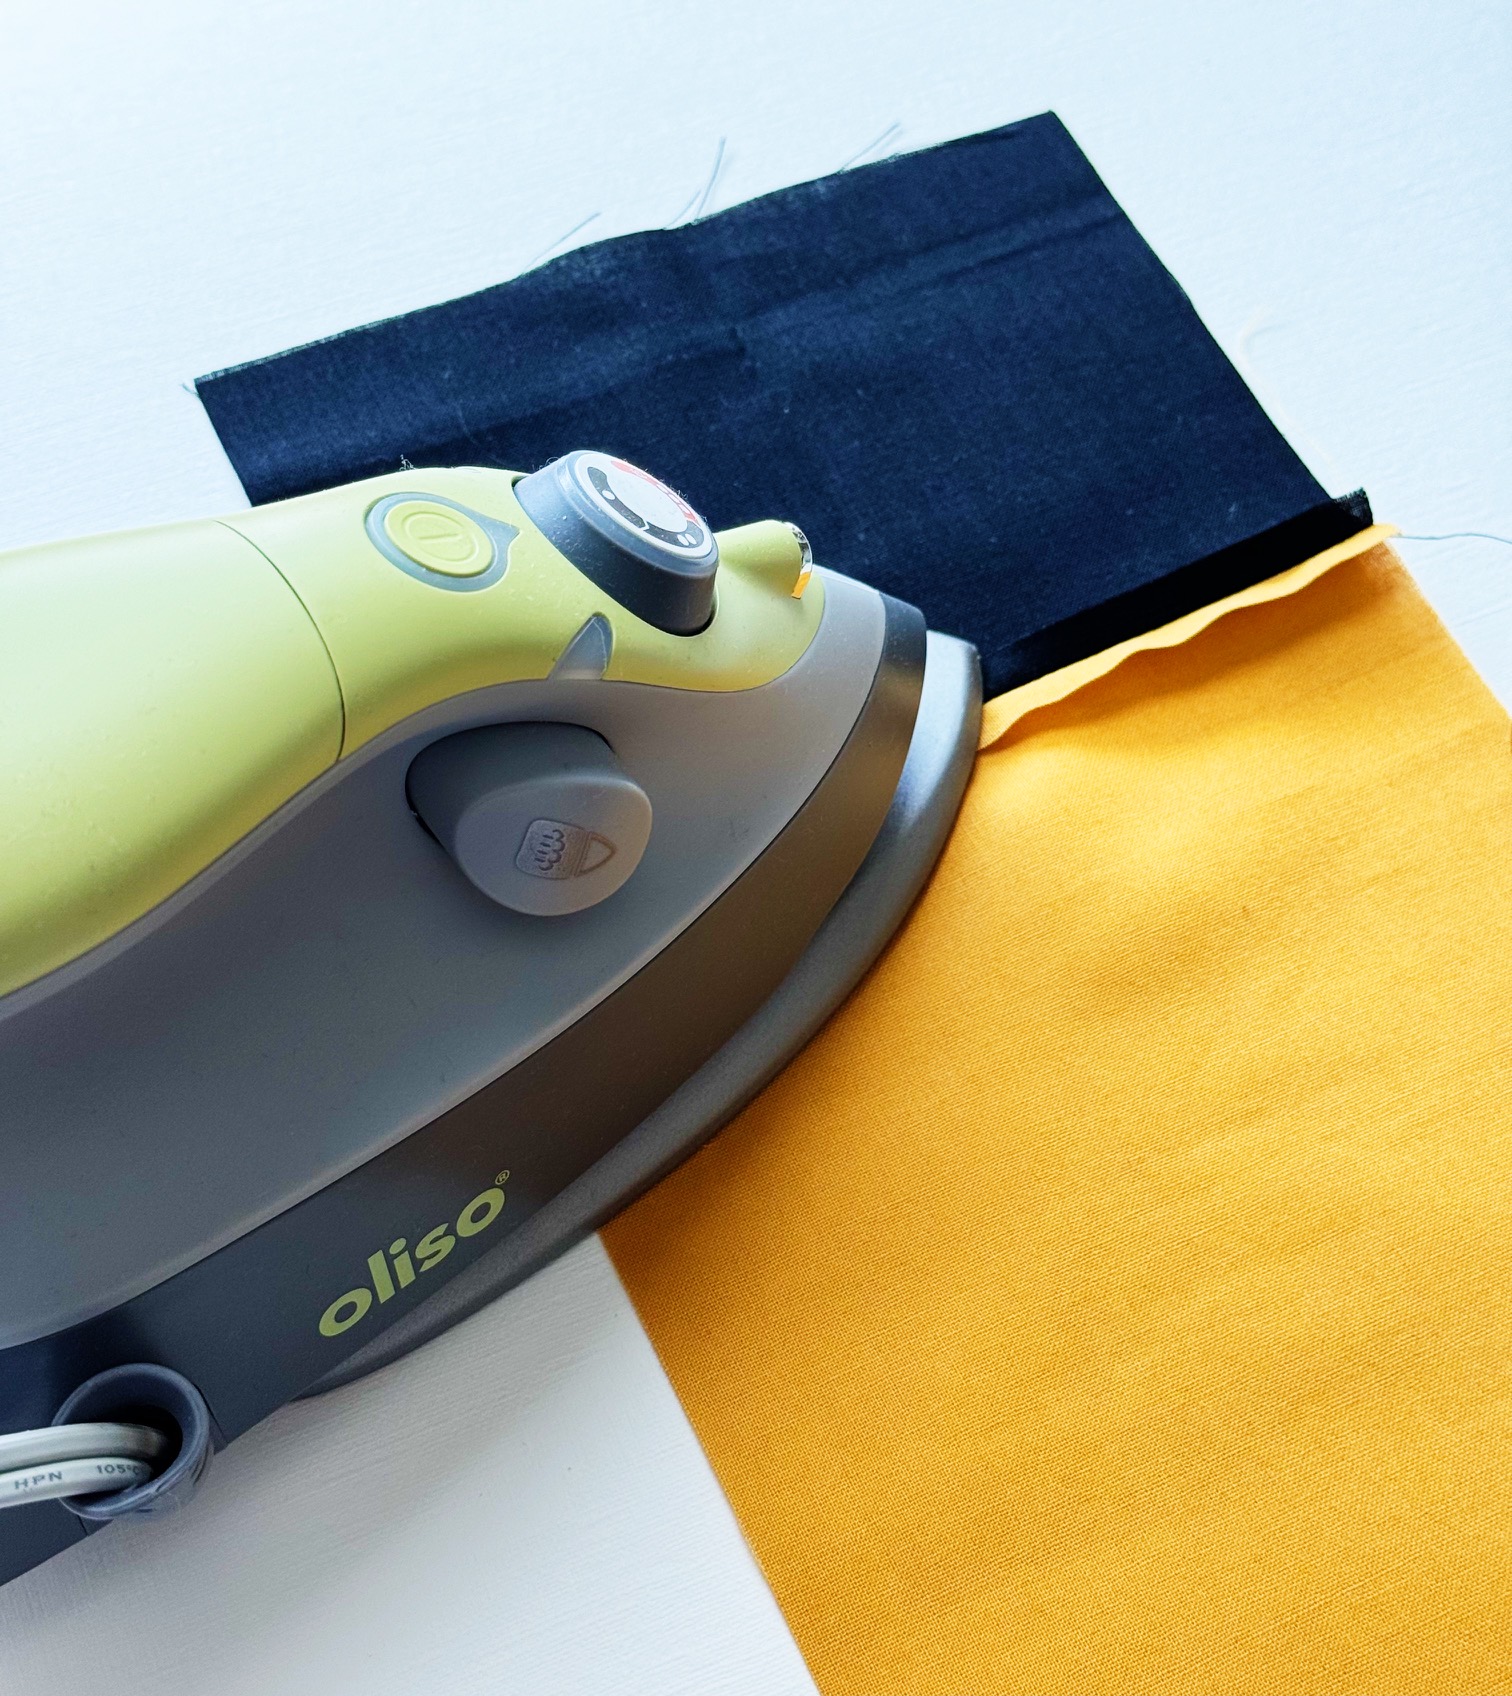
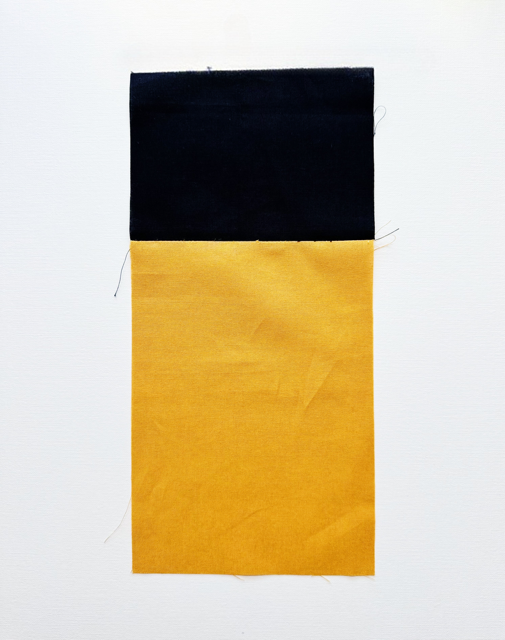
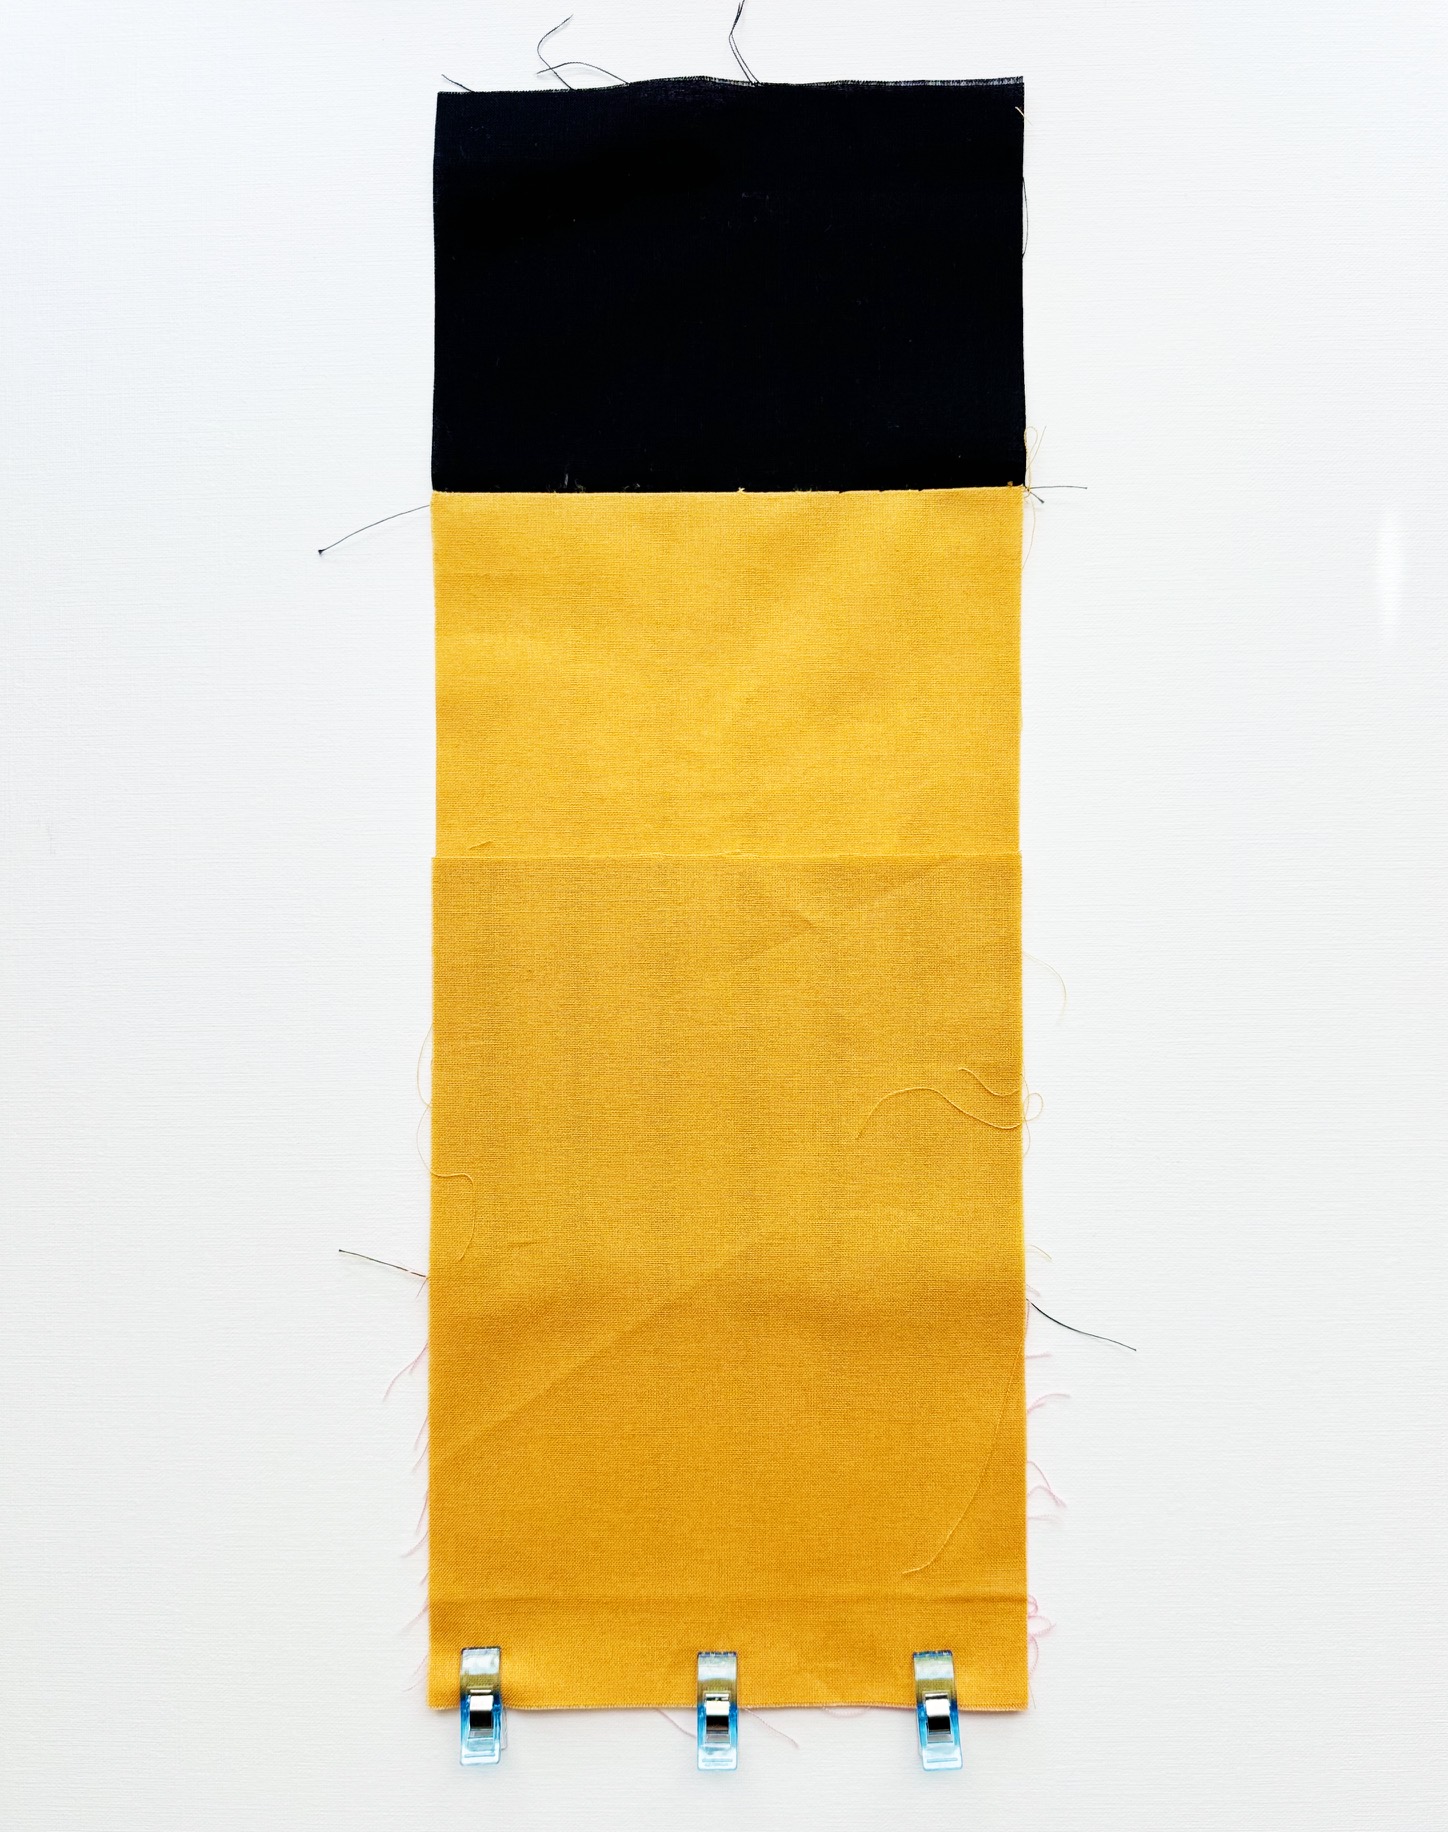
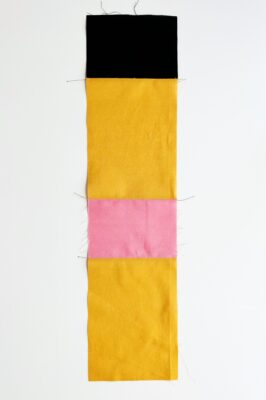
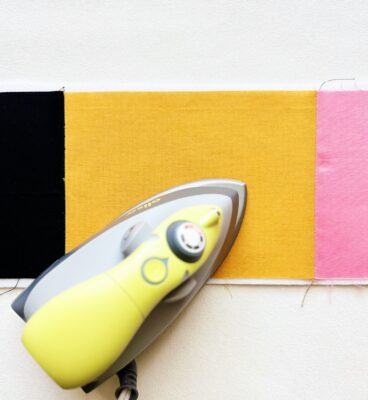
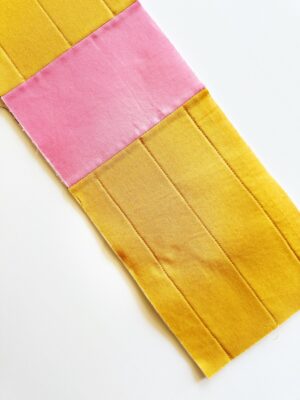
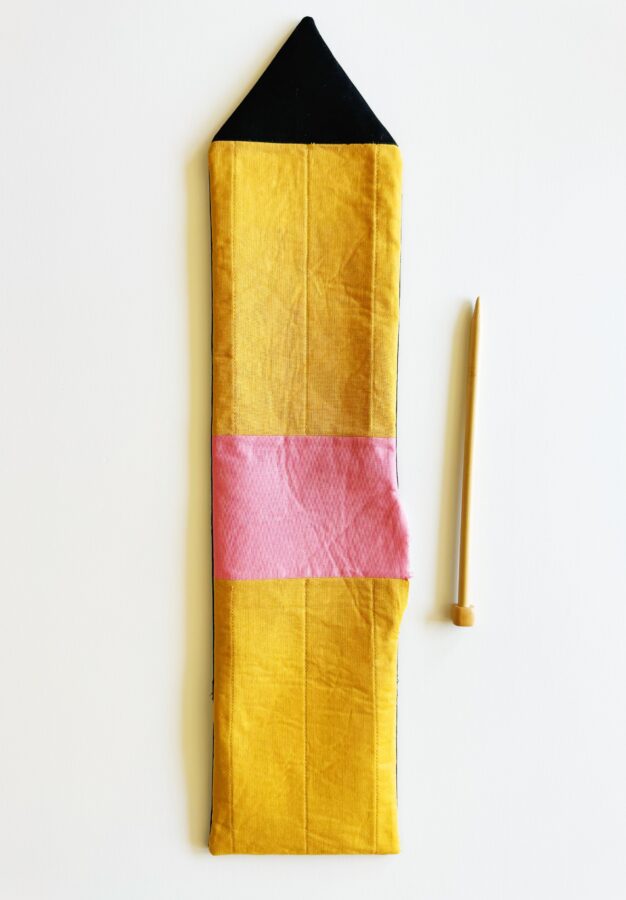
- Line up the top edge of a 4″ x 6″ black cotton piece to the top of a 7 1/2″ x 6″ yellow piece. Clip in place and sew. Press the seam open.
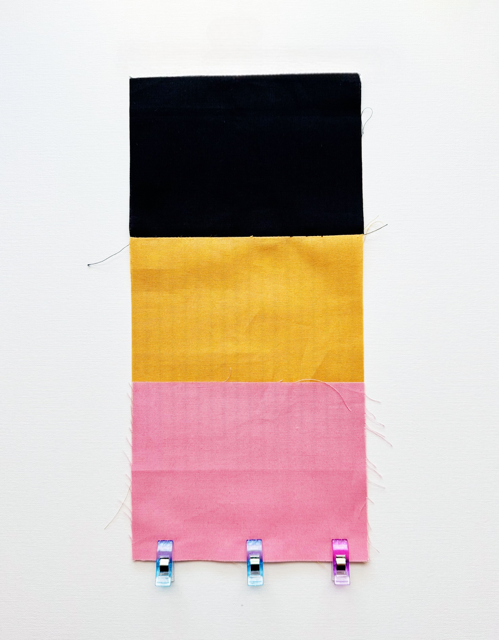
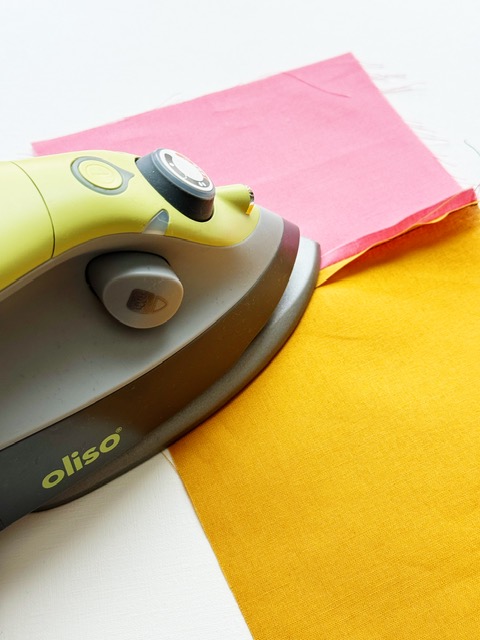
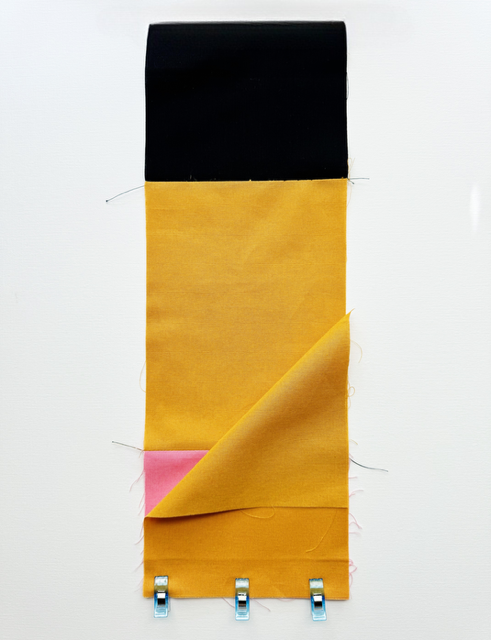
- Line up the 4 1/2″ x 6″ pink cotton piece to the bottom of the yellow piece. Clip and sew in place. Press the seam open.
- Attach the second 7 1/2″ x 6″ yellow cotton piece to the bottom of the pink piece. Clip and sew in place. Press the seam open.
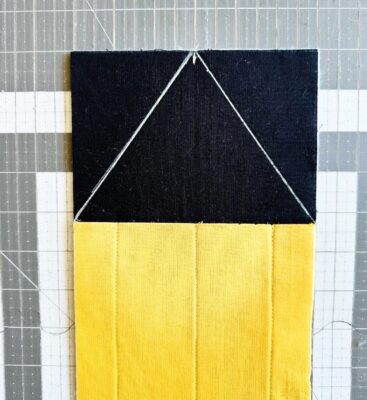
- Once the body is pieced together, attach the HeatnBond Fusible Fleece. Follow the instructions per the package. Quilt three horizontal lines on the yellow portions as desired to create the wood pencil effect.
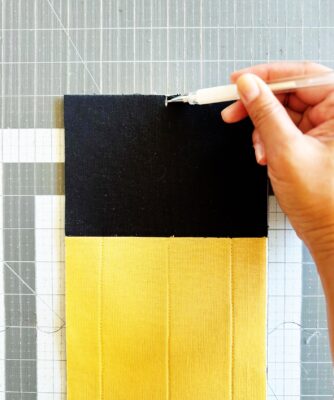
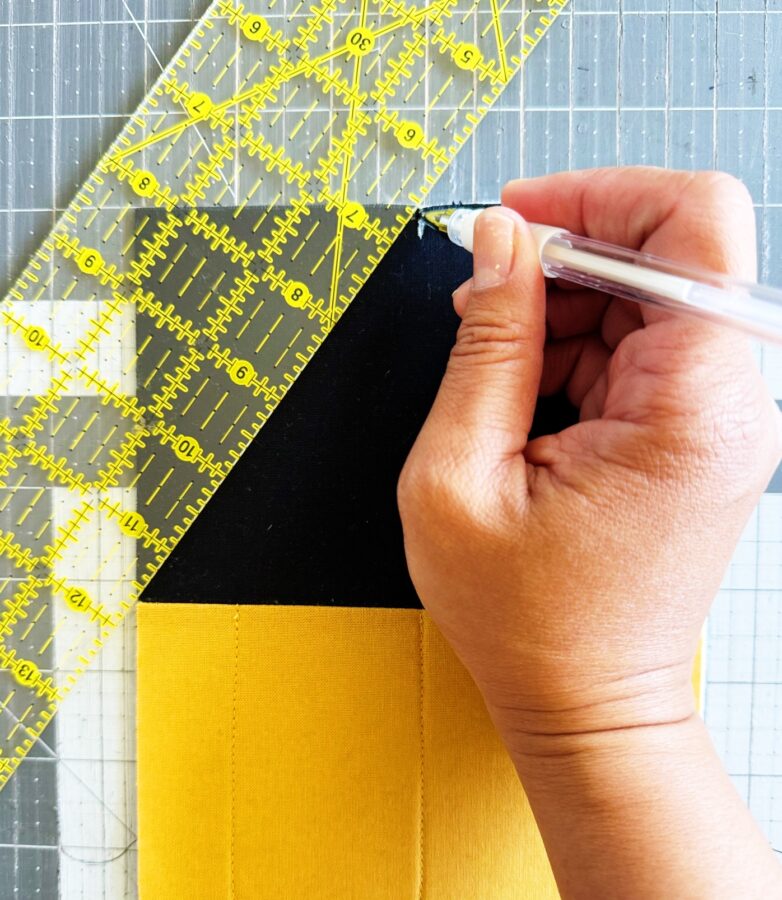
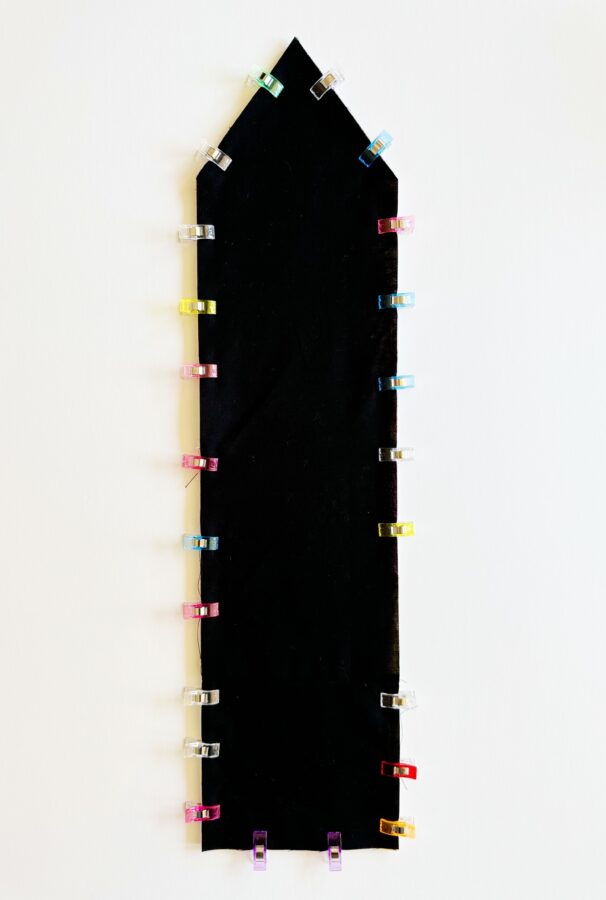
- Trim the black pencil tip into a triangle. Find the middle of the black top and mark with a white erasable pencil. Starting on the left side, draw a diagonal line from the marked point to the bottom left edge of the black portion. Repeat for the right side.
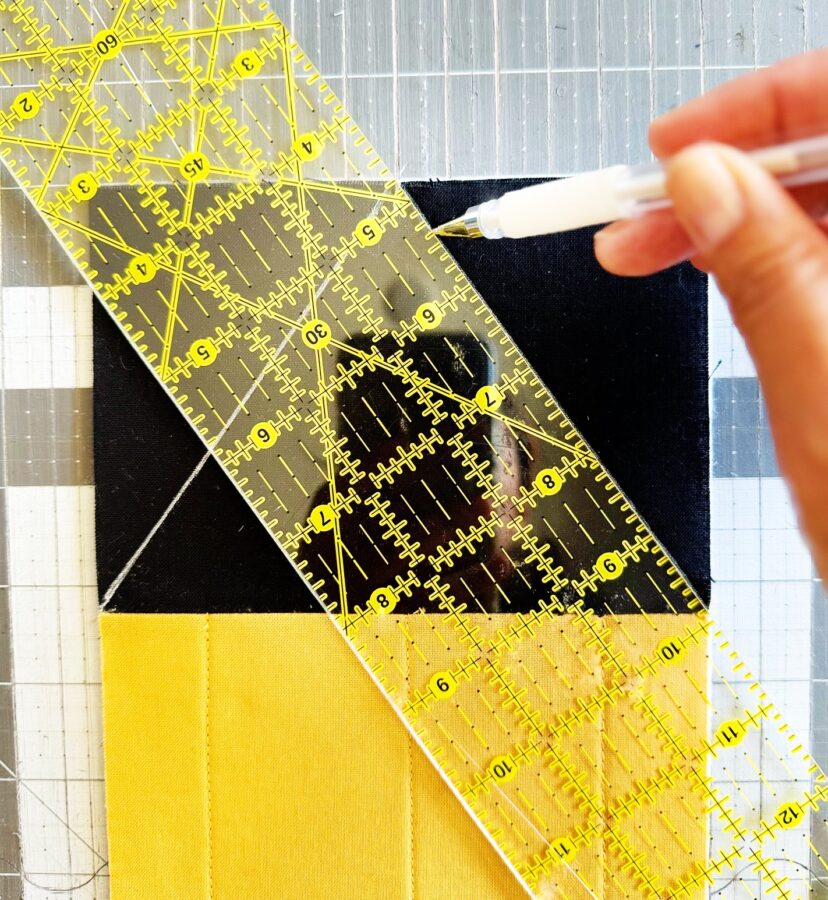
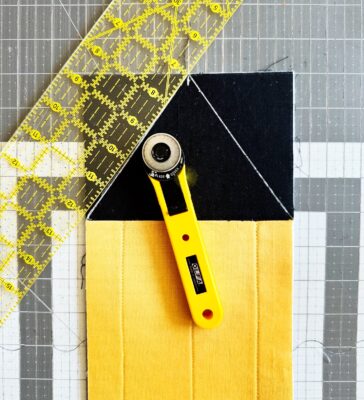
- Now, take the black 24 1/4″ x 6″ inner lining piece and lay it under the pencil body, lining up all edges (you will cut together). Cut using a rotary cutter along the marked out triangle. You should have two cut pieces now.
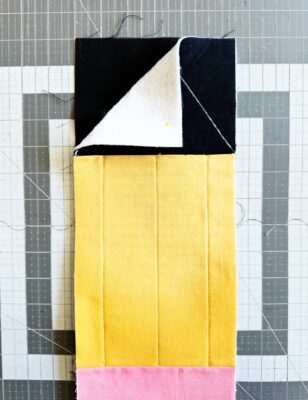
- Lay the black lining onto the right side of the pencil body (wrong sides should be facing out). Line up all edges and the tip. Clip in place, leaving a 3″ opening on either side near the bottom (this will be the opening you turn the piece right side out). Making sure to backstitch at the beginning and end of the opening area, sew around the entire piece.
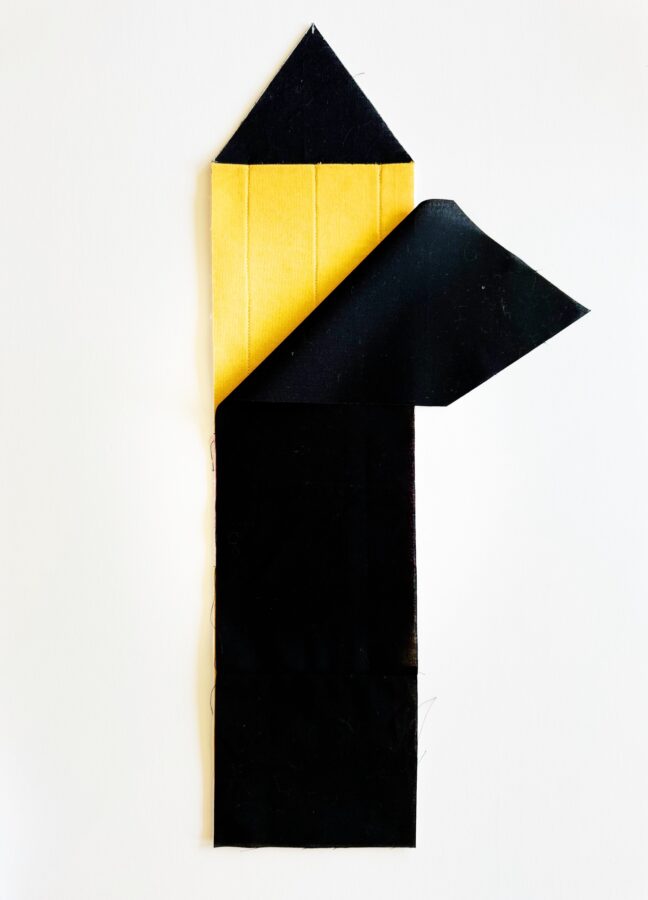
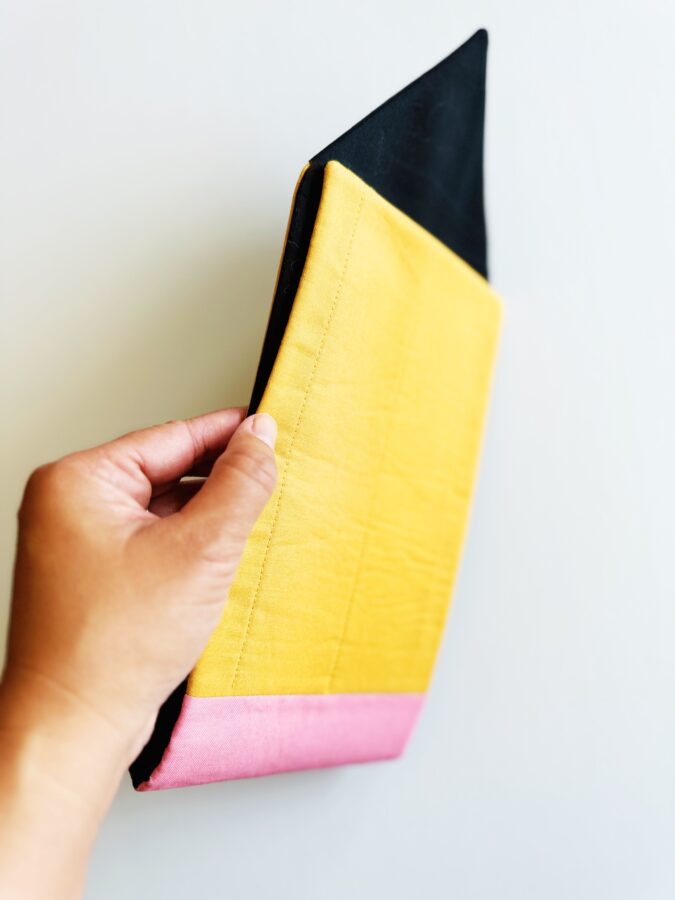
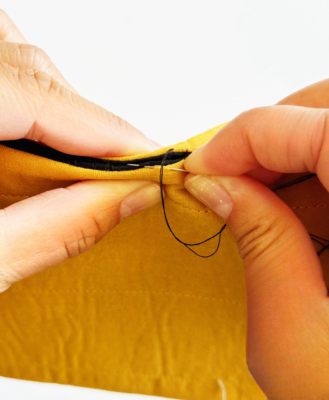
- Turn the piece right side out through the opening, using a chopstick or stiletto to smooth out the edges and pop out the corners and tip. Turn in the opening’s edges 1/4″ inwards and iron. Hand sew the opening closed. Iron the body entire body.
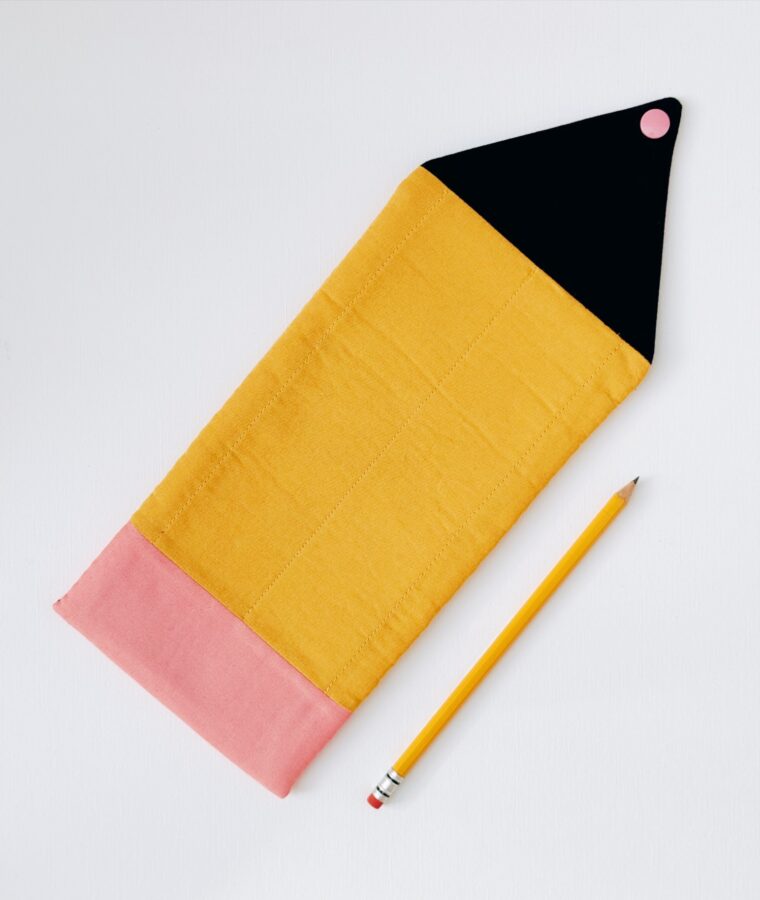
- To assemble the pouch, fold up the bottom edge to the bottom of the black pencil lead area. Clip in place and hand sew in place using a ladder stitch or you can use a sewing machine, sewing as close to the edge as possible. Make sure to back stitch from beginning to end.

- Attach one side of the cam button to the inner black lead tip. Attach the other cam button to the top middle area of the outer pencil area.
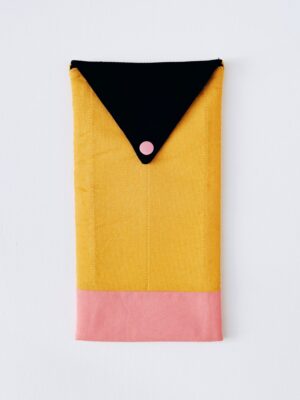
You are now done!