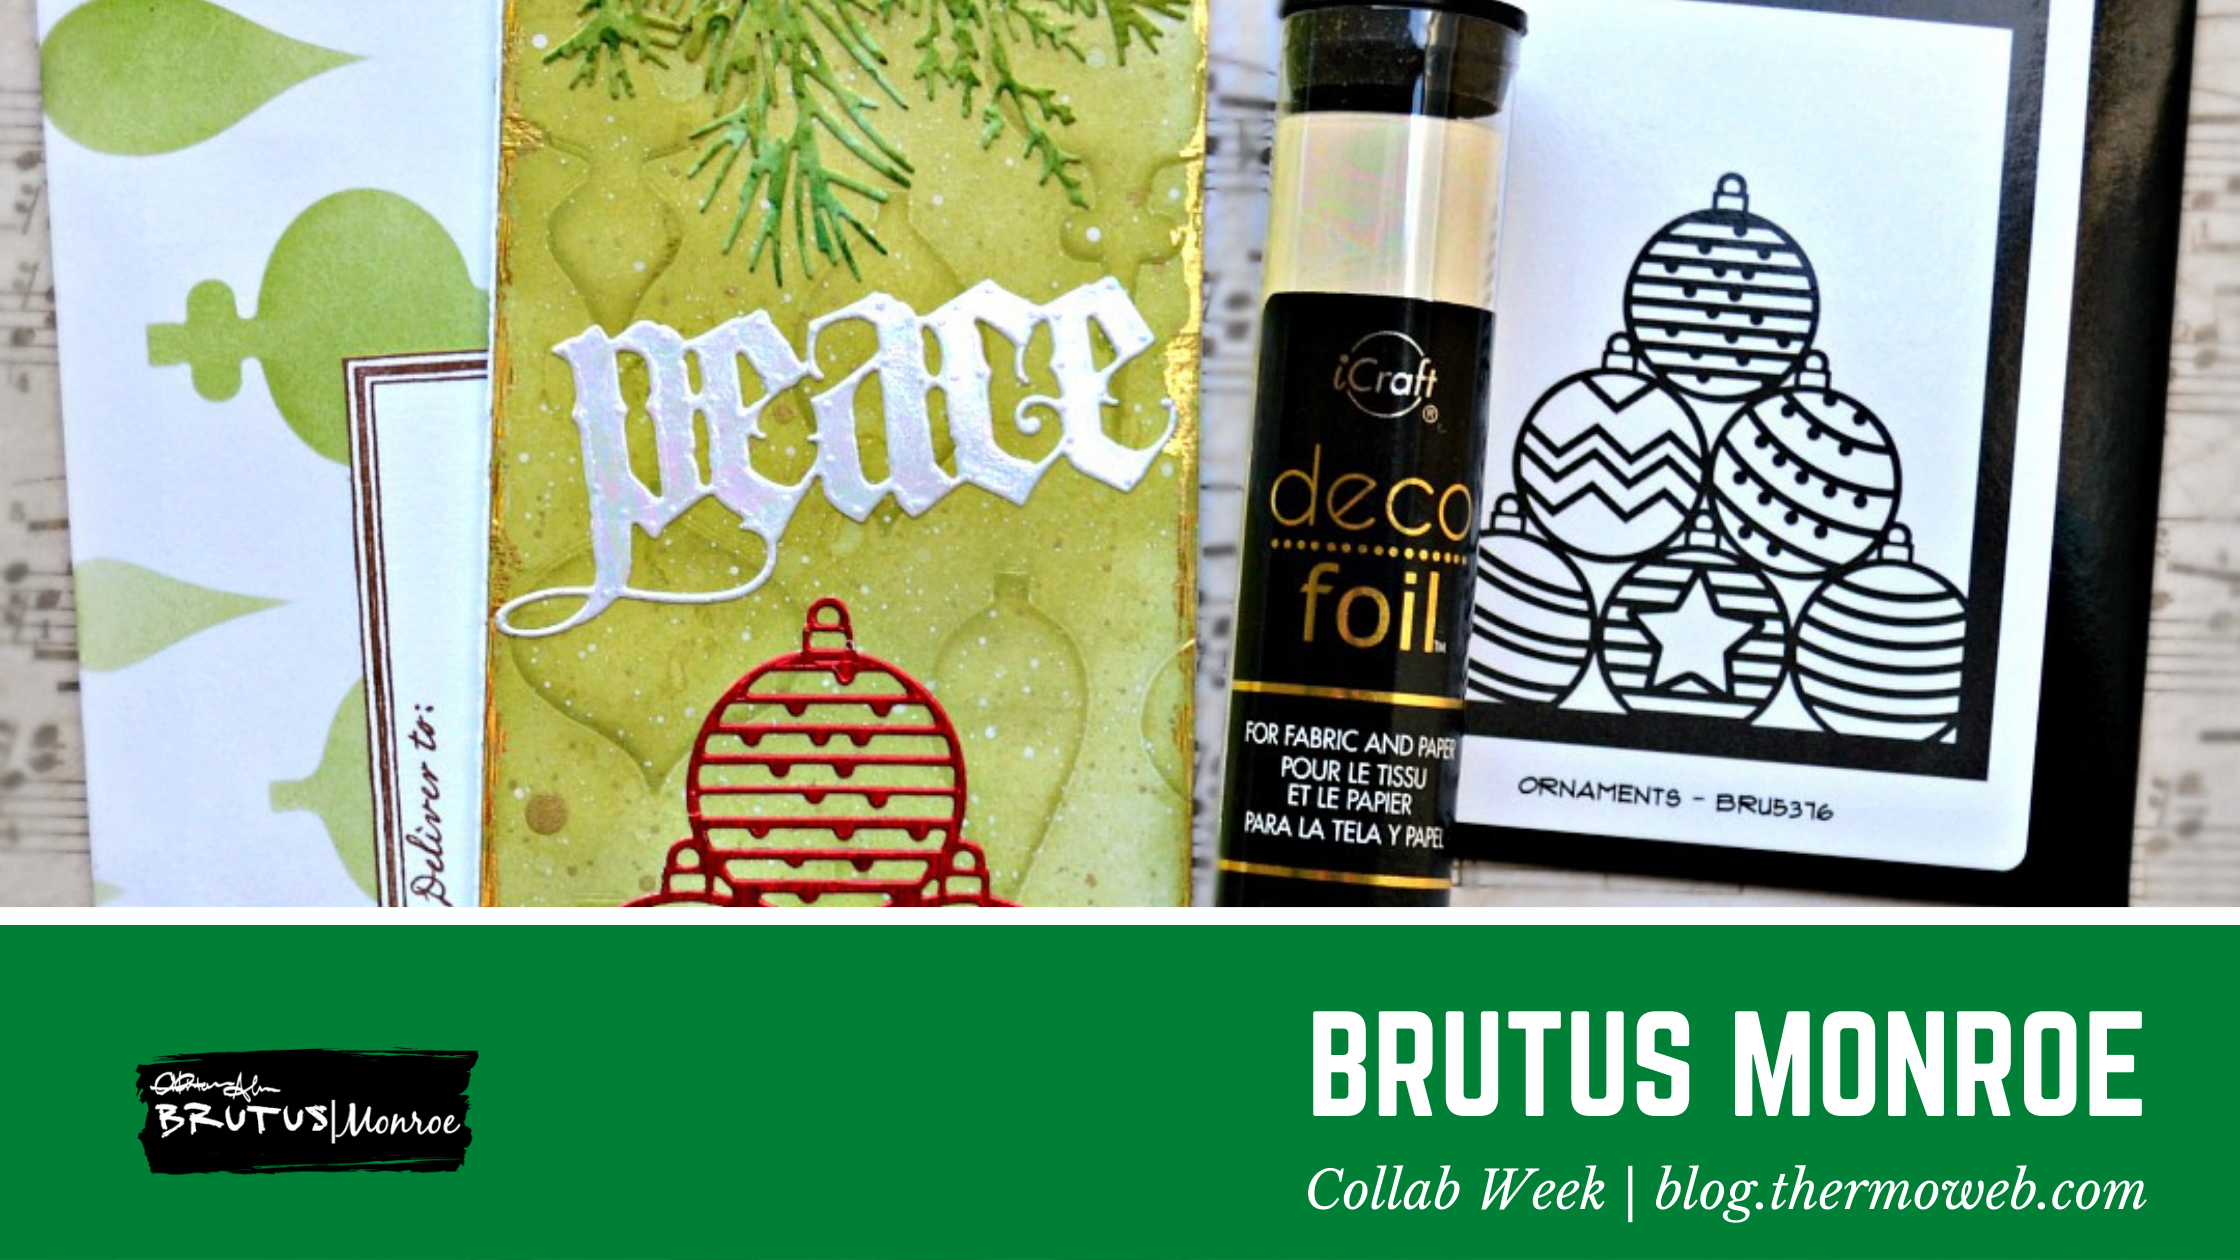
 Hello and welcome to Brutus Monroe week here on Therm O Web’s blog! It’s Deb with you today and I am excited to share a slimline Christmas card created with Deco Foil Foil Transfer Sheets, Brutus Monroe Foil Transfer Sheets, and some wonderful products courtesy of Brutus Monroe, thank you for your generosity.
Peace Slimline Card
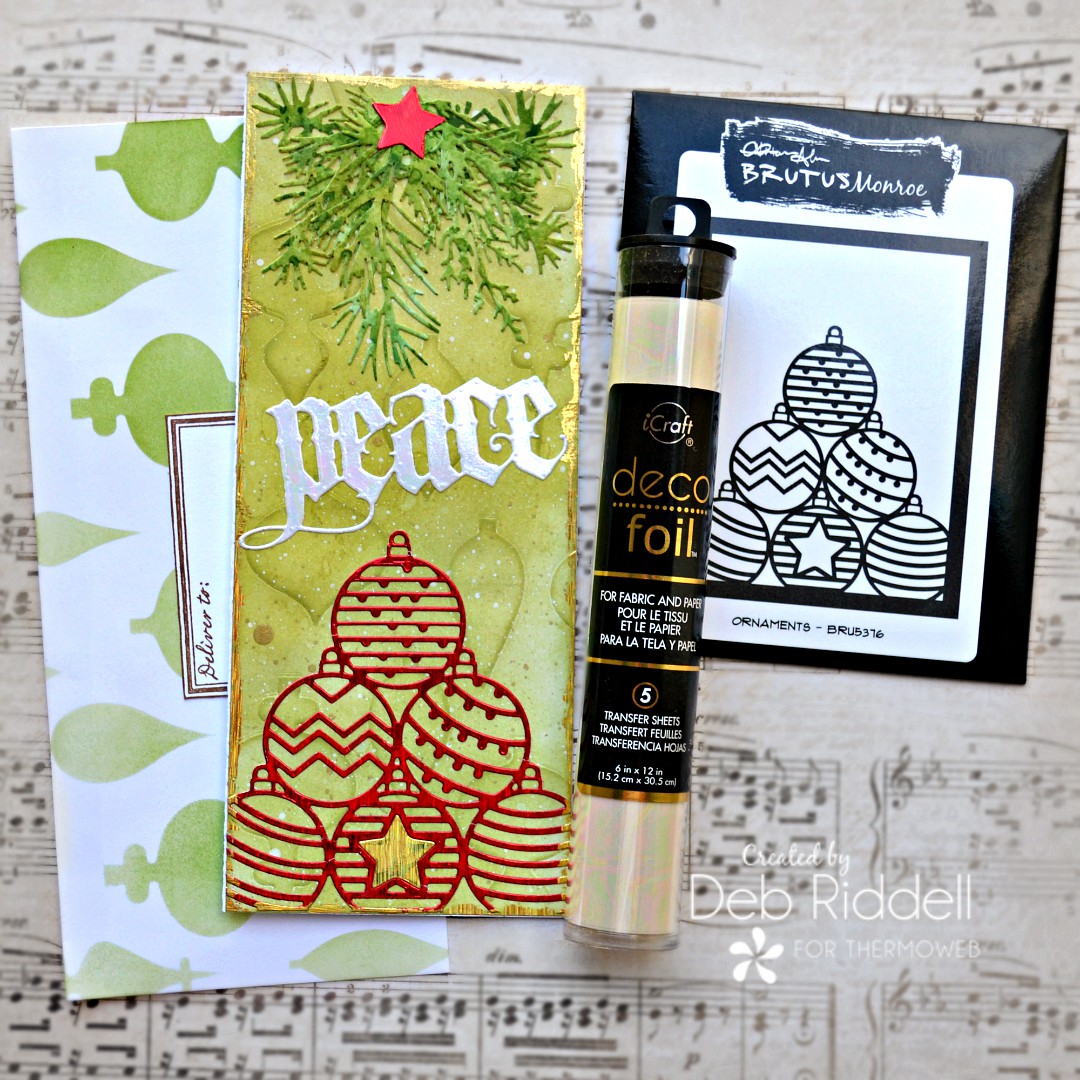
Therm O Web Supplies Used:
Deco Foil Transfer Sheets – Opal
Brutus Monroe Foil Transfer Sheets – Red Static
Brutus Monroe Foil Transfer Sheets – Gold Static
Deco Foil™ PeelnStick Toner Sheets
Deco Foil™ Adhesive Pen .34floz
Pixie Spray
Memory Tape Runner XL™
iCraft Ultra Bond Adhesive 2 fl oz
Other supplies used:
Brutus Monroe – Ornaments die; Slimline Ornament stencil; Slimline Collection Precut Card Panels; Slimline Collection Precut Card Bases; Slimline Collection Envelopes
Sizzix – Mini Holiday Greens dies; Vintage Tidings die
Stampers Anonymous – Scenic Holiday stamp; Christmastime 2 stamps
Ranger Ink – Distress Ink; Archival Ink
Miscellaneous – foil laminator; die cutting machine; white cardstock; scissors or paper trimmer; white and gold acrylic paint; paintbrush or toothbrush for spattering; clear embossing powder +/- gold embossing powder
Peace Slimline Christmas Card Instructions
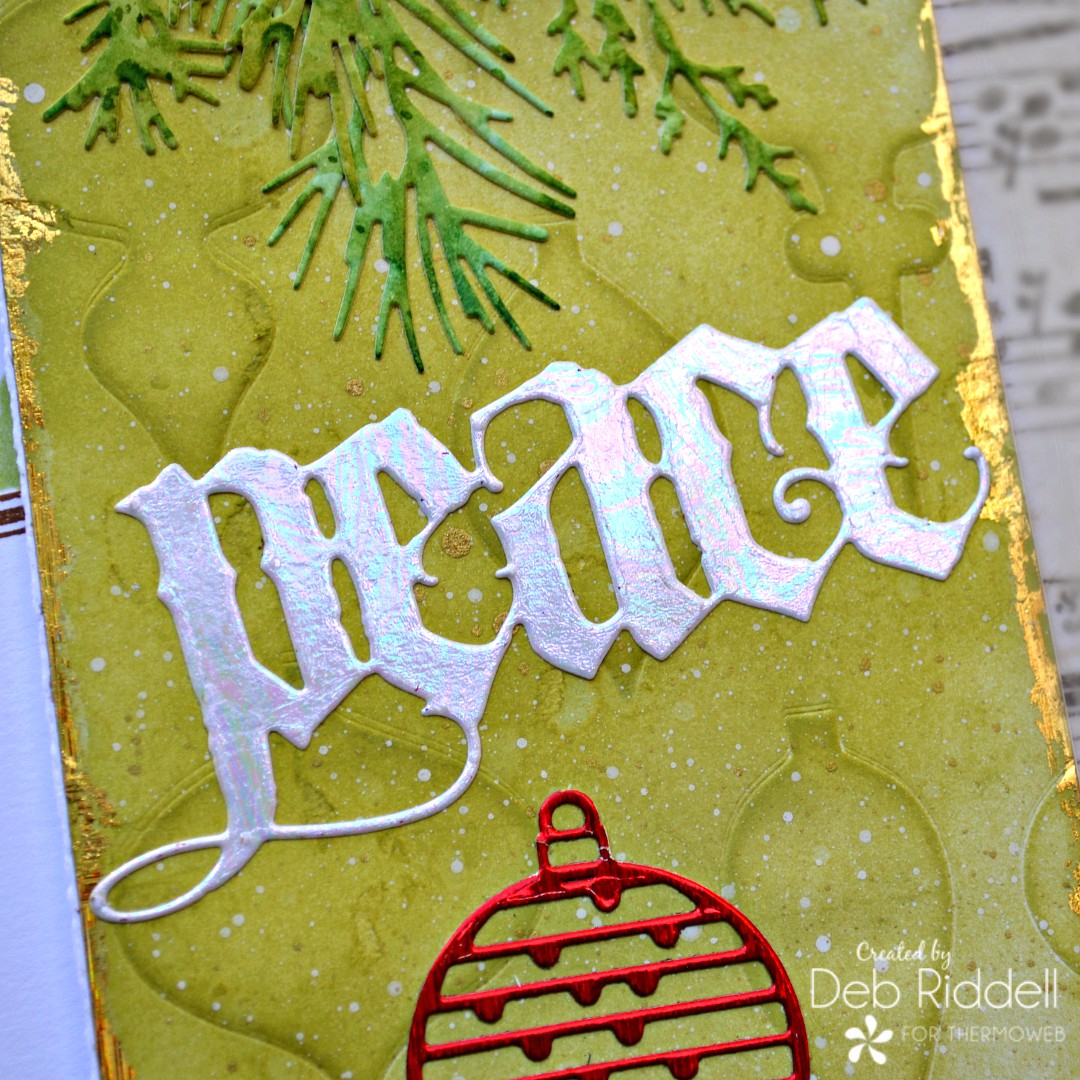
Start by dry embossing one of the Brutus Monroe Slimline Collection Precut Card Fronts with the Slimline Ornament stencil in your die cutting machine. I have a Big Shot and the sandwich I used to emboss with the Ornament stencil was: Base 1, standard cutting pad, silicone mat, Precut Card Front, Ornament stencil, Impression pad. Run the sandwich through your machine and then ink the embossed card panel with a water-soluble dye ink in a medium shade of green, flick with a bit of water and dry thoroughly. Add splatters of white and gold diluted acrylic paints with an old toothbrush or paintbrush and dry thoroughly again.
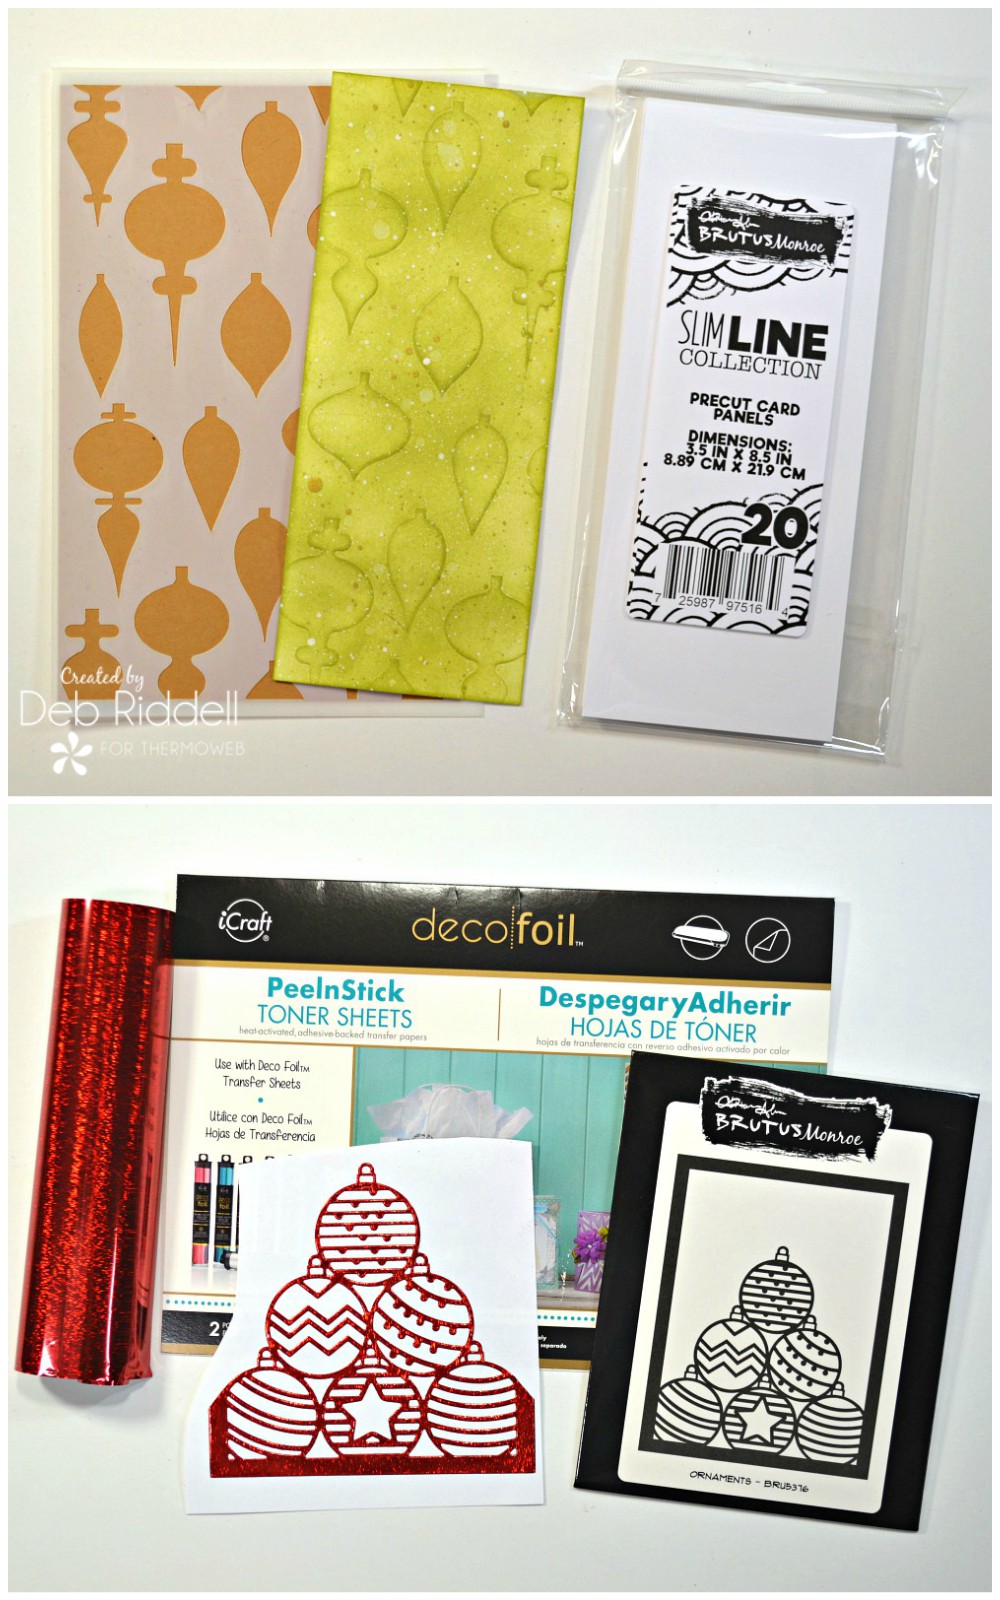
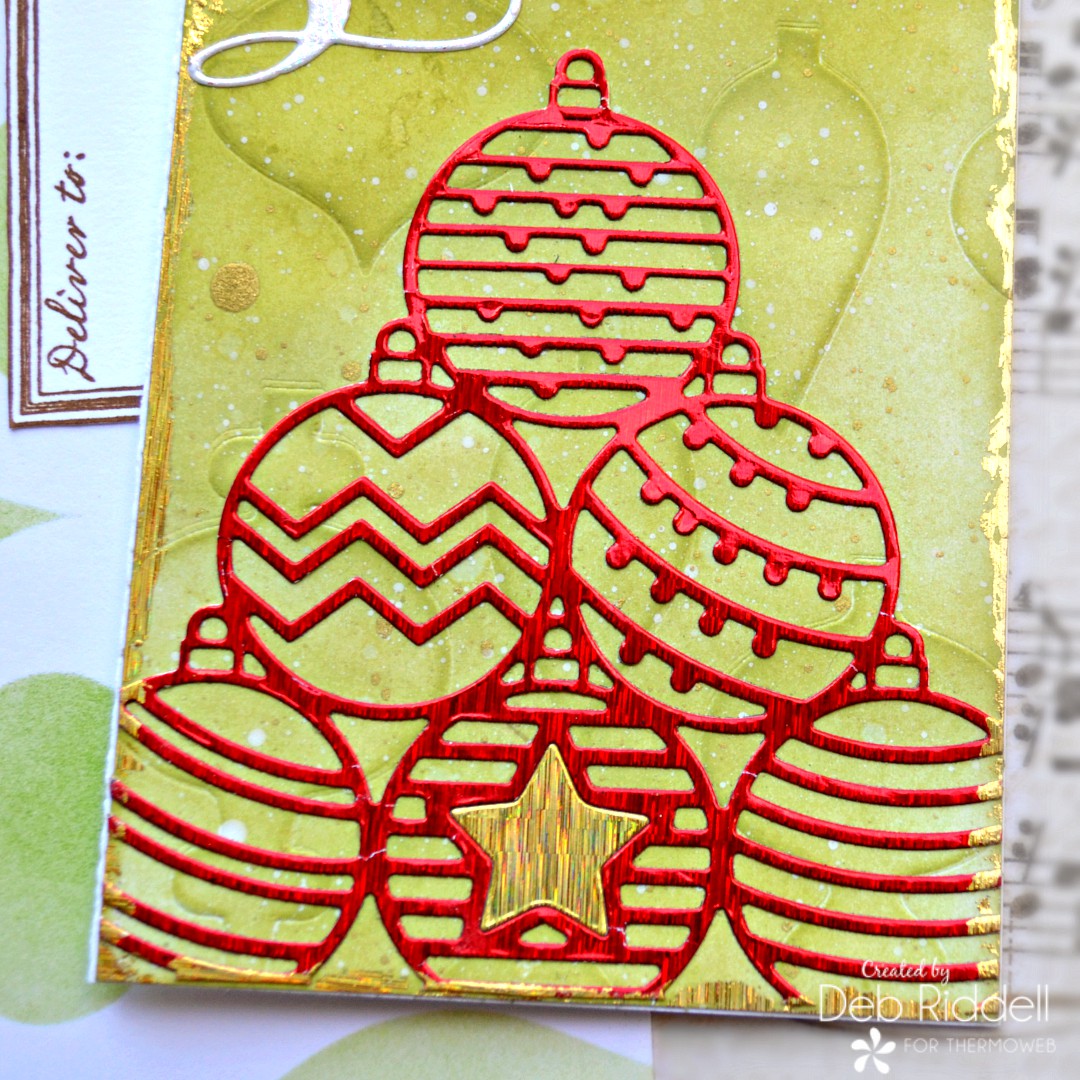
Preheat your foil laminator and cut a piece of Deco Foil PeelnStick Toner Sheet big enough to die cut the pile of ornaments from the Ornaments die. Foil the PeelnStick with a piece of Brutus Monroe Red Static Foil Transfer Sheet and die cut the Ornaments die (don’t worry about getting the frame around the entire die as we will be trimming it off). Be sure to hang on to the red foiled star offcut from the die, we will be using it later!
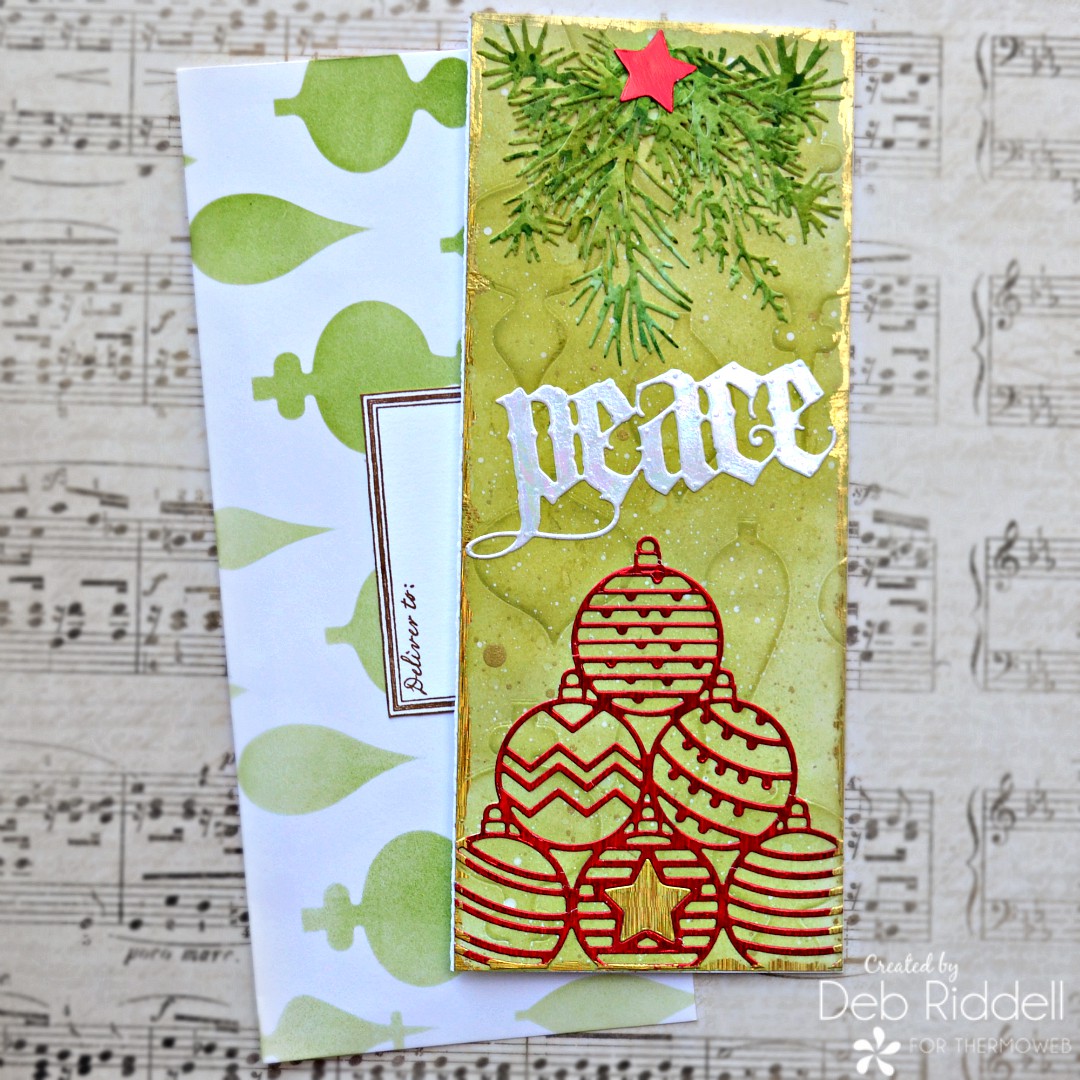
Trim the bottom frame from the die-cut ornaments, peel off the backing paper from the PeelnStick Toner Sheet and center the pile of ornaments along the bottom of the embossed card panel. Trim off any edges that are hanging over the sides of the card panel. Cut another small piece of PeelnStick Toner Sheet and foil it with Brutus Monroe Gold Static Foil Transfer Sheet. Die-cut the star with the Ornaments die and adhere it onto the embossed card panel in the center of the bottom ornament. Edge the card panel with your Deco Foil Adhesive Pen, let the adhesive dry till tacky (just takes a minute or two) and then foil the edges of the card panel with more Gold Static Foil Transfer Sheet, burnishing it on with a soft cloth.
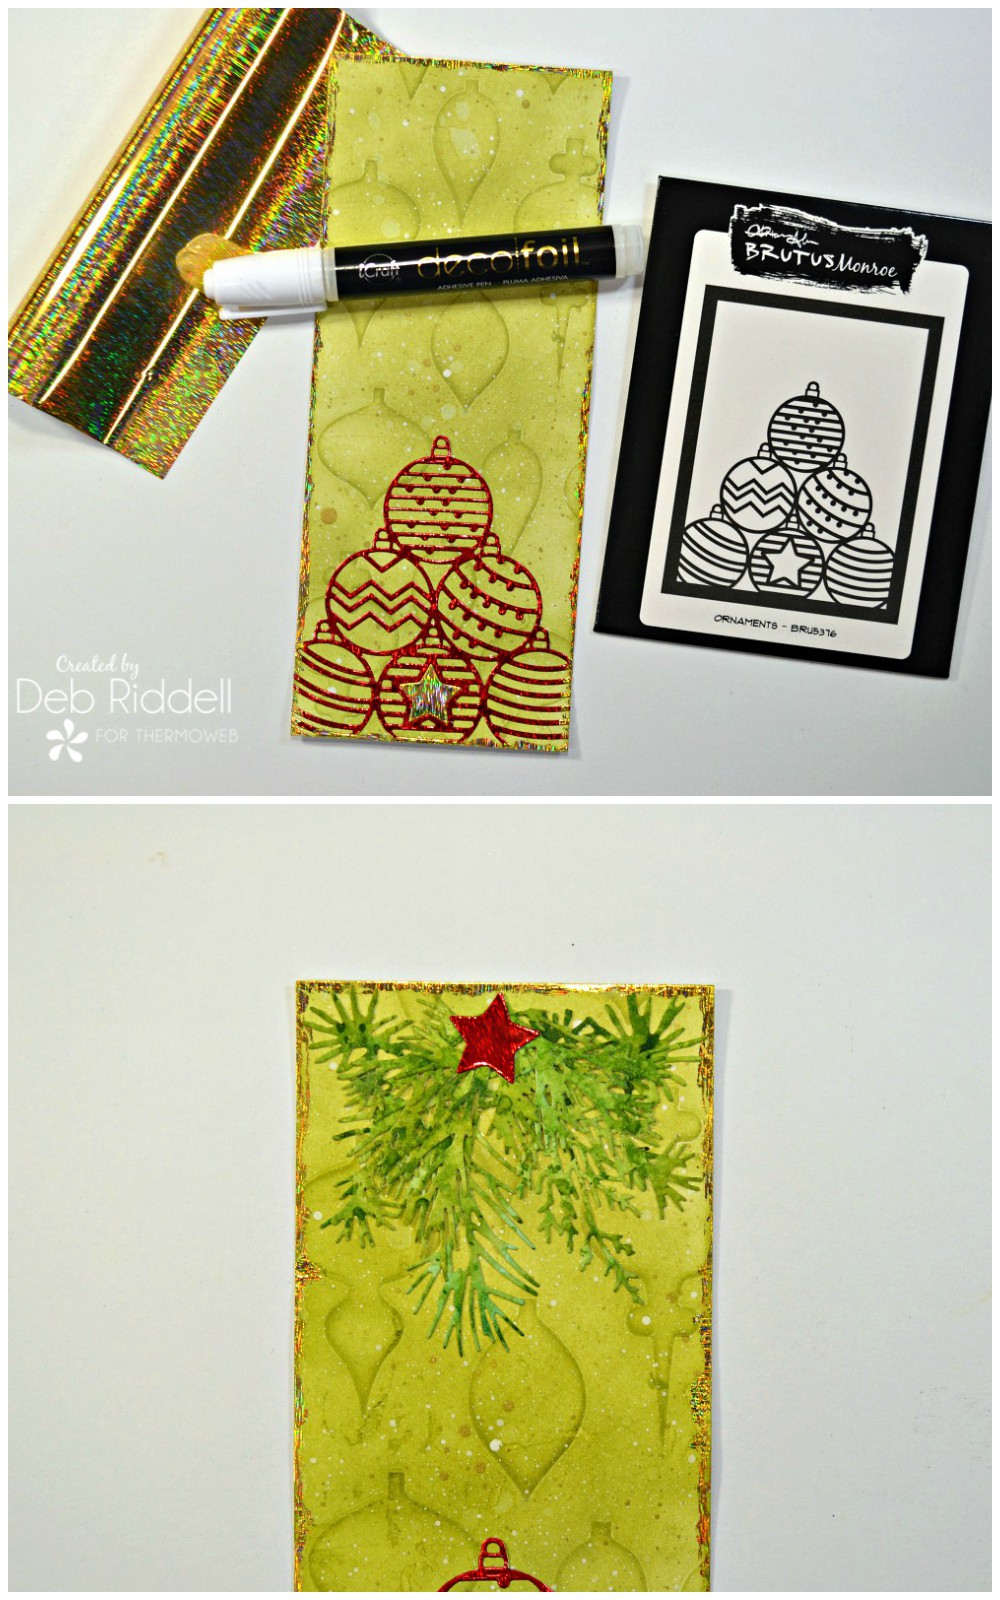
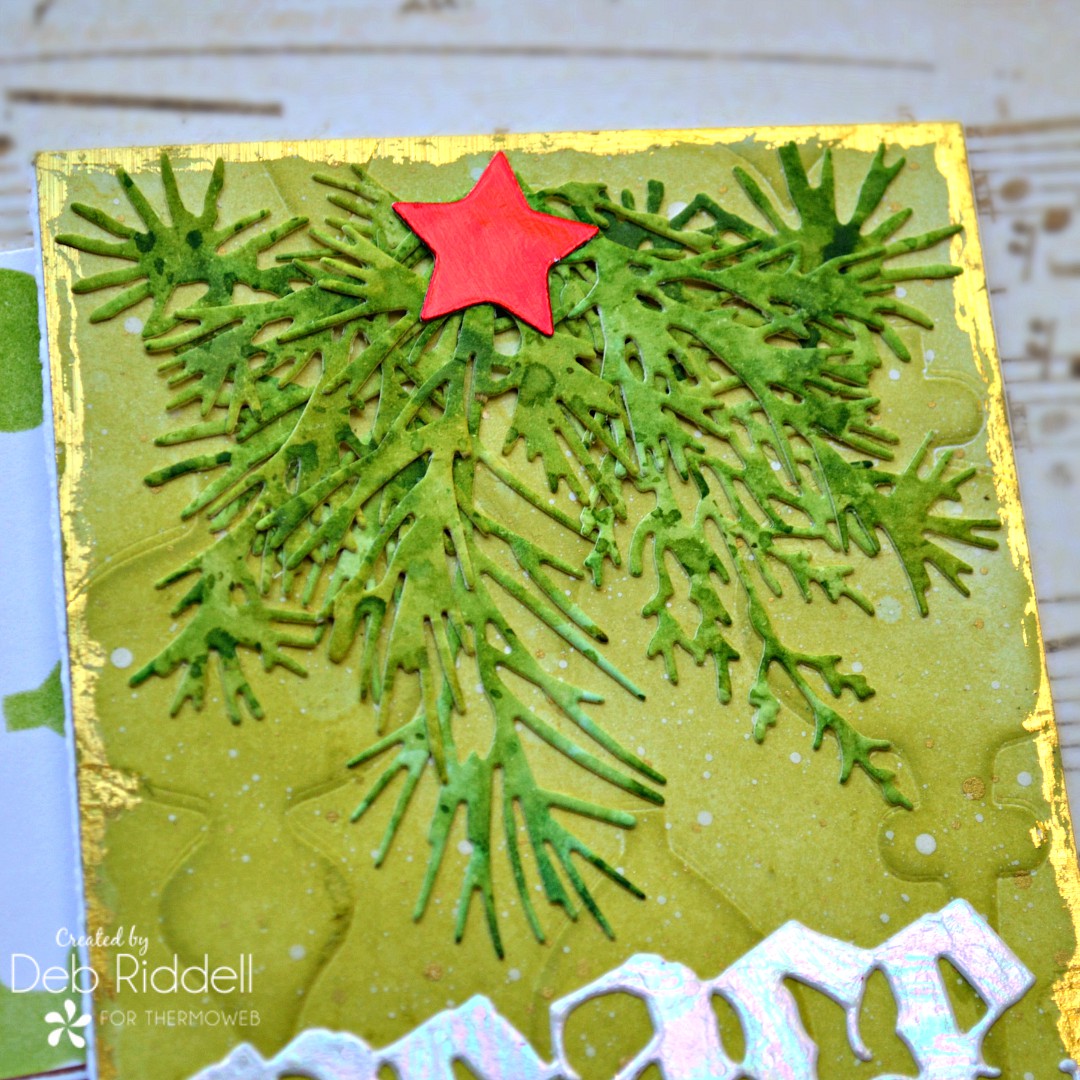
Ink a piece of white cardstock with multiple shades of green dye inks that are slightly darker in color than your background panel. Die-cut some evergreen foliage from the inked cardstock and arrange them along the top of the embossed card panel, adhering them in place with iCraft Ultra Bond Adhesive. Adhere the Red Static foiled star to the center of your evergreen spray.
Cover a piece of white cardstock with iCraft Easy-Cut Adhesive Sheet. Peel off the backing paper and foil the adhesive covered cardstock with Deco Foil Opal Transfer Sheet. Die-cut your sentiment from the foiled cardstock and adhere it to the front of the embossed card panel with iCraft UltraBond Adhesive, centering it between the ornaments and the evergreen spray.
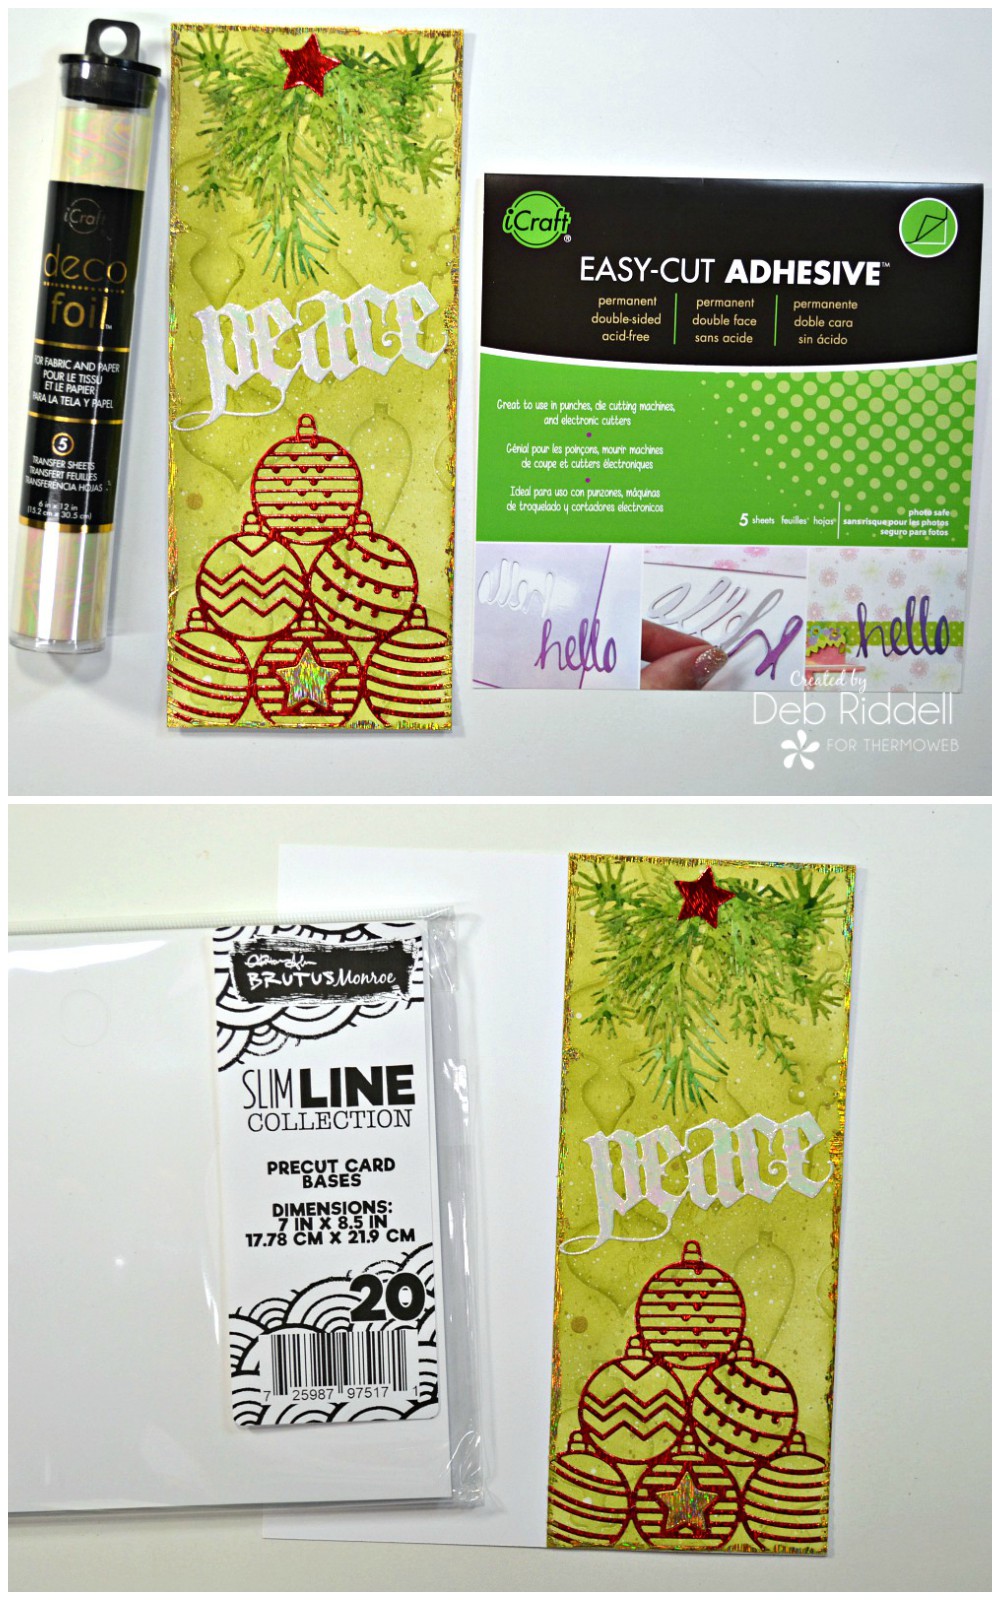
Adhere your completed card panel to the front of a Slimline Precut Card Base with your Memory XL tape runner.
Stamp a sentiment of your choice inside of the slimline card, embossing the stamped images if you’d like. I stamped the star with yellow ink and embossed it with gold embossing powder and stamped the words in black ink and embossed them with clear embossing powder.
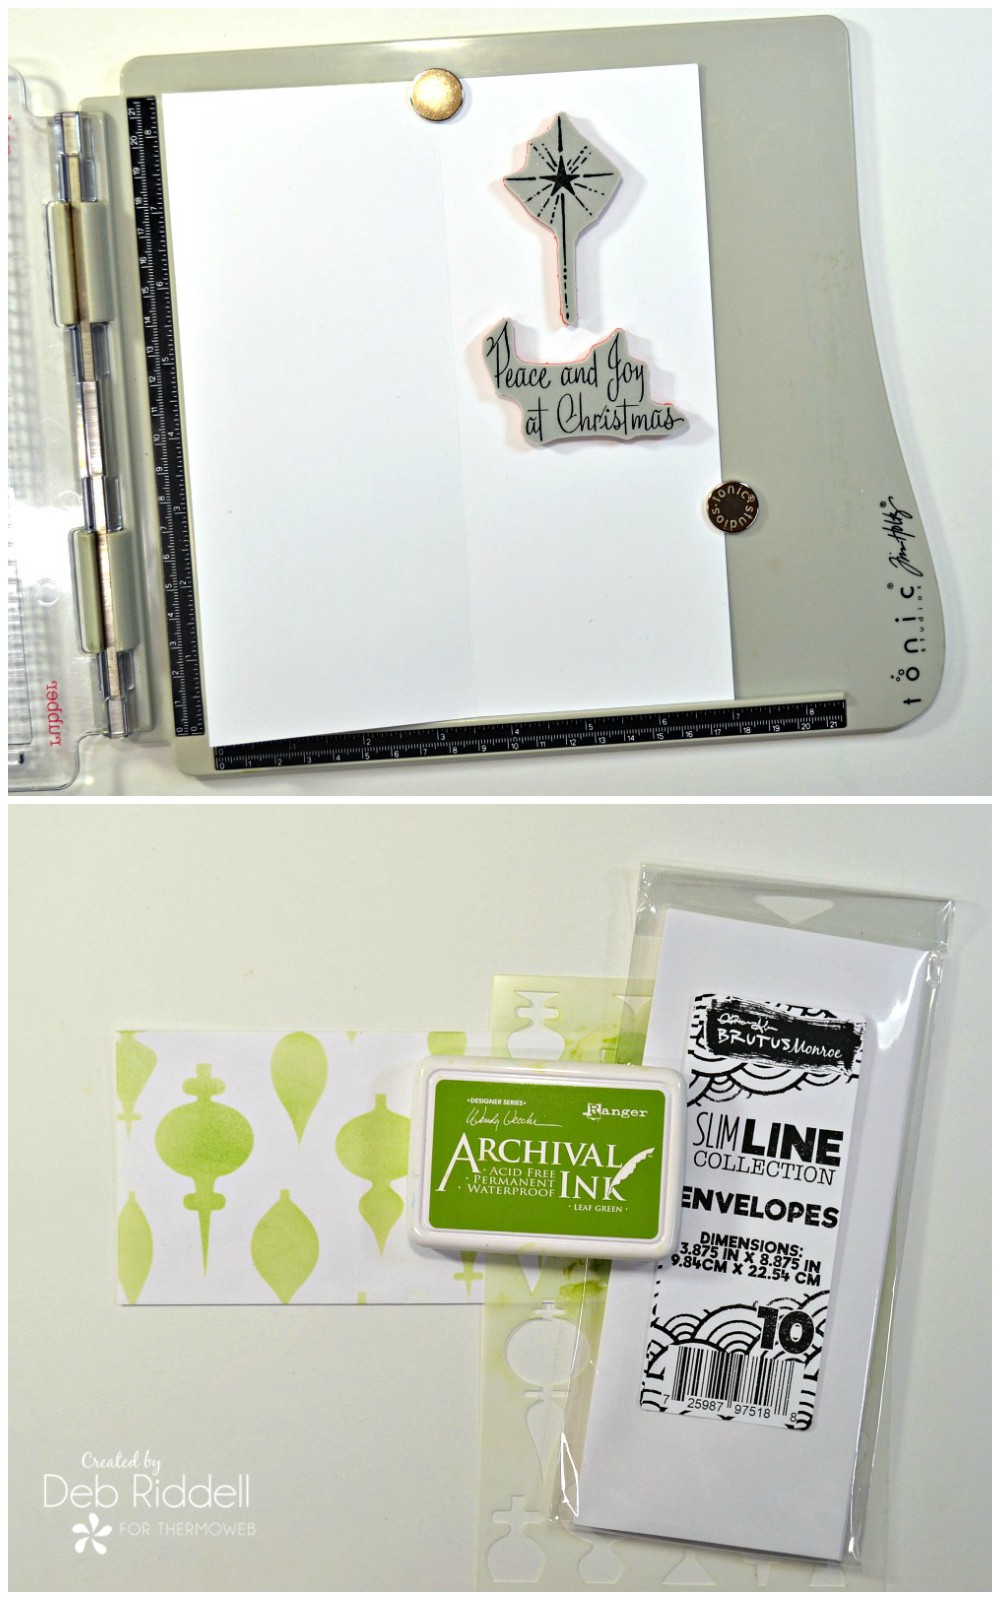
Finally, spray the back of the Slimline Ornament stencil with Pixie Spray, wait one minute for the spray to dry, and then stencil a Slimline Envelope with green permanent ink, moving the stencil across the envelope as necessary to cover it all. As you’ll see in the photos below, I also stamped a ‘deliver to’ address label, cut it out, and adhered it to the front of the envelope over top of the stenciling.
Here are a few closeups of the finished card.

I hope that you’ve enjoyed seeing how my card came together and that you will join us all week to see the rest of the wonderful collaborative projects created with Therm O Web and Brutus Monroe products! Thanks again to Brutus Monroe for their generosity and happy creating everyone!
Deb xo
It would not be a collaboration without a FUN Giveaway!
We’d like to give you a chance to enter to win a $50 Gift Card to shop for all of your favorite ThermOWeb and Brutus Monroe products! Just follow the prompts to enter to win! And that’s not all…we’d also like to invite you to visit our friends at Brutus Monroe to see what they’re up to as well! Tonight look for a Live with Christopher Alan on his YouTube Channel around 8pm Central Time! And you’ll find a new project later this evening on the Brutus Monroe YouTube Channel. We know that they have all sorts of fun plans this week you’ll not want to miss!
https://kingsumo.com/js/embed.js

Meghan Kennihan
October 19, 2020 at 4:32 pm (5 years ago)Gorgeous! I LOVE the metallic!
Deb Riddell
October 19, 2020 at 4:50 pm (5 years ago)Thank you Meghan, so glad you like it! Deb xo
Donna Lindner
October 22, 2020 at 5:42 am (5 years ago)love the card it is wonderful
Deb Riddell
October 22, 2020 at 2:06 pm (5 years ago)Thank you Donna! Deb xo