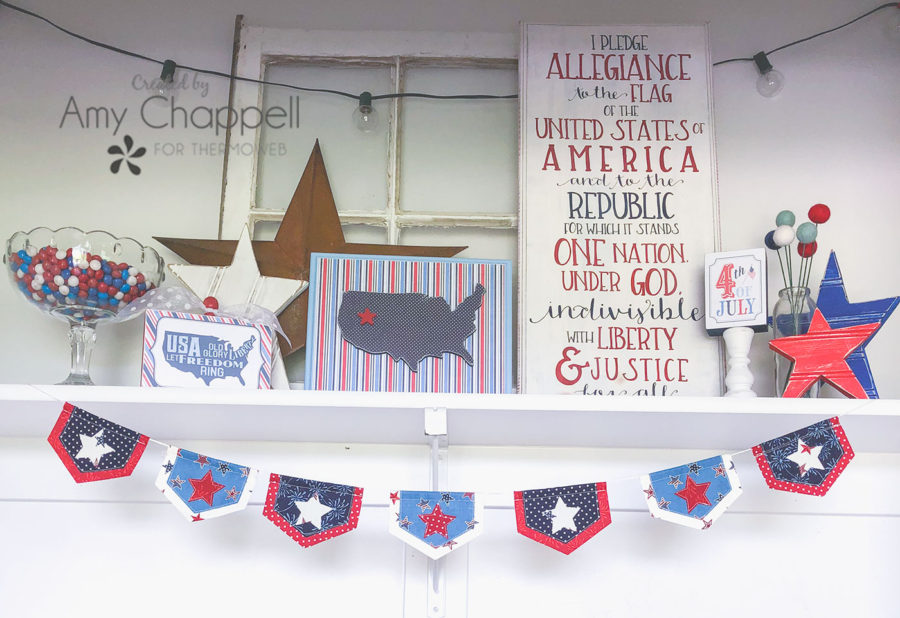
I love finding small projects that I can use to take my holiday decor up a notch. This mini Hexagon Patriotic banner is a perfect example of just such a project. A little fabric, some interfacing and Heat n Bond lite and now you have a darling accent for your space! Using hexagon fabric dies from Crafter’s Edge allows me to make the flags a fun and unique shape! Are you ready to make one?
Hexagon Patriotic Mini Banner Tutorial
Supplies:
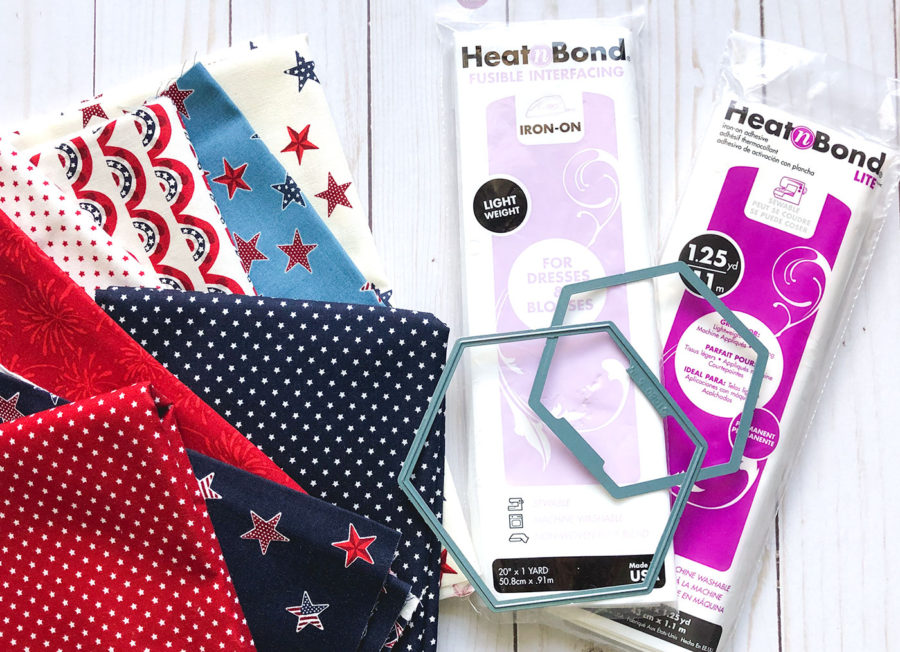
- Fabric for banner- 2-3 fat quarters is more than enough, although you can add more if you want more variety. I am using Celebrate America! fabric by Echo Park for Riley Blake Designs
- Heat n Bond Fusible Light weight Interfacing
- Heat n Bond Lite Fusible Adhesive
- Heat n Bond EZ Print Lite Sheets (optional)
- Crafter’s Edge Crossover and Hexagon die set
- patriotic hexagon banner stars
- yarn, string or twine for stringing the banner
Prepare Fabric for Banner:
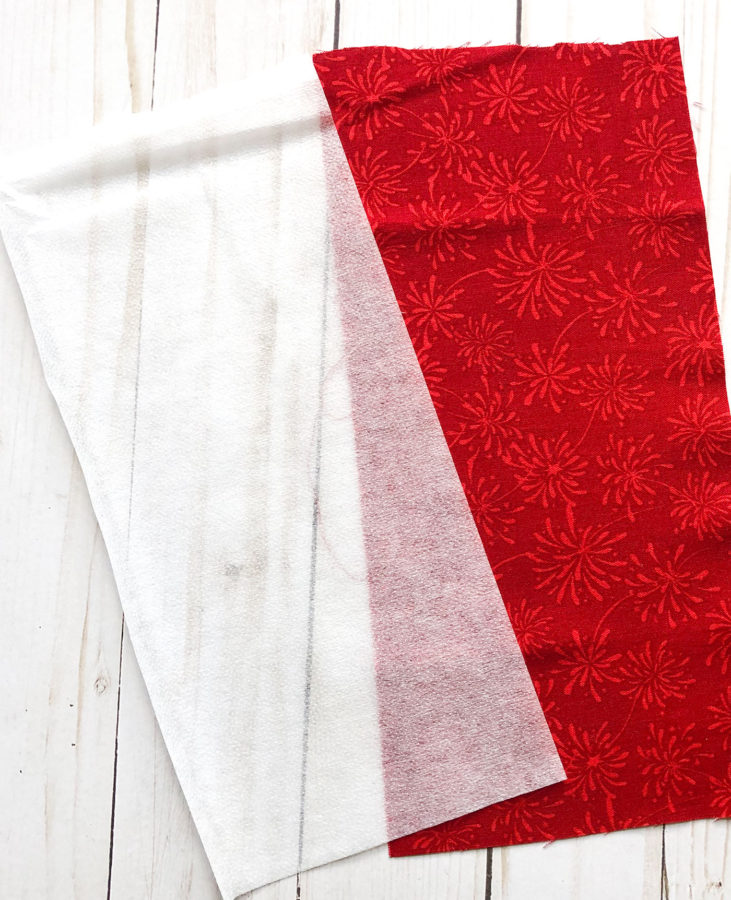
- From the background fabric for the hexagon flag- cut a strip 5 1/4″ wide X 10 1/2″ (these measurements will make 2 hexagon flags, you can make your strip longer to make more flags- just add 5 1/4″ to the length of the fabric and the interfacing)
- From the lightweight fusible interfacing, cut a strip 5″ X 10 1/4″
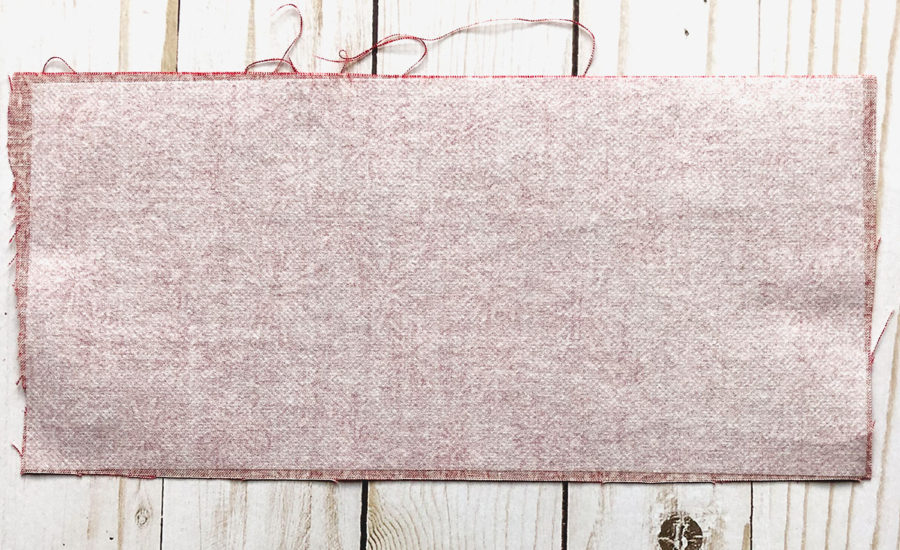
- Fuse the interfacing to the wrong side of the fabric strip following the package instructions.
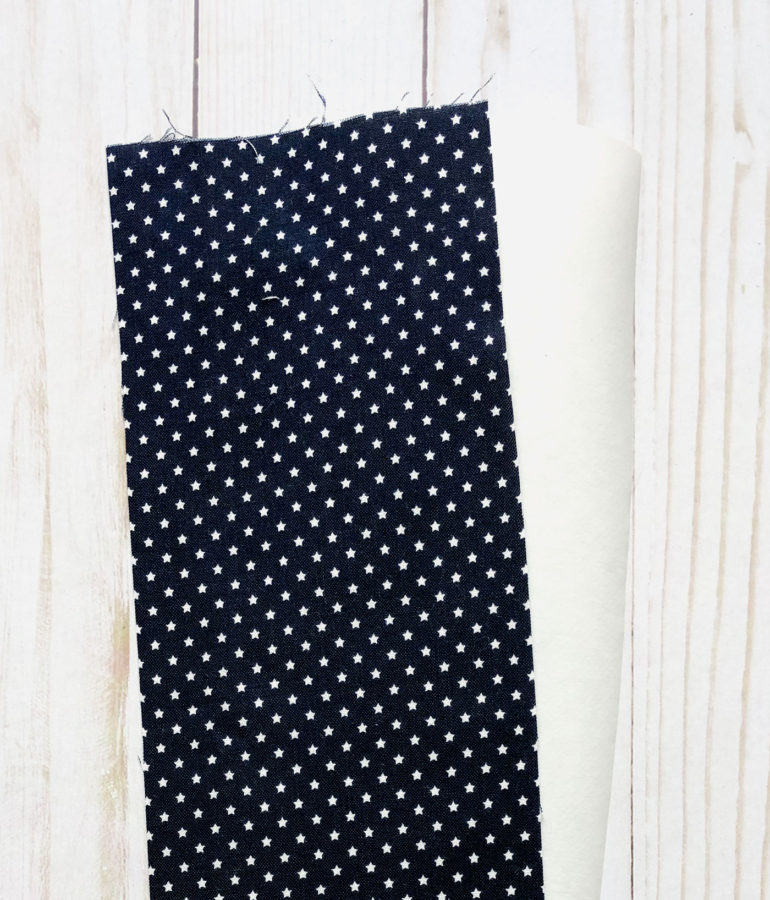
- From the accent fabric for the hexagon flag cut a strip 4 1/4″ X 8 1/2″ (again, this is for two flags. Add 4 1/4″ to the length for each additional flag you are cutting both to the fabric and the Heat n Bond Lite)
- Cut a strip of Heat n Bond Lite 4″ X 8 1/4″
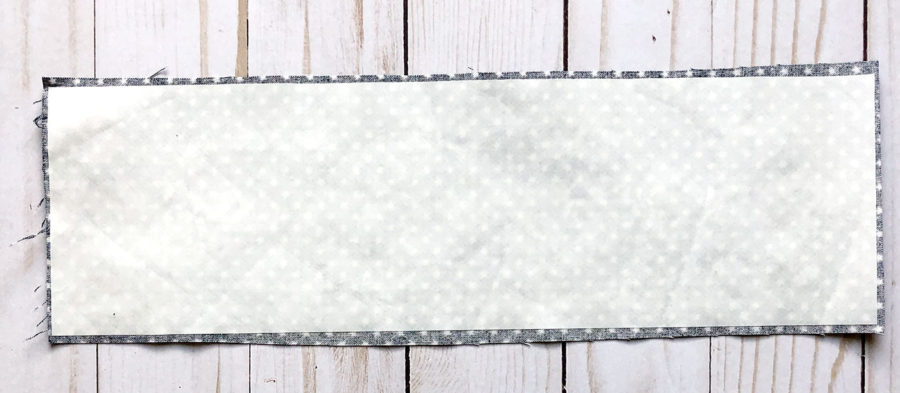
- Follow the package instructions and fuse the Heat n Bond lite to the wrong side of the accent fabric.
- From the background fabric, cut your strip into 5 1/4″ squares.
- Cut your accent fabric into 4 1/4″ squares.
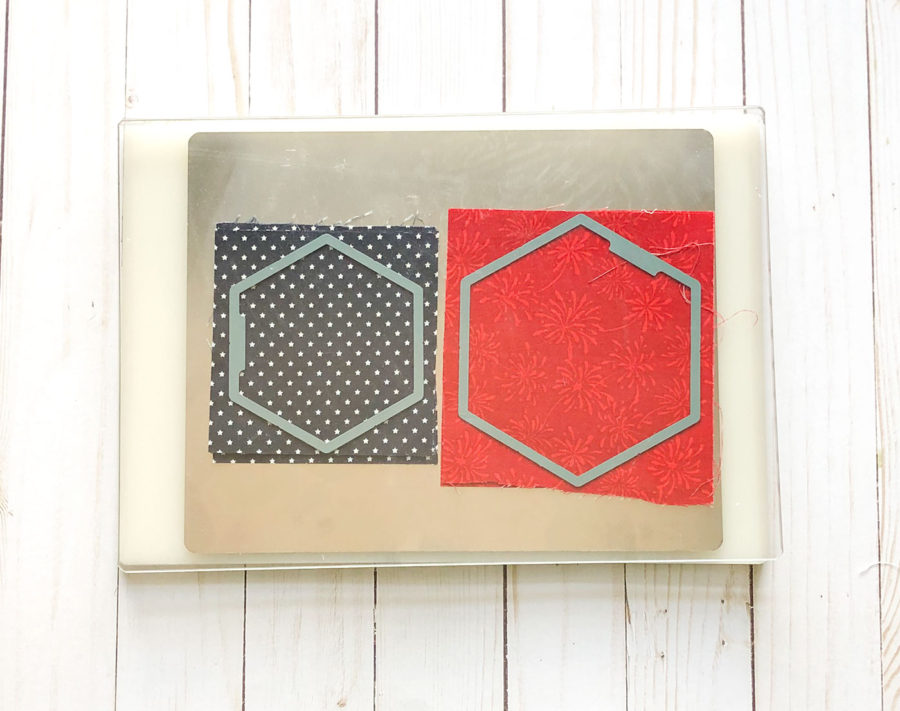
- Stack your squares onto your cutting plate, following the instructions for your Crossover. Use the 5″ and 4″ hexagon dies from the Hexagons Fab Die set.
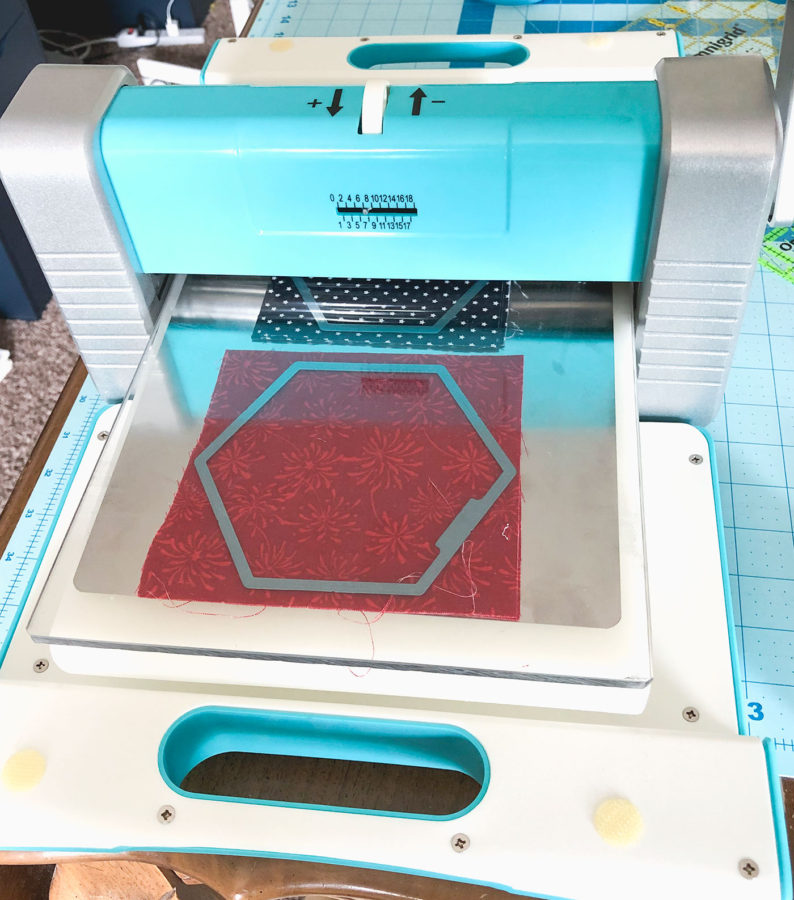
- Run your dies through your cutting machine.
Make Hexagon flags for patriotic banner:
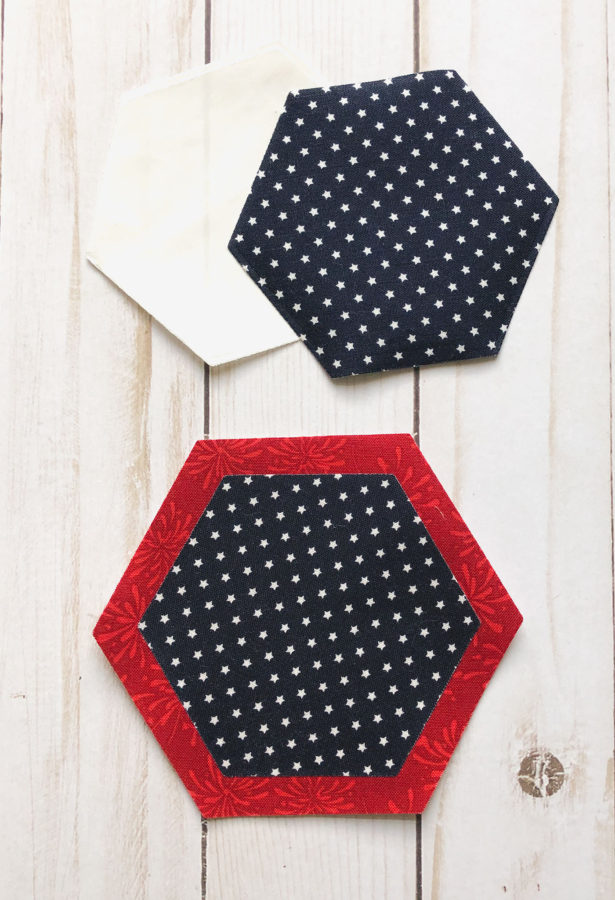
- Remove the paper backing from your accent hexagons.
- Center the accent hexagon on top of your background hexagon.
- Fuse the accent into place.
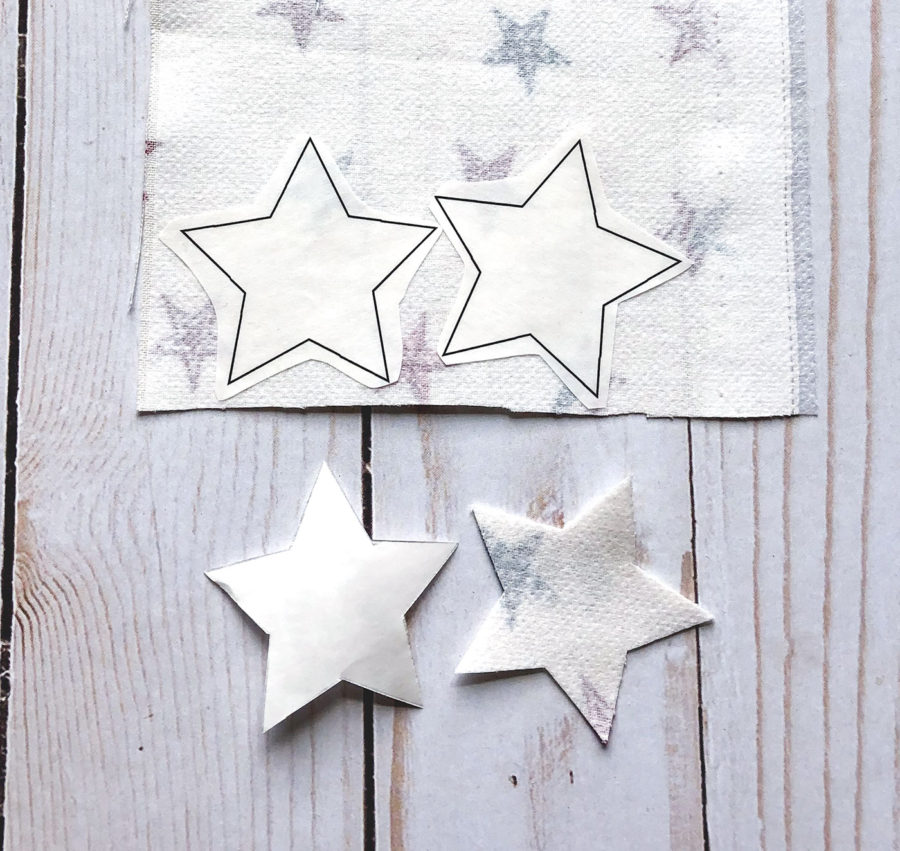
- Print or trace the star pattern onto the paper side of your Heat n Bond Lite.
- If using white for your stars, I recommend fusing a piece of Heat n Bond Light weight fusible interfacing onto the back of the star fabric first.
- Cut out the stars leaving a slight margin around the pattern.
- Fuse the stars onto the wrong side of the fabric.
- Cut out the stars on the printed or traced line.
- Remove the paper backing.
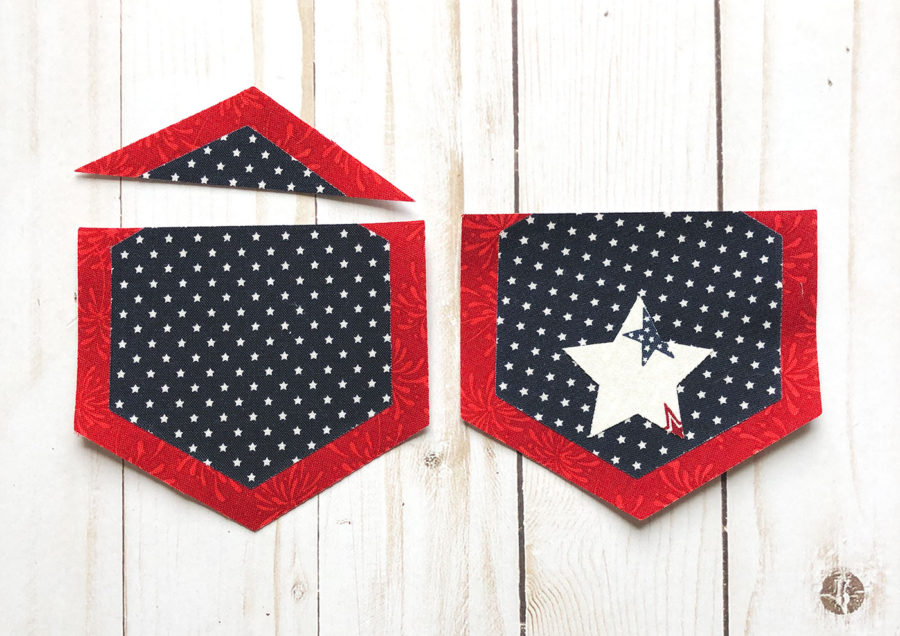
- Turn your hexagon so one of the points is centered at the bottom.
- Measure a line across the hexagon so you cut off the opposite point from the bottom point. Remove the top point.
- Position your star so it is centered with the bottom point.
- Fuse the star in place.
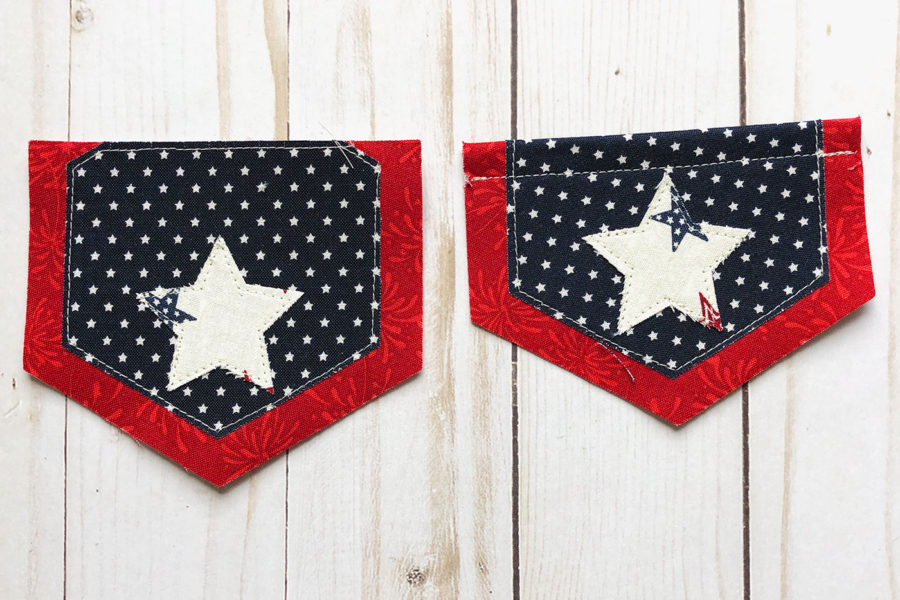
- Sew around the accent hexagon and the star using a straight stitch.
- Fold over the top straight edge 1/2″.
- Sew down the top seam using a 3/8″ seam allowance. Be sure to back stitch at the beginning and ending of your sewing.
- Use a long blunt needle or safety pin to thread a string or twine through the channel at the top of the flag to make your Hexagon Patriotic mini banner.
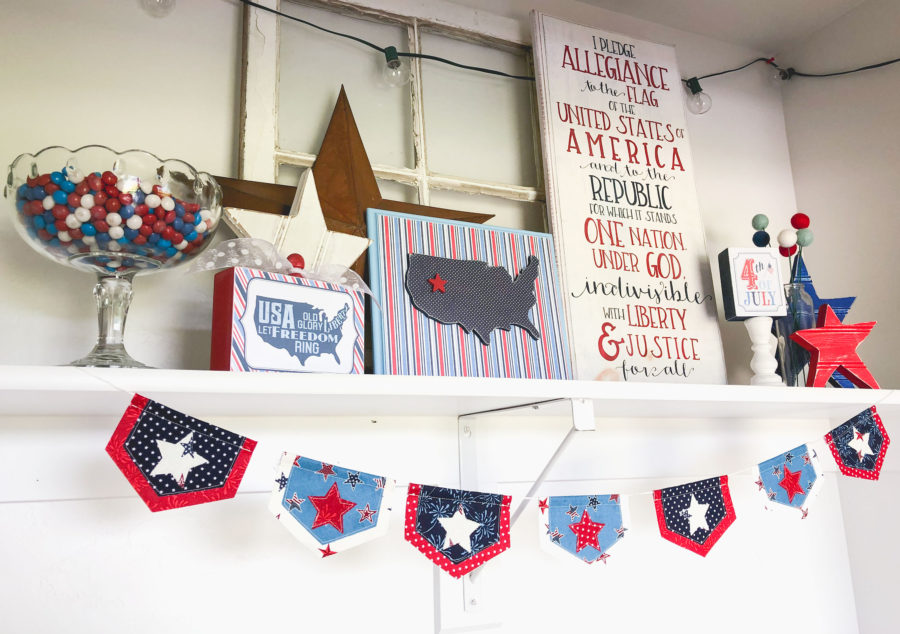
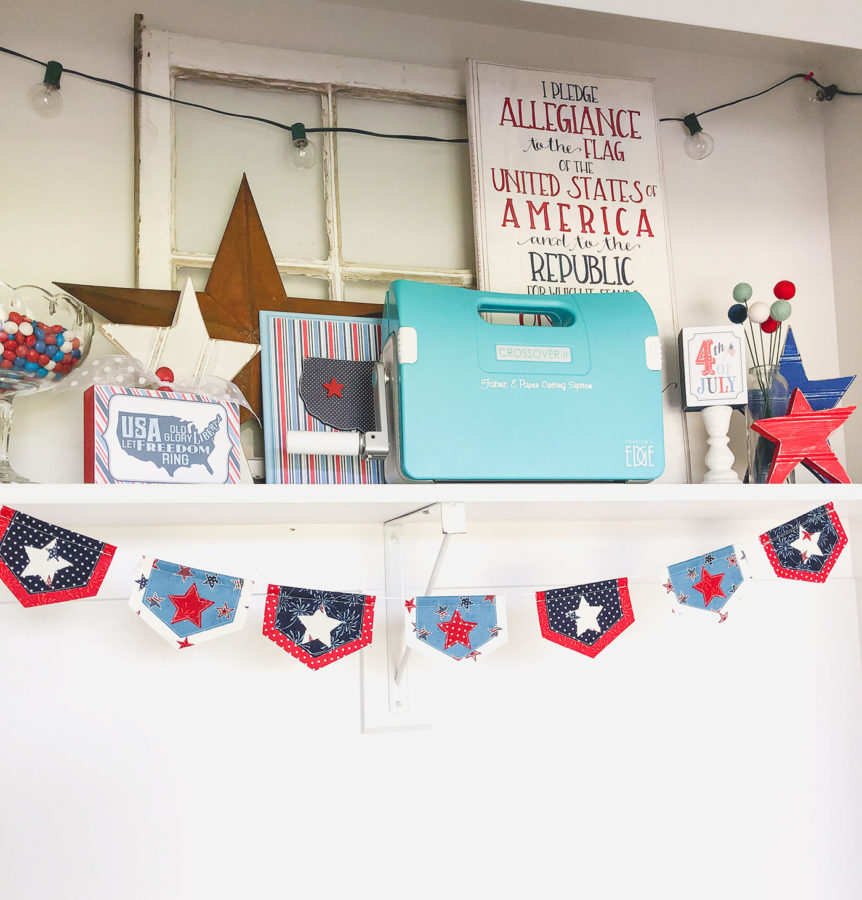
The Crossover makes this banner really fast and allows for a unique shape to the banner that would take much longer if you had to cut them by hand! I hope you will make your own mini banner!
Happy Sewing friends! xoxo, Amy

[…] Foil Flock Transfer Sheets – Sunshine Yellow Deco Foil Flock Transfer Sheets – Blue Diamond Deco Foil Flock Transfer Sheets – Purple Punch Deco Foil Flock Transfer Sheets – Green Envy iCraft Ultra Bond Adhesive 2 fl oz iCraft […]