

Hi, friends! Today I’m here to share with you one of my favorite sews. I’ve made at least a hundred of this style tote. I love patchwork. I love cutting out squares. I love quilting. This tote has it all. Let’s get to sewing.
Patchwork Fabric Tote with Sew-In Fleece

Supplies:
- Fifty 3.5” 100% cotton fabric squares
- ½ yard StitchnSew Sew-in Fleece
- SprayNbond Basting Adhesive
- ½ yard canvas or another medium to heavyweight woven fabric for lining
- 1” or 1.5” wide webbing (two 20” pieces)
**Seam allowance is ¼” unless otherwise stated.
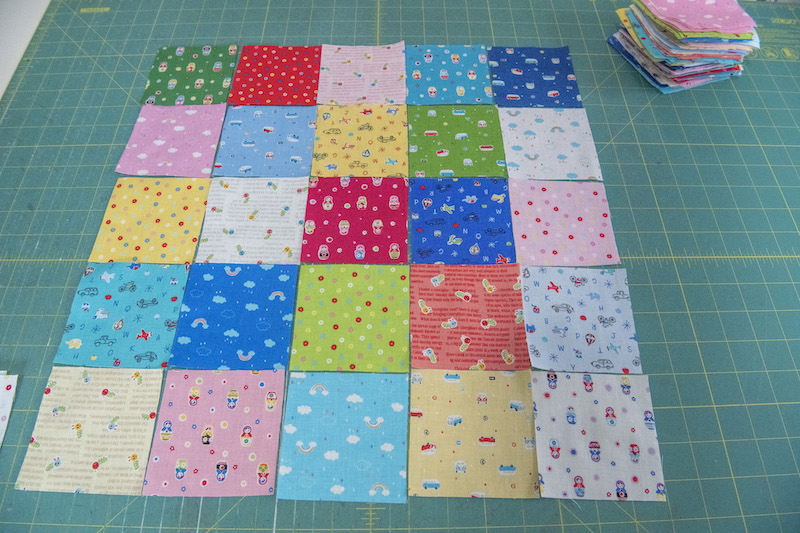
Take your fabric squares and lay them out on your sewing table 5 across by 5 down, in two separate 5×5 panels (I only had room to photograph one, whoops!). Move them around until you like how they look. Pay attention to the squares on the ends of each panel if you like how they’ll look up against each other when assembling the bag as well.
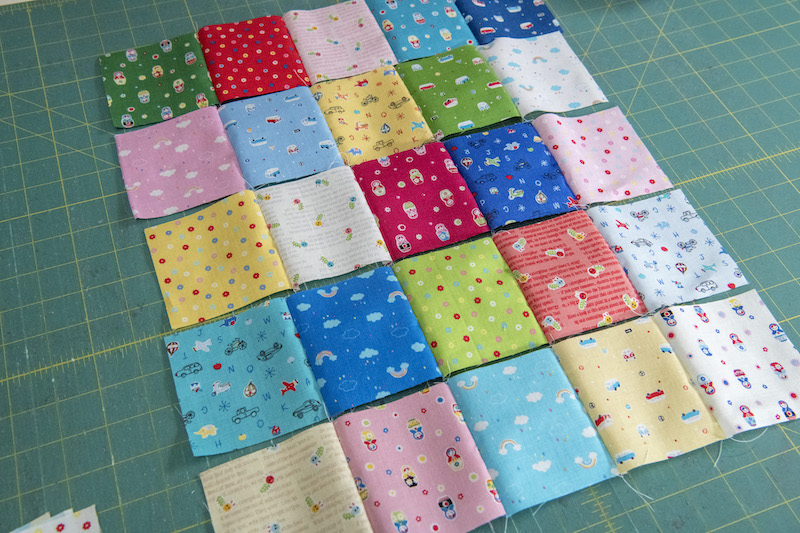
Sew the rows together then the columns.
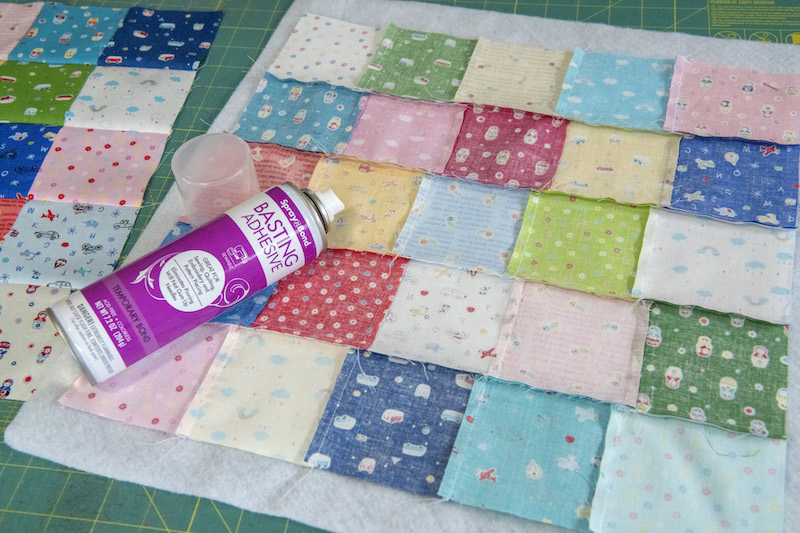
When both panels are complete grab your sew-in fleece and cut out two squares larger than your panels (I cut mine at 18”x18”) Using the SprayNbond Basting Spray and lightly spray the backside of your first panel and then turn it over onto your first fleece square and carefully press down so the panel lays flat without any lumps or folds. Repeat with the second patchwork panel and fleece.
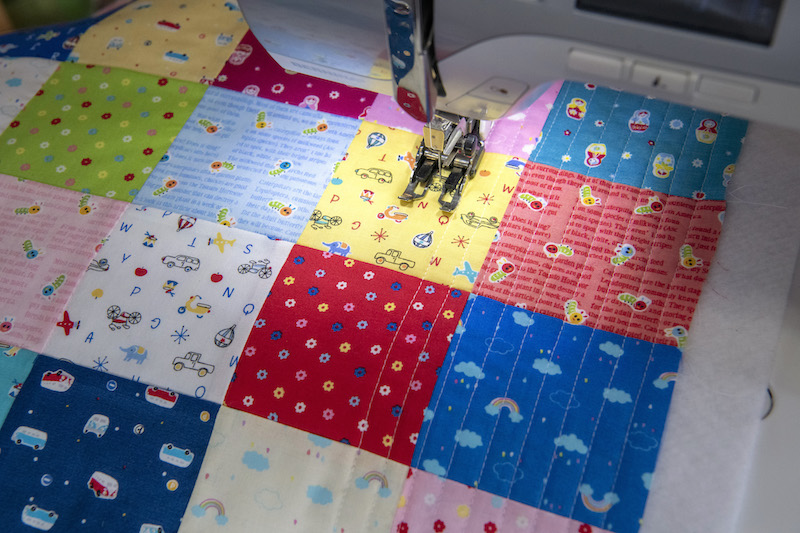
Take to your sewing machine and quilt both panels. I did so by sewing vertical lines using my walking foot.
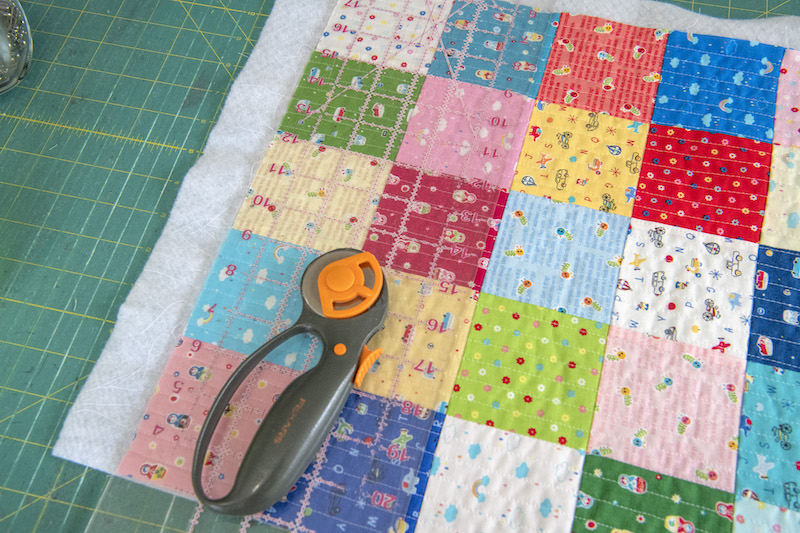
Trim your panels up eliminating the excess fleece. I use a ruler and line it up on the edge of the second row measuring 3 ¼” and trim to make sure it is straight.
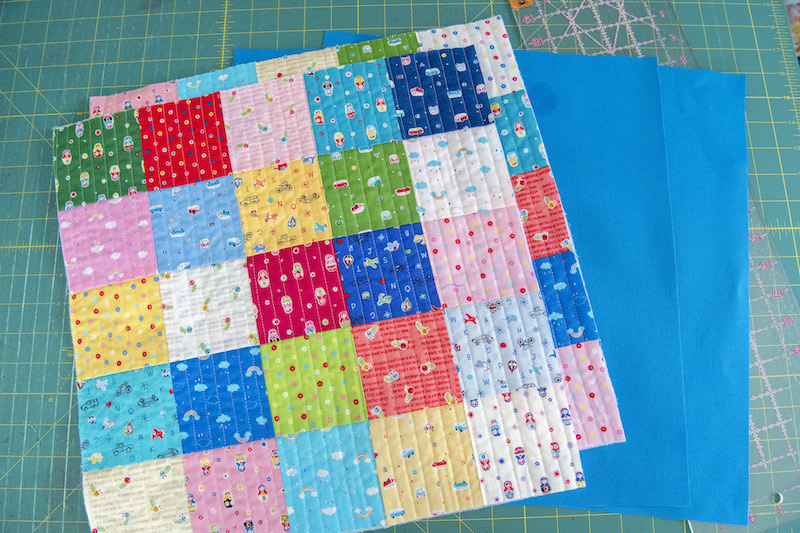
Grab your lining fabric and cut out two 15.5” squares.
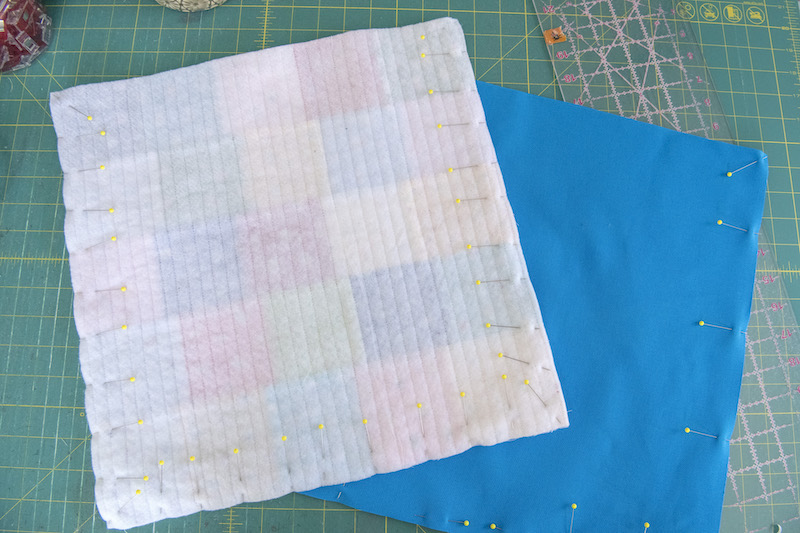
Pin your panels, right sides together. On your main panels line up the patchwork square as you go pining along both sides and the bottom leaving the top open. On the lining pin the sides and bottom but leave approximately a 5” gap for turning (I place my pins horizontally where my opening will be to help me remember to not sew that part). Take and sew using your ¼” seam allowance.
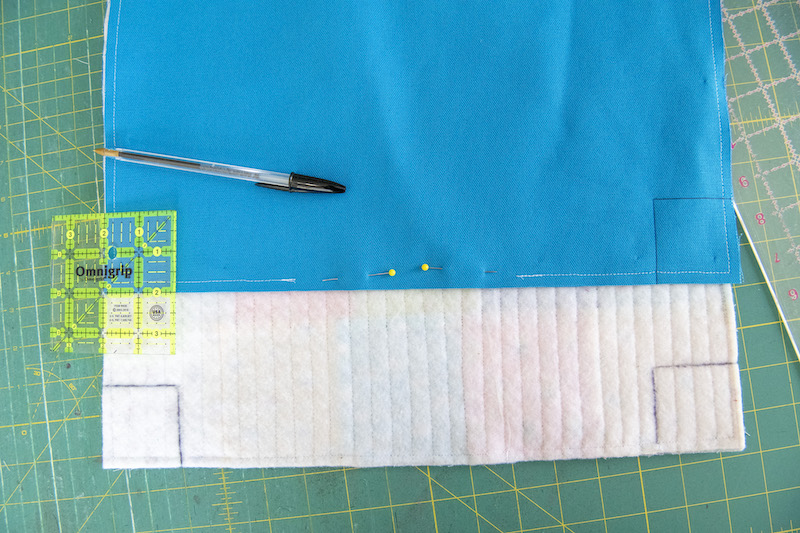
Next grab a ruler. We will be squaring up our corners. Trace a 2” square in both bottom corners on the lining and main bag.
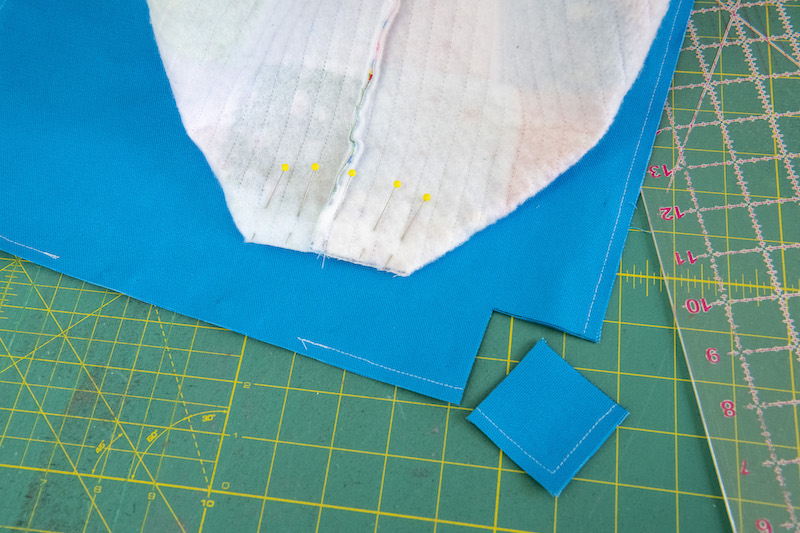
Cut the squares out. Pinch the two seams together and flatten the corners so they lie flat and pin. The squared corners will lie horizontally to the seams along the side of your tote. Sew each corner.
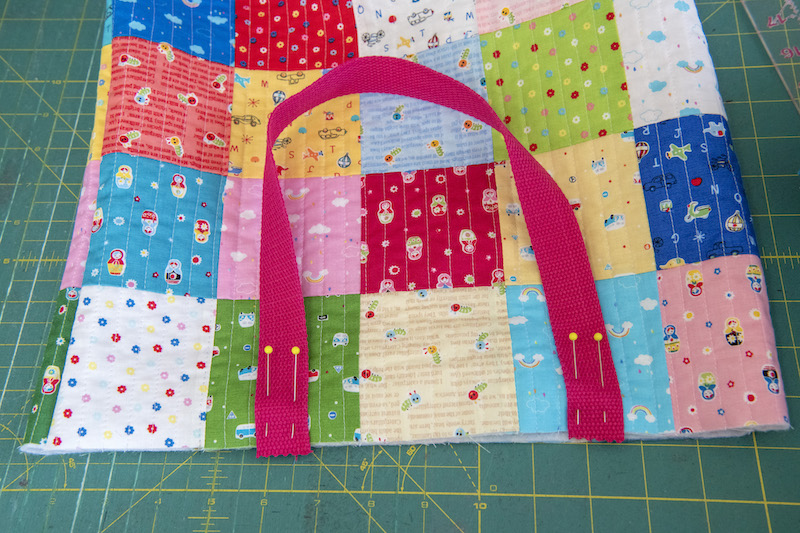
Turn your main bag right side out. Leaving the lining as is (wrong side out). Next, grab your webbing for the handles. Pin your webbing with the raw edge facing up centered on the second square from the left. Take the other end and pin centered on the second square on the right side. Tack in place. Repeat with the second handle on the back panel.
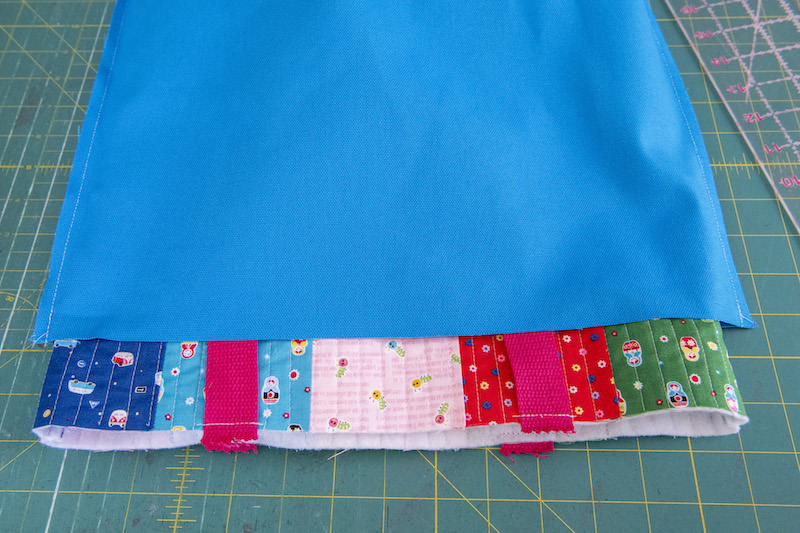
Once both handles are tacked in place, slide your main tote into the lining, right sides together. Make sure the handles are facing down staying inside sandwiched between the two sides. Pin all along the top.
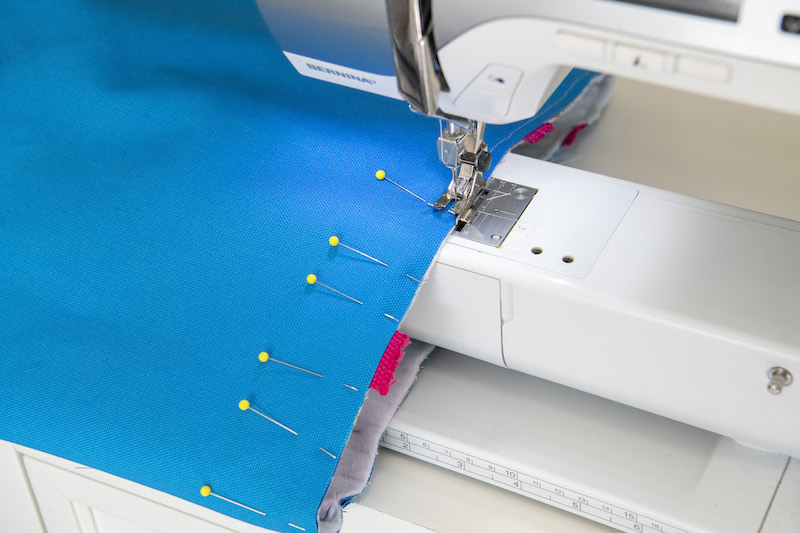
Once pinned, take to your sewing machine and sew all along the perimeter of the top of your bag using your ¼” seam allowance.
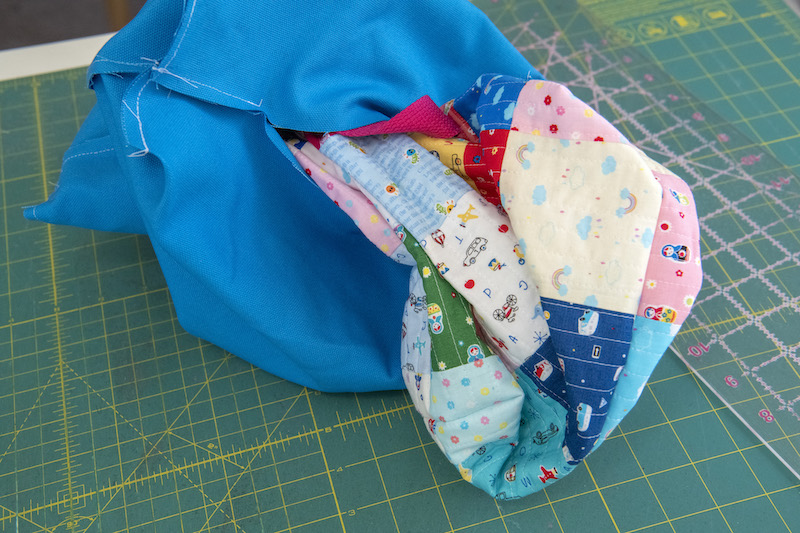
Next, turn the tote right side out by pulling the main bag out from your opening in the bottom of the lining.
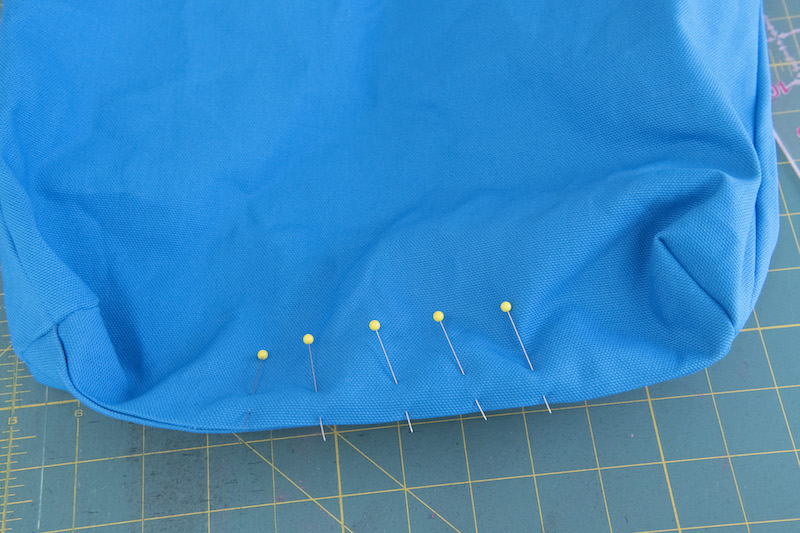
After turning your tote right side out it’s time to sew the opening closed. Pin the two sides of the lining together with the raw edge sandwiched between and topstitch.
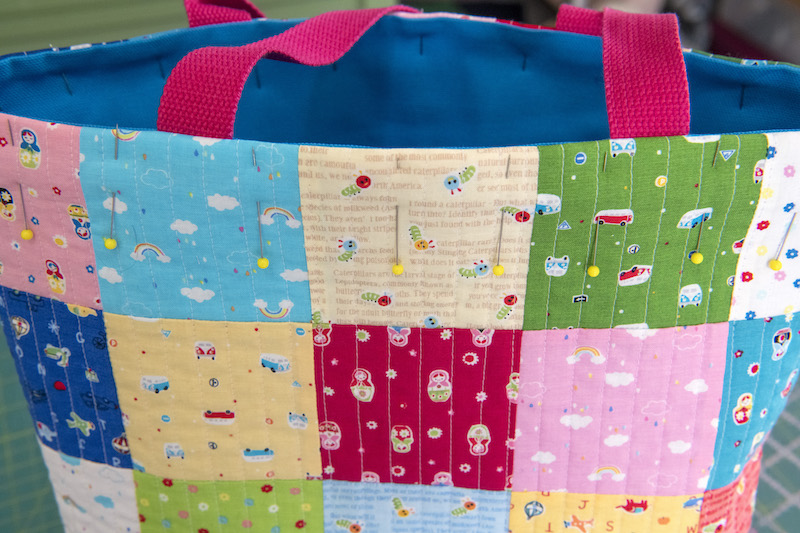
Push the lining down inside your main tote and press the top edge. You can topstitch it or leave it as is and you are done! They are so fun to make and such a great teacher or friend gift. I hope you love making them as much as I do!
