Good Times Party Set by Audrey Pettit
Supplies:
Therm O Web Sticky Tape Runner
Therm O Web SuperStik Glue Stick
Therm O Web 1/8″ SuperTape
Therm O Web 3D Foam Squares
Therm O Web 1/2″ Zots Singles Clear Adhesive Dots
Ruby Rock It Bella Carnival Queen Collection:Patterned Paper, Die Cuts, Garlands, Project Cards, and Party Picks
Cardstock: Stampin’Up
Border Punch: Fiskars
Trim: Stampin’Up, The Kraft Outlet, Craft Supply
Button: Foofala
Ink: Clearsnap
Doily: Wilton
Chipboard Treat Box, Wooden Skewers, Recycled Ribbon Spool
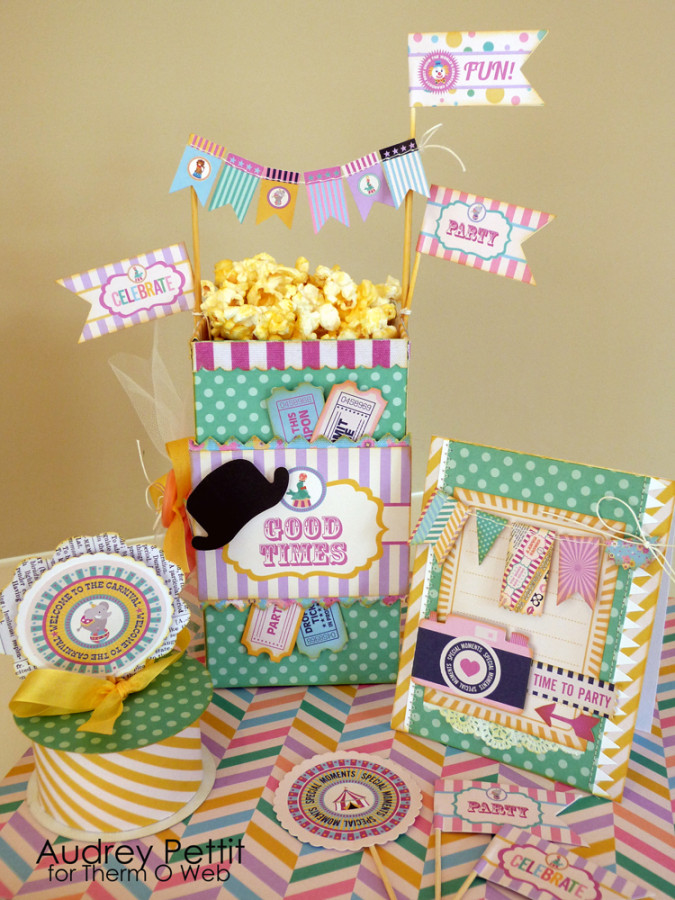
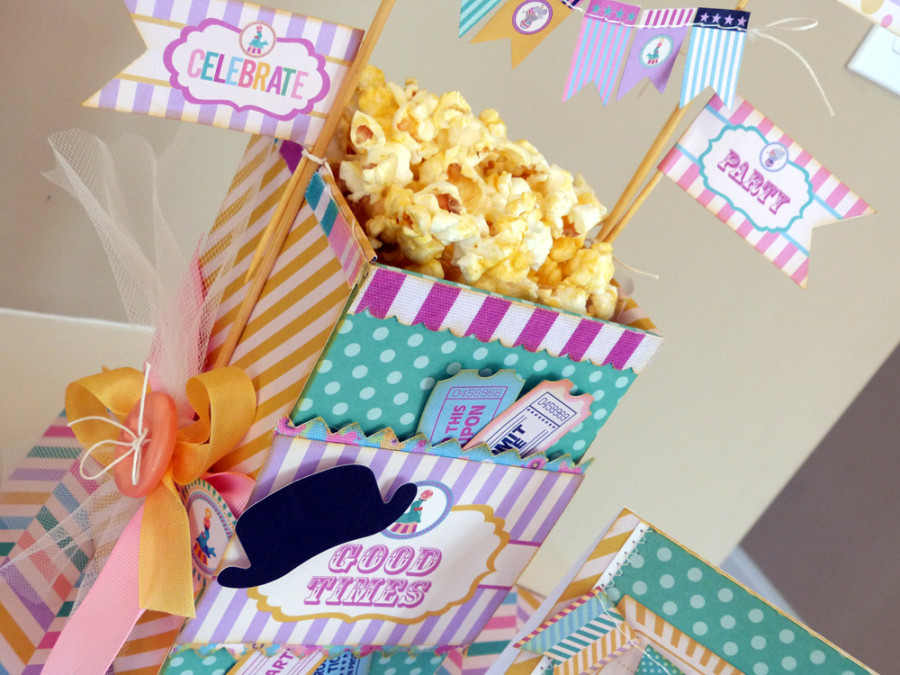
Popcorn Treat Box
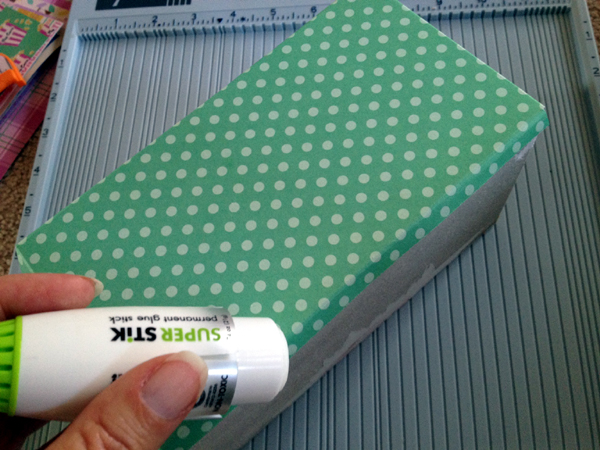
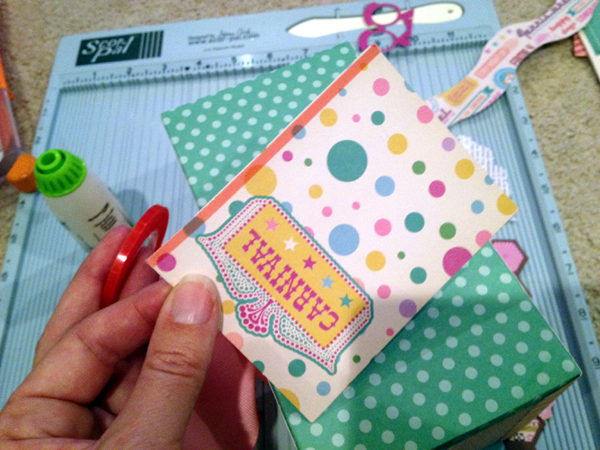
Measure the sides of a chipboard treat box and cut panels of patterned paper to size. Allow an extra 1/2″ seam allowance at the top and bottom. Working one side at a time, cover the chipboard thoroughly with SuperStik Glue Stick and adhere patterned papers, folding 1/2″ over the top and 1/2″ under the bottom.
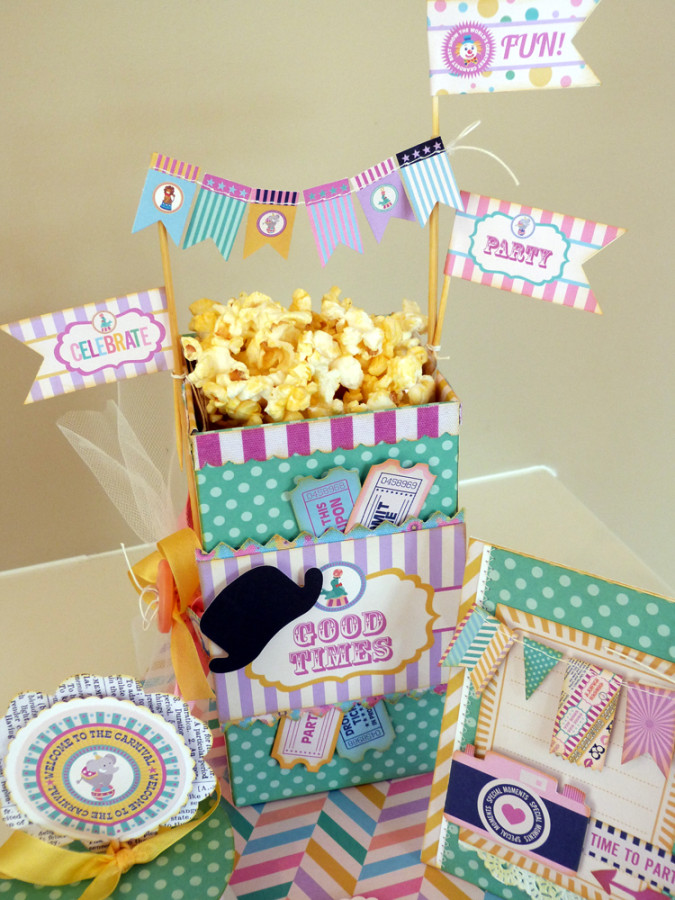
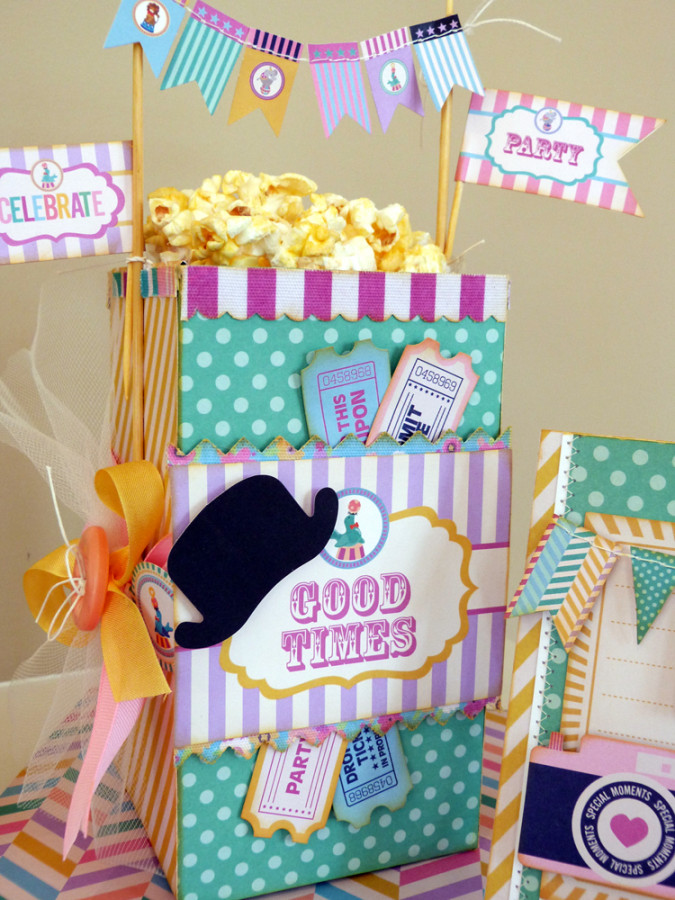
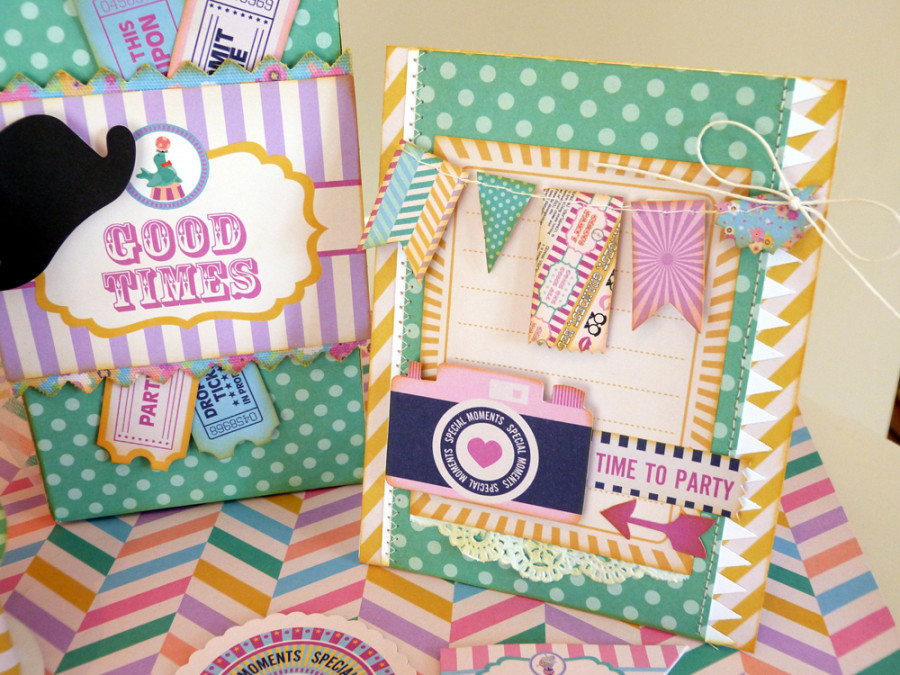
Tie wide trim around the center of the box and tie into a bow on one side. Adhere a Carnival die cut border to the ribbon using Zots Clear Adhesive Dots. Make a bow from yellow seam binding trim, tie together with tulle, string and a big button and adhere to the wide ribbon tie using Zots Dots. Adhere fabric borders to the top of the box with 1/8″ SuperTape.
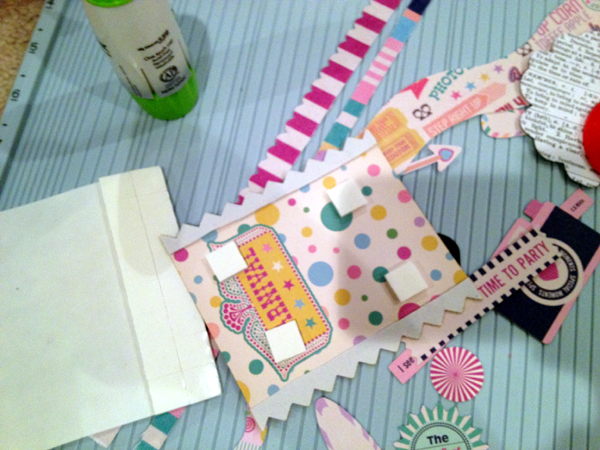
Adhere fabric trim to the top and bottom of a Project Card using 1/8″ SuperTape.
Apply 3D Foam Squares to the back of the Project Card, and adhere to the center of the front of the treat box.
Embellish with additional die cut adhered with 1/2″ Zots.
Trim a section of banner flags from the Carnival Garlands and adhere to two wooden skewers using Zots. Affix skewers to the sides of the treat box using additional Zots. Tape the ends down underneath the wide ribbon band and secure more strongly with the SuperTape. Tie Party Picks to the skewers.
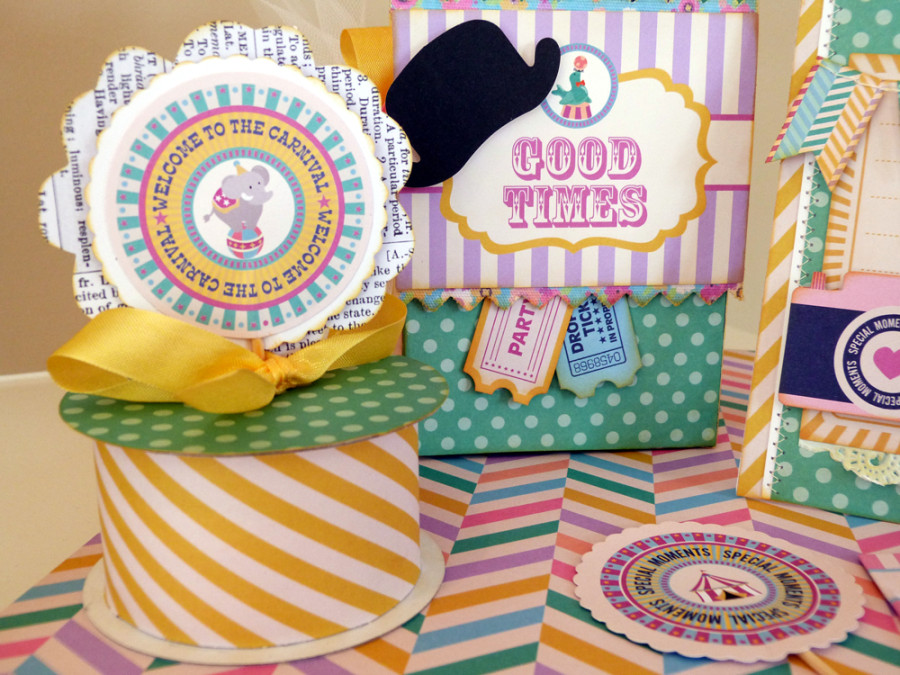
Table Decoration
The table decoration is made from a recycled ribbon spool. Measure the inside width of the spool and trim patterned paper to size. Adhere to the spool using SuperStik Glue Stick. Trace the top circle onto patterned paper, trim out, and adhere using the glue stick.
Apply 3D Foam Squares onto the back of a round Party Pick and adhere to the large die cut flower. Poke pick into the center of the spool. Tie trim around the pick.
Card
Create a 4.25 x 5.5 card base with the fold at the top. Cover the front with patterned paper layered with additional papers. Add decorative doily trim to the bottom of a Project Card and adhere to the card base using Sticky Tape Runner.
Embellish with additional die cuts and garlands. Adhere garland flags and camera die cut with 3D Foam Squares.
We’d like to give you a chance to win this same collection that Designer Audrey Pettit used today!
Simply follow the steps to enter to win the Ruby Rock-It Carnival Queen Collection! It’s filled with:
11 Double-sided amazing papers!!
Pack of Party Picks
Pack of 24 Diecuts
Pre-stitched Garlands
Pockets and more!
Pack of Project Cards
5 Comments on Party It Up with Therm O Web & Ruby Rock-It
1Pingbacks & Trackbacks on Party It Up with Therm O Web & Ruby Rock-It
-
[…] week, we have a fun product partner on the Therm O Web blog, Ruby Rock-It. They sent me their adorable Carnival Queen collection to play with, filled with all […]

Kathy Davis
April 9, 2013 at 10:33 am (12 years ago)FB fan as Kathy Newsom Davis
margie spruell
April 9, 2013 at 5:05 pm (12 years ago)i have never worked with paper crafts would love to learn
Angi Barrs
April 10, 2013 at 1:19 pm (12 years ago)Audrey’s party ensemble is just sooooo darn cute. I love how she made this. 🙂
Kelli Smith
April 11, 2013 at 4:05 am (12 years ago)The Party Set is the so cute. Would be perfect for for Family movie Night & my kids would love it.