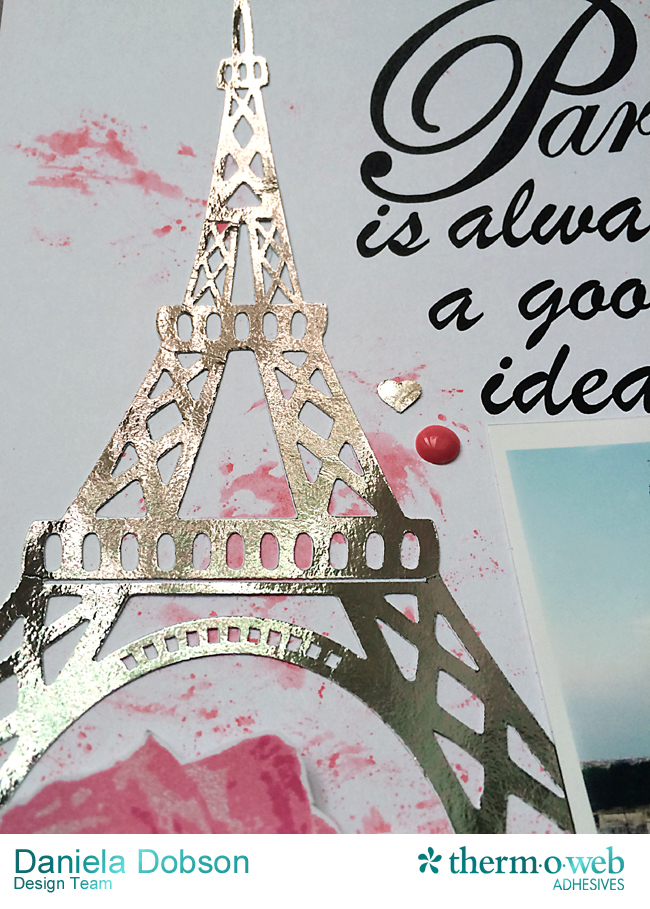
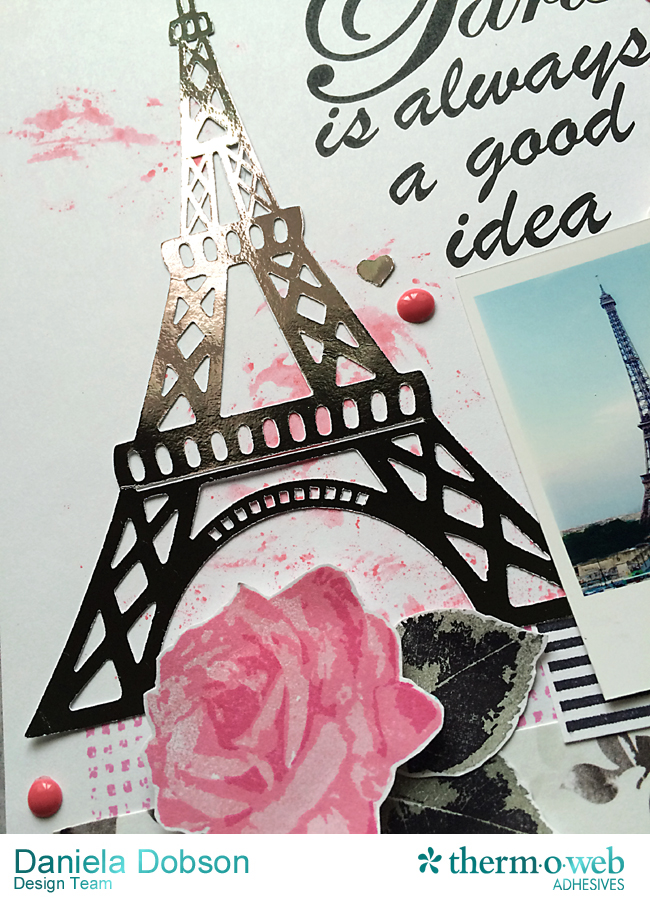
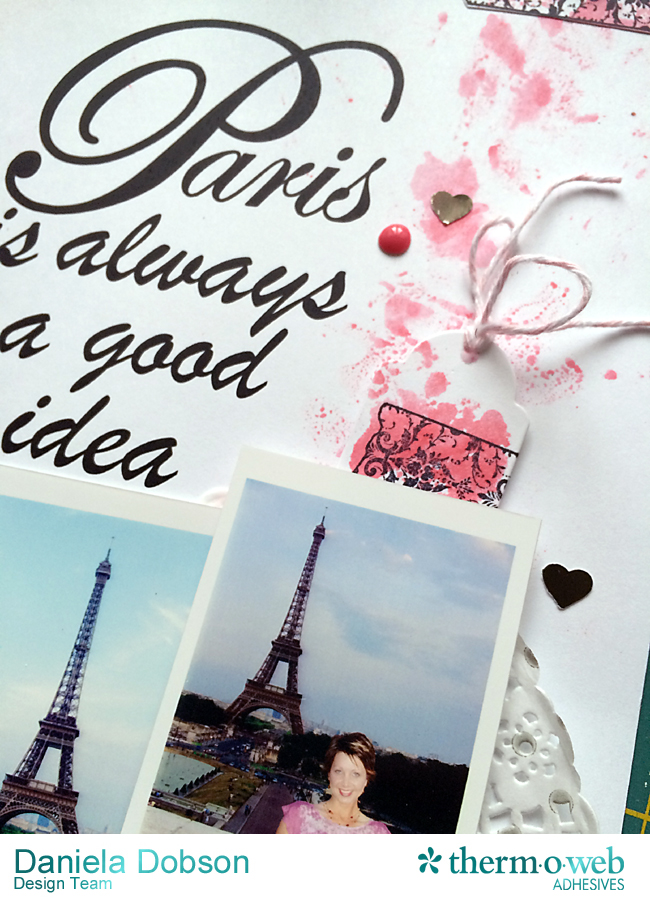
Hi, Daniela here with a layout about my trip to Paris one summer. I came up with the idea to print and cut the Eiffel Tower and the add Deco Foil™ to it. I used this file and a quote for a gift I made for a friend recently, and thought I would use it for my page here.

Therm O Web supplies:
Therm O Web Sticky Tape Mini Runner™
Therm O Web Zots™ Small
Therm O Web Zots™ Bling
3D White Foam Squares • Combo Pack
Deco Foil™ Toner Sheets
Deco Foil™ Transfer Sheets – Pewter
12″ Foil Laminator
Other supplies:
Impression Obsession stamps and dies, Silhouette Cameo, Silhouette digital cut file, Doily, Twine, Ranger Distress Paint, heart punch, ink, washi tape, Nuvo Crystal Drops.
Instructions:
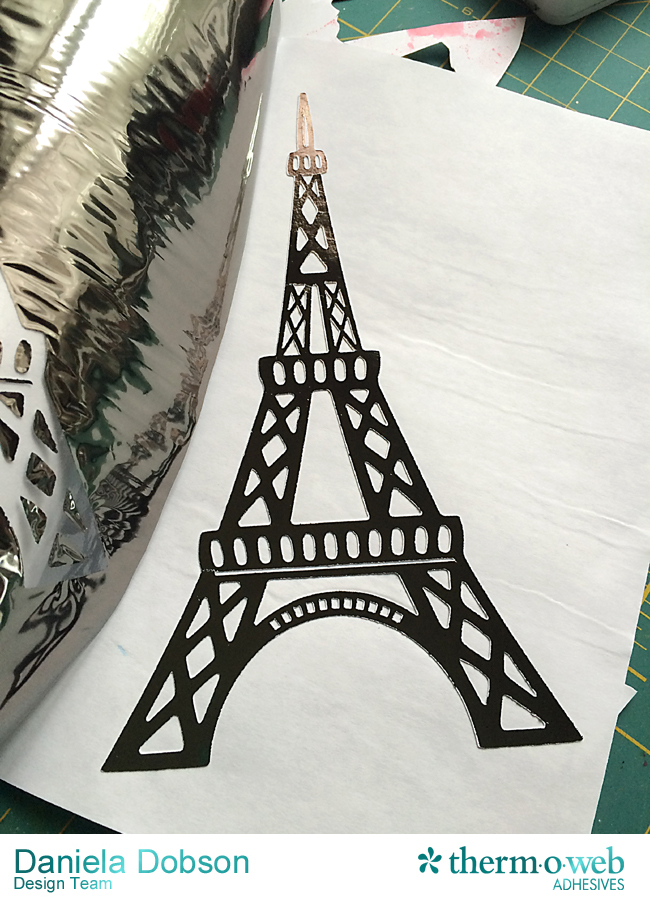
1. Print and cut the Eiffel Tower in your digital cutter. Run the cut file through the laminator with Deco Foil™ Transfer Sheets • Pewter.
2. Print the tile on cardstock. Apply paint to the background. Stamp items on the page and stamp and cut items from white cardstock. Adhere everything to the bottom of the page using Therm O Web Sticky Tape Mini Runner™.

3. Adhere the Eiffel Tower to the page using Therm O Web Sticky Tape Mini Runner™. Adhere photos. Stamp and fussy cut the rose and leaves and adhere to the bottom of the page using Therm O Web Sticky Tape Mini Runner™ and 3D White Foam Squares.
4. Die cut two tags from white cardstock. Connect two tags using washi tape. Add your journaling. Decorate the front and add twine. Tuck behind photos.
 5. Adhere enamel dots and a button using Therm O Web Zots™ Small.
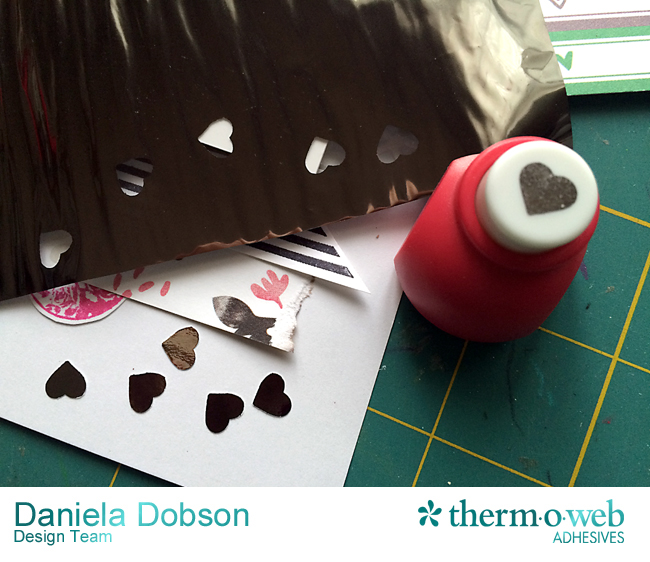
6. Punch hearts from Deco Foil™ Toner Sheets and run it through the laminator with Deco Foil™ Transfer Sheets – Pewter Adhere to the page using Therm O Web Zots™ Bling.
Here is one more close up photo of the Deco Foil™ Transfer Sheets – Pewter.