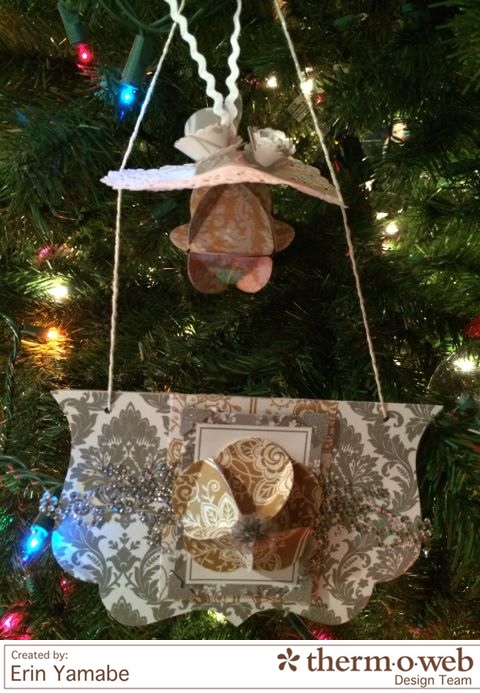
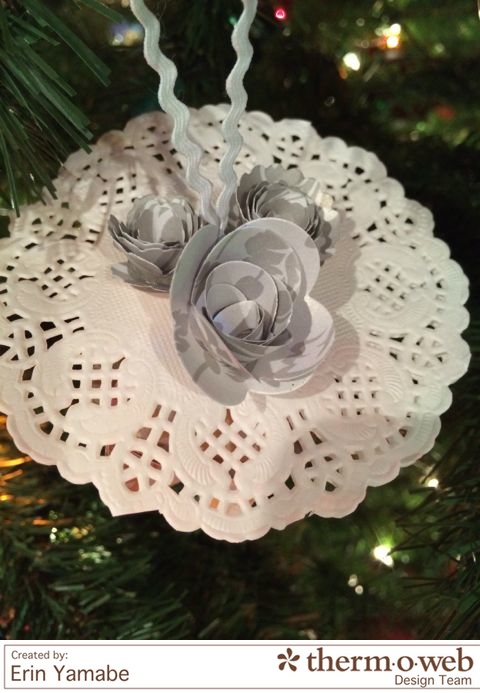
Hello Therm O Web fans! Erin here with you today, with some paper “orb” ornaments to share with you as we enjoy this festive season! Hope you are enjoying all the fabulous ideas from our designers! I’ve created a couple of decor for your tree or to add on top of a gift…
Therm O Web supplies:
Glitter Dust™ Photo Corners – Silver
Other supplies:
Ruby Rock-It Wedding Paper
Ruby Rock-It Bling
Chipboard LSS
The Twinery Twine
Fiskars 1.5 in circle punch
Doodlebug doily
For the smaller ornament, here’s how you create the orb:
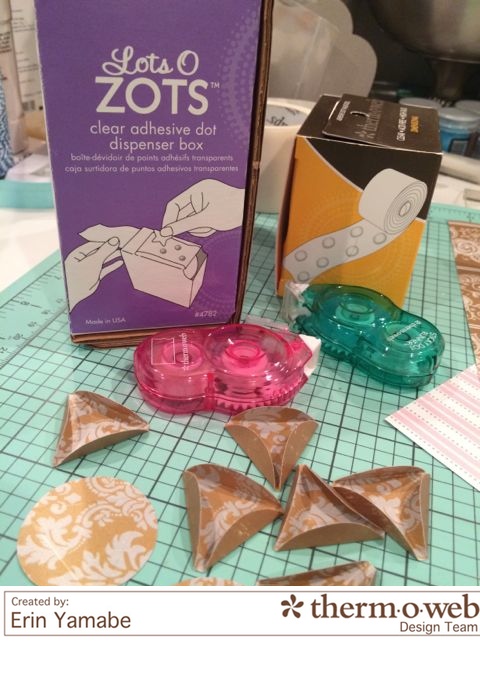
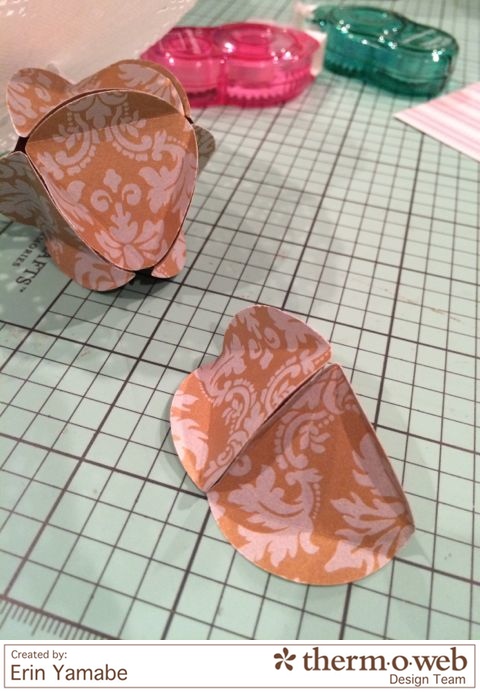
1. Punch 8 – 1.5 in circles from patterned paper. Score and fold each circle into a triangle.
2. Adhere the back of one fold to the front of the next orb. Repeat for 4 triangles for the top.
3. Add rid arc through top of orb, secure with 3D zot™ dot.
4. Repeat step 2.
Pierce hold in center of doily. Feed ric rac through doily.
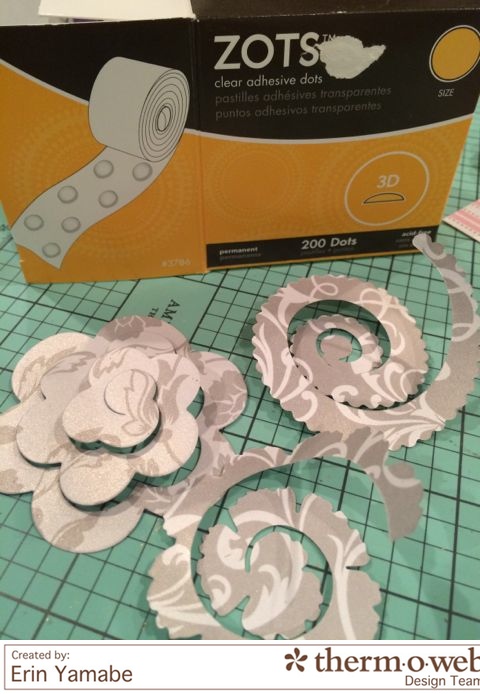
Choose your favorite flower die cuts. Roll the flowers and secure on the bottom with a 3D zot™ dot.
Adhere to top of doily with zot dot.
For the second ornament, choose pattern paper, trace, cut and adhere to chipboard.
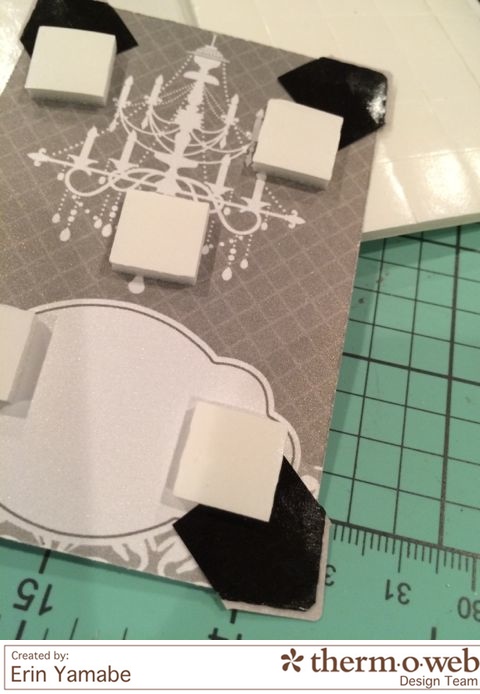
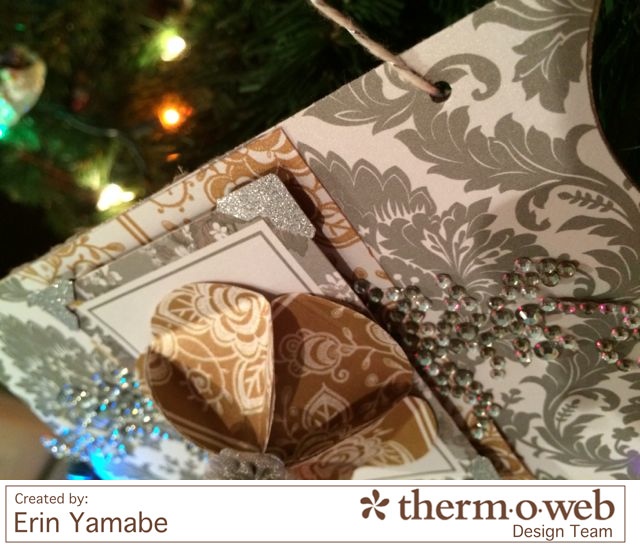
Cut a 3 in by 4 in cut out from paper. Cut another paper to 2.75 in by 3.75 in. Adhere Glitter Dust™ photo corners to the smaller of the two papers. Adhere smaller paper with foam squares to larger paper.
Create another orb, as in the first sample. This time, punch 5 1.5 inch circles. Fold into triangles. Adhere back to front of the next orb with zot dot.
Add bling and voila!
Thank you for stopping by and making Therm O Web a part of your creative day!

