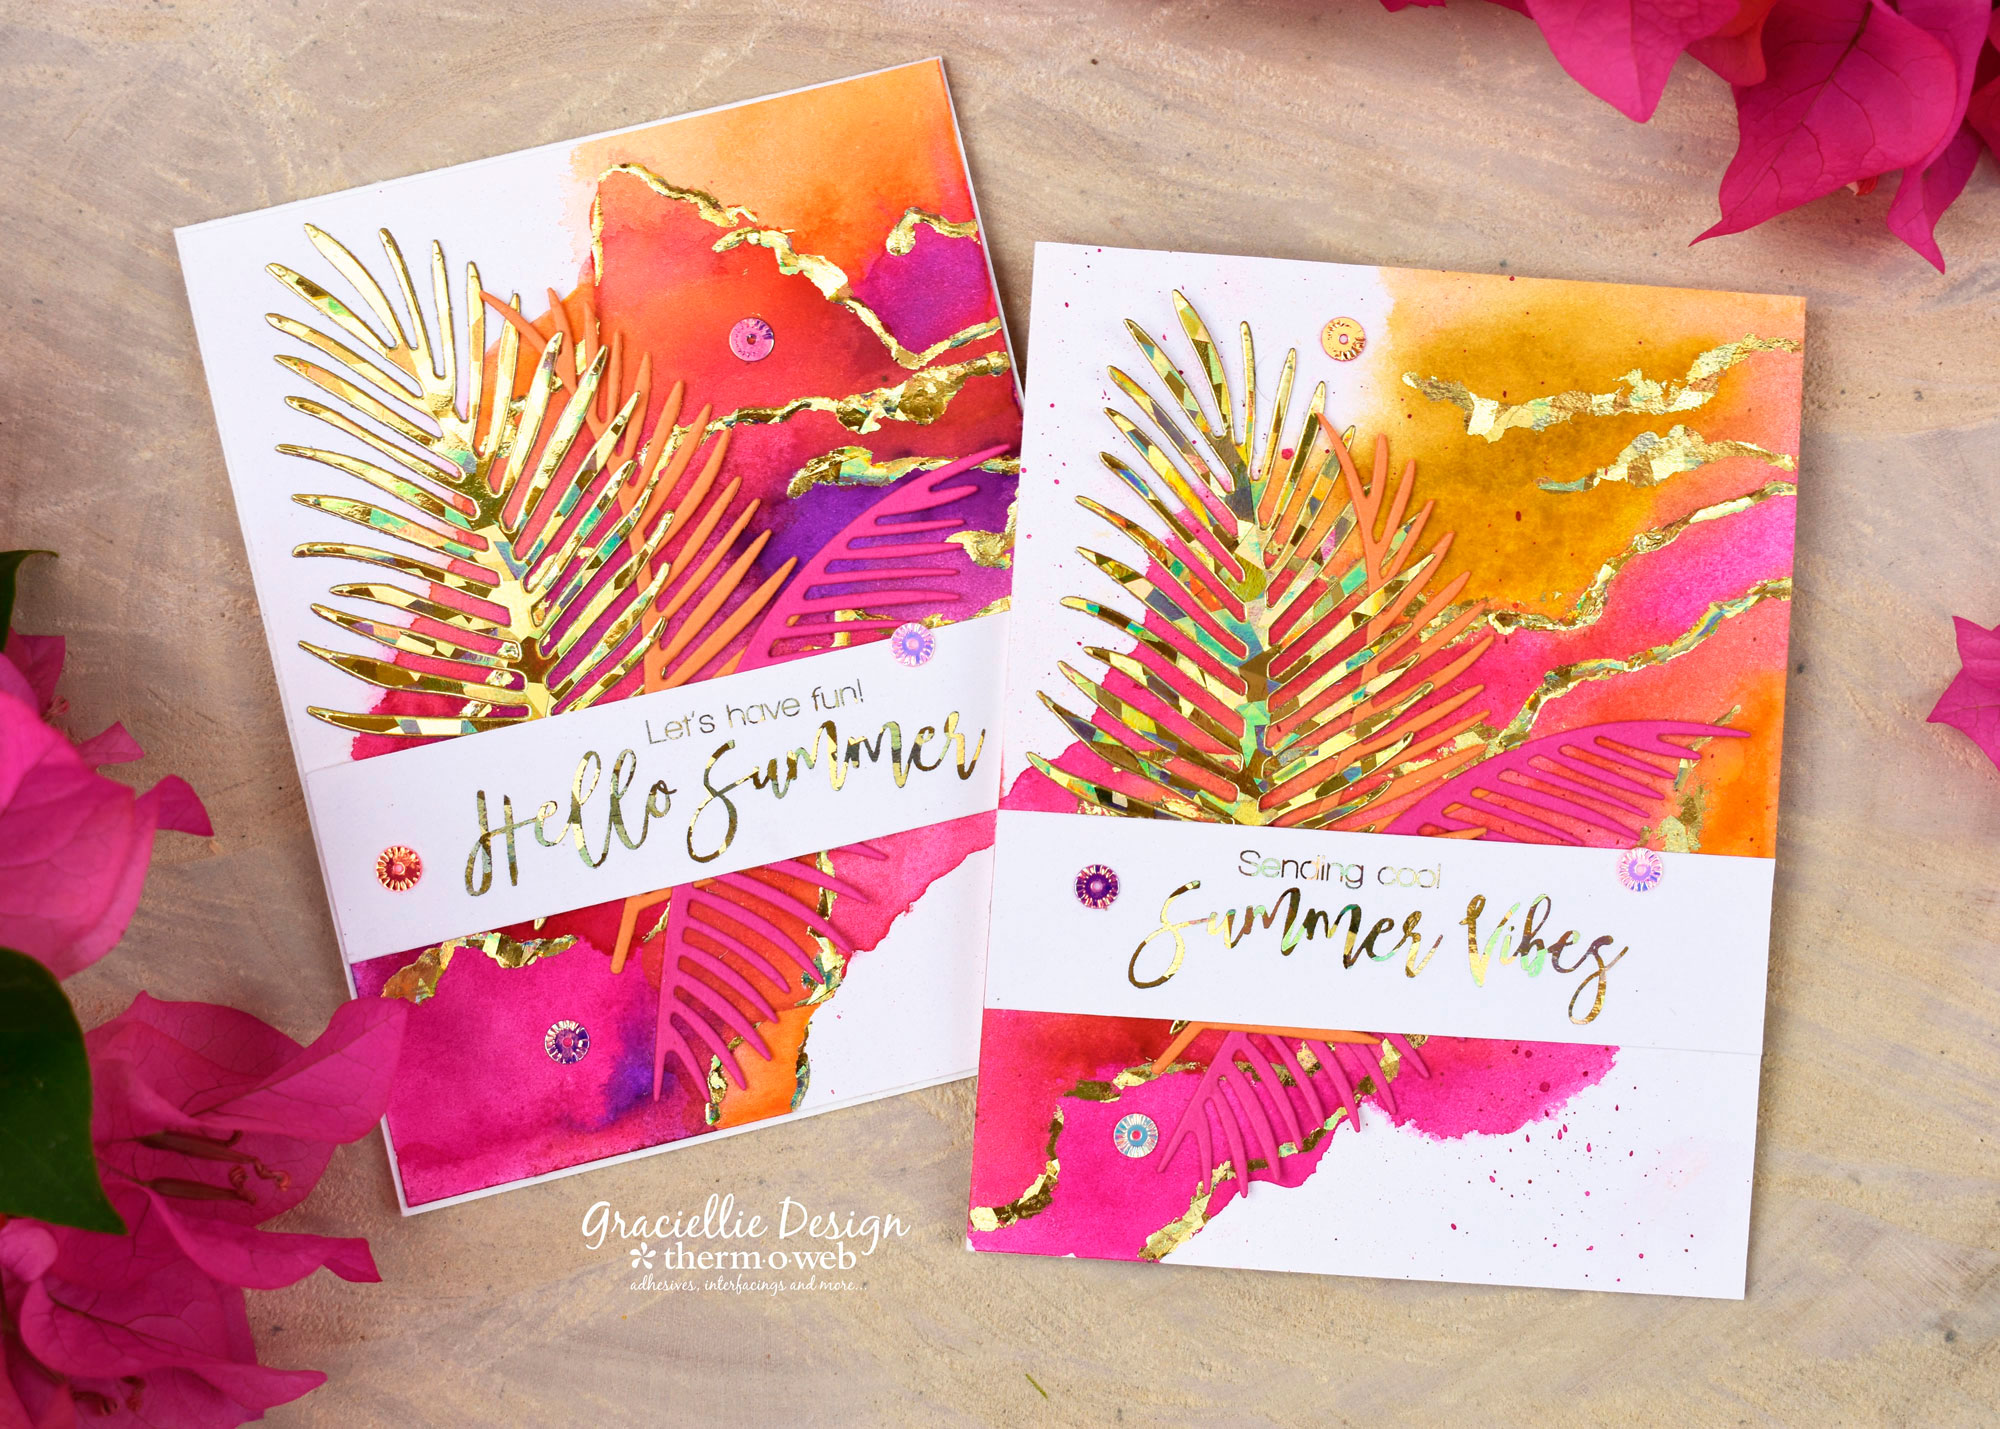
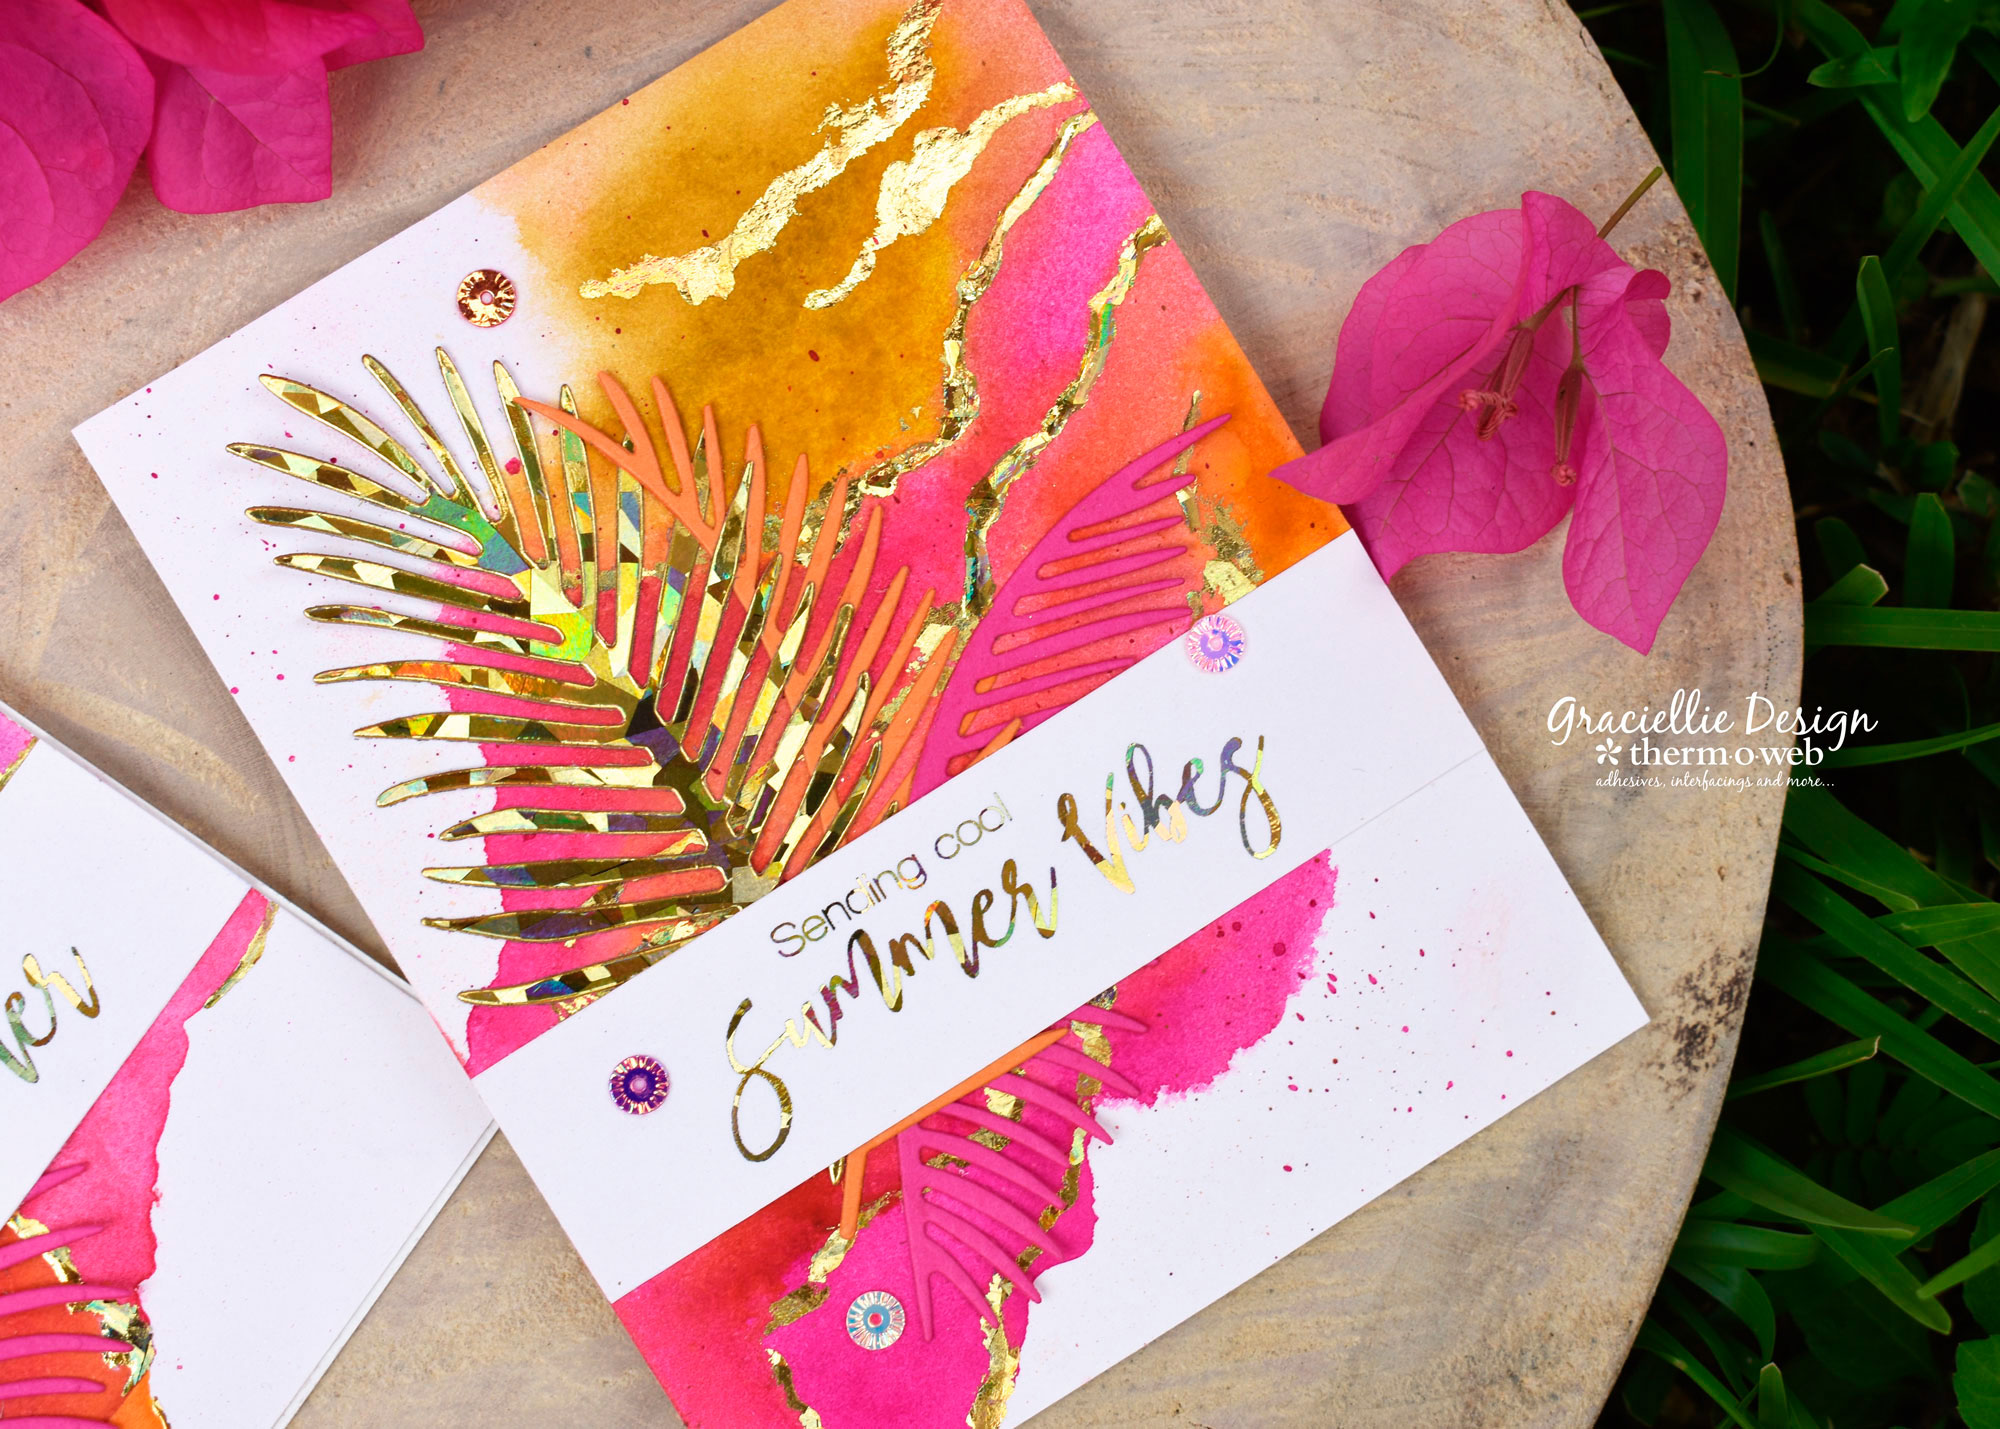
It’s Gracie Chavez and I’m excited to be back with a super fun, colorful and experimental project idea using Deco Foil as paint to add detail to watercolored backgrounds. Plus, I’ve included a freebie so you can recreate these Summer cards yourself, using the same digital sentiment stamps I used.
Painting with Deco Foil: Watercolored and Foiled Backgrounds for Cards
Therm O Web Supplies:
Deco Foil™ Adhesive Pen .34floz
Deco Foil™ Transfer Sheets • Gold Shattered Glass
Deco Foil™ PeelnStick Toner Sheets
Foil Laminator • 12 inch
Purple Tape
Gina K. Designs Premium Cardstock • Passionate Pink
Gina K. Designs Premium Cardstock • Sweet Mango
iCraft Mixed Media Adhesive 2.1 fl oz
iCraft Adhesive™ Tape • 1/2 in
Other Supplies:
Freebie • Summer Vibes and Hello Summer Digital Stamps (Click here to download)
Cryogen White cardstock
Watercolors in Rose, Mauve, Crimson Red, Orange Yellow, Yellow Ocre, Yellow Pale.
Filbert brush in no. 10 (for watercolored background).
Filbert brushes in no. 2 and 4 (to apply Deco Foil Pen adhesive).
Palm Fronds Cutting Die
Die Cutting Machine
Laser Printer
BM Bottle Cap Sequins – Masquerade
Painting with Deco Foil: Watercolored and Foiled Backgrounds
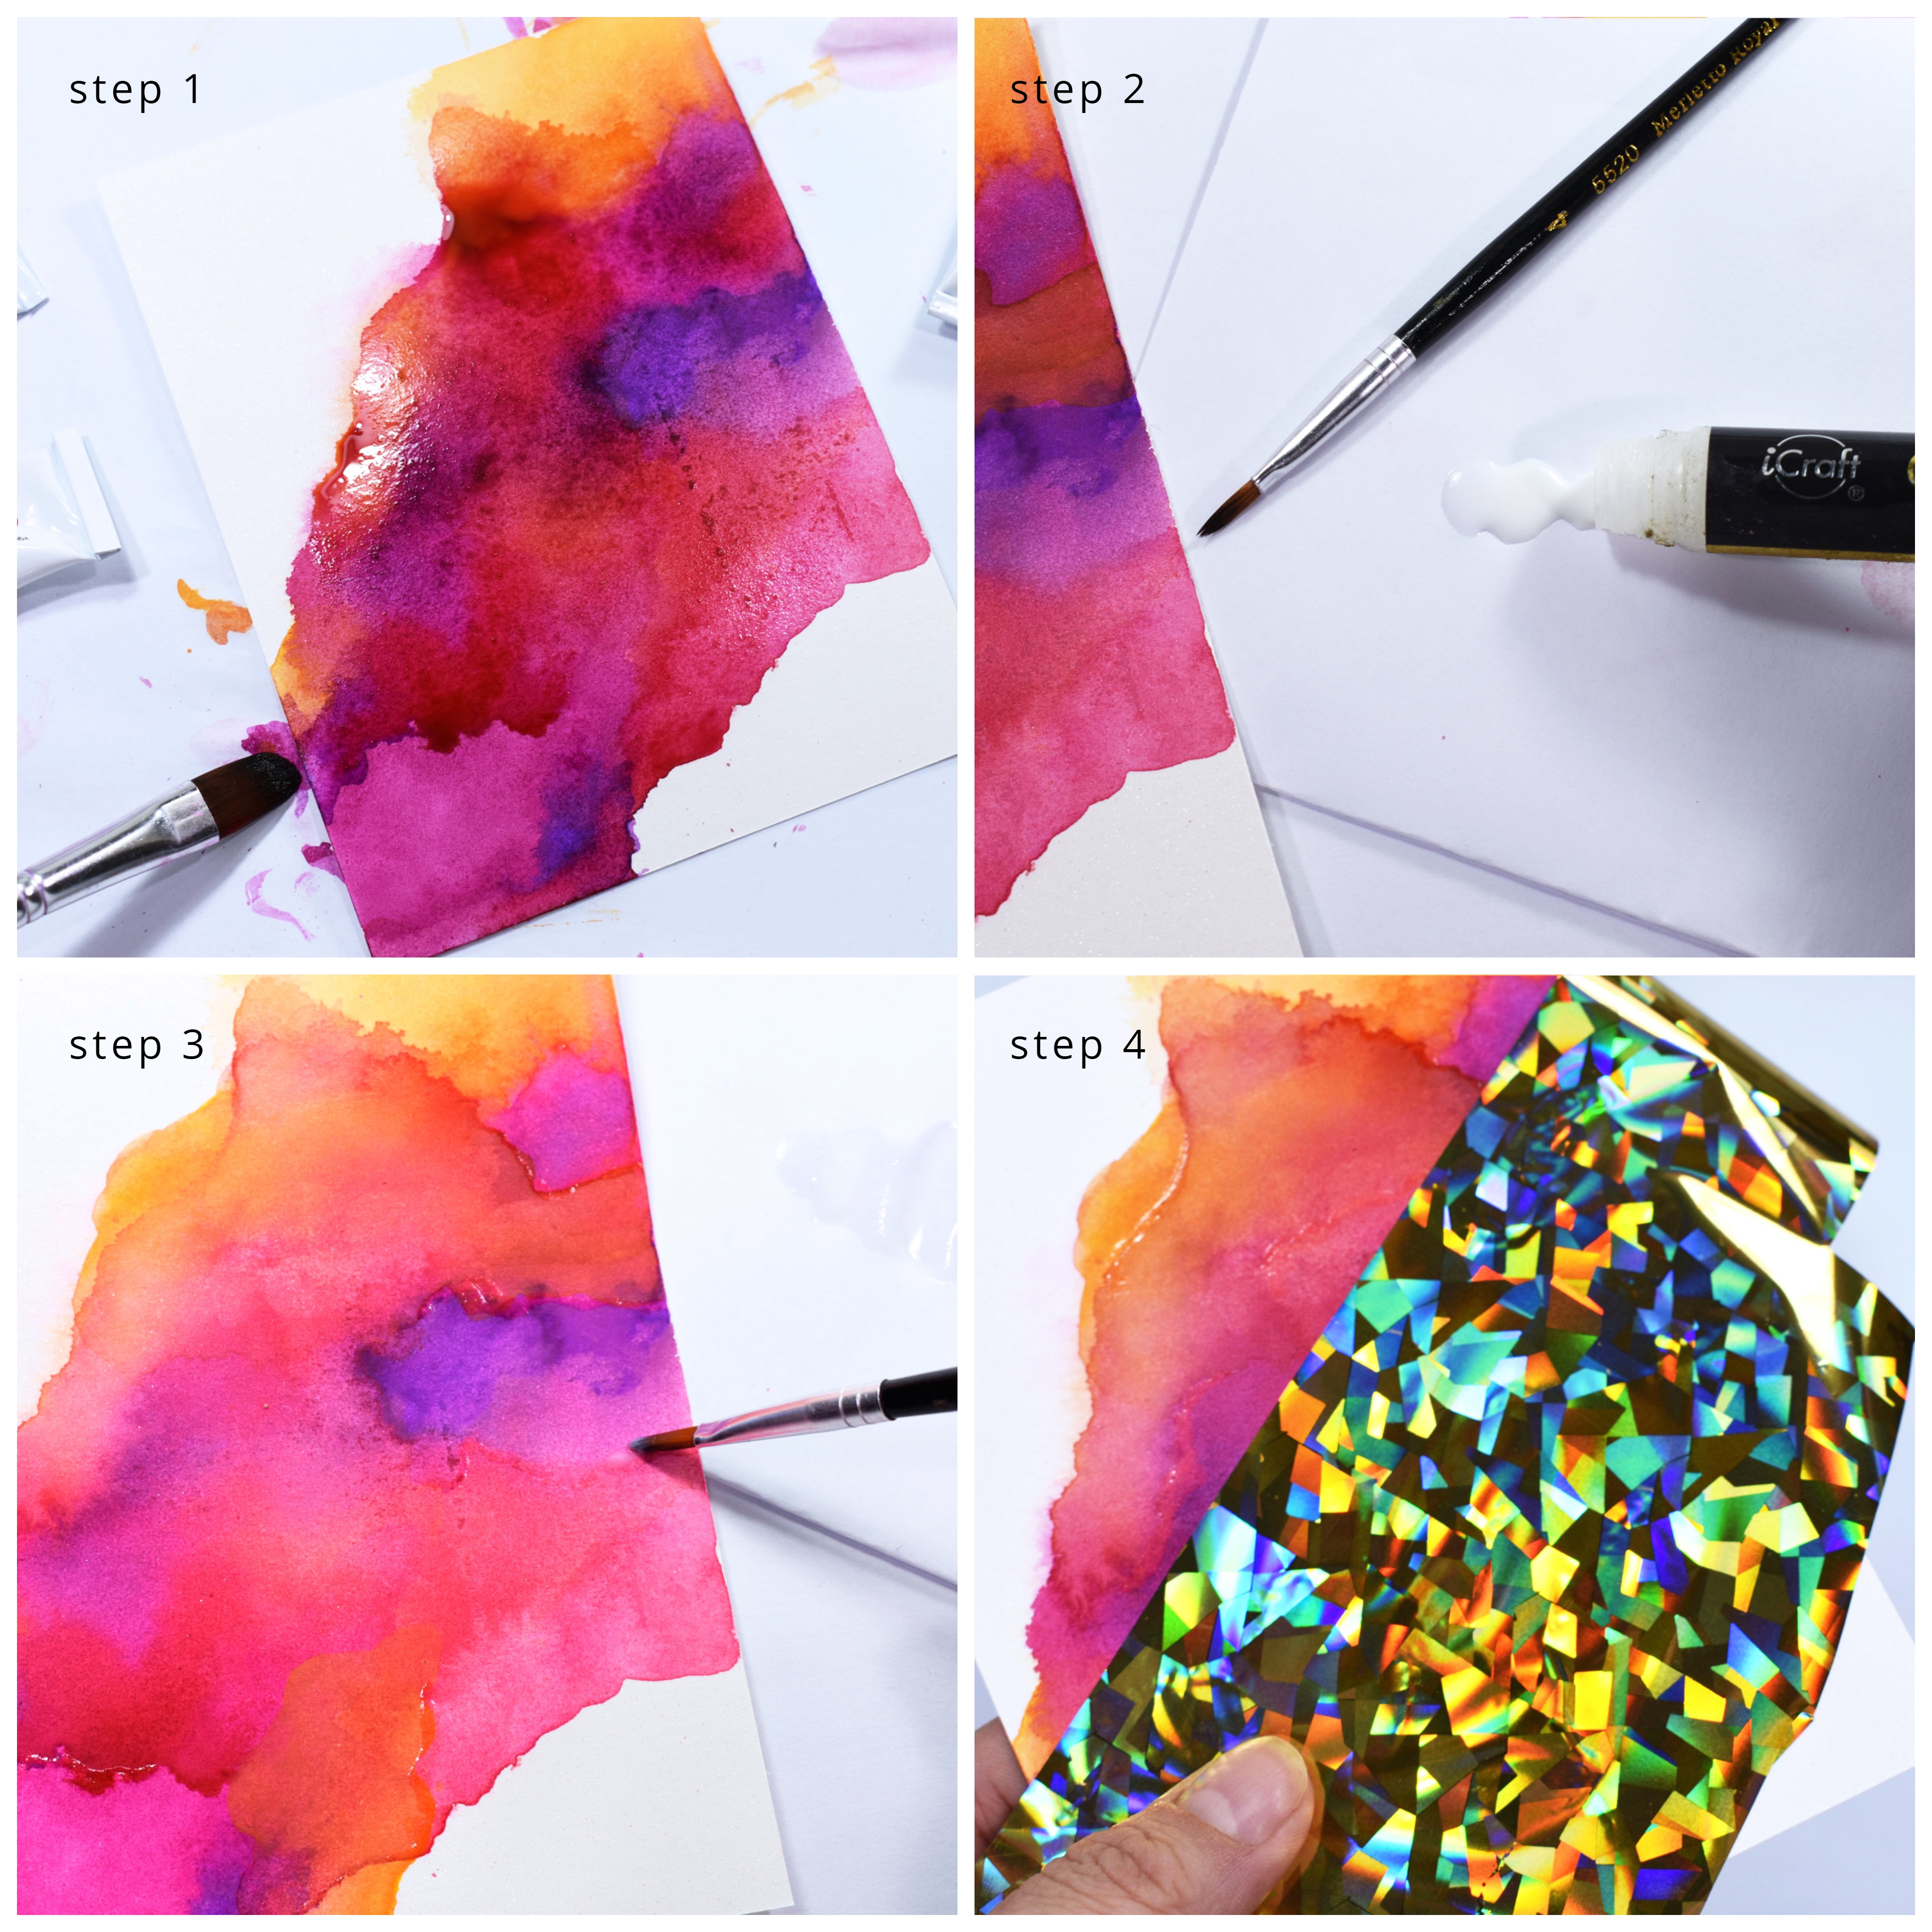
Step 1. Paint a bright watercolor wash on a 4 1/4″ by 5 1/2″ card base. Layer lots of color but make sure to leave some white space. Let your backgrounds dry completely.
Step 2. Next, open your Deco Foil Adhesive Pen and pour a bit on a scrap piece of paper.
Step 3. Use a fine brush to draw irregular lines on the background using Deco Foil Pen adhesive. Since this adhesive is very liquid you will be able to apply it just as you’d apply any watercolor or paint.
Step 4. Allow the Deco Foil Pen adhesive to dry completely (until tacky) and then place a piece of Gold Shattered Glass Deco Foil and burnish.
Step 5. Lift the Deco Foil sheet and continue applying it until all the adhesive is covered. The result should look somewhat like this:
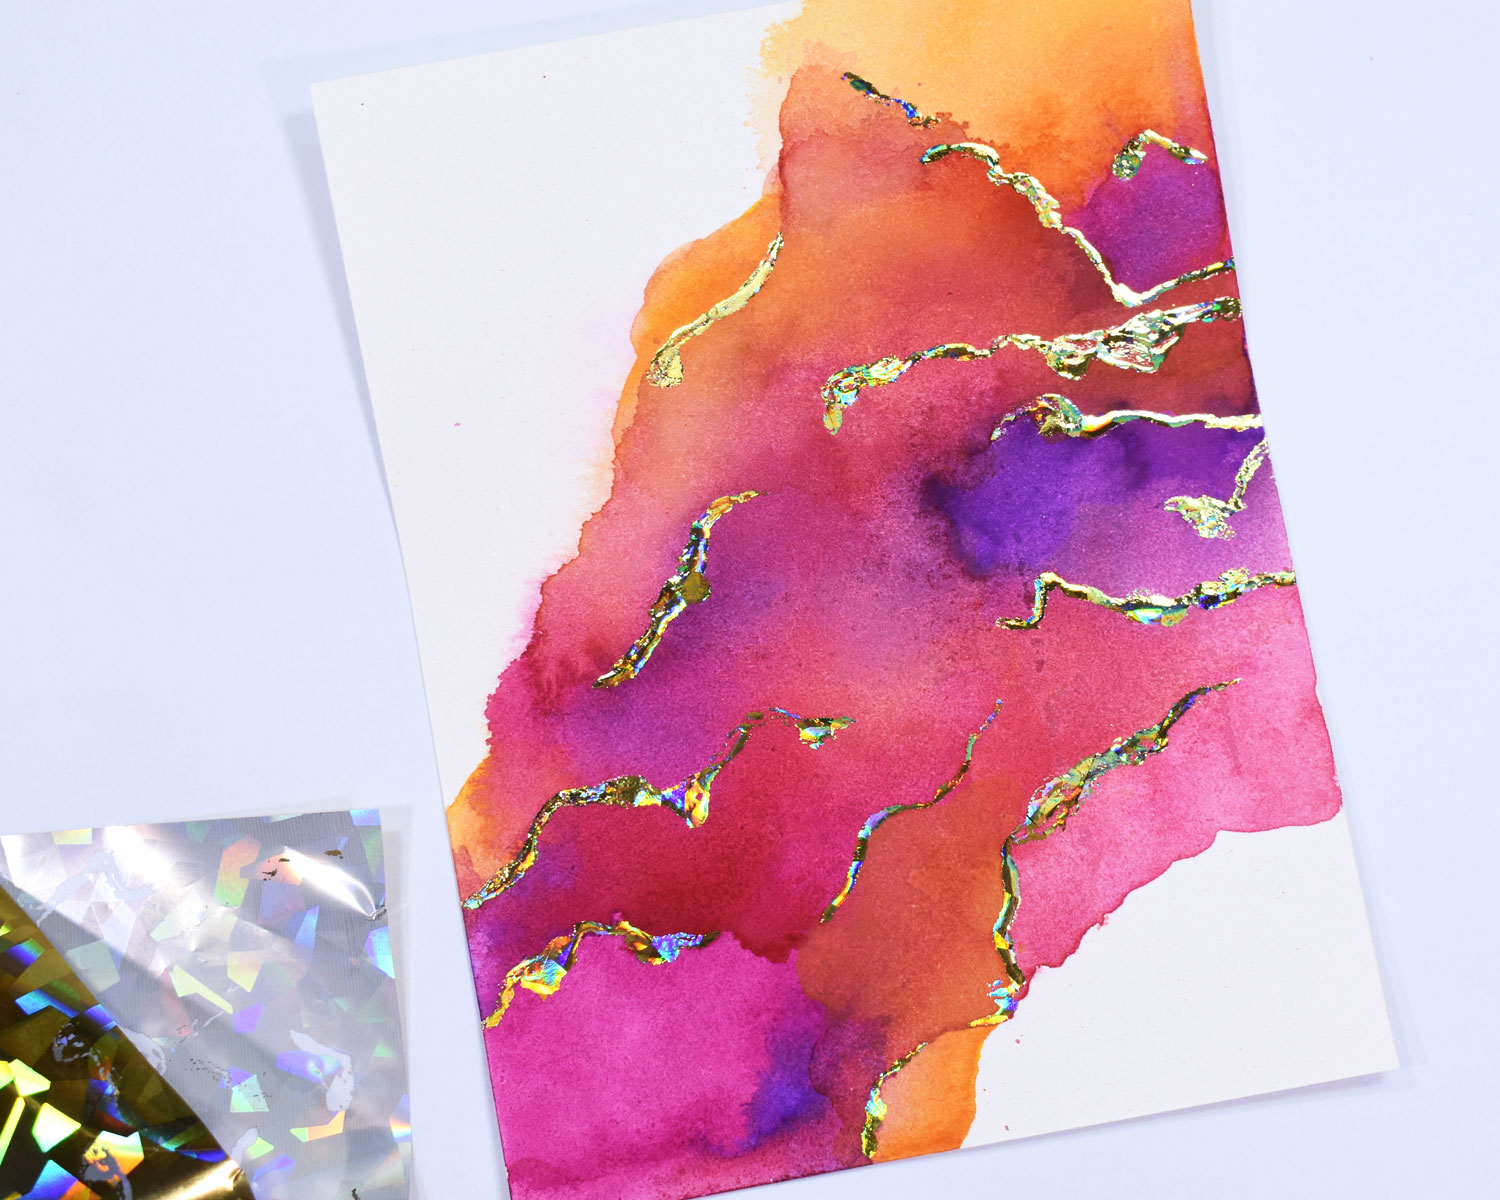
Each background you paint will vary and that is the magical part of this technique. The distressed foiled lines add even more movement to the watercolored background and I think it is a lot of fun for Summer handmade cards and other paper projects.
To finish these cards:
Step 6. Cover a piece of PeelnStick Toner Sheet with some Gold Shattered Glass Deco Foil, cover it with a folded piece of Parchment Paper and run it through a laminator. Next, peel off the foil backing.
Step 7. Use Purple Tape to attach a Palm Frond die facing the foiled surface and run it through a die cutting machine.
Step 8. Lift the die cut, just as you would with a sticker, and attach it to your background.
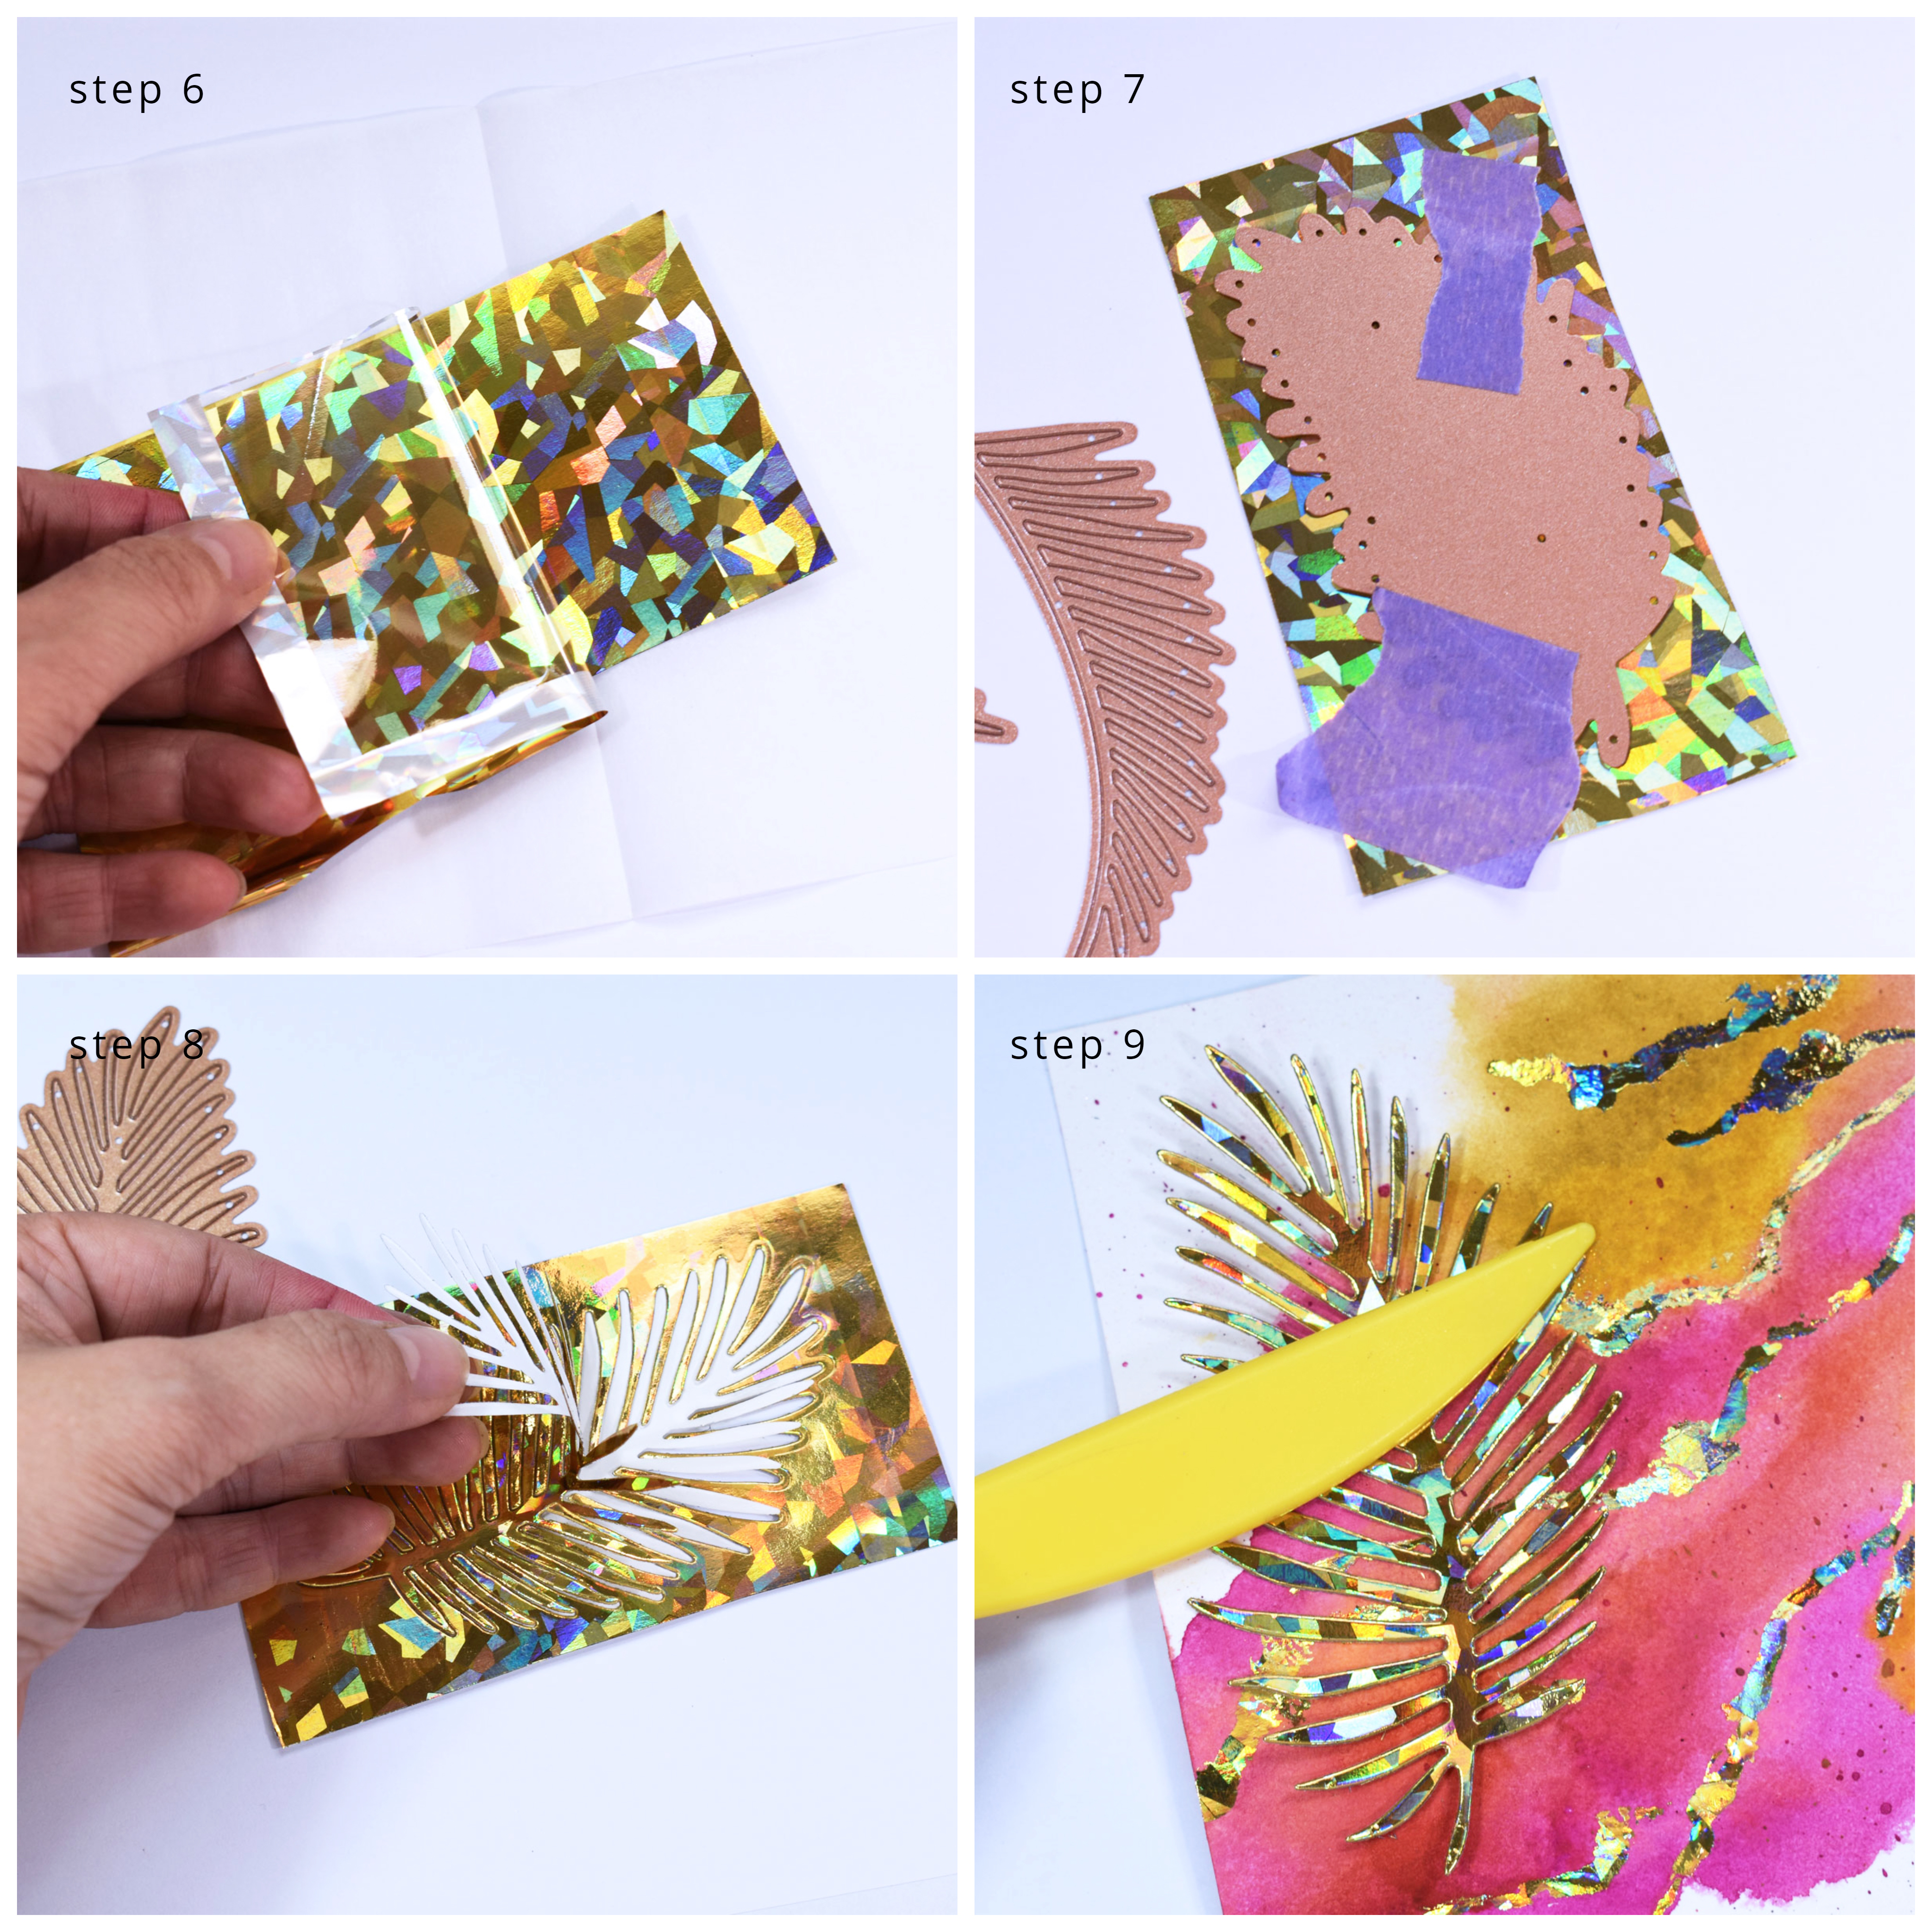
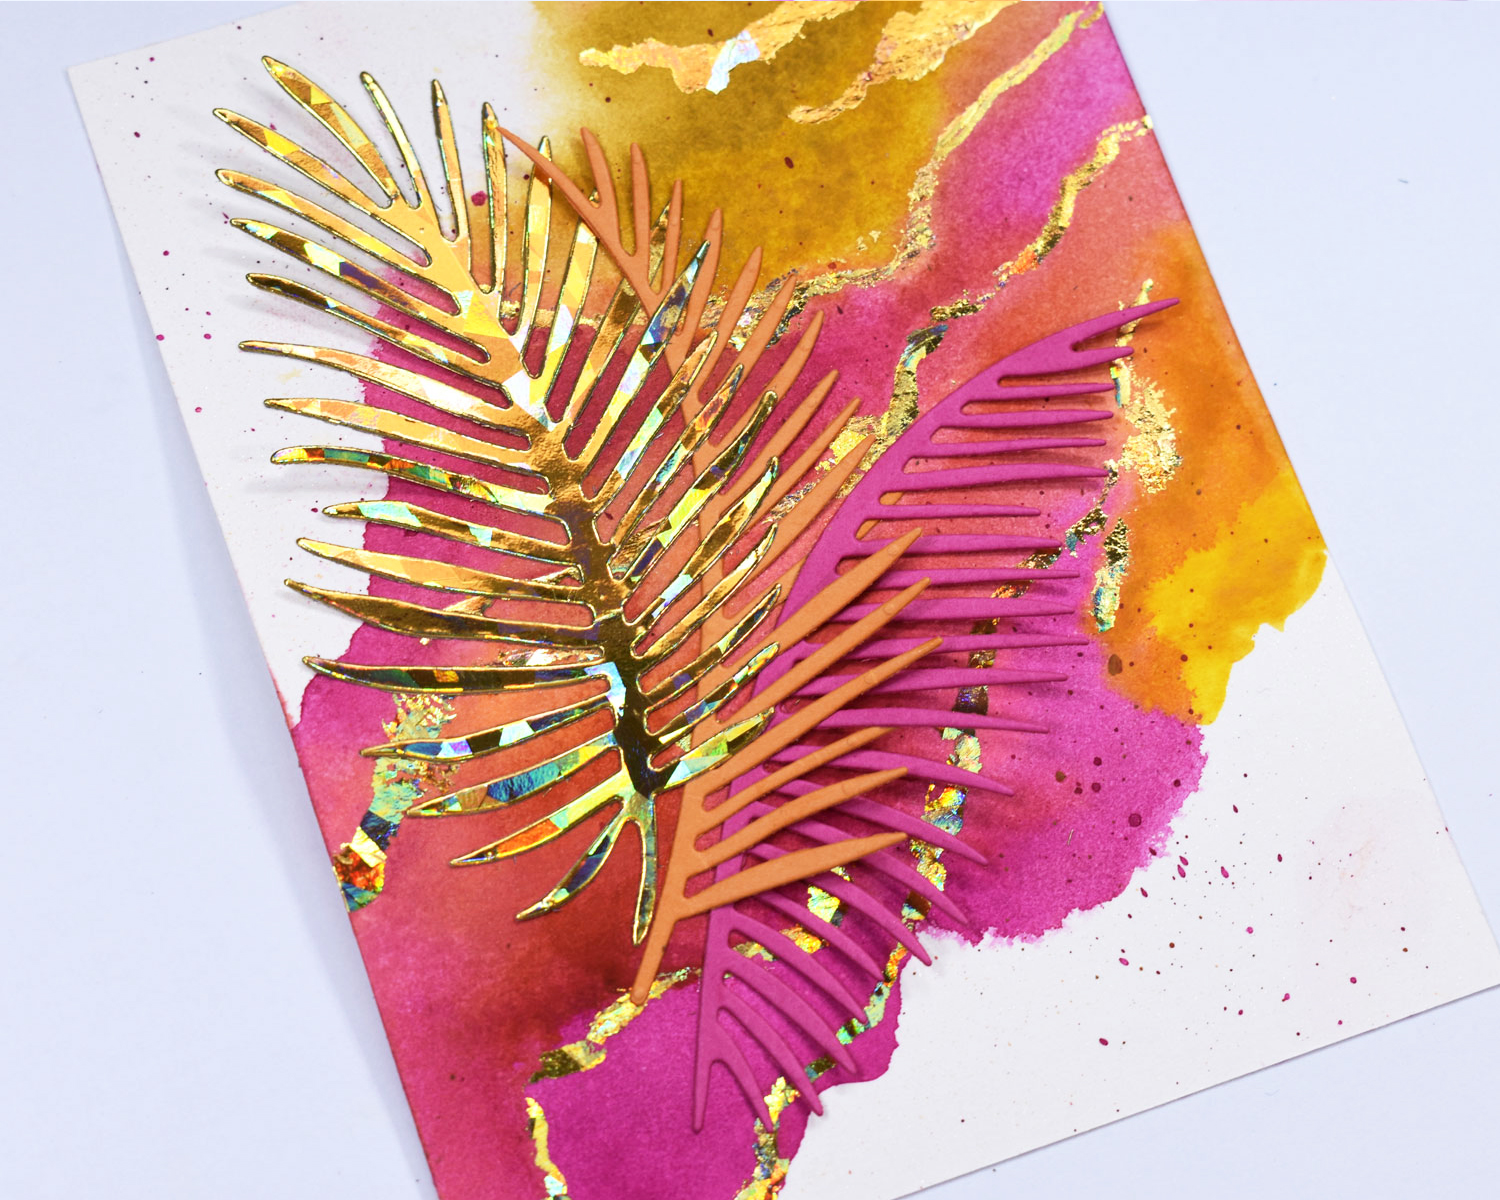
Step 9. Cut additional palm fronds from Gina K. Designs Premium Cardstock in Passionate Pink and Sweet Mango and attach it to the background using Mixed Media Adhesive.

Step 10. Print the freebie digital sentiment stamps on a laser printer, cover it with Gold Shattered Glass Deco Foil and run it through the laminator. The toner on the print will heat up and make the Deco Foil stick to it, giving the sentiment that awesome foiled effect we all love.

Step 11. Cut a banner from the sentiment and attach it across your background.


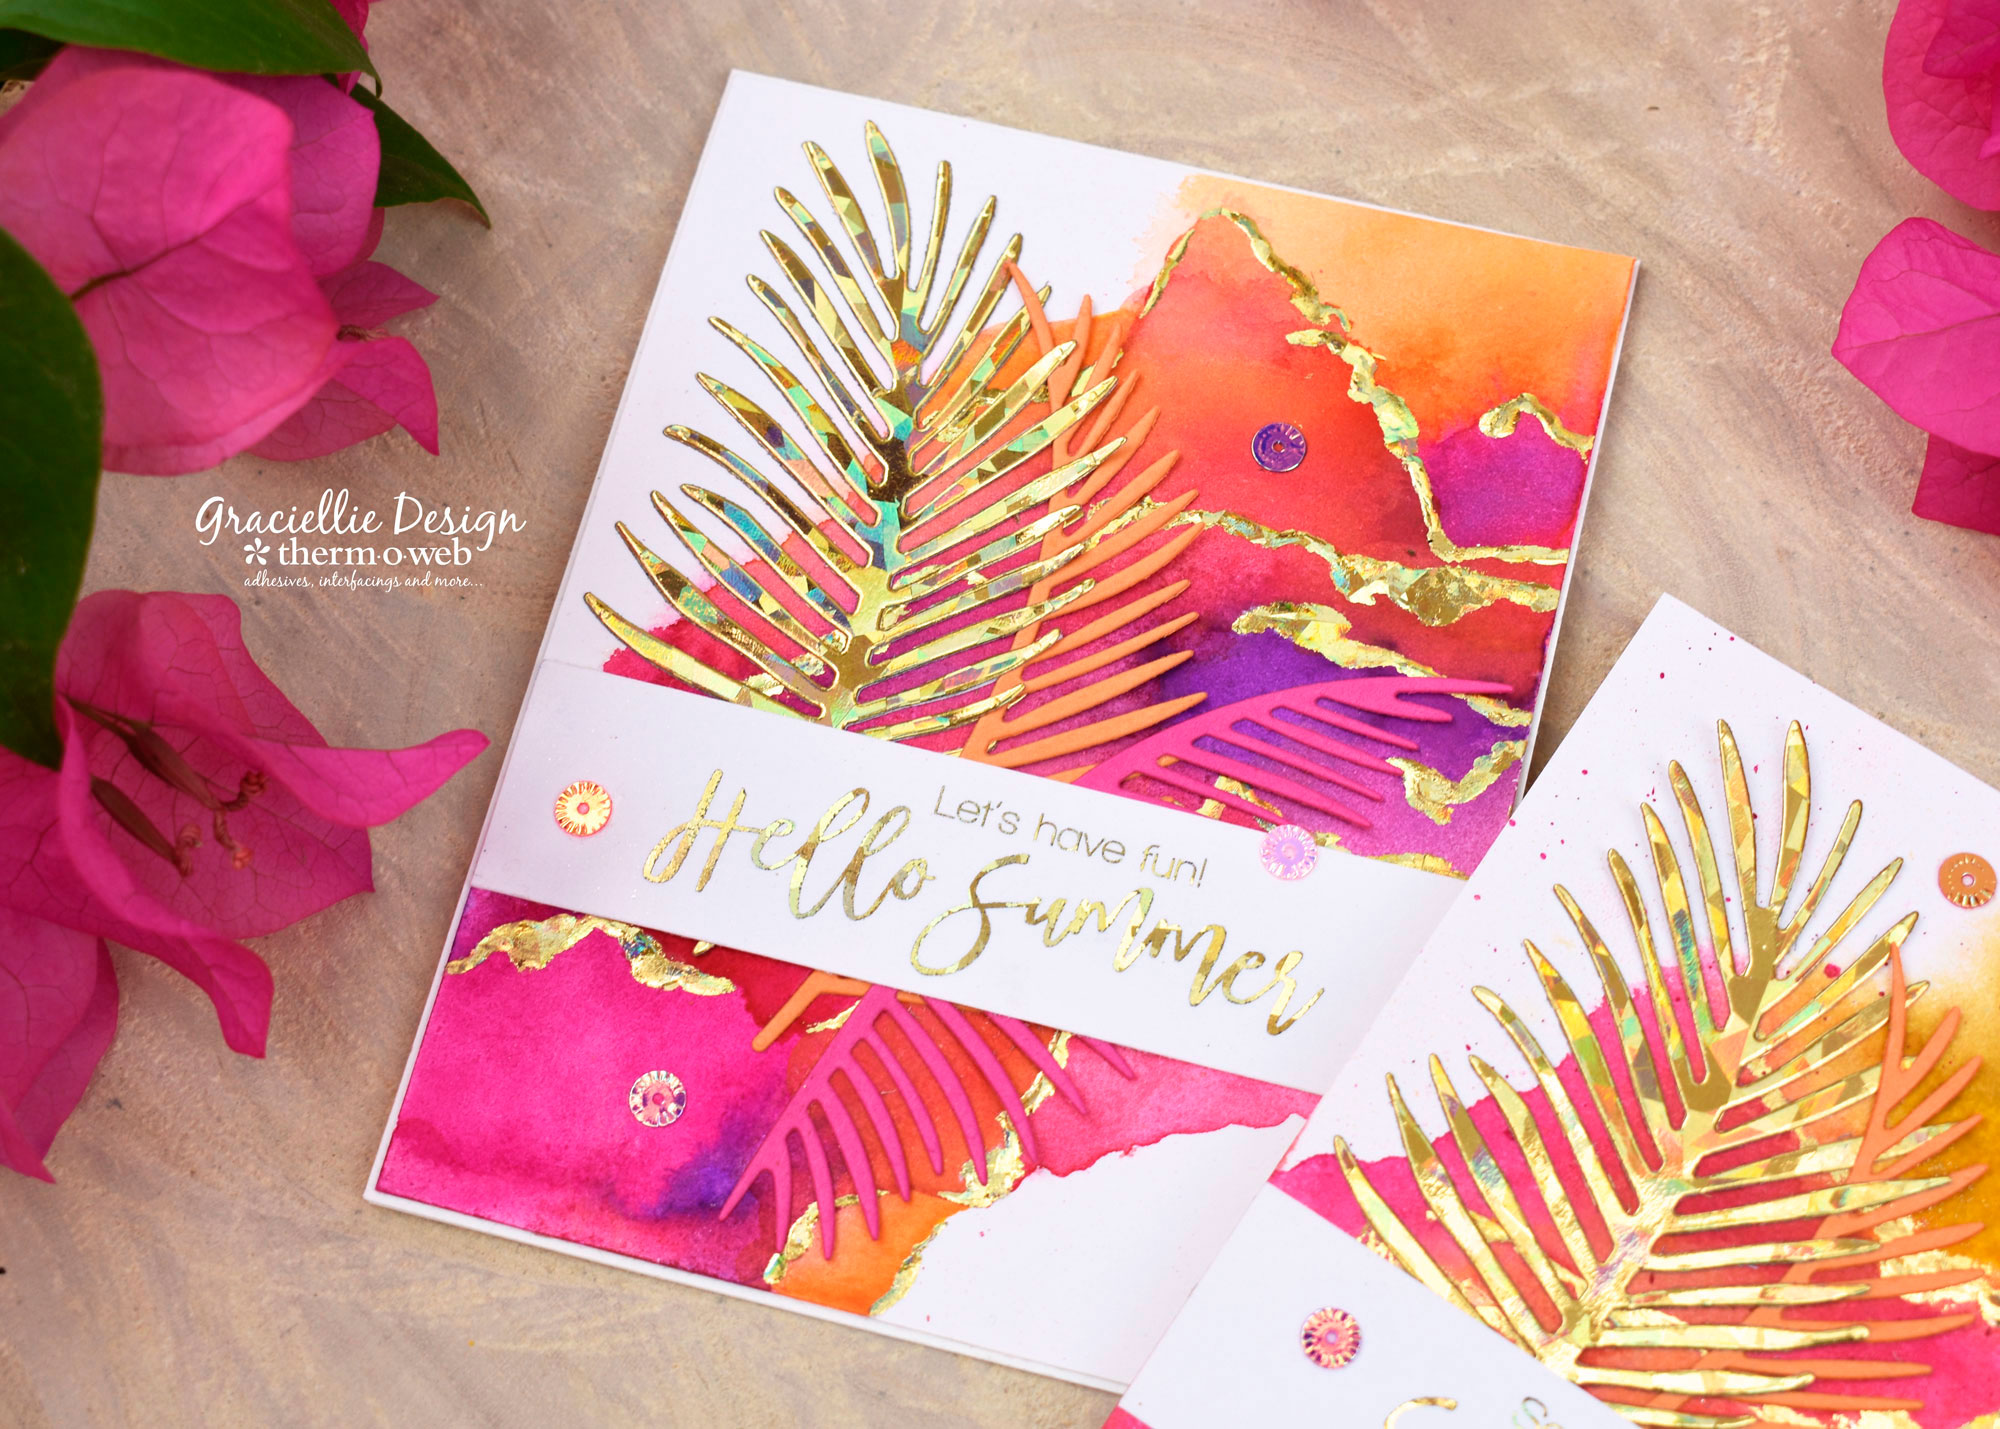
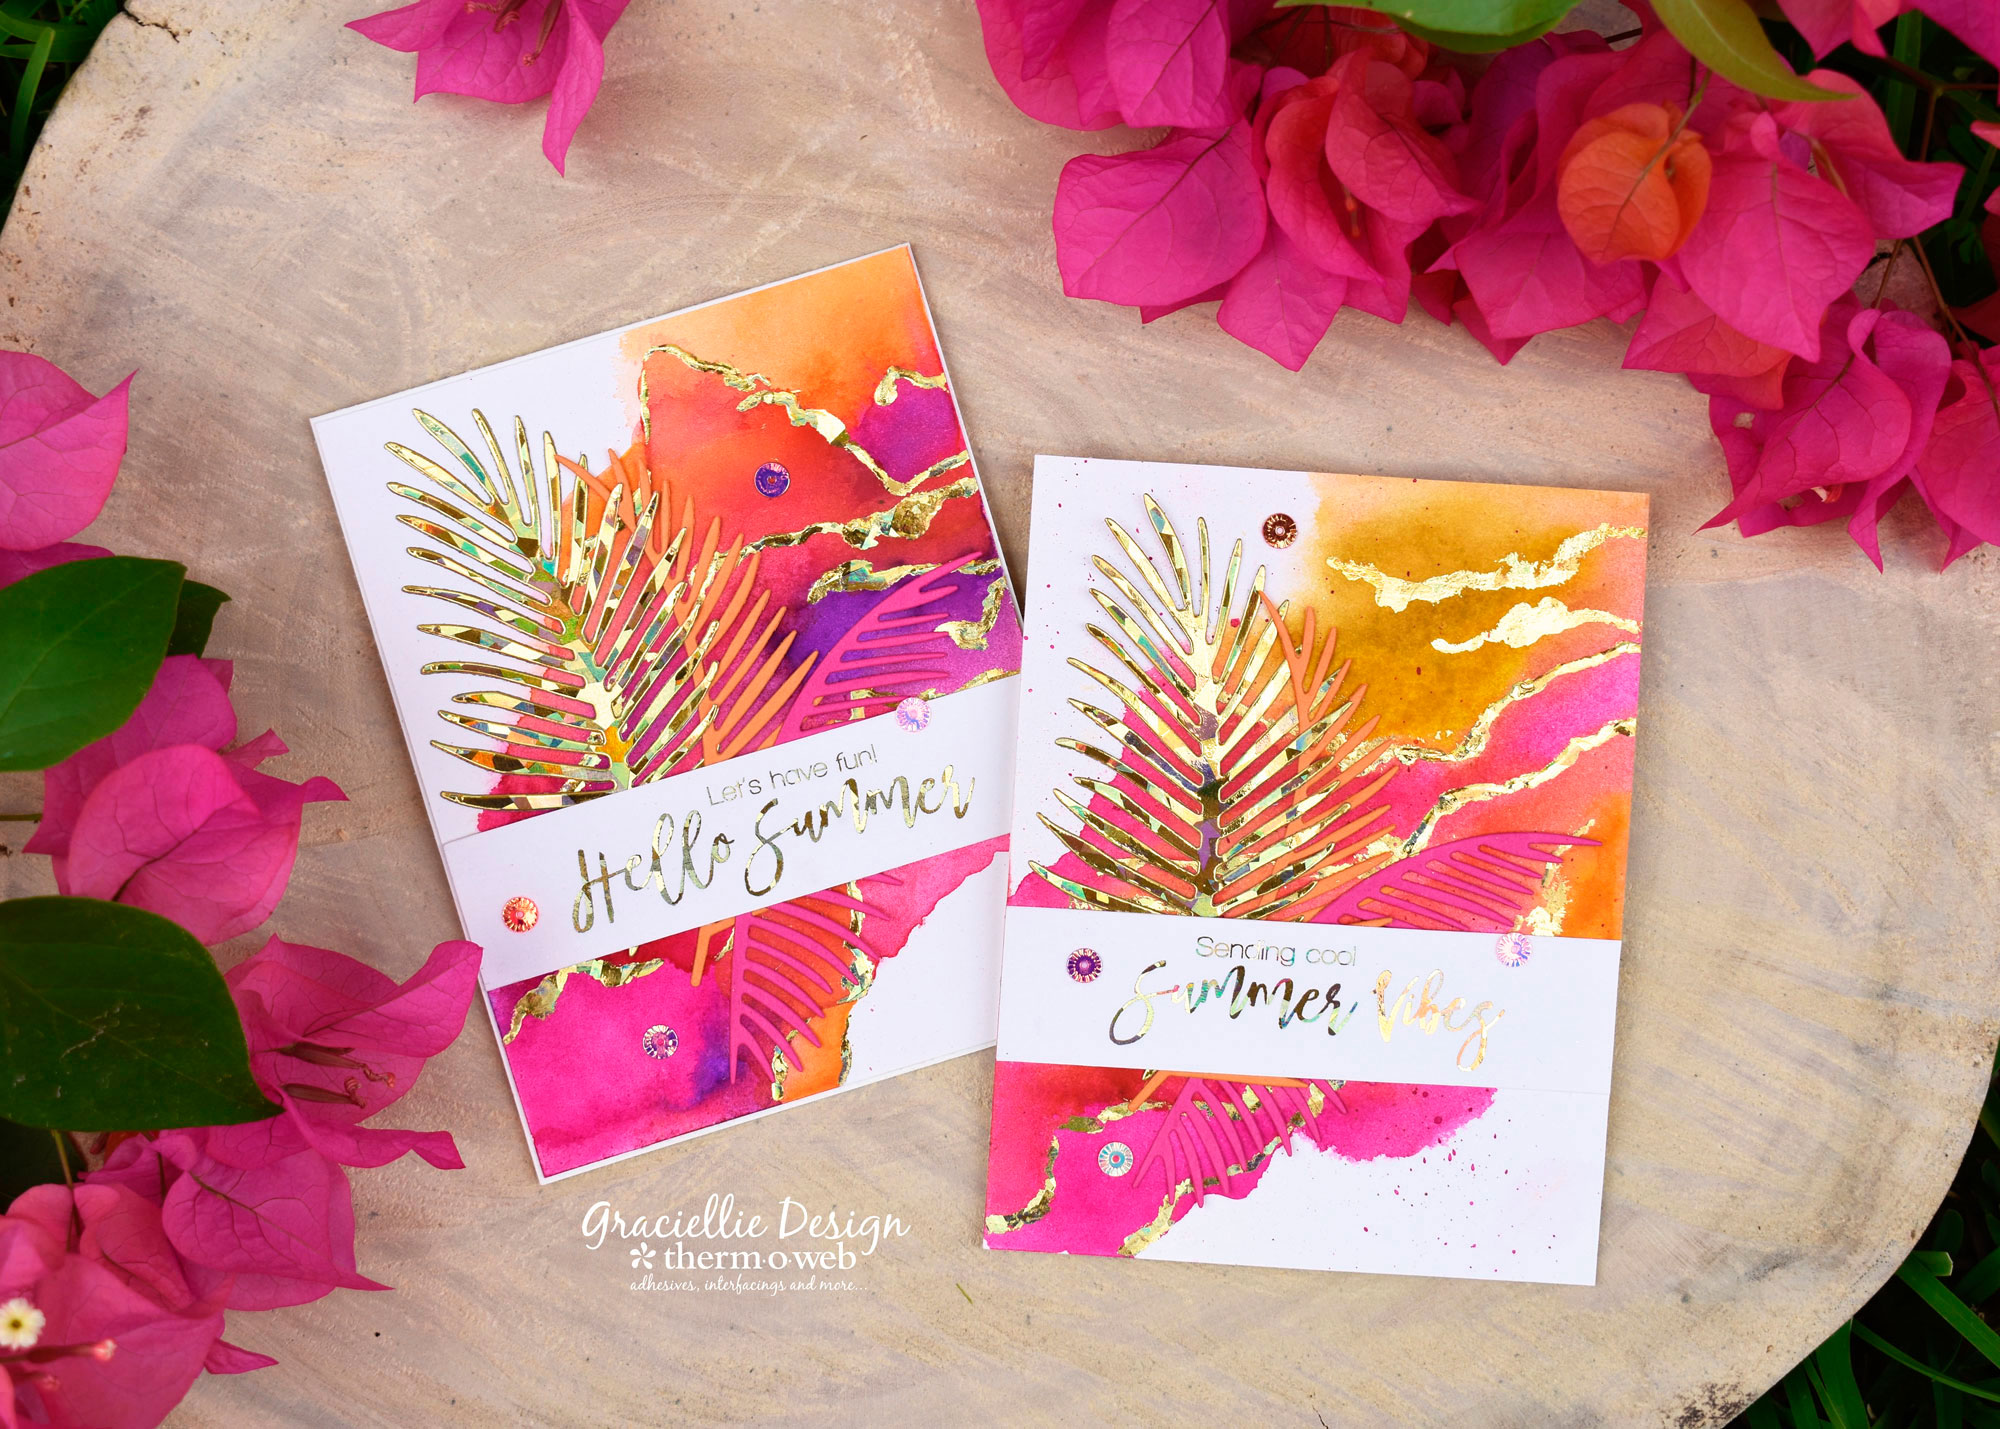
Step 12. Embellish your card panel with some sequins, using a dot of Mixed Media Adhesive to attach them.
Step 13. Finally, adhere your card panel to a card base and embellish it with some sequins using Mixed Media Adhesive.
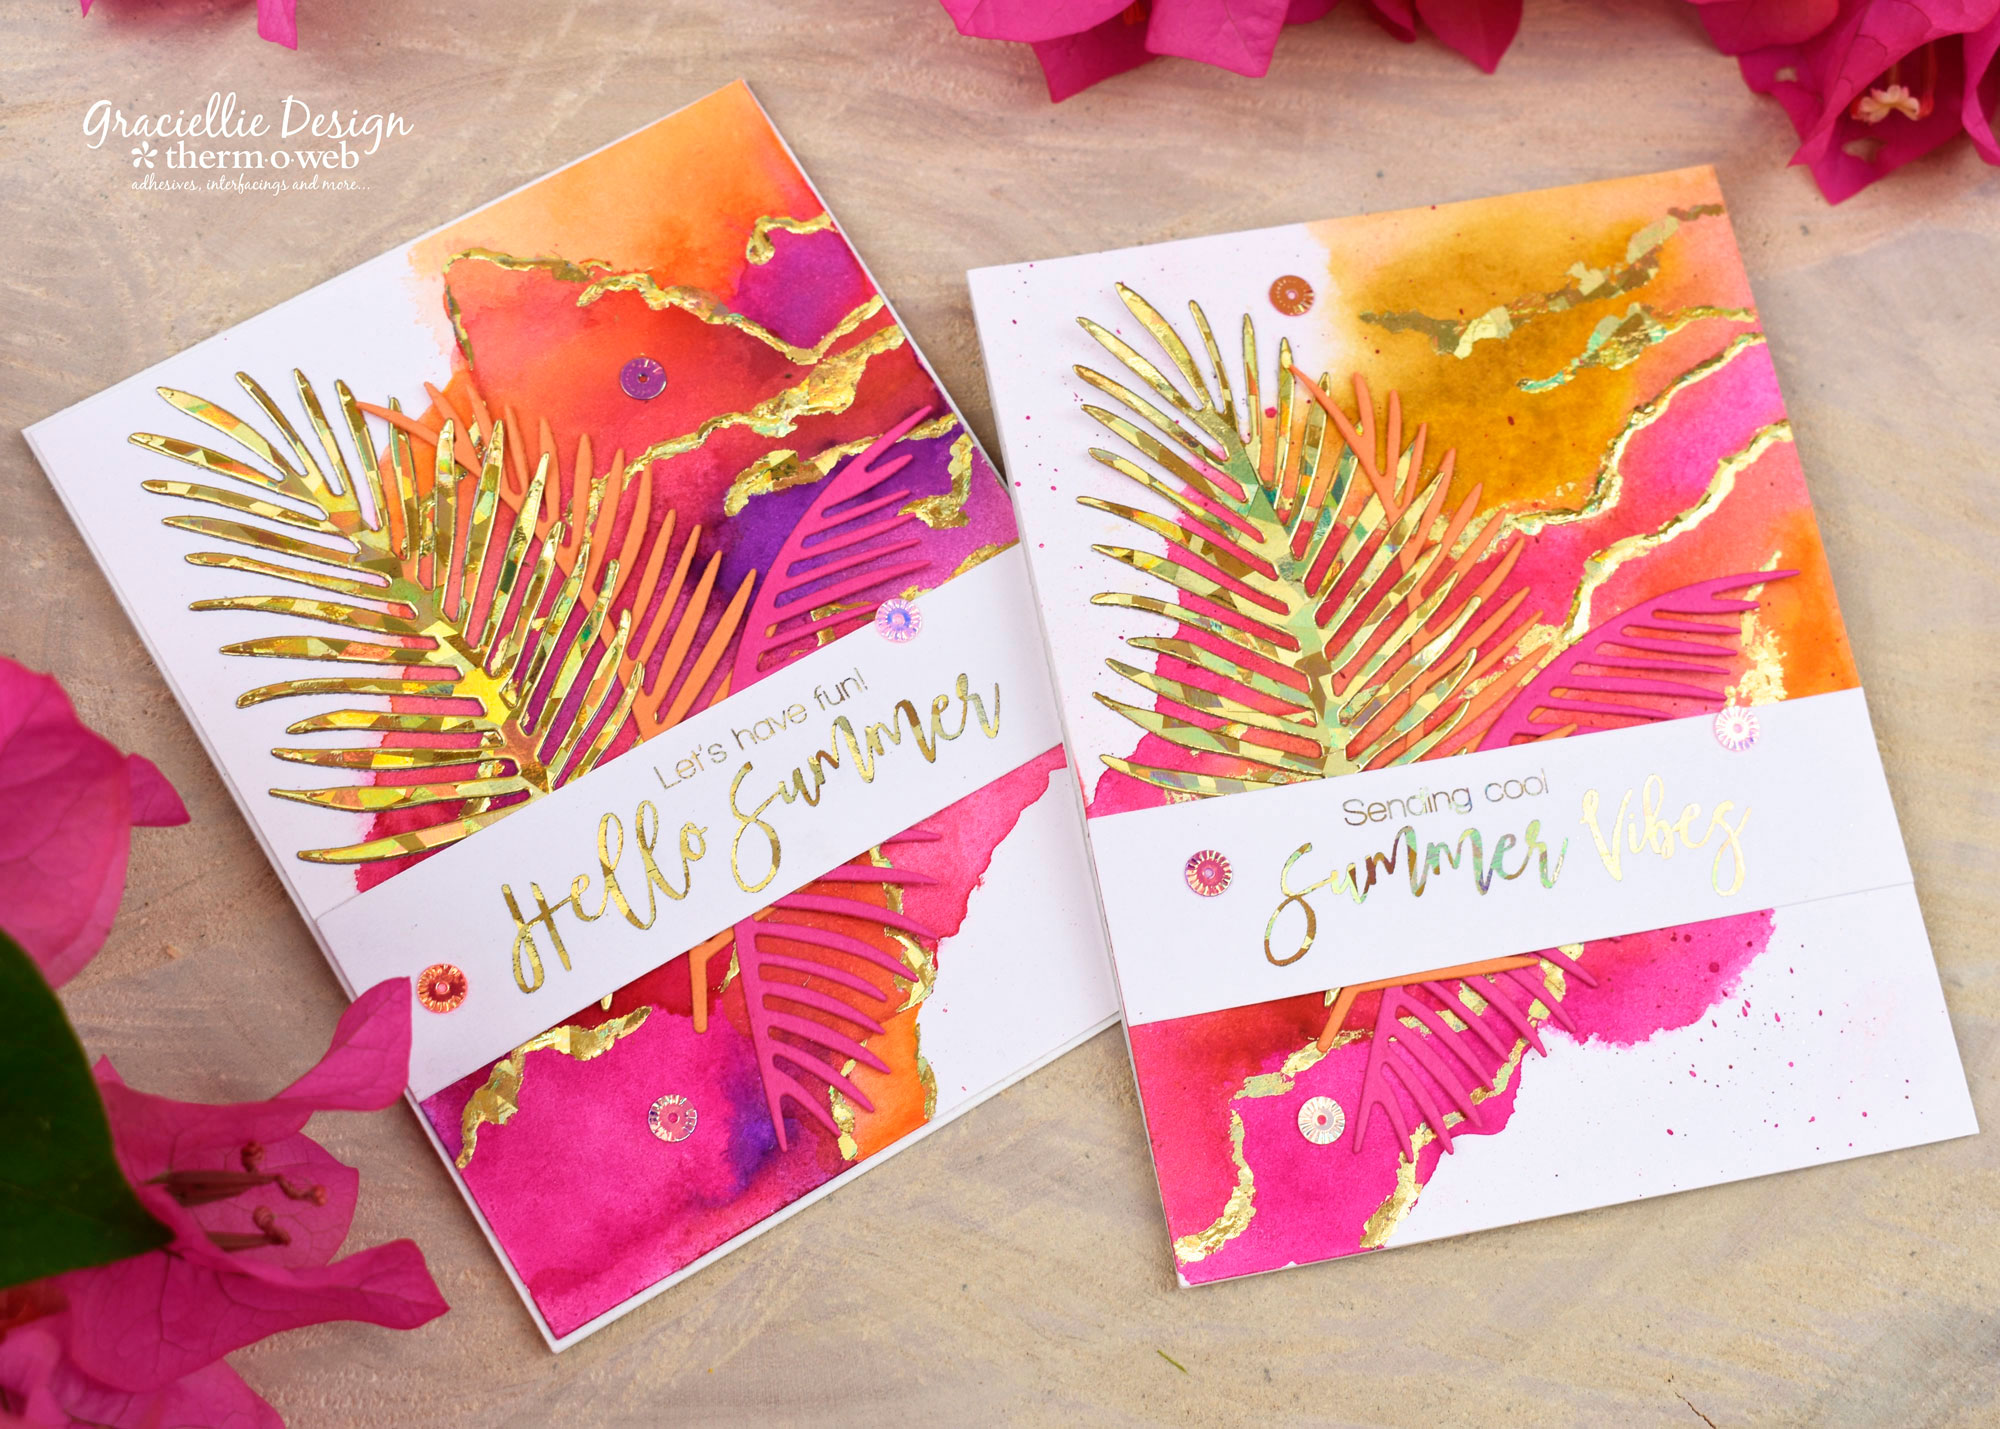
I hope you enjoyed today’s tutorial! If you follow Therm O Web’s blog, you know that I love adding touches of foil to bright colorful backgrounds… So, yes, I had a blast making these and I love that I get to share the process with you! Don’t forget to download the free printable by clicking here.
Make sure to subscribe for much more inspiration using Deco Foil! That’s all for now… Until next time.

memalagene
June 25, 2018 at 10:08 am (7 years ago)Gorgeous cards!
Ginny Maxam
June 25, 2018 at 10:19 am (7 years ago)Stunning Cards Gracie! Just love them!
Dana M
June 25, 2018 at 2:24 pm (7 years ago)Gorgeous cards and great foiling techniques.
Billie A
June 25, 2018 at 3:13 pm (7 years ago)Beautiful. Stunning cards.
Cornelia (fun stamping)
June 25, 2018 at 7:39 pm (7 years ago)Absolutely stunning!
Monica Lowrance
June 26, 2018 at 2:48 pm (7 years ago)Gorrrrrrrrgeous… love the detailed instructions you gave. Thank you for the inspiration!