


 Hello there! It’s Andrea back with you, and I’m delighted to share two very different cards featuring the new Ornamental Pines Bundle. The products in this bundle are so versatile, and I especially love that you can remove four of the trees from the background stamp and use them separately!
Slimline Ornamental Pines
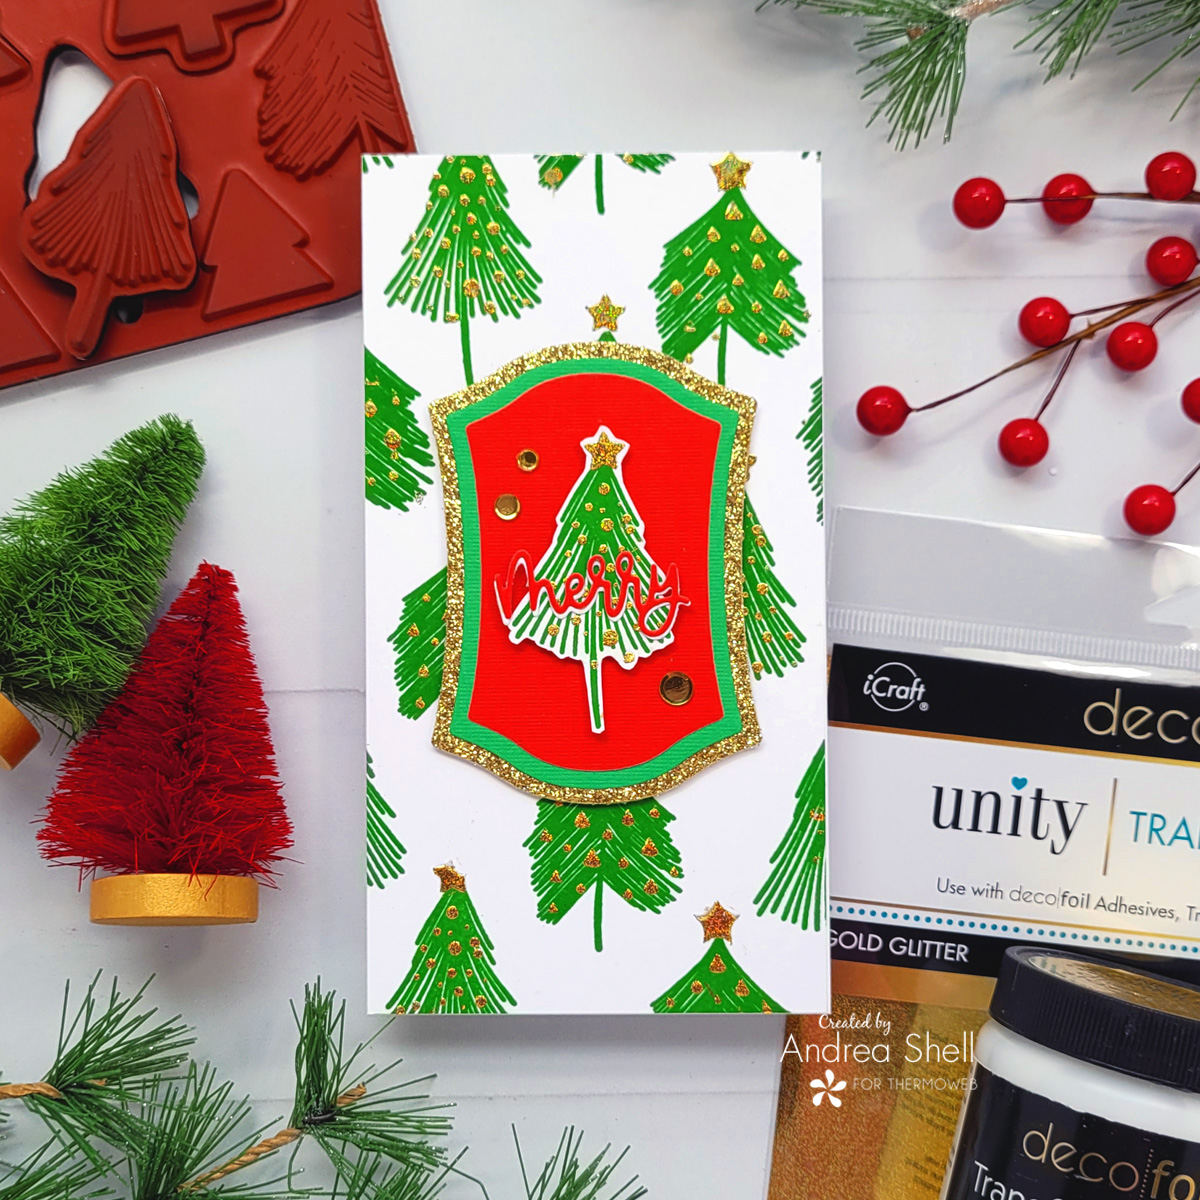
I’m such a traditionalist when it comes to Christmas and just love red and green together. For this card, I removed the two sketchy-looking trees from the background stamp and used them to create that fabulous background.
Stamping the Background

This feature of the background stamp is awesome! I repeatedly stamped the two trees (with my MISTI to help with alignment) with Catherine Pooler’s Grass Skirt Ink. I love how this turned out!
Foiling a Stamped Background
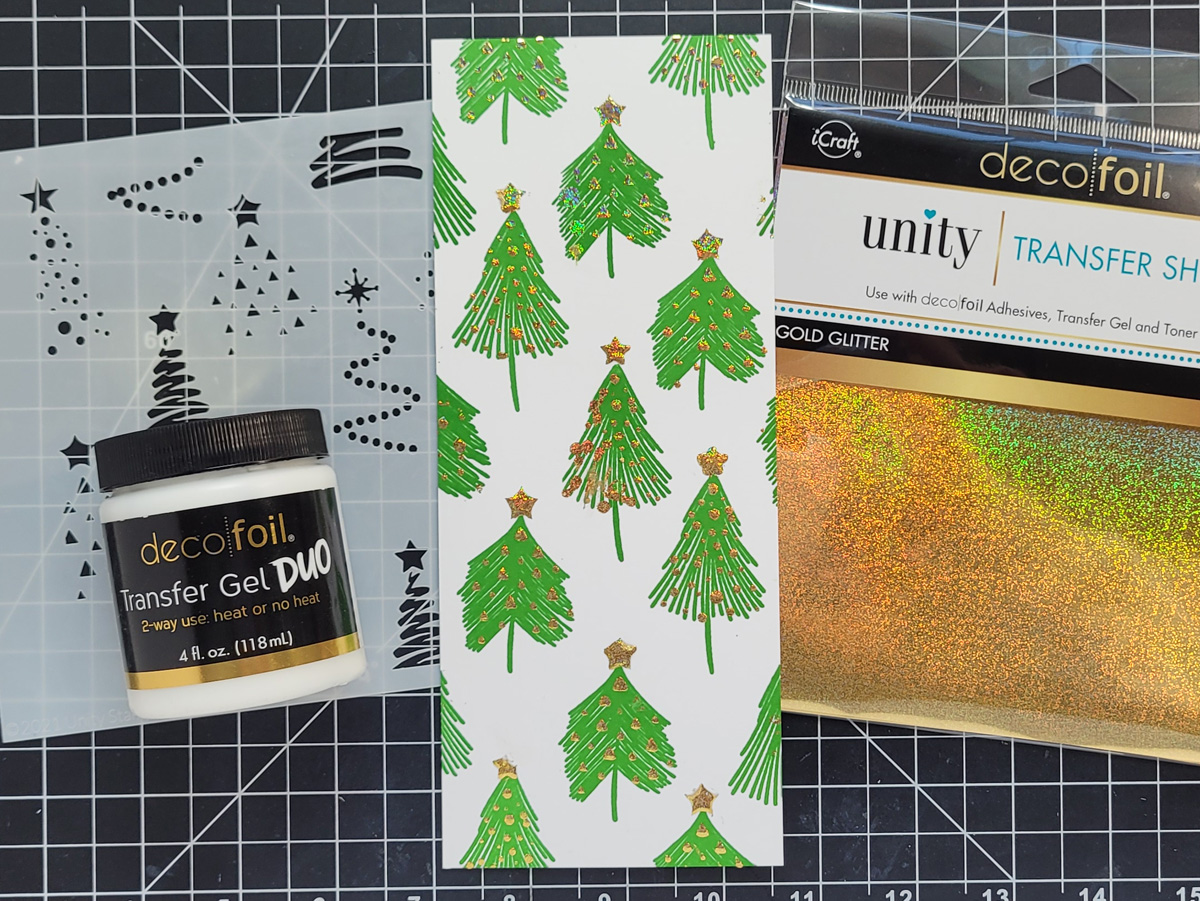
I masked the stencil so that only two designs were showing. Using a palette knife, I applied Transfer Gel Duo onto my stamped background. I did have to wait for the first application to dry before stenciling trees close together. In hindsight, I wish I had used Transfer Gel Blanco. Because the Duo remains tacky after it’s dry, the stencil would stick to the gel and pull some of it up. Once all of the gel was dry, I used my laminator to transfer Gold Glitter Deco Foil.
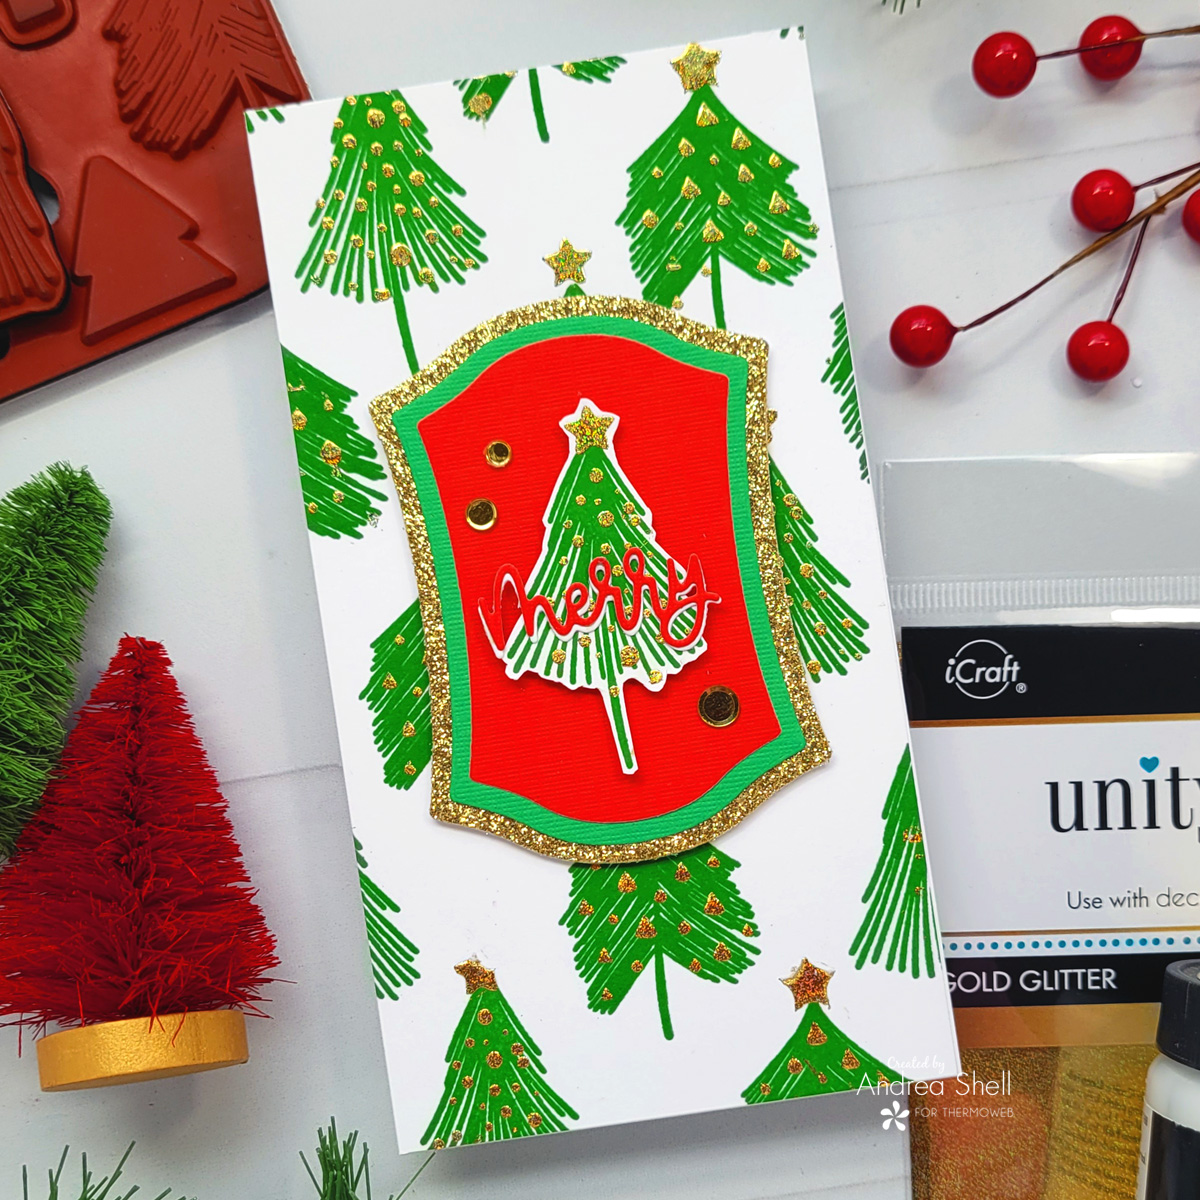
I trimmed down my panel to 3.5″ x 6.5″ and adhered it to a white card with Easy-Tear Tape. Using Whimsy Stamps’ Antique ATC Frames Dies, I cut colored and glitter cardstocks and layered the die-cuts together with Easy-Tear Tape. I affixed the bottom layer to my card with Gina K. Designs White Foam Squares.

I had stamped and foiled a separate tree, which I fussy-cut and attached to my card with foam squares. I die-cut “merry” twice using the dies from the bundle and offset them with Mixed Media Adhesive. I adhered the sentiment and some gold confetti with Mixed Media Adhesive.
Ornamental Pines on Dark Background

The color scheme for this card is a huge departure from my traditional Christmas colors, but I love how it turned out! Isn’t it amazing how the same stamp can give you such different looks?!
Stamping onto Dark Cardstock
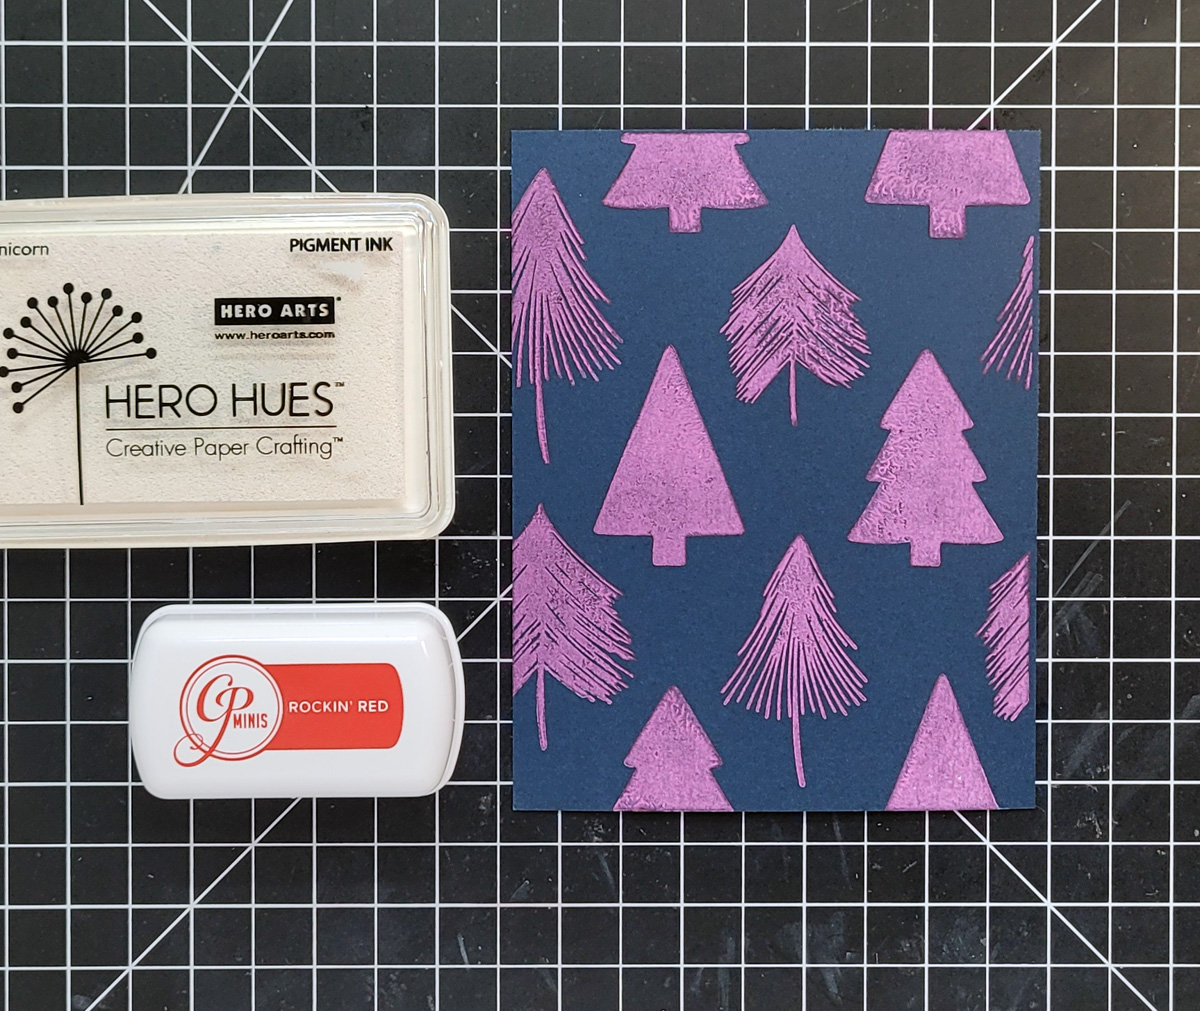
For this card, I kept the stamp intact. Using my MISTI for perfect alignment, I first stamped the background in white pigment ink. After cleaning the stamp (without moving it!), I then stamped it in Catherine Pooler’s Rockin’ Red ink. I wonder if I had allowed the pigment ink to dry if I would have achieved red instead of purple?
Foiling the Background
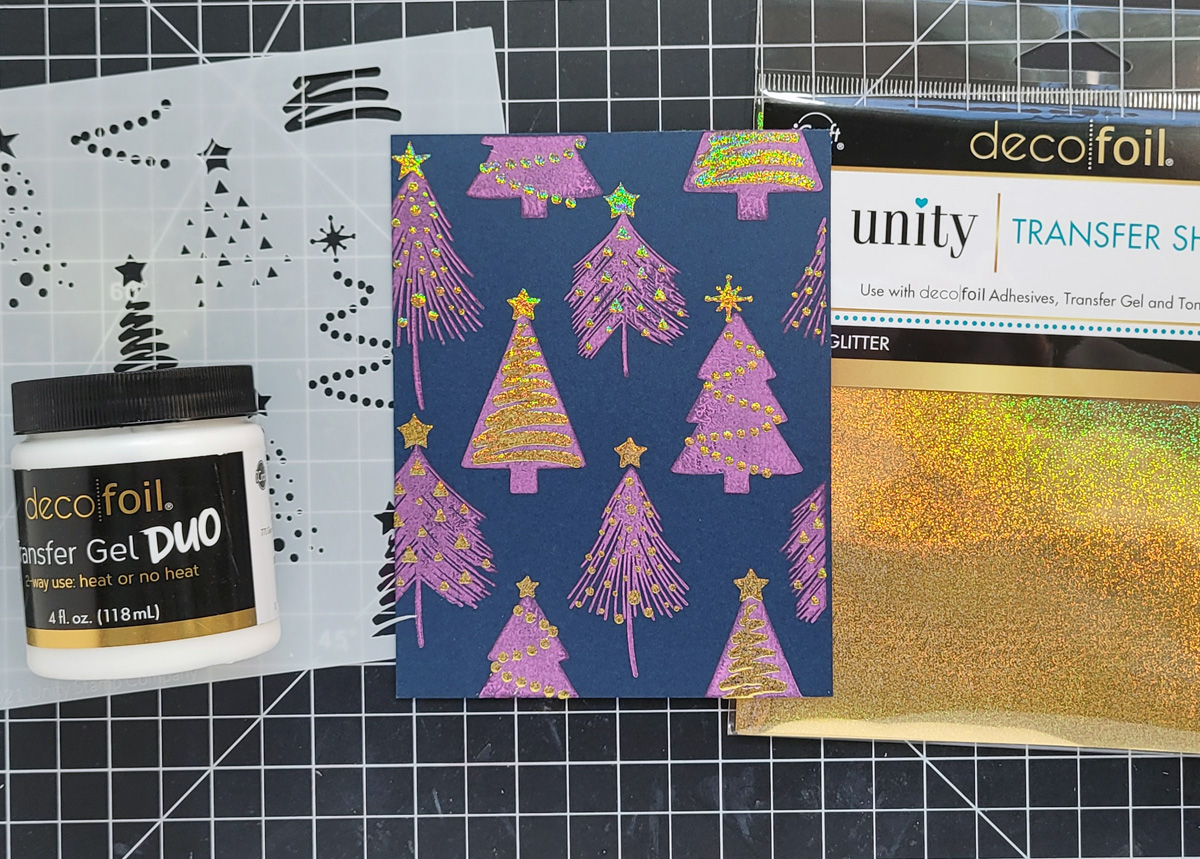
Using the Stencil Pal, I applied Transfer Gel DUO to my stamped background. Once the gel was dry, I transferred Gold Glitter Deco Foil with my laminator.
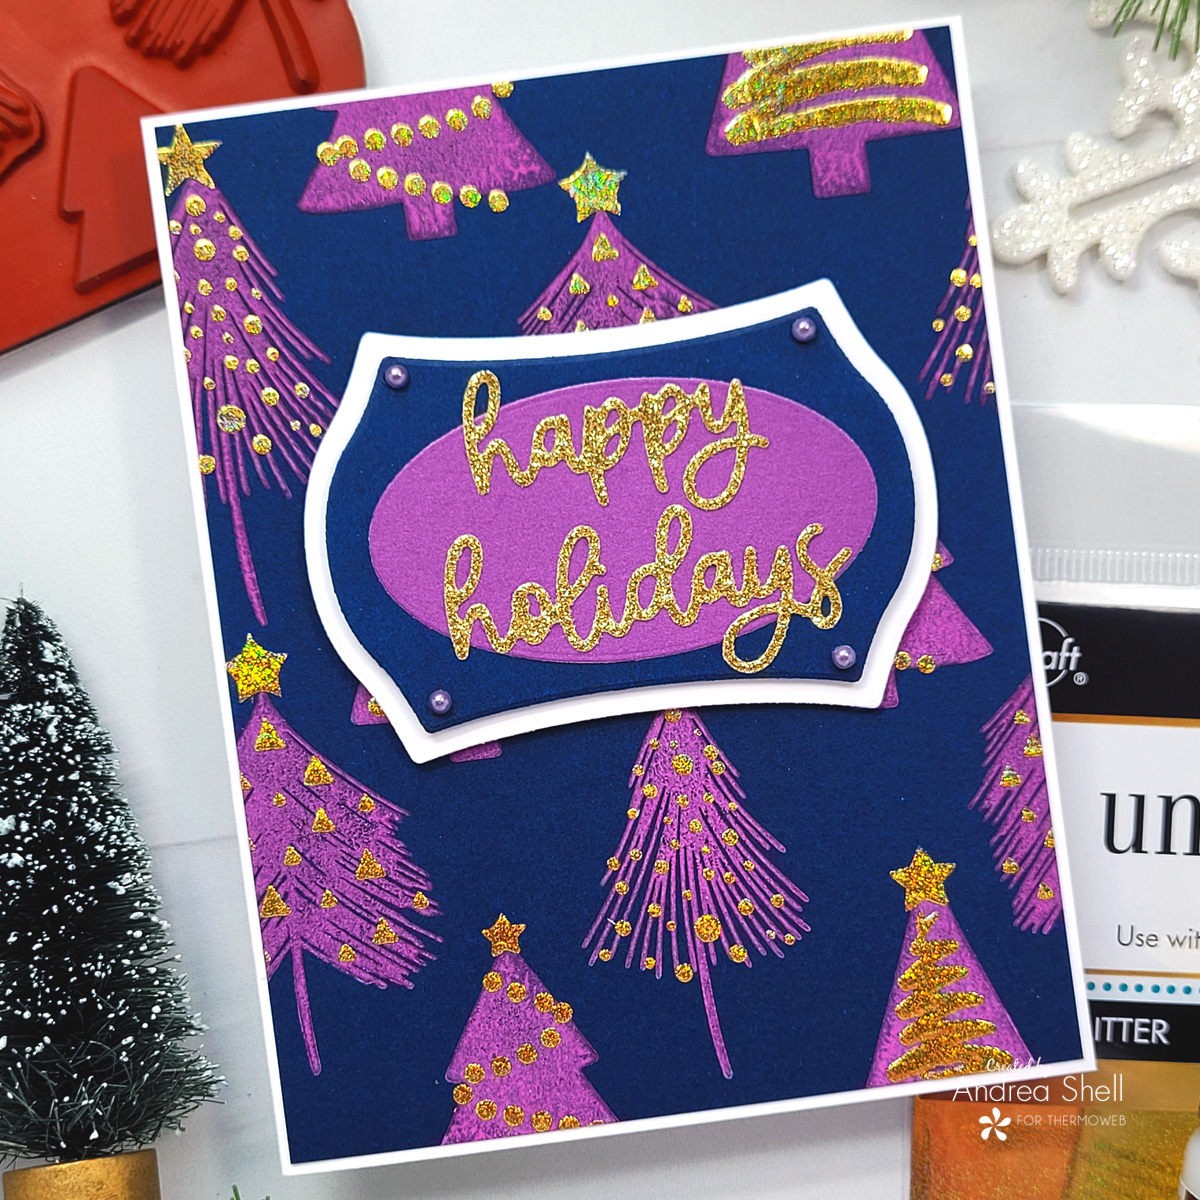
After trimming my foiled panel slightly, I adhered it to a white card with Easy-Tear Tape. I die-cut three colors of cardstock with Whimsy Stamps’ Antique ATC Frames Dies. I glued the blue and purple layers together with Mixed Media Adhesive and layered them onto the white die-cut with foam squares, which I also used to attach the white layer to my card.

I die-cut my sentiment from gold glitter paper with the Ornamental Pines dies and affixed it to my card with Mixed Media Adhesive. I finished with some tiny purple pearls adhered with liquid adhesive.
Thanks for stopping by!
*Affiliate links used at no cost to you.
ThermOWeb Products:
Ornamental Pines Bundle
Gold Glitter Deco Foil
Transfer Gel Duo
Stencil Pal
Pixie Spray
Gina K. Designs White Foam Squares
Easy-Tear Tape
Mixed Media Adhesive
Metal Tips for Liquid Adhesive
Other Products:
Catherine Pooler Grass Skirt Ink
Catherine Pooler Be Mine Ink
Hero Arts White Pigment Ink
Whimsy Stamps Antique ATC Frames Dies
[…] friends! Today I’m on the ThermOWeb blog with two cards featuring the new Ornamental Pines Bundle. If you’d like to see the other […]