On-the-Go Stitching Portfolio featuring HeatnBond
Greetings friends! It’s Belinda Karls-Nace from Blue Ribbon Designs, here with a brand new project tutorial. Today, I am excited to share my On-the-Go Stitching Portfolio featuring HeatnBond with you. This project features some of my favorite HeatnBond products and is perfect for traveling with needle and thread.
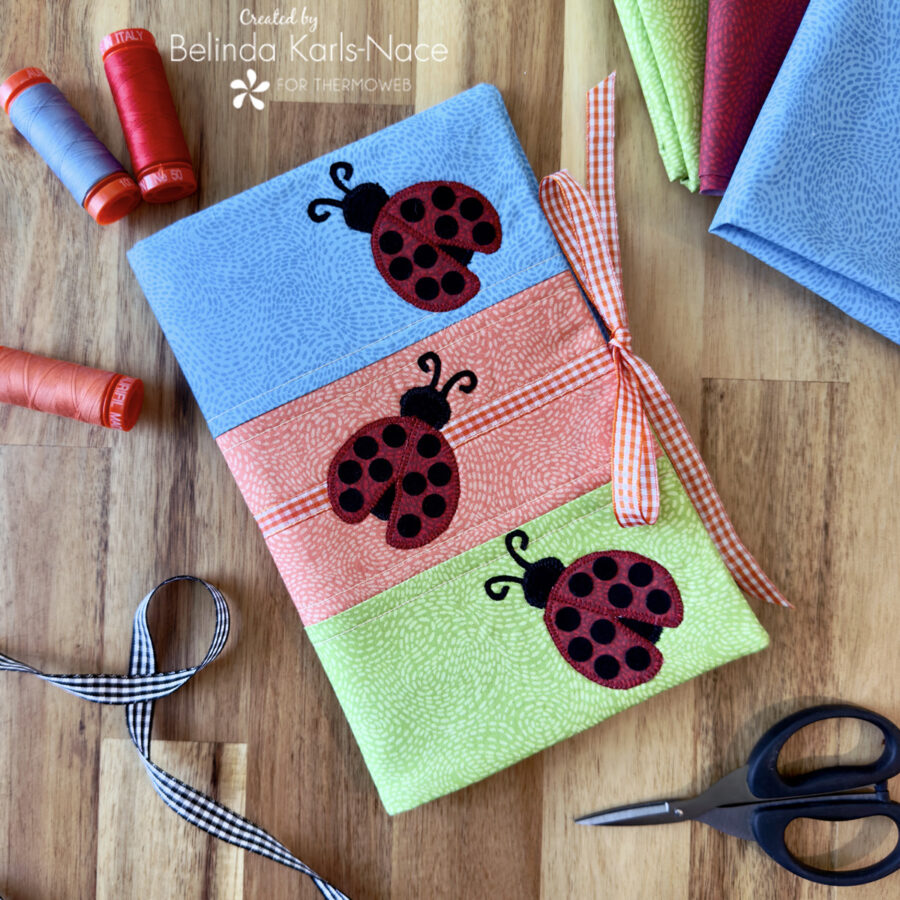
If you are anything like me, you find yourself taking small needlework projects on the go; they are great for filling time at sporting events, waiting in a doctor’s office, or traveling by plane or car. Today’s portfolio tutorial will help you organize simple supplies for a traveling stitching kit. I tend to cross stitch when time allows, so I have filled my portfolio with needles, pins, scissors, a needle minder, pencil, pattern, ruler, etc. The portfolio fits nicely in my project bag, purse or tote. It works perfectly for small needlecraft projects, such as English paper piecing or needle-turn appliqué, as well.
Let’s get creative! Simply gather the materials/supplies listed below, then download the pattern with the PDF templates.
*NOTE*: This tutorial requires basic sewing knowledge. If you need additional assistance, search the Internet, or look at a basic sewing book to learn the fundamentals.
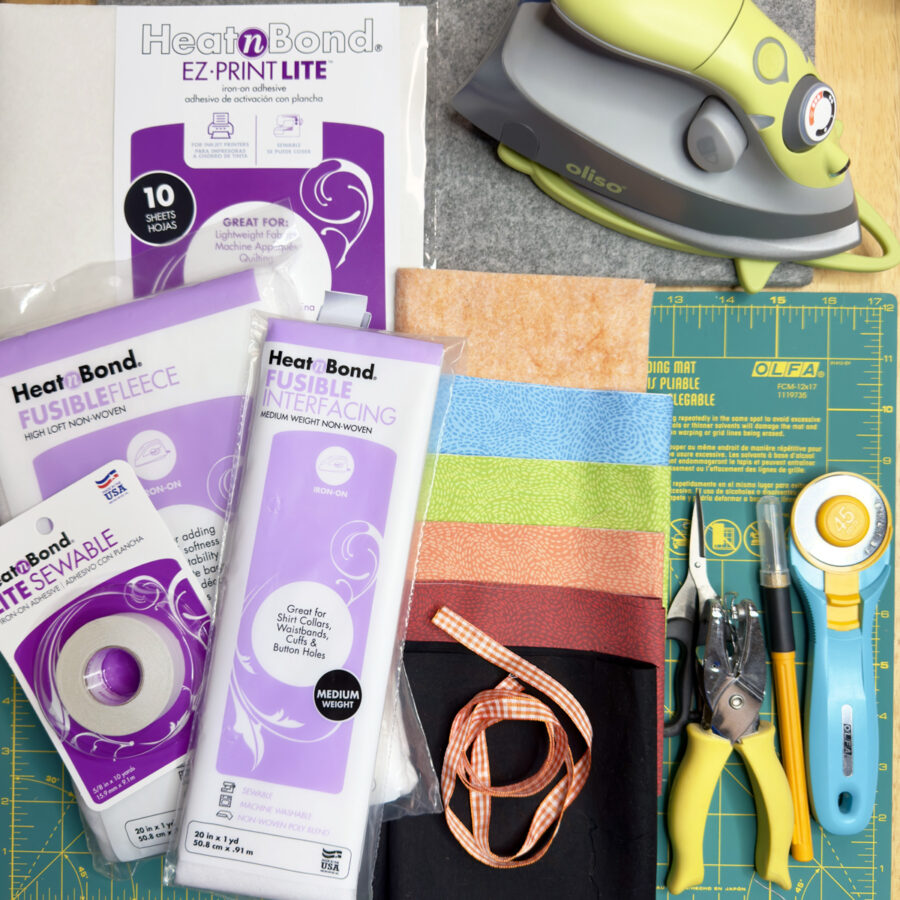
What you need:
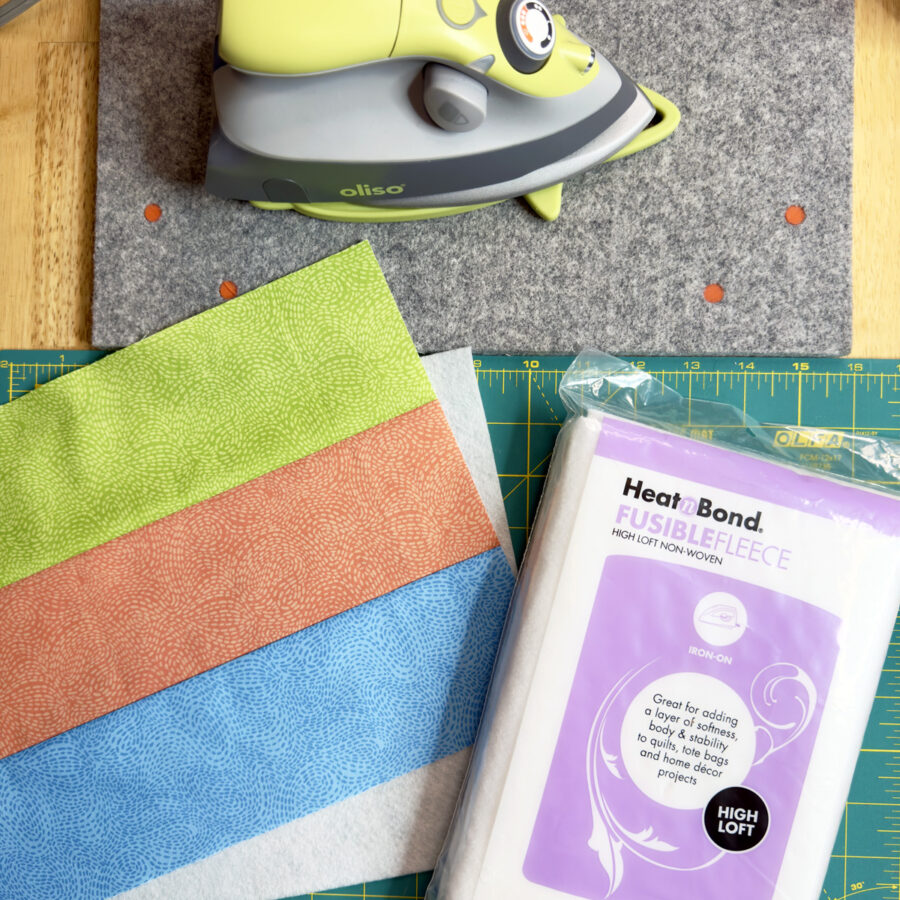
- HeatnBond Fusible Fleece
- 1 – 12 ½” x 9 ½”
- HeatnBond Medium Weight Non-Woven Fusible Interfacing
- 2 – 12 ½” x 9 ½”
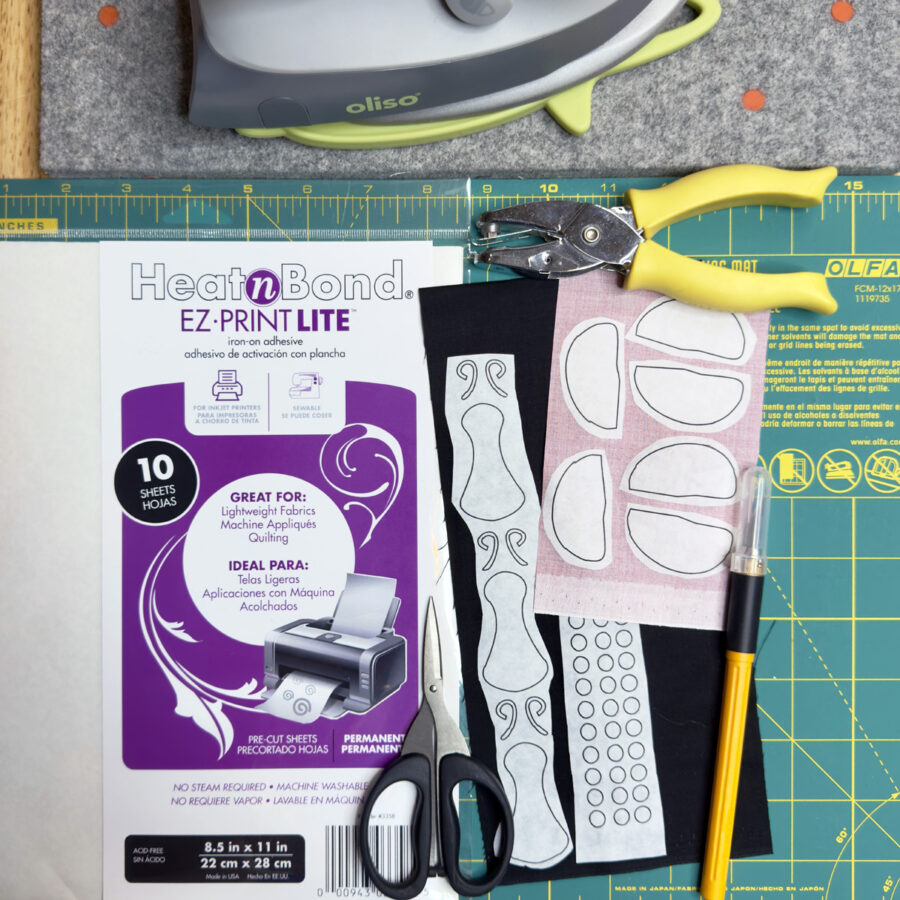
- HeatnBond Lite EZ-Print Iron-On Adhesive Sheets
- 1 Sheet
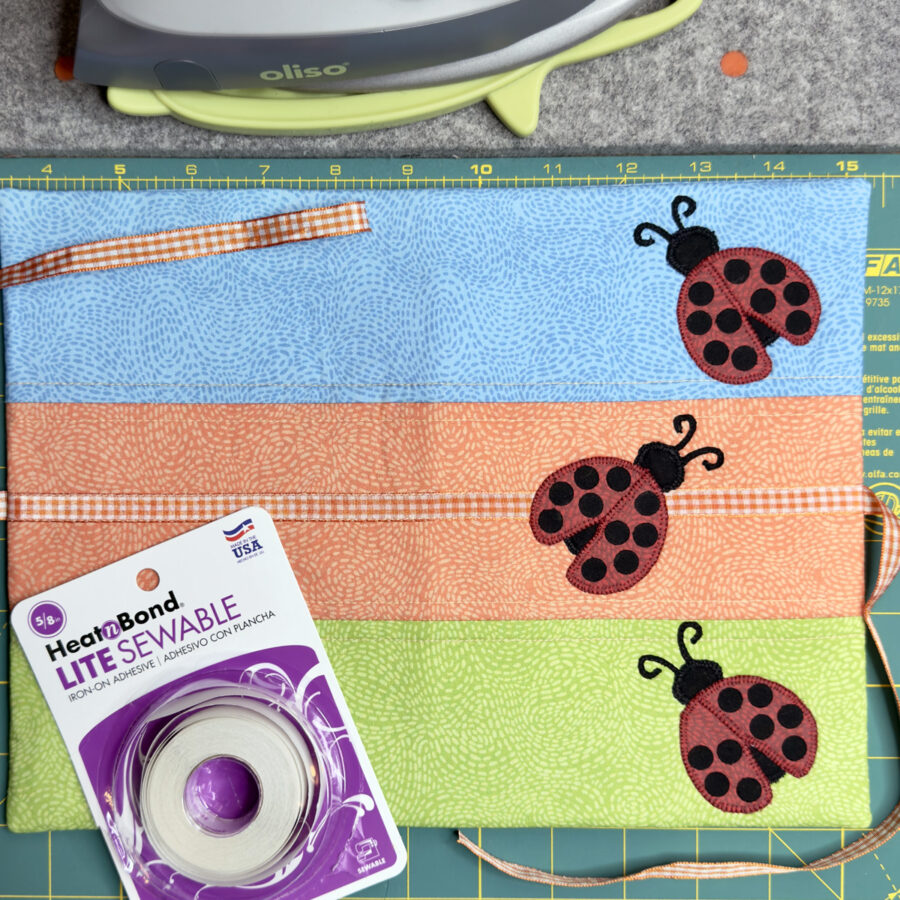
- HeatnBond Lite Iron-On Adhesive Tape, 5/8 in
- 12 ½”
- Cotton Fabrics (model uses Waved by Erin Borja for PBS Fabrics and Painter’s Palette Solids by PBS Fabrics) – use your choice of fabrics – scraps will work great!
- Blue (WAVED – POOL – 22171) – 12 ½” x 9 ½” Lining and 12 ½” x 3 ½” Cover Strip
- Orange (WAVED – CORAL – 22155) – 12 ½” x 3 ½” Cover Strip
- Green (WAVED – LIME – 22163) – 12 ½” x 9 ½” Inside Pocket and 12 ½” x 3 ½” Cover Strip
- Red (WAVED – WINE – 22185) – 6” x 6” Ladybug Wings
- Black (Painter’s Palette Solid – EBONY – 121004) – 6” x 8” Ladybug Body, Antennae, Spots
- ⅜” Gingham Ribbon – Orange and White
- 36” (1 yard)
- Wool Felt (Heathered Orange)
- 10” x 7”
- Oliso Iron
- Olfa Cutting Tools (cutting mat, rotary cutter, craft knife)
- Sewing Machine
- Basic Sewing Supplies/Tools (small sharp scissors, rulers, sewing thread, pencil, pins, clips, painter’s tape, etc.)
- Optional: Hole Punch (¼” round)
How to make a On-the-Go Stitching Portfolio
Size: 6” W x 9” H (Closed) 12” W x 9” H (Open)
1. Download and print the On-the-GO Stitching Portfolio PDF.
On-the-Go Stitching Portfolio – A Project for the Therm O Web Blog
- Print actual size – do NOT “fit to page” or “shrink to fit.”
- Print page one on regular printer paper.
- Print page two on one HeatnBond Lite EZ-Print Iron-On Adhesive Sheet.
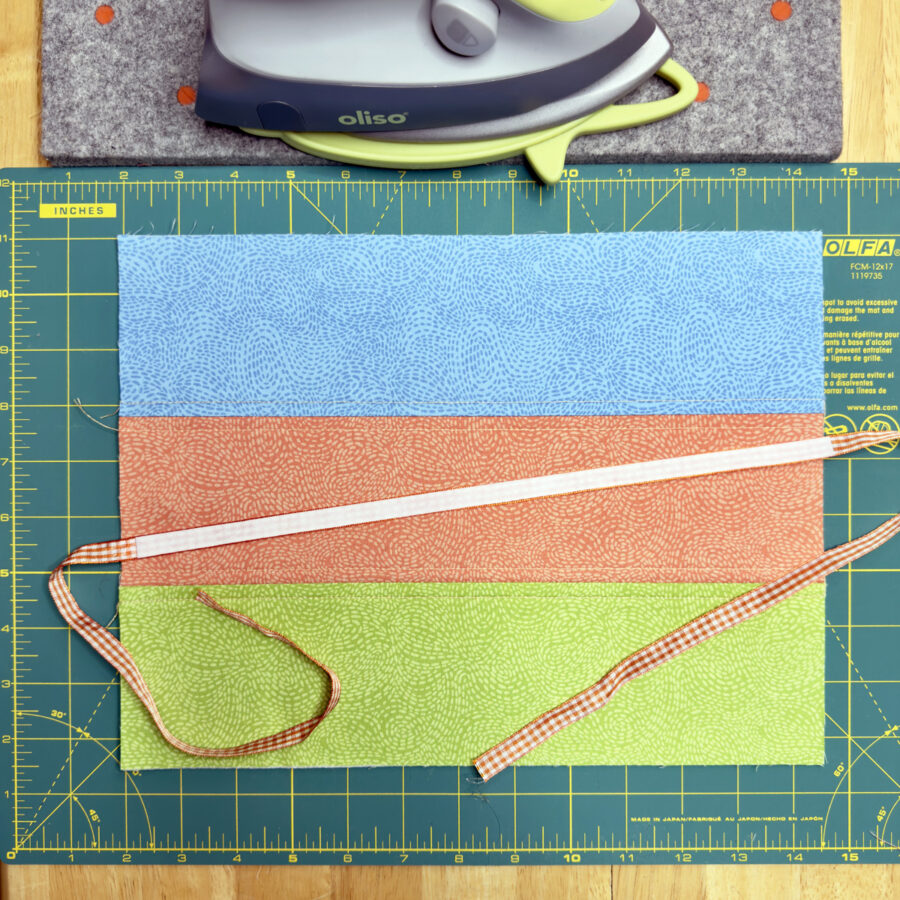
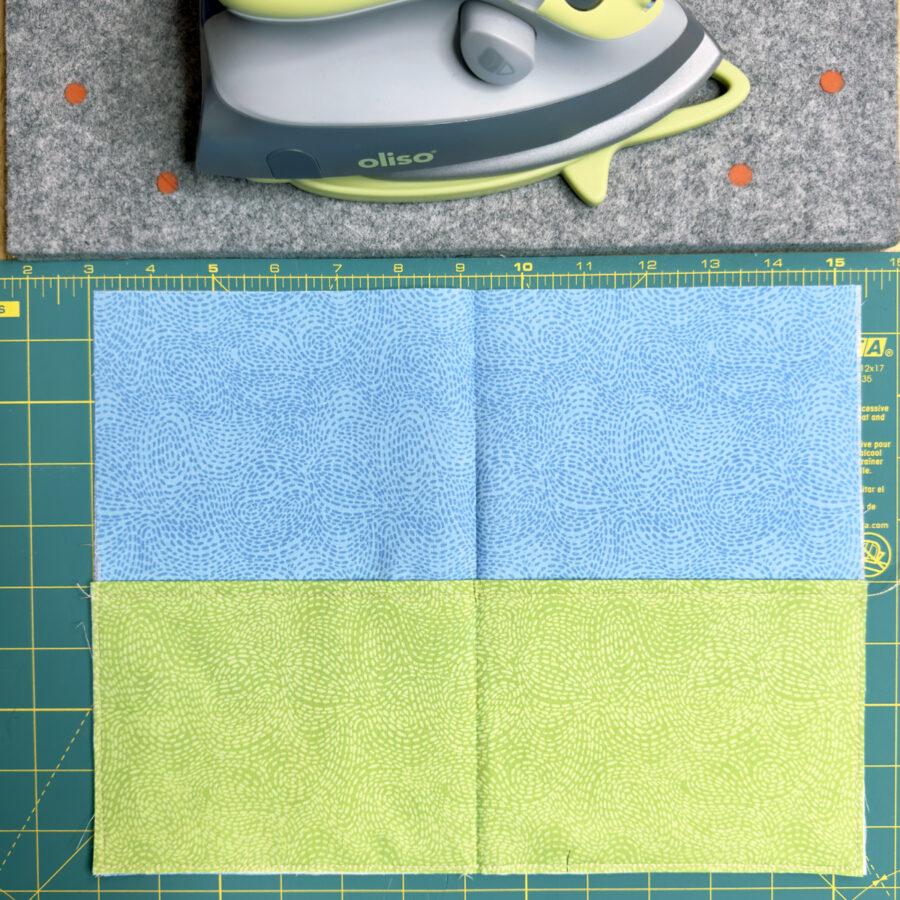
2. Create Cover Base
1. Lay out, pin and sew the blue, orange and green 12½” x 3½” strips together to create the cover base, using a ¼” seam allowance. Base will measure 12½” x 9½”.
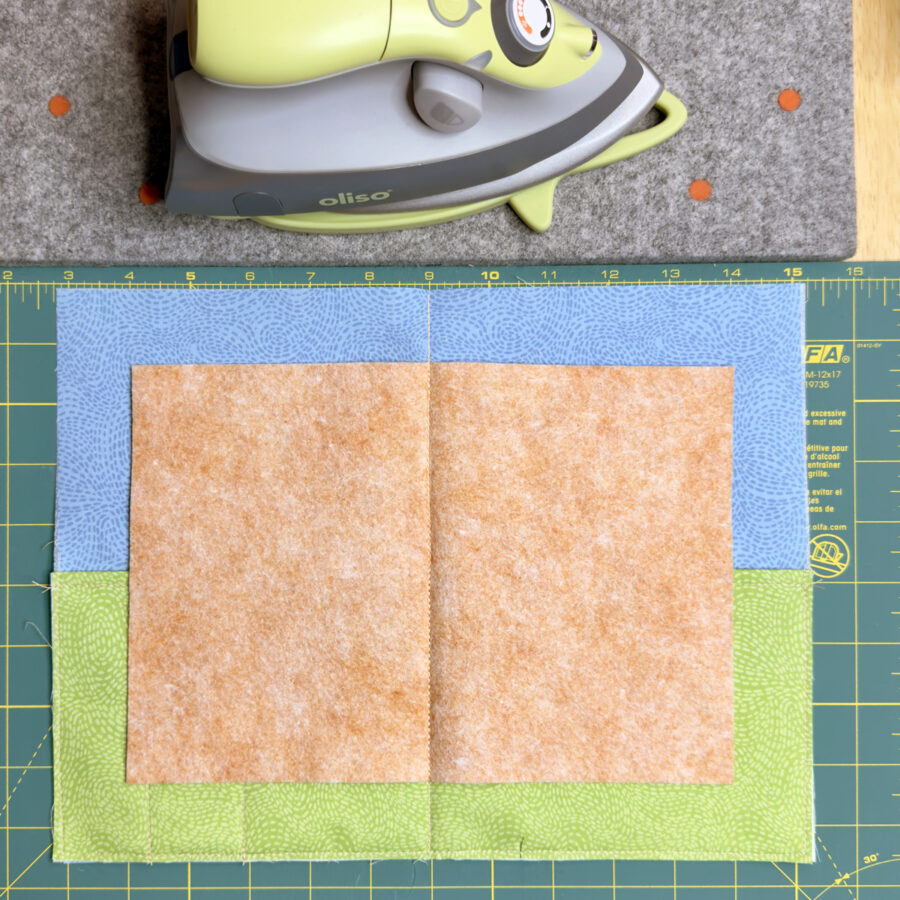
2. Fuse the 12½” x 9½” piece of HeatnBond Fusible Fleece to the wrong side of 12½” x 9½” of the cover base, following the package instructions.
-
- Pre-heat iron to a medium setting, no steam.
- Place the rough side of the Fusible Fleece on the wrong side of the cover base unit.
- Cover with a lightweight, dry pressing cloth.
- Press and hold iron with medium pressure for 10-15 seconds. Repeat by lifting iron to new area, slightly overlapping previous area until the entire surface is bonded.
- Allow it to cool.
3. Quilt if desired.
Add Ribbon Ties
4. Trim the width of the 12½” length of HeatnBond Lite Iron-On Adhesive Tape to ⅜”. (Note – the model uses ⅜” ribbon – trim the Adhesive Tape to fit your choice of ribbon.)
5. Center and fuse the HeatnBond Lite Iron-On Adhesive Tape on the back of the ribbon. This will allow you to easily adhere it to the cover and leave ties on either end.
- Preheat iron to medium heat, no steam.
- Place adhesive on the back of the ribbon (paper liner should face up).
- Place and hold iron on the paper liner for 2 seconds. Repeat until the entire surface is bonded. Allow the ribbon to cool.
6. Center and fuse the ribbon to the cover base, as shown, leaving approximately 11¾” of ribbon either side of the cover base that will be used as ties.

- Preheat iron to medium heat, no steam.
- Peel off the paper liner.
- Place ribbon, adhesive side down, on top of project. Press and hold iron for 6 seconds on each section until the entire piece is bonded.
7. Stitch the ribbon in place.
3. Create Appliqué
1. Loosely cut out the ladybug appliqué template(s) printed on HeatnBond Lite EZ-Print Iron-On Adhesive and apply to the back of selected fabrics (red for the ladybug wings and black for all other pieces). Follow the package instructions.
- Loosely cut out all ladybug shapes, leaving the paper in place.
Pre-heat iron to medium heat, no steam.
Place loosely cut apart ladybug shapes on the wrong side of selected fabrics (printed paper, smooth side, should be face up).
Place and hold the iron on the paper for 2-3 seconds. Repeat, overlapping slightly, until entire surface is bonded.
Allow pieces to cool.
Cut or trim the pieces on the solid lines printed on the paper to create the desired shapes. Leave paper in place until ready to fuse in place.
*PRO TIP: Use a ¼” Round Hole Punch to make quick work of the ladybug spots.
*PRO TIP 2: Use an Olfa Craft Knife to cut tiny intricate shapes, such as the ladybug antennae.
Layout and Fuse Appliqué
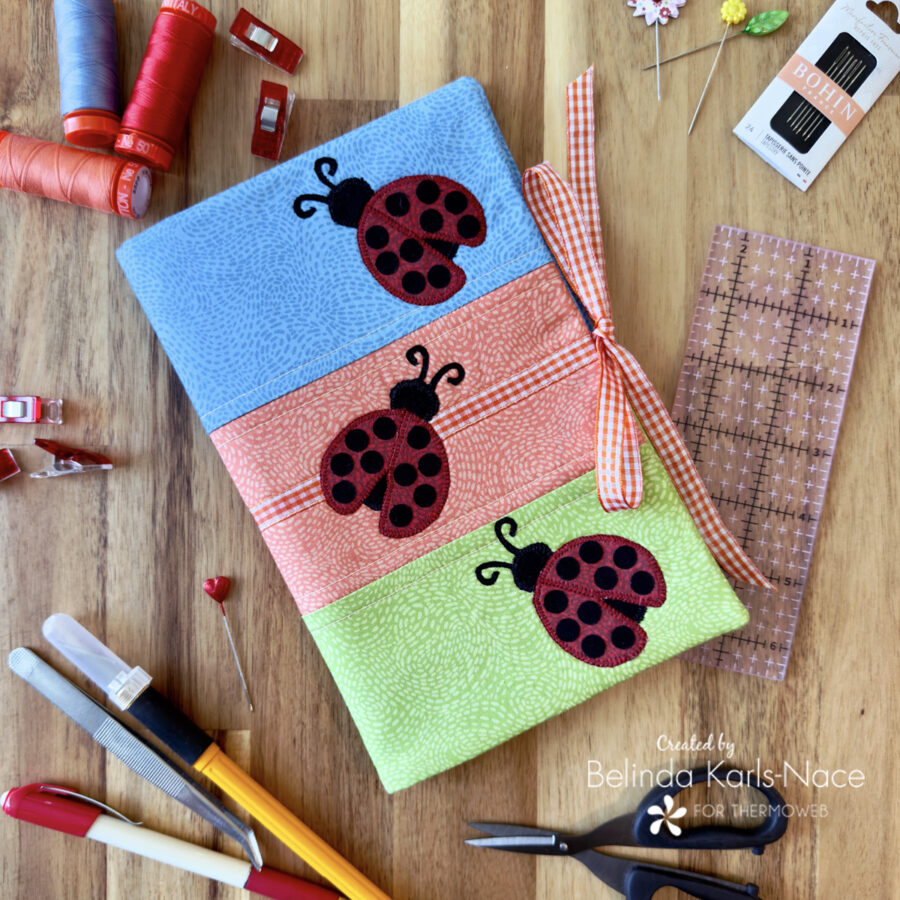
2. Center and fuse ladybug shapes into place on front 12½” x 9½” cover base (backed with fusible fleece), following the package instructions. Measure at least a ½” from the top of the cover base, sides and bottom when laying out the shapes, so they are not sewn into the seam allowance. See image on pattern for placement (or place where eye-pleasing).
*PRO TIP: Press in half to give you a center mark; this will ensure you place the appliqué on the front of the portfolio.
- Pre-heat iron to medium heat, no steam.
Peel off paper.
Place, adhesive side down on top of the right-side of the 12½” x 9½” cover base.
Press and hold iron for 6 seconds on each section, overlapping slightly, until the pieces are bonded.
Using your favorite appliqué stitch (machine or hand) and coordinating sewing thread, sew the pieces in place. I chose to use a machine blanket stitch and a machine straight stitch.

4. Create the Lining and Pocket
1. Fuse a 12½” x 9½” piece of HeatnBond Medium Weight Non-Woven Fusible Interfacing to the wrong side of the 12½” x 9½” lining fabric and the wrong side of the 12½” x 9½” pocket fabric, following the package instructions.
- Pre-heat iron to high heat (cotton setting), no steam.
Place the rough side of the interfacing onto the back (wrong side) of each of the fabric rectangles.
Cover with a light, dry pressing cloth. Press and hold the iron with medium pressure for 10-15 seconds. Repeat by lifting the iron to a new area and pressing, overlapping slightly, until entire surface is bonded.
Allow each piece to cool.
2. Fold the 12½” x 9½” green fabric rectangle in half lengthwise and press. It should measure 12½” x 4¾”. Top stitch ¼” from the fold.
3. Place the pocket unit at the bottom of the lining fabric rectangle, matching raw edges, and baste in place.
4. Fold the lining unit in half (to measure 6¼” x 9½”) and press to make a center mark. Open.
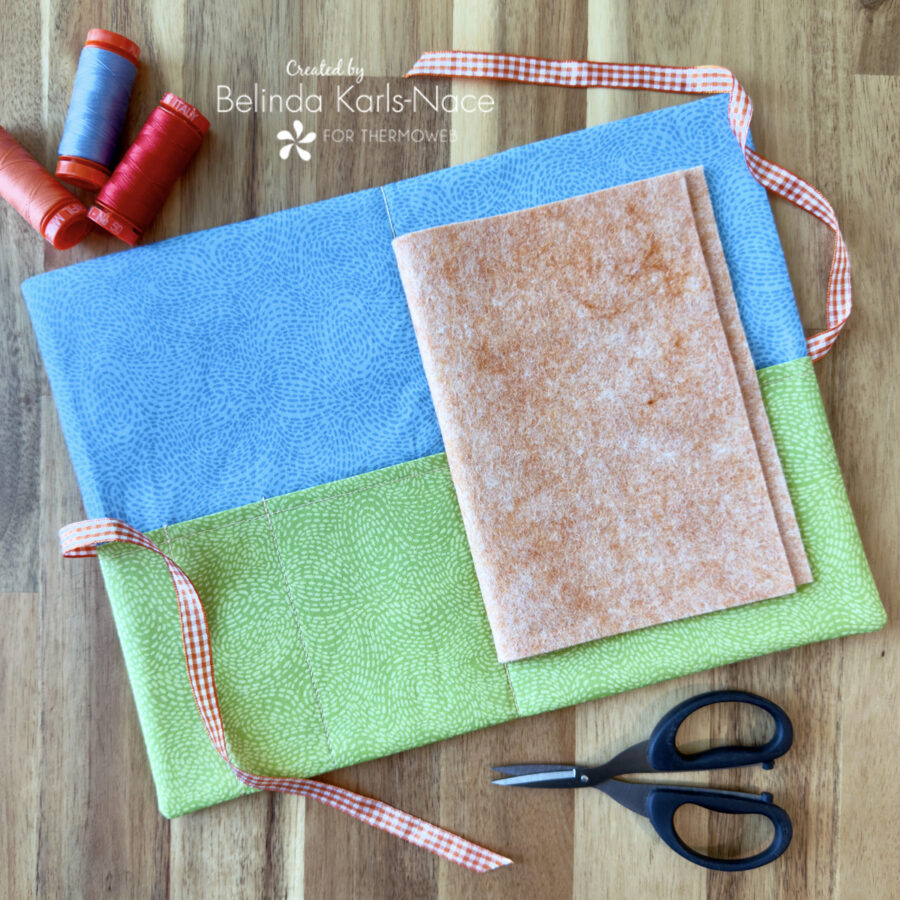
5. Fold the 10” x 7” piece of wool blend felt in half (to measure 5” x 7”) and press to make a center mark. Open.
6. Center the wool blend felt on top of lining unit, lining up the center marks. Use a straight stitch to sew the wool in place.
7. Sew dividers in pockets, if desired. I divided the left side into three pockets and did not divide the right side.
5. Finish the Portfolio
1. Tape or pin the ribbon ties to the center of the cover, so they will not get caught in the seam allowance.
*PRO TIP: Painter’s tape works great for this and will not leave residue.
2. Place the cover with appliqué and the lining/pocket unit right sides together and sew around the entire perimeter with a ¼” seam allowance, leaving a 3” – 4” opening for turning.
Clip corners and turn right side out through opening. Push out corners and press.
3.Use HeatnBond Lite Iron-On Adhesive Tape, 5/8” to fuse the opening closed, following package instructions. (Repeat same directions found in Step 2: 5 – 6.)

Your On-the-GO Stitching Portfolio is complete. The HeatnBond Fusible Fleece will make it sturdy and pad the contents and the Medium Non-Woven Fusible Interfacing will give your portfolio good stability without making it too stiff. Use it to organize items for your traveling needlecraft project.
Thank you for joining me today for my Therm O Web blog tutorial. I hope this post inspires you to create a portfolio for organizing needlecraft tools to take on your next outing. To see more of my projects and patterns, stop by my blog, website, and/or Instagram – I would love to visit with you and see what you create!