 Hey Hey!!! It’s FALL and Halloween is just right around the corner. It’s Katrina here from Paper, Scissors, Glue and Hybrid Too today on the blog. I love doing non-traditional colors for holidays (pink/teal for Christmas, etc) so I did some non-traditional Halloween cards with PINK!!
Pink Halloween Cards
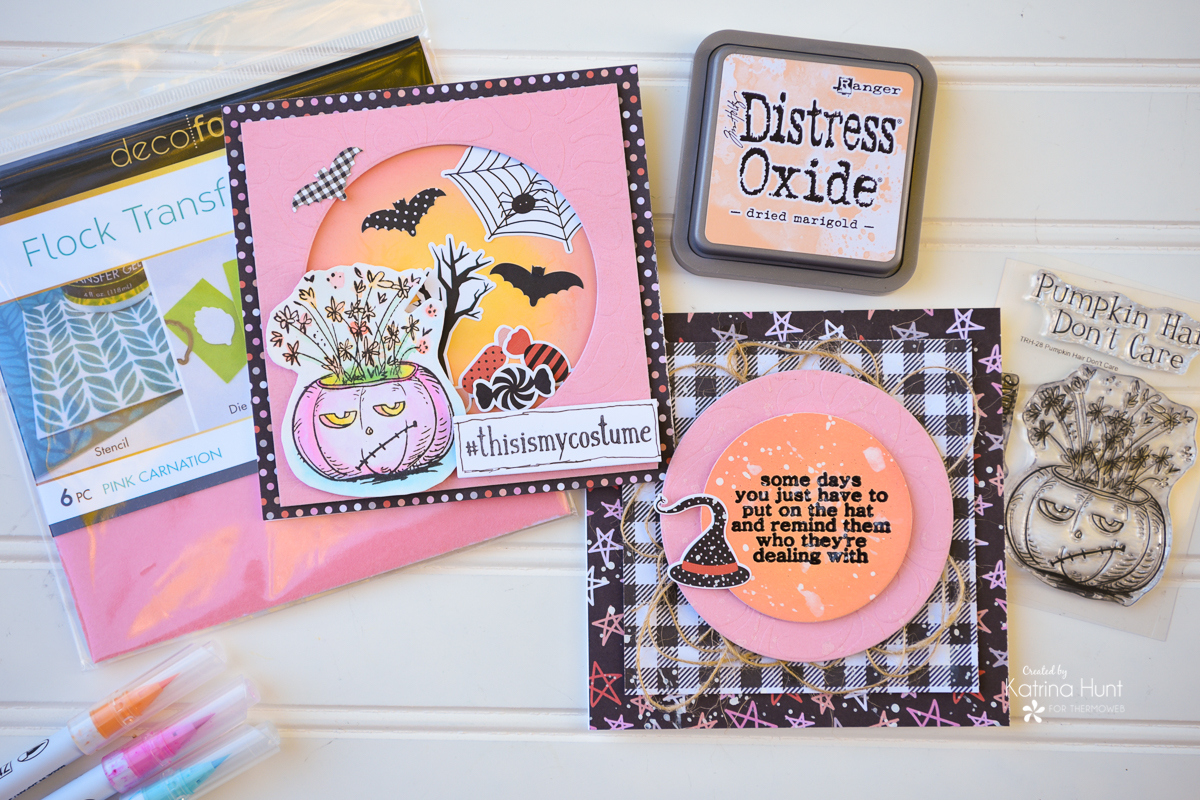
Therm O Web Supplies Used
Deco Foil Flock Transfer Sheets – Pink Carnation
Gina K Designs Foam Tape – White
Gina K Designs Foam Tape – Black
Gina K Designs Permanent Adhesive Dot Runner
Gina K Designs Permanent Adhesive Dot Runner Refill
Gina K Designs Foam Squares White
Gina K Designs Terrific Tape 1/2 inch
Other Supplies Used
Distress Oxide Ink-Dried Marigold
Gina K Designs Amalgam Ink – Black
Distress Oxide Ink – Worn Lipstick
Distress Oxide – Squeezed Lemonade
Simple Stories Happy Haunting 12×12 Collection Kit
Misti Stamping Tool
Rabbit Hole Designs – Hex Yeah
Rabbit Hole Designs – Pumpkin Hair Don’t Care
Zig Clean Color Real Brush Markers
Card Details
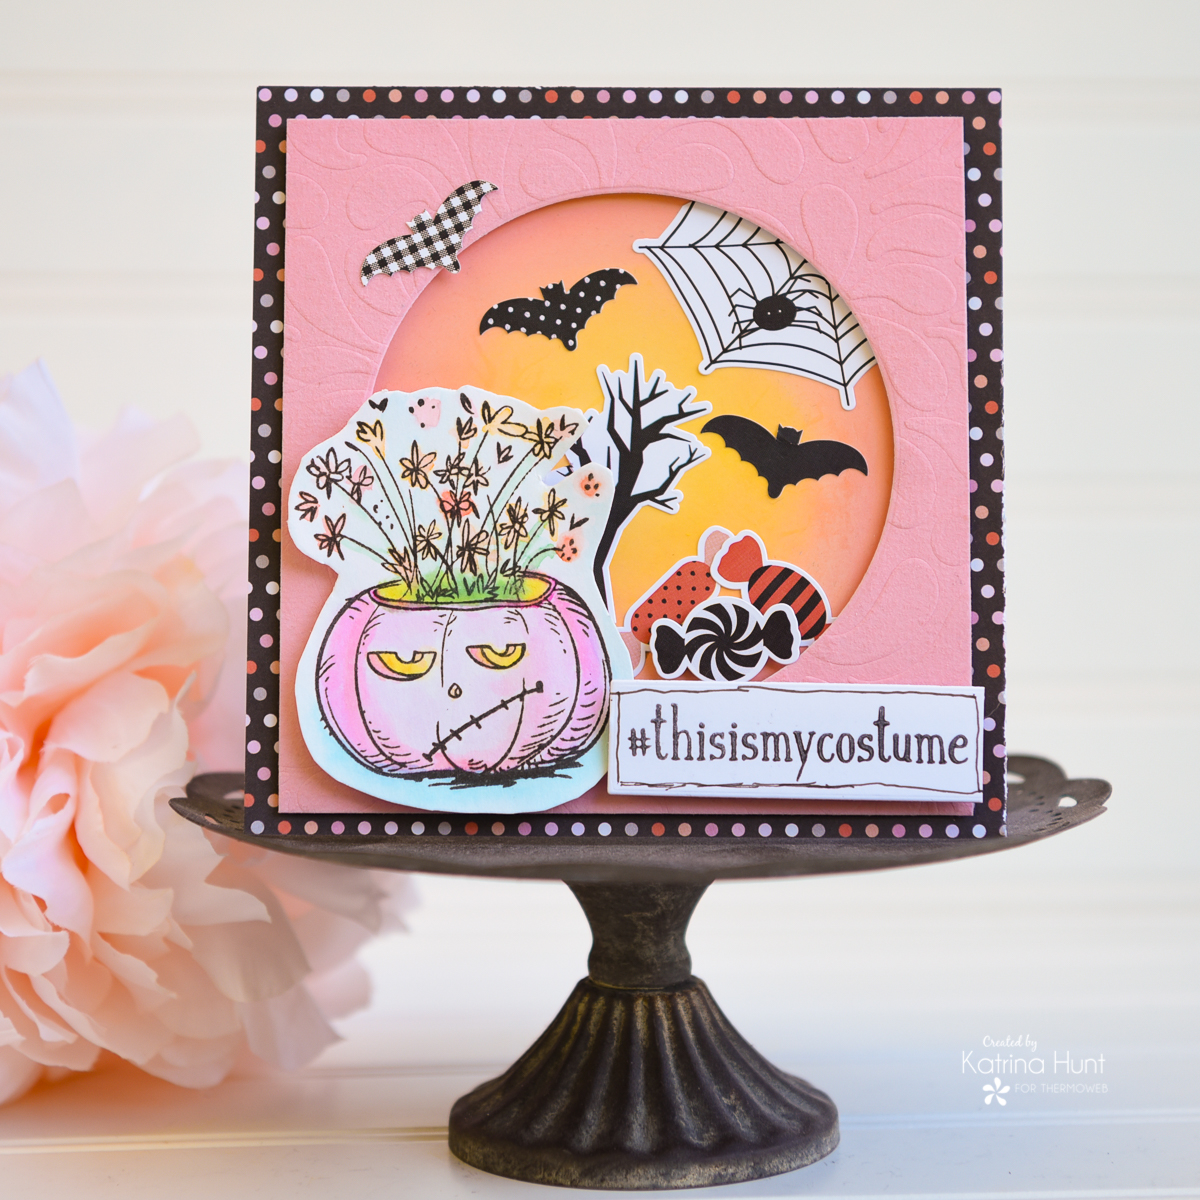
Start card by stamping pumpkin image onto Bristol Smooth Cardstock using Gina K Designs Ink. After you stamp the pumpkin, go ahead and stamp your sentiment and trim it out to a rectangle or use a die-cut label that will hold the length of the sentiment.
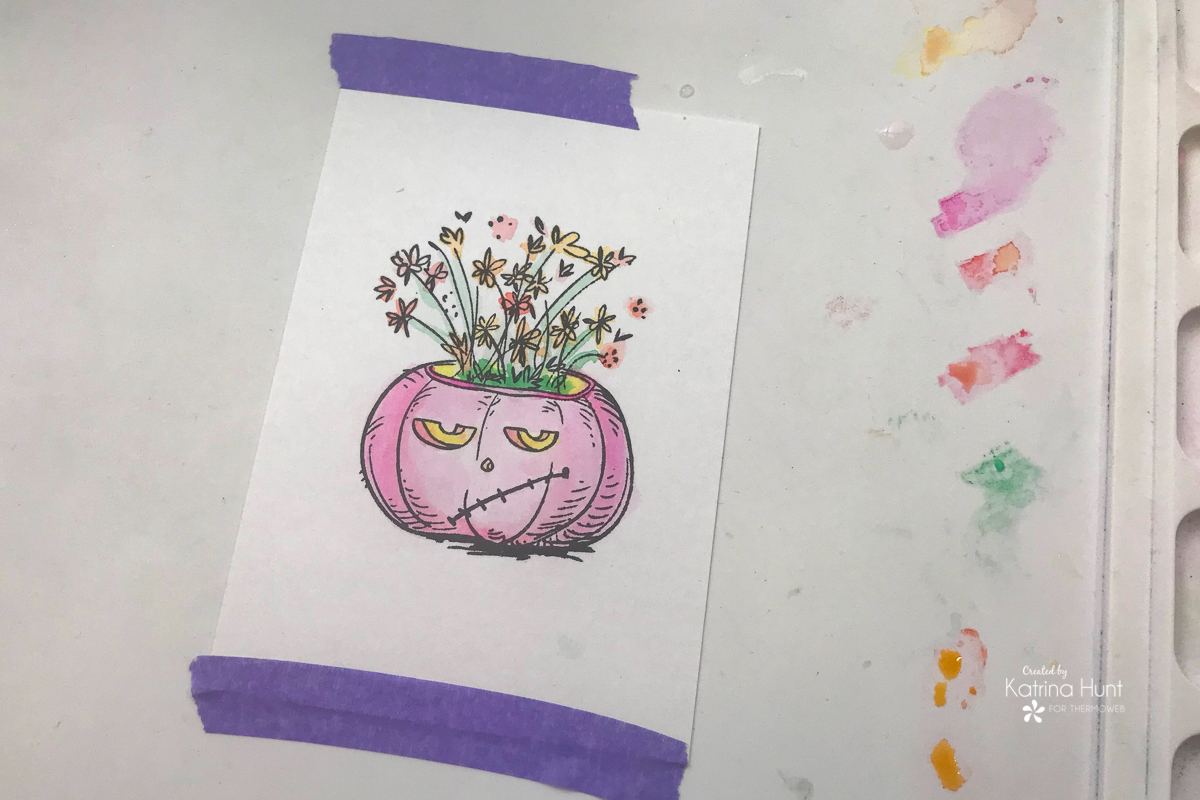
Next, color in pumpkin image using Zig Clean Color Markers. Use Purple Tape to hold your image in place. After the image is colored, trim out around the image and set it to the side. Now, you will begin to work on your card base for your stamped images/sentiments.
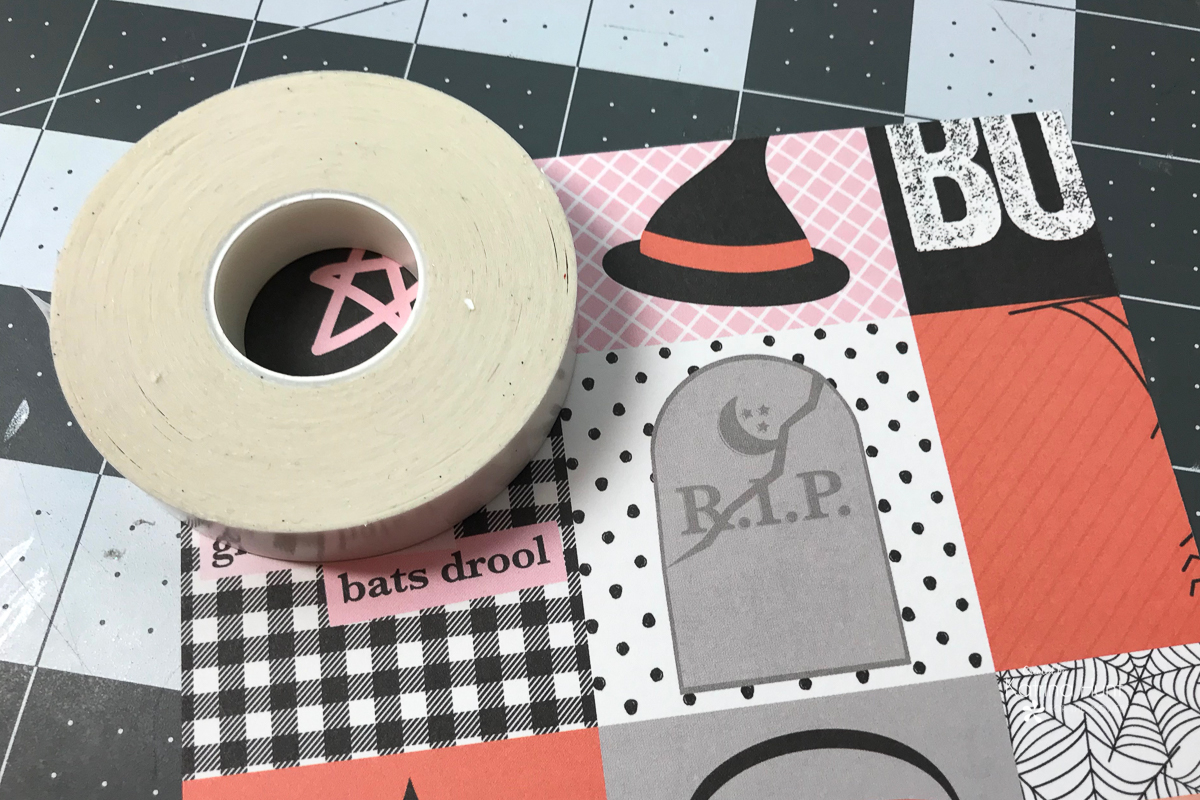
As shown above, my cards are square. They measure 5.0 x 5.0 inches. Therefore to cover the complete card base, you will need to cut a piece of pattern paper 5.0 x 5.0 inches. Next use the Terrific Tape to adhere to the pattern paper to your card front.
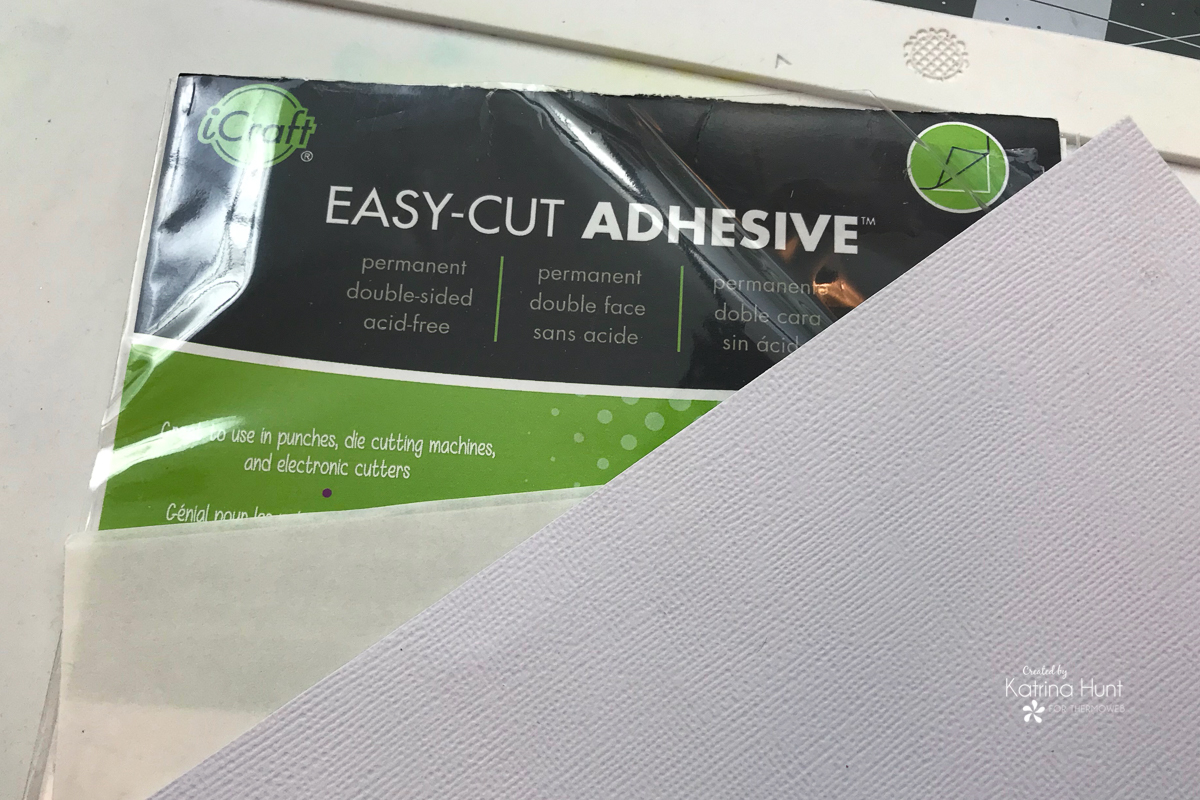
Besides cutting your pattern paper at 5.0 x 5.0 inches, cut a piece each of cardstock and the Easy Cut Adhesive the same size. Apply the Easy Cut Adhesive to your cardstock, then next, remove the protective covering and adhere to the sticky side of the cardstock face down onto your Deco Foil Flock Transfer Sheet. Next, you will run through your manual die cut machine to transfer the flock to the cardstock. Afterward, carefully peel the cardstock away from the flock transfer sheet. Trim your flock piece down to 4.75 x 4.75 inches
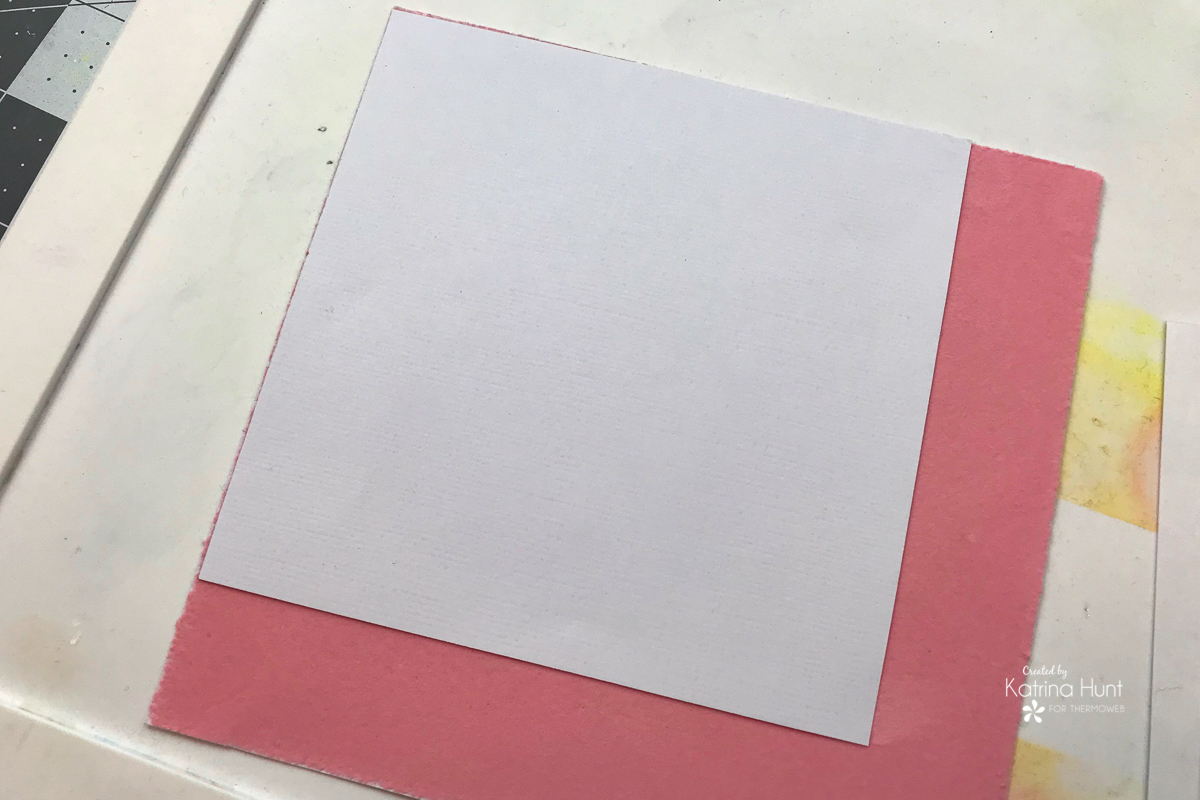
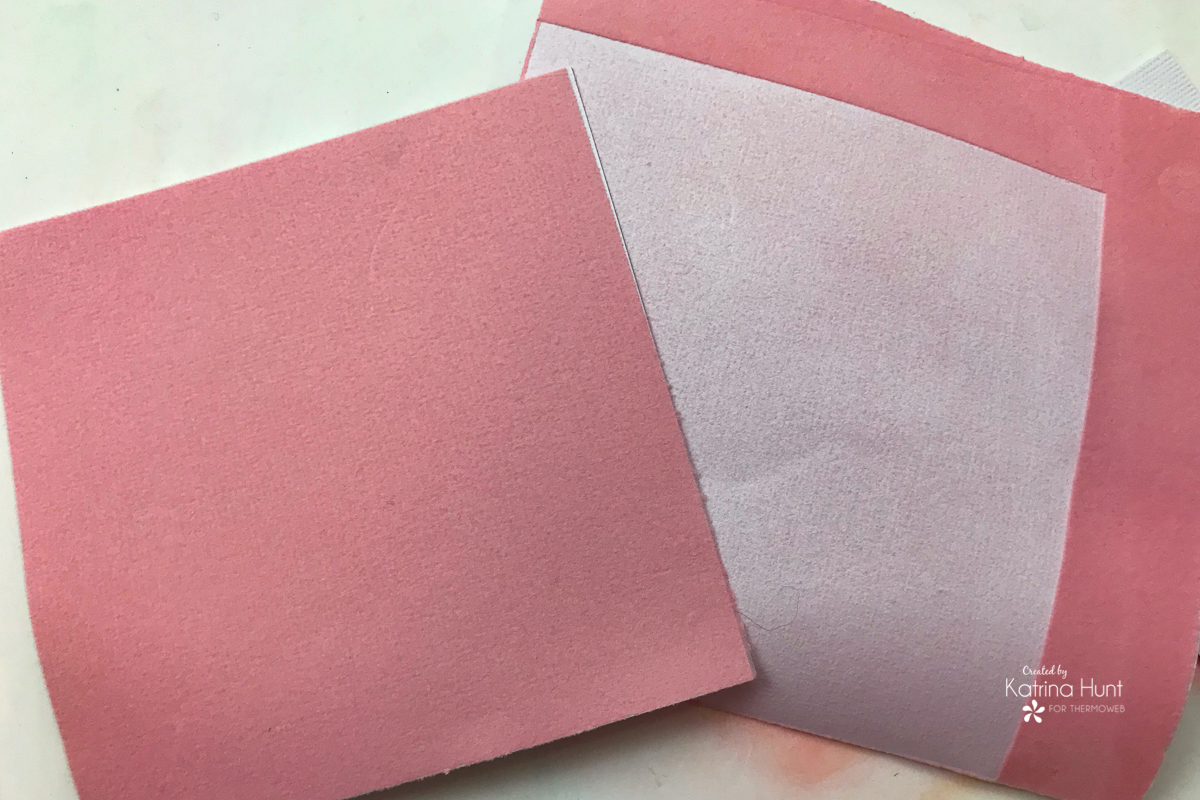
In addition, if you want to create some texture to your flocked piece, place a stencil of your choosing over the flock and run through your manual die cutting machine. This will give you the texture of the stenciled areas.
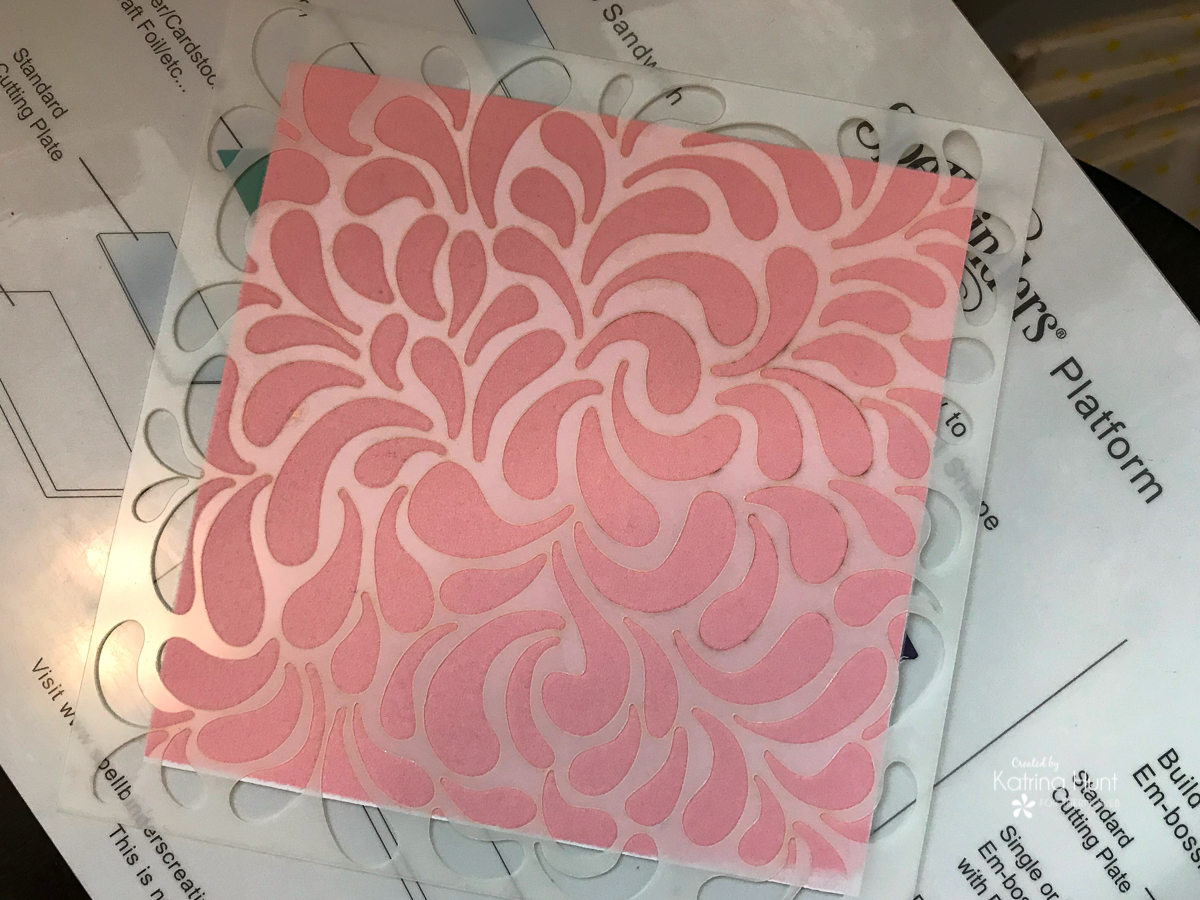
After you have created texture, then die cut a circle out of the middle of your flocked piece to create a window effect. You can see the texture in the flock below. Set your cut out to the side to create the next card.
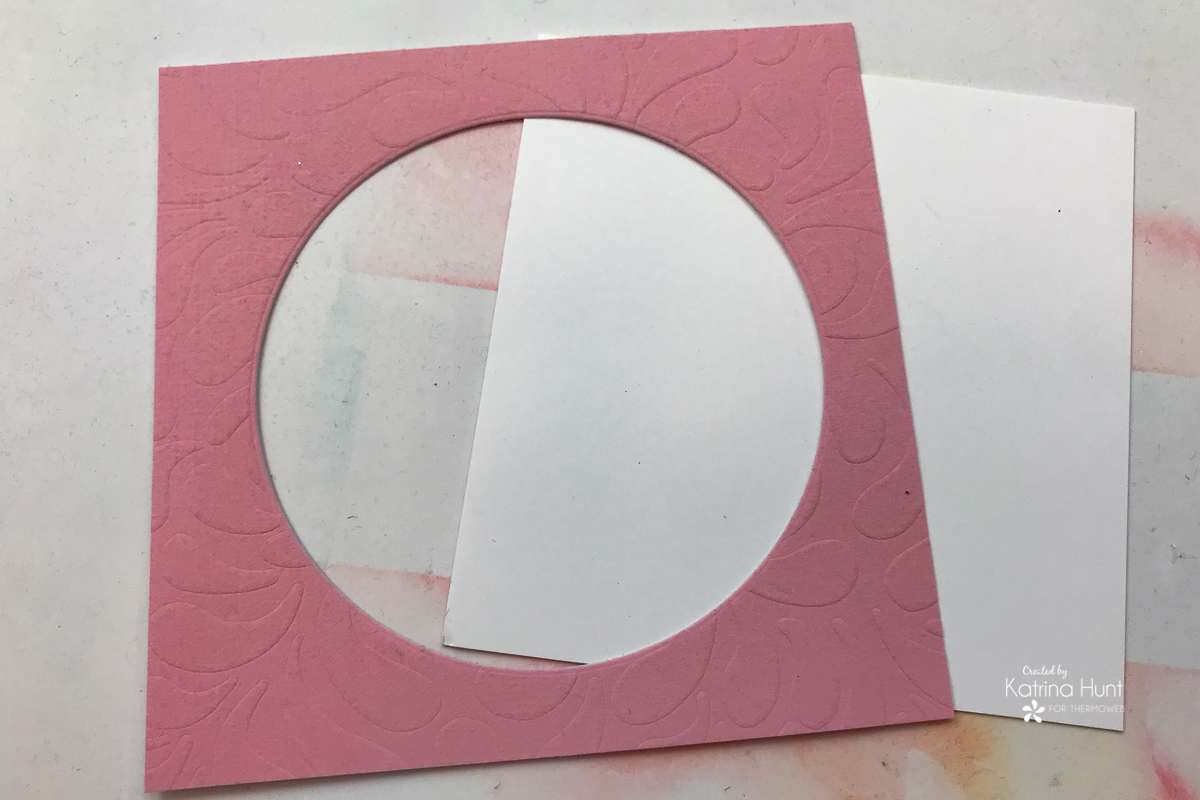
In addition, ink blend a piece of cardstock that you have trimmed slightly smaller than your flocked piece. I used Distress Oxides in Squeezed Lemonade, Dried Marigold and Worn Lipstick in that order. I started in the middle and blended in circles outward.
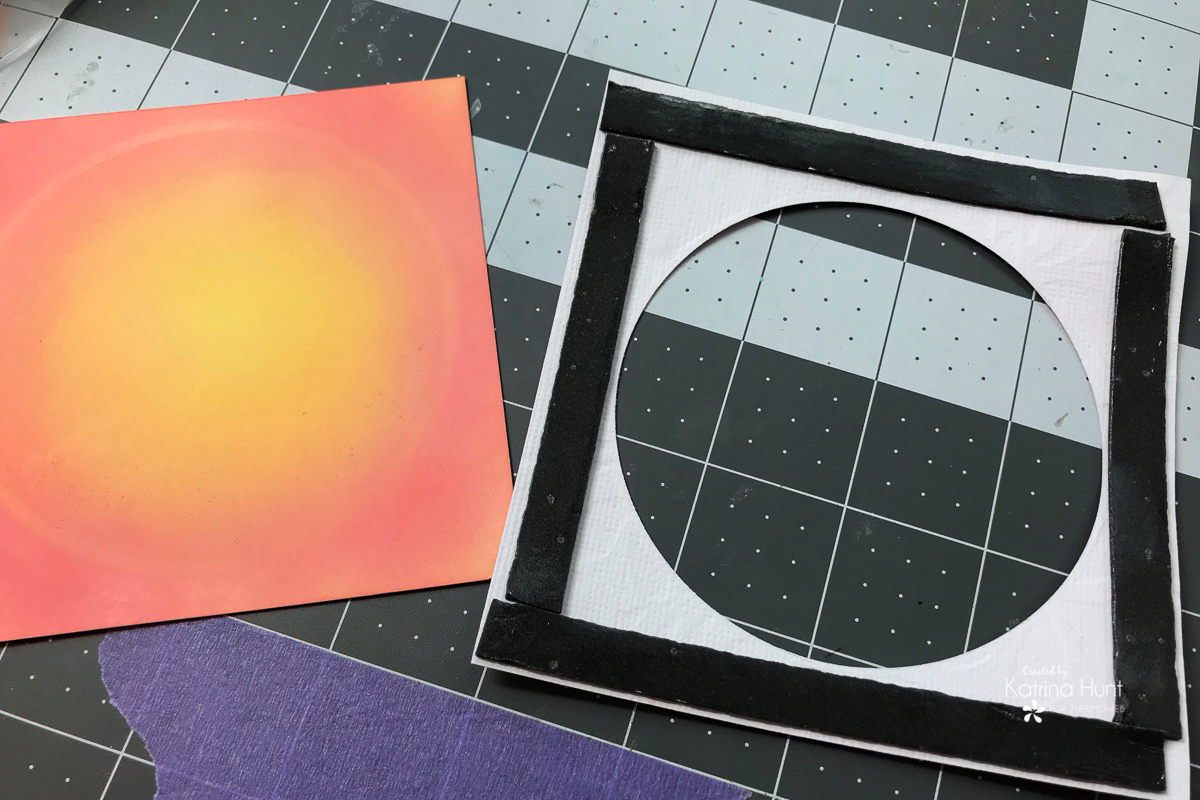
In order to create a little lift for your “window” use the Gina K Black Foam Tape to adhere your flocked/die cut piece onto your ink blended piece, centering as you attach the two together. Add your stamped image and sentiment, along with some sticker die cuts from the paper collection and your card is done!
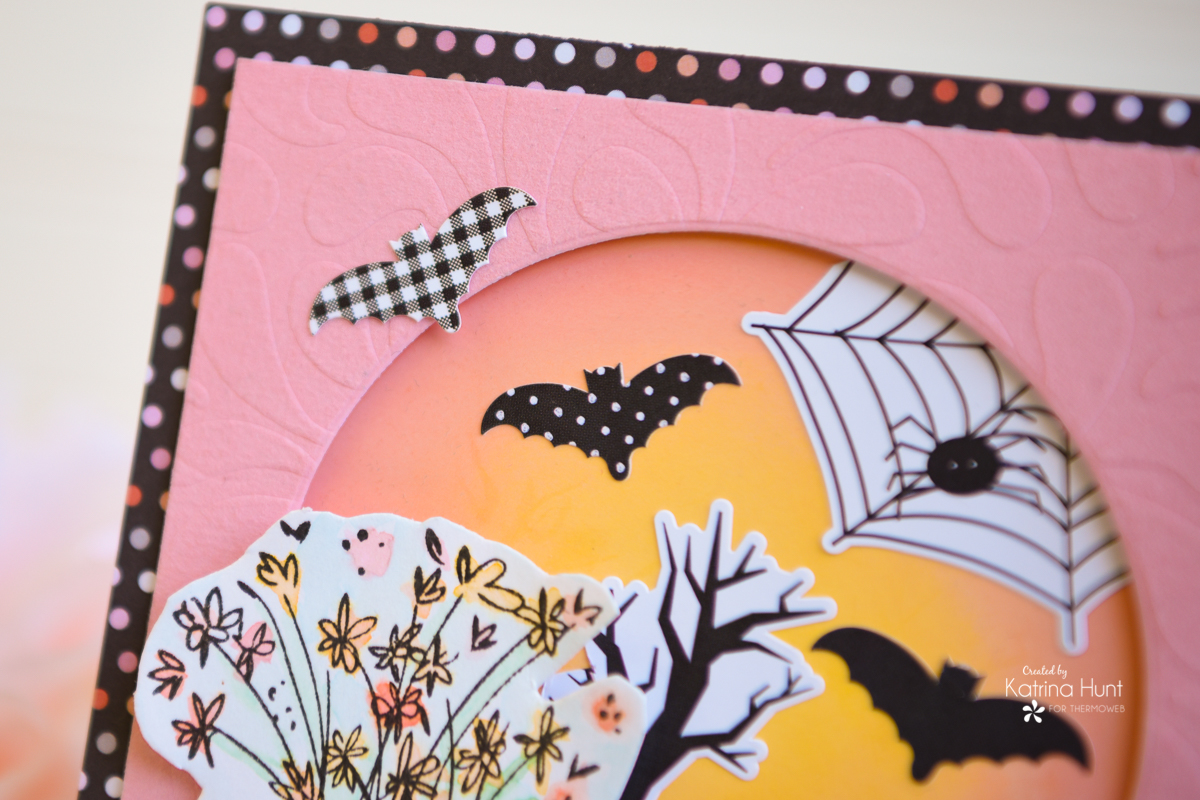
How fun is that!!! And I made a second card with the left over circle that I die cut out. There are no step outs, but it’s pretty straight forward!
Second Card
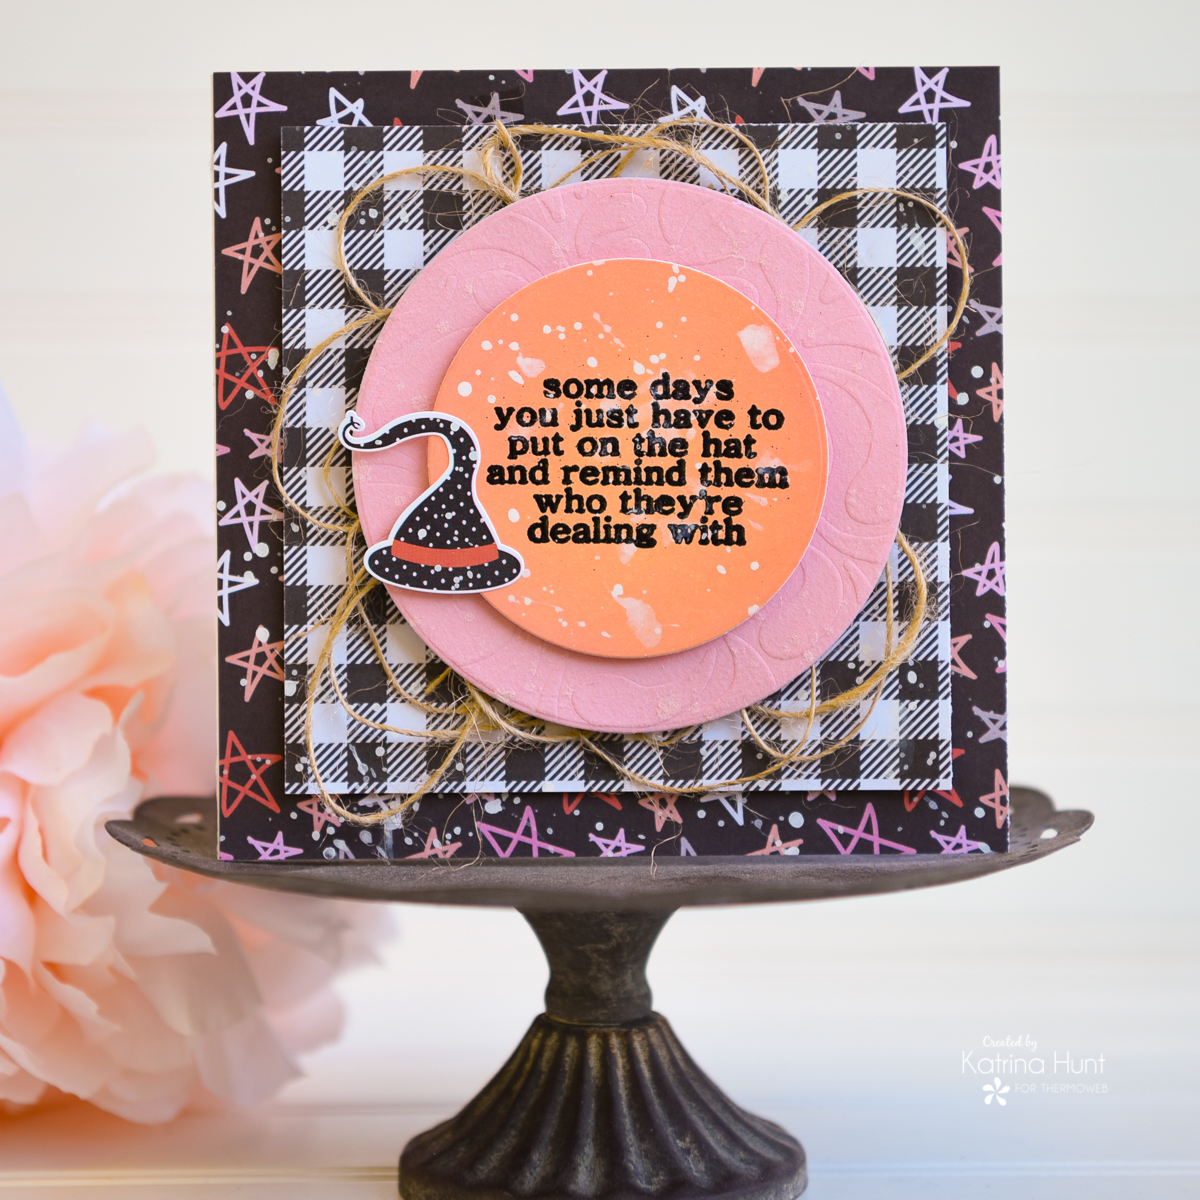
The card base again is 5.0 x 5.0 inches. First cut a piece of pattern paper 5.0 x 5.0 inches and adhere as we did above. Second, cut another piece of a different pattern paper 4.50 x 4.50 and adhere with Foam Tape.
Third, apply some Gina K Dot Adhesive runner to the top of the second piece of pattern paper layer and arrange some twine or string on top. Cover the middle with your die-cut flocked circle.
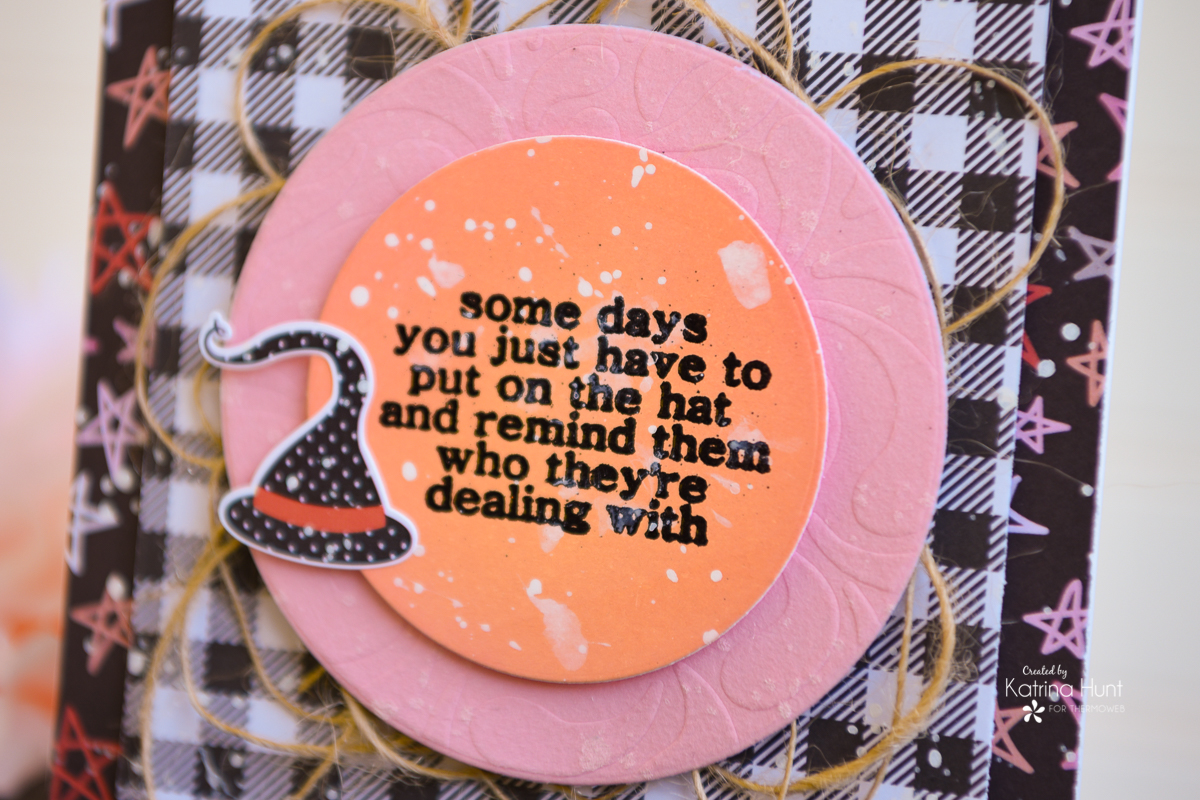
Next, ink blend a circle similar to how you did above and stamp in an embossing ink onto your blended die cut circle. Cover with embossing powder of your choosing and heat set. Apply your die-cut circled sentiment on the top of your flocked circle. Add a sticker from the paper collection. To add a little interest, you can water down some acrylic paint and splatter it as I did here with the white spatters.
I hope these cards have inspired you to try some non-traditional colors on some holiday projects!! Thanks for stopping by the blog!!!

Meghan Kennihan
October 11, 2019 at 8:12 am (6 years ago)I LOVE THE PINK!!!!!!!!!!!!!
Mary Holshouser
October 11, 2019 at 8:18 am (6 years ago)Using the pink is different. Gives the cards a
smoother look than the jarring black. There are
pink tomatoes so why can’t there be pink
pumpkins. thanks for sharing
txmlhl(at)yahoo(dot)com
mjmarmo
October 11, 2019 at 9:20 am (6 years ago)Simply delightful!
Denise Bryant
October 11, 2019 at 10:19 am (6 years ago)Pretty pink and orange combo for these Halloween cards! Very fun designs!
Sue D
October 11, 2019 at 12:45 pm (6 years ago)Love the pink.
Brenda @ Songbird Designs
October 11, 2019 at 4:04 pm (6 years ago)Pink and black are classics to me and go great with the Halloween projects!! I really love that flocked transfer sheet and stencil! Awesome!
BECCA YAHRLING
October 11, 2019 at 6:25 pm (6 years ago)OMG! So pretty in pink and I love all the fun layers!
Awesome designs.
Darlene De Sario
October 13, 2019 at 4:16 am (6 years ago)The flocking background is great! Tyfs
Celeste Herrin
October 13, 2019 at 8:03 pm (6 years ago)Just gorgeous!
My favorite Gina K product is the CLEAR Boxes!!
Celeste Herrin
October 14, 2019 at 9:09 pm (6 years ago)Yay!! I see that I’m one of the winners! Thank you sooo much! I have not received an email that I’m able to find if anyone has contacted me yet. I really don’t want to miss out, so please let me know if you have tried to contact me. Thanks again!