


 Hi there Therm O Web fans, Jenifer here with you today to share these no-sew Travelers Notebooks. I have always been a planner and now that it has finally become popular I am loving it. I find it really hard to only work in one at a time with all of the options that are out there and I tend to change my notebooks out with the season. With this no-sew way to make some quick covers, you won’t have to worry about breaking the bank every time you want a new planner.
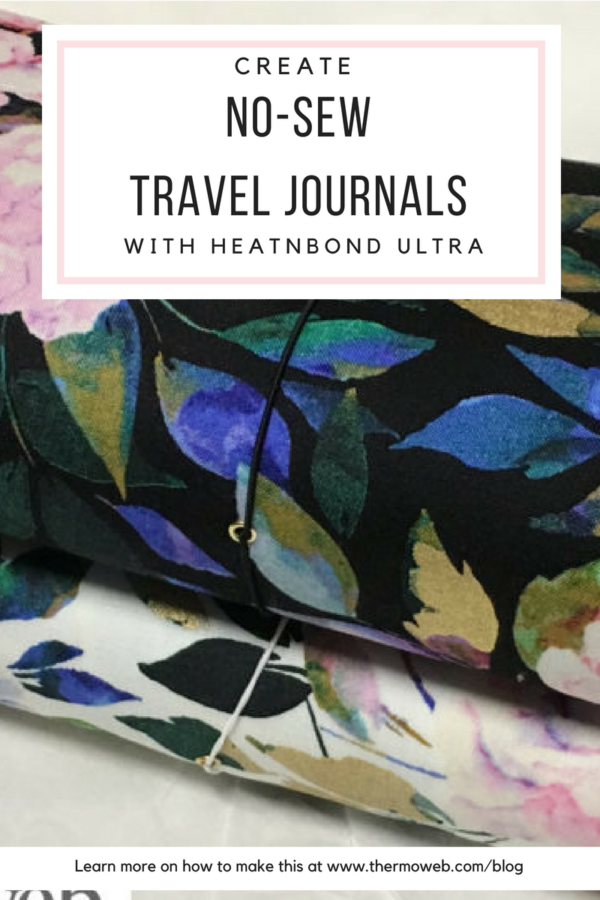
No-Sew Travelers Journals Made with HeatnBond Ultrahold Fusible Adhesive
I made 2 different sizes:
The white one is 9″x12.5″ when open flat. I love this size because I am lazy and don’t want to cut my paper to fit in the journal. This size holds and 8.5″x11″ piece of paper folded in half, I don’t have to do anything,
The Black one is 8.75″x11″ and this will hold most travelers inserts or you can make your own you just have to cut the paper down a little bit.
Travelers Notebook Supplies:
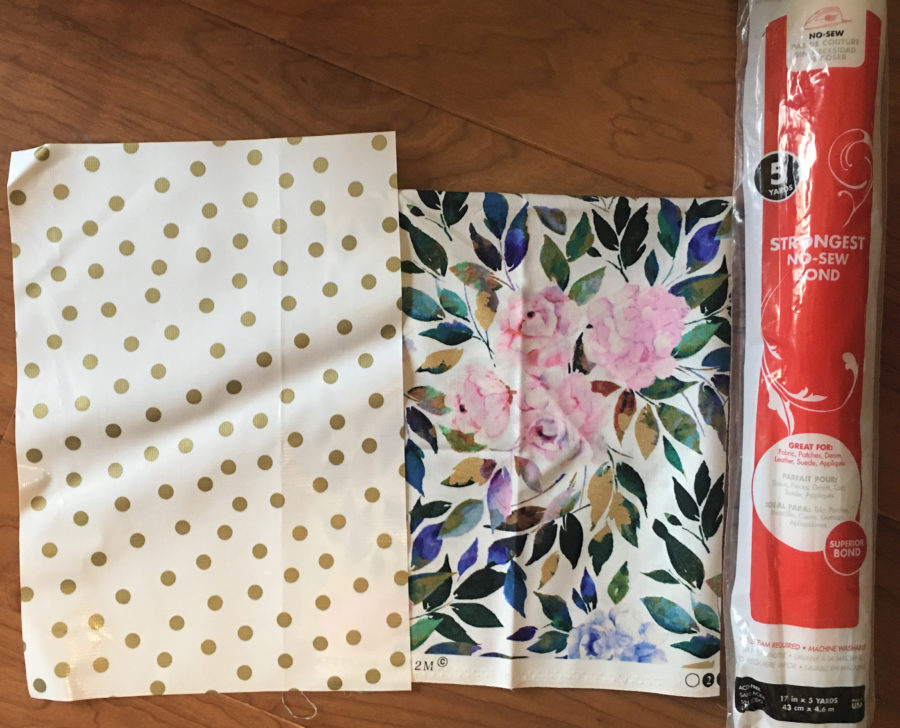
Beautiful fabric from Windham the Romance collection
Vinyl or Marine Vinyl (found at most fabric stores, I buy when they are in the remnant bin)
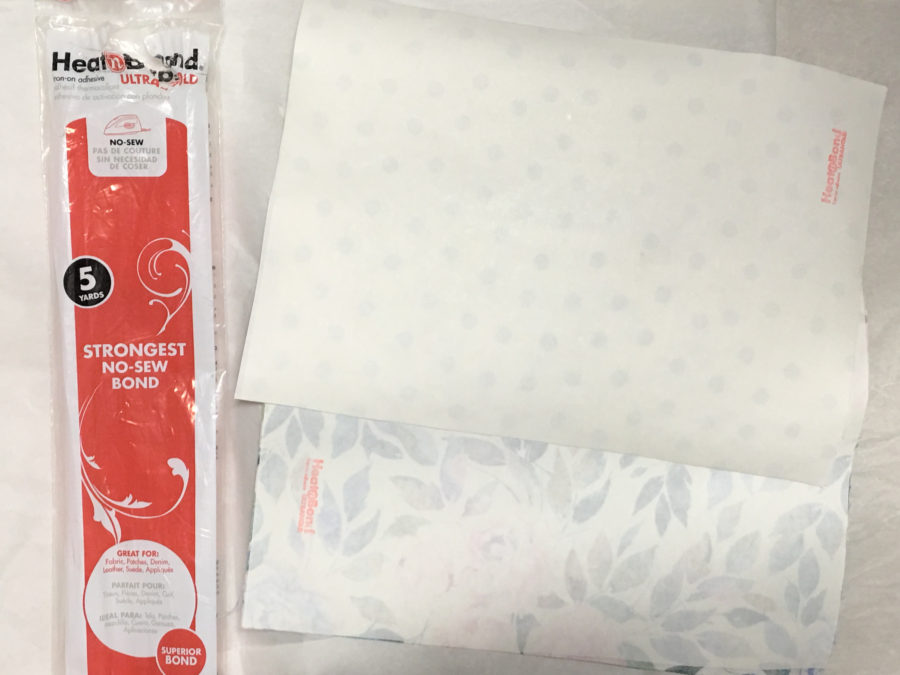
HeatnBond No-Sew Ultrahold Fusible Adhesvie
Other Supplies:
Erasable marking pen, Iron, sharp scissors, other general sewing supplies, eyelets (optional), Elastic
No-Sew Travelers Journals Made with HeatnBond Ultrahold Fusible Adhesive Instructions:
Step 1: Cut a 9″x12.5″ piece from the fabric, vinyl and 2 from the HeatnBond Ultrahold Fusible Adhesive. Fuse the HeatnBond to the back of the fabric and to the back of the vinyl. When Ironing the vinyl make sure you use a medium setting and a pressing paper so you don’t end up melting the vinyl.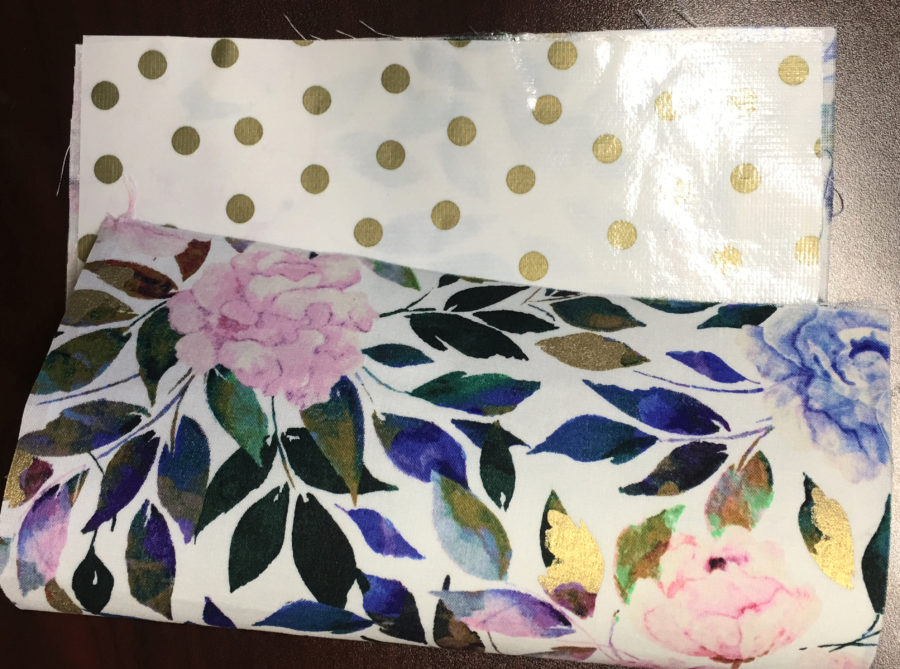
Step 2: once the fabric and the vinyl have cooled peel off the paper backing and fuse them together matching the corners. If it doesn’t line up perfectly then you can trim the edges.
*NOTE – I have found that putting the HeatnBond on both the fabric and the vinyl helps really get a nice bond. When I only put it on one or the other it didn’t stick as well, I am thinking the reason for this is because the vinyl is a little bit textured.TooltipText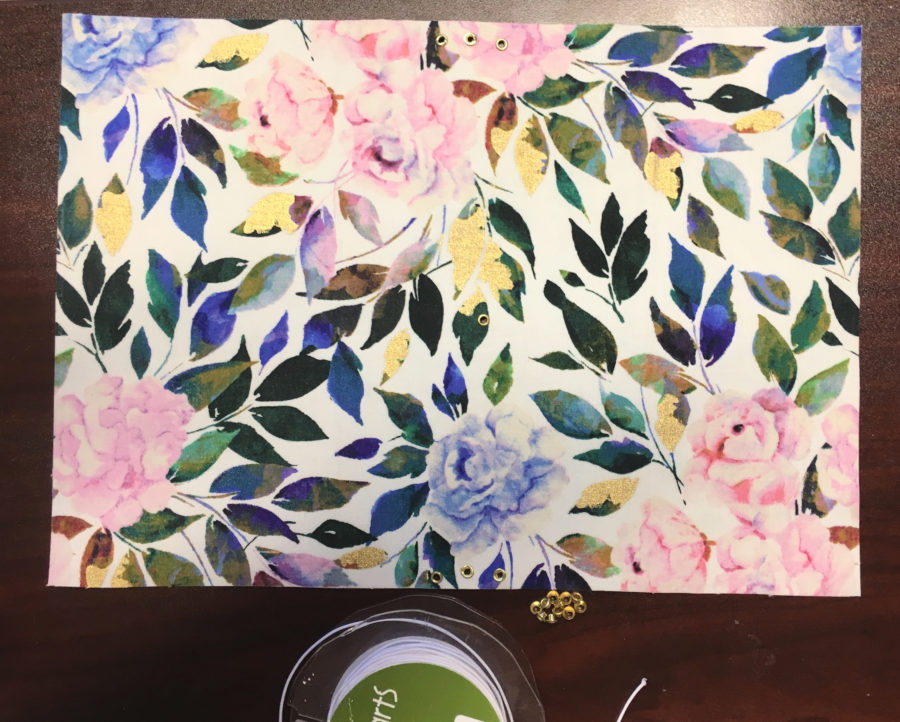
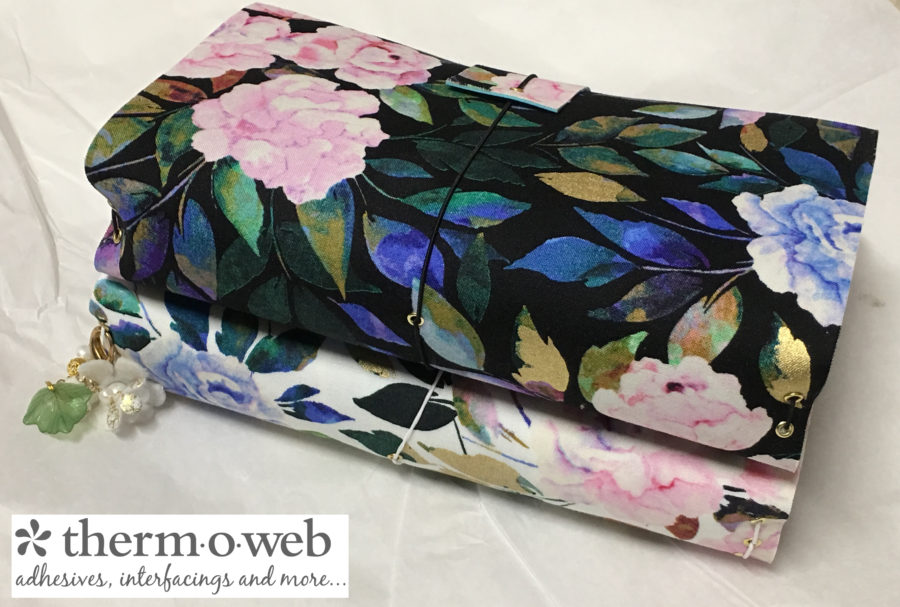
Step 3: Now that we are working with a nice piece it is time to put in the eyelets. I spaced them in the center and then 1/2″ from the bottom and 1/2″ from each other. Eyelets are optional but I think they give it such a nice touch and it makes it easier to run the elastic through. Once eyelets are inserted it is time to insert the elastic.
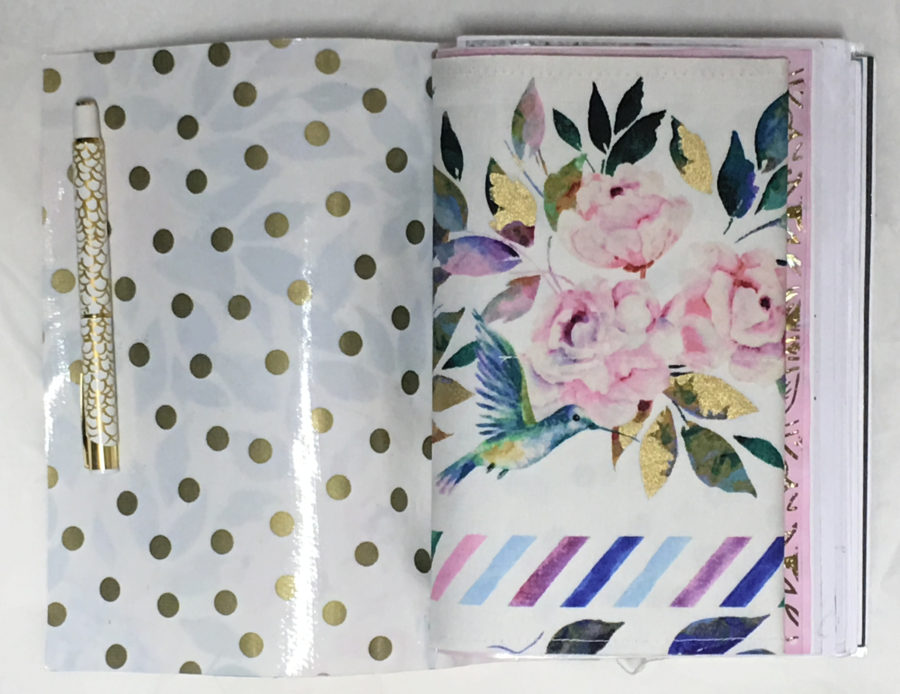
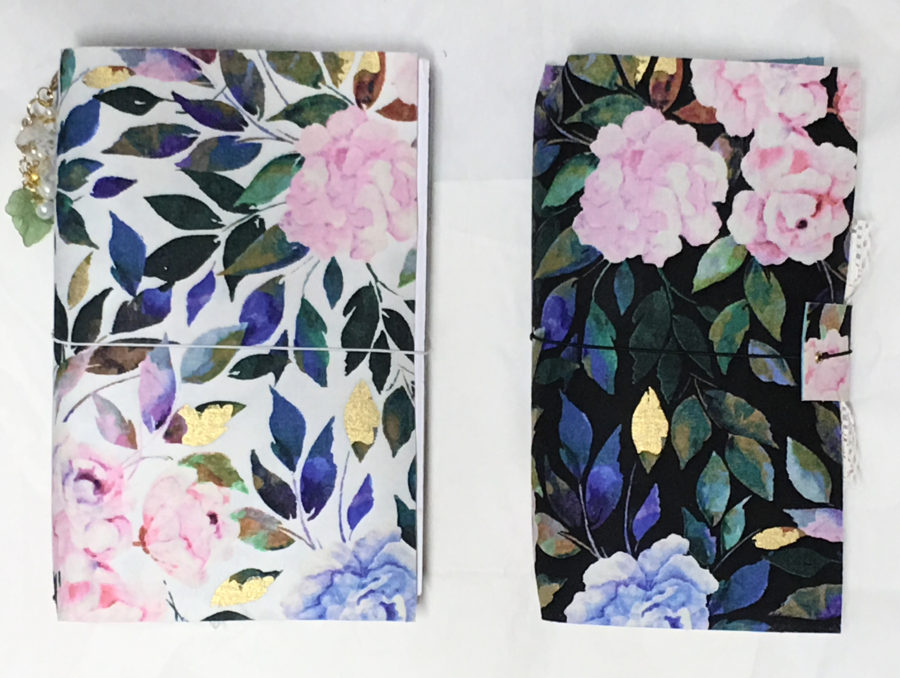
Here is the inside. This first page is a fabric insert that I made but it does require a little bit of sewing so stay tuned and I will show you how that is done in my next post.
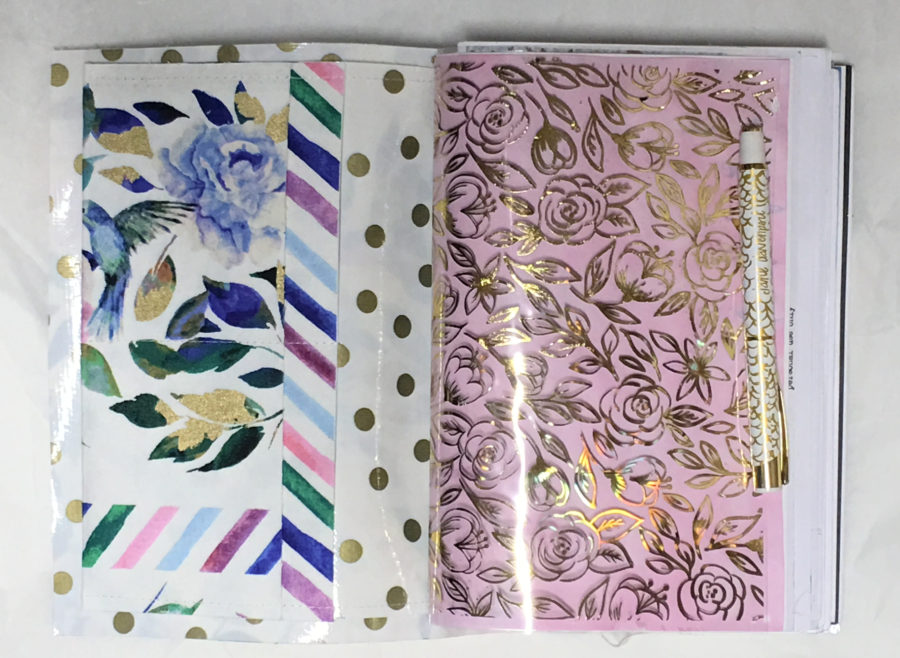
I used the Deco Foil Clear Designer Toner Sheets in Floral Sketch along with Gold Deco Foil for my dashboards and I love them!
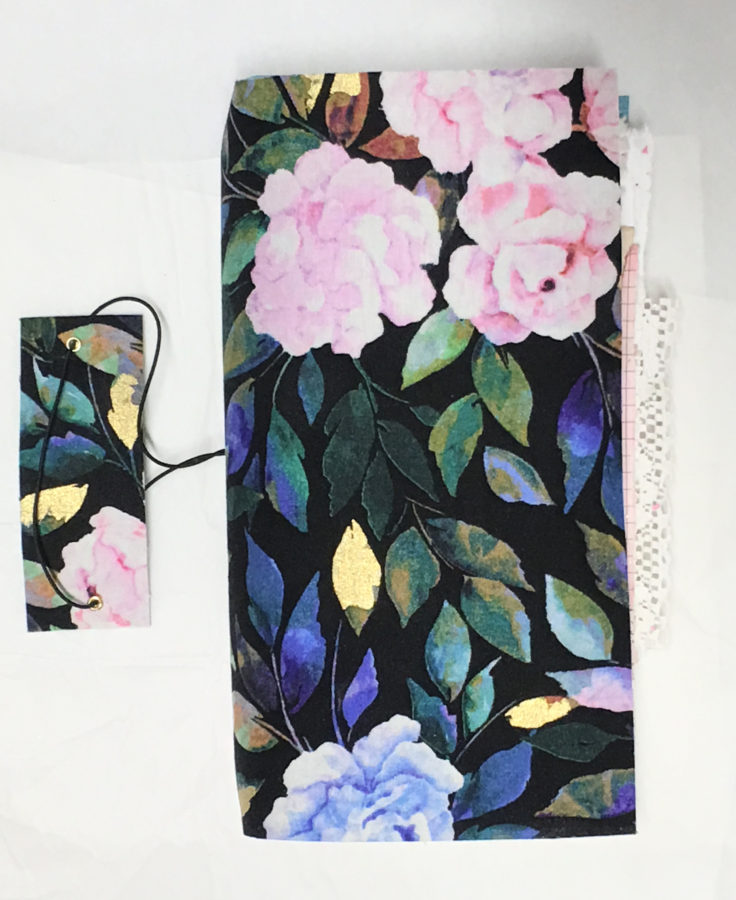
Here is the black one in a smaller size.
 Here is the inside. For this one I used the same technique but used a marine vinyl and I LOVE it.
Stay tuned for my next post I have a couple accessories to use in our Travelers Journals but it does require a little bit of sewing.