Hello and welcome!
It’s Julia from Inflorescence Designs! I’m so joyful you are visiting today.
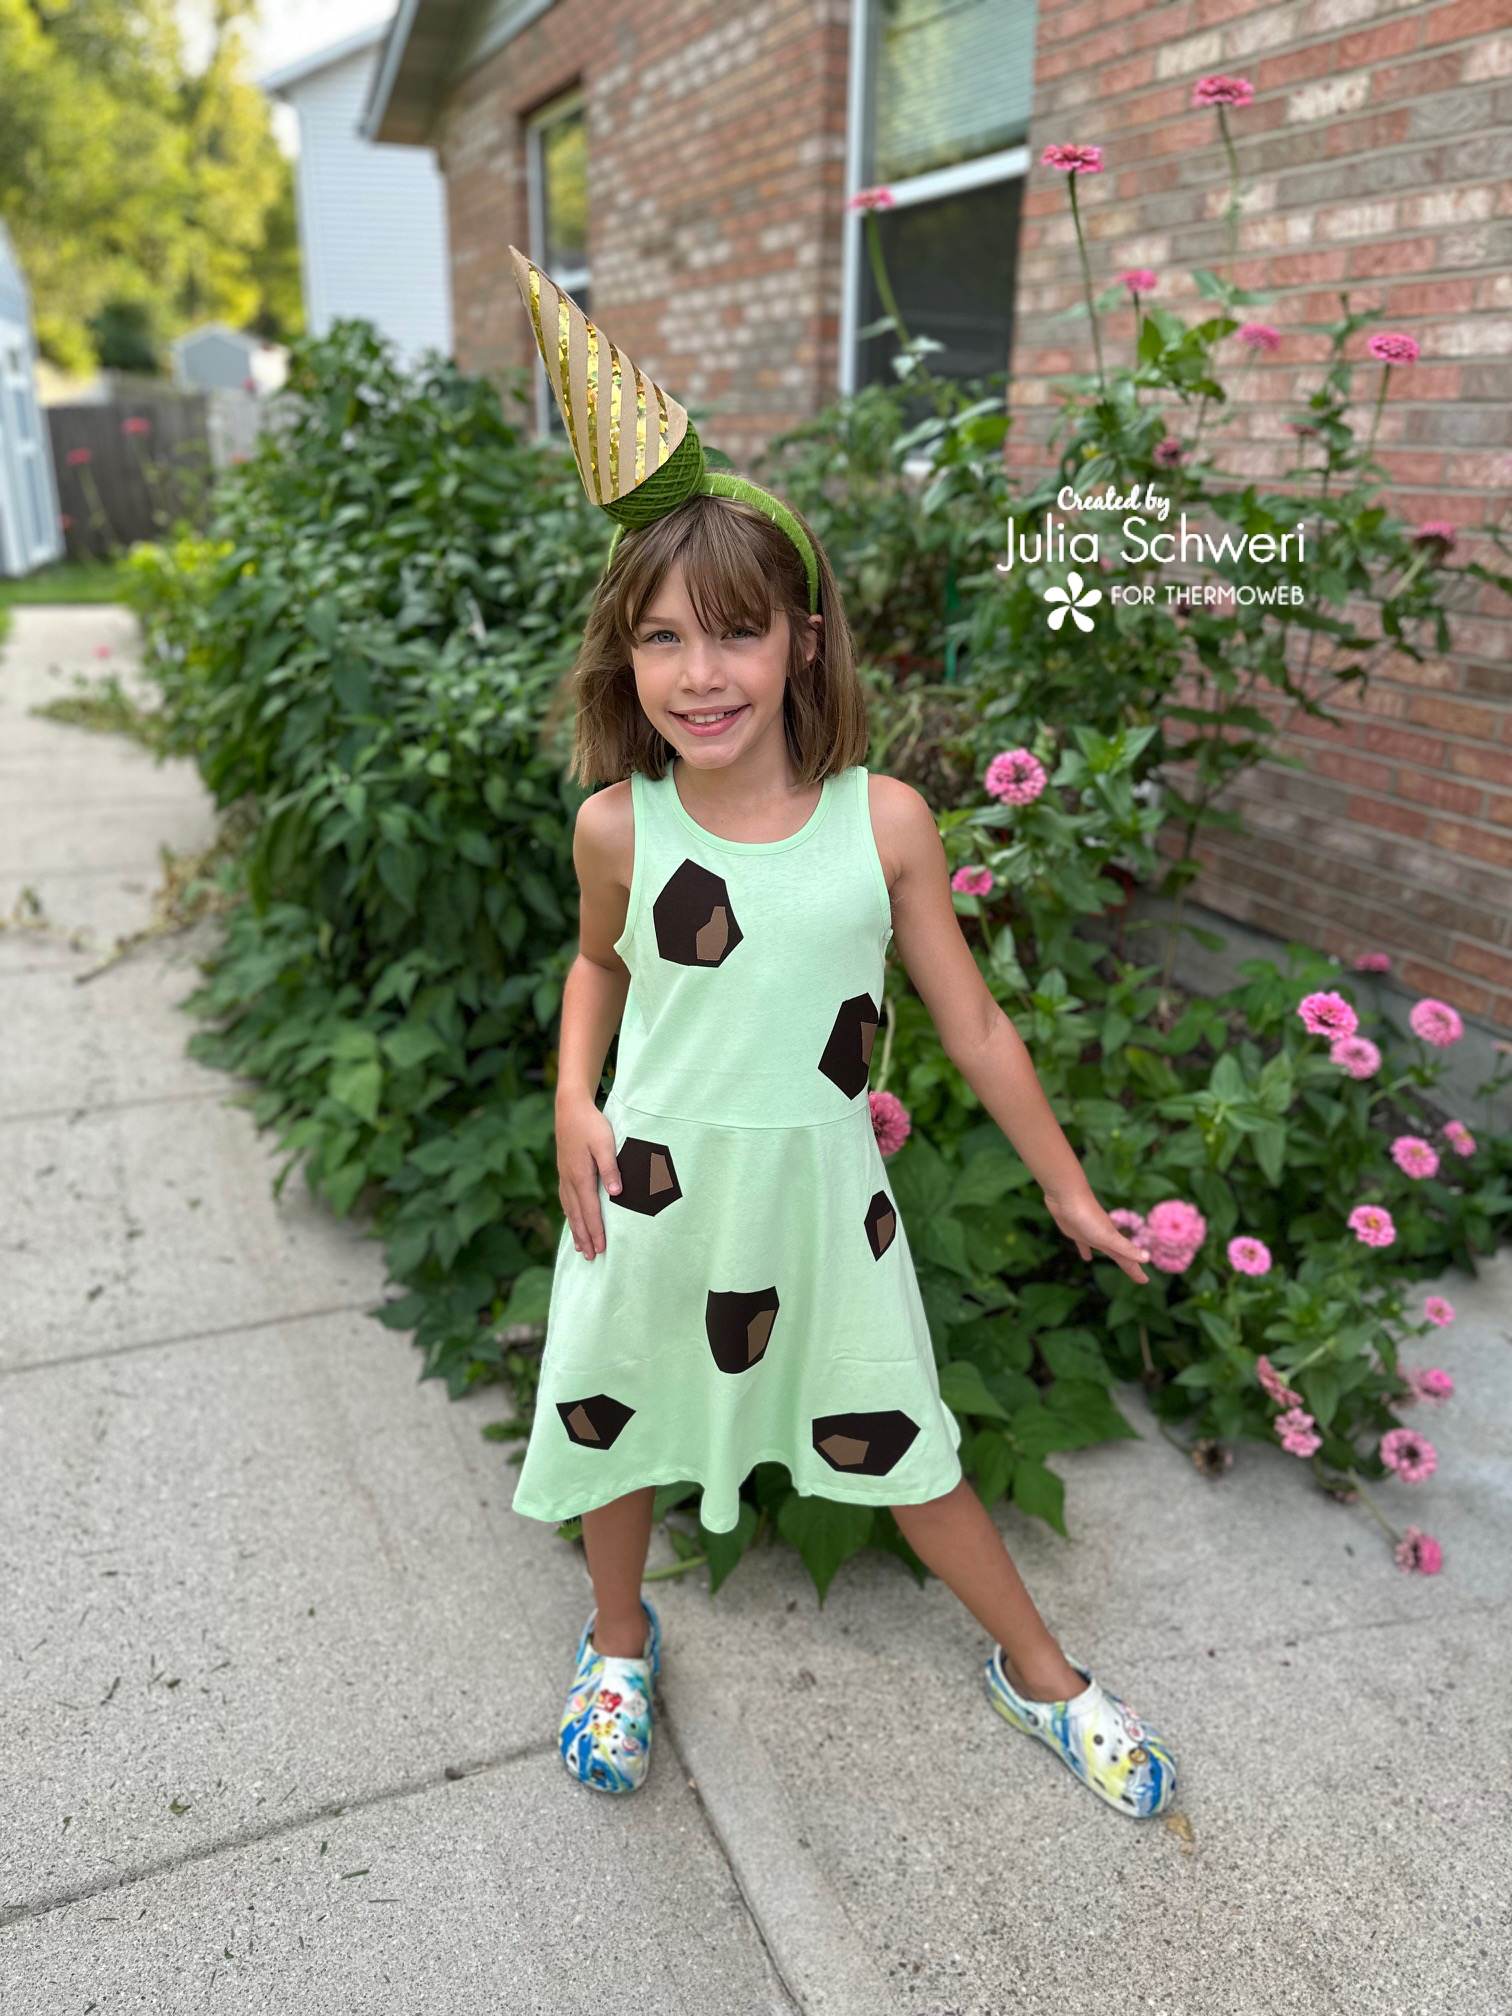
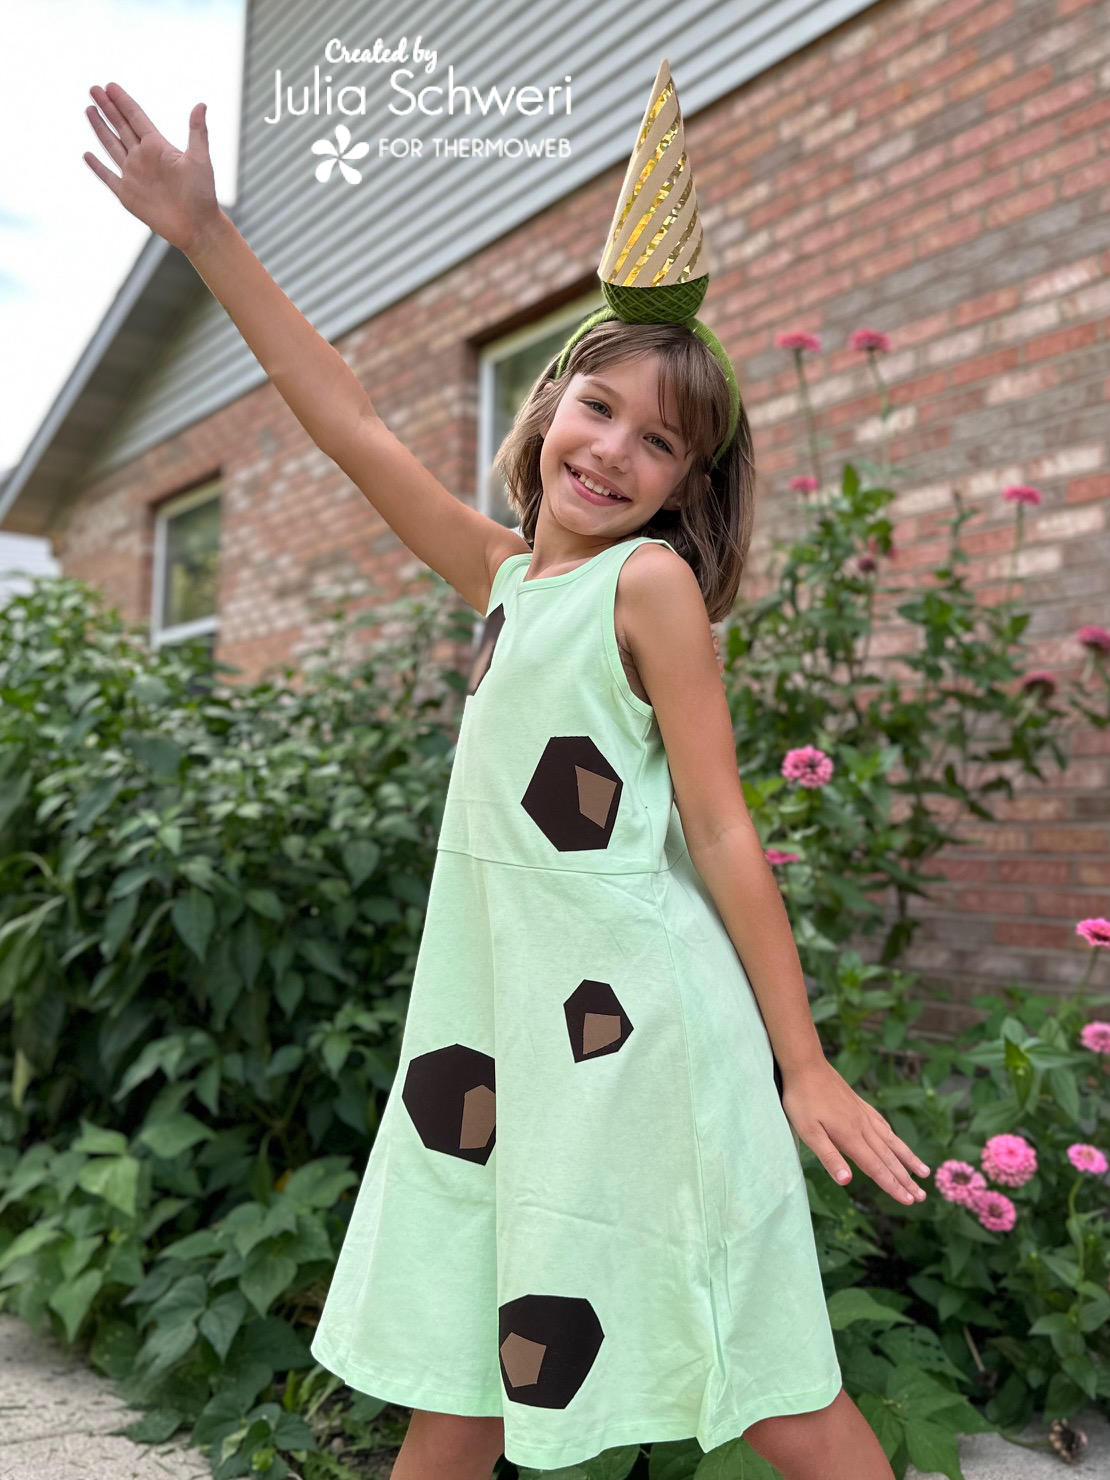
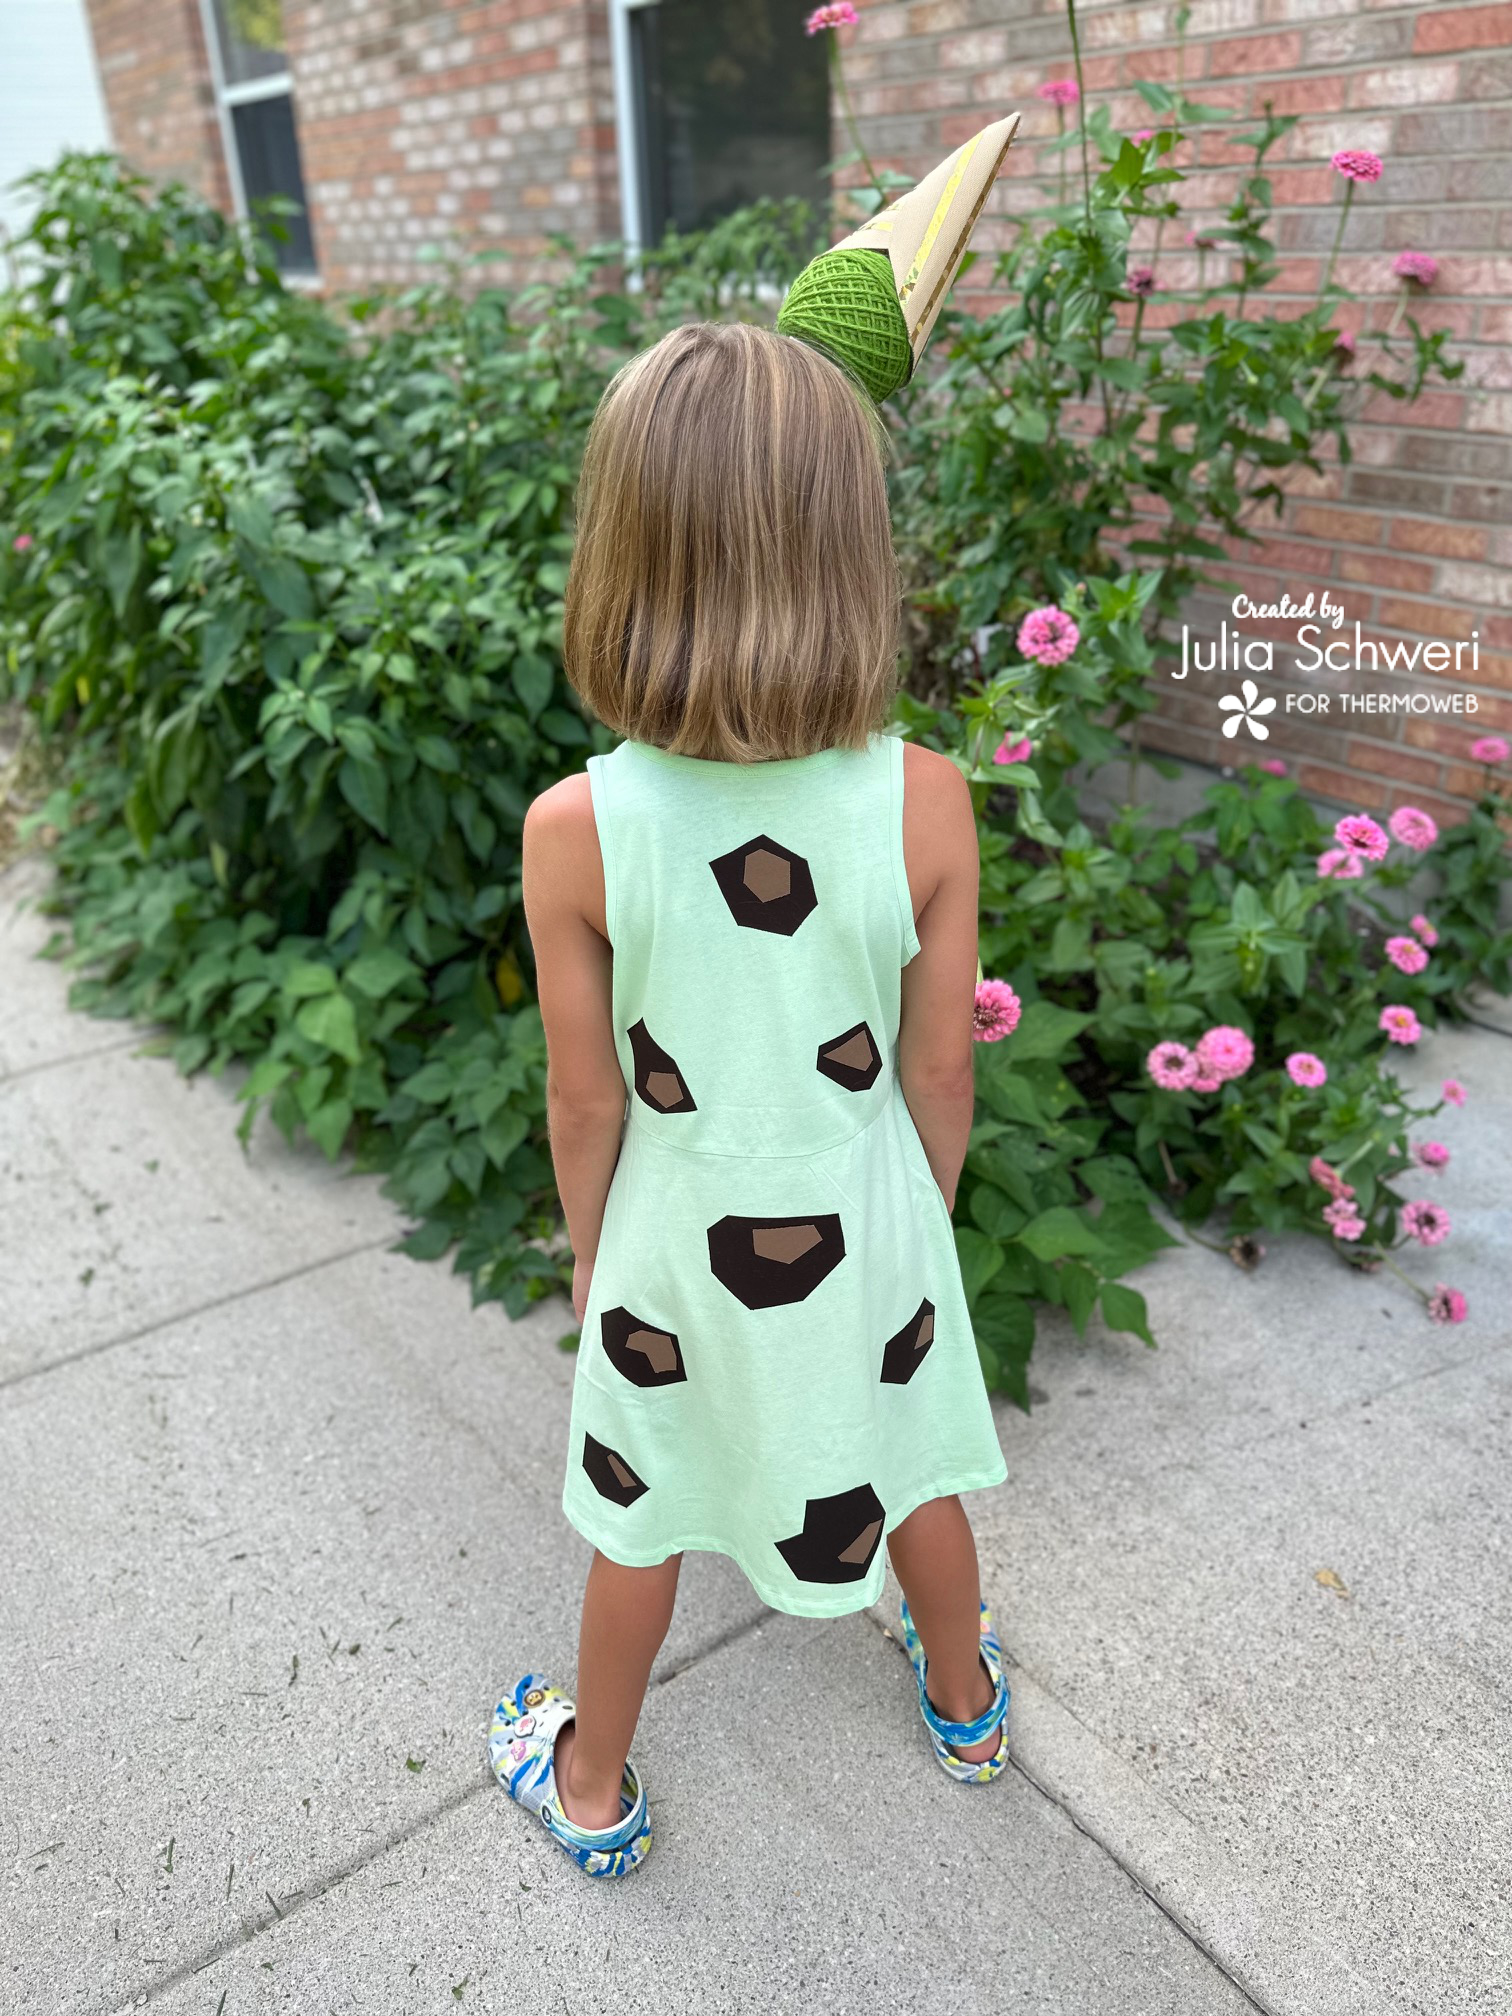
Today’s tutorial is a no sew project. That’s right! We are making an adorable Mint Chocolate Chip Ice Cream Costume!
This design can be re-imagined into any flavor you desire. Imagine, strawberry ice cream with rainbow sprinkles or perhaps a dark chocolate drizzle around the neckline. The possibilities are endless, and it makes a fun and quick Halloween costume for you or someone you know!
Mint Chocolate Chip Ice Cream Costume
Supplies:
- Ice Cream Cone Pattern
- Dress or Article of Clothing
- HeatnBond Soft Stretch Ultra
- HeatnBond Craft Extra Firm Fusible Interfacing
- Pressing Paper
- Deco Foil: Shattered Glass or similar
- Deco Foil Hot Melt Adhesive
- Glue Gun and Sticks
- Oliso Iron
- Dark Brown Cotton Fabric
- Light Brown Cotton Fabric
- Beige Canvas Fabric
- 1″ Plastic Headband
- 1 Skein Green Yarn
- Center Pull Yarn Winder (Optional)
- 2″ Felt square
- Scissors

Dress Instructions:
Begin by…
Fuse HeatnBond Soft Stretch Lite to both the light and dark brown fabric.


Next…
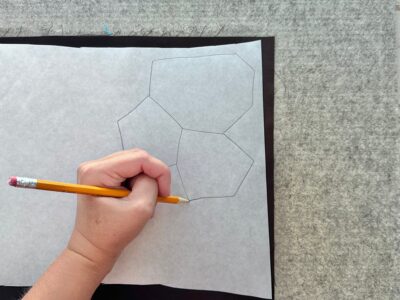
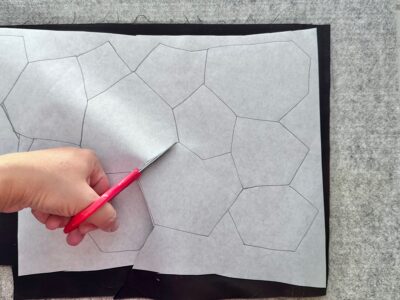
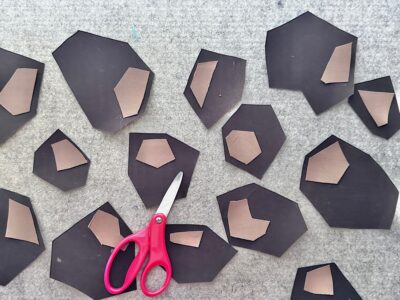
Hand draw the dark chocolate shapes. I did hexagons and pentagons stacked on top of each other to maximize the use of my fabric. For the light chocolate, draw smaller shapes. Once drawn, cut out the shapes.
Finally…
Adhere all the chocolate shapes to the dress. Press and hold for 20 seconds on high heat with steam.

Ice Cream Hat Instructions:
Being by…
Print and trace the ice cream cone pattern onto the canvas. Next, fuse the HeatnBond Extra Firm Craft adhesive to the back of the canvas.


Next…
Cut out 1/4″ strips of Hot Melt Adhesive. Align them how you would like onto the ice cream cone drawing. Adhere the Hot Melt Adhesive according to the directions on the package. Let cool completely.

Then…
Peel the backing off the Hot Melt Adhesive. Then, layer the Deco Foil on top of the Hot Melt Adhesive. With pressing paper and medium heat (no steam) press the deco foil to the Hot Melt Adhesive for 30-40 seconds. Let cool completely.

Next…
Peel the Deco Foil off the cone. Then, roll the canvas into a cone shape and hot glue to secure.


Continue by…
Wind the yarn on the yarn winder to about a 4″ ball. You can also just roll a 4″ yarn ball or make a 4″ pompom.

Then…
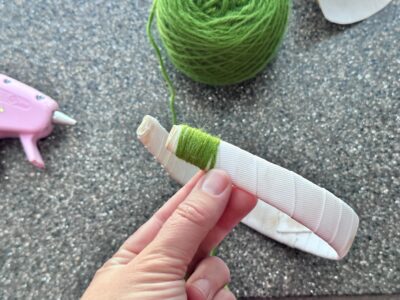
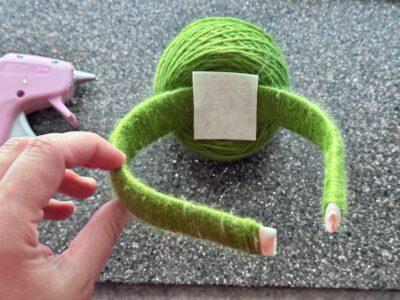
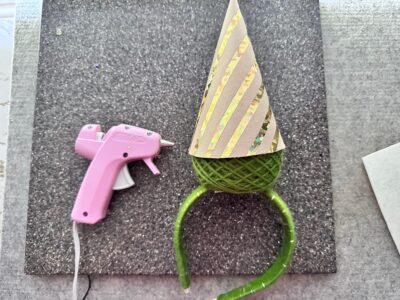
Wrap the plastic headband with yarn and glue to secure. Glue the yarn ball to the top of the headband and secure it with the felt square. Finally, glue the canvas cone to the top of the yarn ball.
Finished!
More FUN!
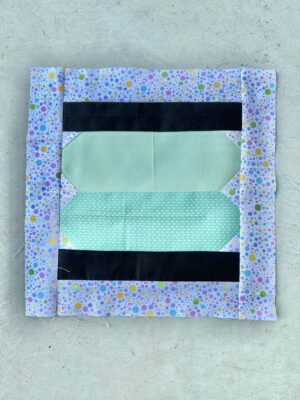
Check out Thermoweb’s Facebook Craft Room. There you will find this Ice Cream Sandwich Quilt Block Pattern! There are also other free quilt blocks and a dozen or so additional projects and tutorials. Find all the projects and patterns in the Files section. Check it out!
Thank you for visiting today! Come back soon to see what else will be starting to bloom with Inflorescence Designs!
