
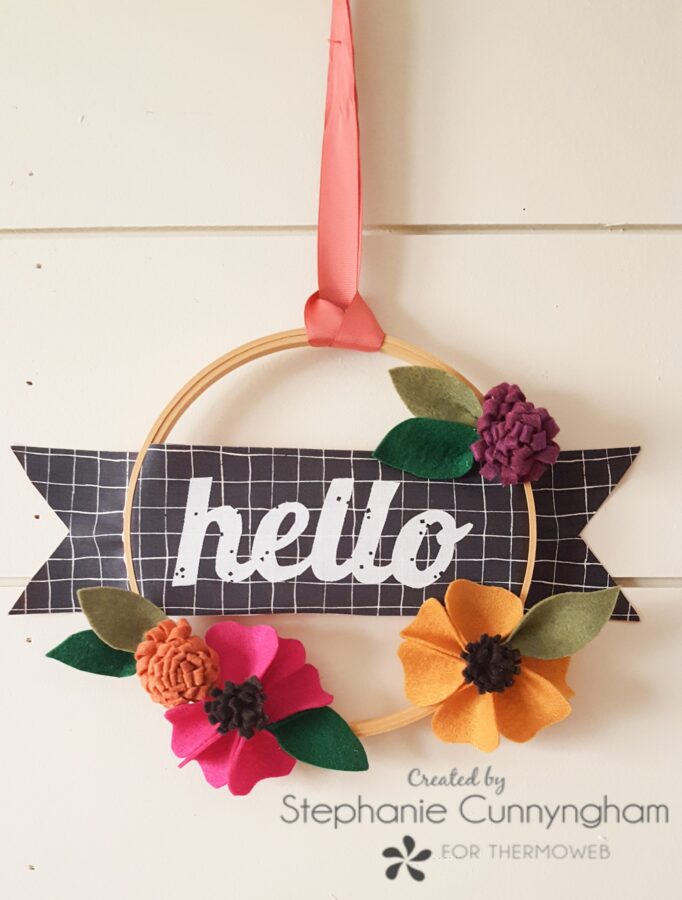
No-Sew Fall Hoop Art
Hello, and welcome to Hoop It Up week at ThermOWeb! I have loved seeing all the fun hoop projects made by my fellow designers, and I had lots of fun coming up with my own design as  well! I love fall, especially all the colors. I am fortunate to live in a place that comes alive with greens, browns, oranges, reds, and pinks this time every year. I can’t get enough of the leaves and beautiful sunsets, and we spend lots of time outside!
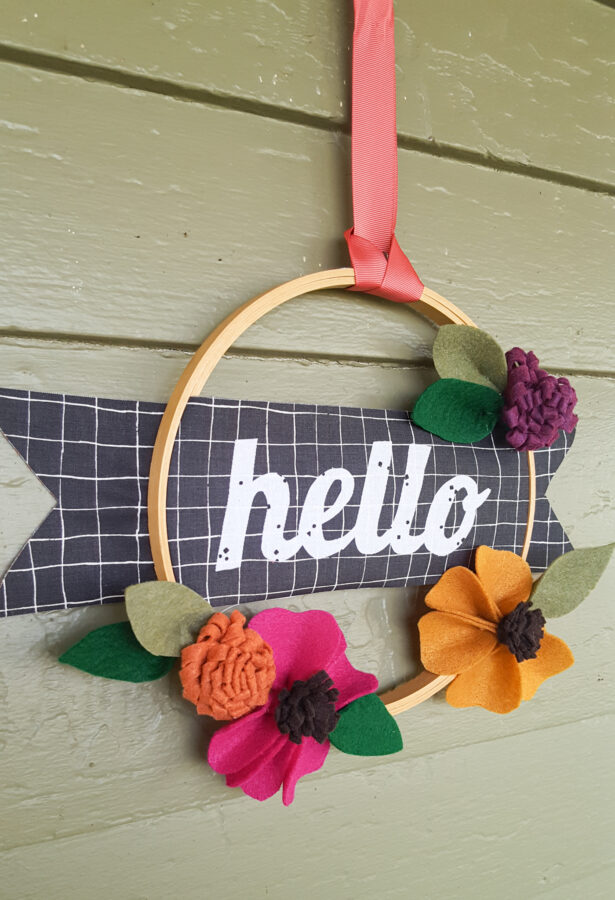
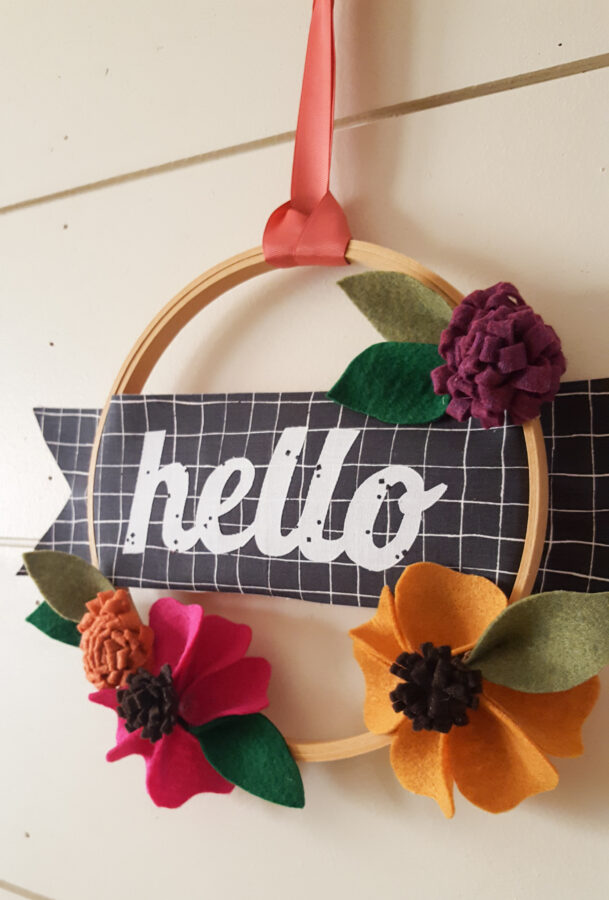
I created this little hoop to bring some of those outside colors in, and I just love how it turned out. This was my first time making felt flowers, but it definitely won’t be my last! There are lots of great tutorials for making felt flowers online, so I won’t dive into that here. But I will share with you how I made the banner that goes on the hoop. It was so easy to make, and guess what? No sewing involved!! With just a little time, some creativity, and HeatnBond Lite you can make one too!
Supplies Needed
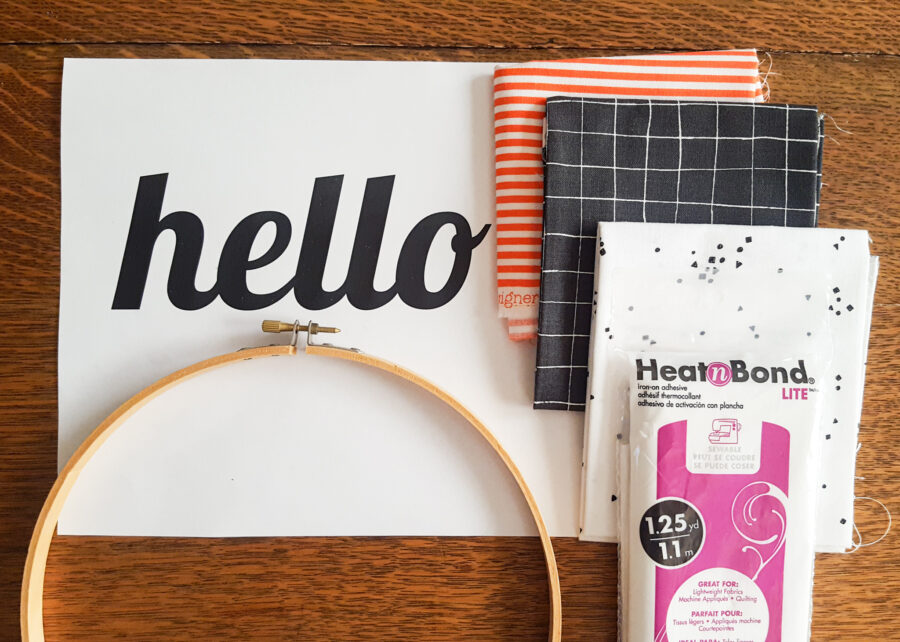
- 9″ embroidery hoop
- 1 package of HeatnBond Lite Fusible Adhesive
- 1 package of HeatnBond Non-Woven Light Fusible Interfacing
- 4″ x 16″ piece of fabric for the banner front
- 4″ x 16″ piece of fabric for the banner back
- Small piece of fabric for the letters
- Hello template
- NOTE: I just went to my word processor, found a font I liked, increased the size, and used that! The font I chose was called “lobster” and I enlarged it to 200%. I’ll include a pdf of what I used in case you want to use it!
- Hello Template
Fall Hoop Art Instructions
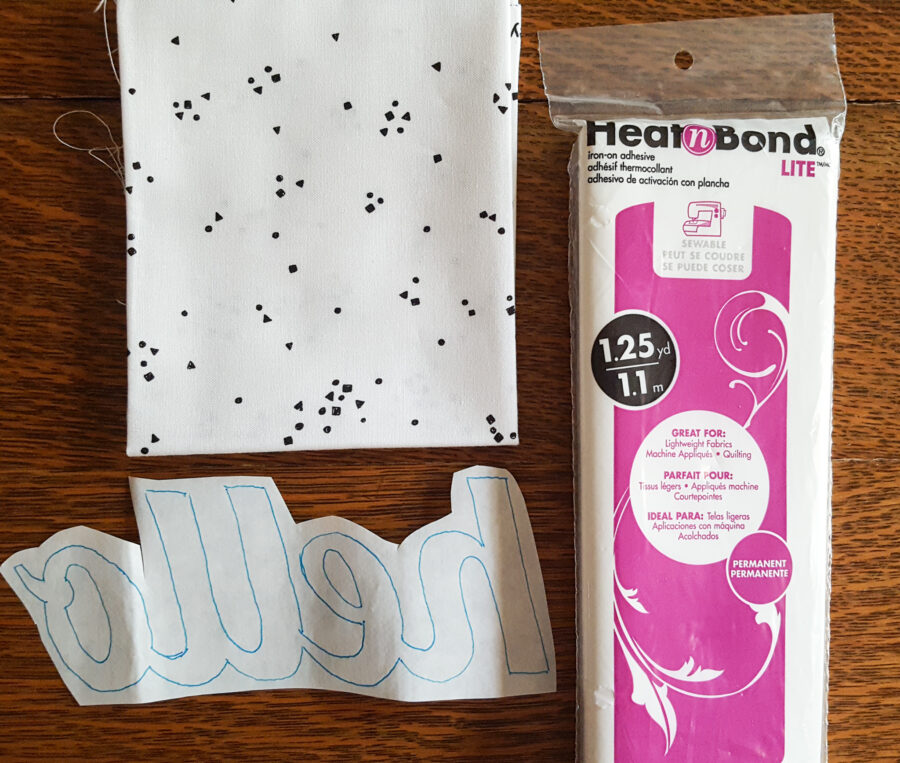
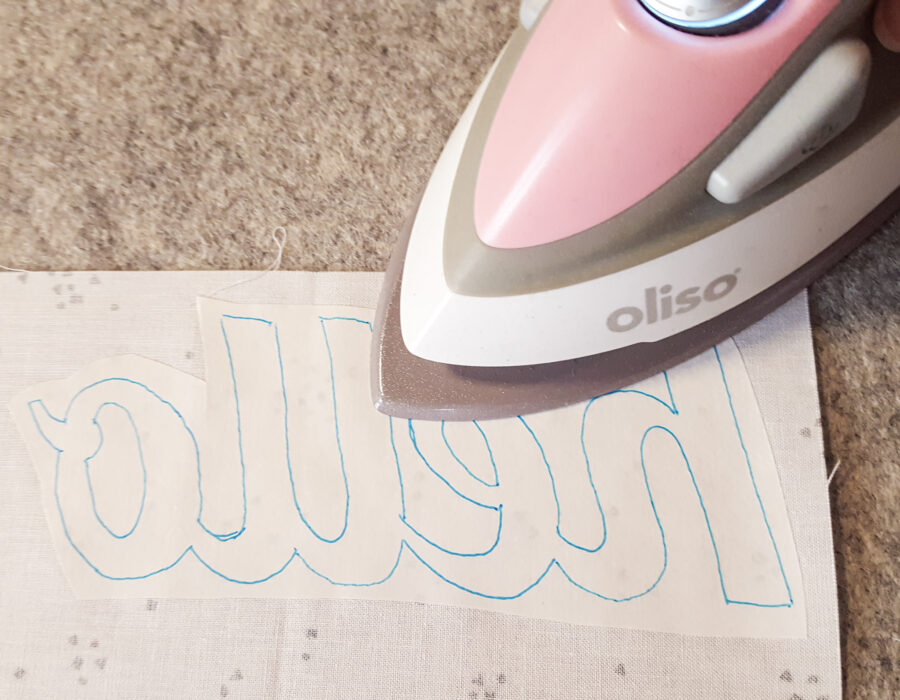
- Print your “hello” as a mirror image and trace it onto the paper side of the HeatnBond Lite.
- OR, print it as is, turn the paper over so the “hello” is face down, and trace it that way, using a window or a lightbox to help define the image
- Roughly cut out the word in one piece. Fuse it to the backside of the letter fabric. Iron in place following package instructions.
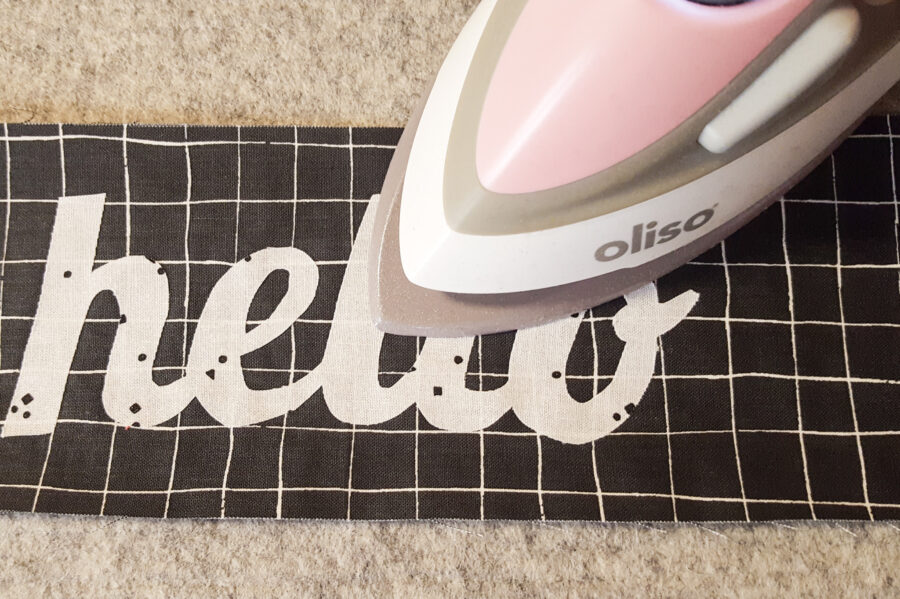
- Cut out the word along the lines, peel off the paper backing, and fuse it to the center of the fabric being used for the banner front.
- Cut a piece of HeatnBond Lite 4″ x 16″. Fuse it to the back of the banner front fabric. Peel off the paper backing.
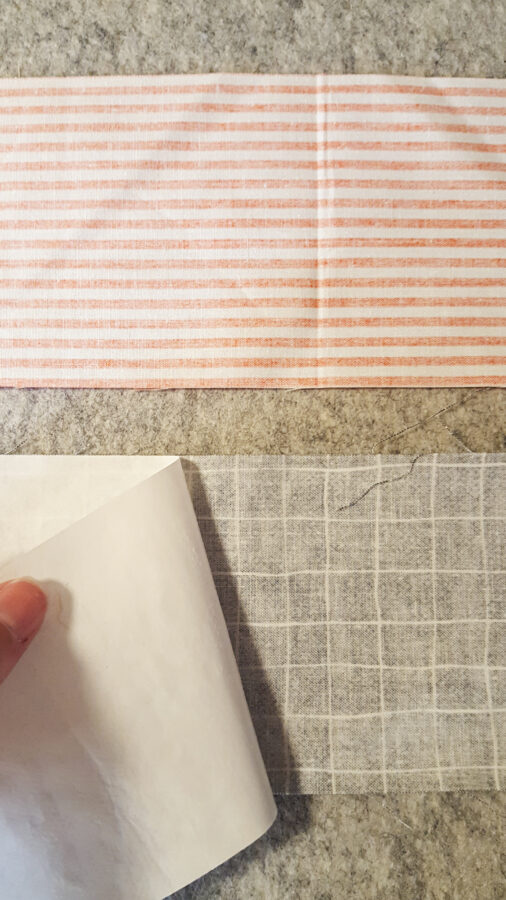
- Place the fabric being used for the banner back right side up over the HeatnBond. Fuse into place to glue the banner front to the banner back. Having two pieces of fabric with the HeatnBond in the middle allows the banner to hold its shape once place in the hoop.
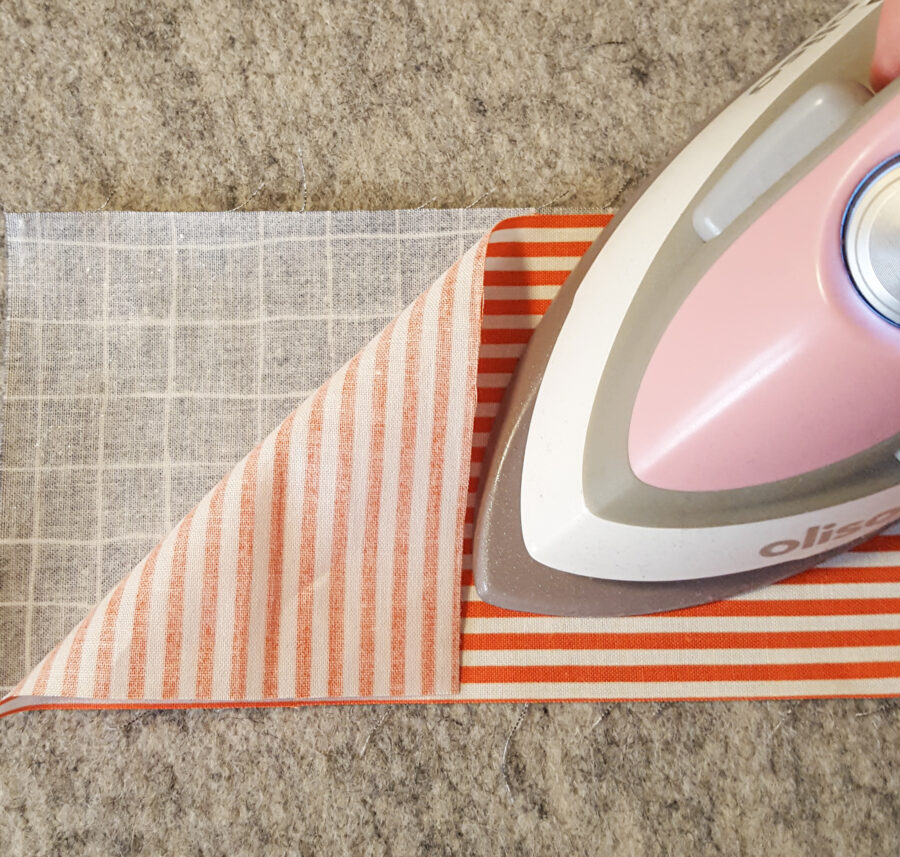
- Cut out a triangle from the banner edges. Place the smaller interior hoop on a table. Center the banner on top of it, then secure the top hoop. Decorate the hoop with felt flowers, artificial flowers, pumpkins, or anything else that makes you think of fall!
- Hang up your hoop and enjoy it all year long!
Thanks for sewing along with me today!
-Stephanie-
