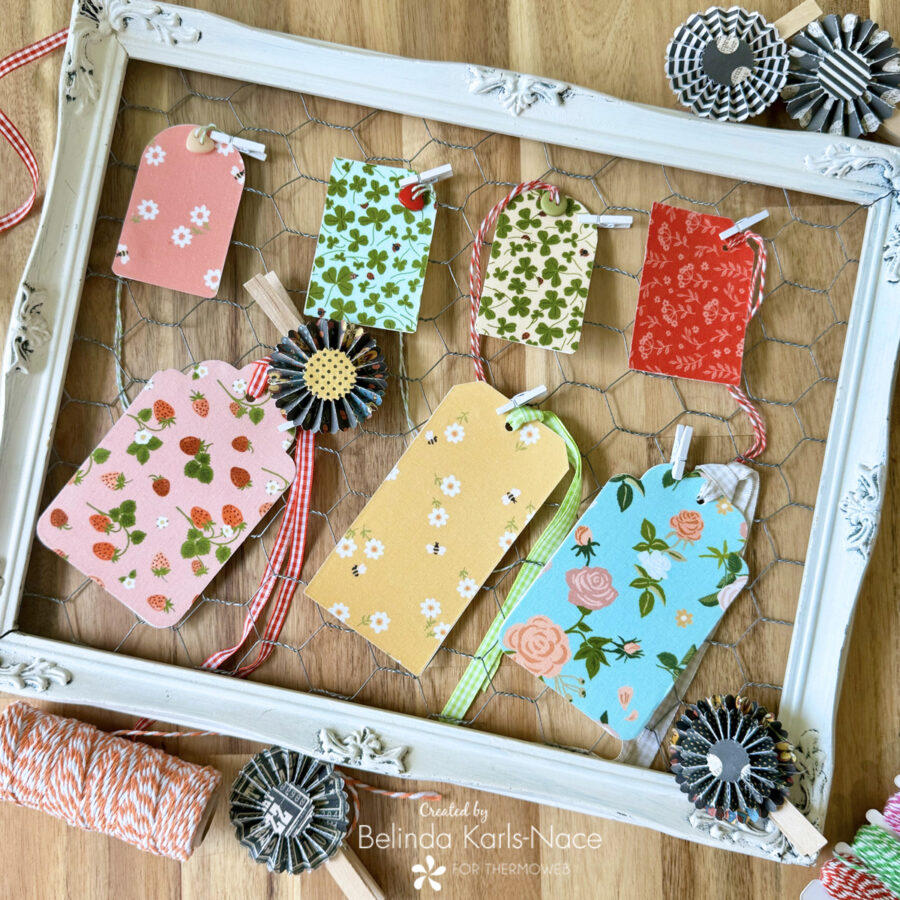
Nifty No-Sew Fabric Tags featuring HeatnBond
Greetings friends! It’s Belinda from Blue Ribbon Designs, here with a brand new project tutorial. Today, I am excited to share my “Nifty No-Sew Fabric Tags” with you. This project features HeatnBond UltraHold Iron-on Adhesive, so no sewing is required.
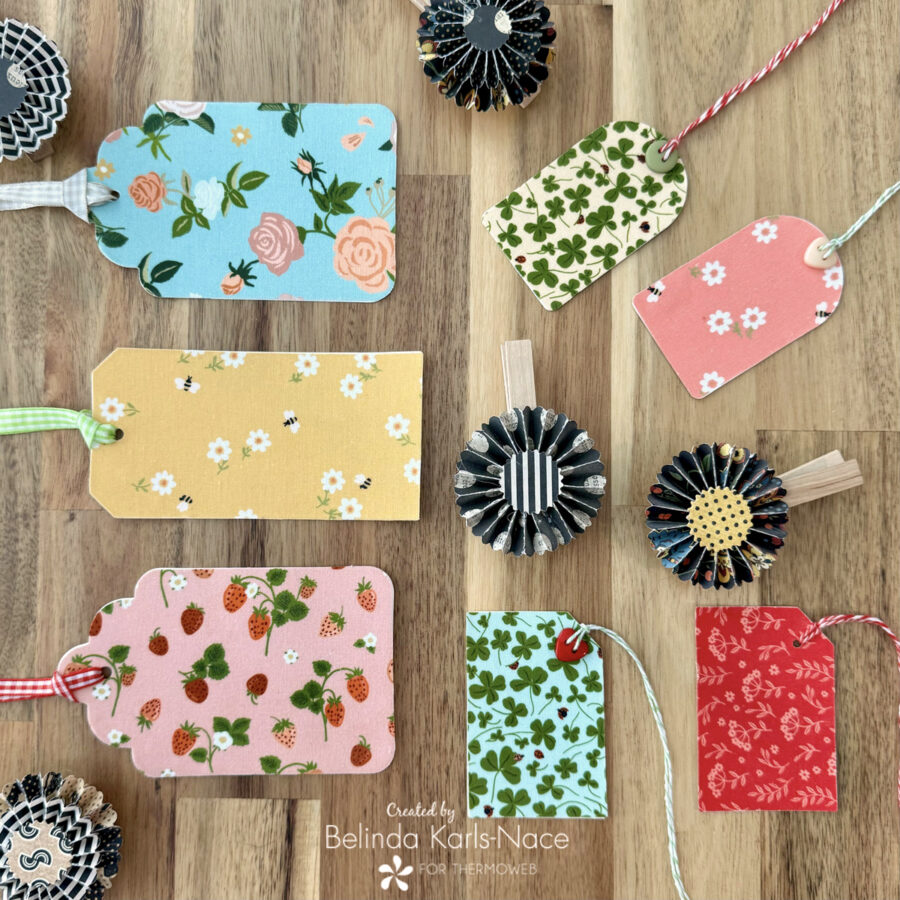
Do you have a favorite fabric collection? Maybe you love fabrics but aren’t necessarily a sewist/seamstress. If you like to add a handmade touch to your gift giving, then this project is especially for you. These no-sew fabric tags are perfect for taking your gift wrapping to the next level. They need minimal supplies and are quick and easy. Plus, you can use your favorite fabrics and/or fabric scraps to embellish and personalize gifts and taggable items. These no-sew fabric tags are perfect for gift bags, jars, packages, quilts, and handmade gifts.
Let’s get creative! Simply gather the materials/supplies listed below, then download the pattern with the PDF templates.
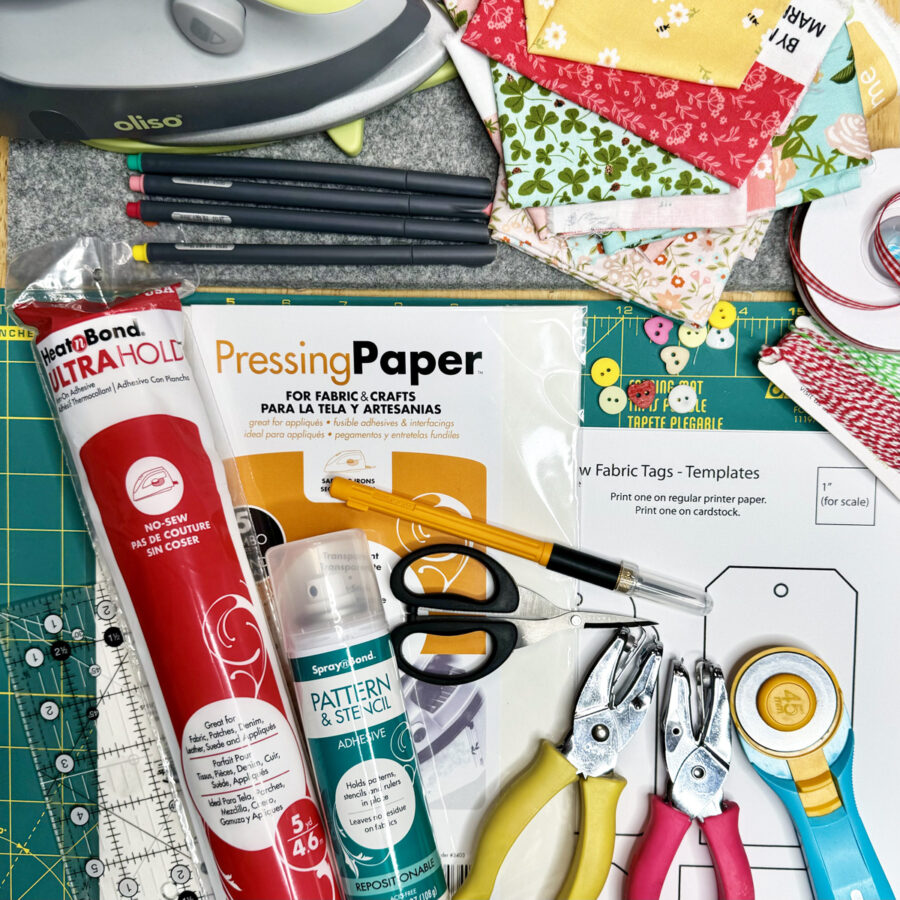
What you need:
- HeatnBond UltraHold Iron-On Adhesive
- SpraynBond Pattern & Stencil Spray
- Pressing Paper Fabric and Craft Sheets
- Fabric Scraps (I used scraps of Promise Me by Michal Marco for Poppie Cotton)
- Baker’s Twine or Ribbon (models use gingham ribbons and assorted twines)
- Optional – coordinating buttons (models use ½” round and ½” heart)
- Cardstock (models use textured cardstock)
- Oliso Iron
- Olfa Cutting Tools (cutting mat, craft knife, rotary cutter, small sharp scissors)
- Hole Punch (models use ⅛” and ¼” round)
- Markers or colored pencils (models use fine tip markers)
How to make a Nifty No-Sew Fabric Tag
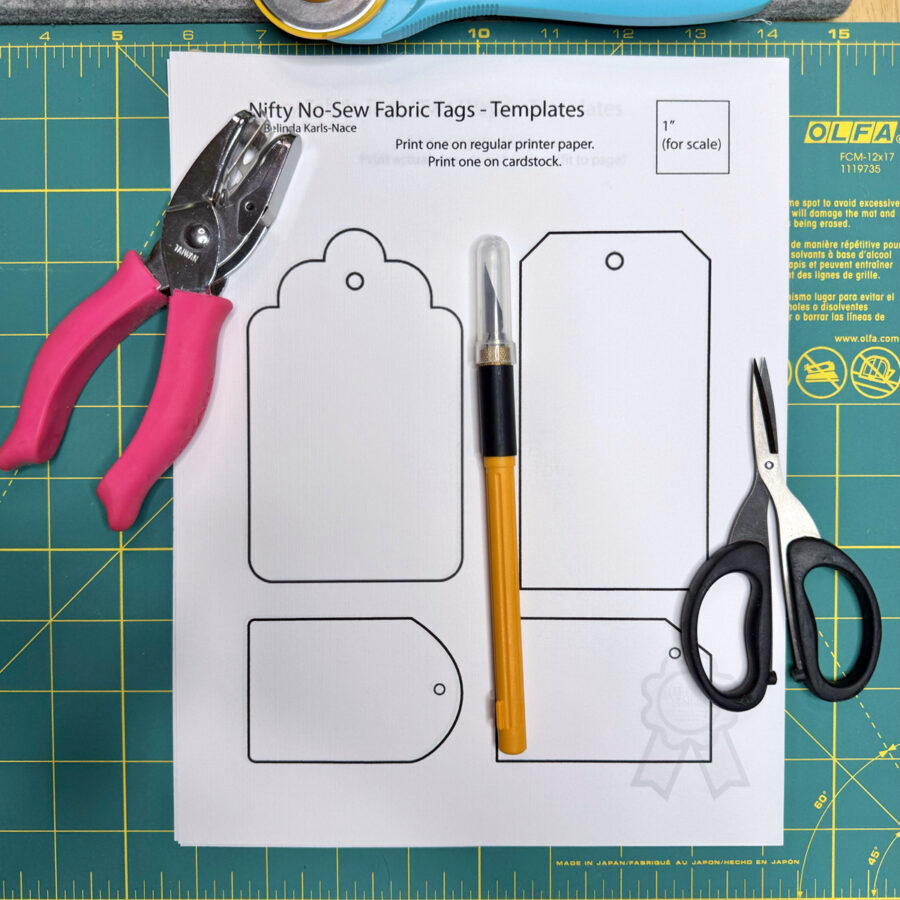
1. Download and print the Nifty No-Sew Fabric Tags PDF.
Nifty No-Sew Fabric Tags – A Project for the Therm O Web Blog
- Print actual size – do NOT “fit to page” or “shrink to fit.”
- Print page one on regular printer paper.
- Print two copies of page two – print one on cardstock and print one on regular printer paper.
2. Cut Cardstock Tags
- Use sharp scissors, a craft knife or rotary cutter to cut out desired tag(s) printed on cardstock.
- Use a hole punch to cut out the hole for ribbon or twine.
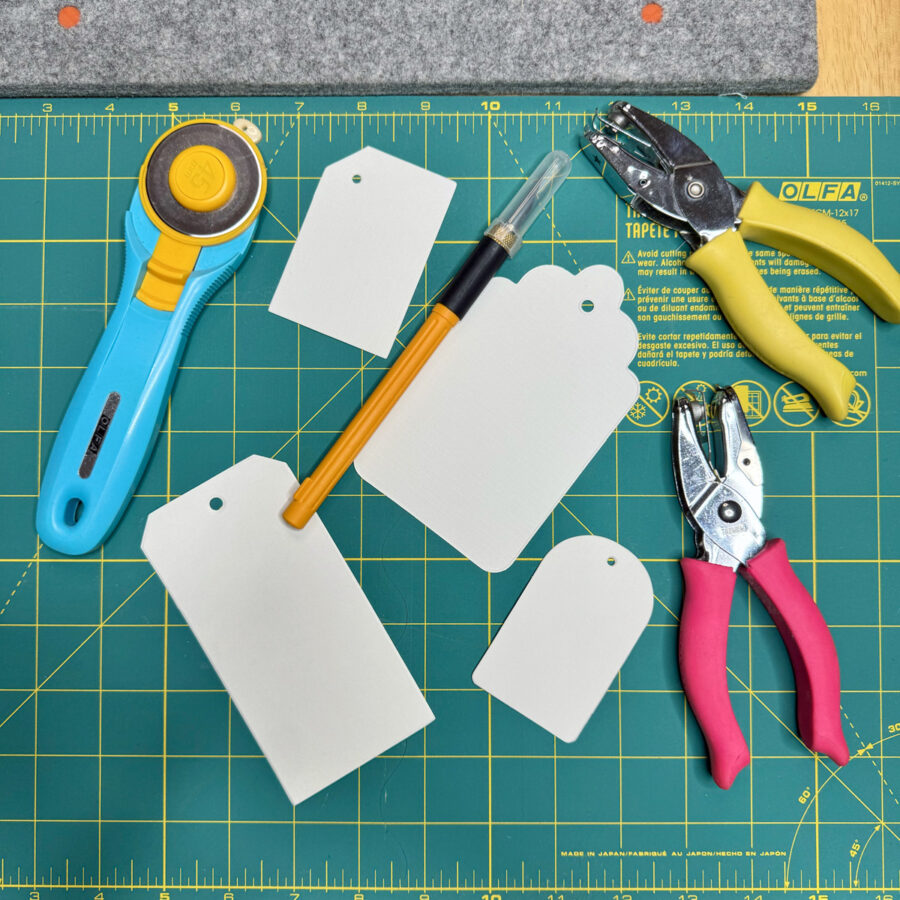
3. Prepare Fabric
- Cut a piece of fabric slightly larger than the desired tag. For the large tag, I cut a piece of fabric approximately 4” x 6”. For the small tag, I cut a piece of fabric approximately 3” x 4”.
- Cut a piece of HeatnBond UltraHold Iron-On Adhesive the same size as your fabric.
- Fuse the HeatnBond UltraHold Iron-On Adhesive to the wrong side of the fabric.
- Preheat iron to medium heat, no steam. Place adhesive on the (wrong side) back of material to be bonded (paper liner should face up).
- Place and hold iron on the paper liner for 2 seconds. Repeat until the entire surface is bonded. Allow the fabric to cool.
- Leave paper in place.
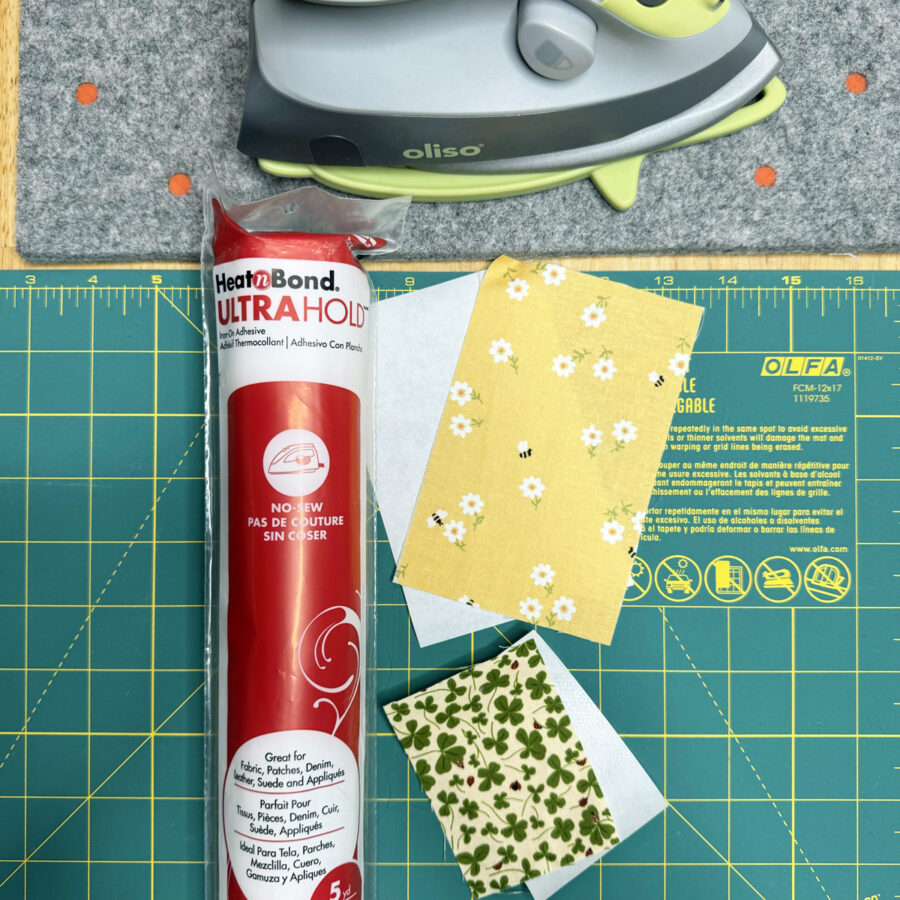
4. Create Fabric Side of Tag
- Loosely cut out the desired tag(s) printed on regular printer paper.
- Protect workspace by placing Pressing Paper Fabric and Craft Sheet on worktable.
- Use SpraynBond Pattern & Stencil Spray to hold template in place on prepared fabric.
- Shake well. Hold can upright, 12 inches from paper template.
- Press spray pad button and apply a light coating of adhesive using a sweeping motion.
- Let dry 1 minute.
- Press pattern or stencil to prepared fabric, repositioning as needed. (If tack is too light, repeat step 1.)
- Before storing the can, hold upside down and press spray pad button for a short burst to clear nozzle.
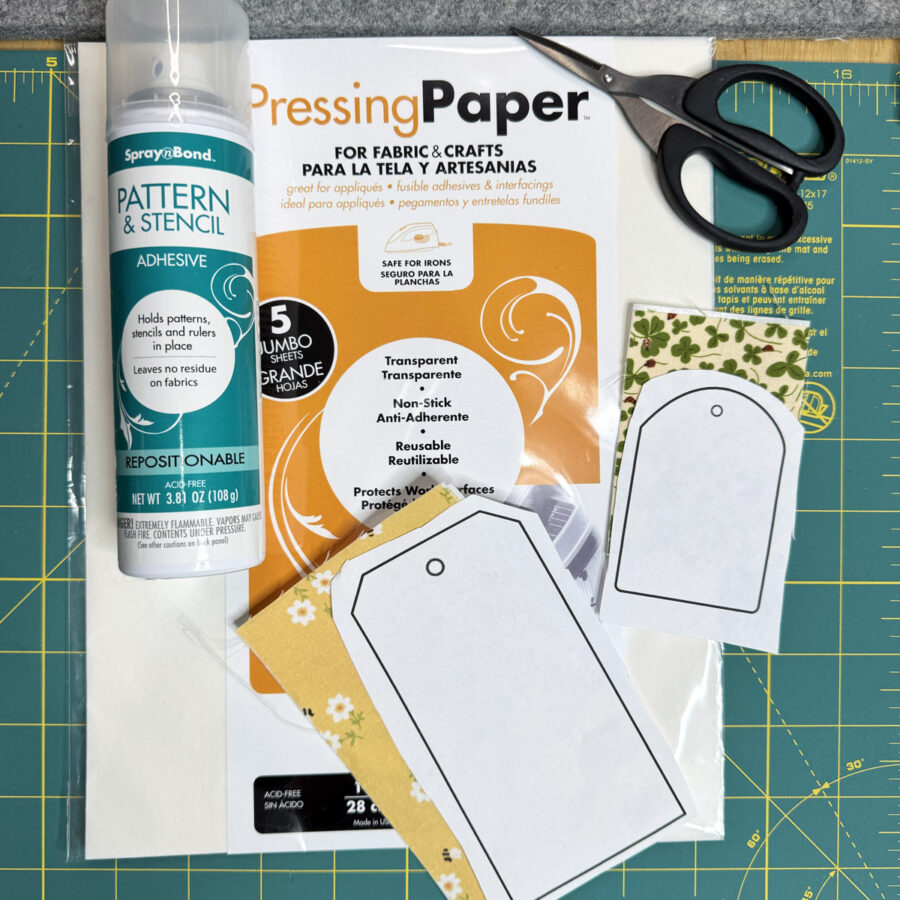
- Cut or trim the tag(s) on the solid lines printed on the paper to create the desired shape. Remove template paper. Leave the adhesive paper in place until ready to fuse in place.
- Use a hole punch to cut out the hole for ribbon or twine.
5. Finish the Tag
- Remove paper from adhesive.
- Line up the cardstock tag and the fabric tag with wrong sides together.
- Fuse together.
- Preheat iron to medium heat, no steam.
- Press iron on fabric with firm pressure for 8 seconds on each section until the entire piece is bonded.
- Allow the tag to cool.
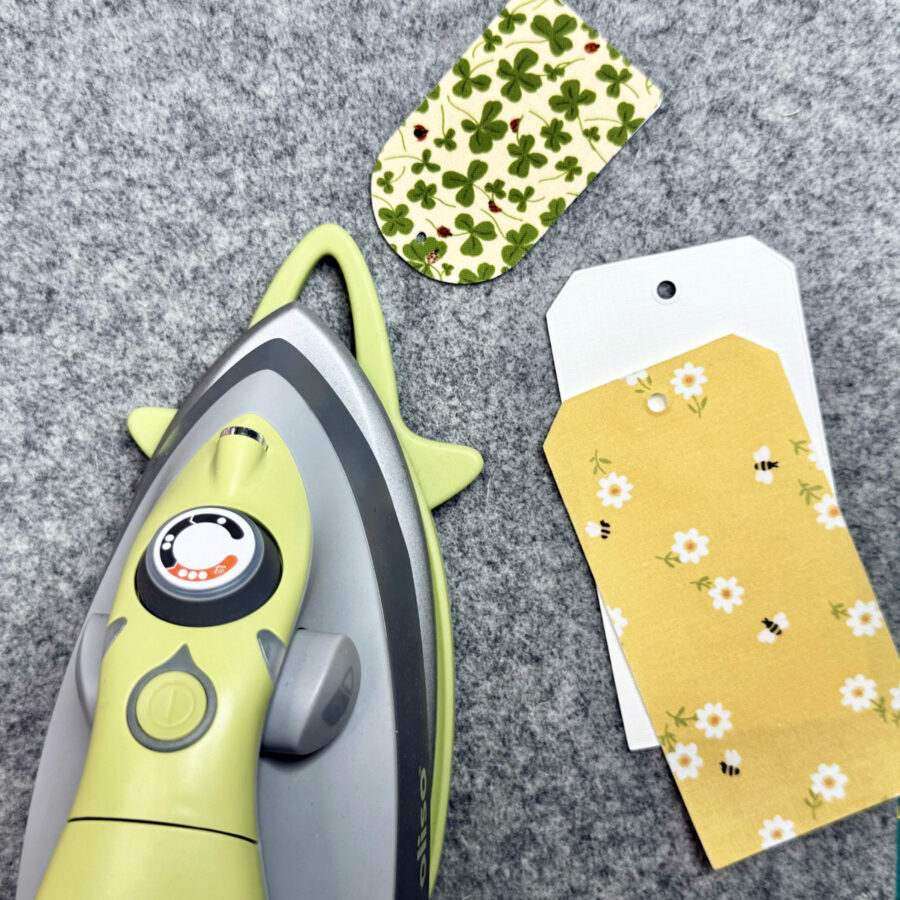
6. Embellish Tag
- Add ribbon or twine, through the punched hole.
- Optional: add a button when adding the twine.
- Use markers or colored pencils to add recipient information or a note on the cardstock side of the tag.
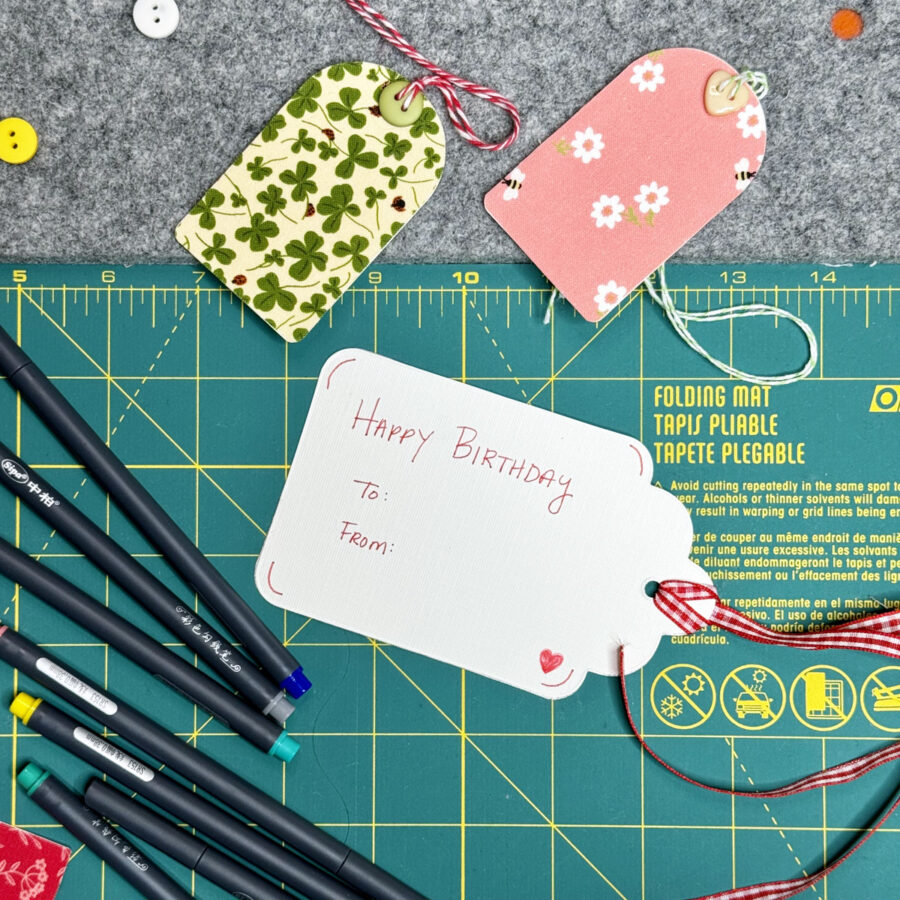
Your Nifty No-Sew Fabric Tag is complete. Use your tag to personalize a special gift or add details to a taggable item.
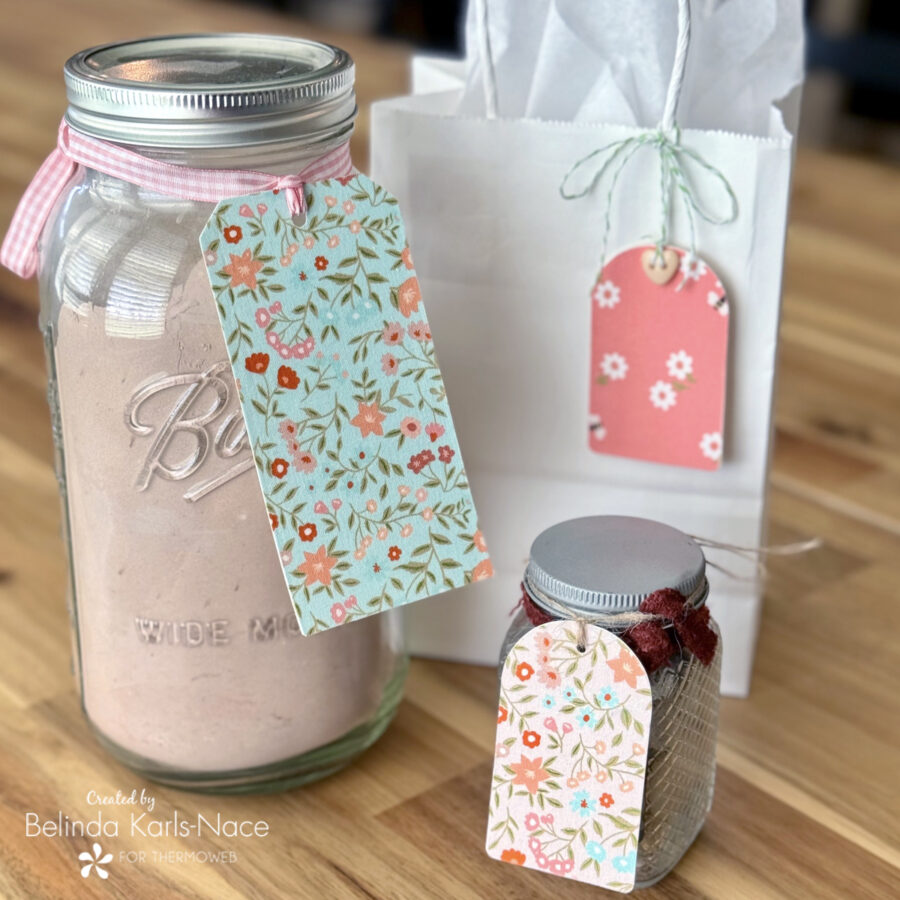
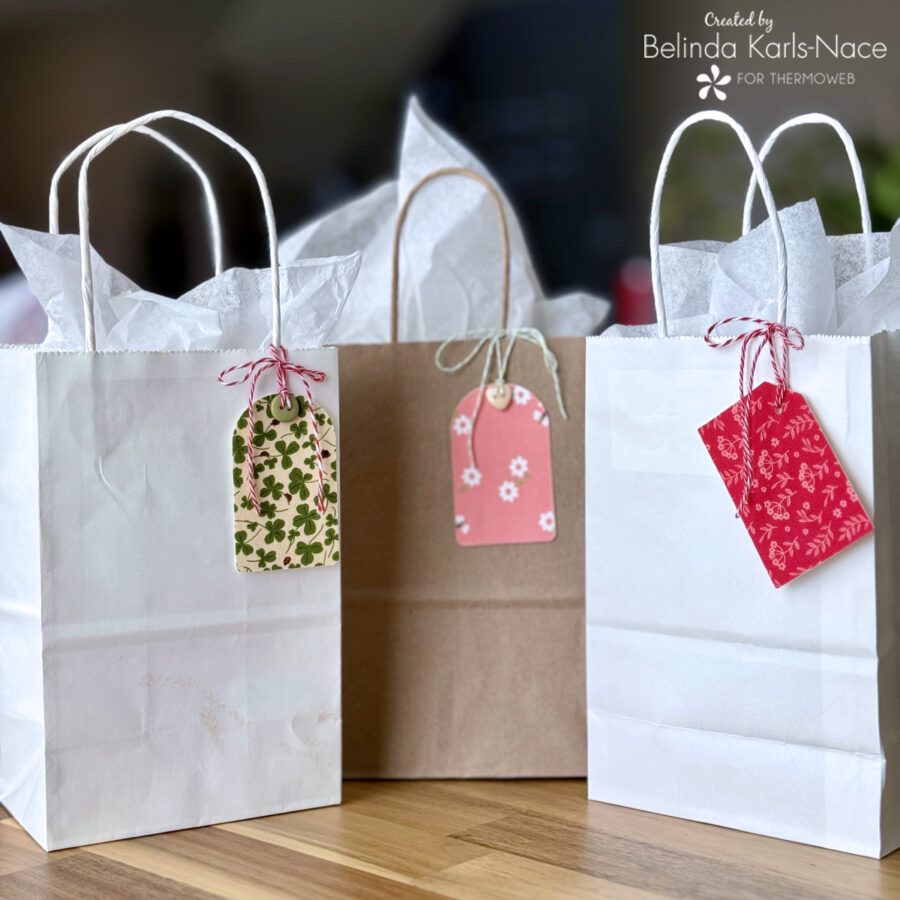
Thank you for joining me today for my Therm O Web blog tutorial. I hope this post inspires you to create a handful of fabric tags for dressing up and personalizing gifts. These tags work great for graduations, weddings, birthdays, and holidays; they also work great for adding information to canning jars and instructions to taggable items. To see more of my projects and patterns, stop by my blog, website, and/or Instagram – I would love to visit with you and see what you create!
